Snacks
Need some new snack ideas? I have dozens of Snack Recipes sure to please both kids and adults from easy to advanced you are sure to find something tasty!
From simple snack mixes, sweet, savory or something a little more healthy, browse dozens of snack recipes sure to please!
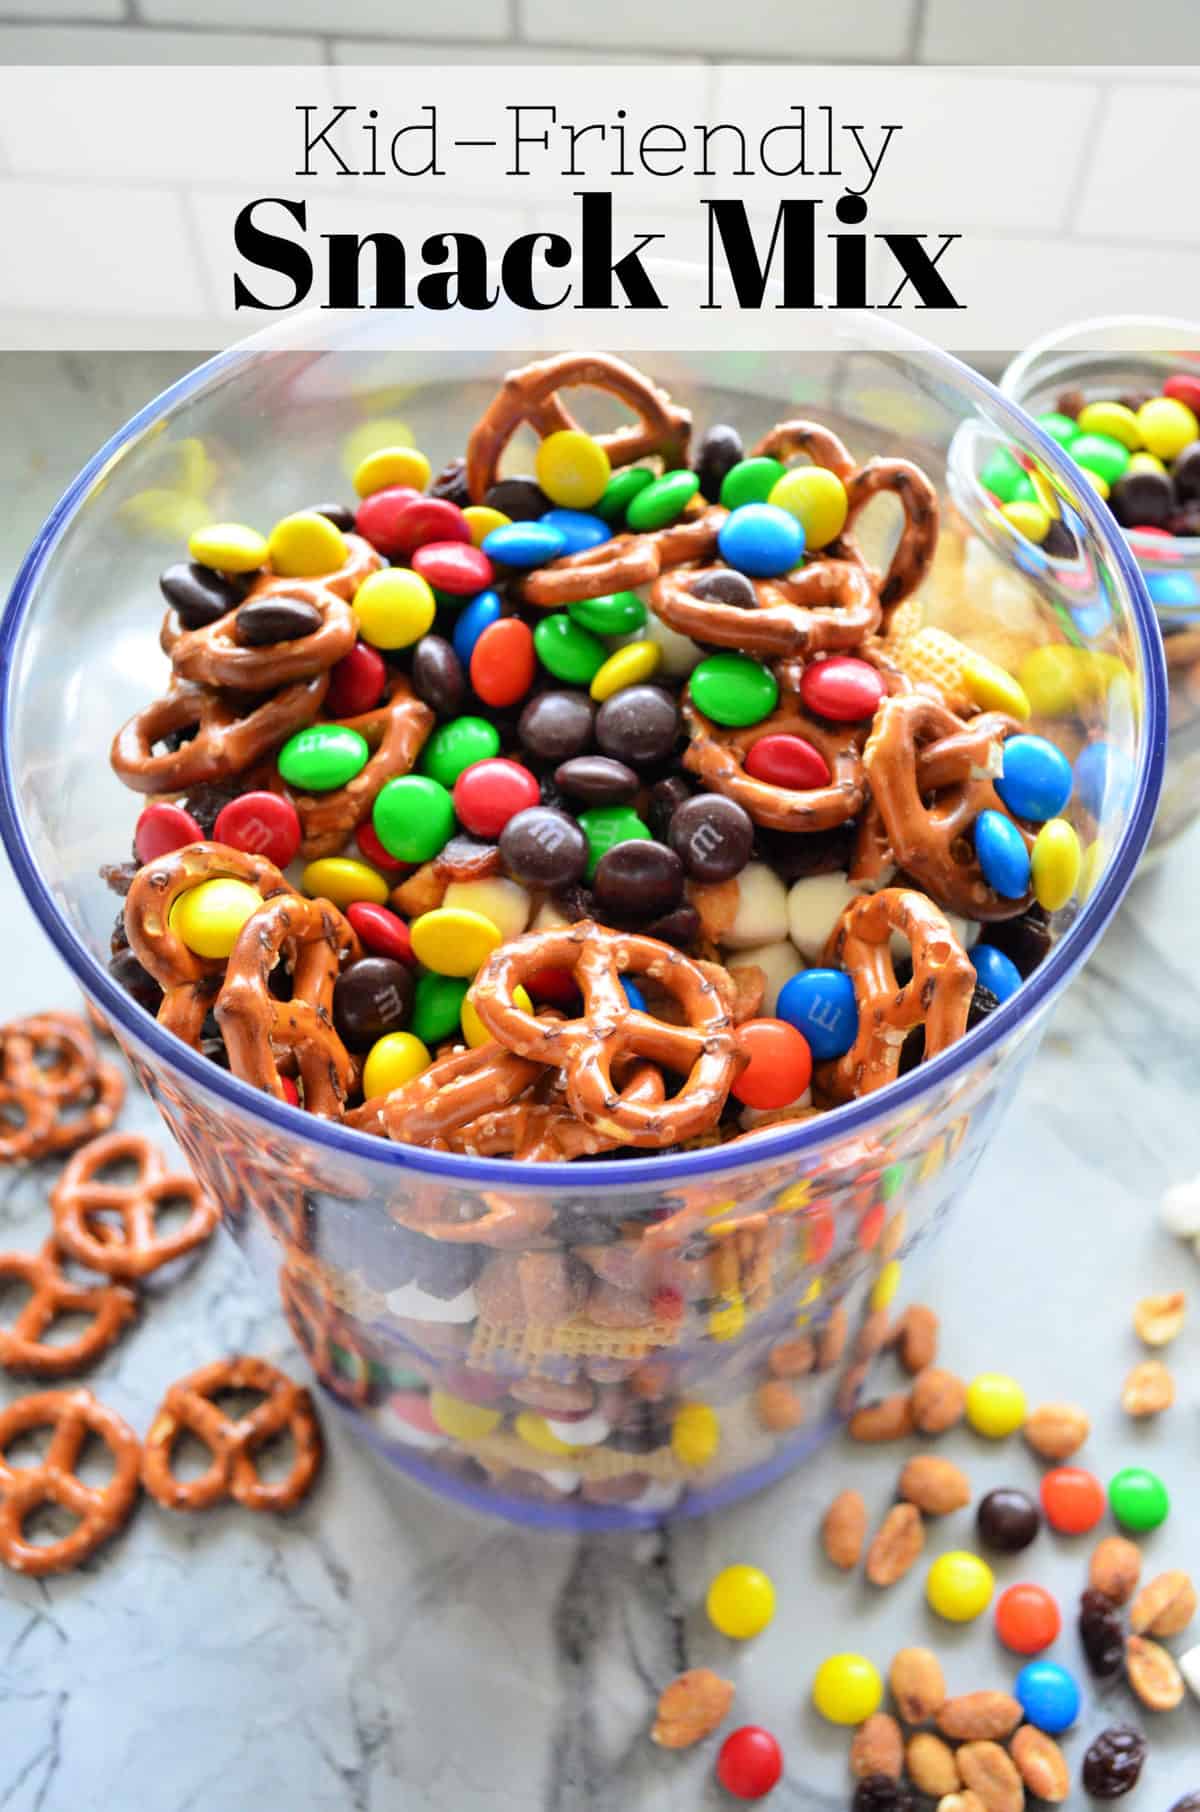
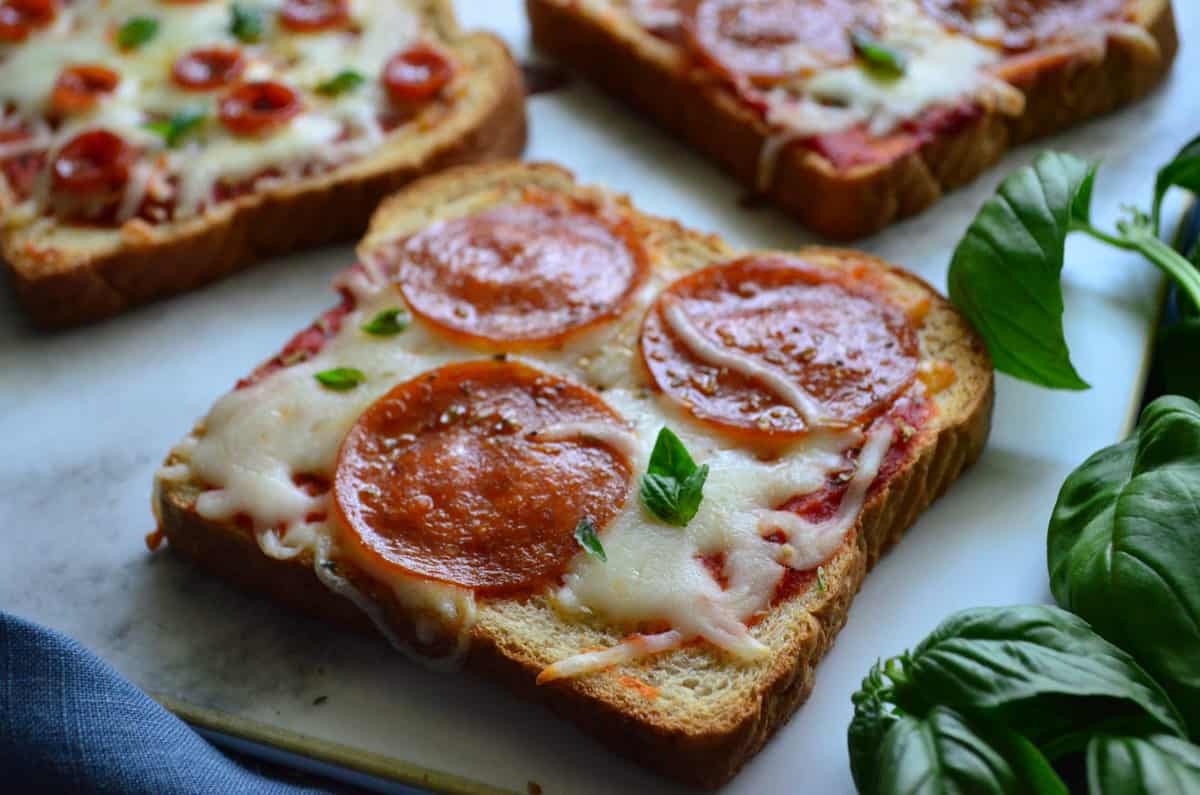
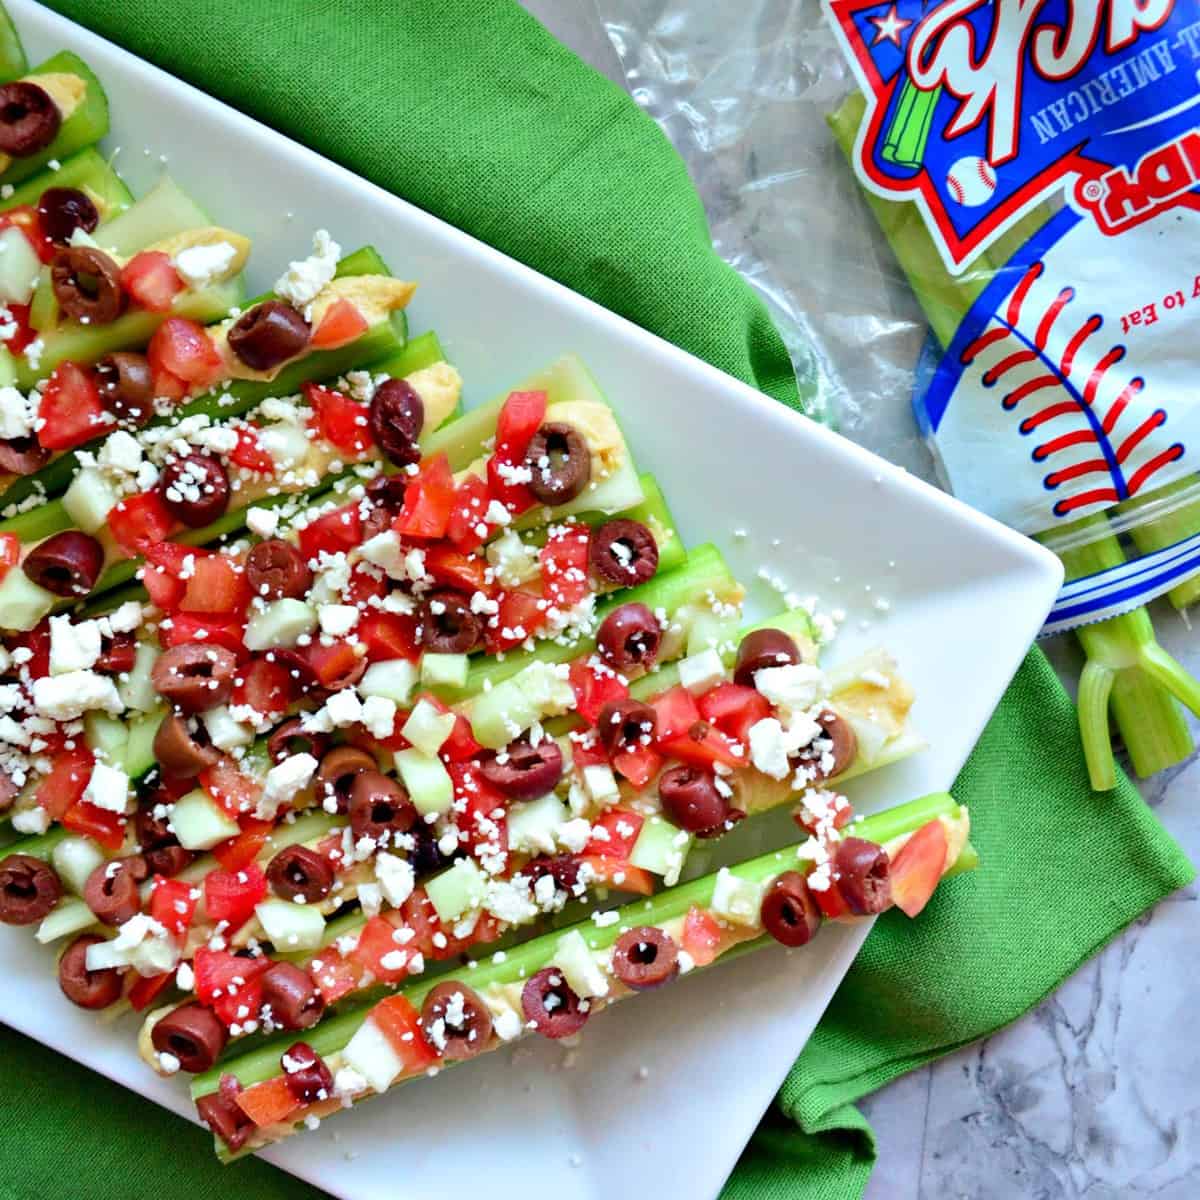
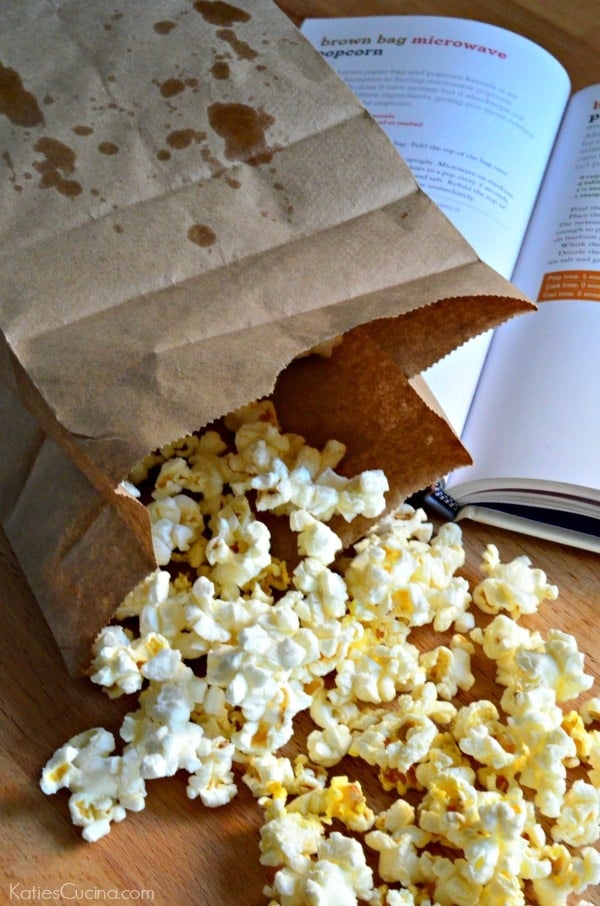
Need a recommendation? Consider my kid-friendly snack mix or try our Pepperoni Pizza Toast for a delicious afternoon snack. Love popcorn? I have dozens of popcorn recipes. Just make sure you start with the basics with my brown bag microwave popcorn recipe. Looking for something healthy? Make my Mediterranean Stuffed Celery Sticks.
-
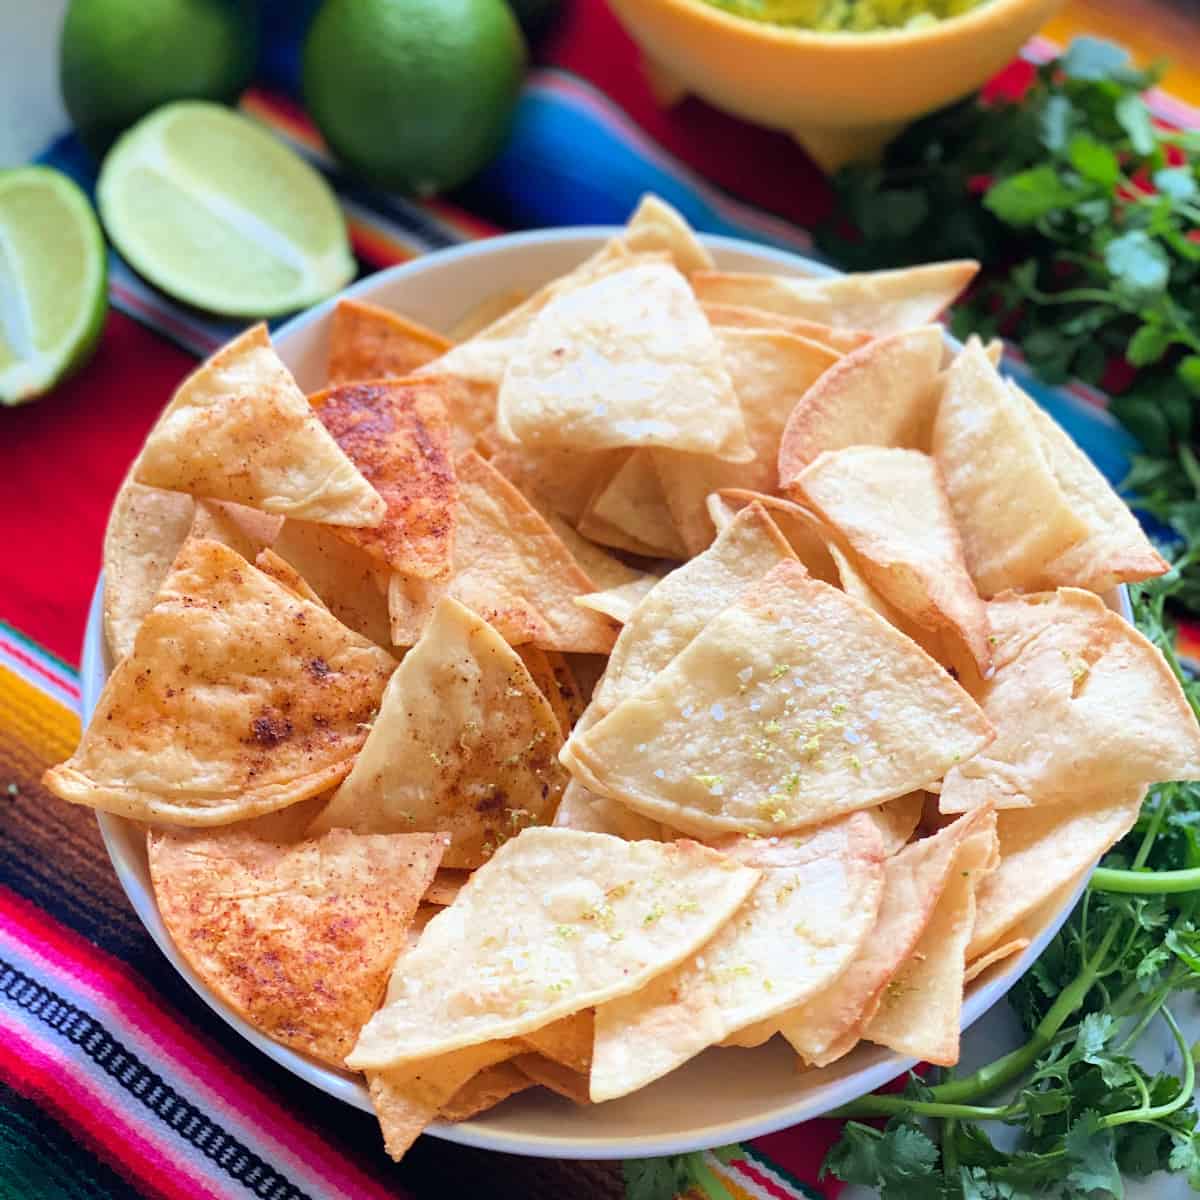
Air Fryer Tortilla Chips
-
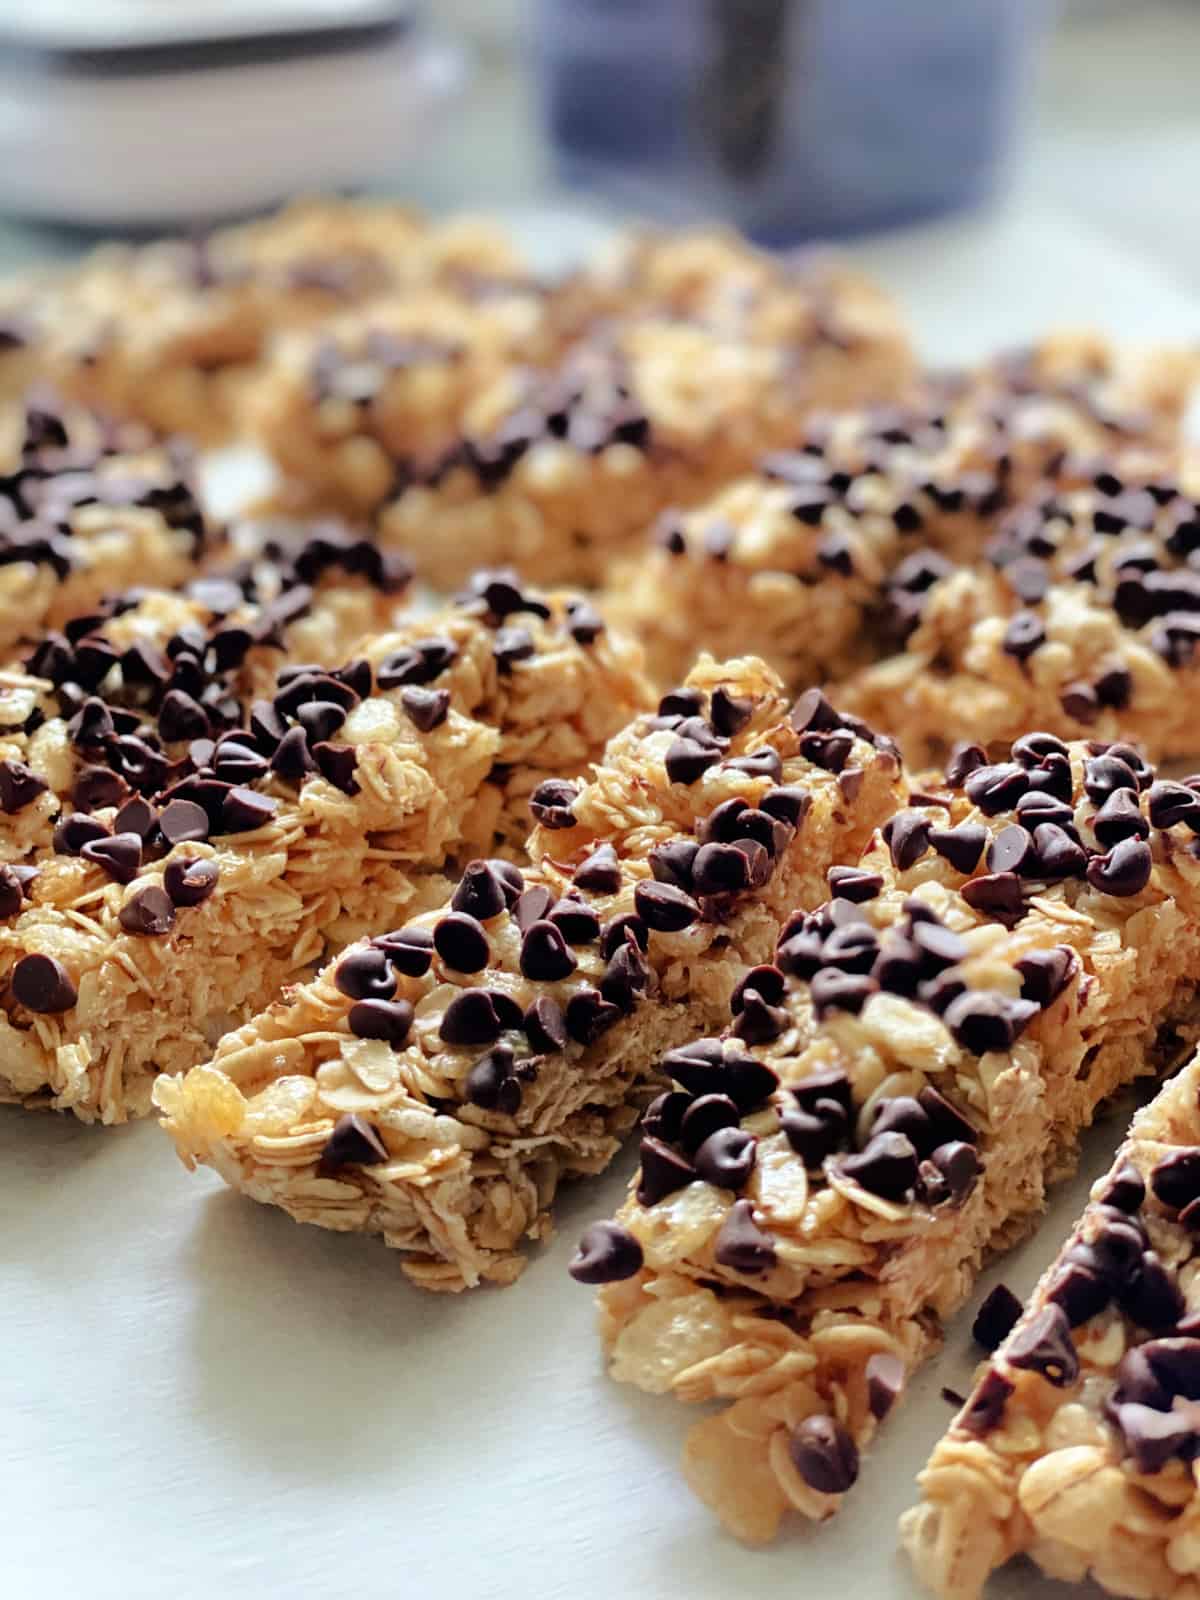
Chocolate Chip Granola Bars
-
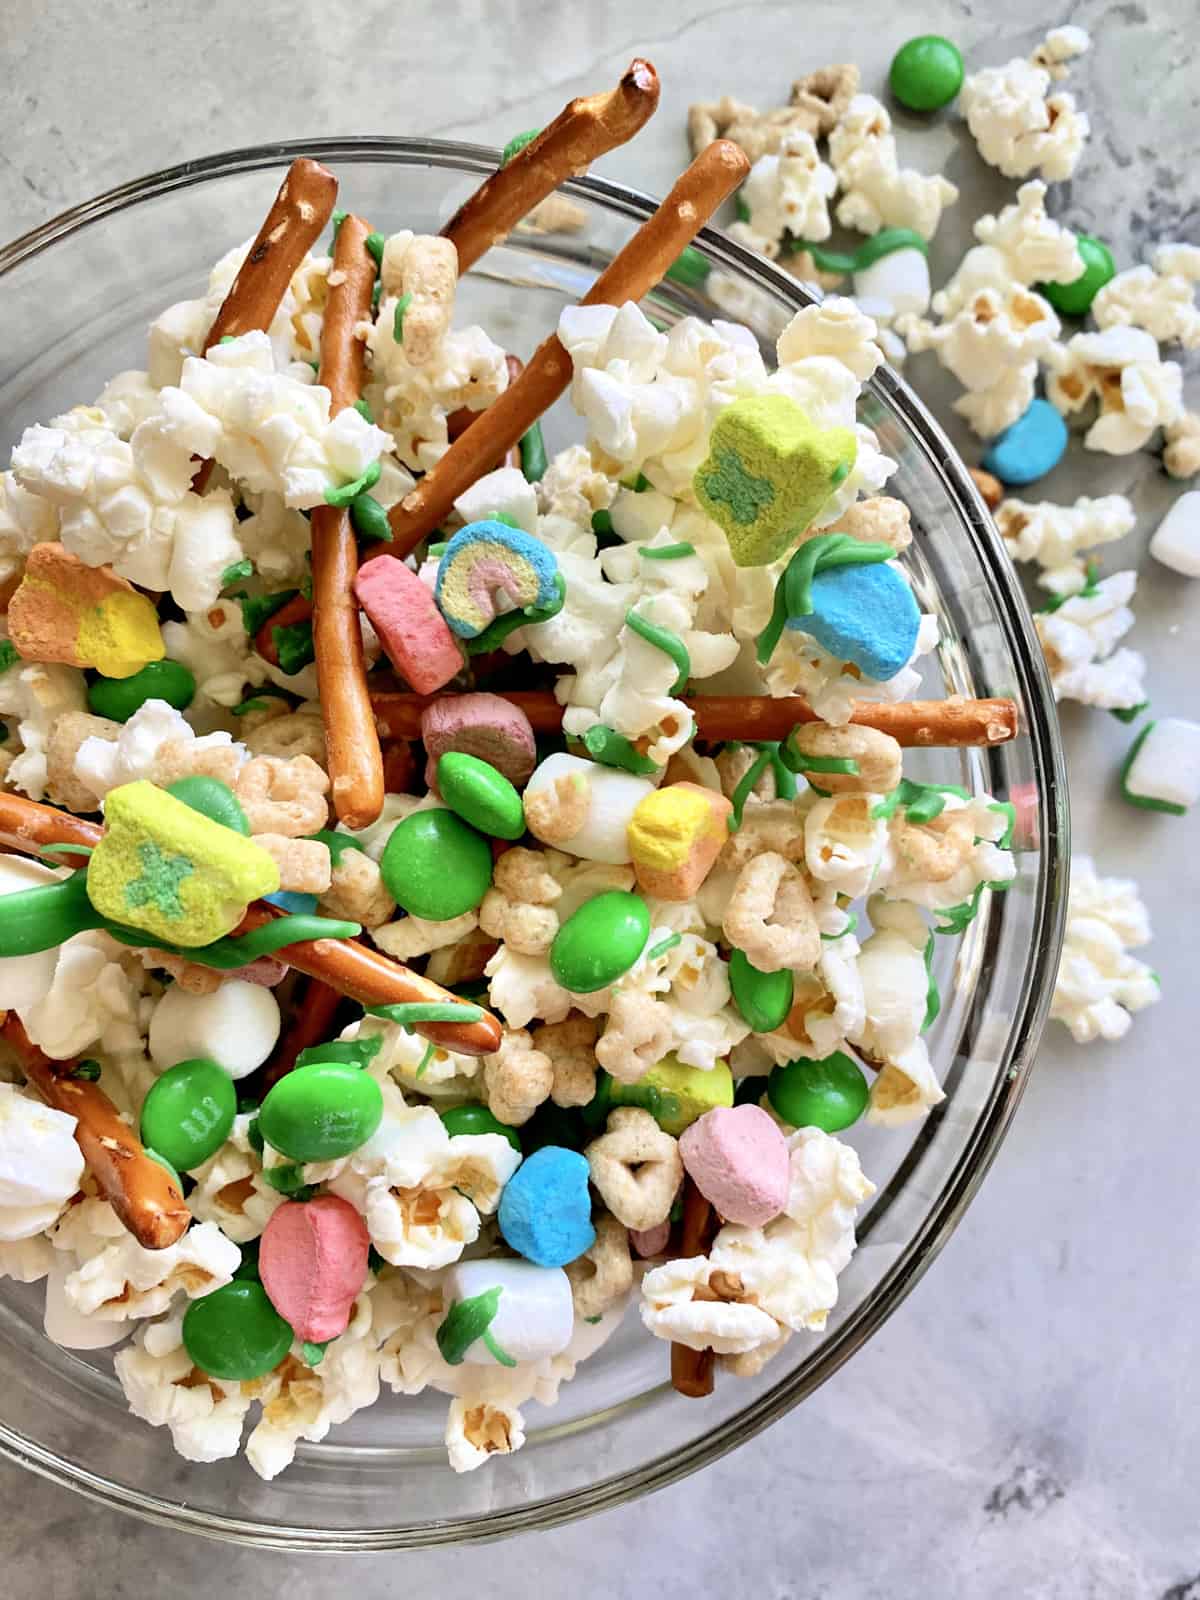
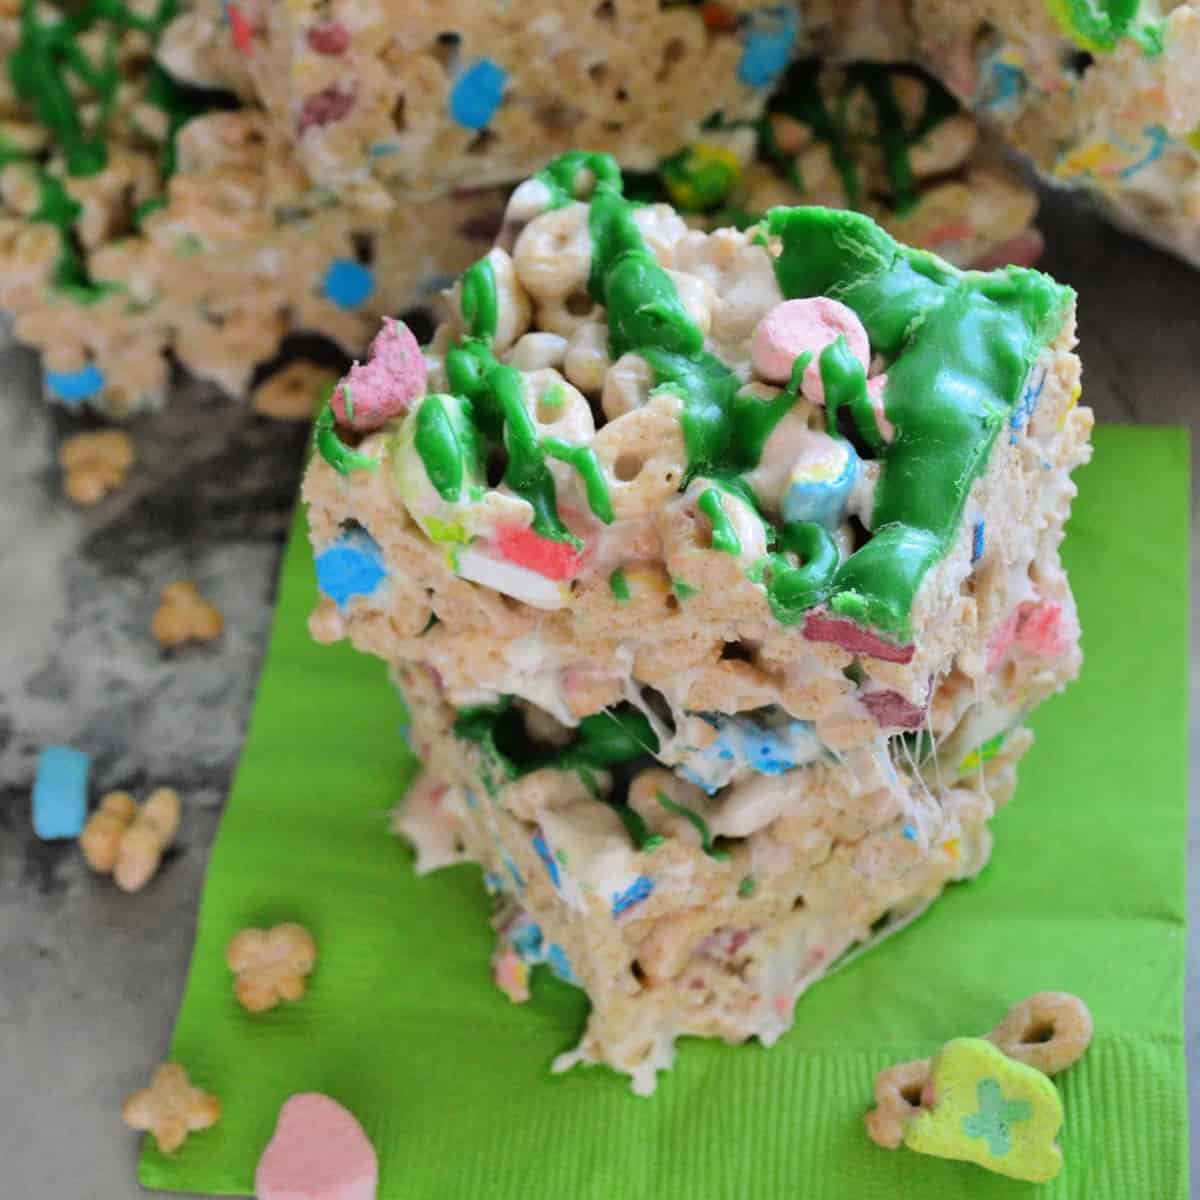
Lucky Charms Snack Mix
-
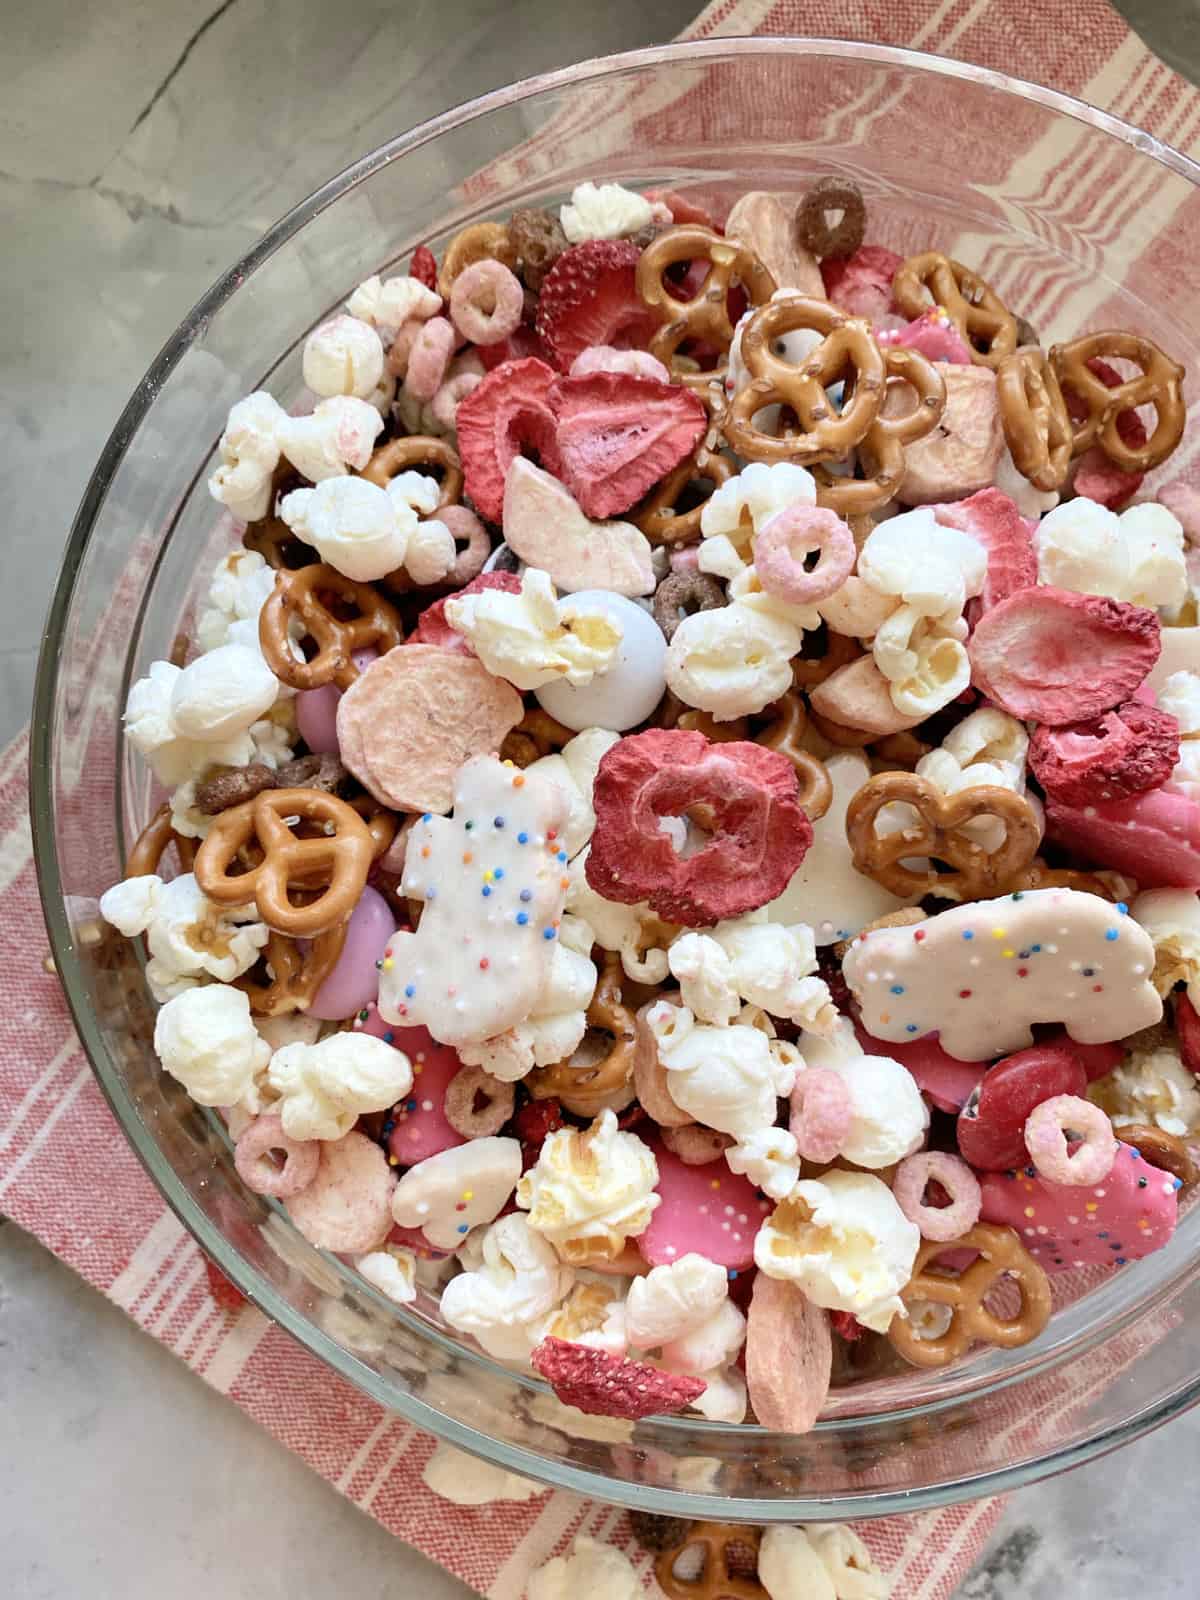
Valentine Snack Mix
-
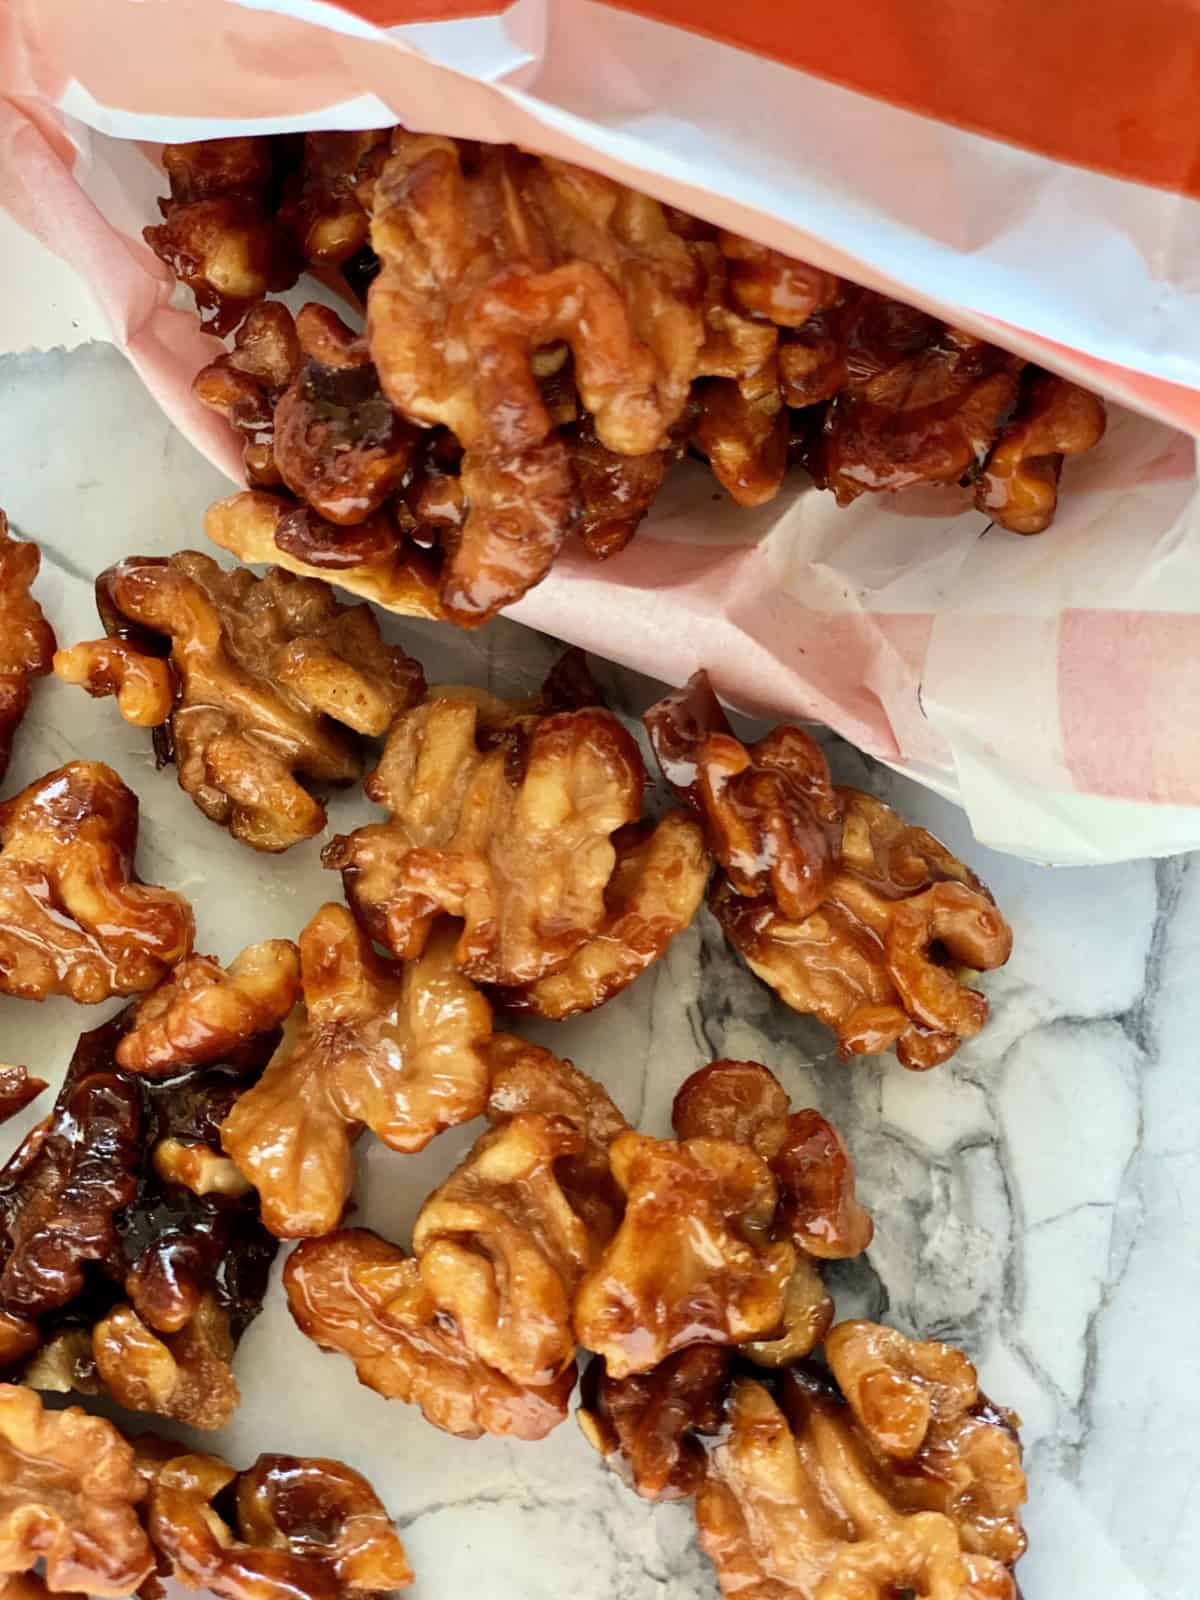
Candied Walnuts Recipe
-
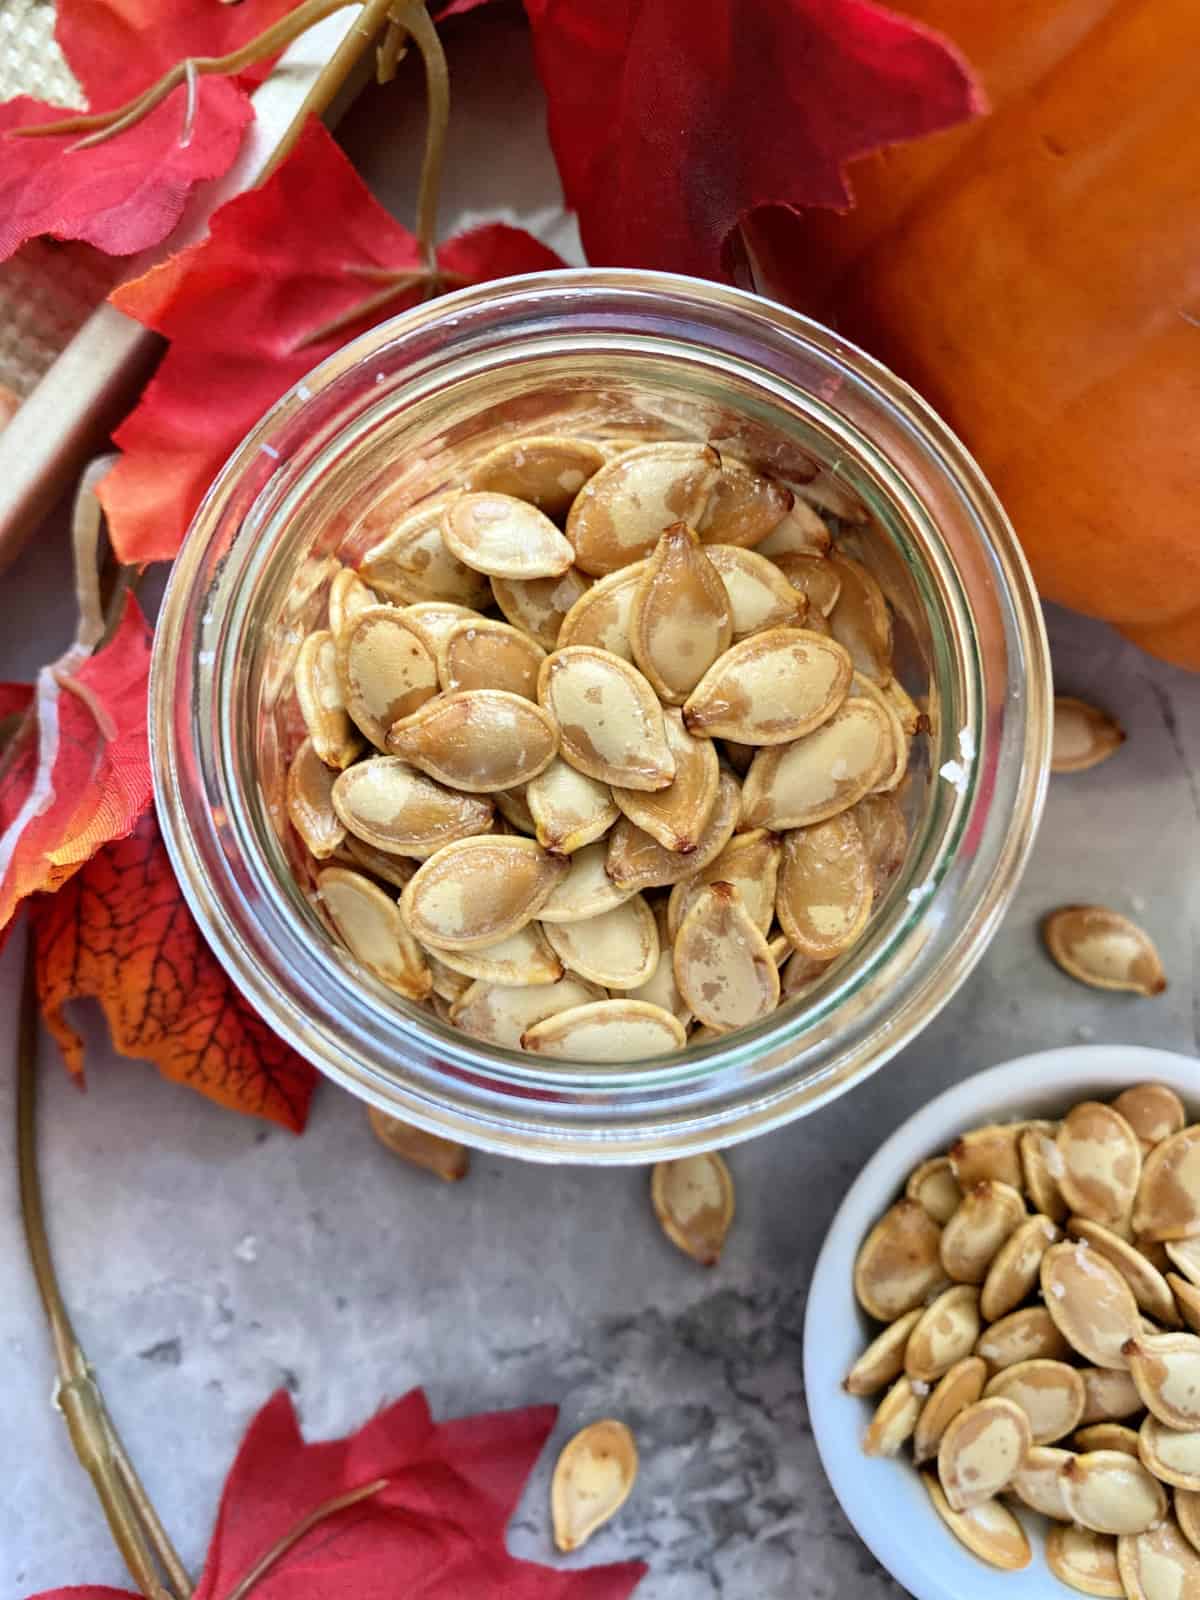
Pumpkin Seeds Recipe
-
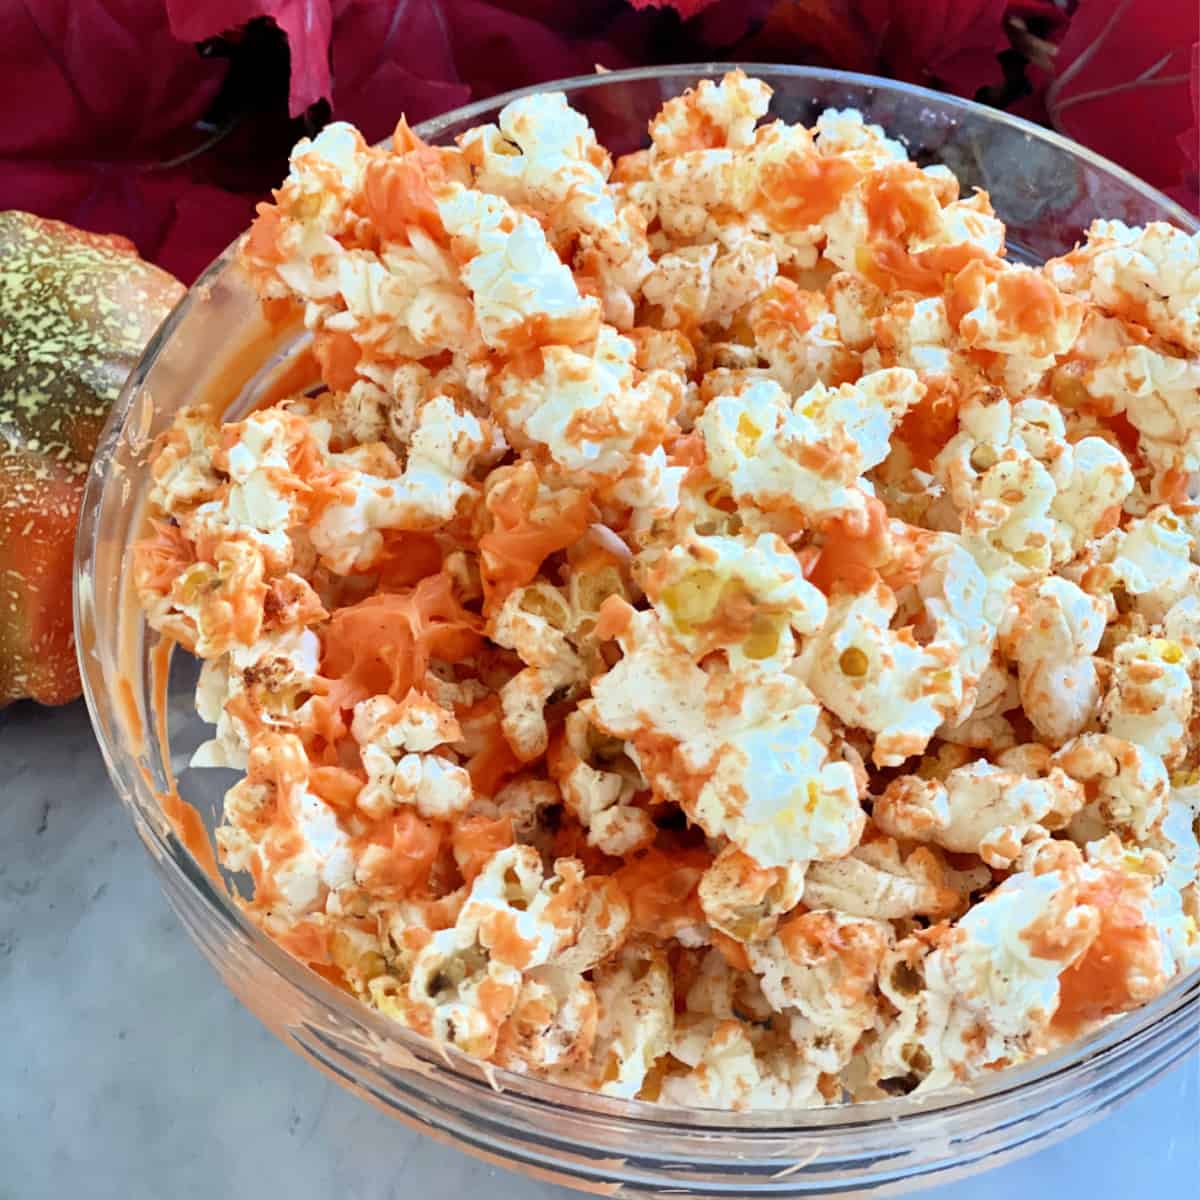
Pumpkin Spice Popcorn
-
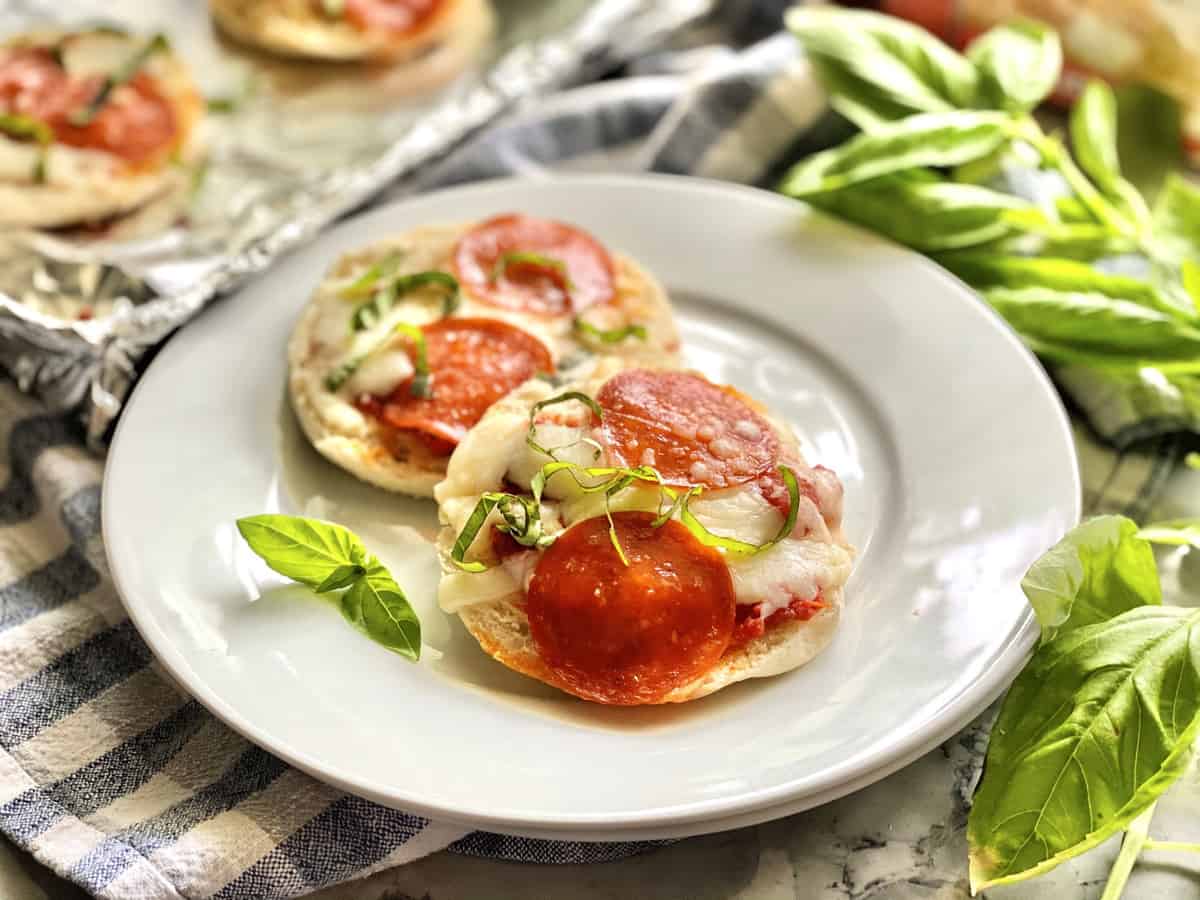
English Muffin Pizzas
-
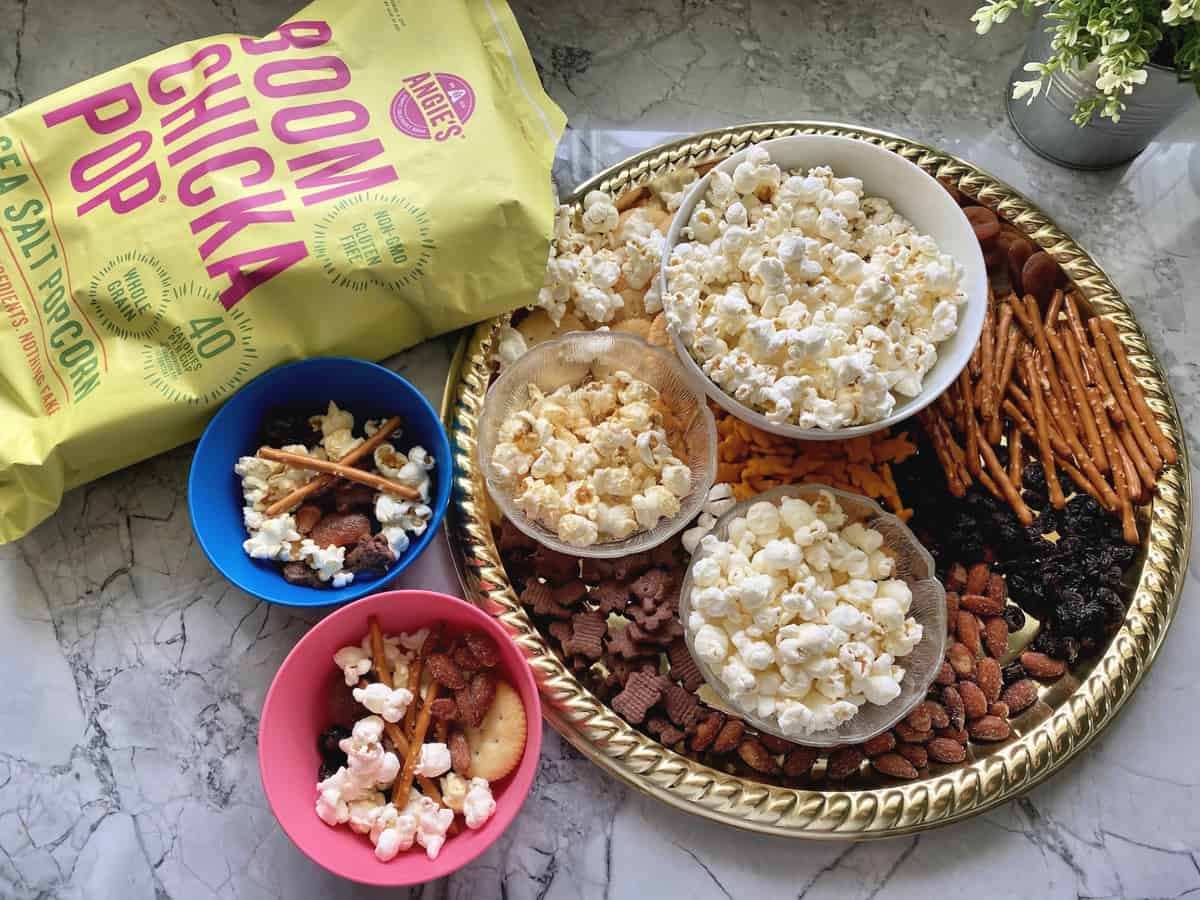
Family-Friendly Popcorn Snack Board
-
Lucky Charms Cereal Bars
-
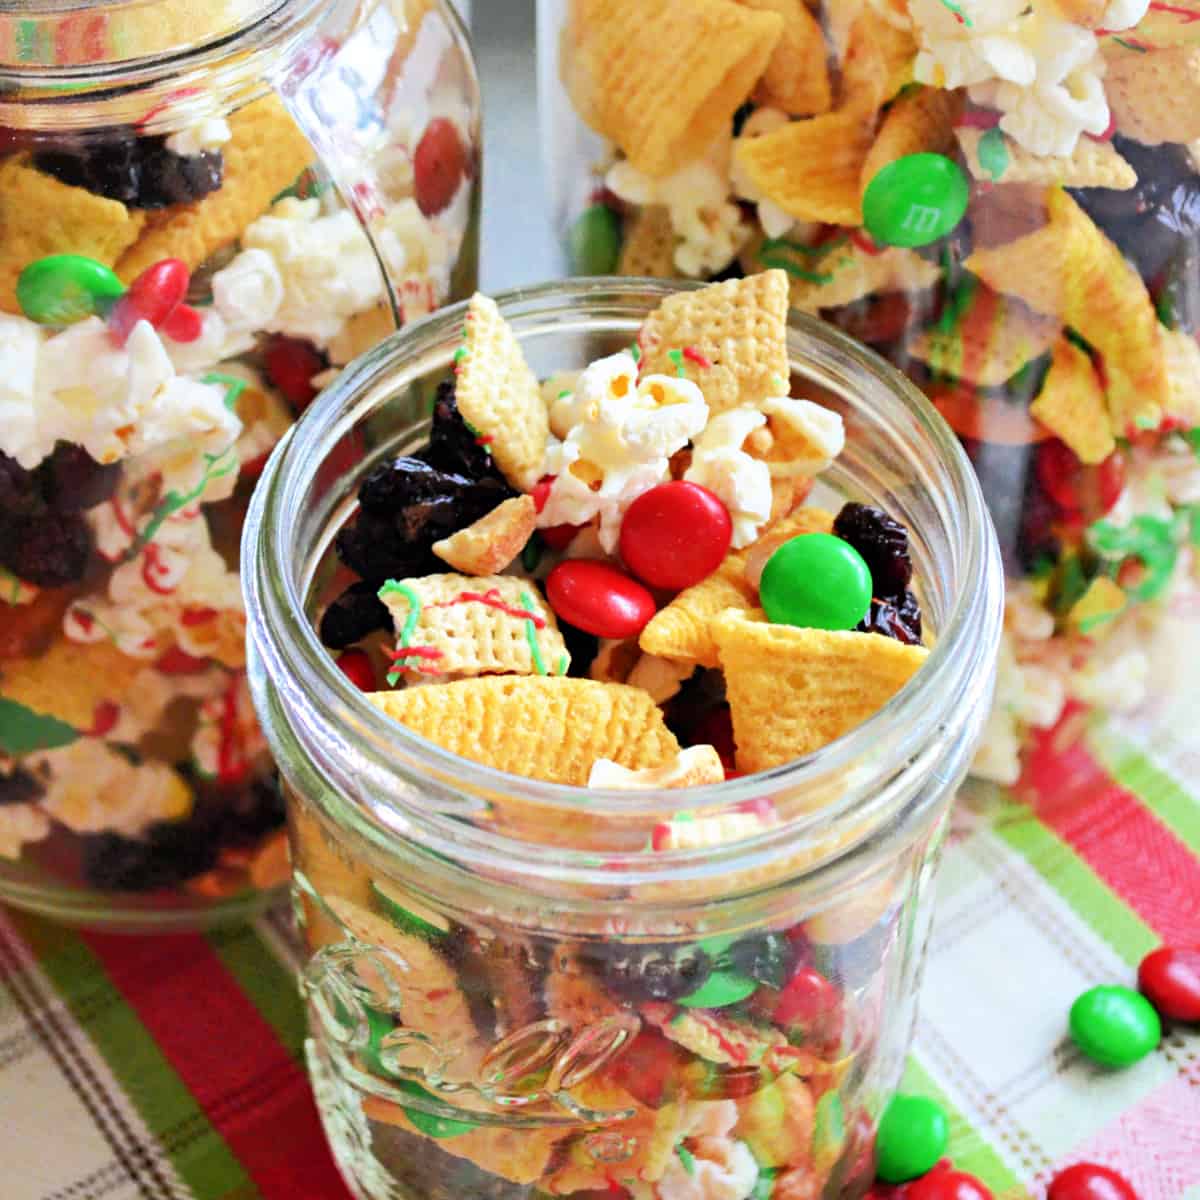
Christmas Snack Mix
-
Kid-Friendly Snack Mix
-
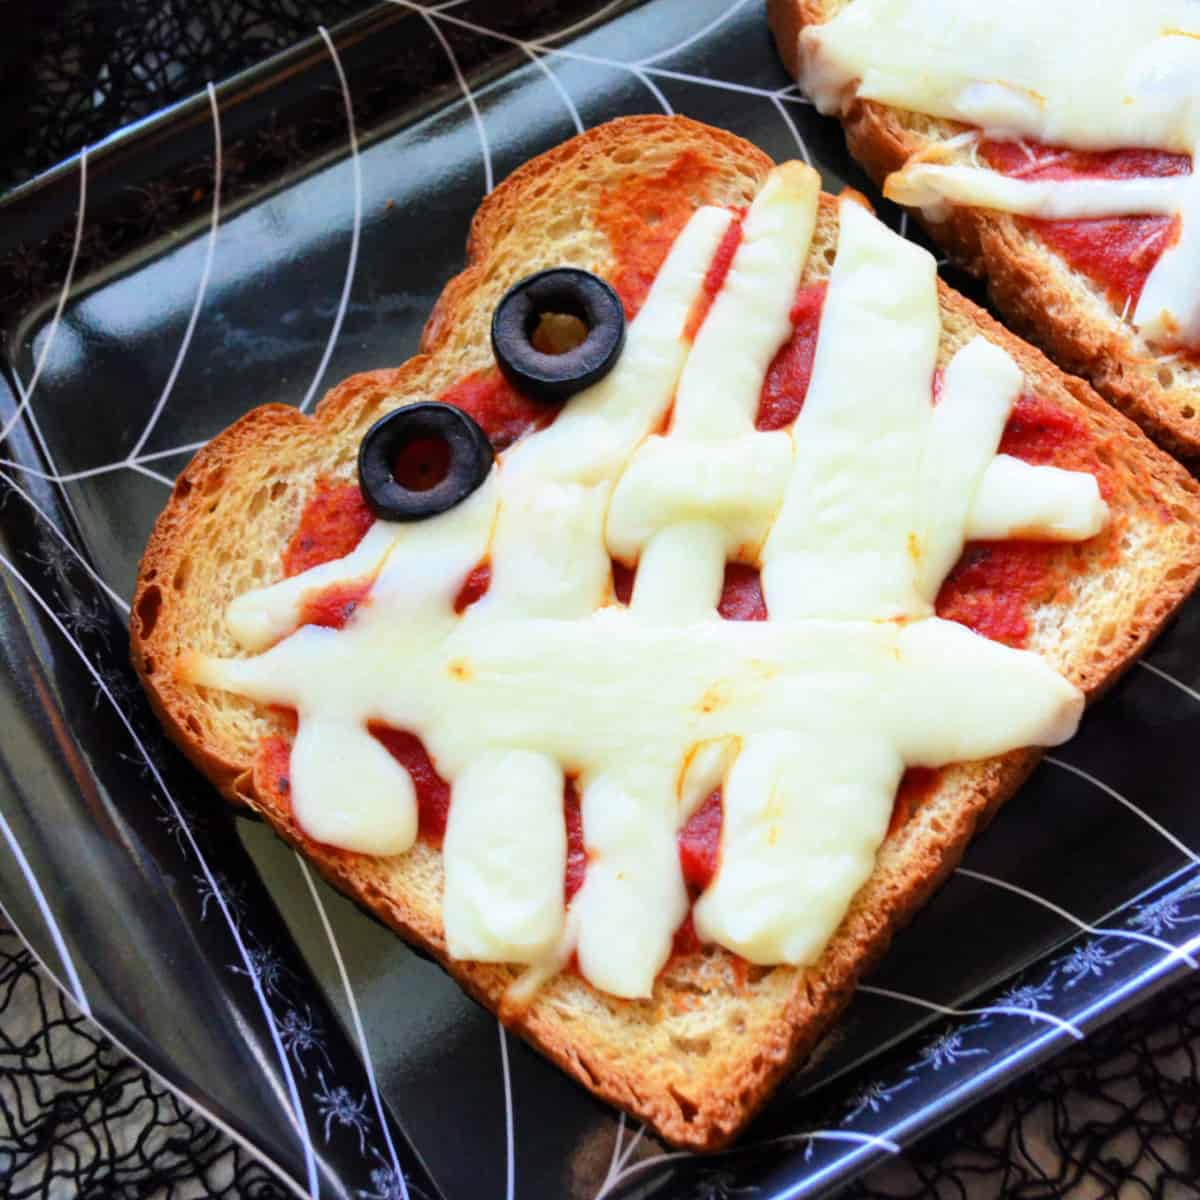
Halloween Mummy Pizza Toast
-
Pepperoni Pizza Toast
-
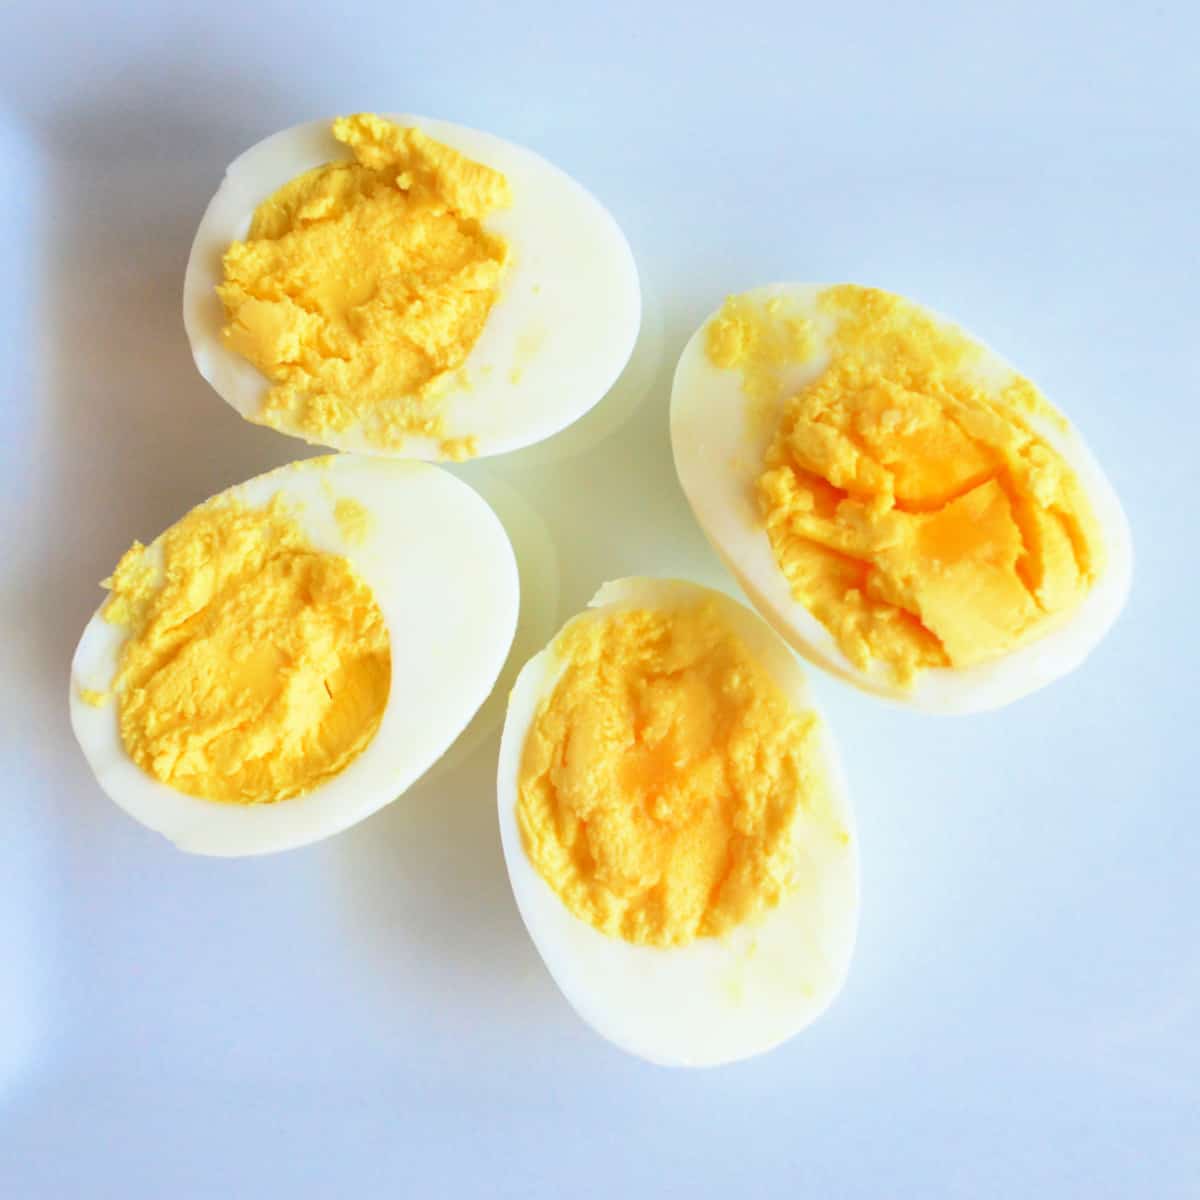
Instant Pot Hard Boiled Eggs
-
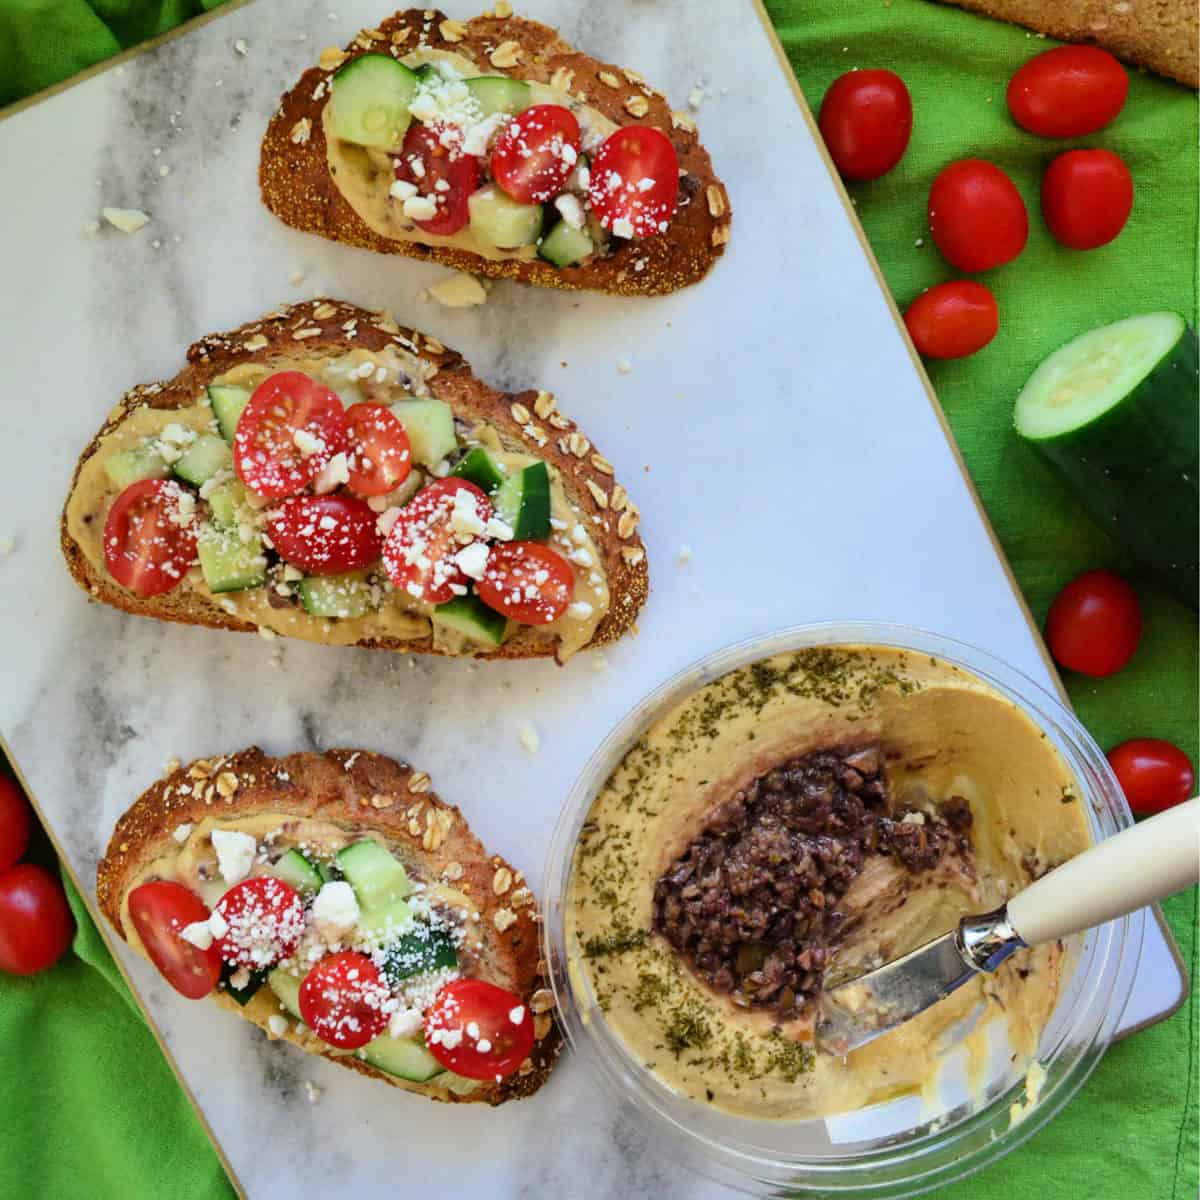
Mediterranean Hummus Toast
-
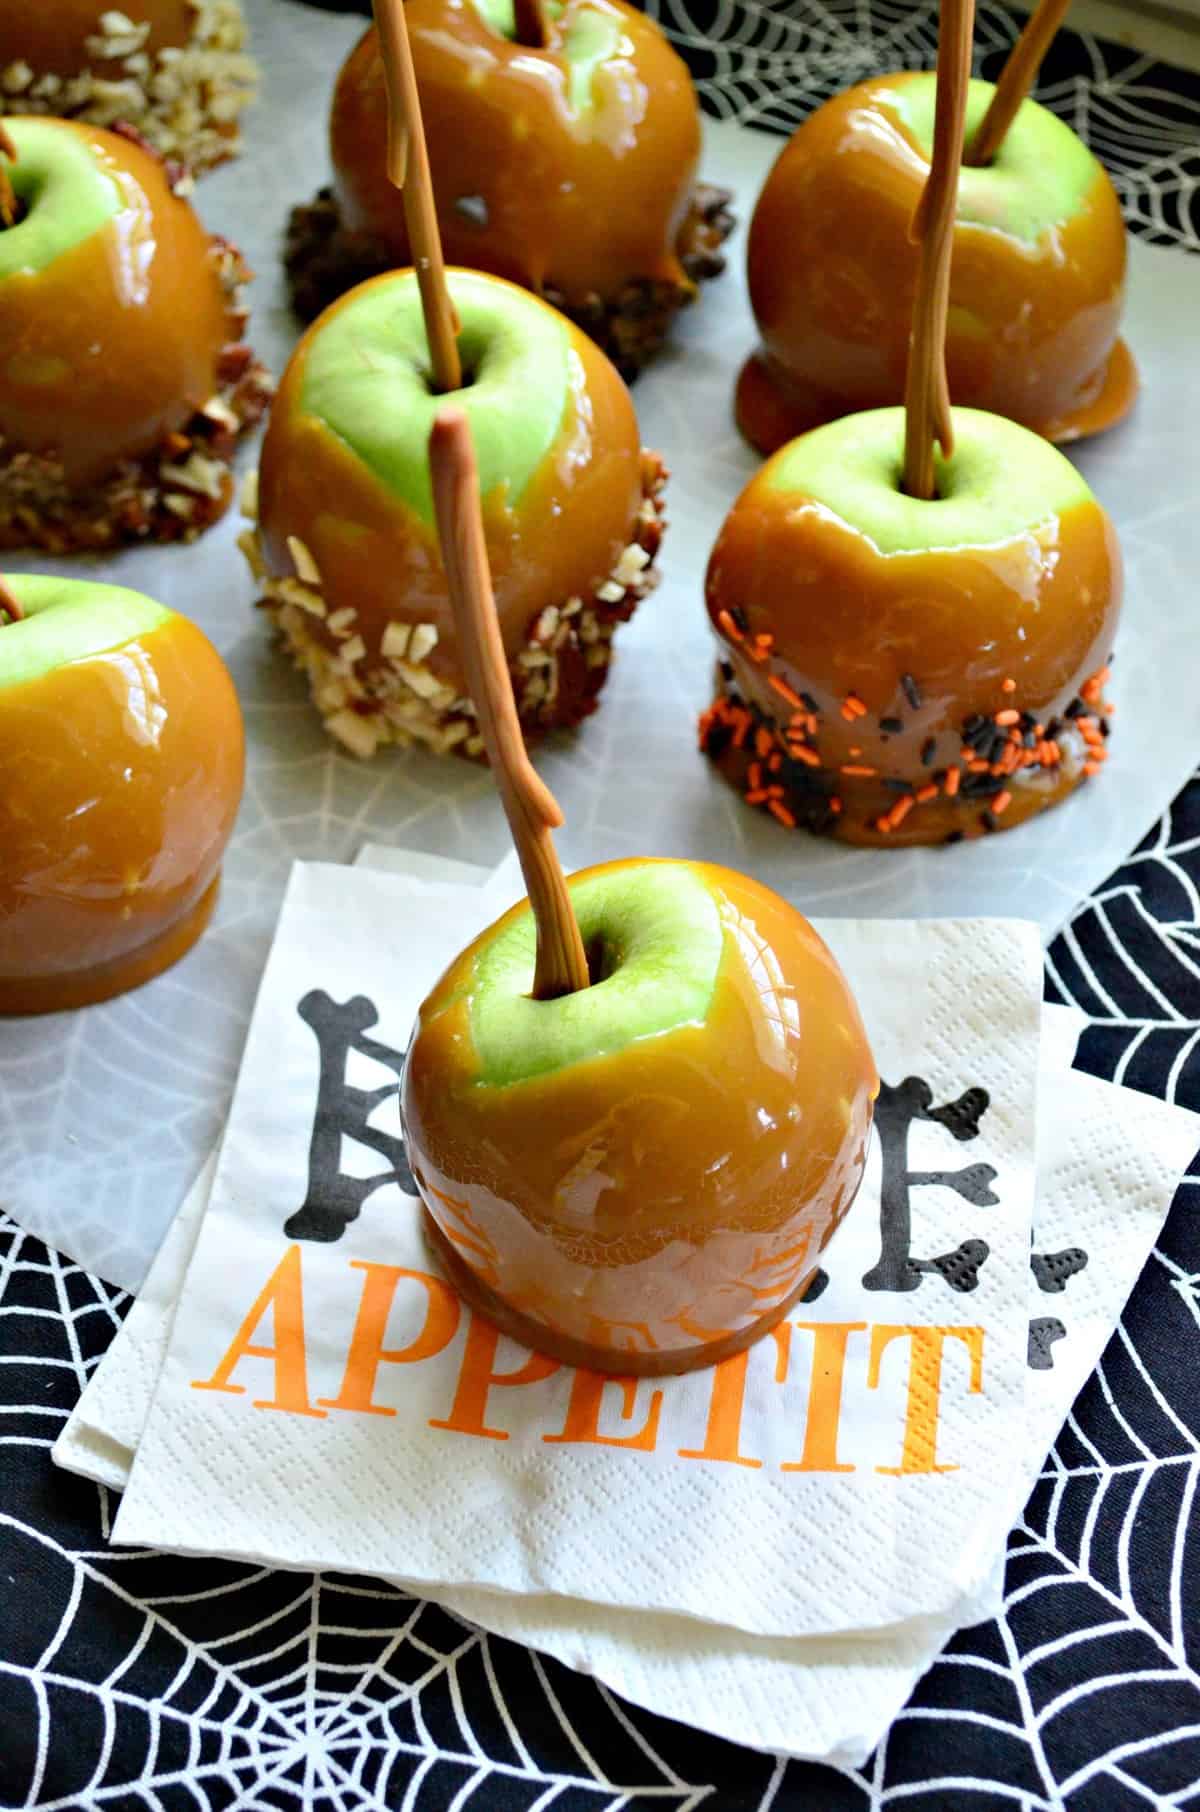
Easy Caramel Apple Recipe
-
Mediterranean Stuffed Celery Sticks
-
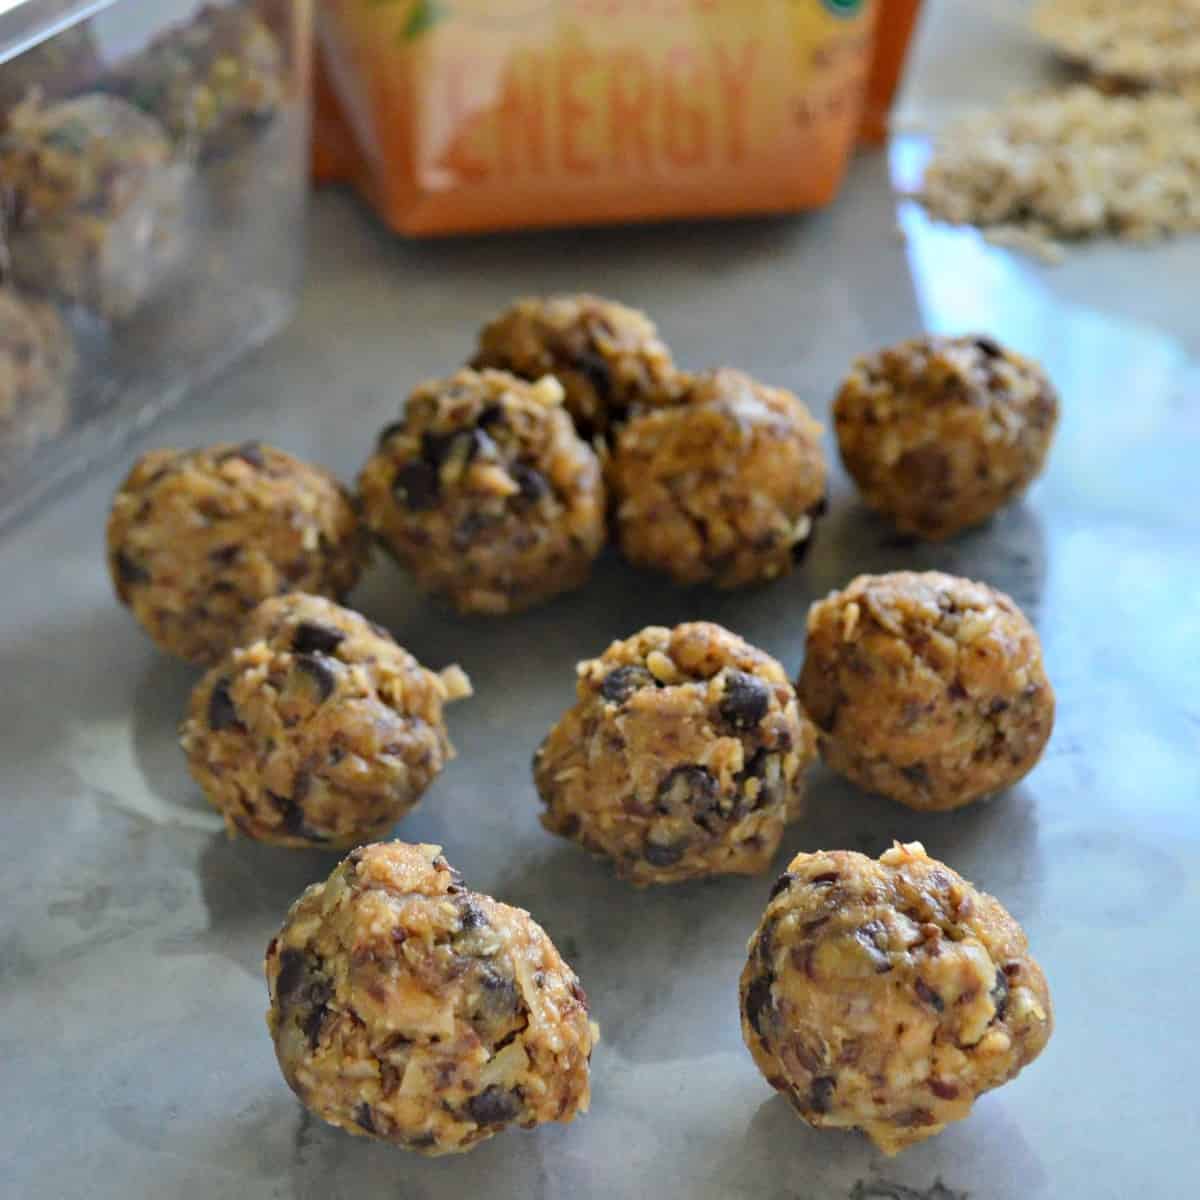
Peanut Butter Chocolate Chip Protein Balls
-
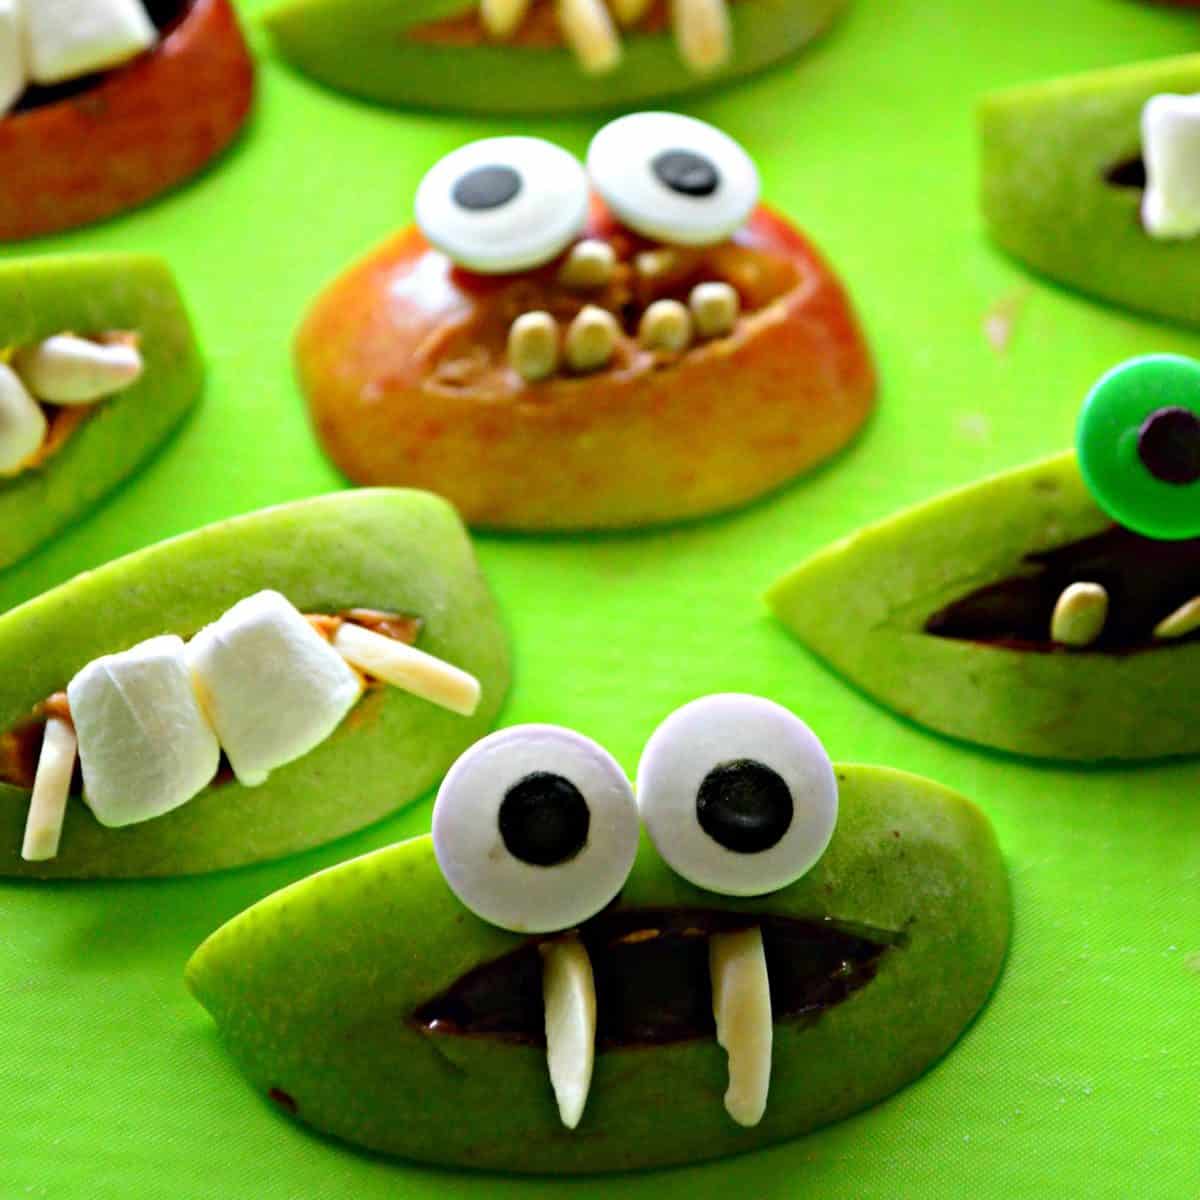
Monster Apple Slices
-
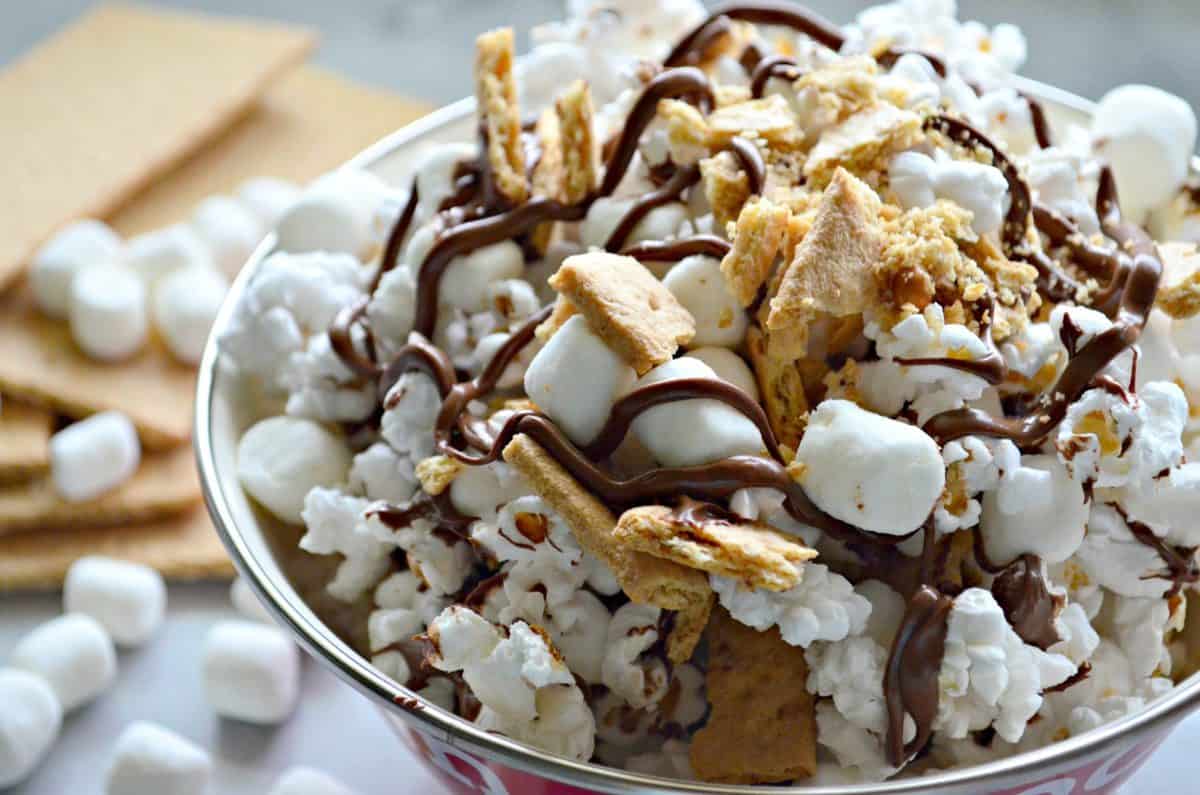
S’mores Popcorn
-
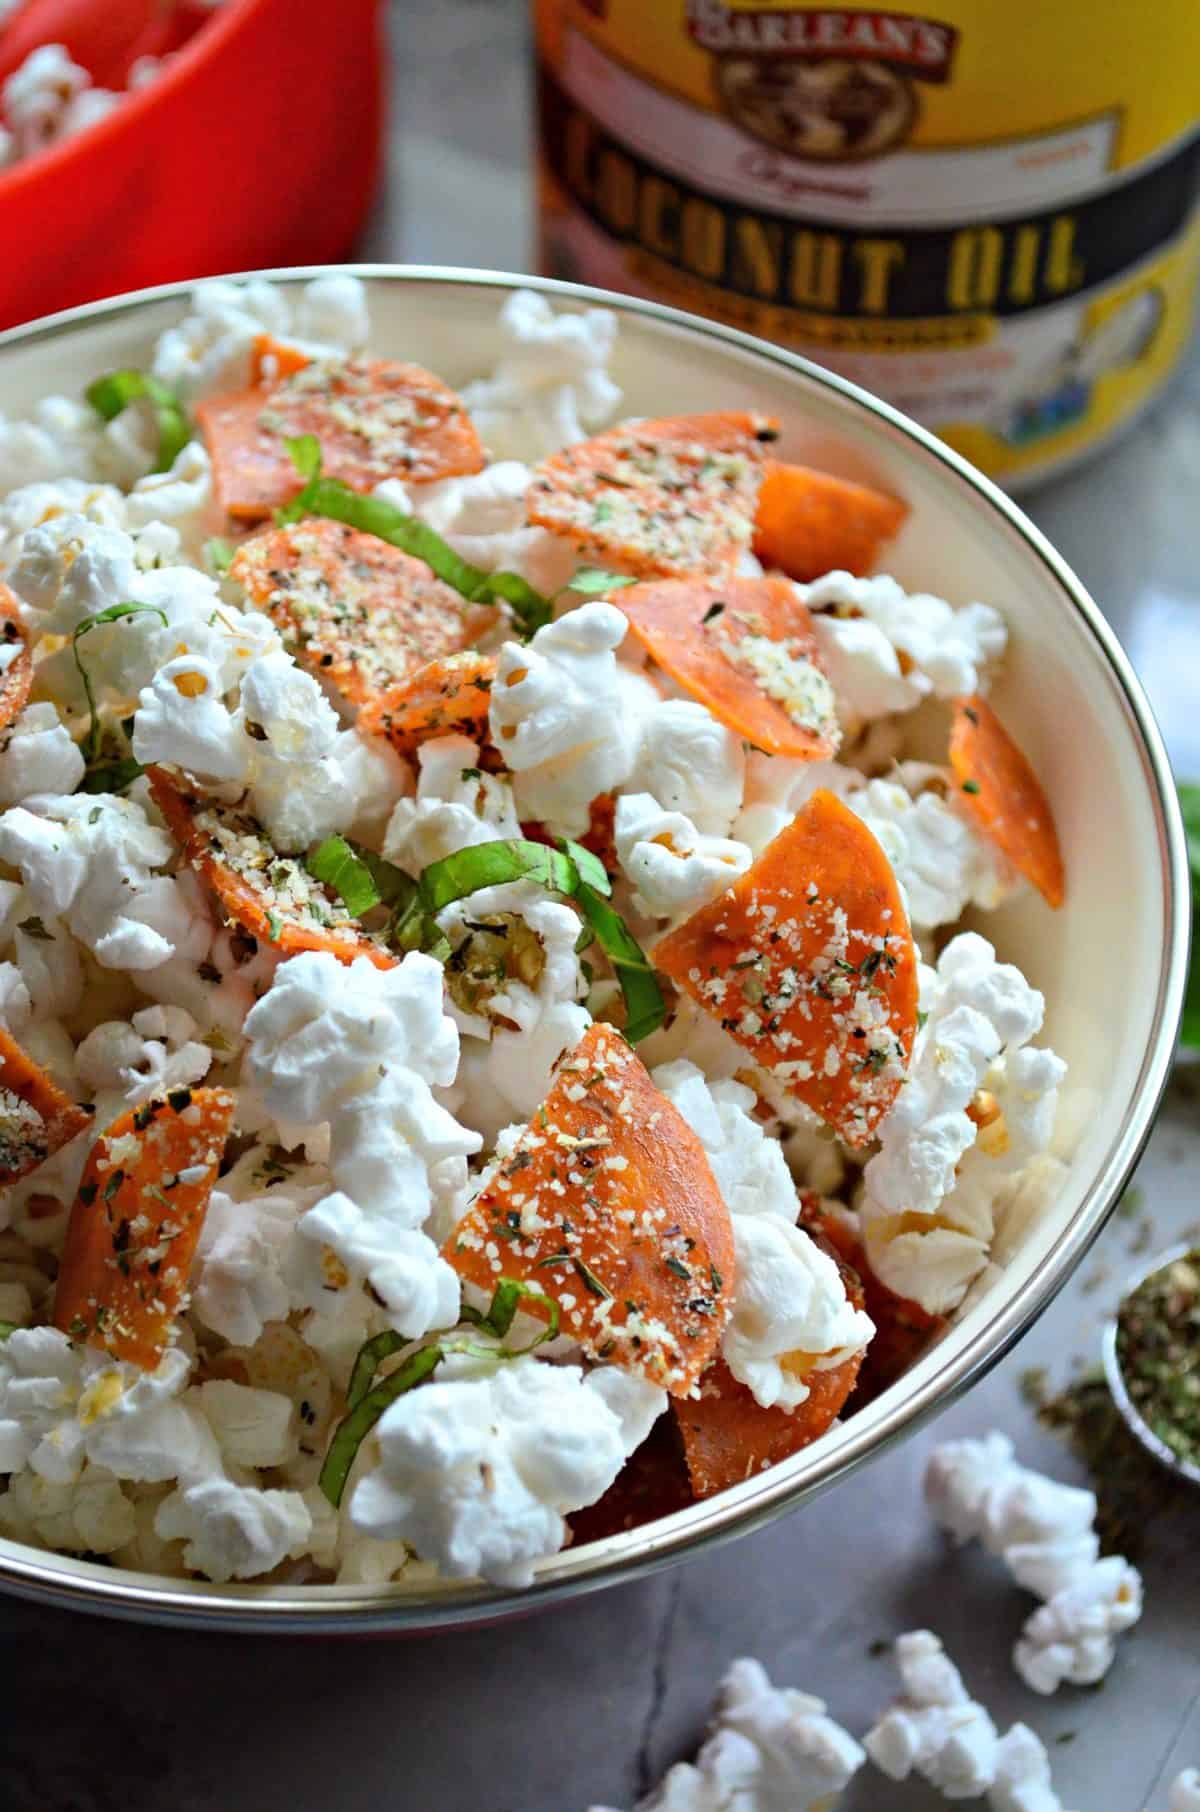
Pepperoni Pizza Popcorn
-
Brown Bag Microwave Popcorn
-
Bacon Popcorn