Baked Goods
-
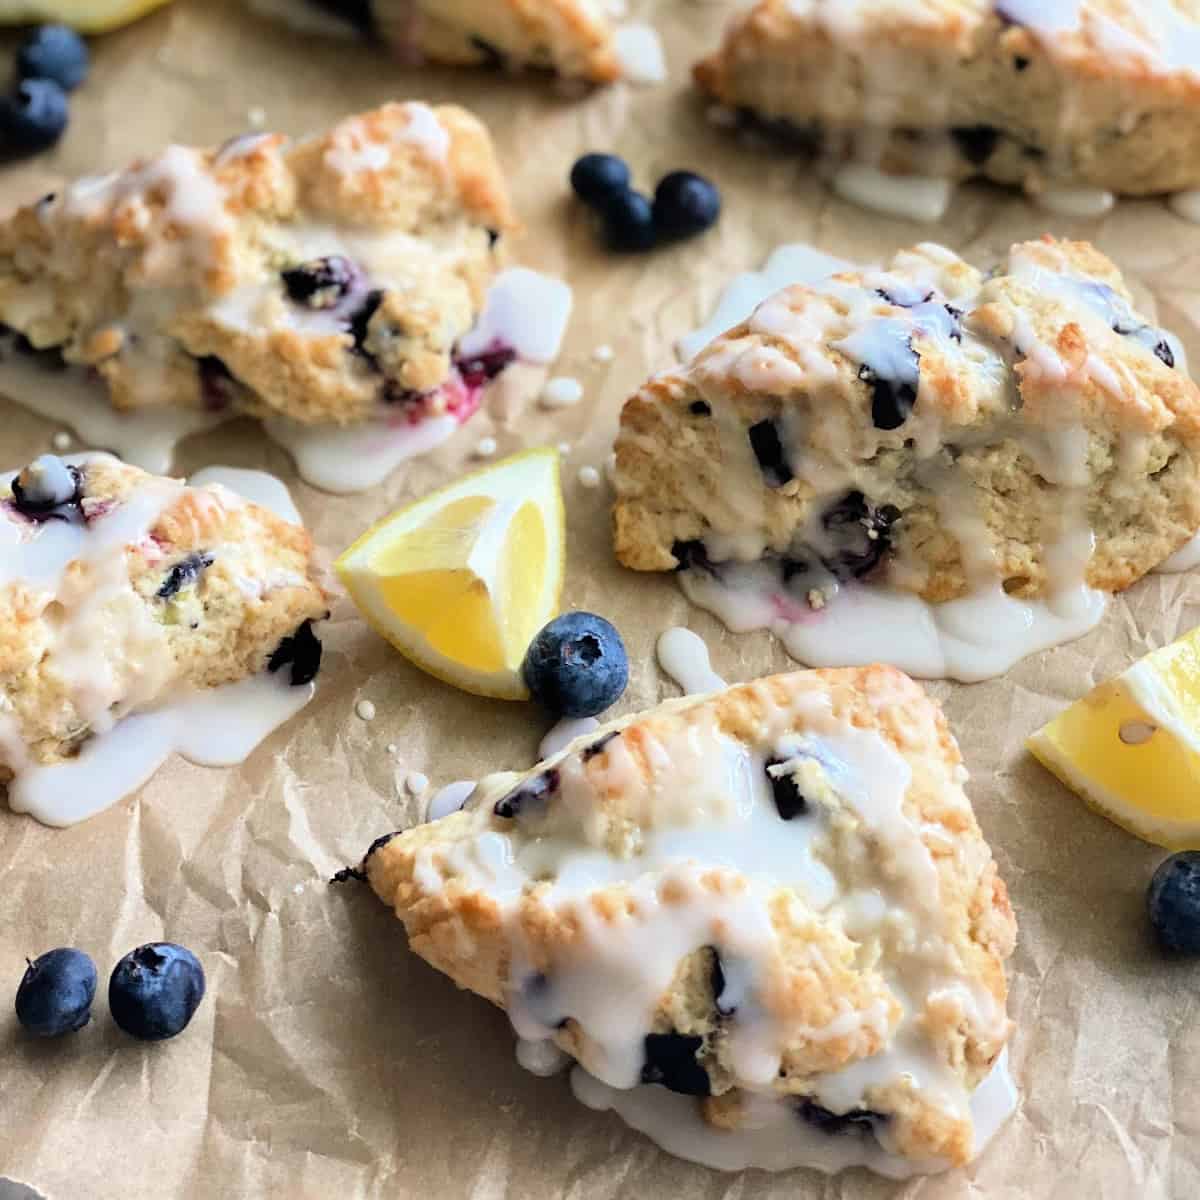
Blueberry Scones with Lemon Glaze
-
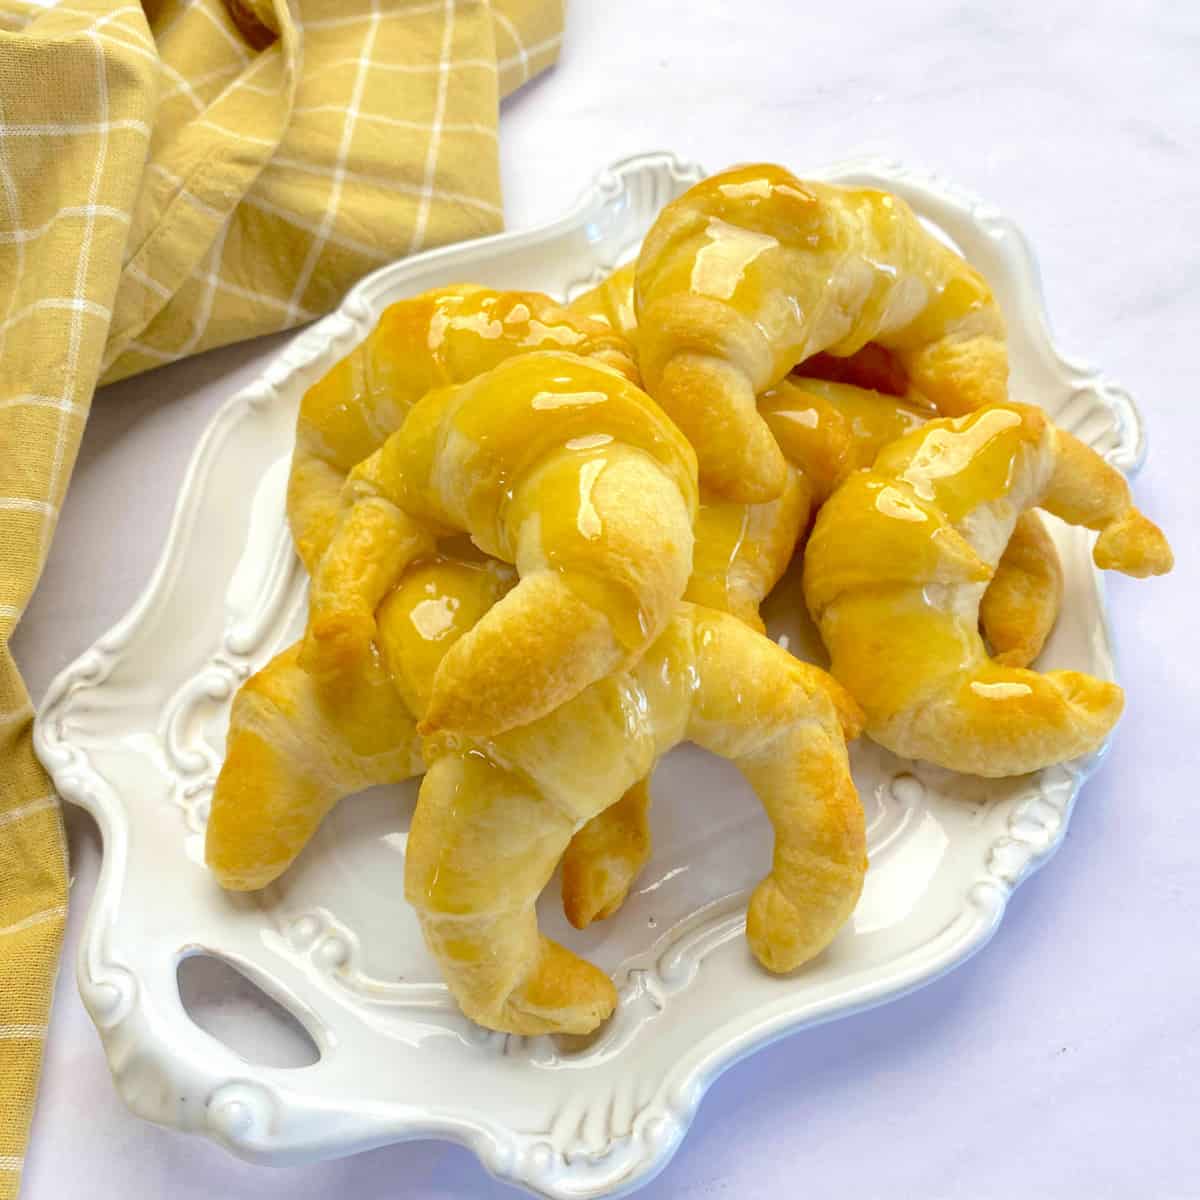
Honey Butter Crescent Rolls
-
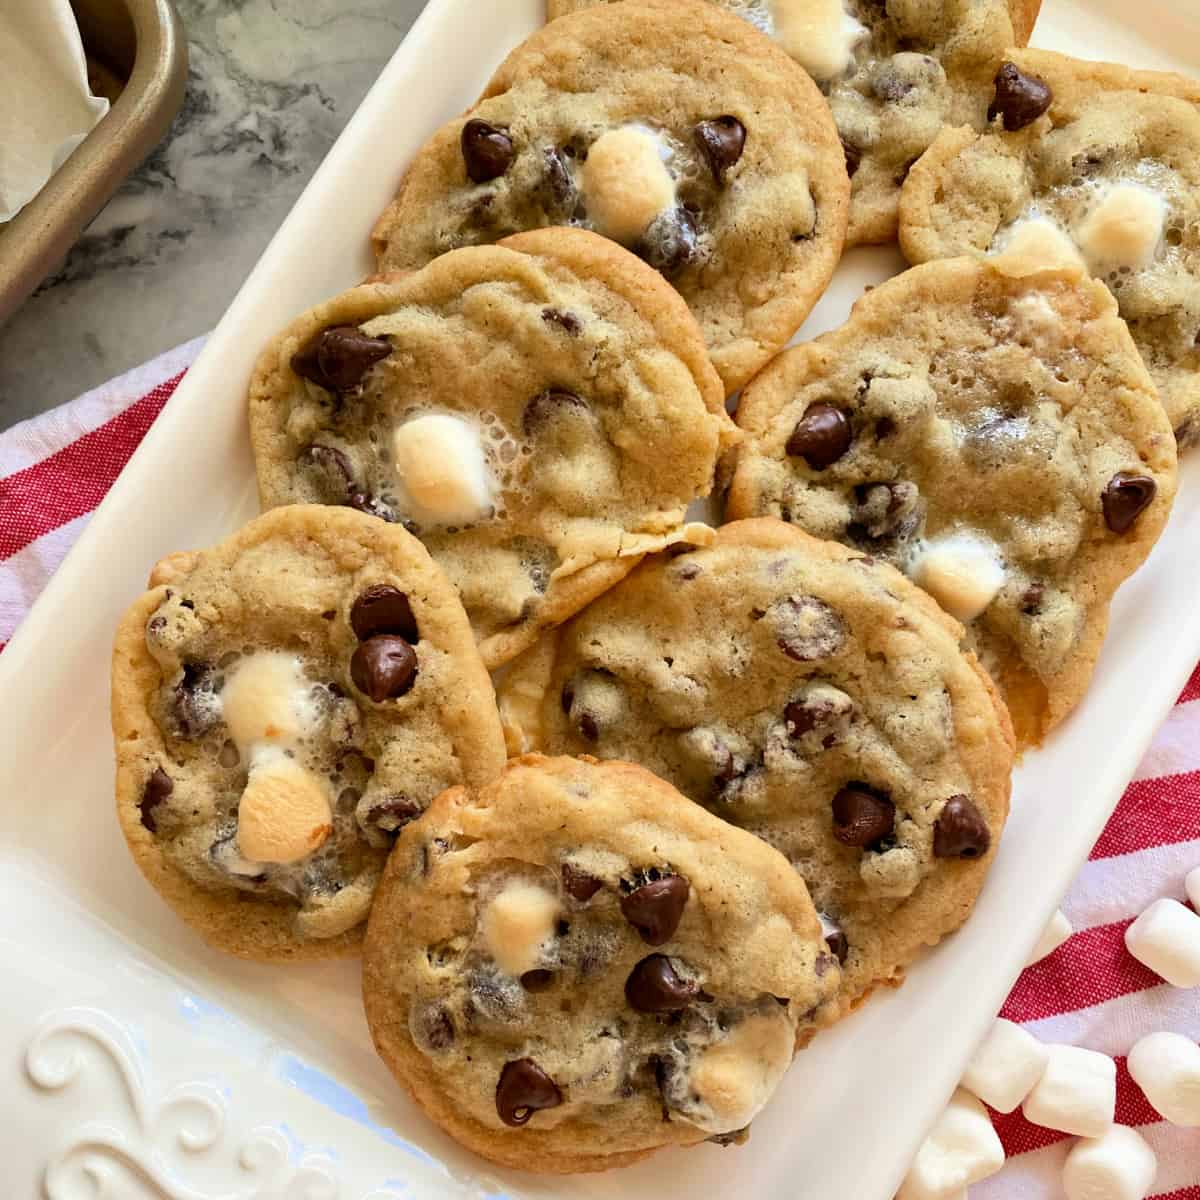
Chocolate Chip Marshmallow Cookies
-
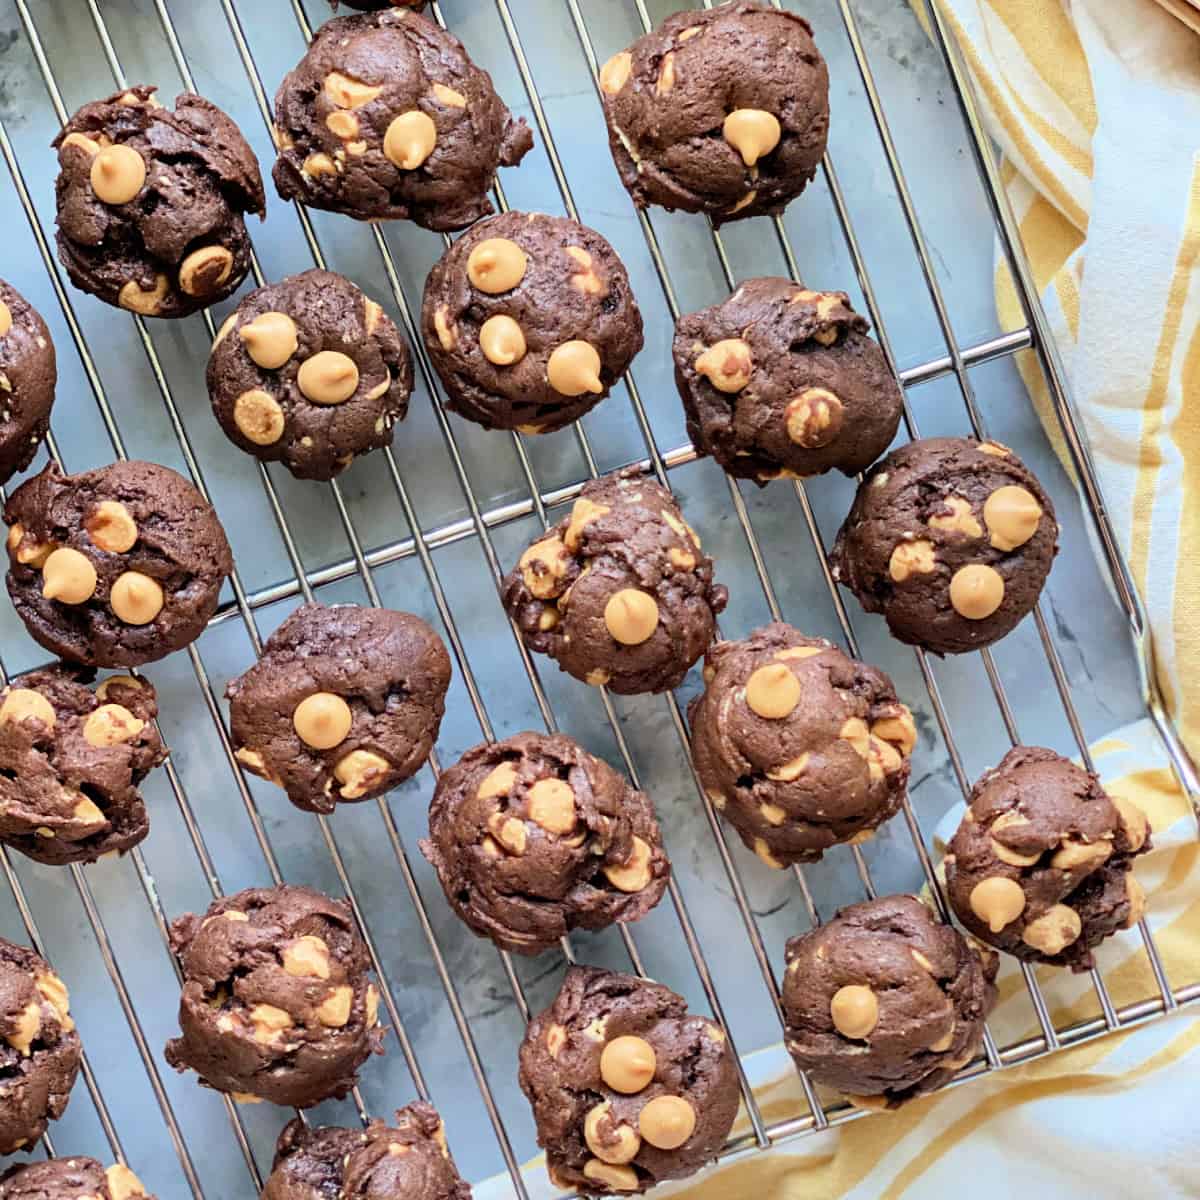
Chocolate Peanut Butter Chip Cookies
-
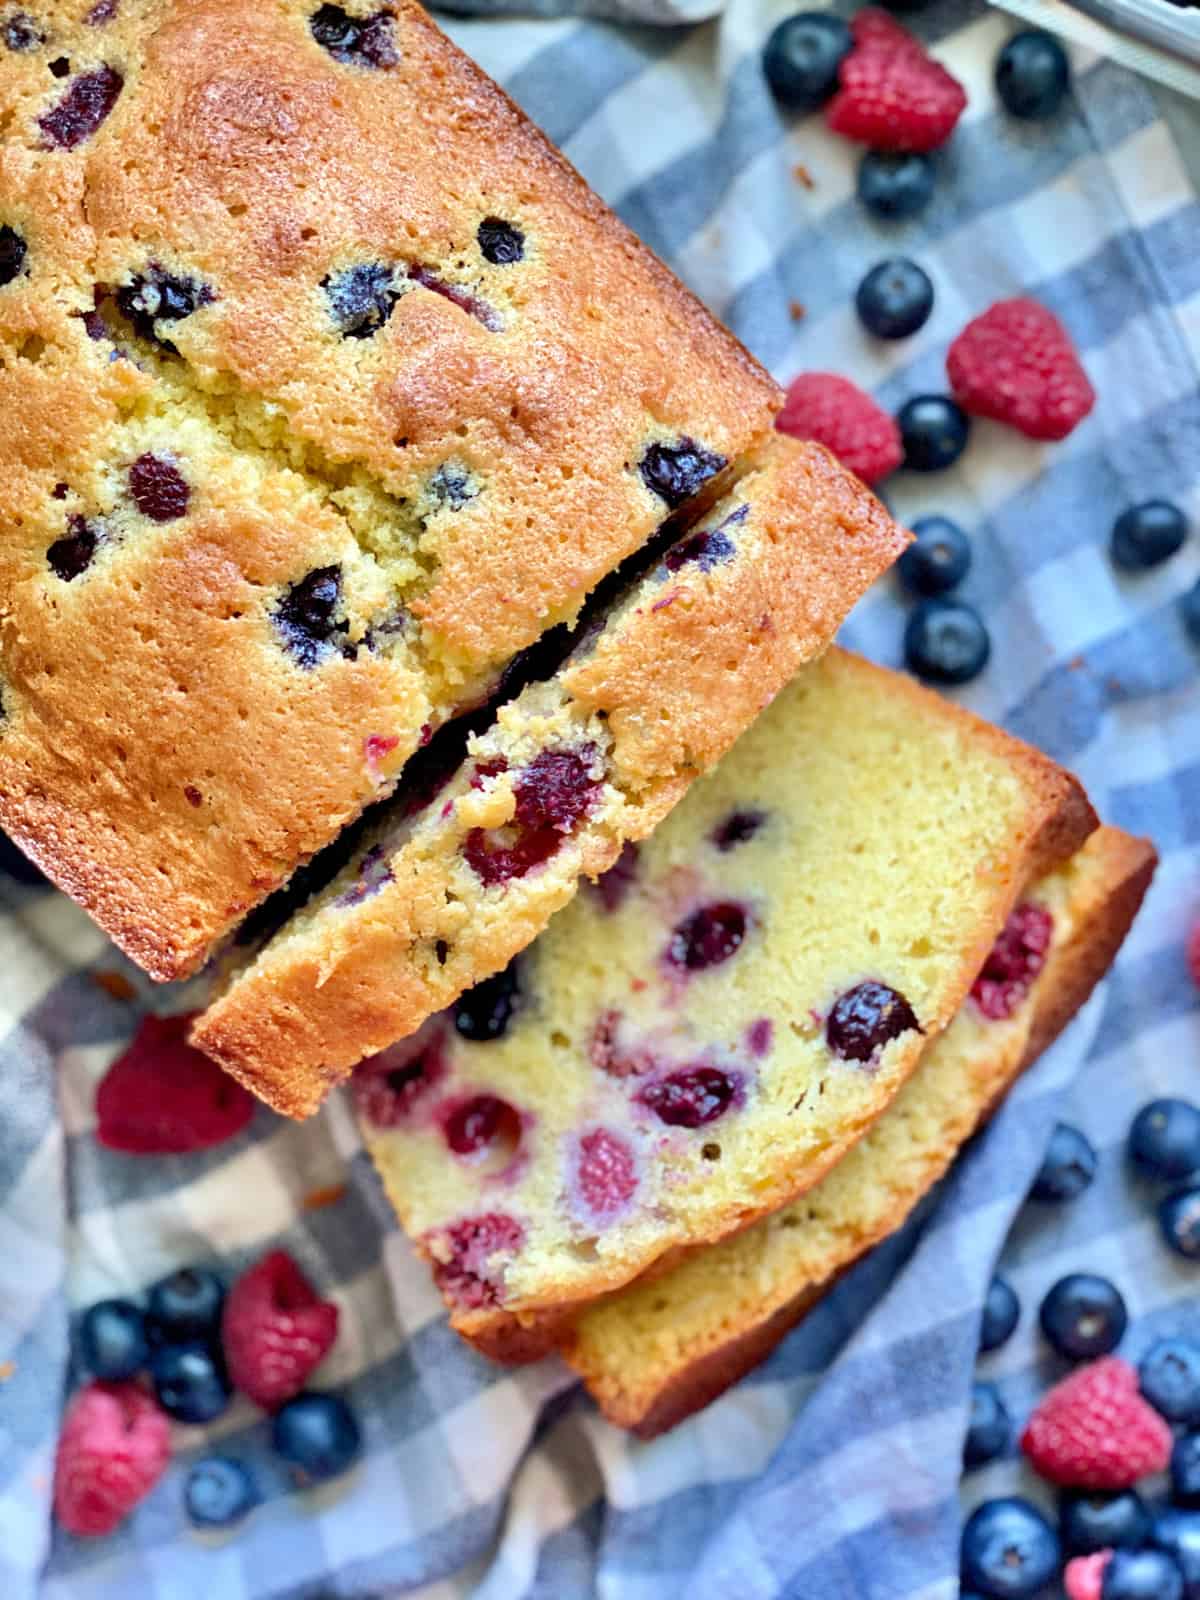
Berry Cornmeal Pound Cake
-
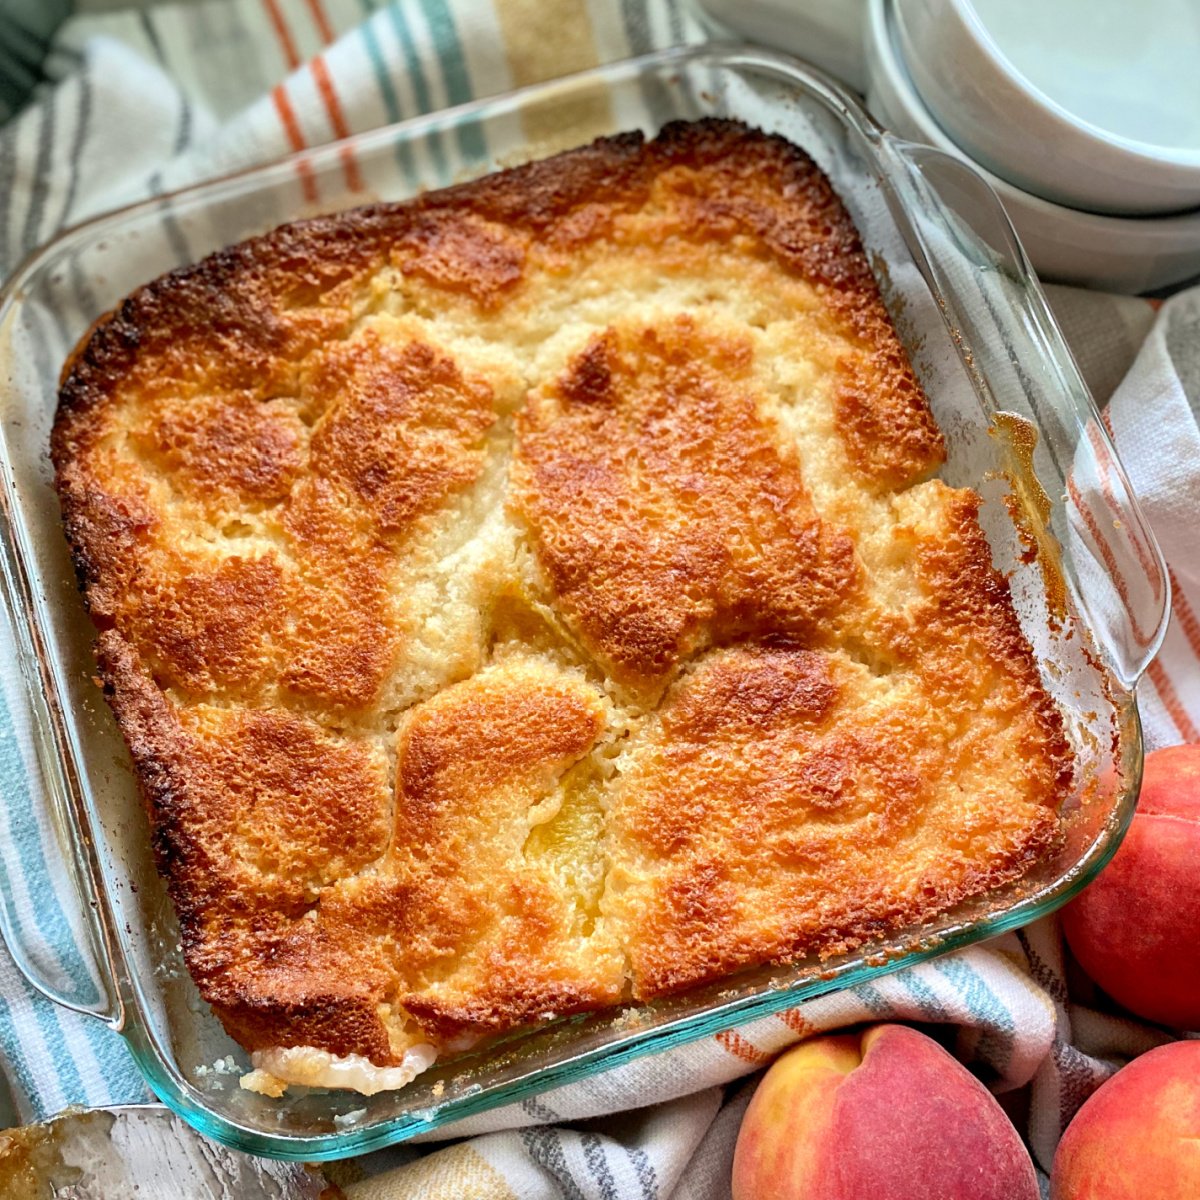
Old Fashioned Peach Cobbler
-
Red Velvet Cake Mix Cookies
-
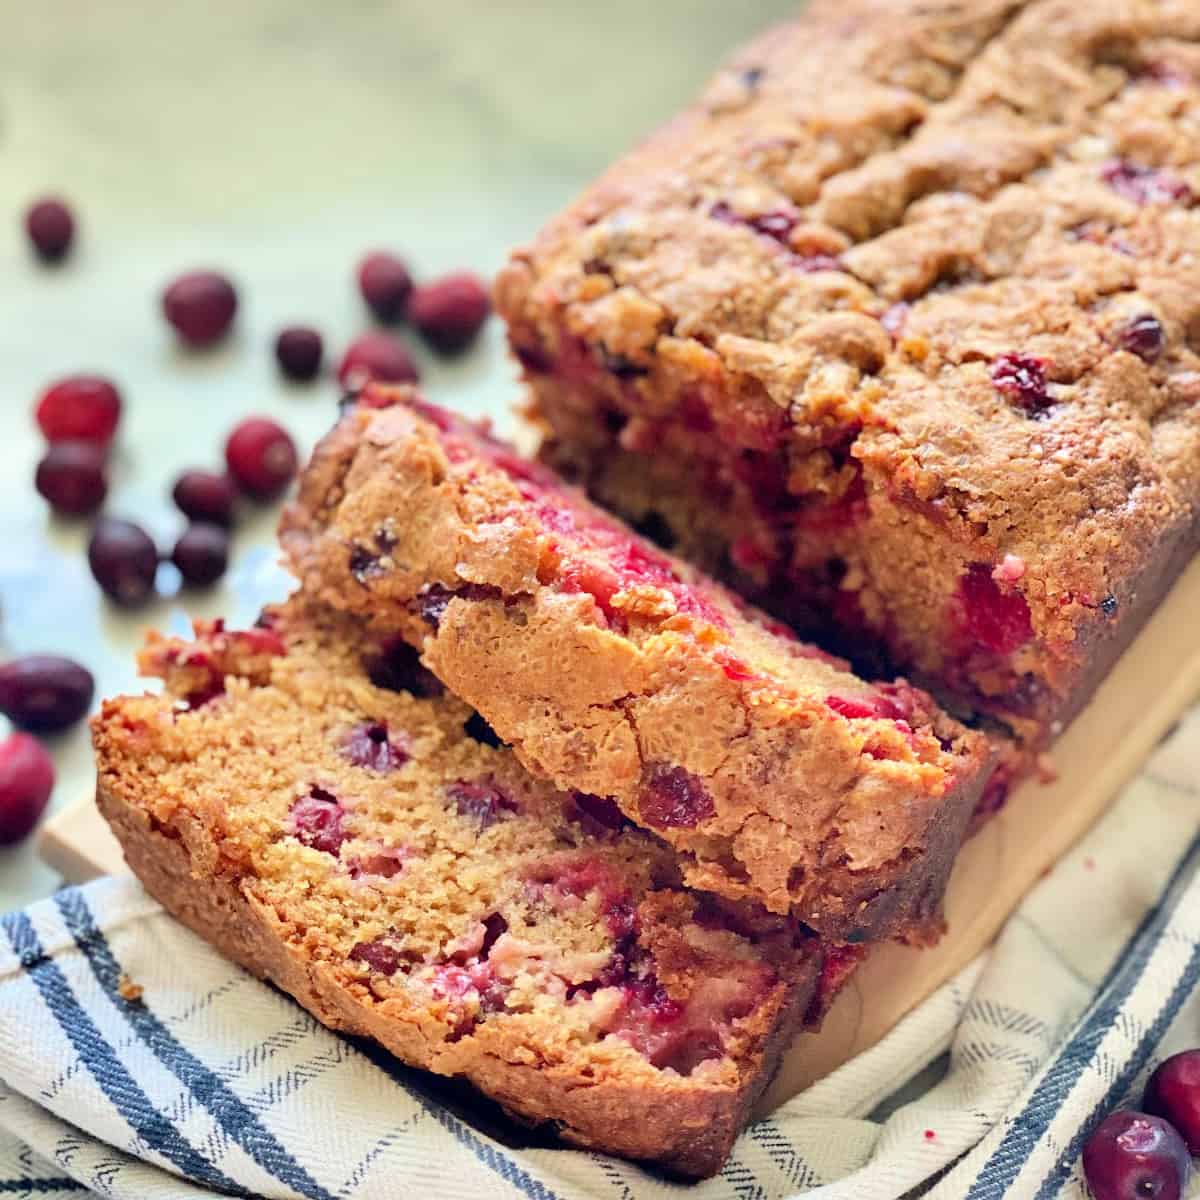
Cranberry Bread
-
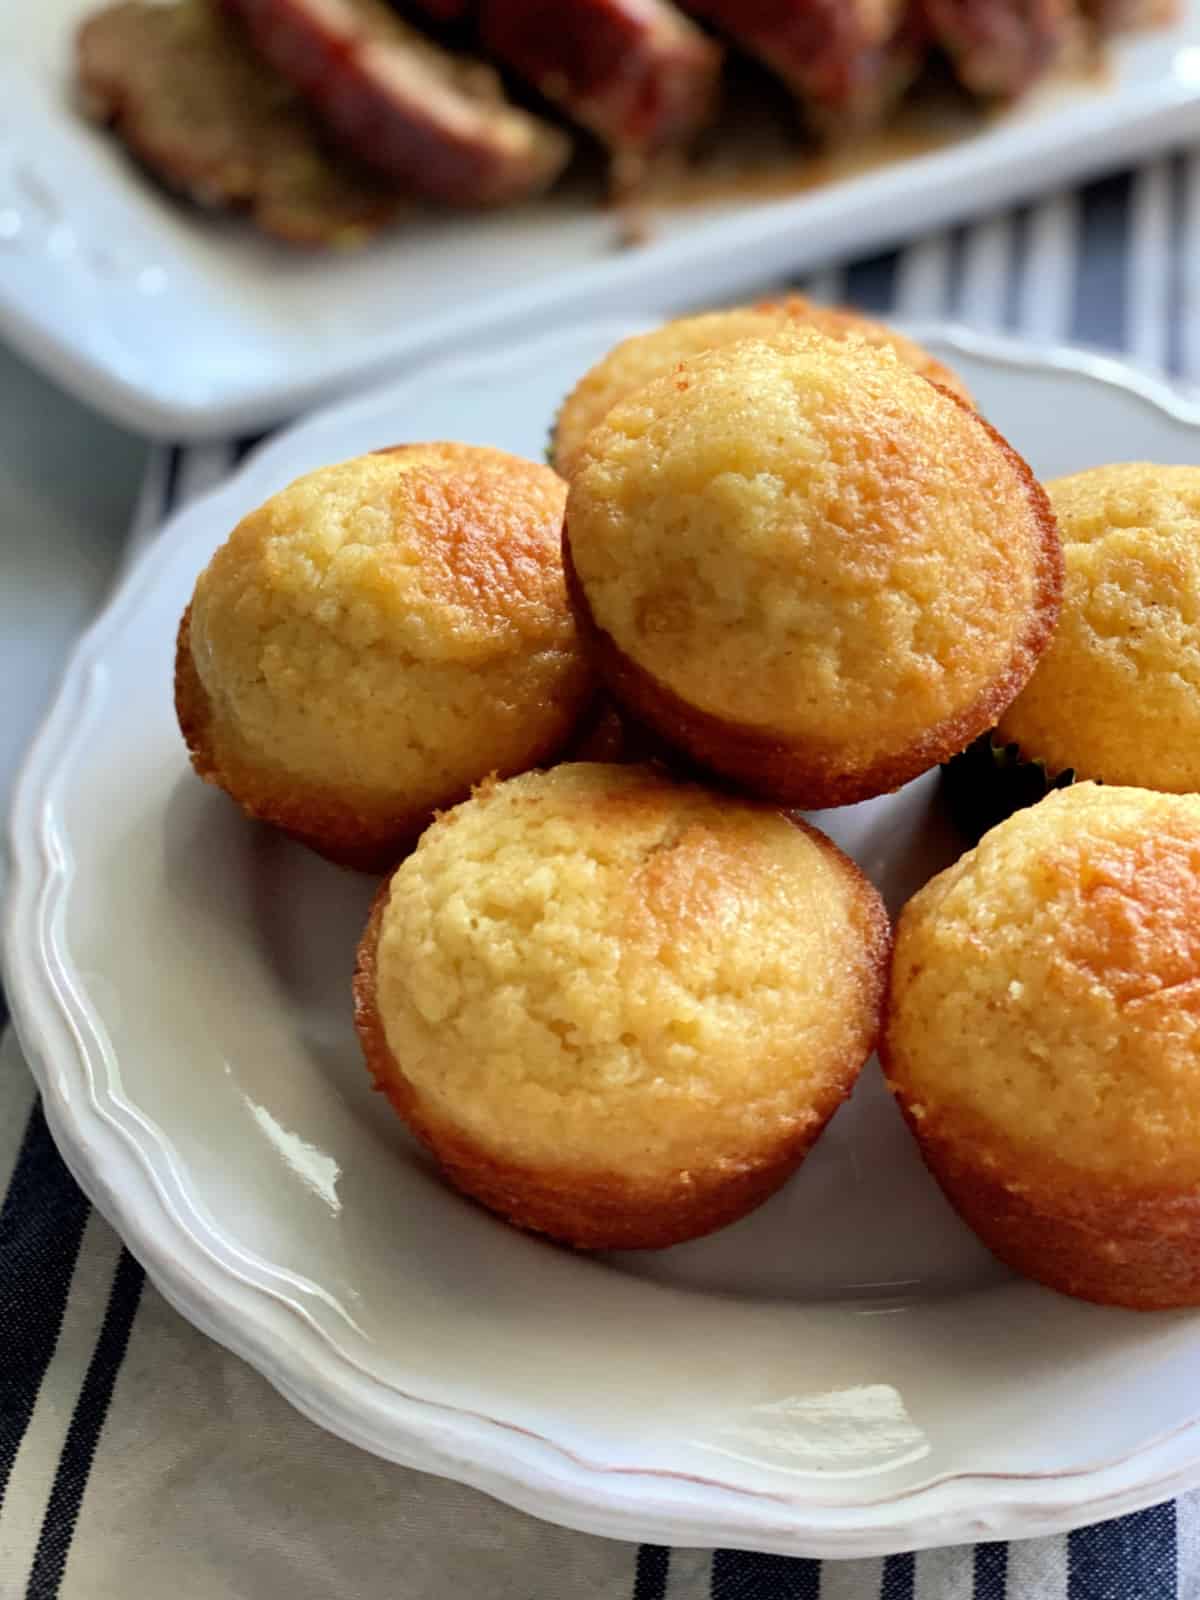
Honey Cornbread Muffins
-
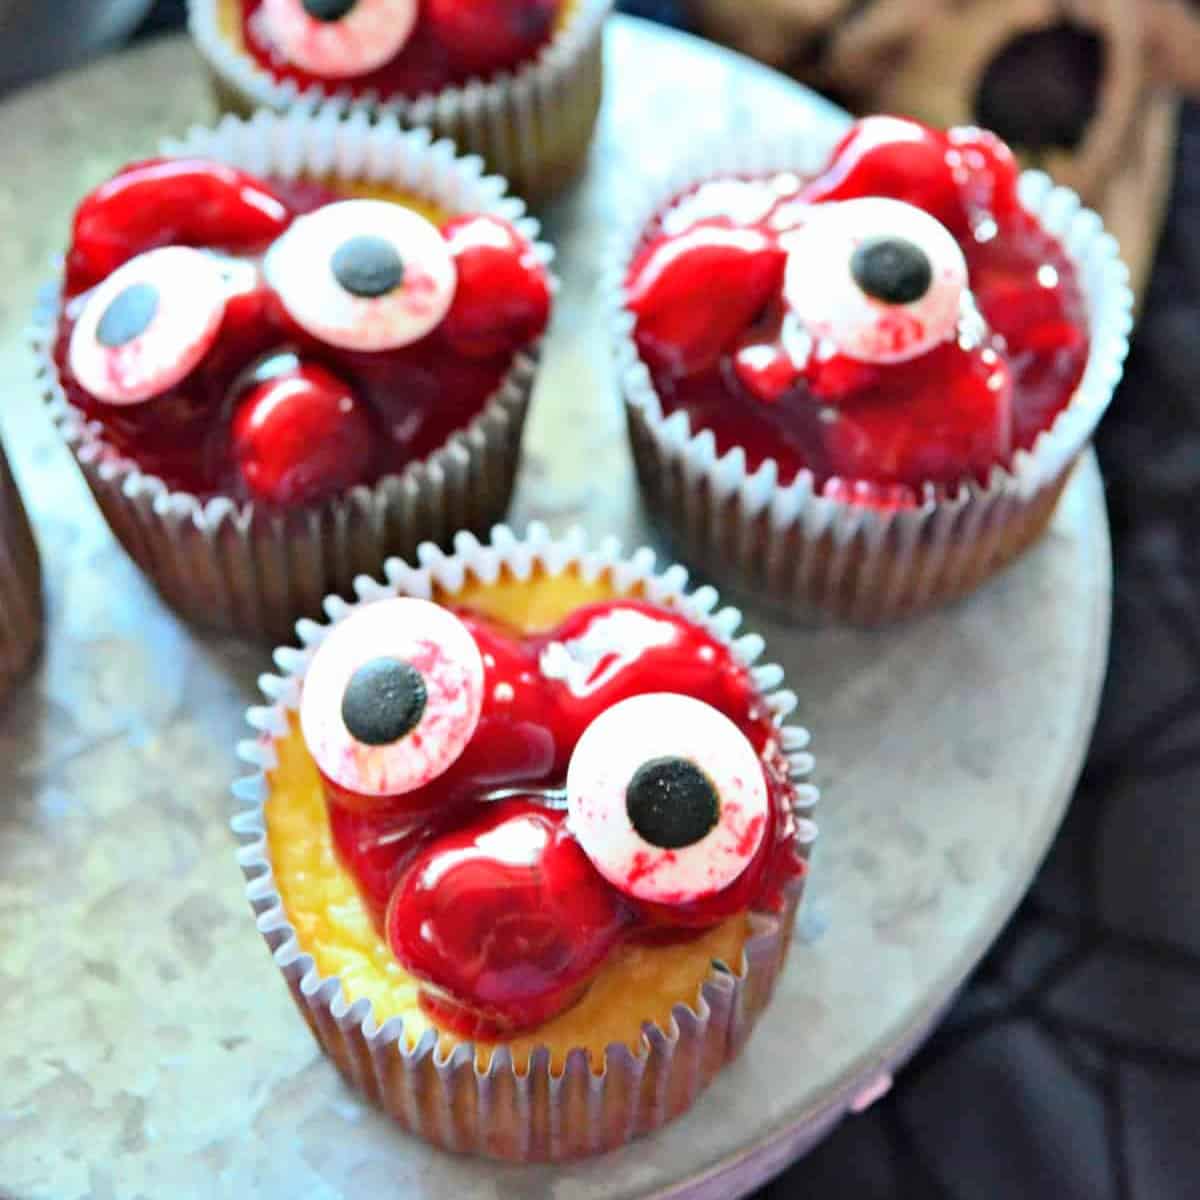
Bloody Eyeball Cherry Cheesecake Cupcakes
-
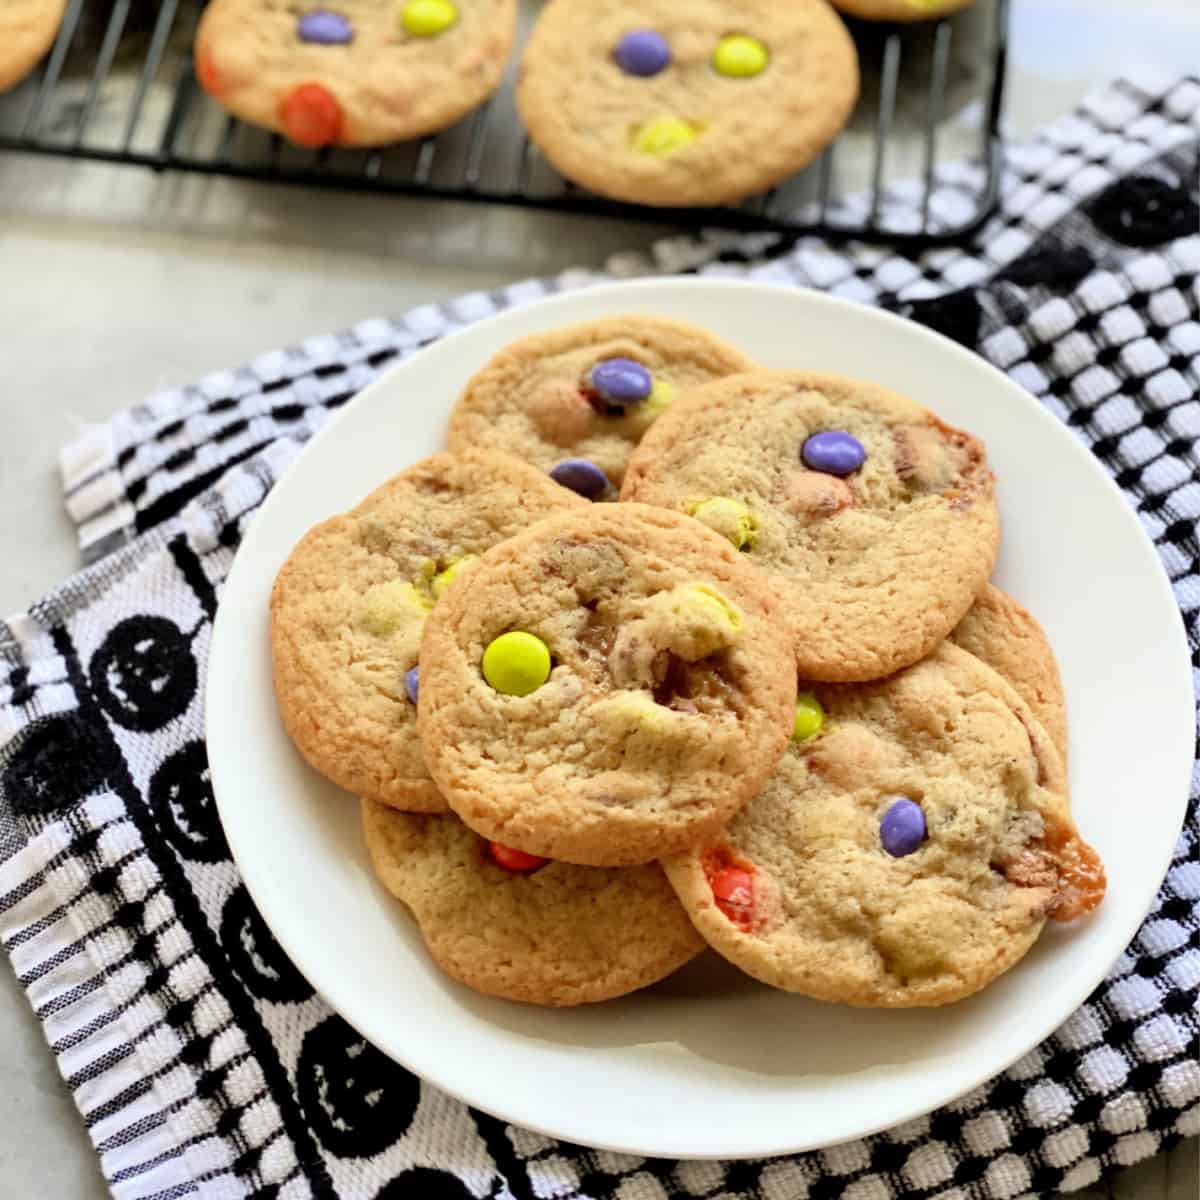
Candy Cookies
-
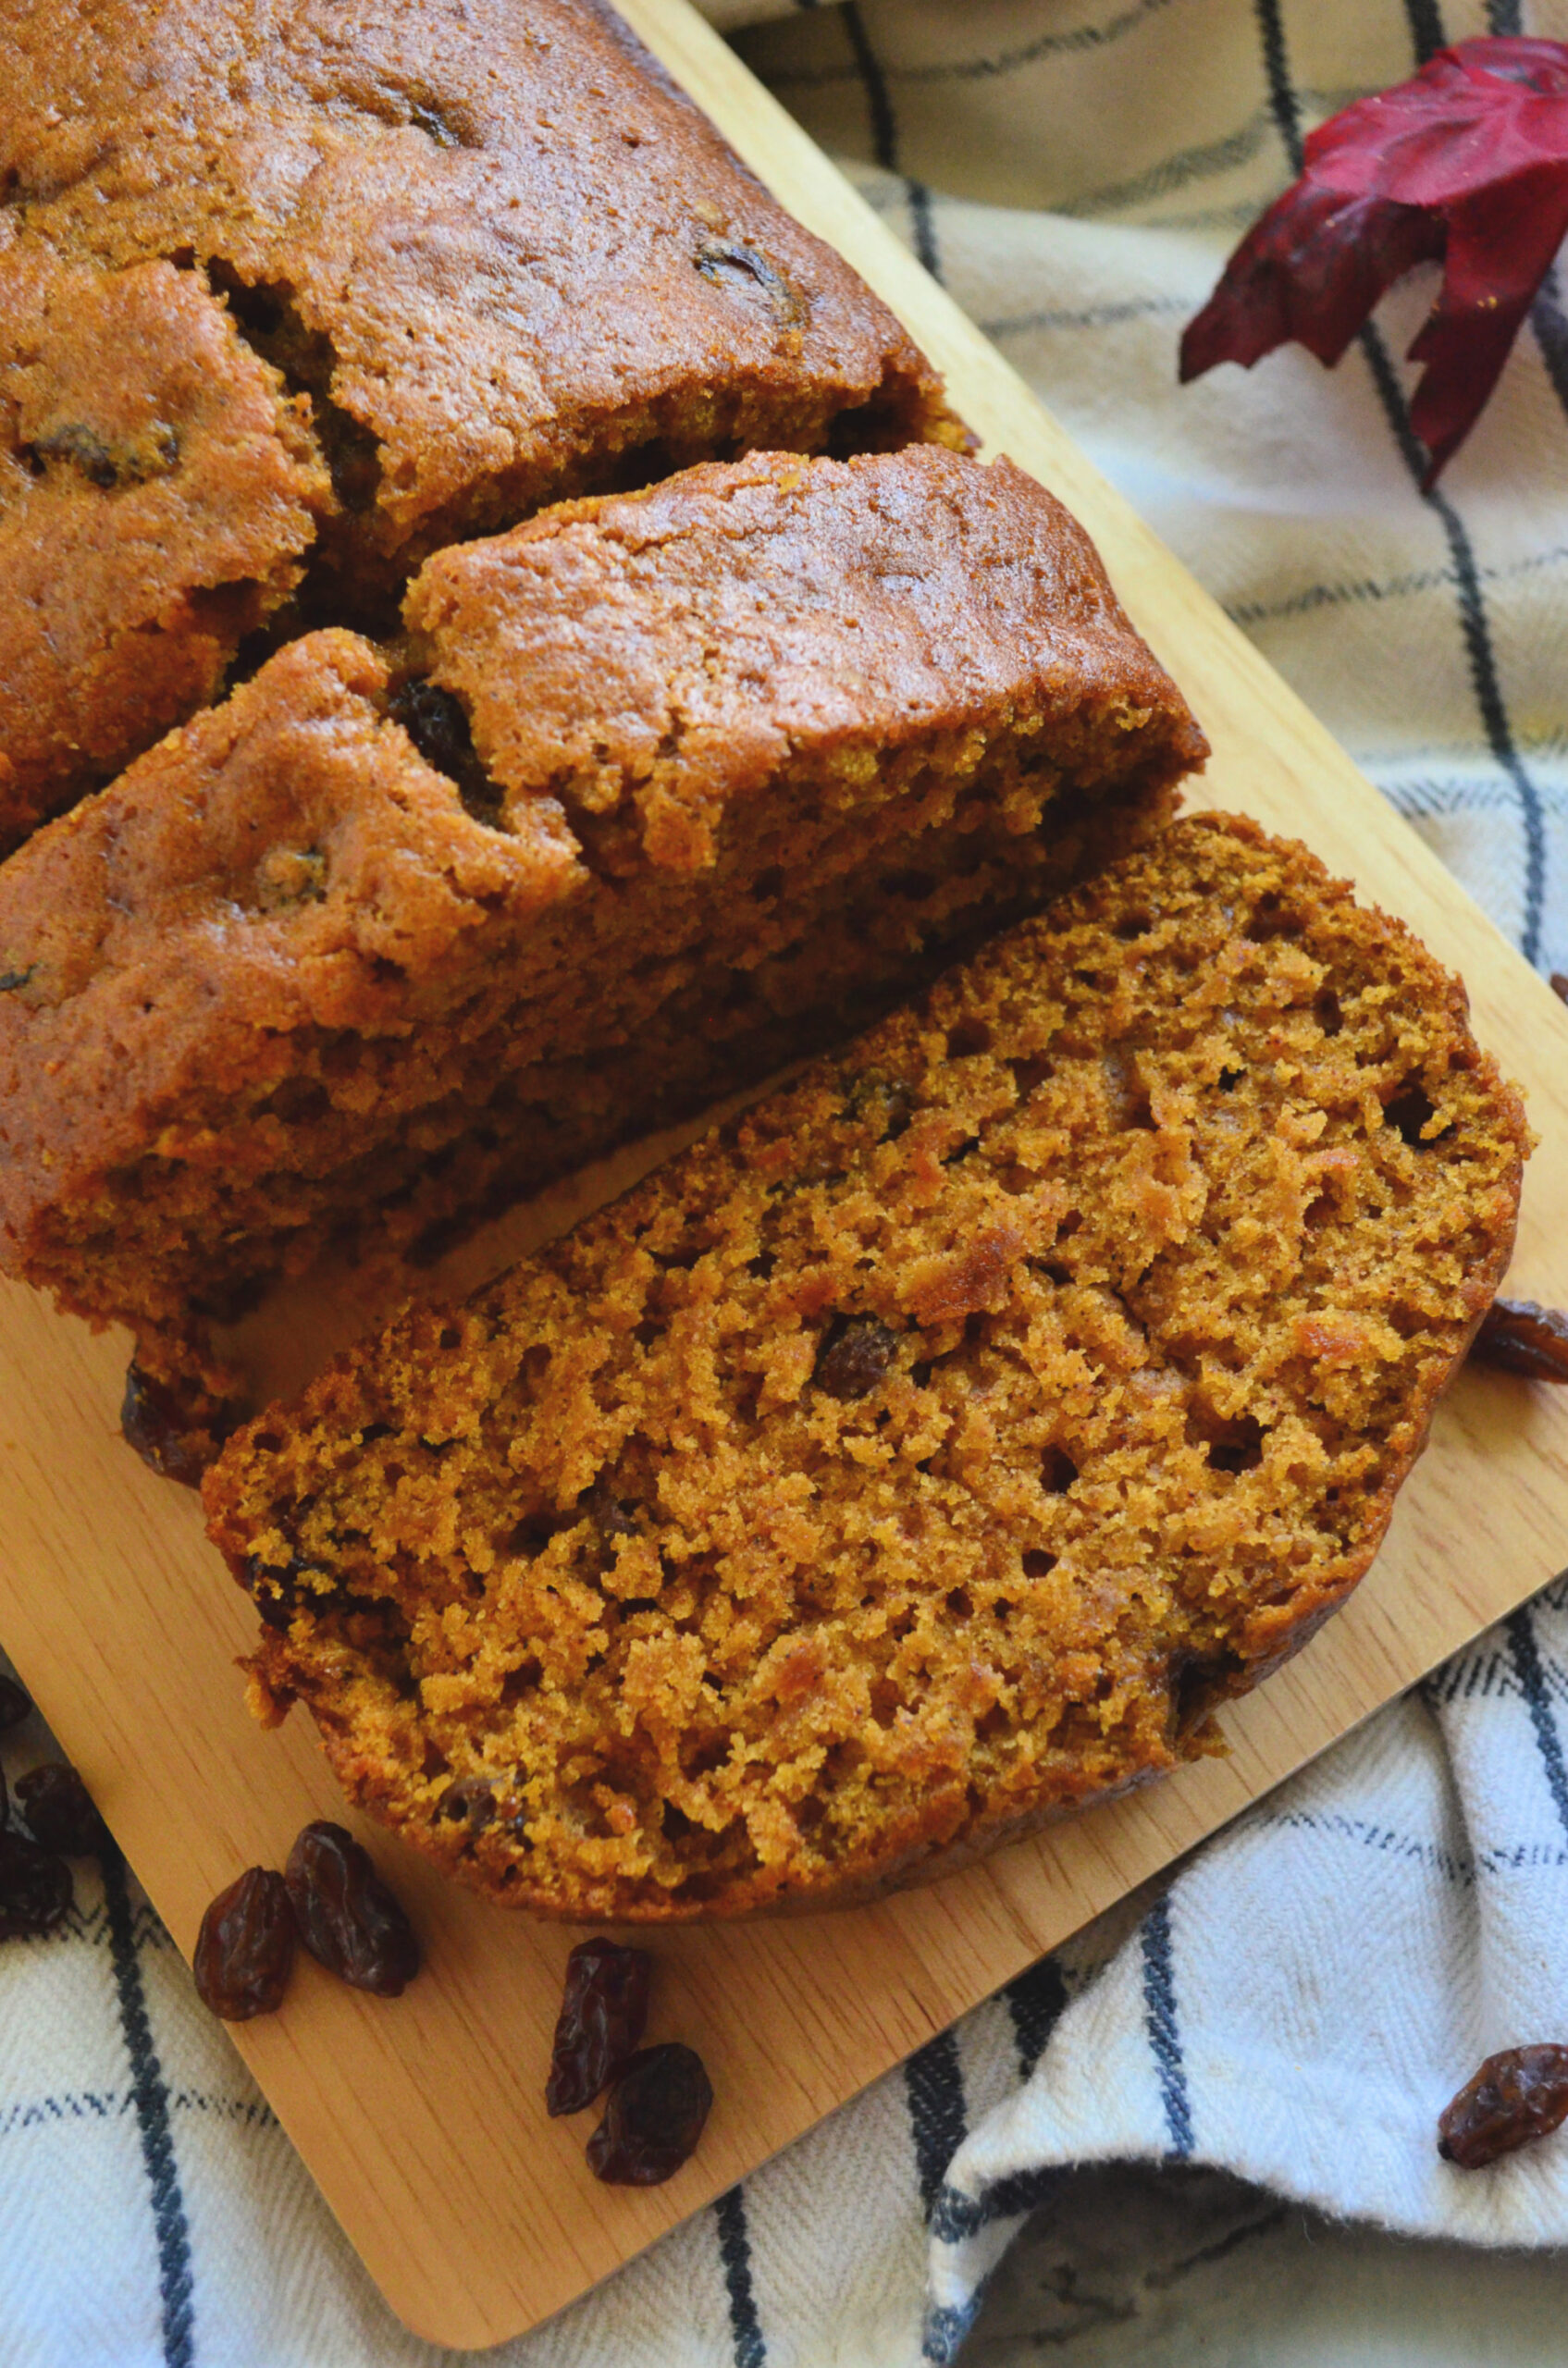
Easy Pumpkin Bread
-
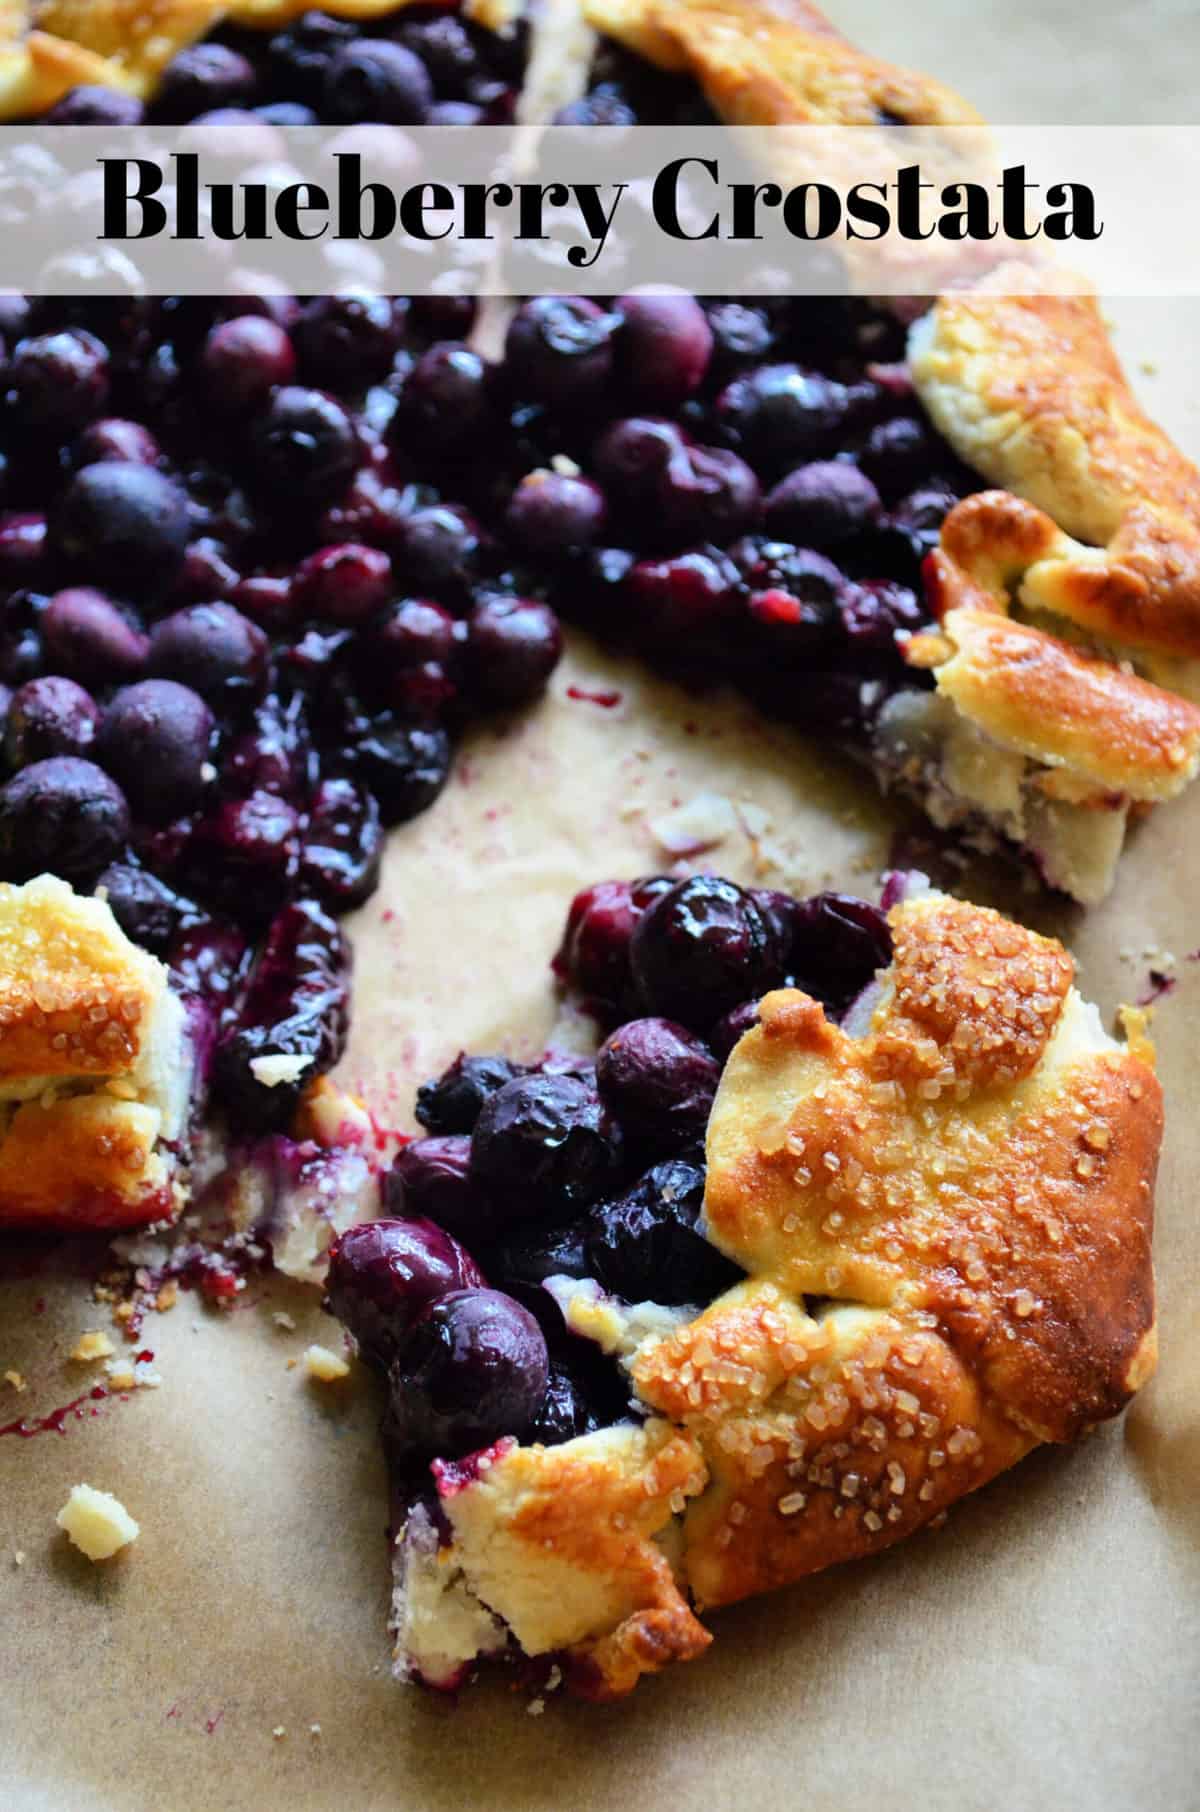
Blueberry Crostata
-
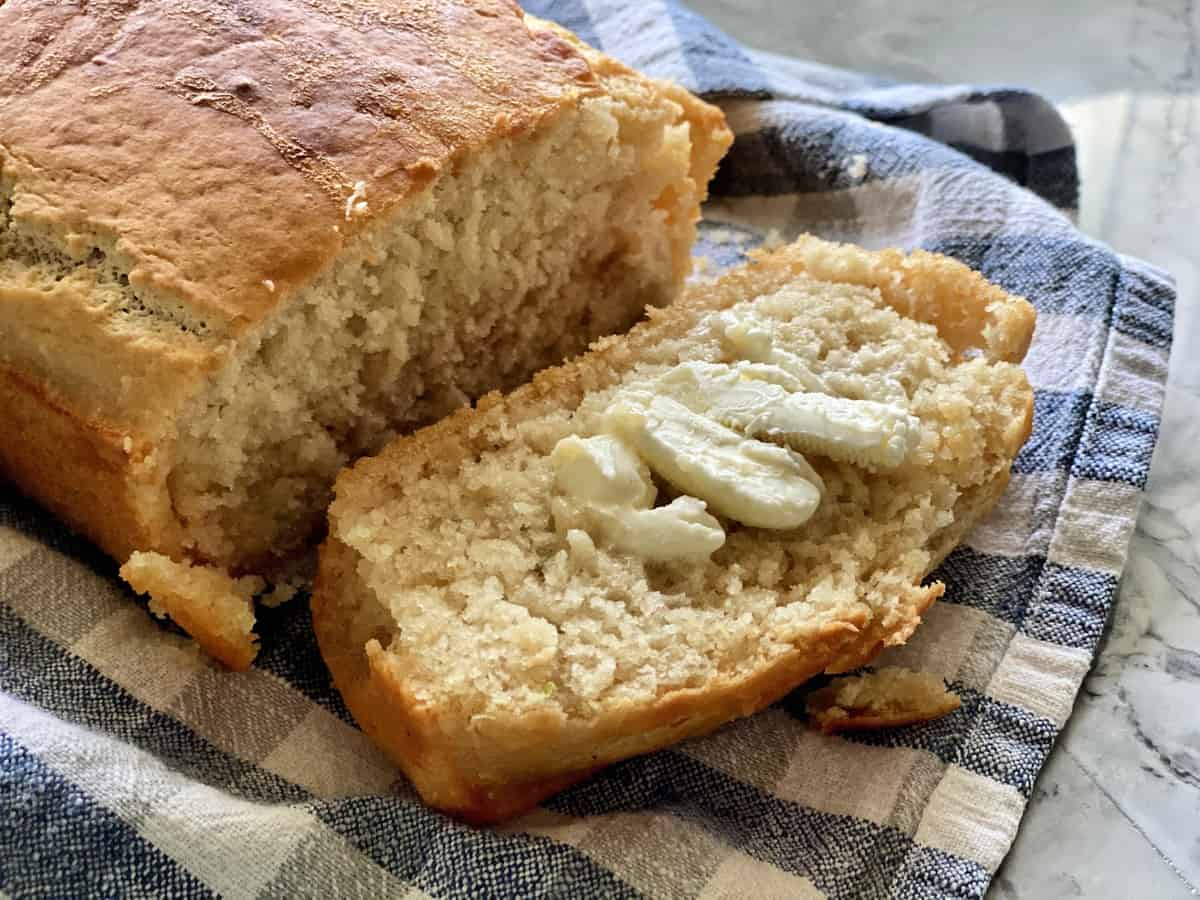
Beer Bread
-
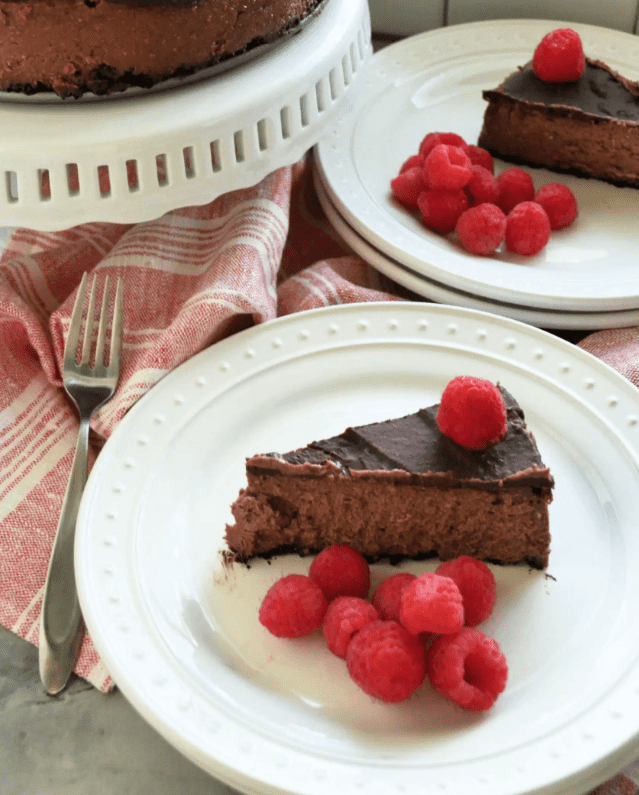
Dark Chocolate Cheesecake
-
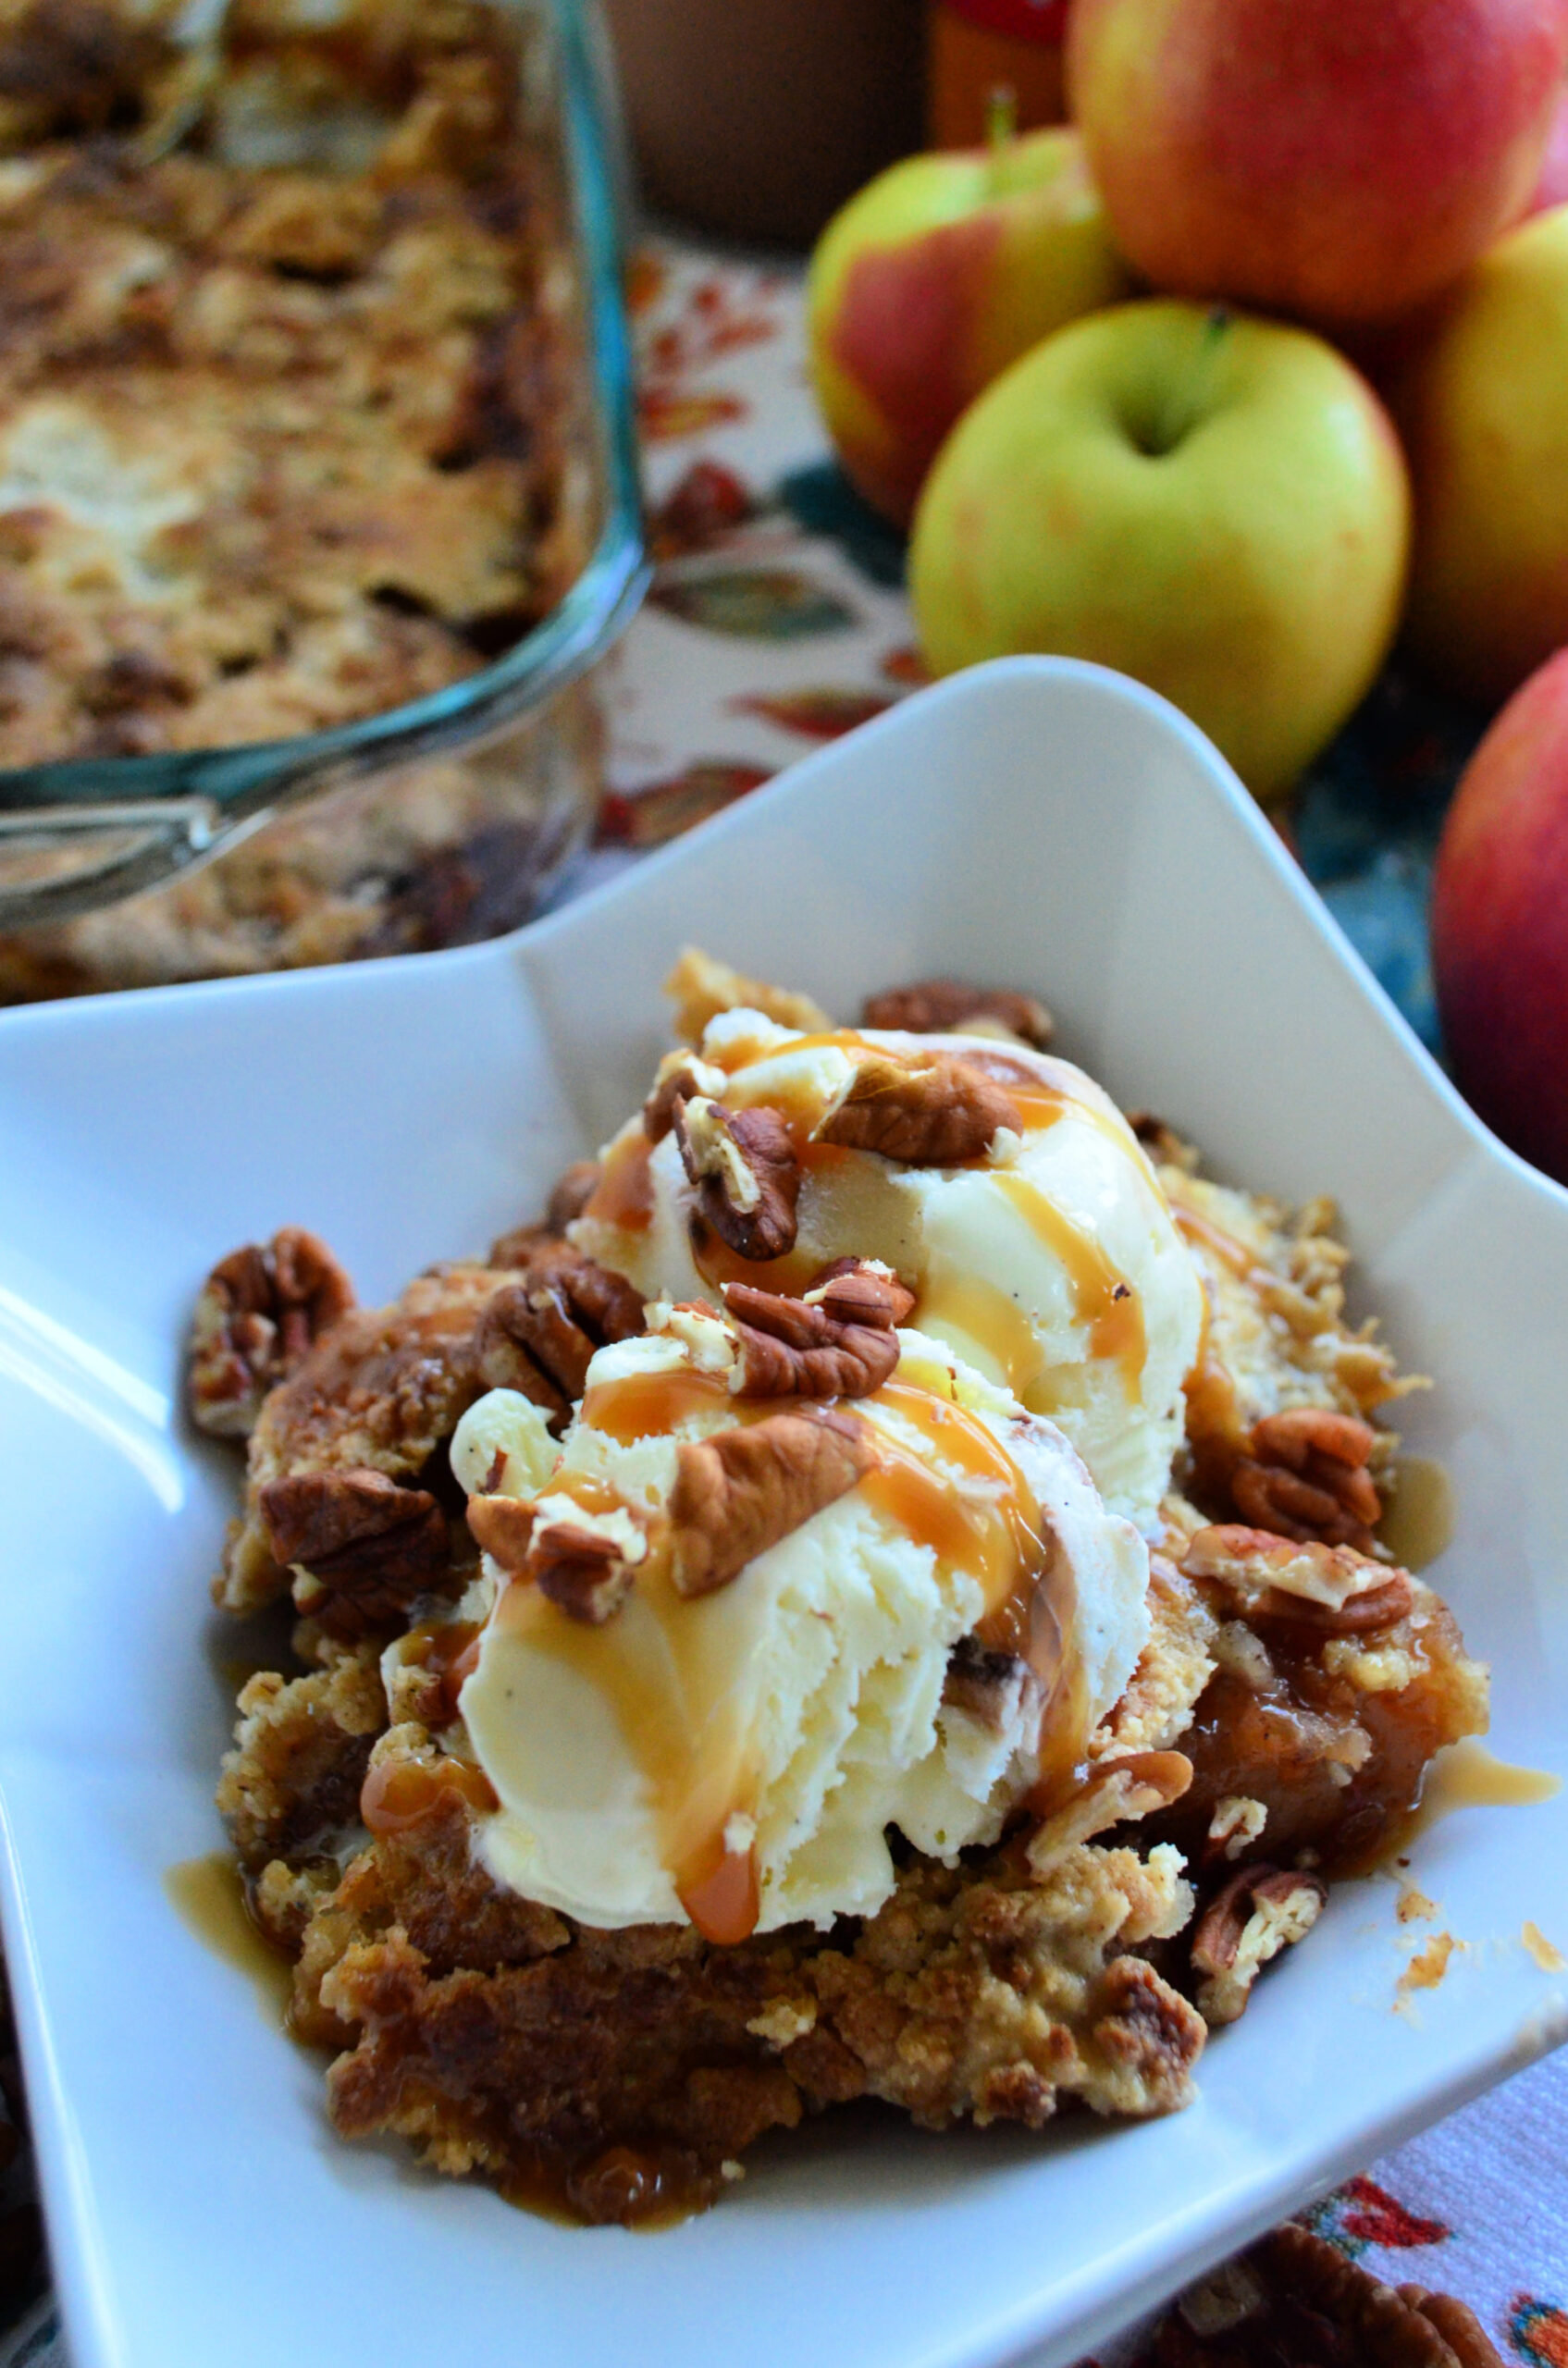
Apple Dump Cake
-
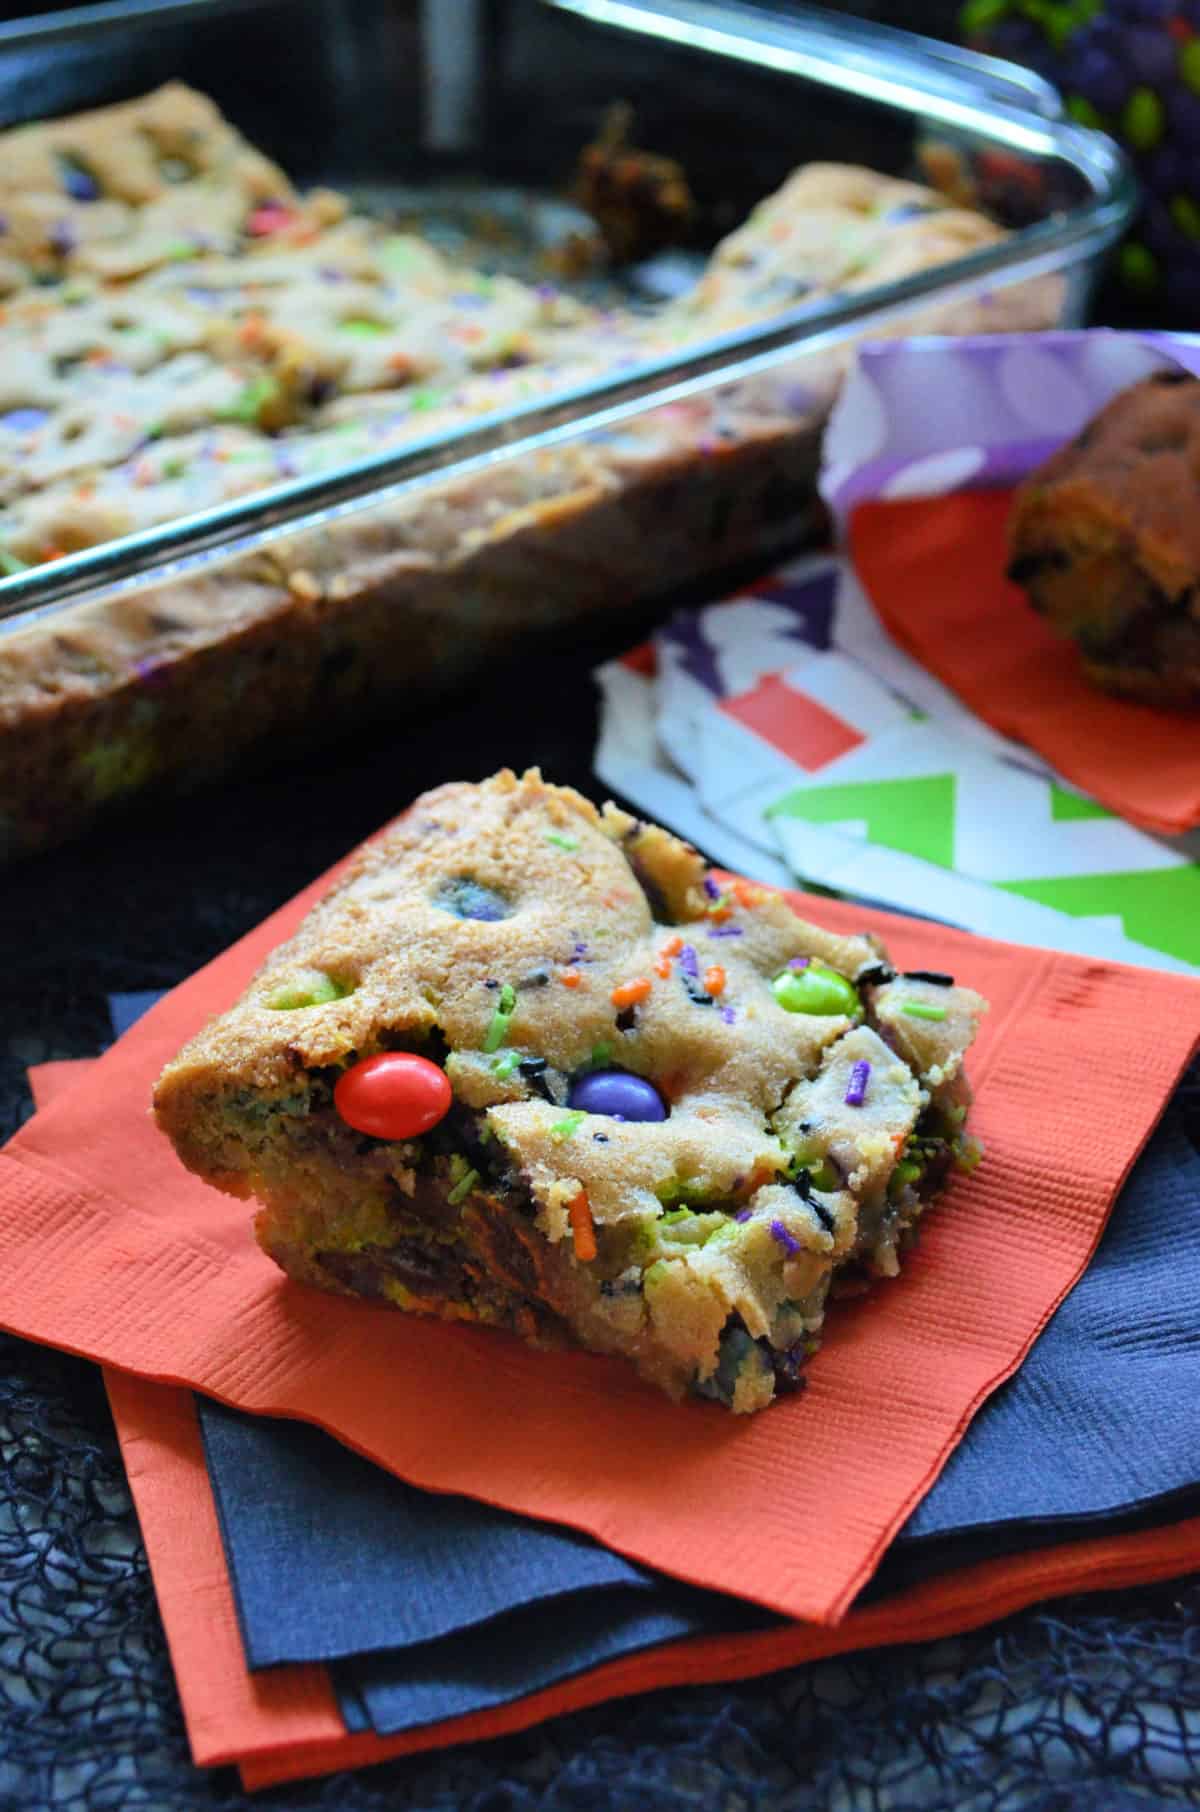
Halloween M&M Cookie Bars
-
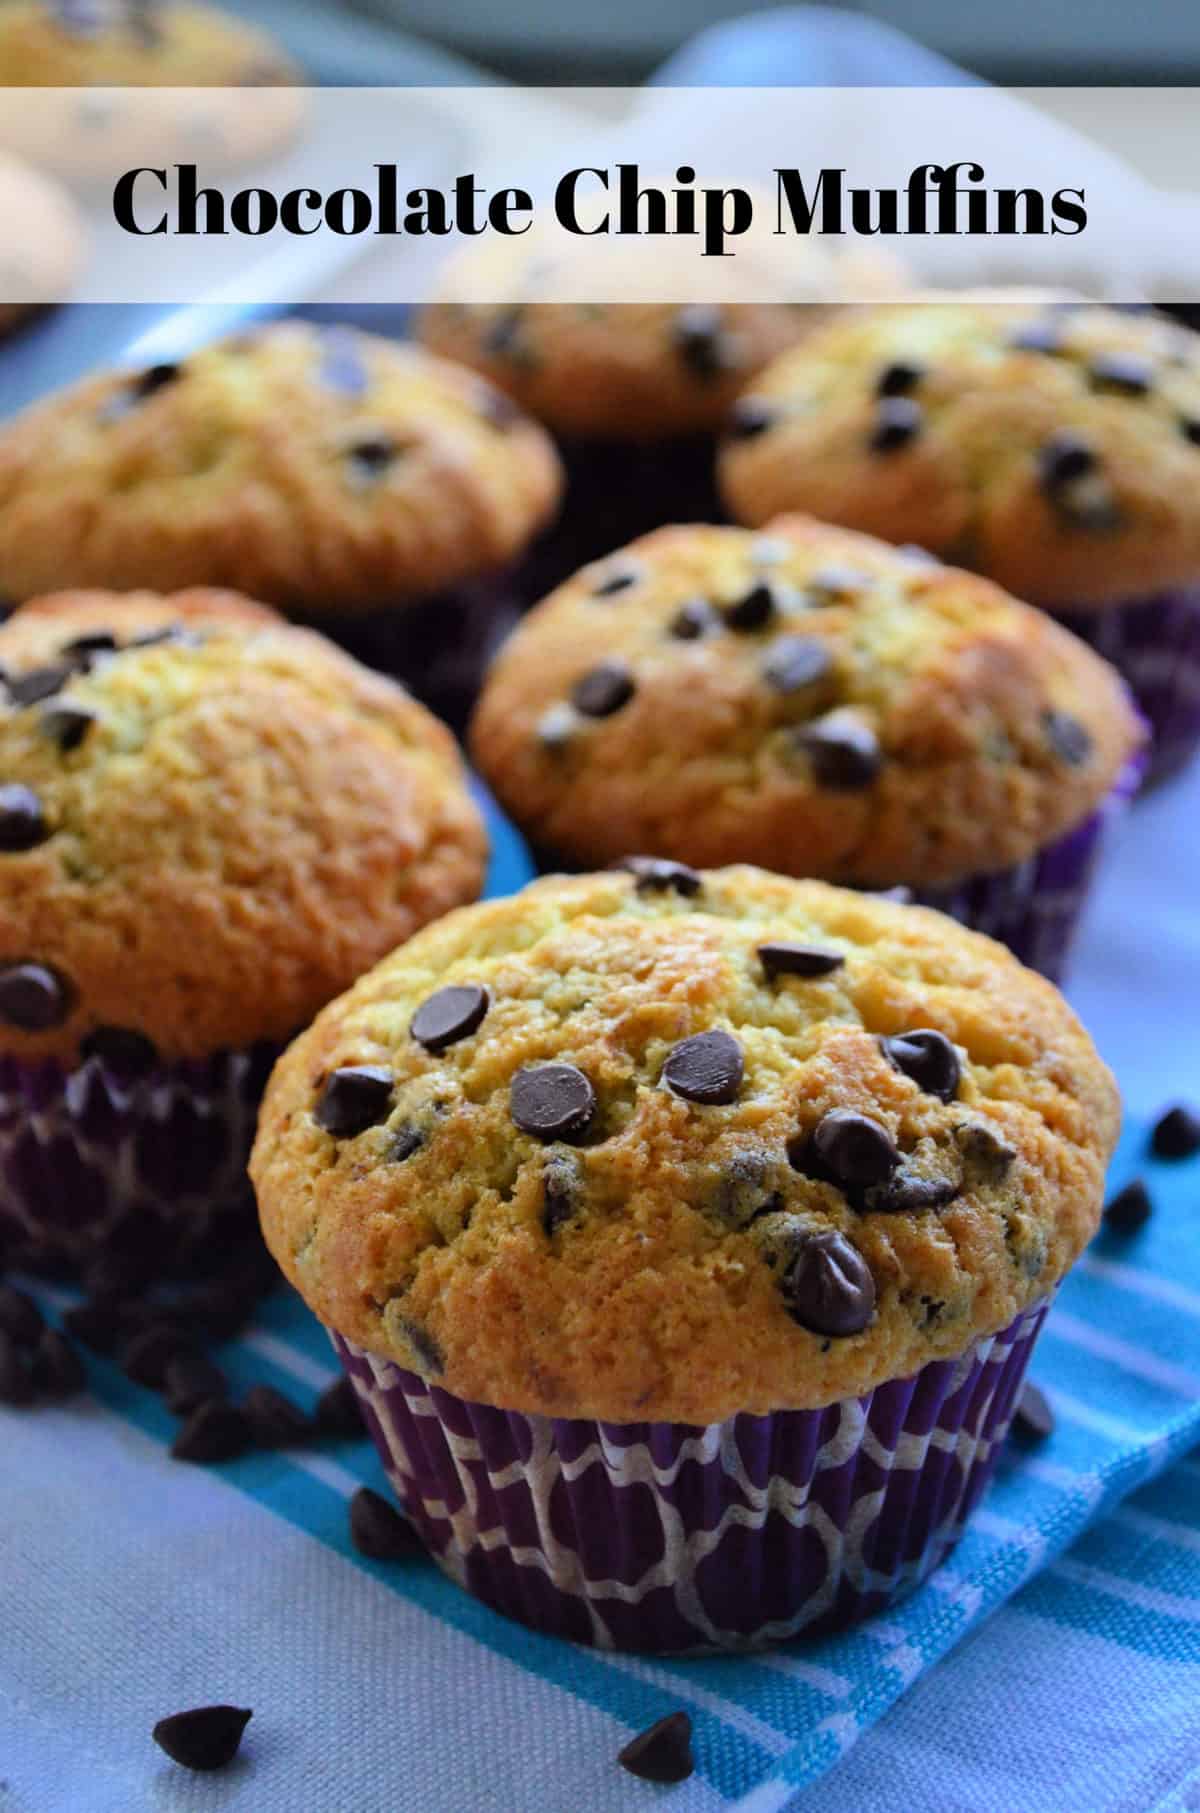
Chocolate Chip Muffins
-
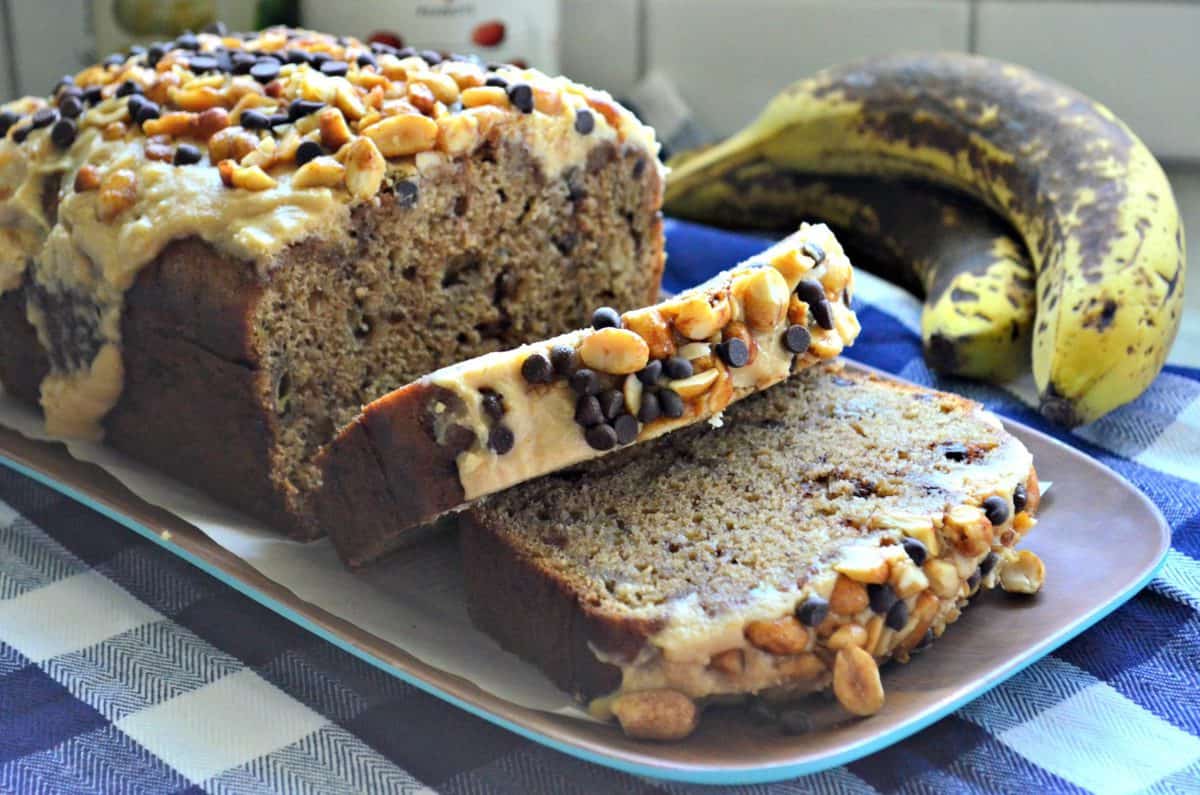
Peanut Butter Chocolate Chip Banana Bread
-
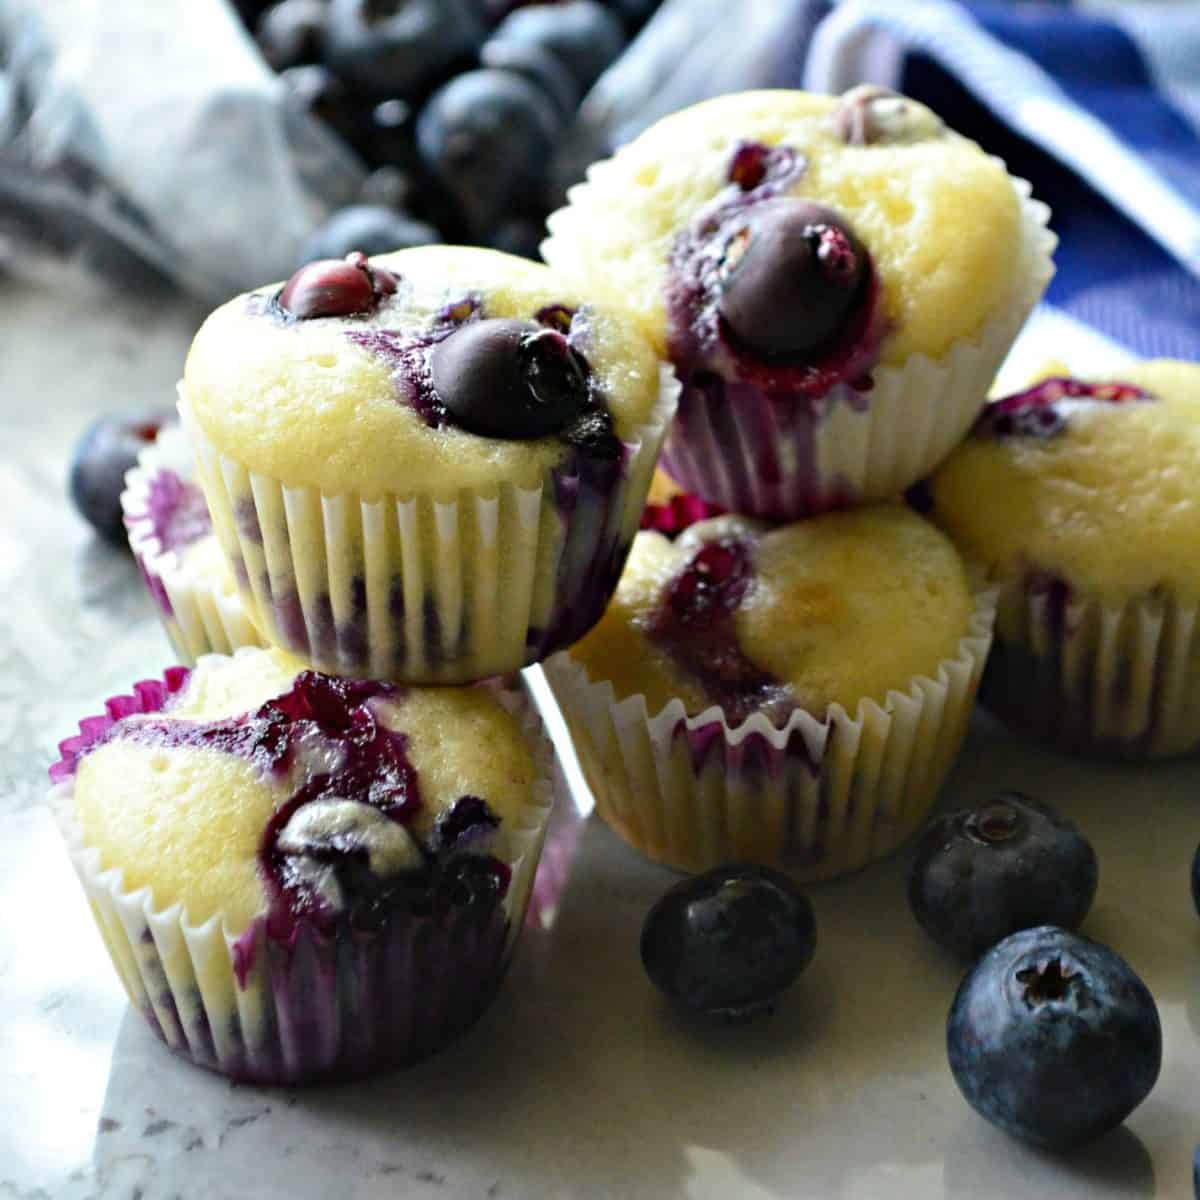
Mini Blueberry Yogurt Muffins
-
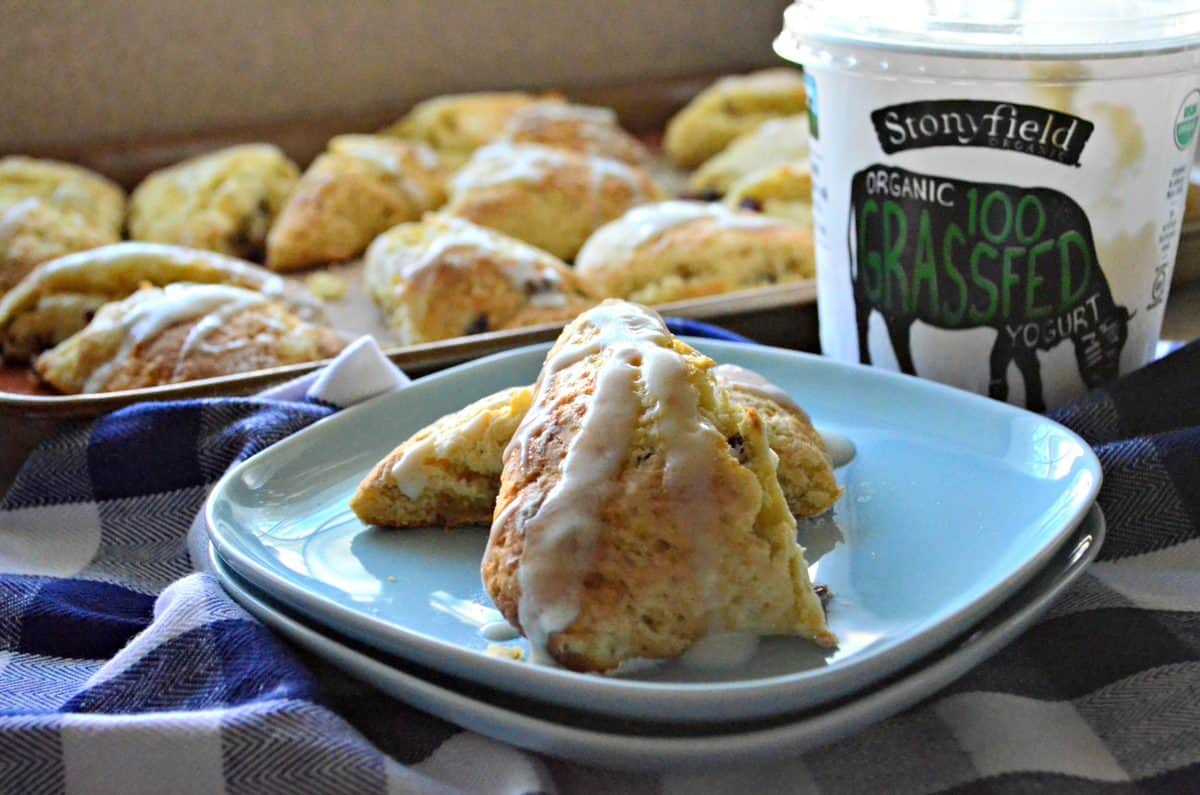
Cranberry Vanilla Yogurt Scones
-
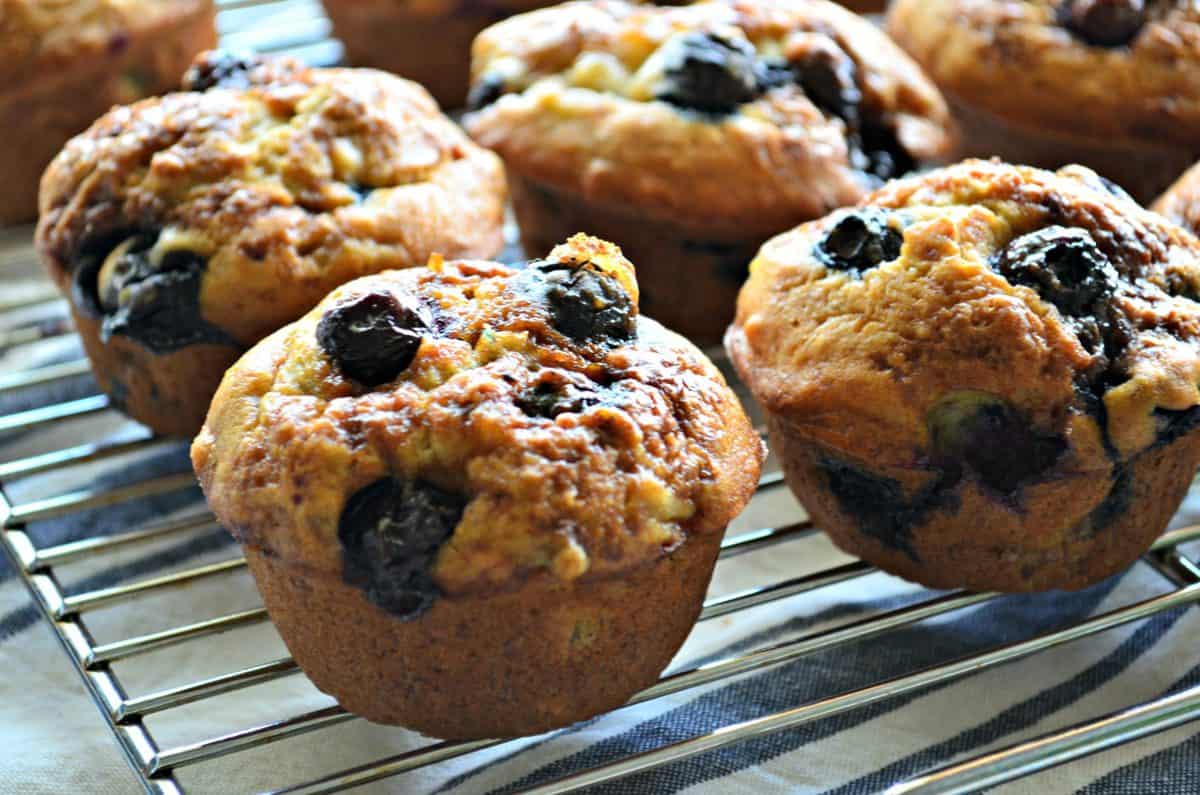
Banana Blueberry Muffins
-
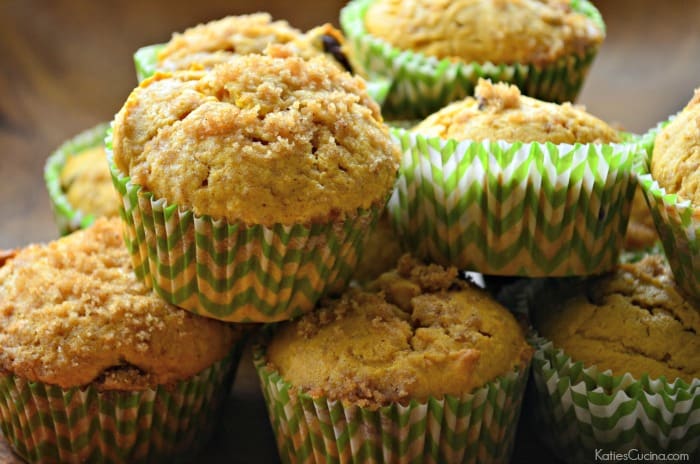
Pumpkin Streusel Muffins
-
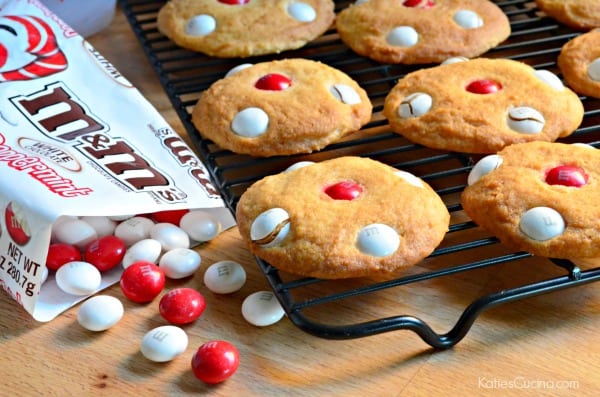
White Chocolate Peppermint Sugar Cookies
-
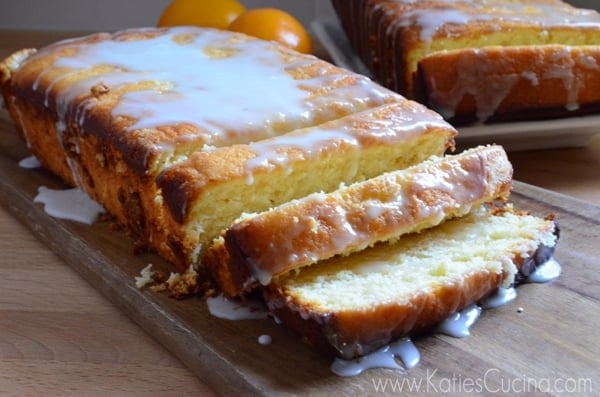
Meyer Lemon Buttermilk Pound Cake
-
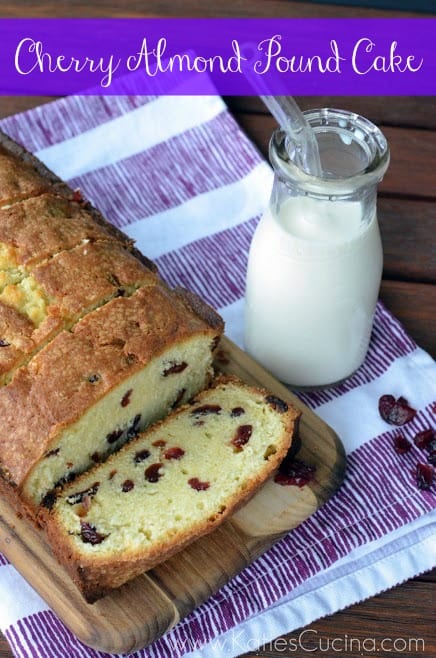
Cherry Almond Pound Cake
-
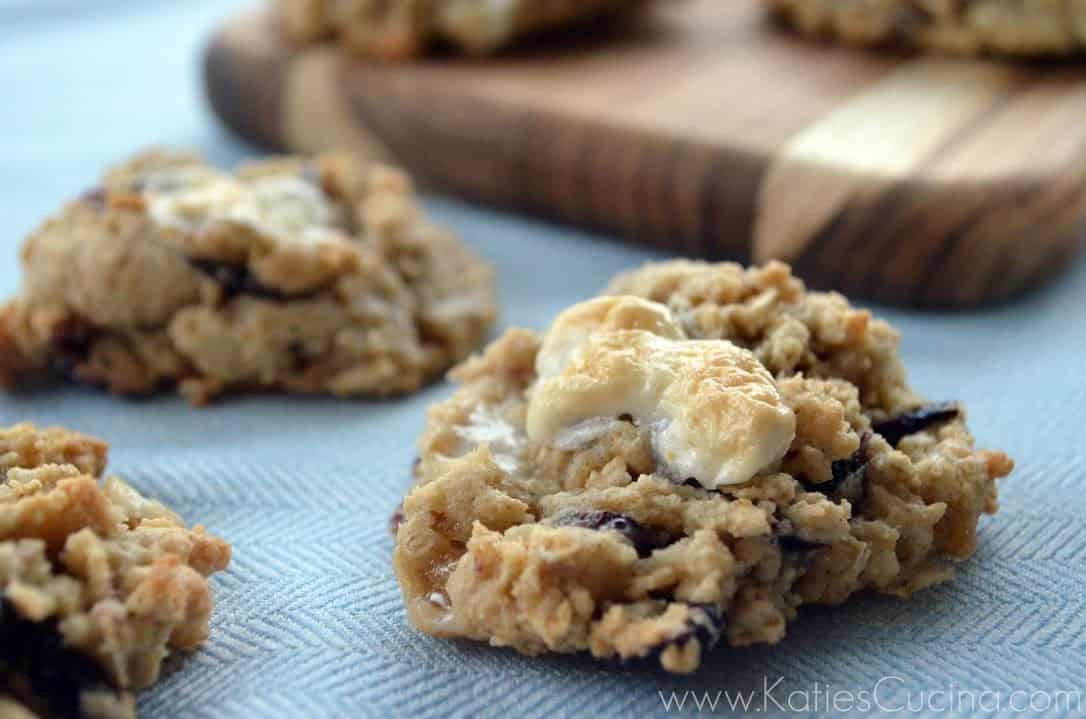
Blueberry Oatmeal Marshmallow Cookies
-
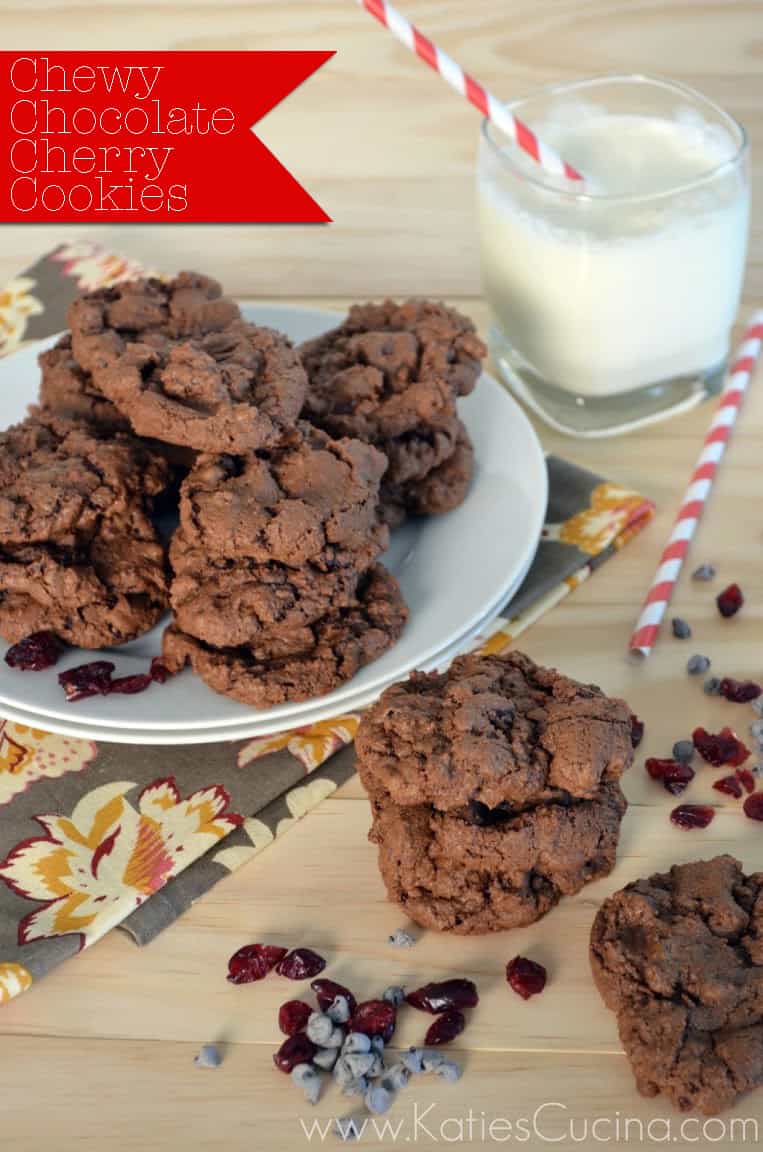
Chewy Chocolate Cherry Cookies
-
Creme de Menthe Chunk Cookies
-
Banana Walnut Cream Cheese Cake
-
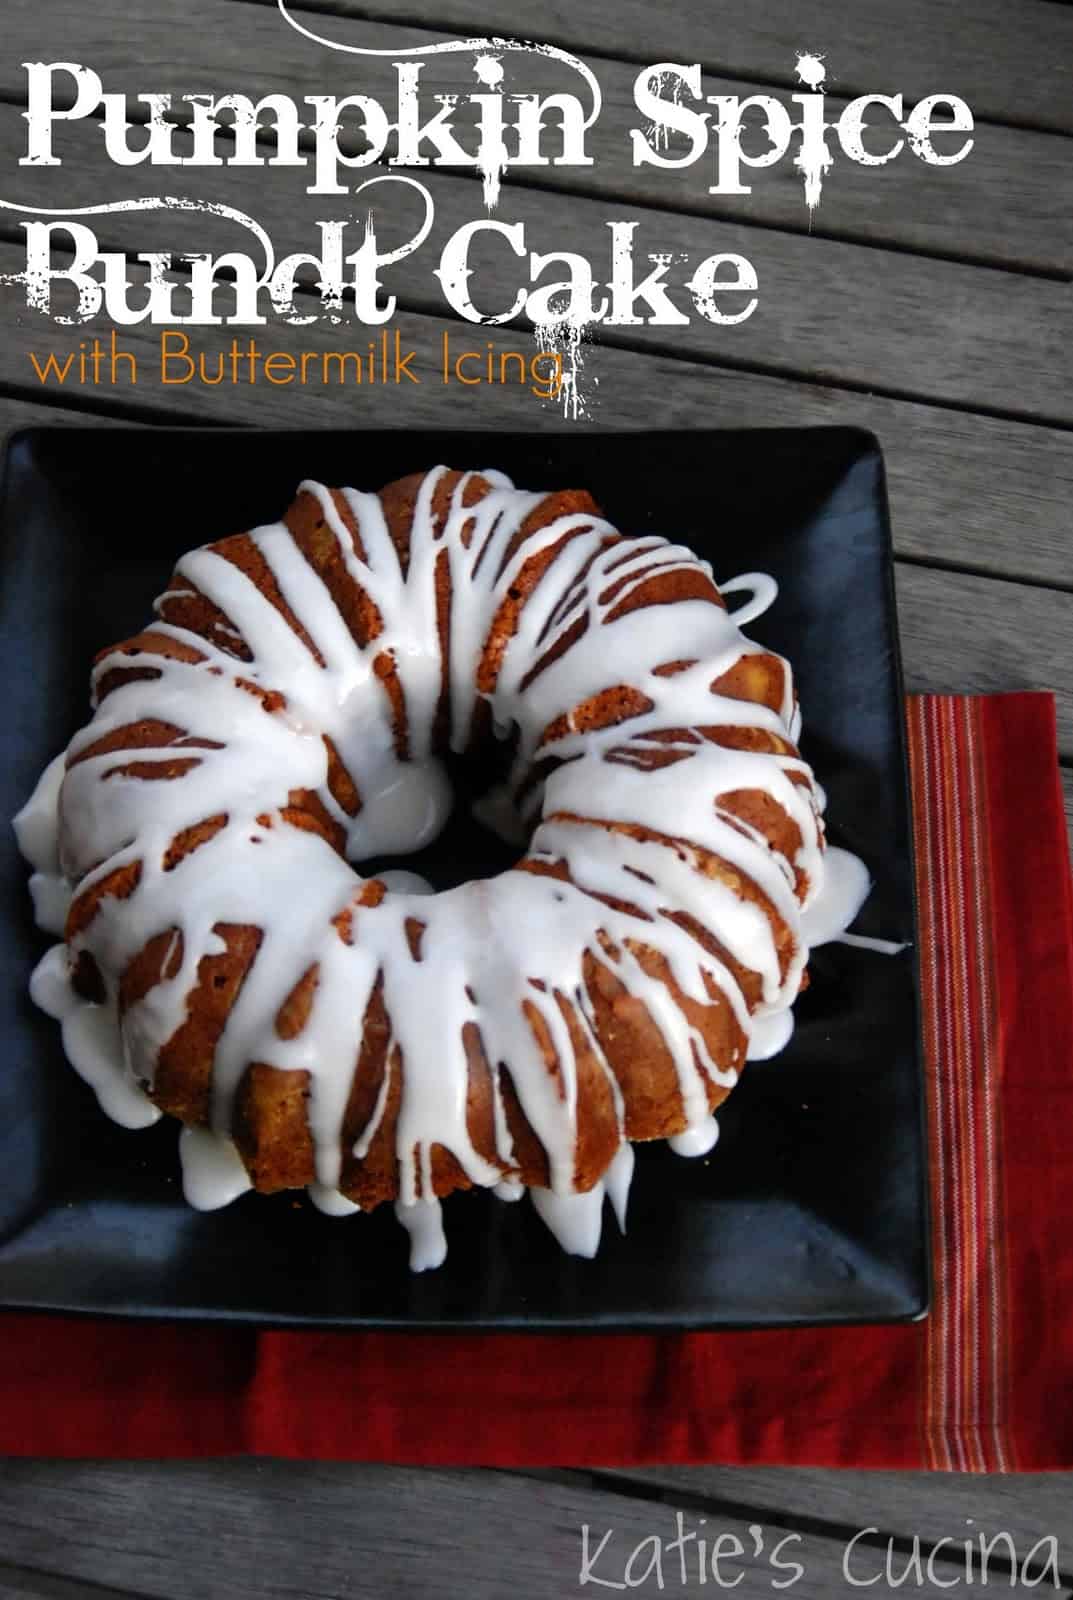
Pumpkin Spice Bundt Cake with Buttermilk Icing
-
Cookies and Cream Cupcakes
-
Banana Chocolate Chip Muffins