Chocolate
-
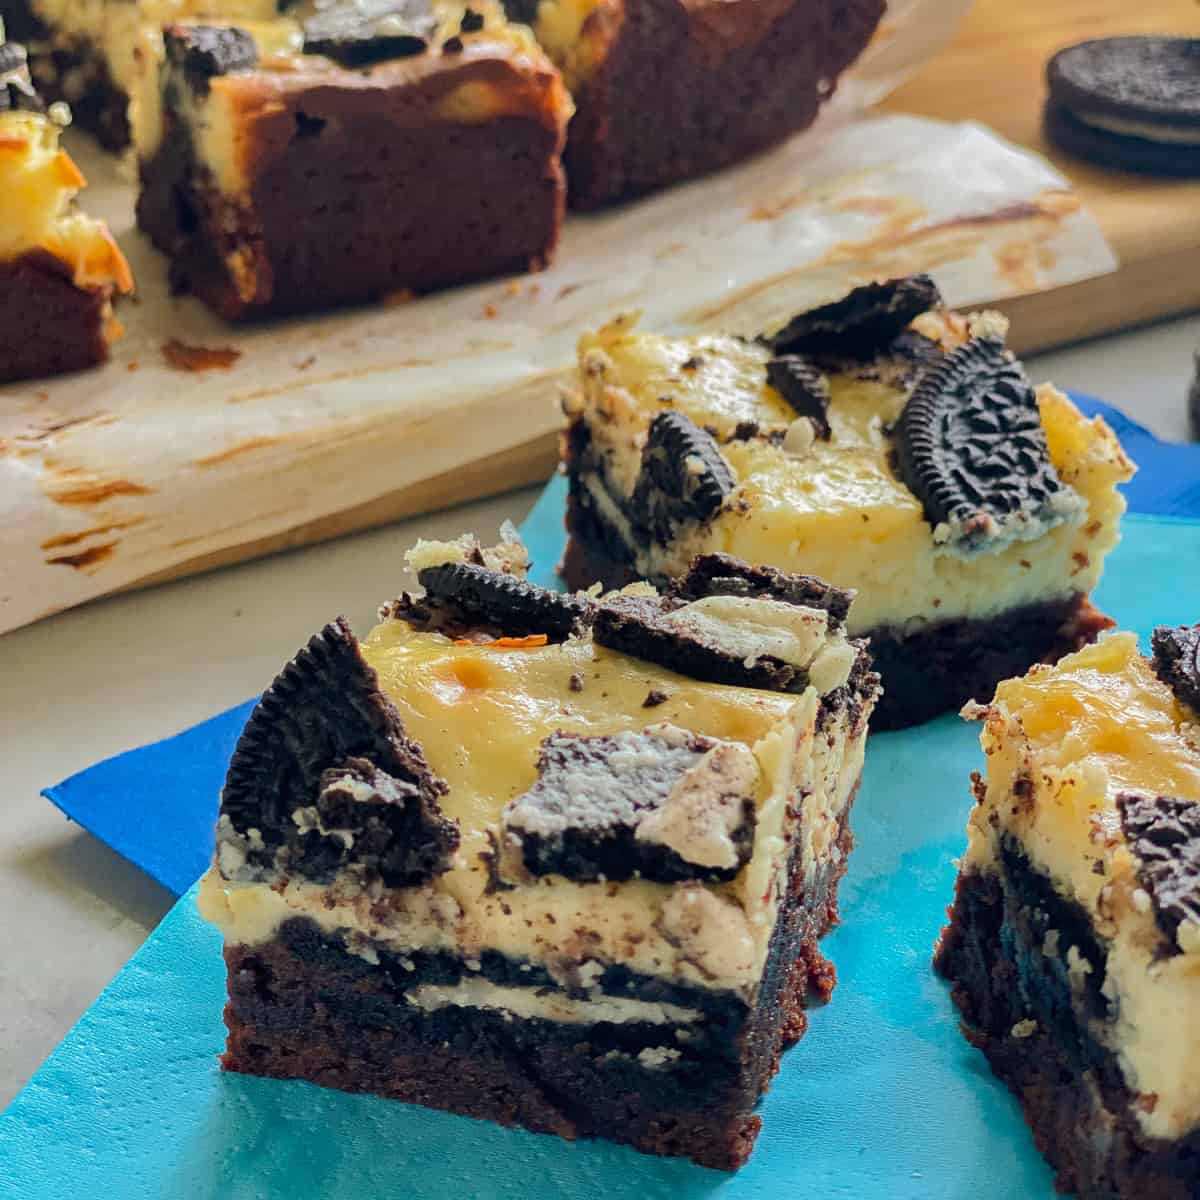
Oreo Cheesecake Brownies
-
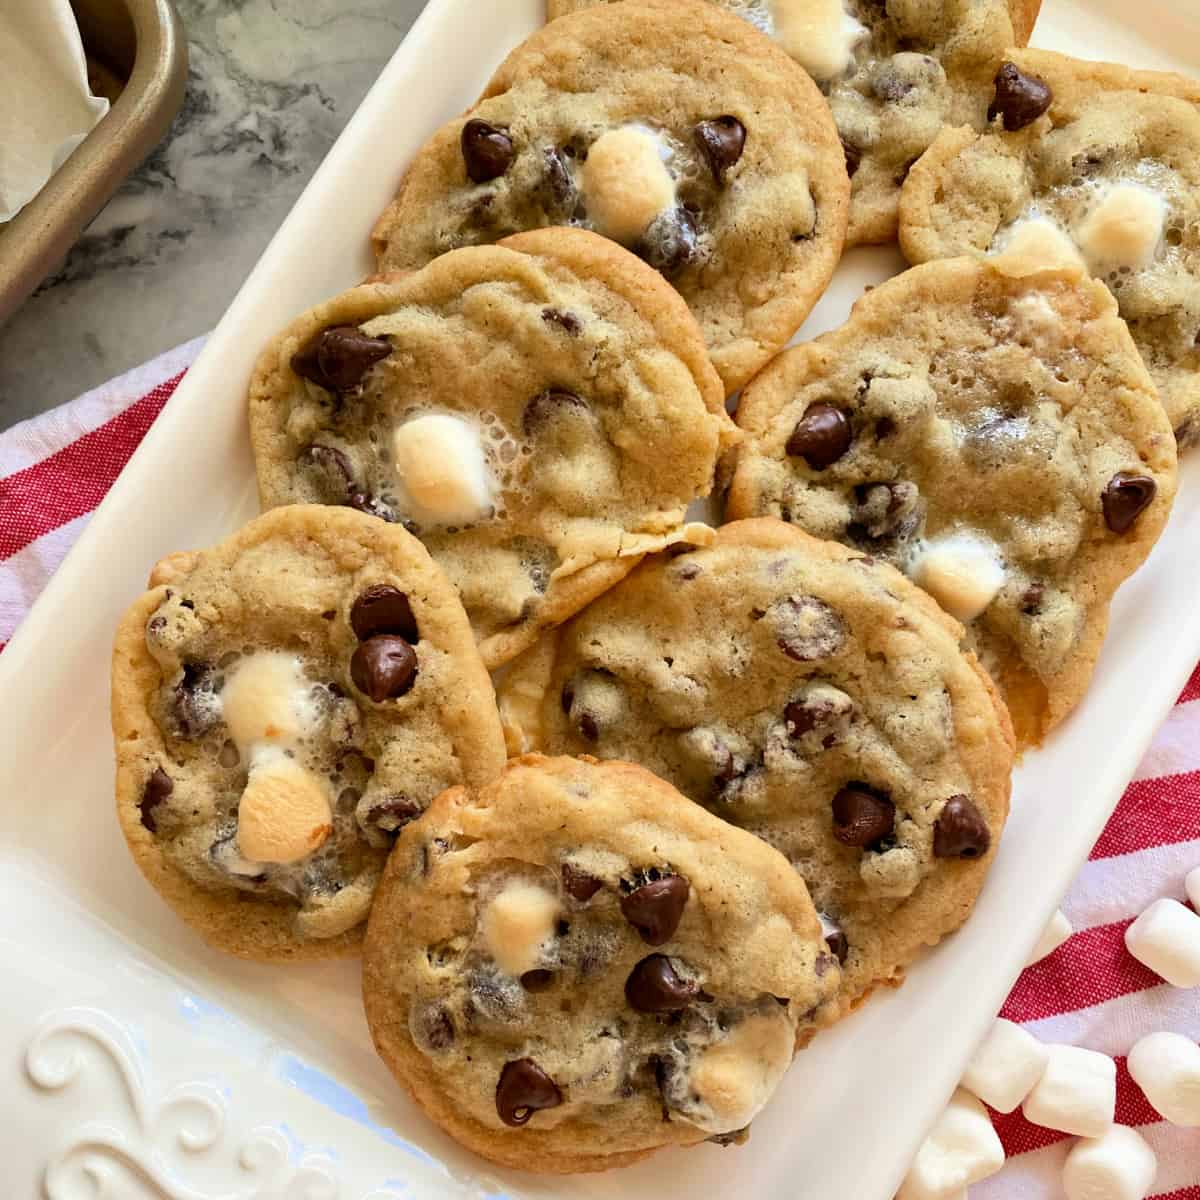
Chocolate Chip Marshmallow Cookies
-
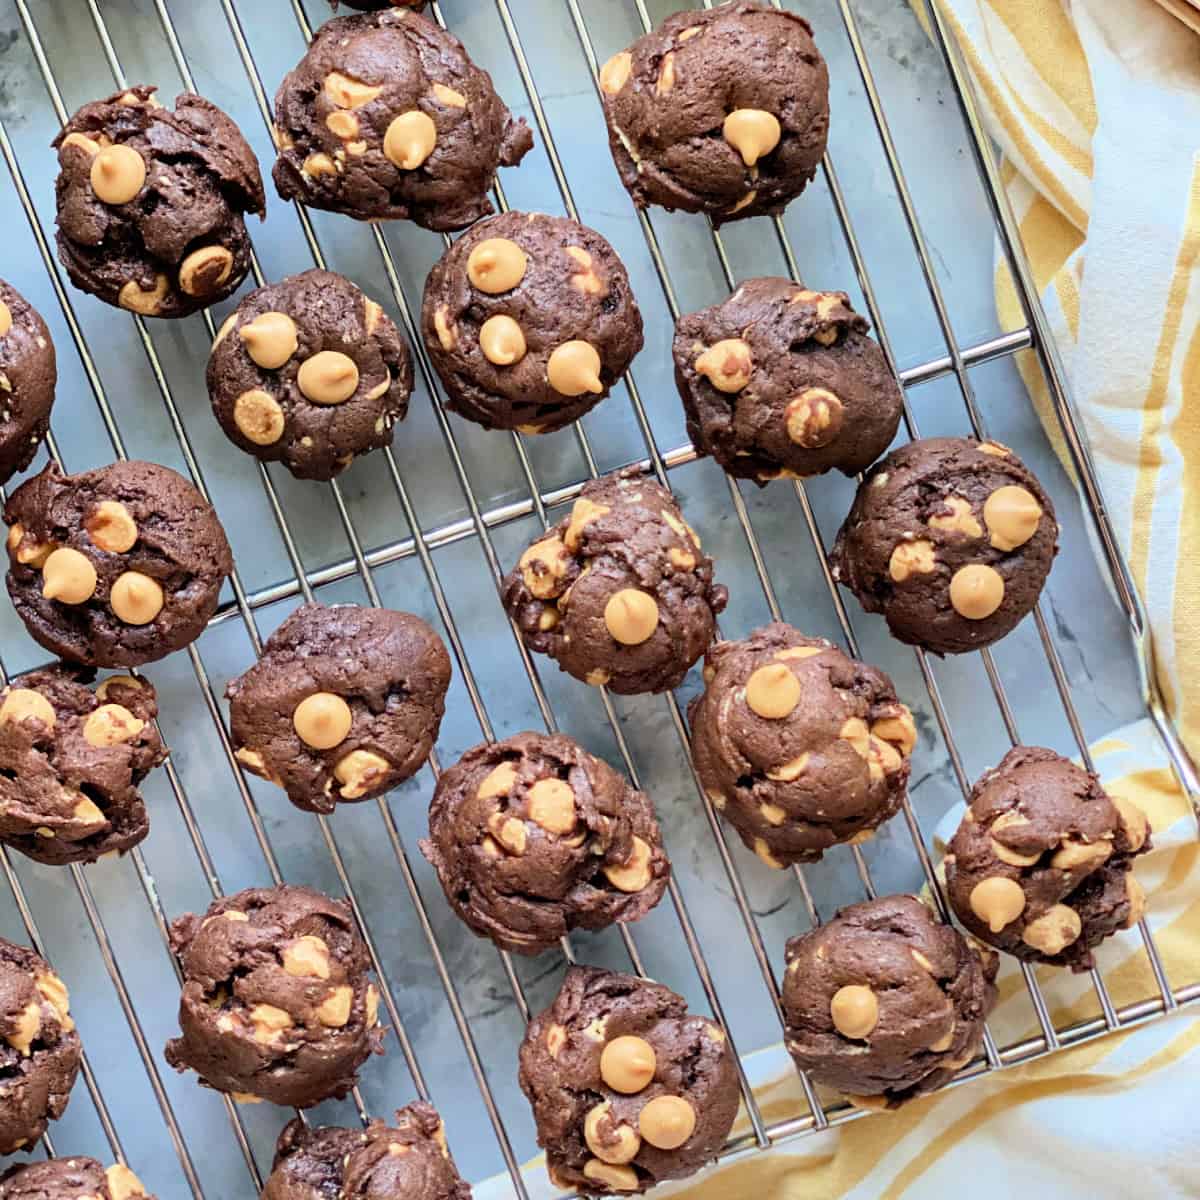
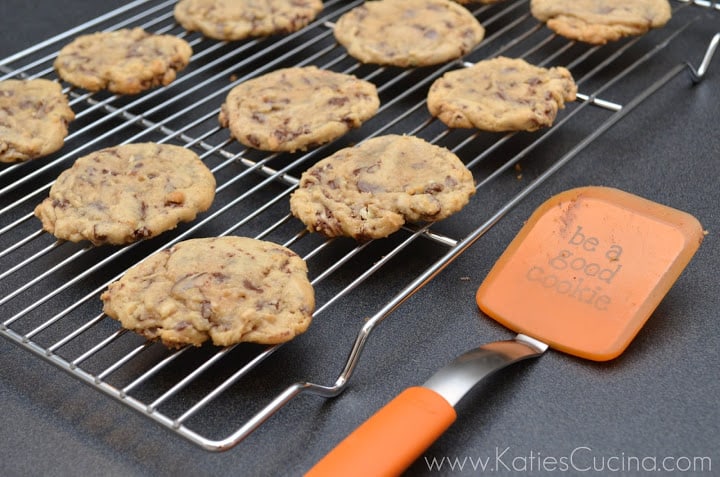
Chocolate Peanut Butter Chip Cookies
-
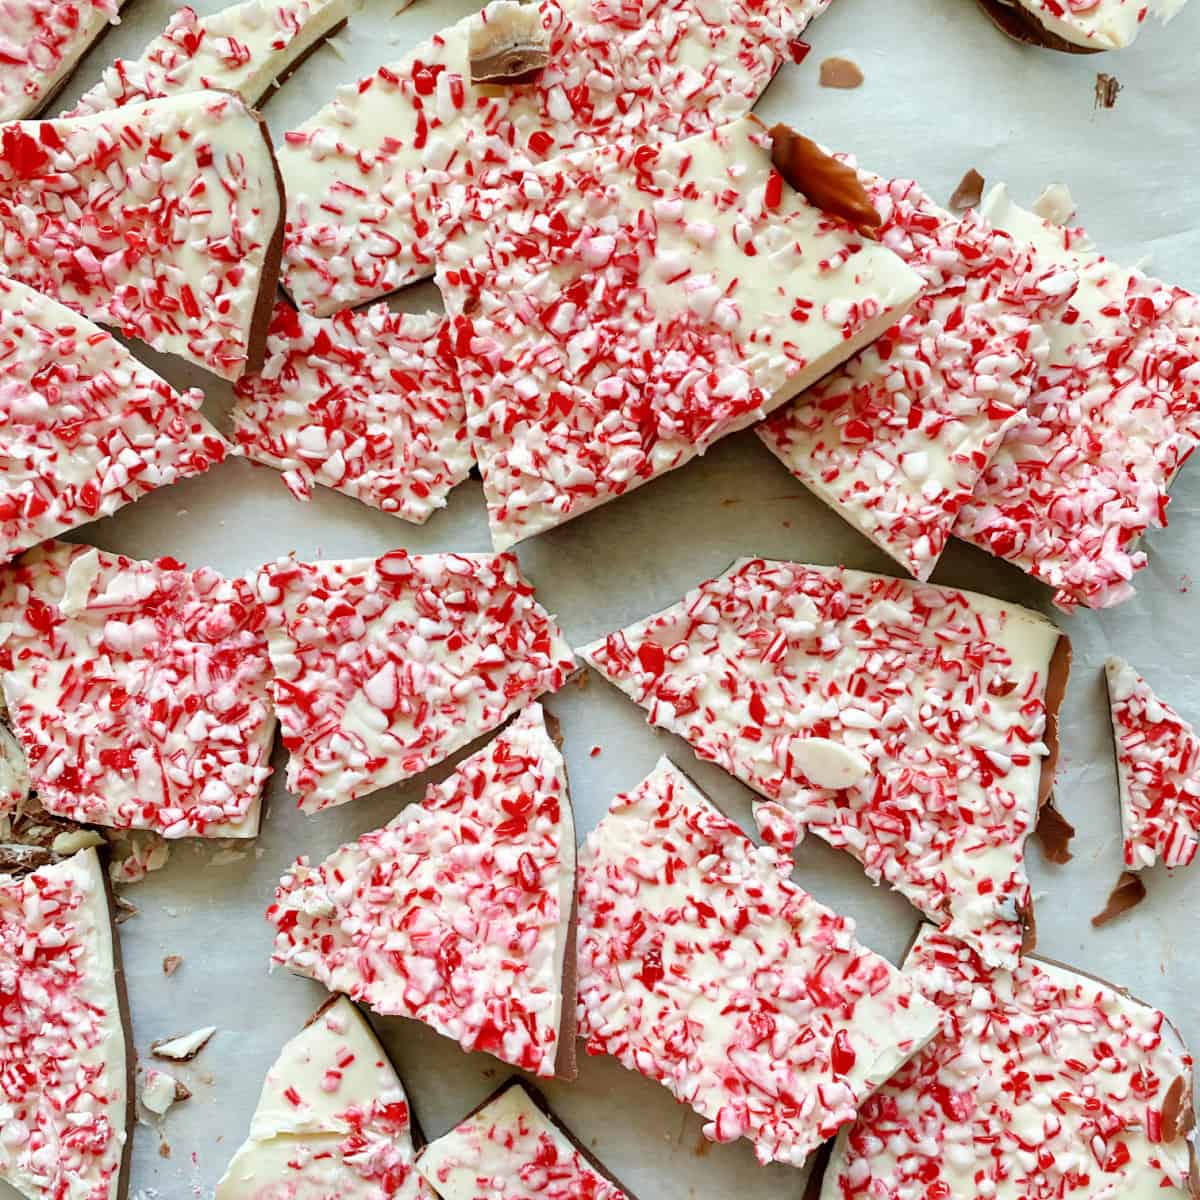
Peppermint Bark
-
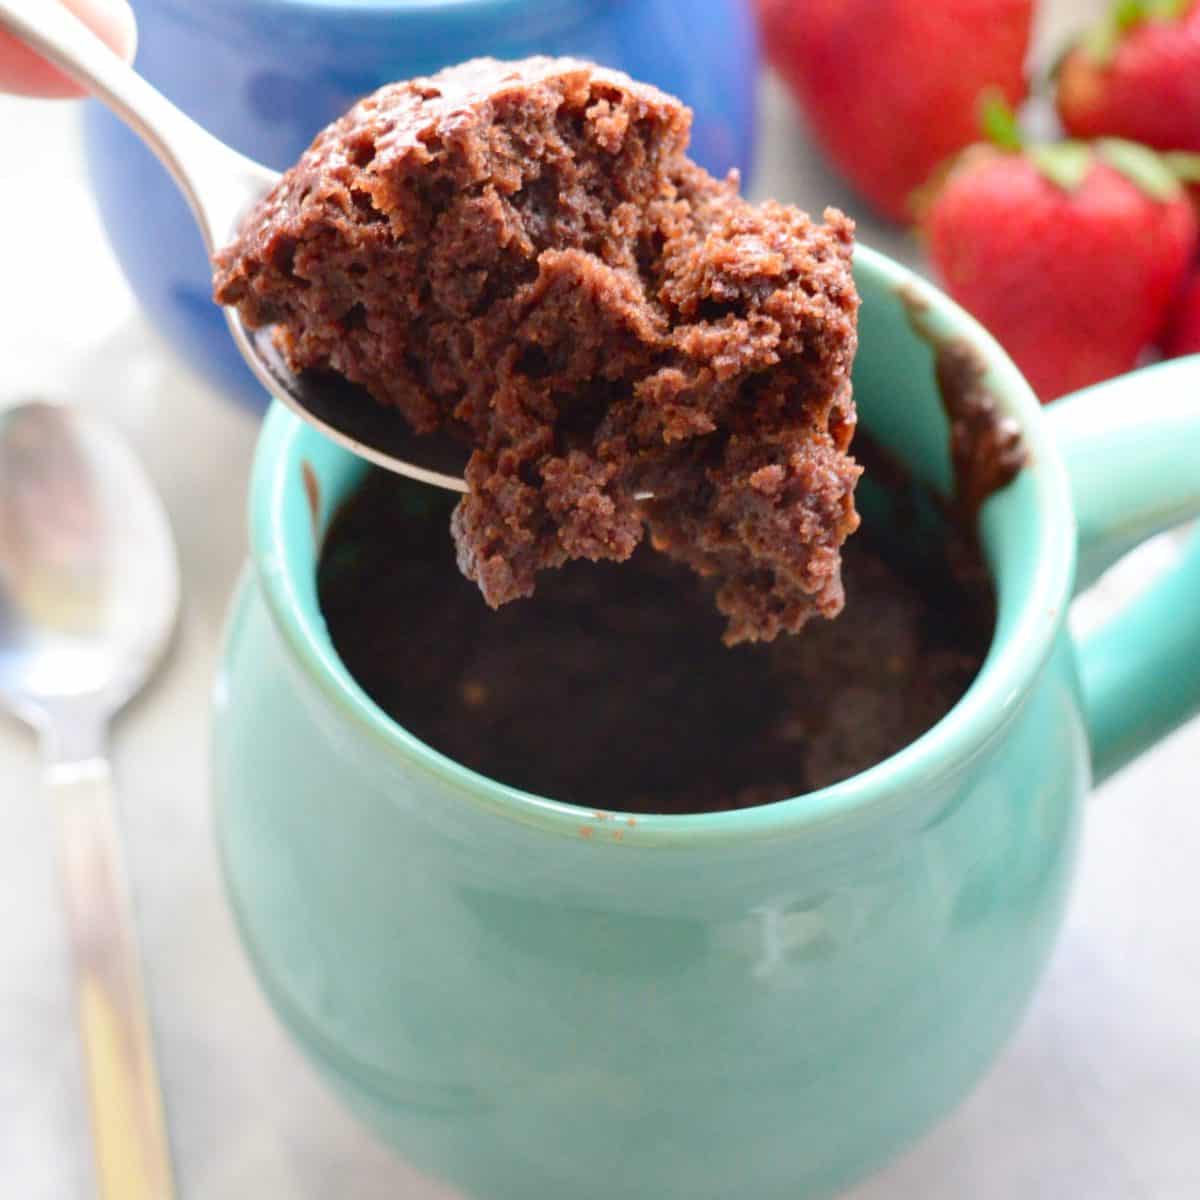
Dairy Free Chocolate Mug Cake
-
Red Velvet Cake Mix Cookies
-
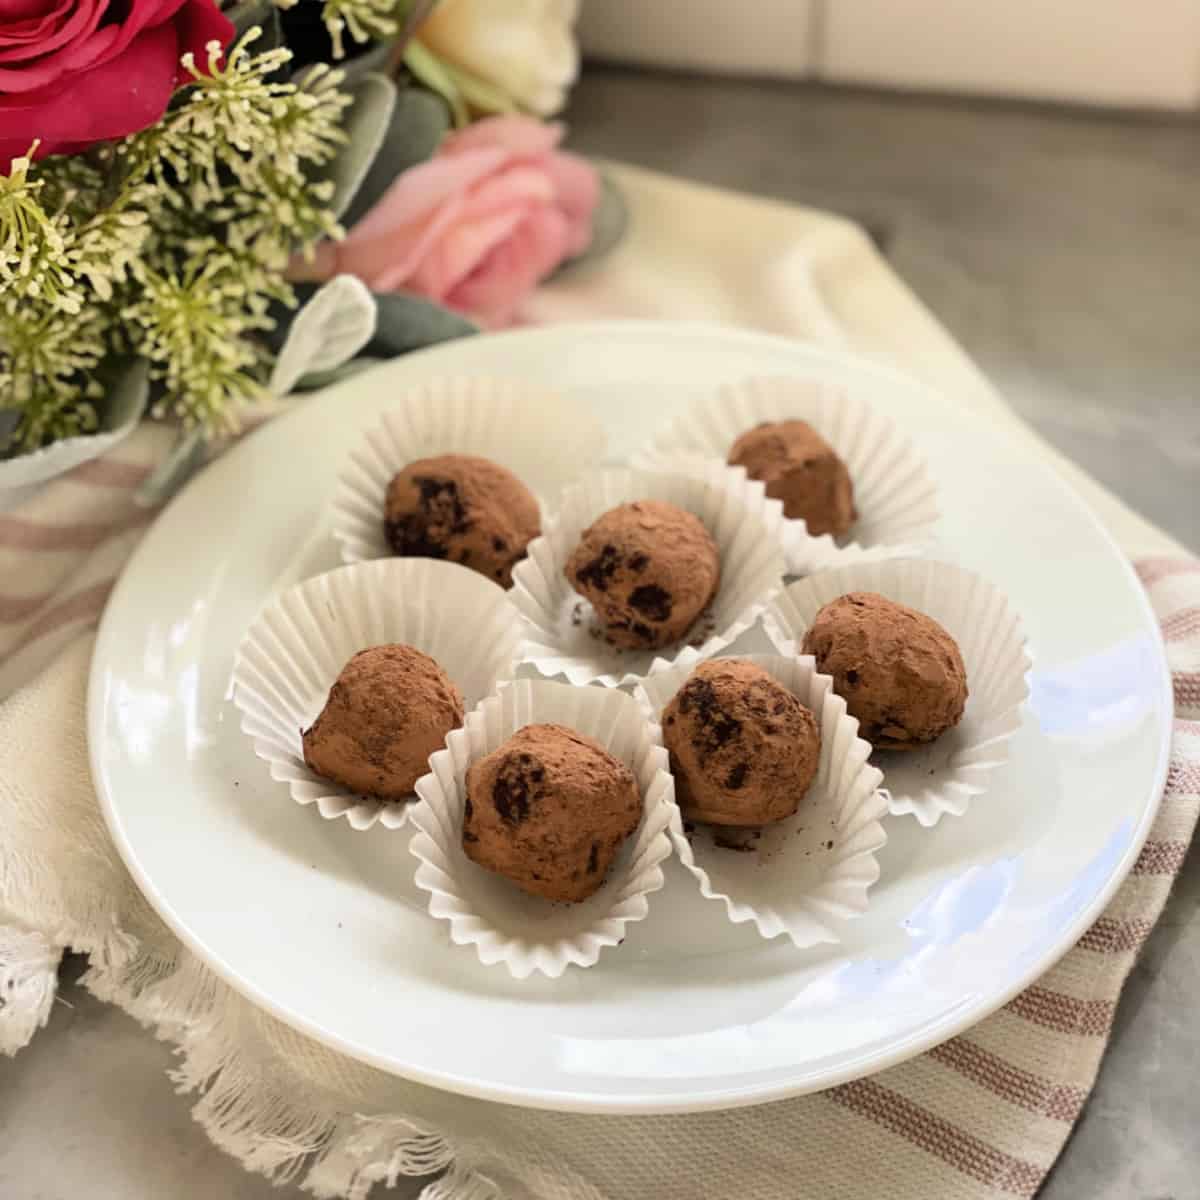
Dark Chocolate Truffles
-
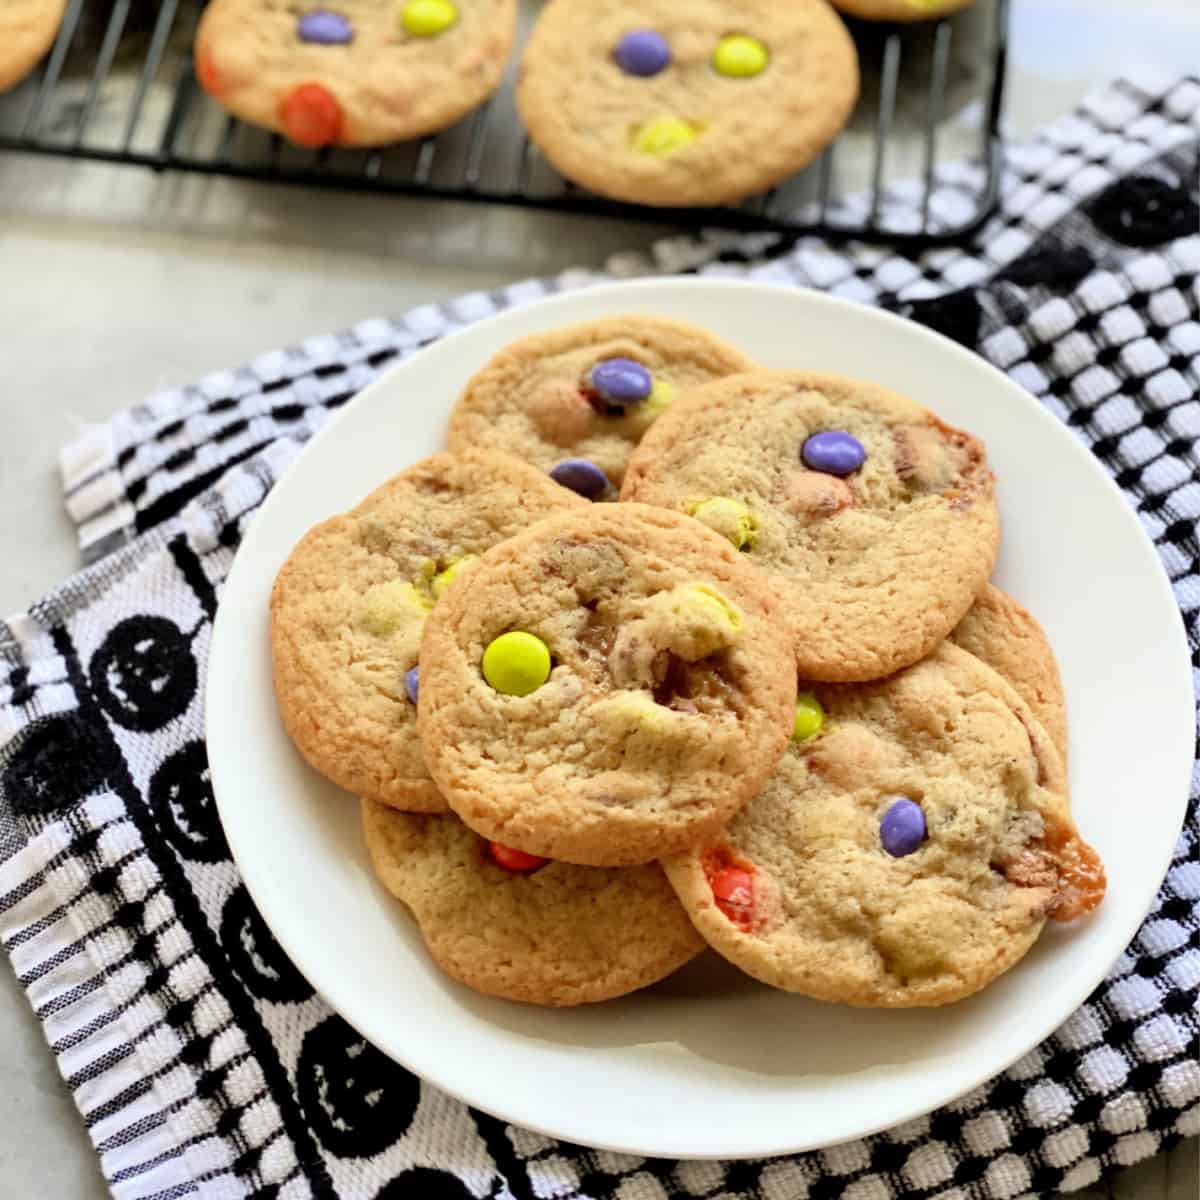
Candy Cookies
-
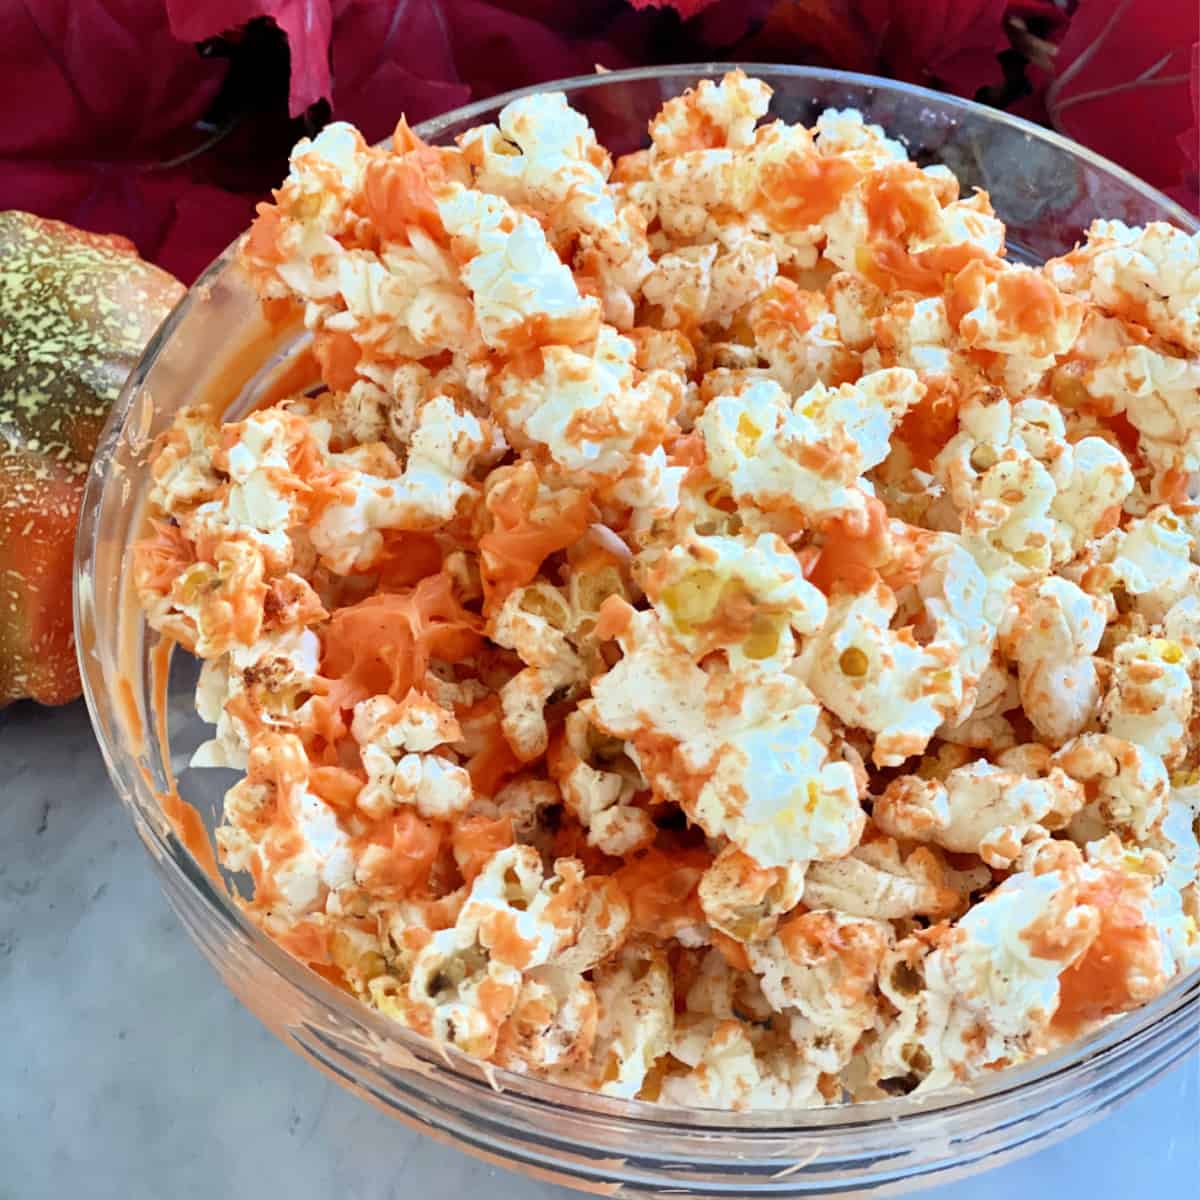
Pumpkin Spice Popcorn
-
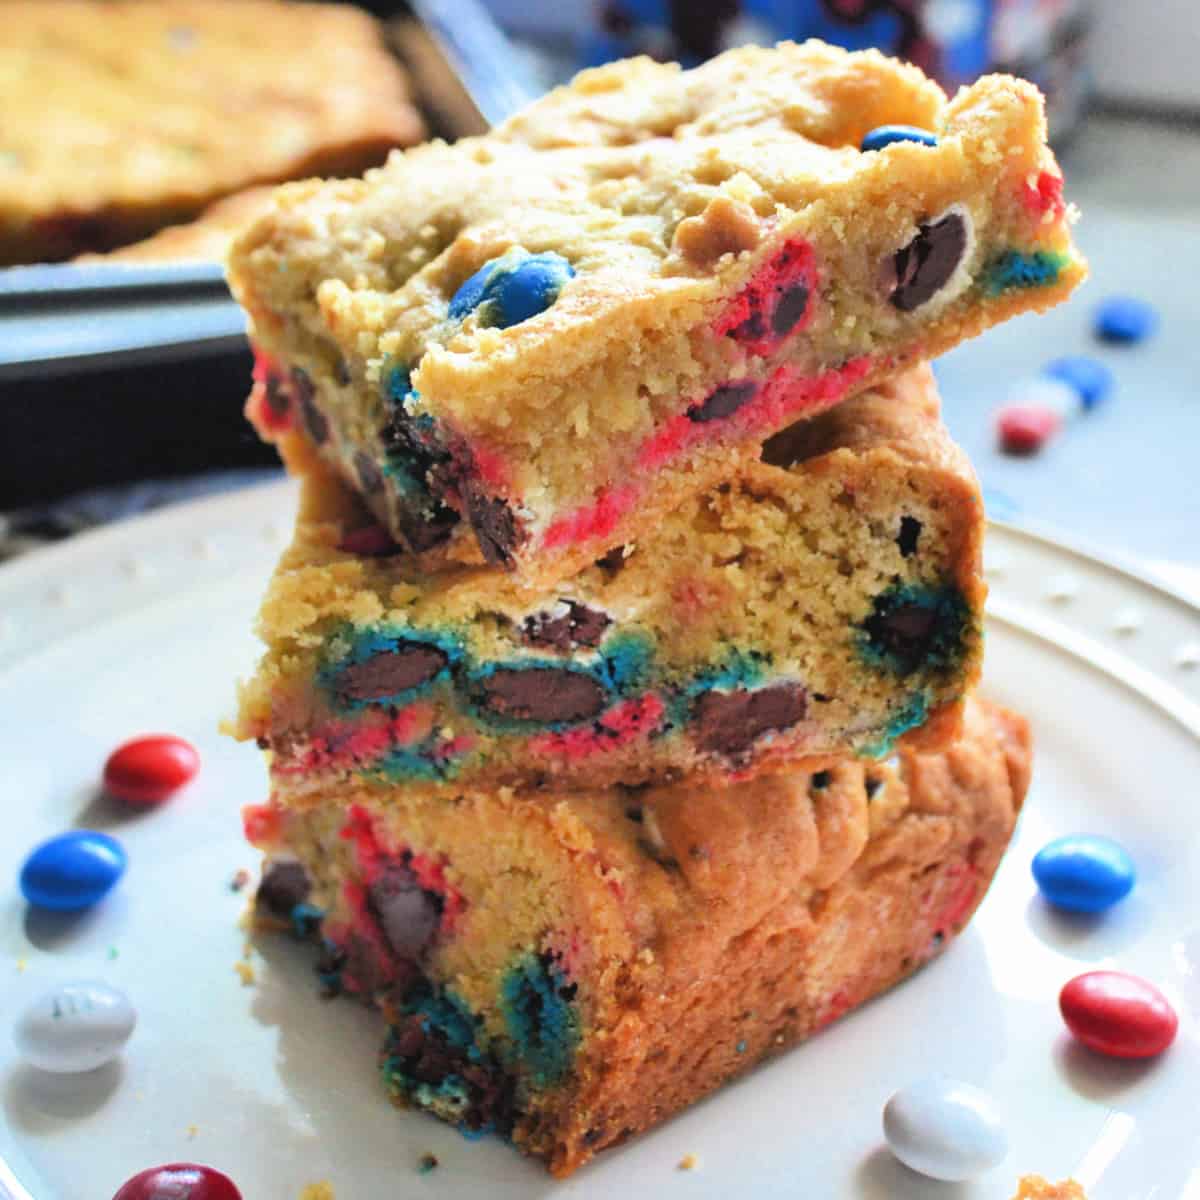
Patriotic Red White & Blue M&M Cookie Bars
-
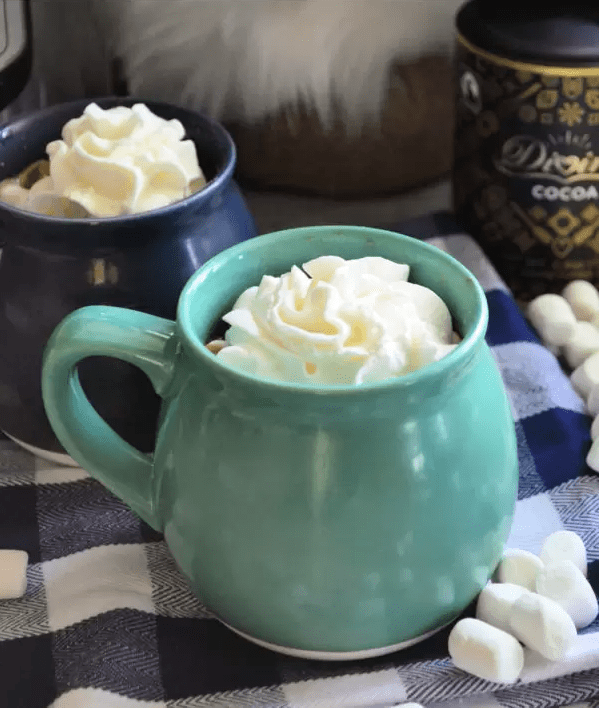
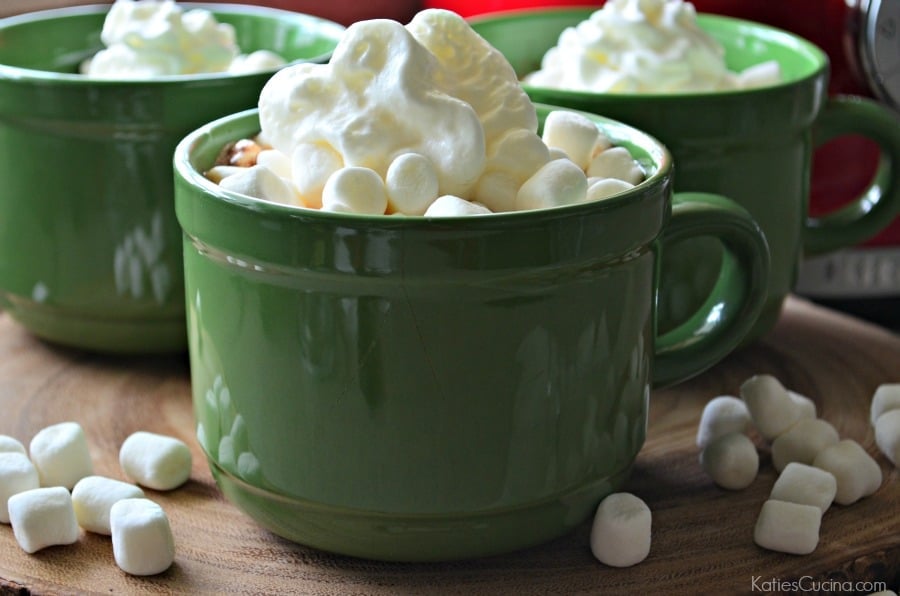
Instant Pot Hot Chocolate
-
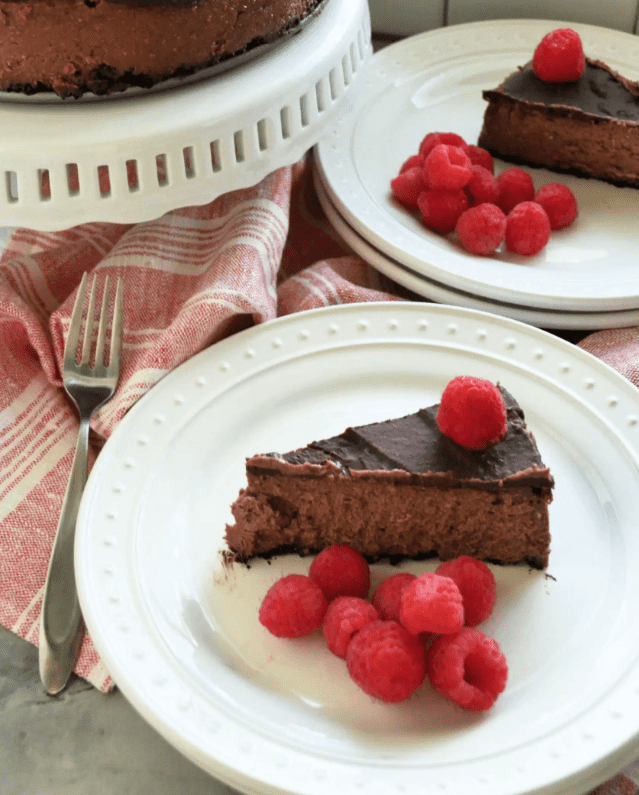
Dark Chocolate Cheesecake
-
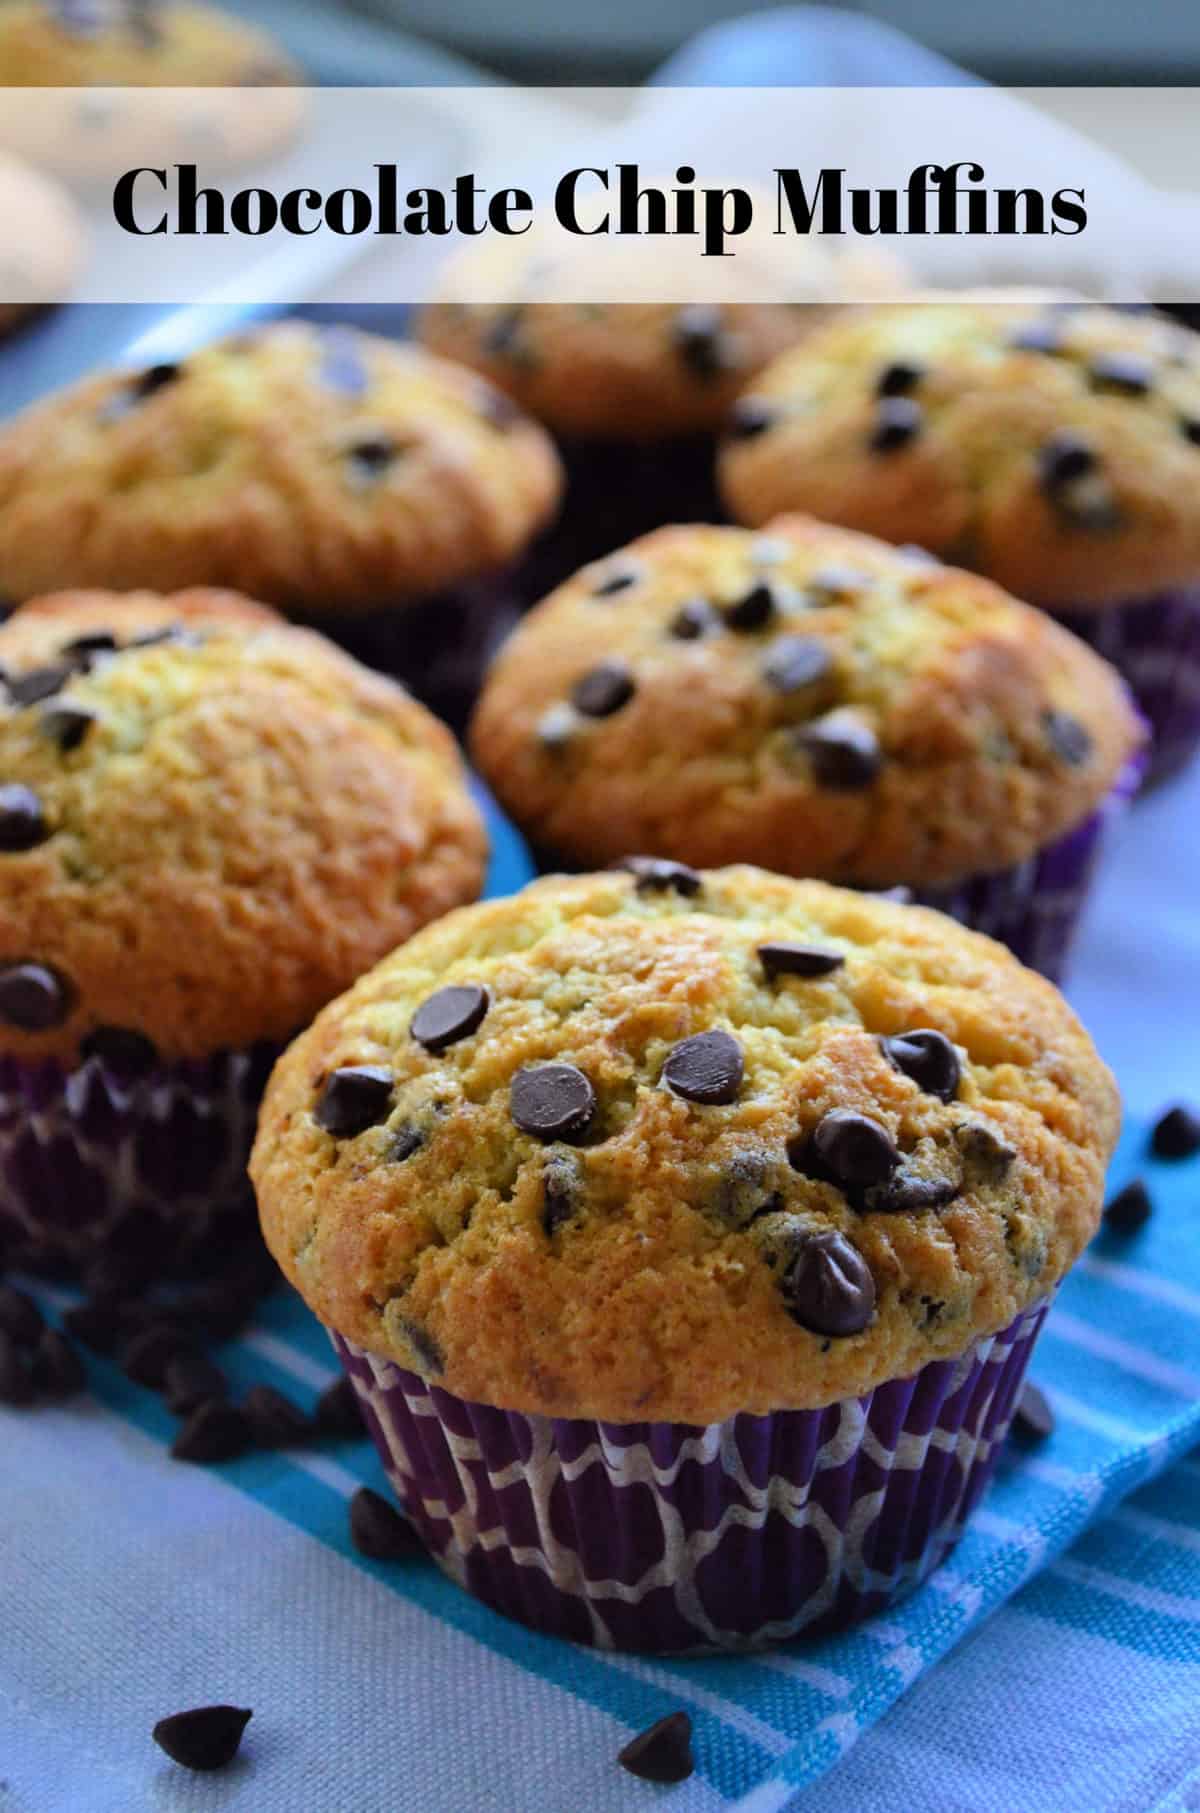
Chocolate Chip Muffins
-
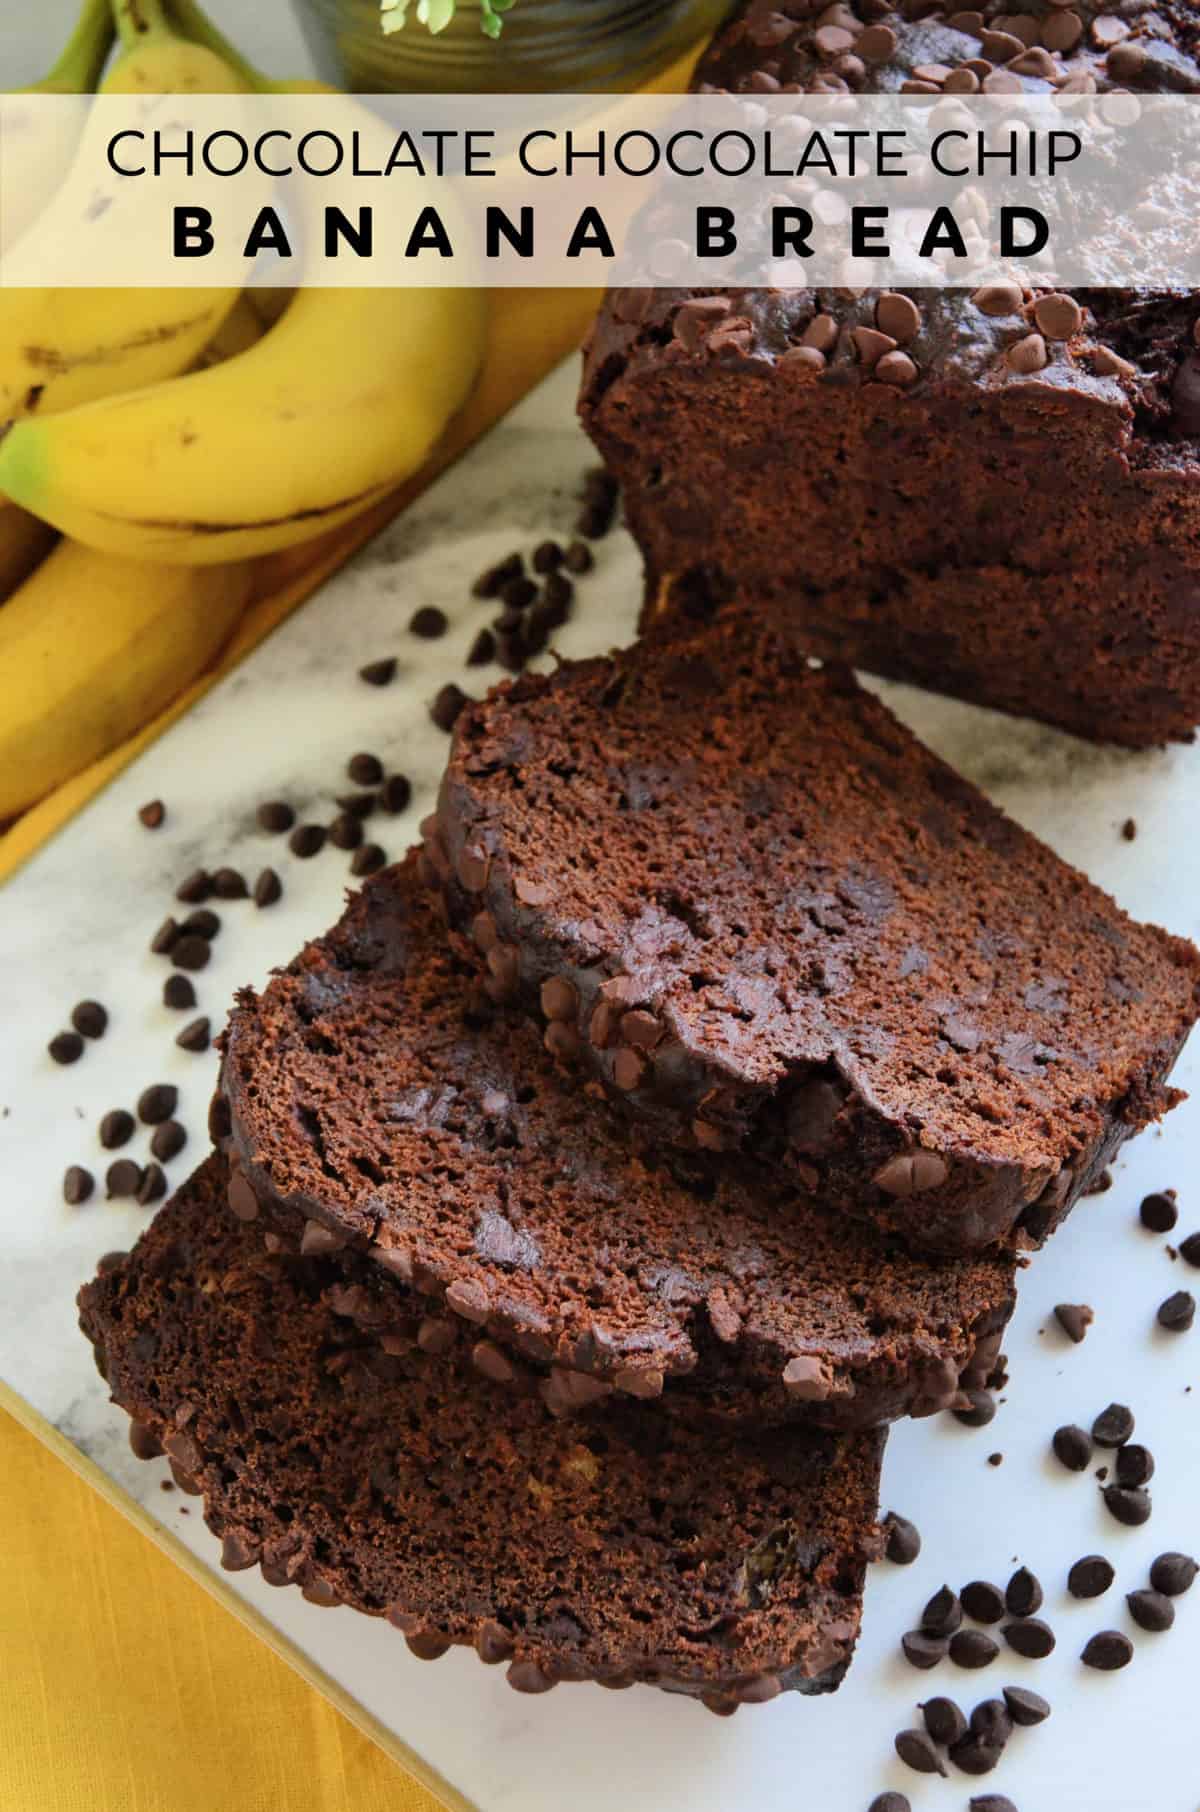
Chocolate Chocolate Chip Banana Bread
-
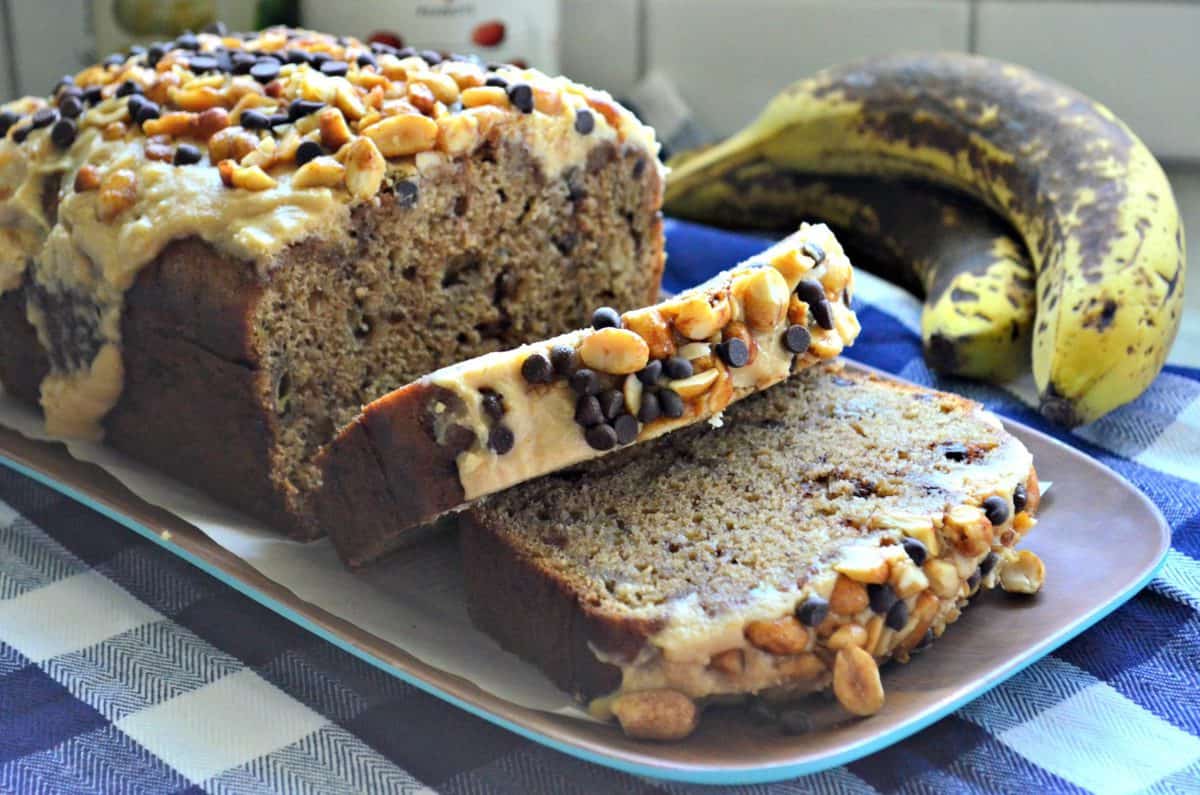
Peanut Butter Chocolate Chip Banana Bread
-
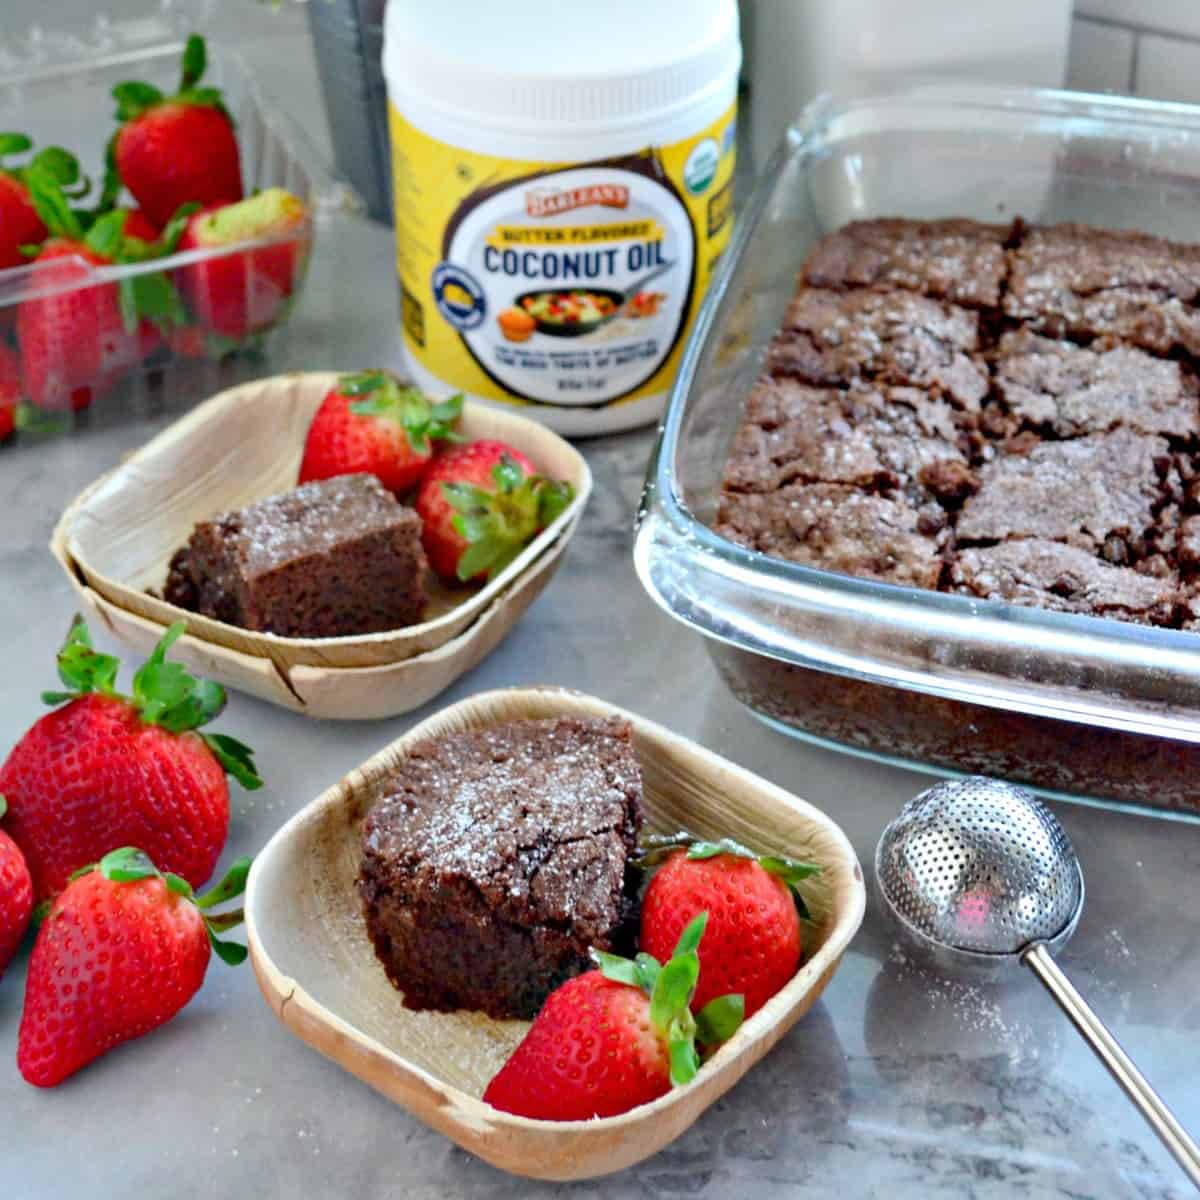
Dairy Free Brownies
-
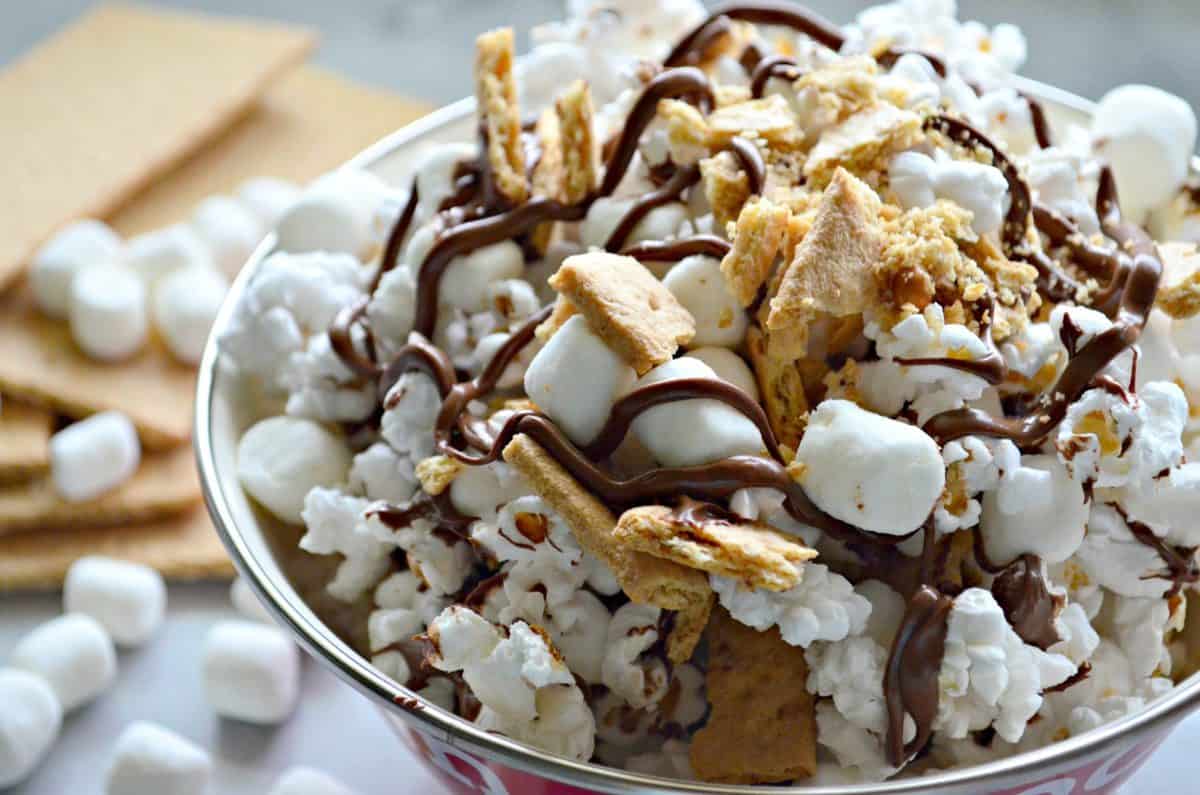
S’mores Popcorn
-
Slow Cooker Hot Chocolate
-
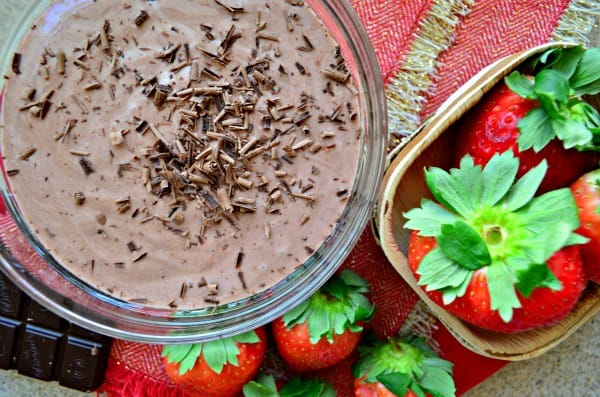
Chocolate Strawberry Yogurt Dip
-
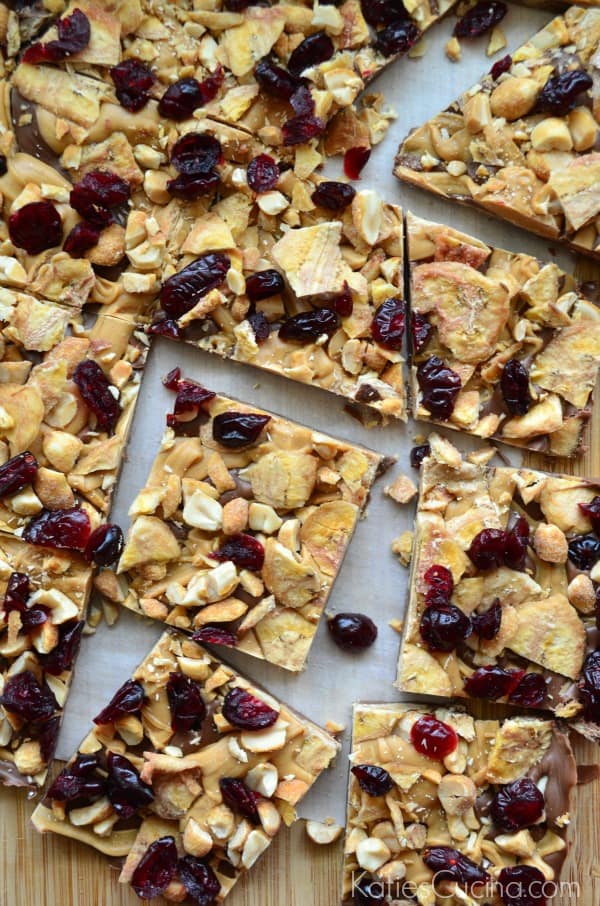
Chocolate PB&J Banana Bark
-
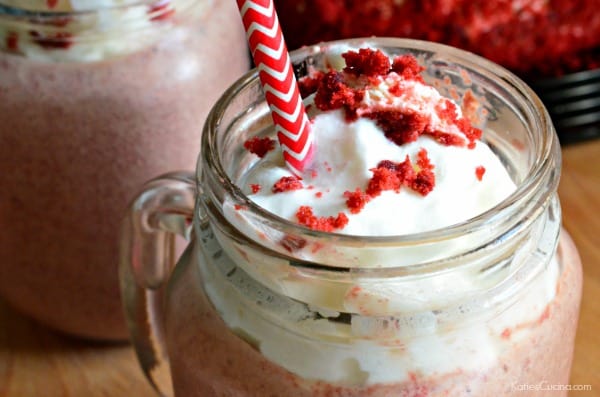
Red Velvet Cake Milkshakes
-
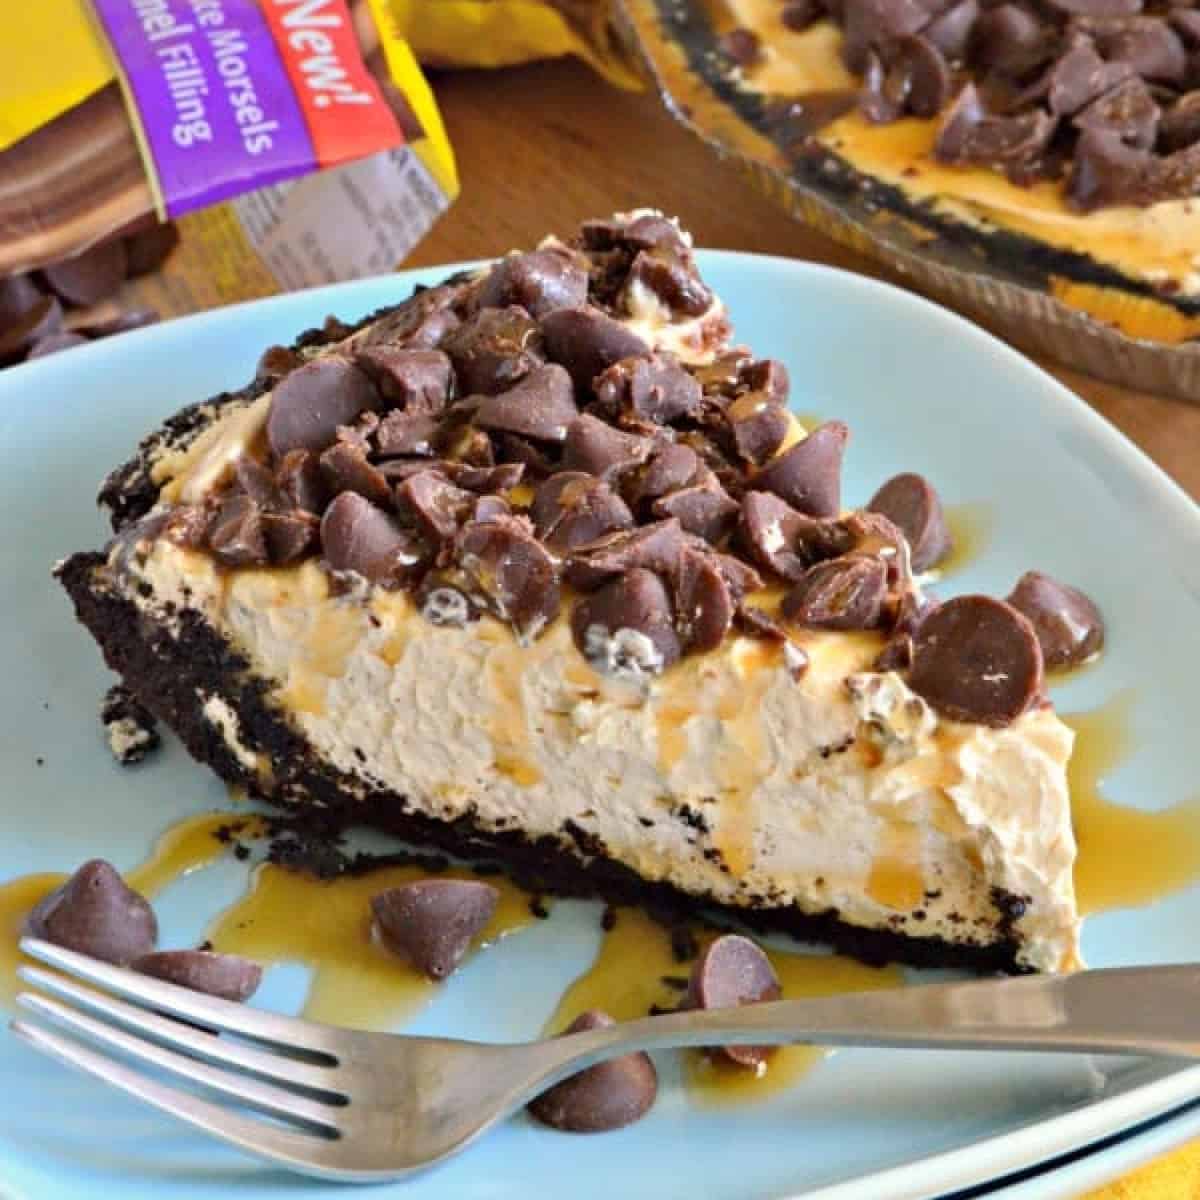
Turtle Pie
-
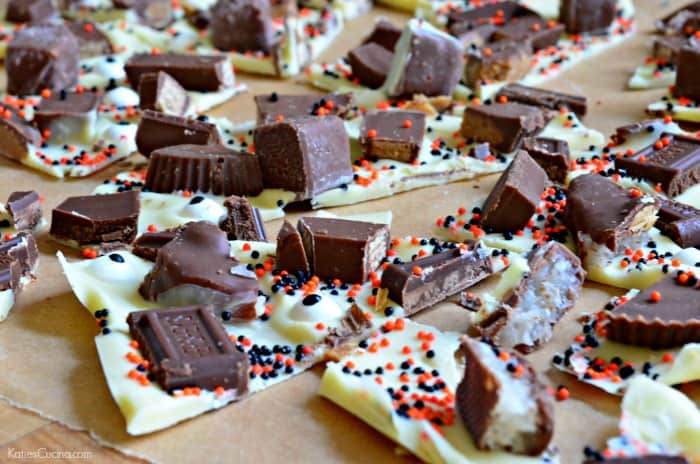
White Chocolate Halloween Candy Bark
-
How to Host a Wine & Chocolate Pairing Party
-
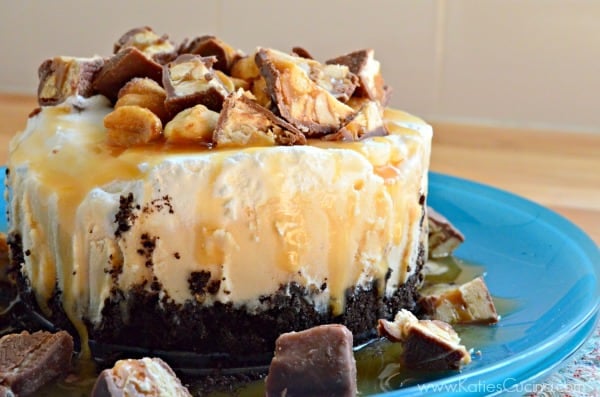
Mini Snickers Ice Cream Cakes
-
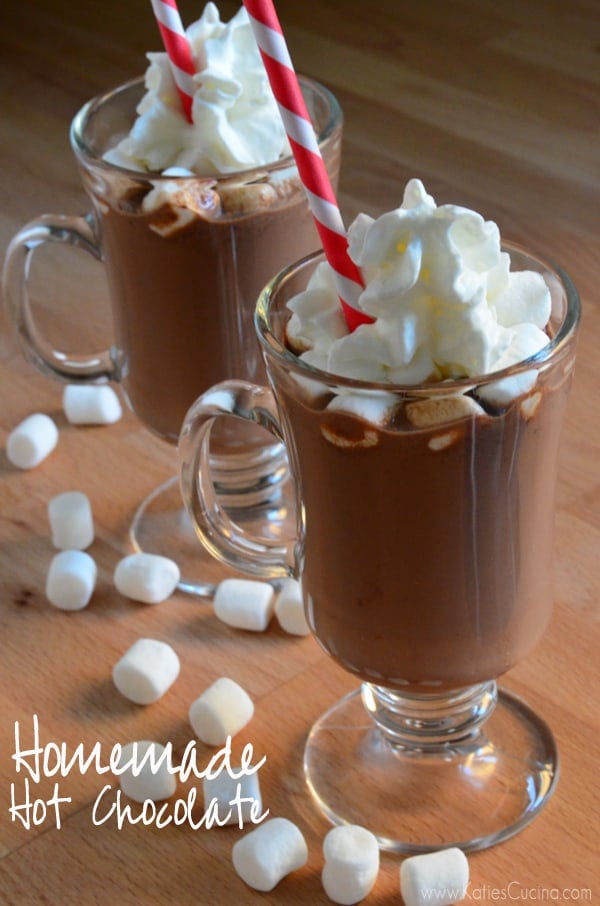
Homemade Hot Chocolate
-
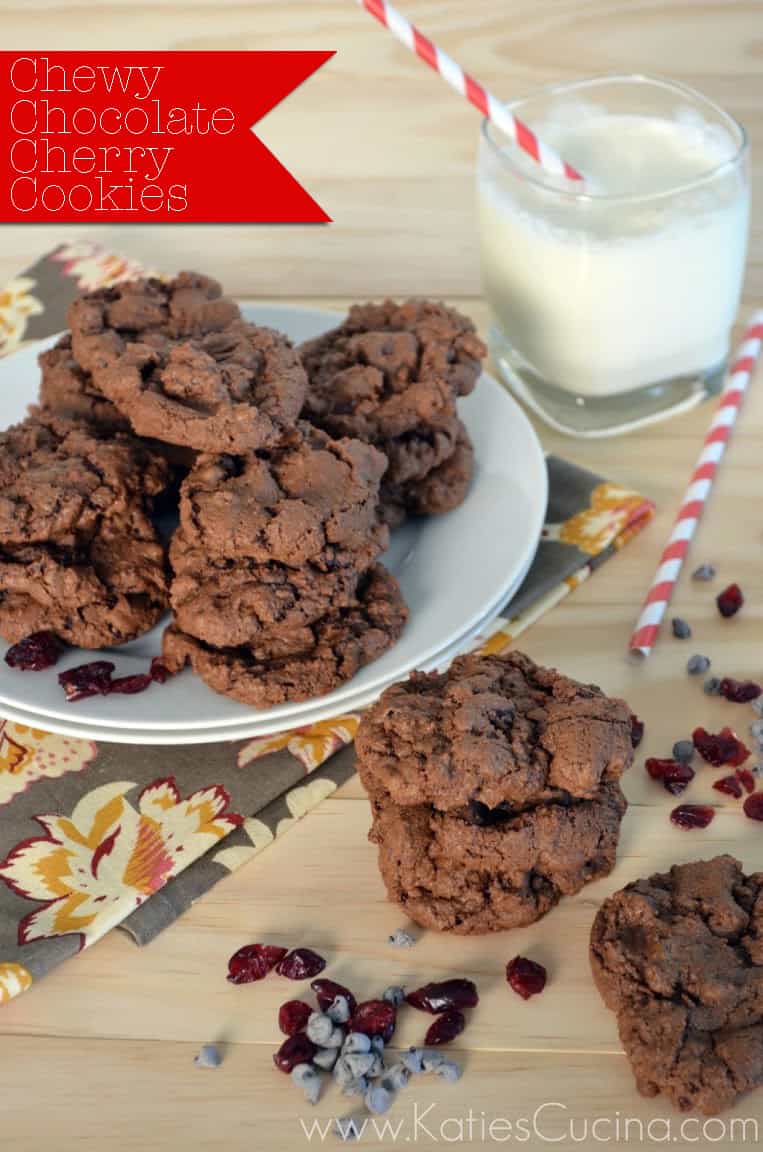
Chewy Chocolate Cherry Cookies
-
Creme de Menthe Chunk Cookies
-
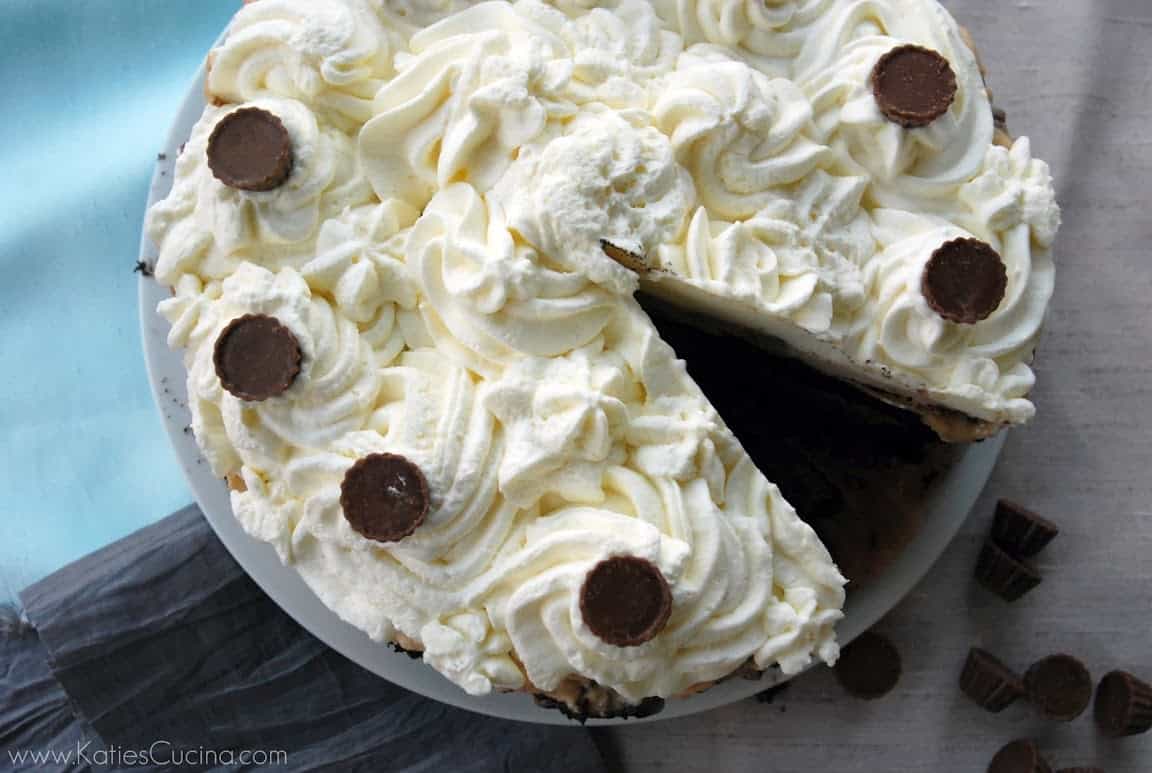
Peanut Butter Chocolate Ice Cream Cake
-
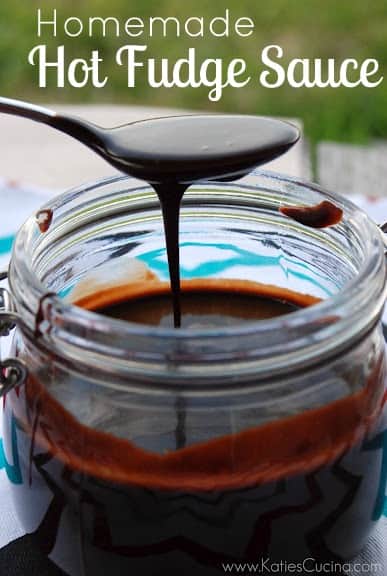
Homemade Hot Fudge Sauce
-
Oreo Truffles
-
Chocolate Covered Football Strawberries
-
Chocolate Peanut Butter Cupcakes
-
Chocolate-Coconut Cake