Skip to main content
Skip to primary sidebar
Home
About
Contact Me
FAQS
Privacy Policy
Accessibility Statement
Collaborate
Recipes
Appetizer
Asian
Breakfast
Bread
Comfort Food
Dairy Free
Dessert
Cookies
Ice Cream
Drinks
Smoothie
gluten free
Greek
Grilling
Holiday
Christmas
Halloween
Instant Pot
Italian
Katie Original
Main Dish
Beef
Chicken
Pork
Sausage
Turkey
Pizza
Mexican
One Pot Meal
Polish
Salad
Dressing
Sandwich
Seafood
Shrimp
Side Dish
Slow Cooker
Soups and Stews
Vegetarian
Travel
Search
menu icon
Home
Recipe Index
About Me
Contact
search icon
Search
Home
Recipe Index
About Me
Contact
×
Katie's Cucina
Search Results for: hot chocolate
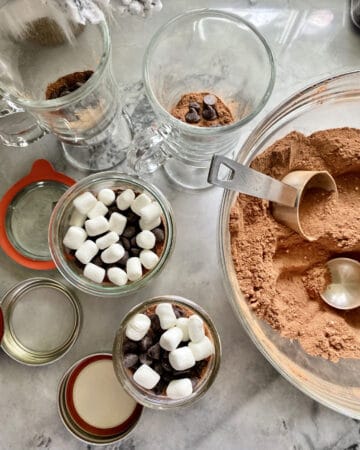
Homemade Hot Chocolate Mix
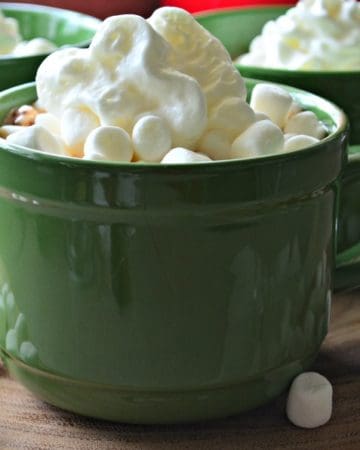
Instant Pot Hot Chocolate
Slow Cooker Hot Chocolate
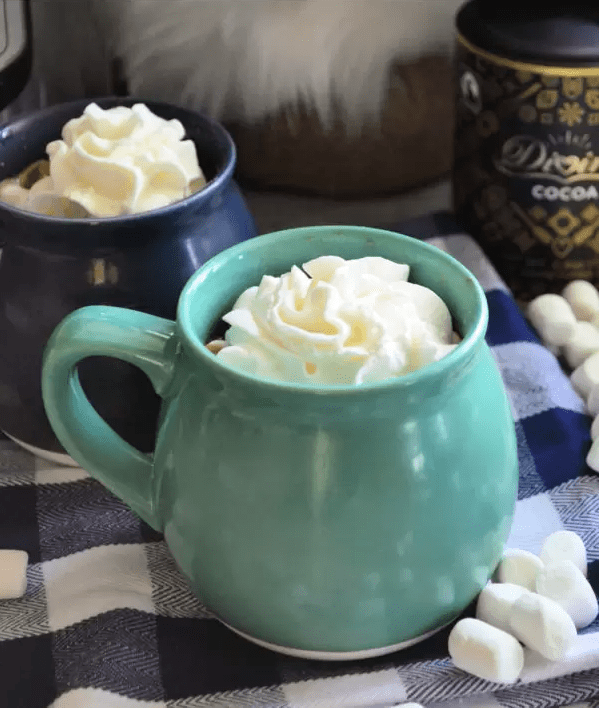
Homemade Hot Chocolate
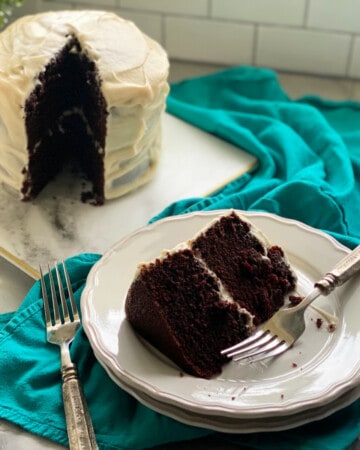
Chocolate Cake with Cream Cheese Frosting
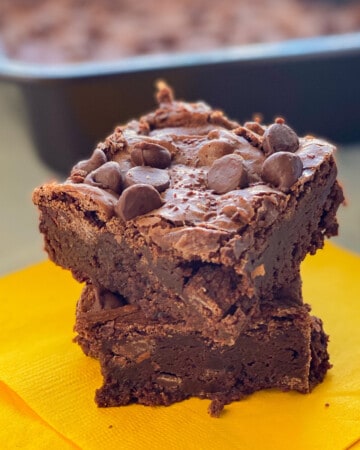
Brownies with Chocolate Chips
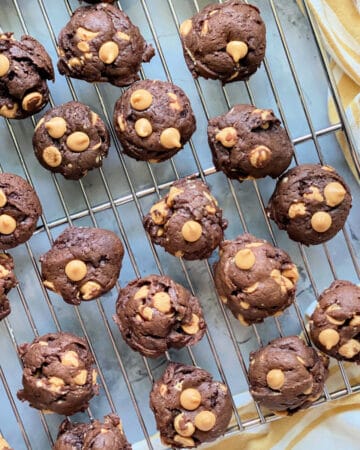
Chocolate Peanut Butter Chip Cookies
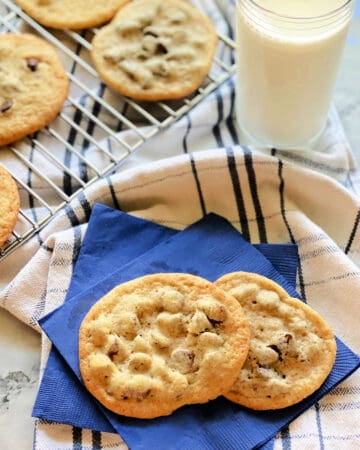
Chocolate Chip Cookies
Chocolate Spoons
Chocolate Chip Granola Bars
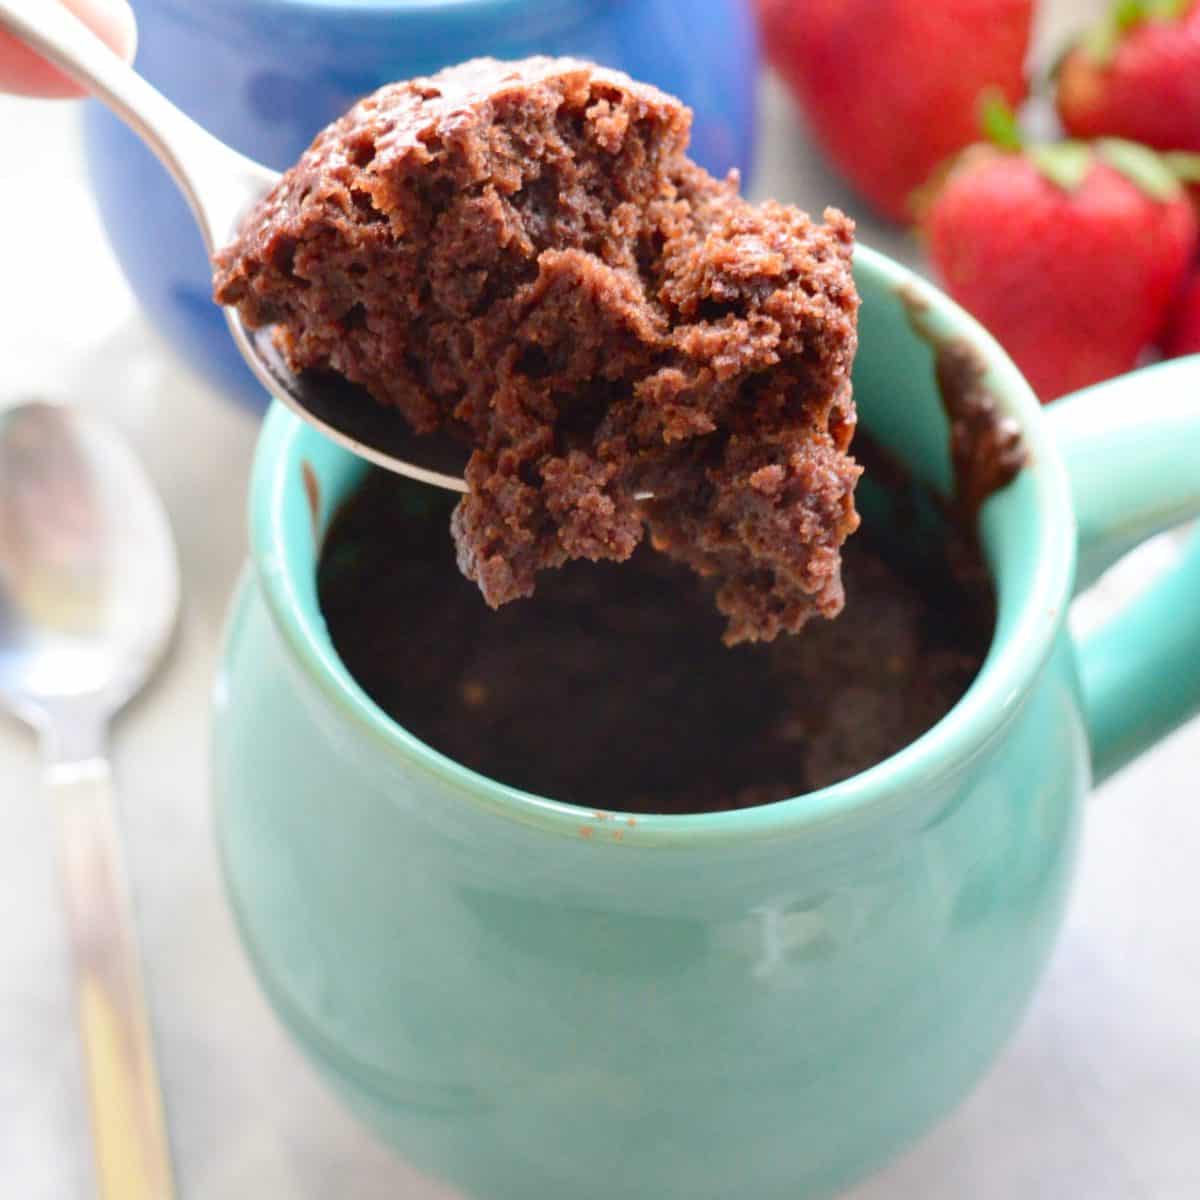
Dairy Free Chocolate Mug Cake
Dark Chocolate Truffles
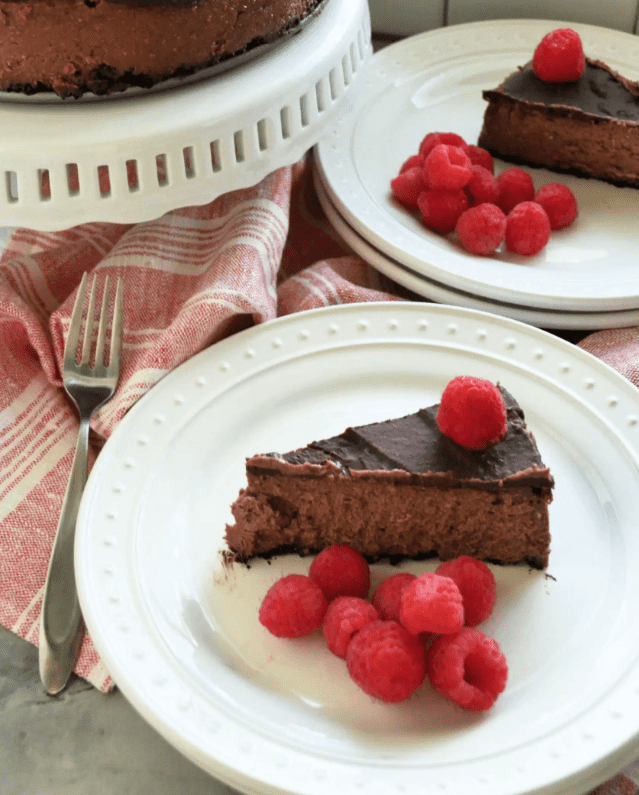
Dark Chocolate Cheesecake
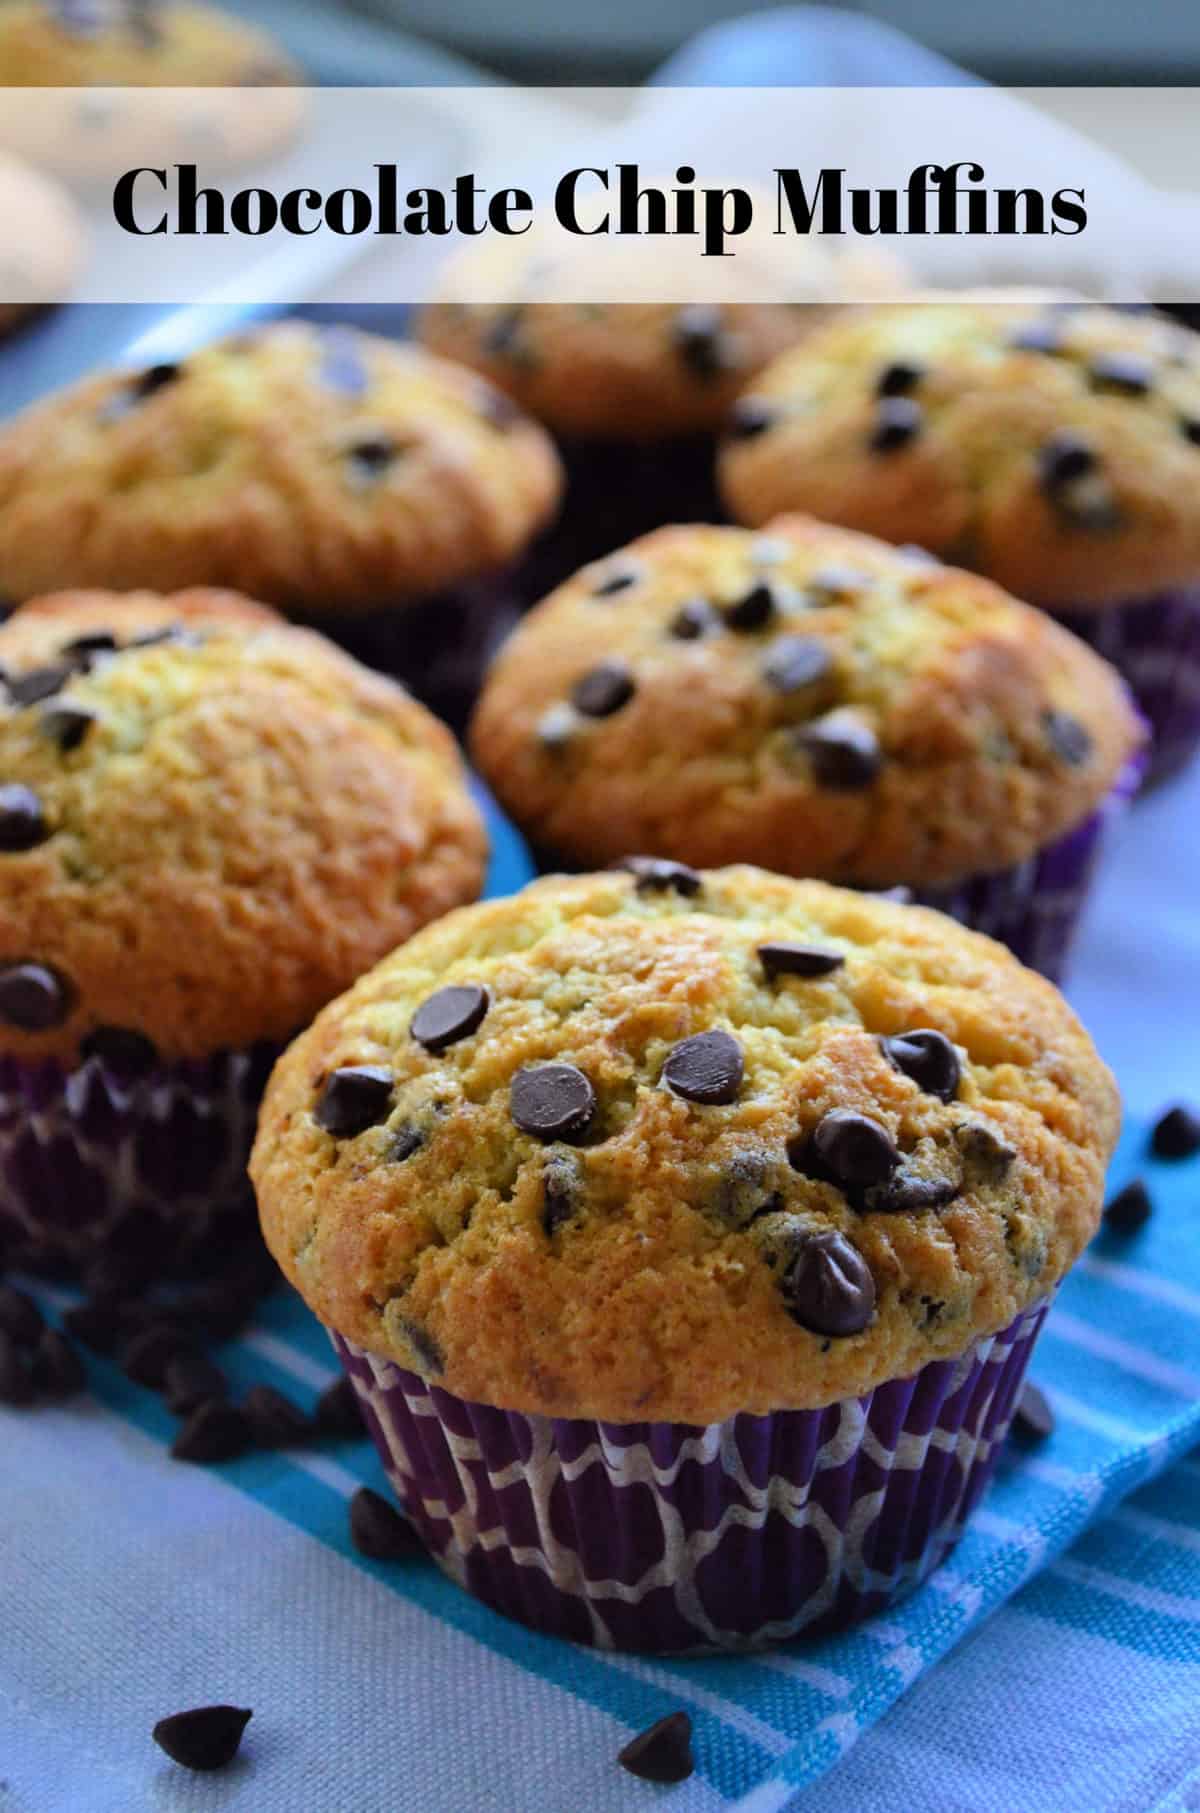
Chocolate Chip Muffins
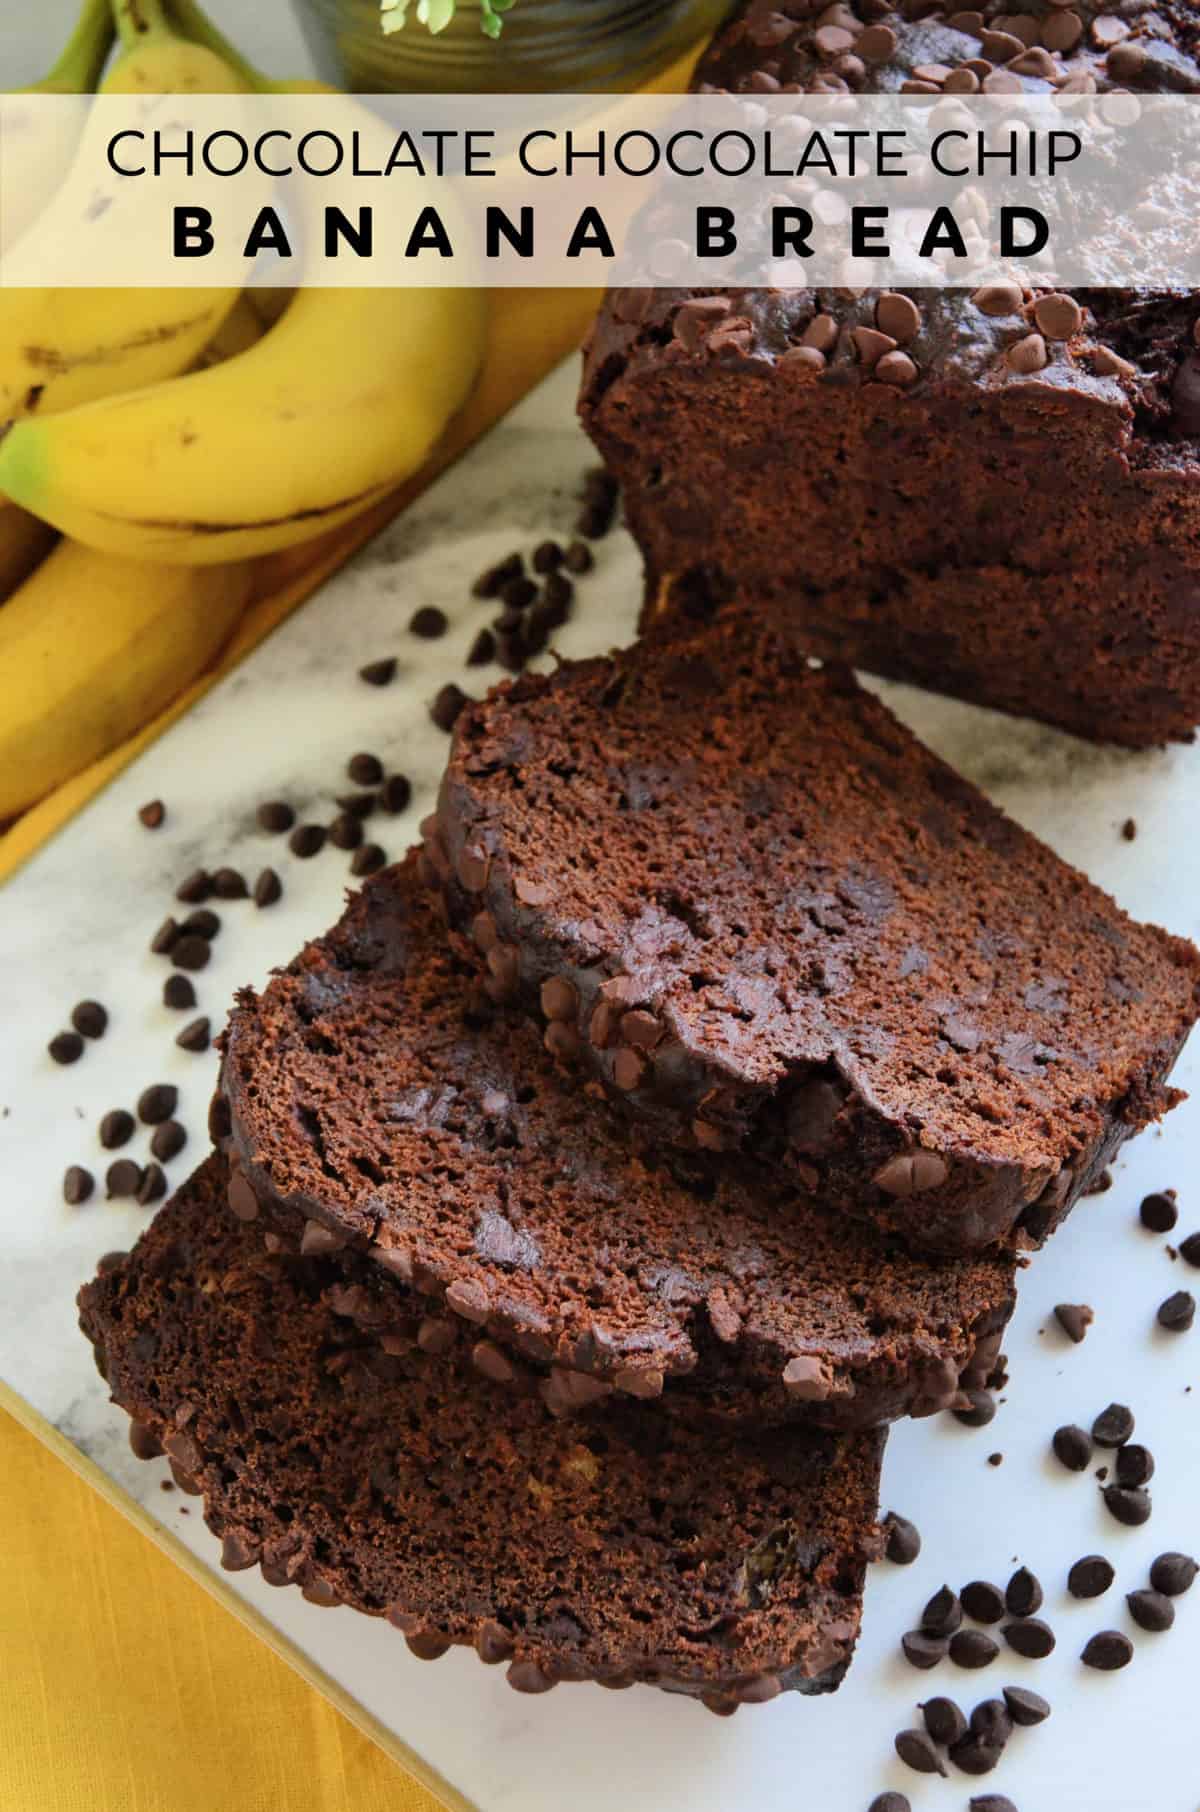
Chocolate Chocolate Chip Banana Bread
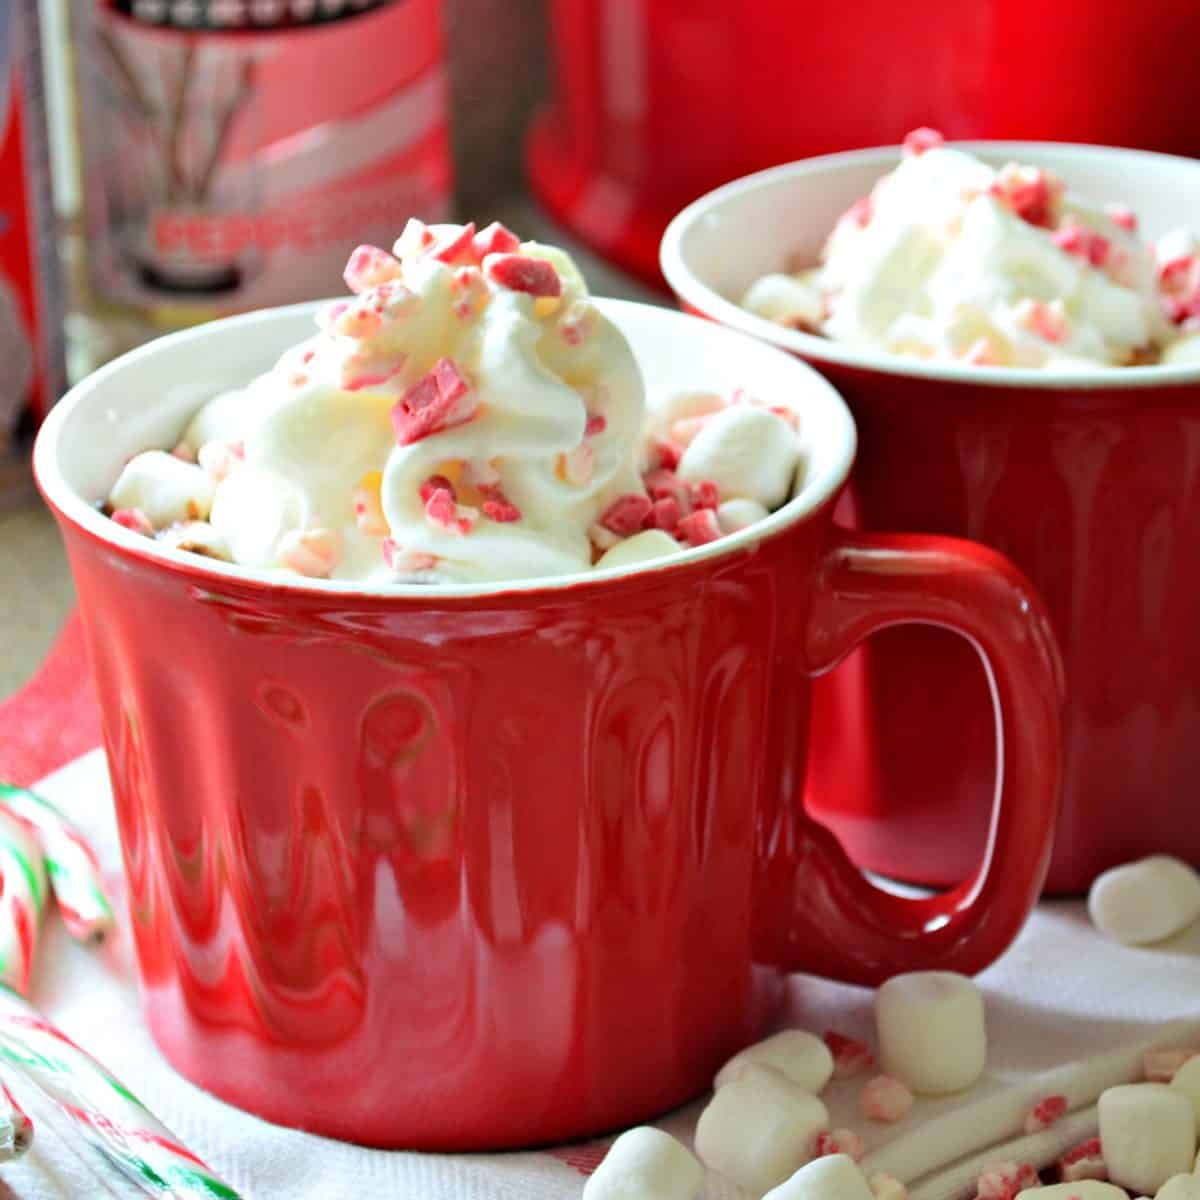
Slow Cooker Boozy Peppermint Hot Cocoa
How to Host a Wine & Chocolate Pairing Party
Peanut Butter Chocolate Ice Cream Cake
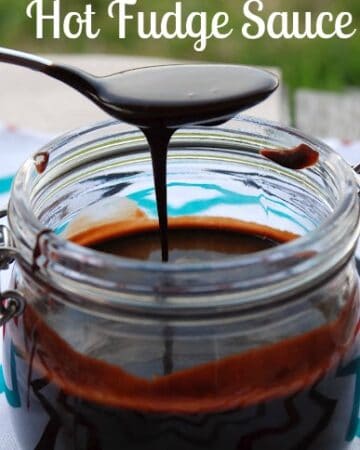
Homemade Hot Fudge Sauce
Chocolate Covered Football Strawberries
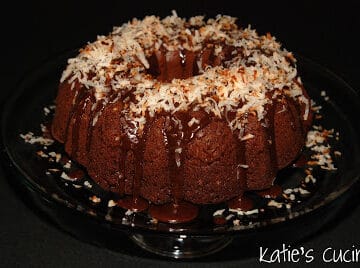
Chocolate-Coconut Cake
Chocolate Chip Cookie Dough Ice Cream
Valentines Day Desserts – 77 Sweet Treats
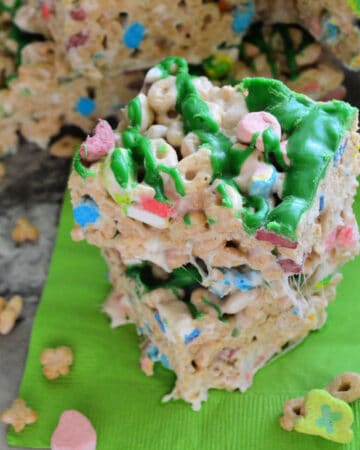
Lucky Charms Cereal Bars
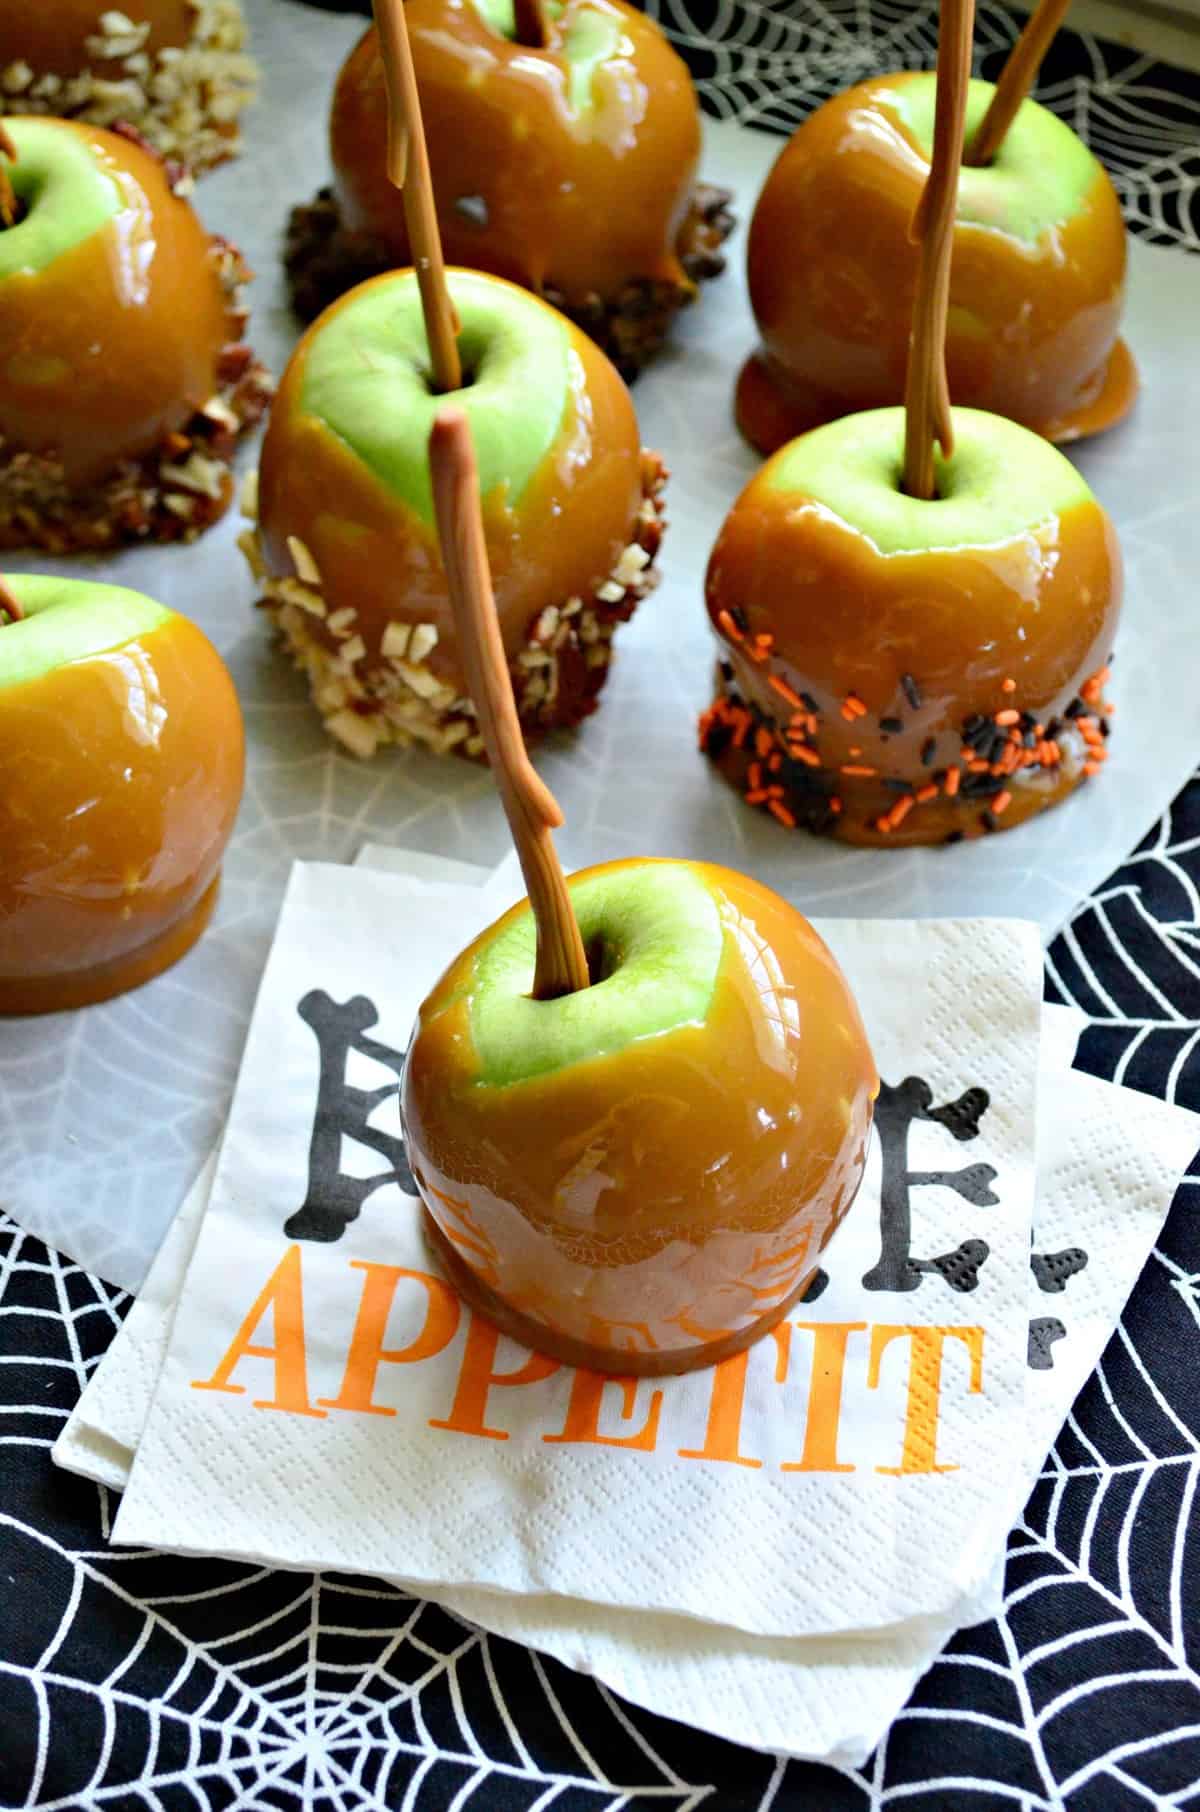
Easy Caramel Apple Recipe
Strawberry Turnovers
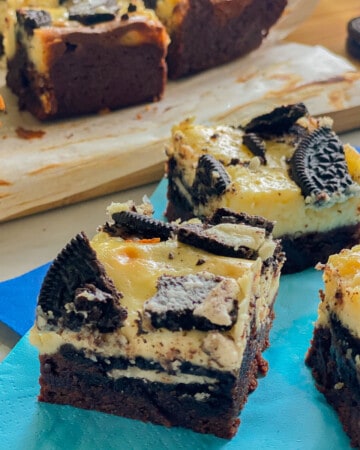
Oreo Cheesecake Brownies
The Diplomat Beach Resort (Family Vacation)
25 Easy Sweet Recipes at Home
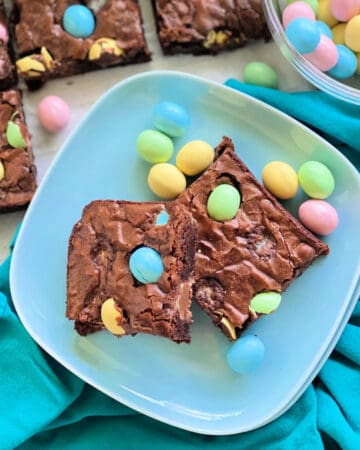
Mini Egg Brownies
100 Crock Pot Recipes
Egg and Ham Savory Waffle Stacks
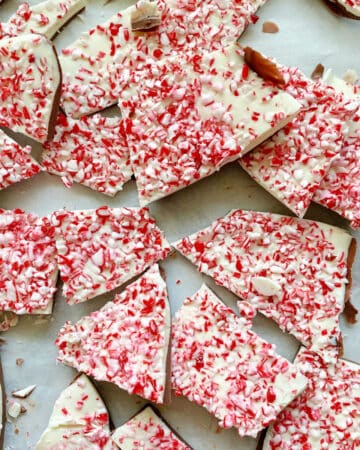
Peppermint Bark
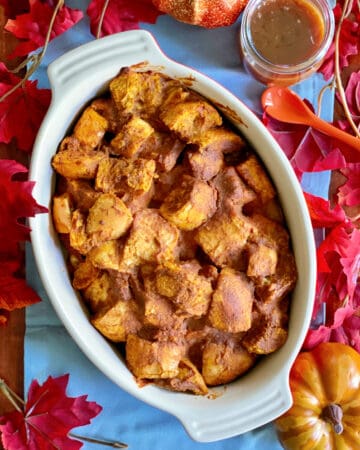
Pumpkin Bread Pudding
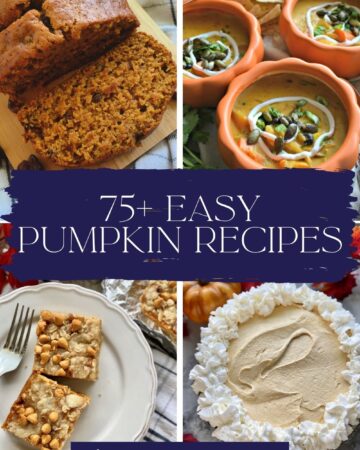
75+ Easy Pumpkin Recipes
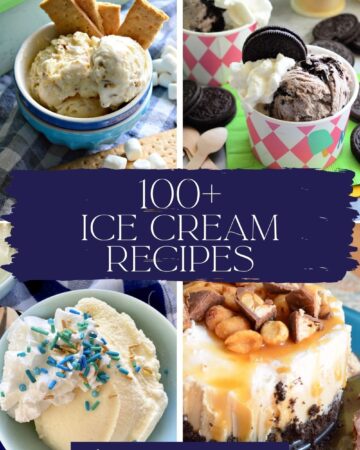
100+ Ice Cream Recipes
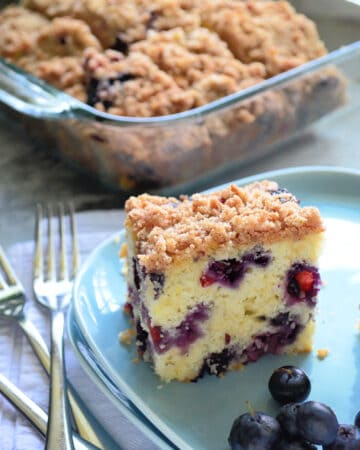
Blueberry Coffee Cake
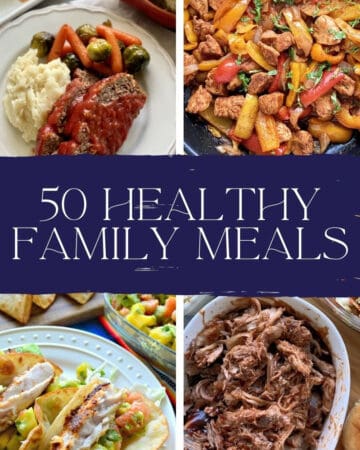
50 Healthy Family Meals
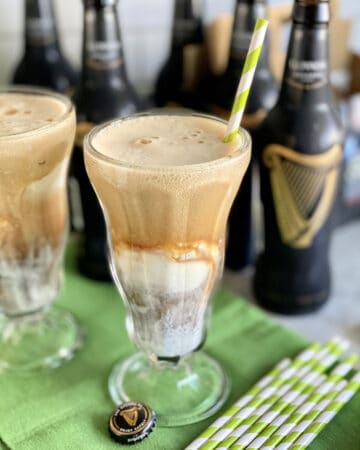
Guinness Float
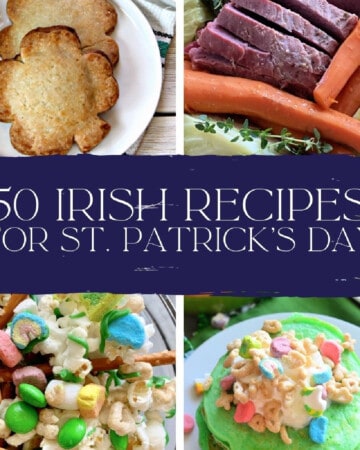
St Patricks Day Recipes – 50 Irish Recipes
Next Page »