Skip to main content
Skip to primary sidebar
Home
About
Contact Me
FAQS
Privacy Policy
Accessibility Statement
Collaborate
Recipes
Appetizer
Asian
Breakfast
Bread
Comfort Food
Dairy Free
Dessert
Cookies
Ice Cream
Drinks
Smoothie
gluten free
Greek
Grilling
Holiday
Christmas
Halloween
Instant Pot
Italian
Katie Original
Main Dish
Beef
Chicken
Pork
Sausage
Turkey
Pizza
Mexican
One Pot Meal
Polish
Salad
Dressing
Sandwich
Seafood
Shrimp
Side Dish
Slow Cooker
Soups and Stews
Vegetarian
Travel
Search
menu icon
Home
Recipe Index
About Me
Contact
search icon
Search
Home
Recipe Index
About Me
Contact
×
Katie's Cucina
»
Recipes
Blog
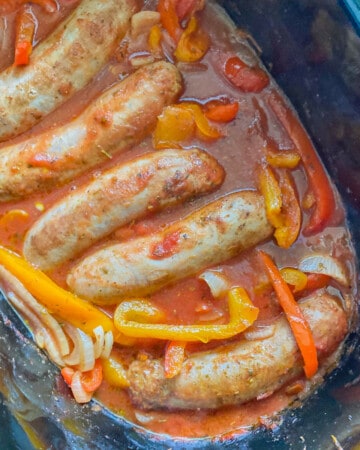
Slow Cooker Sausage and Peppers
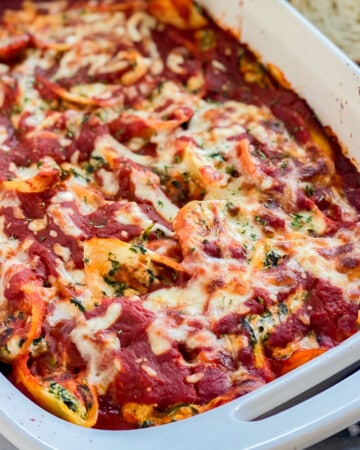
Stuffed Shells with Spinach
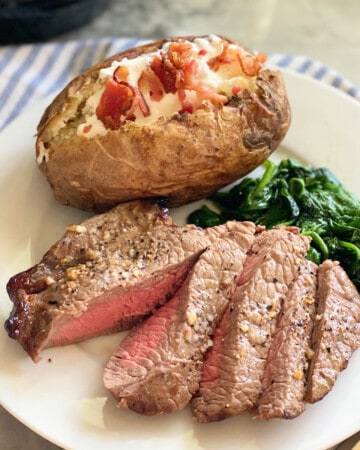
Steak and Lobster
Sauteed Zucchini and Tomatoes
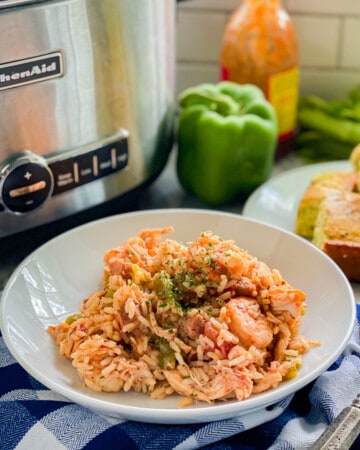
Crock Pot Jambalaya
Air Fryer Sirloin Steak
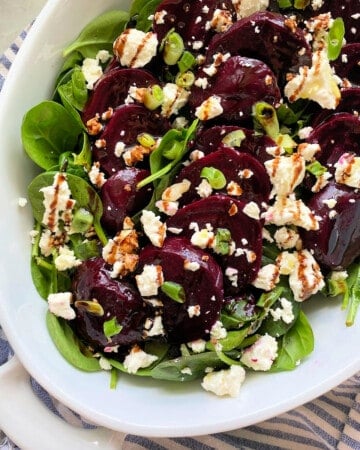
Beet Salad with Feta
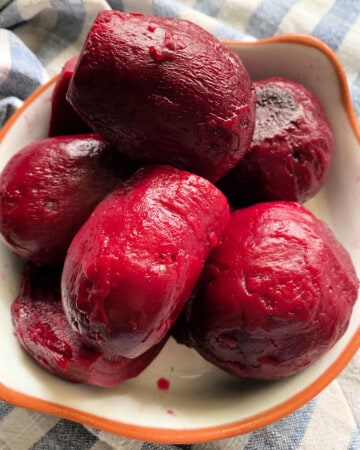
Instant Pot Beets
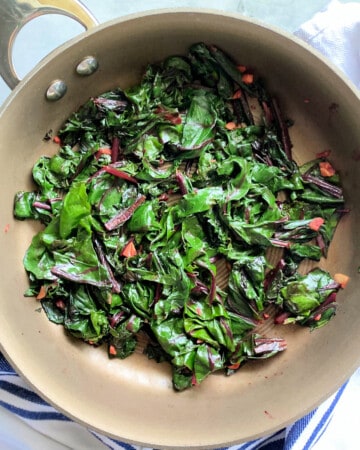
Sautéed Beet Greens
Air Fryer Recipes for Beginners
Cabbage and Sausage Soup
Panera Greek Salad
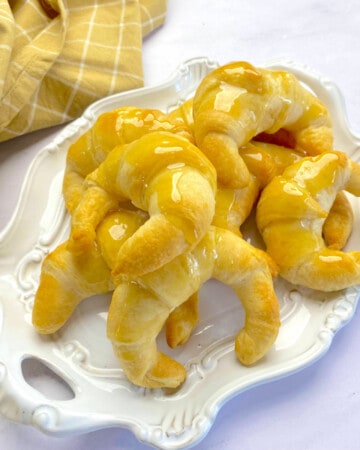
Honey Butter Crescent Rolls
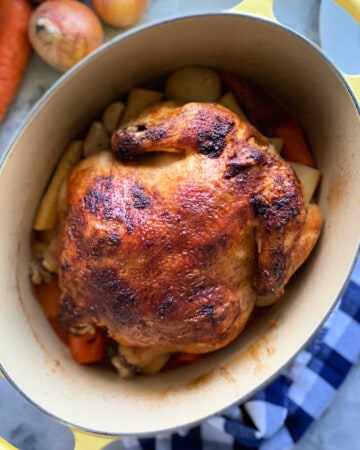
Dutch Oven Whole Chicken
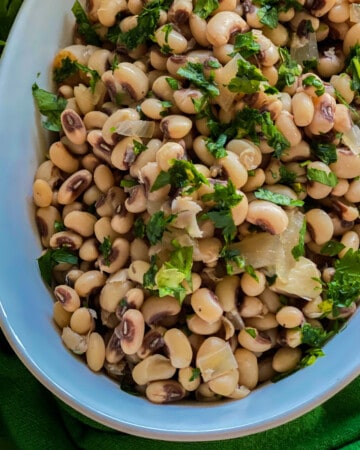
Slow Cooker Black Eyed Peas
27 Leftover Mashed Potato Recipes
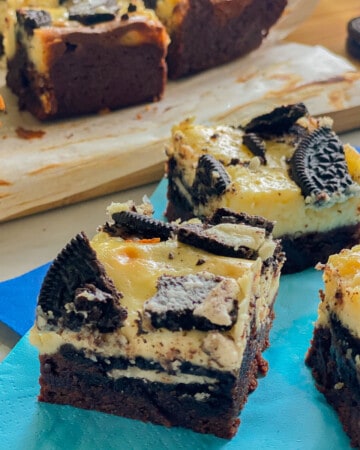
Oreo Cheesecake Brownies
Chocolate Chip Marshmallow Cookies
Easy Turkey Pot Pie
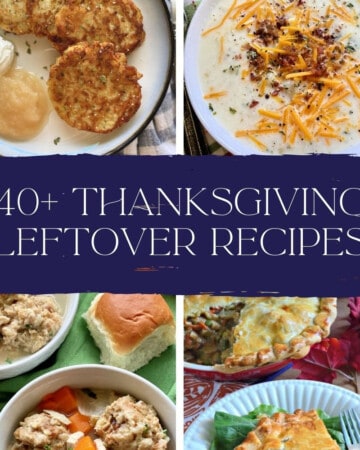
40+ Thanksgiving Leftover Recipes
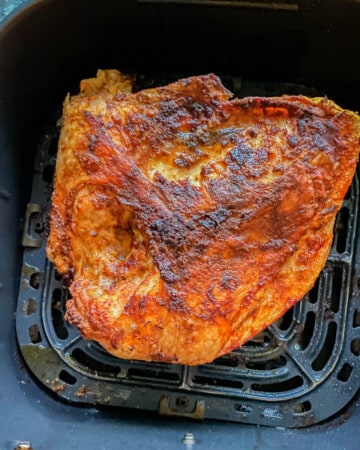
Air Fryer Turkey Breast
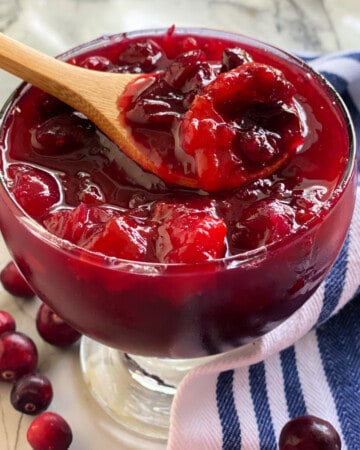
Mango Cranberry Sauce
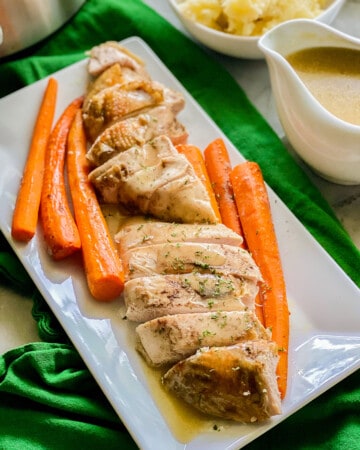
Slow Cooker Turkey Breast
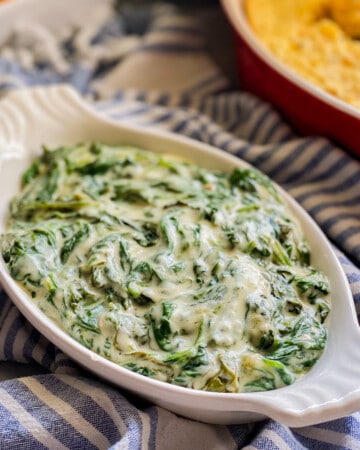
Steakhouse Creamed Spinach
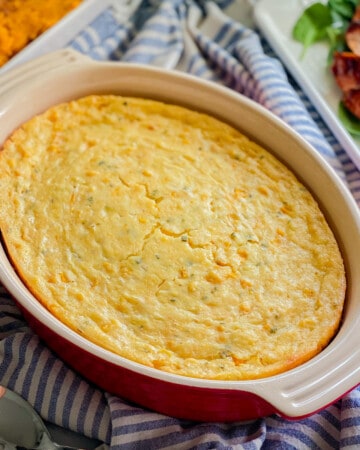
Jiffy Corn Casserole
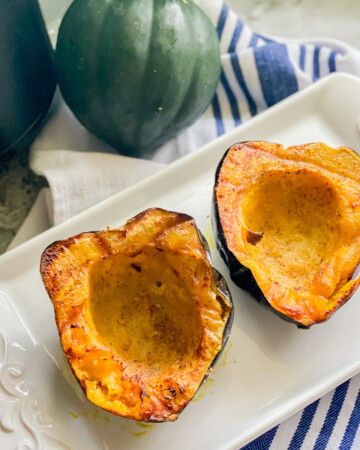
Air Fryer Acorn Squash
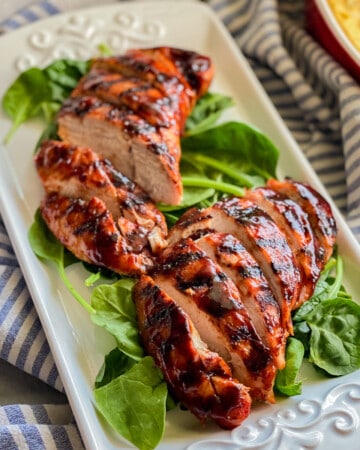
Grilled Turkey Tenderloin
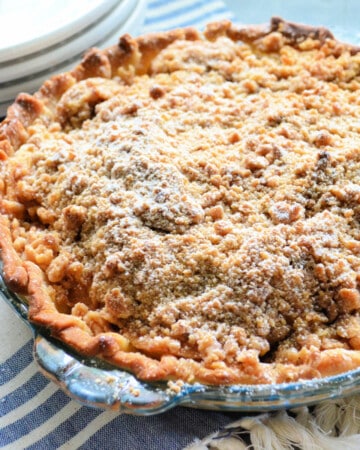
Apple Pie with Streusel Topping
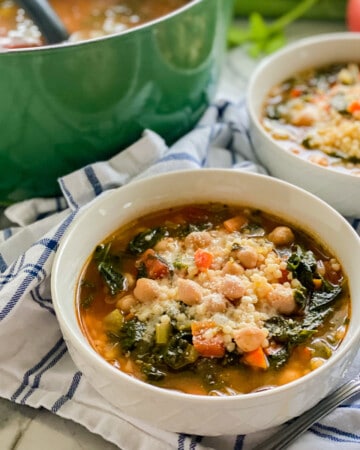
Chickpea Soup
Brownies with Chocolate Chips
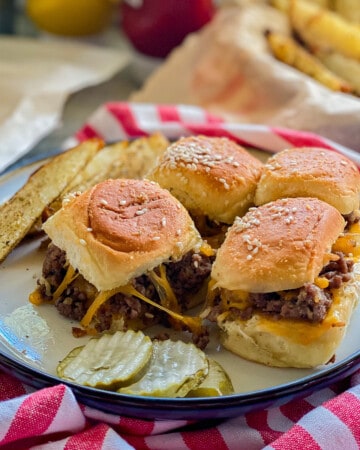
Cheeseburger Sliders
Baked Potato Wedges
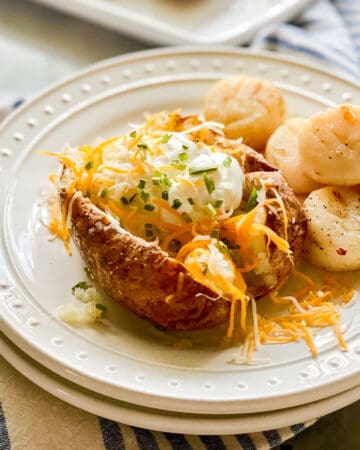
Air Fryer Baked Potatoes
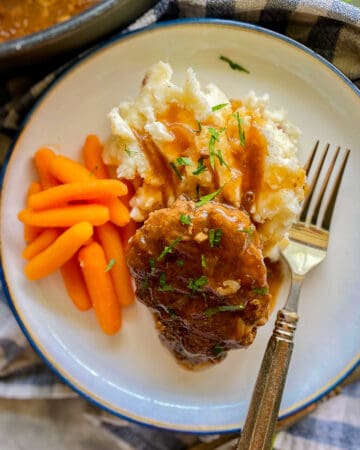
Old Fashioned Salisbury Steak Recipe
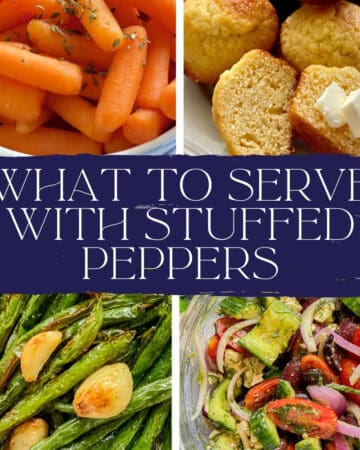
What to Serve with Stuffed Peppers – 27 Delicious Sides
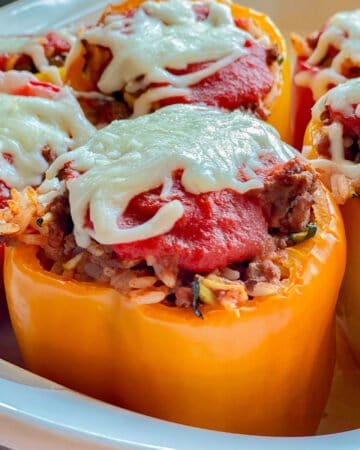
Stuffed Bell Peppers with Ground Beef
Chocolate Peanut Butter Chip Cookies
Sausage and Egg Casserole
Yogurt with Granola
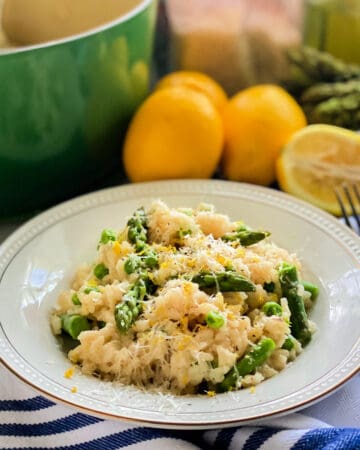
Pea and Asparagus Risotto
« Previous Page
Next Page »