
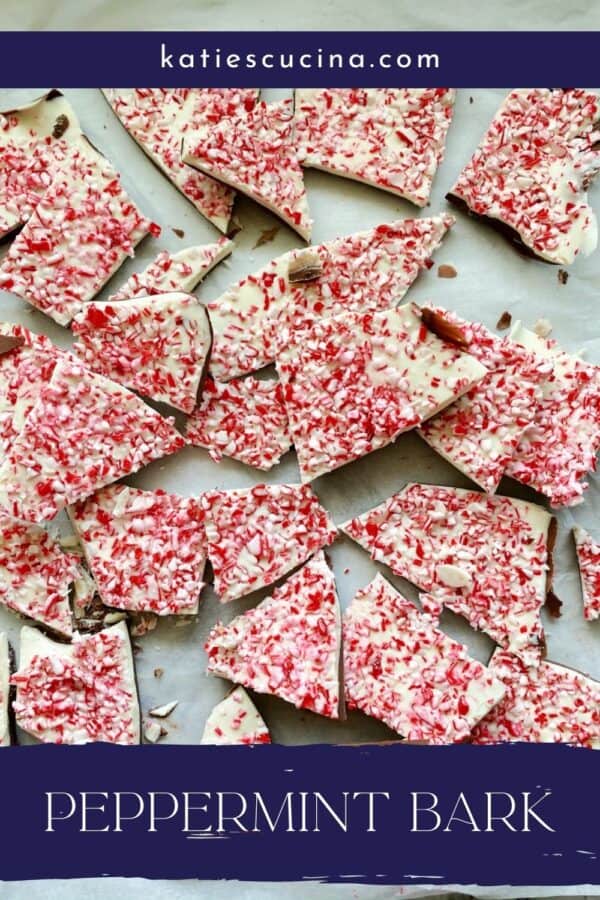
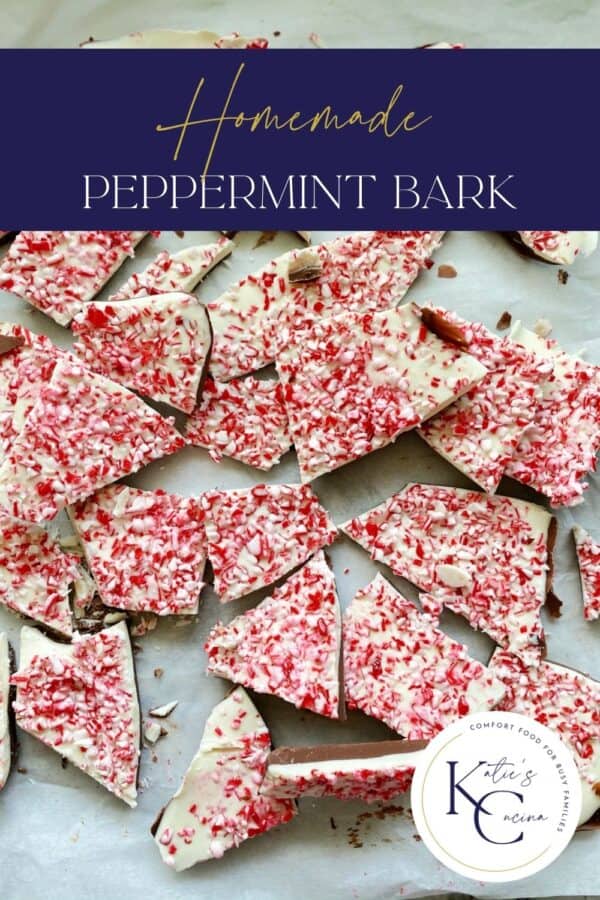
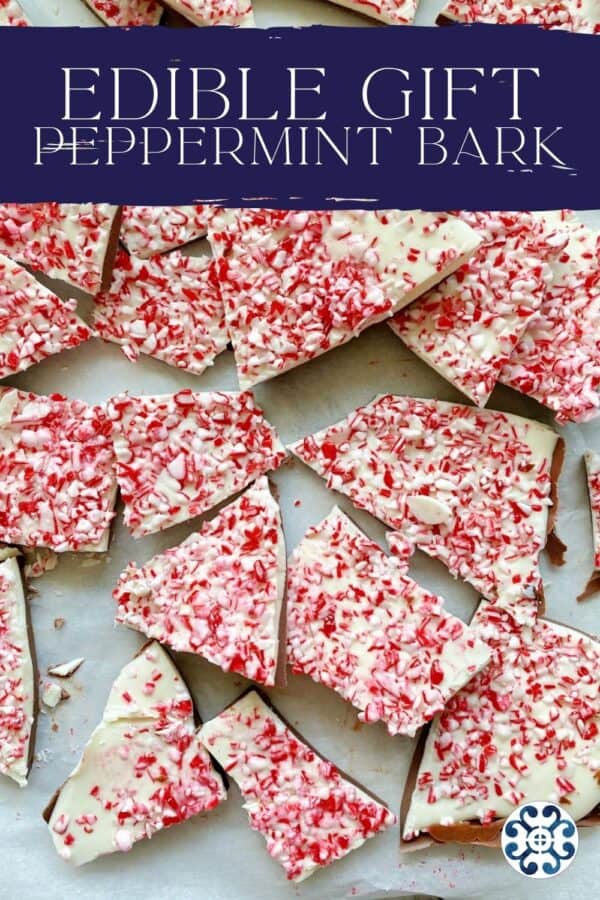
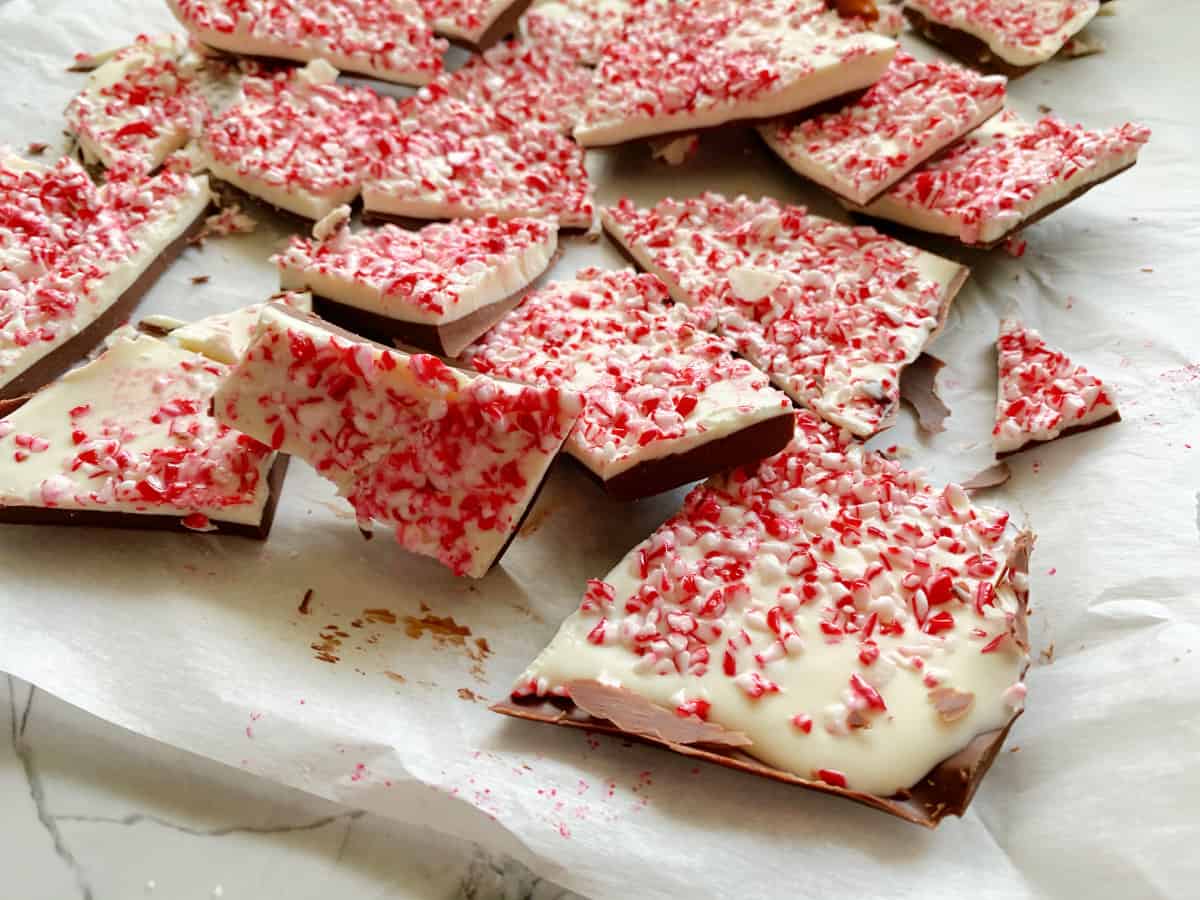
Make homemade Peppermint Bark with just three ingredient in less then an hours time. This easy Peppermint Bark recipe makes for a delicious holiday gift to give to neighbors, friends, and teachers.
Aah, if their is one holiday treat I love the most it’s Peppermint Bark. I always have to have some during the month of December. I first learned of this magical treat well over a decade ago and would indulge in the uber expensive store bought Williams Sonoma Peppermint Bark. Then I realized that I could probably make chocolate peppermint bark at home. I did a lot of testing and over the years I’ve perfected my peppermint bark recipe.
Pro Tip: It’s all about the quality of your chocolate which will give you that copycat flavor of the rich and decadent Williams Sonoma Peppermint Bark.
Jump to:
Why This Recipe Works
Simplicity: A three-ingredient recipe is likely to be simple and easy to follow. This simplicity can make the preparation process straightforward, making it accessible to a wide range of home cooks. The fewer ingredients involved, the less chance there is for error or confusion during the cooking or baking process.
Balanced Flavors: A successful peppermint bark recipe requires a balance of flavors. The combination of chocolate, peppermint, and a base (like crushed candy canes or peppermint extract) should work harmoniously to create a well-rounded and delicious treat. The limited number of ingredients suggests that each component plays a crucial role in achieving this balance without overwhelming the palate.
Texture Contrast: Peppermint bark is often appreciated for its contrasting textures—smooth chocolate, crunchy peppermint, and sometimes a layer of white chocolate. The three-ingredient approach likely ensures that each ingredient contributes to the overall texture profile. For example, melted chocolate provides a creamy base, crushed peppermint candies add crunch, and the third ingredient may contribute additional texture or flavor complexity.
Ingredients
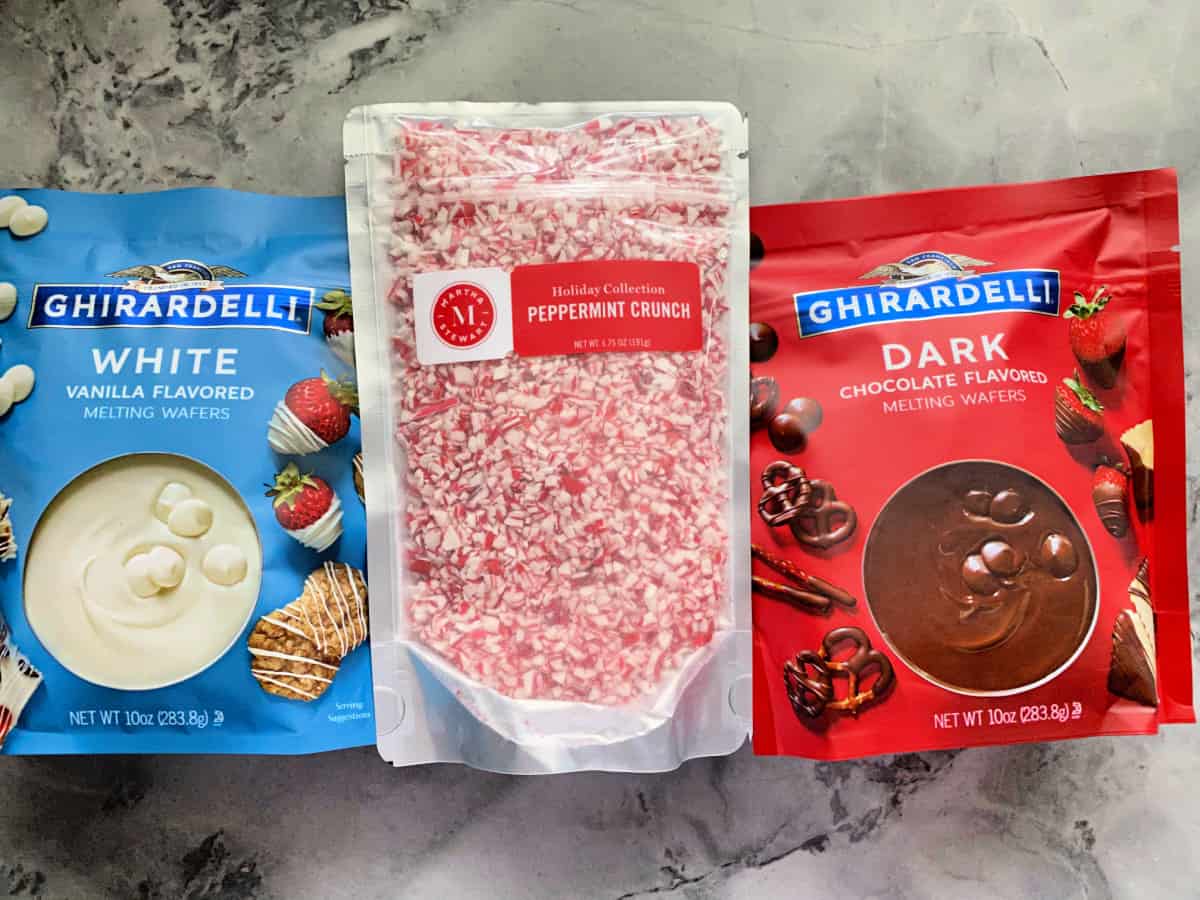
- Chocolate – I use a mix of both Ghiradelli White vanilla Flavored Melting Wafers and Ghiradelli Dark Chocolate Flavored Melting Wafers.
- Peppermint – Chopped peppermint either prepared or candy canes crushed.
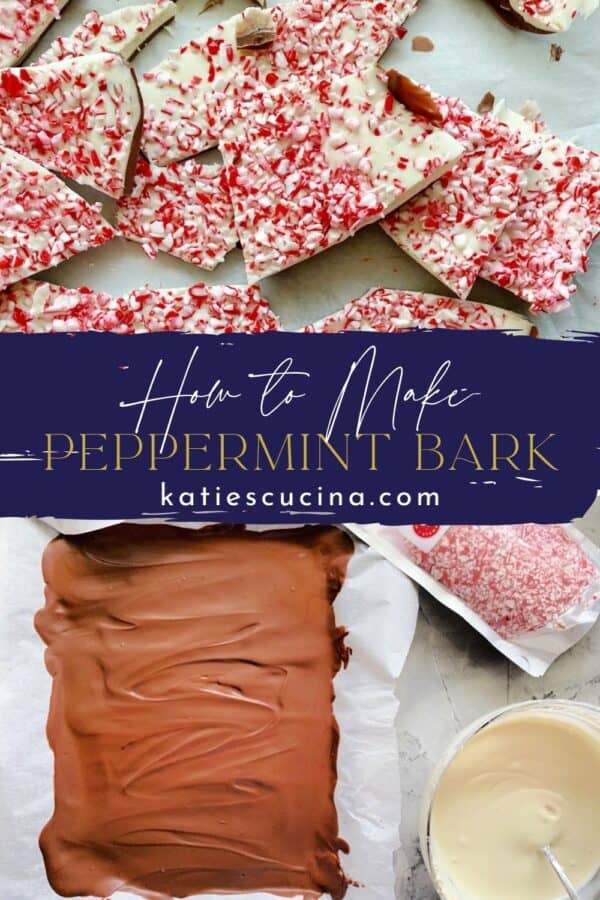
How to Make Peppermint Bark
First, line a 9.5″ x 7″ toaster oven pan tray with parchment paper, and set to the side.
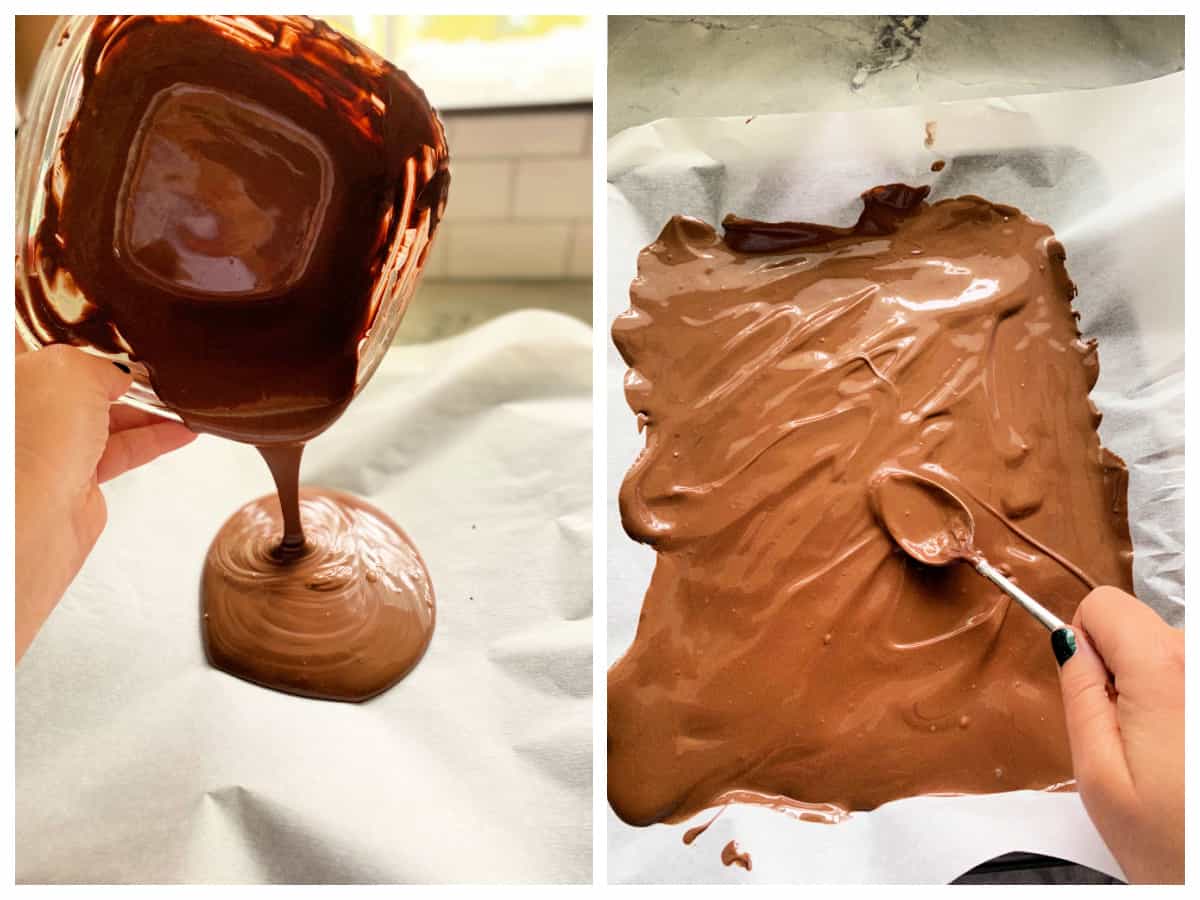
In a microwave safe bowl place the bag of dark chocolate melting wafers in the bowl. Microwave at half power or defrost setting for 30 seconds. Stir thoroughly, and repeat using 15 second intervals until melted. Once the chocolate is melted carefully pour and smooth it out on the parchment paper. Place in the refrigerator for 20 minutes.
Prior to pulling the dark chocolate out of the refrigerator, begin melting the white chocolate. Follow the same exact steps you did for the dark chocolate.
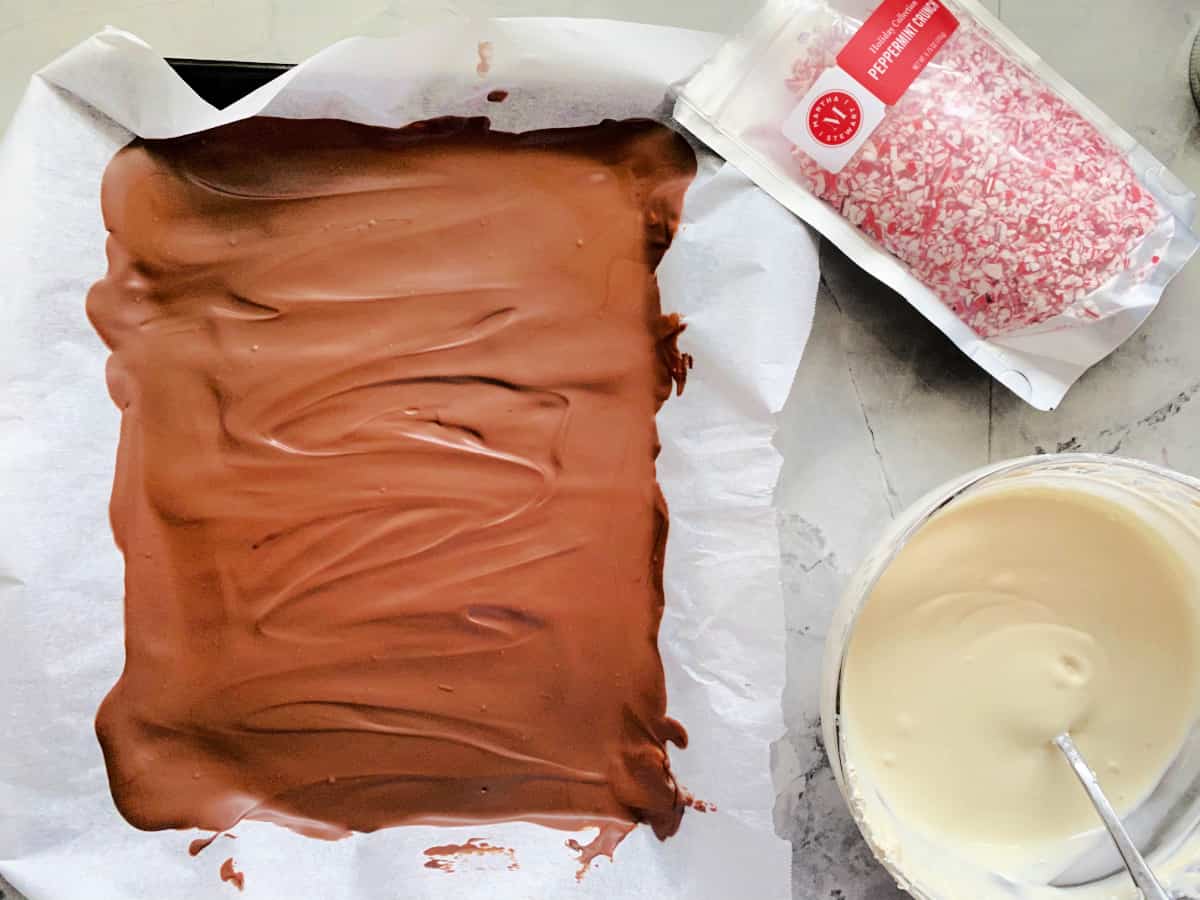
PRO TIP – You want the dark chocolate to be solid and not soft before pouring the white chocolate. It should look like the photo above.
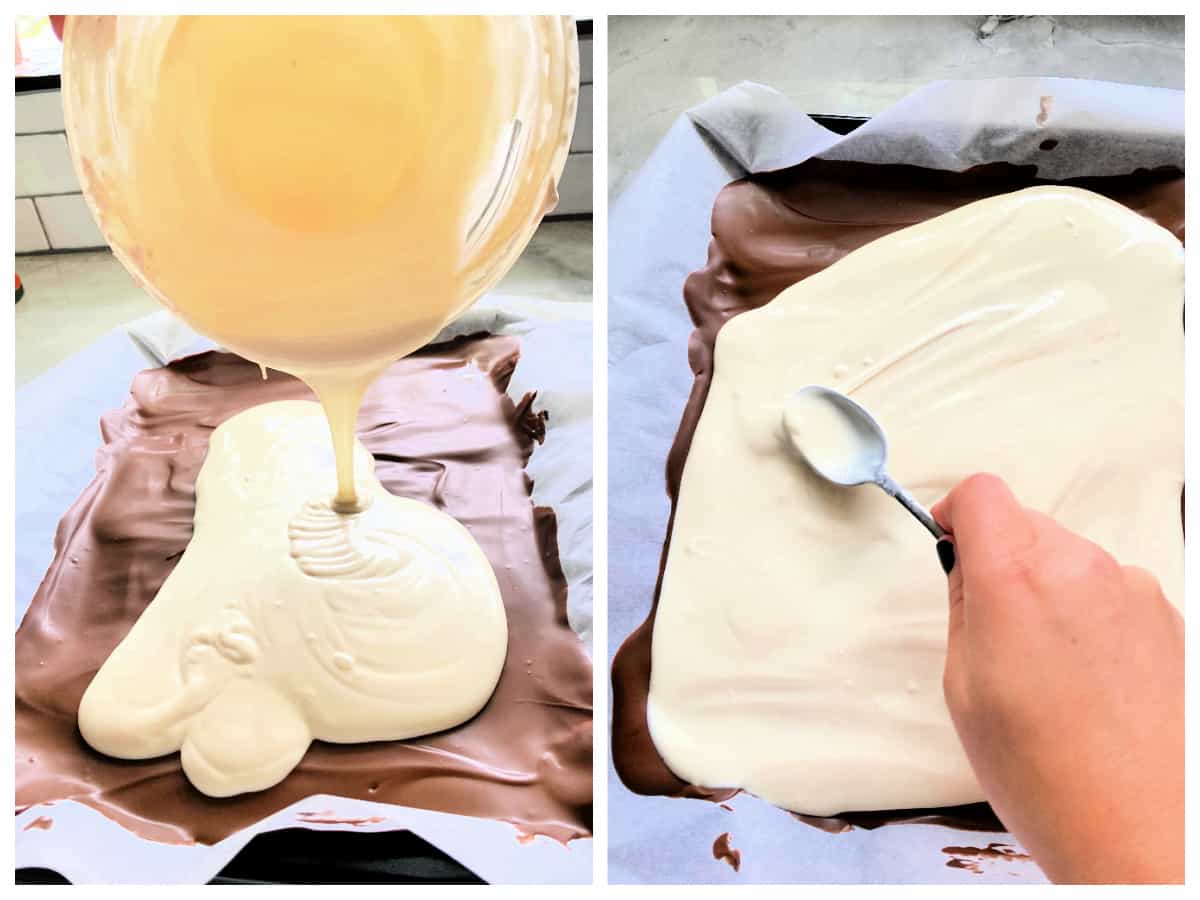
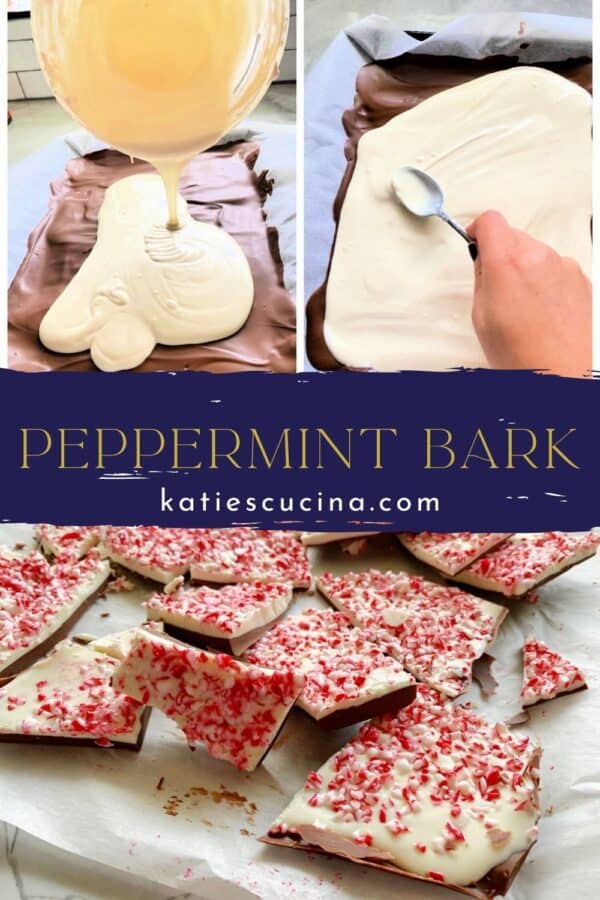
Pull the baking tray of hardened dark chocolate out of the freezer. Pour the melted white chocolate on to the dark chocolate. Smooth the white chocolate over top using the back of a spoon.
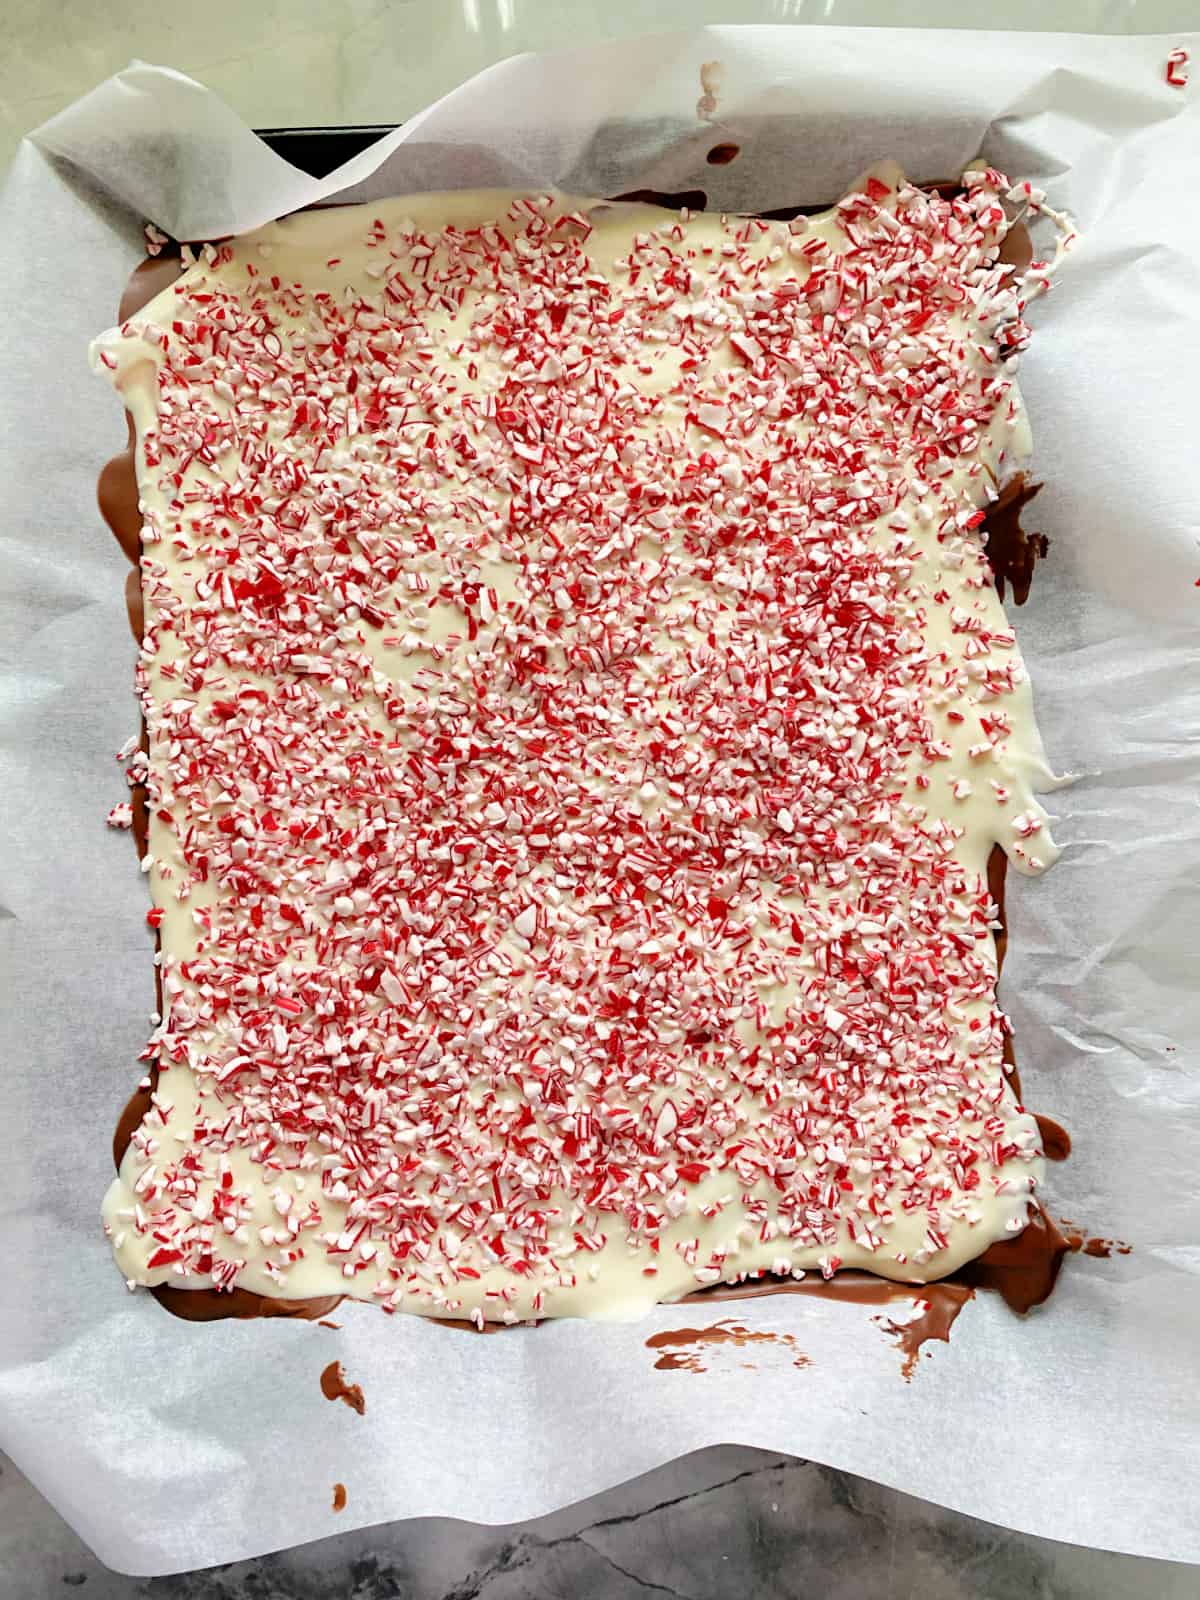
Once smooth, sprinkle the crushed peppermint all over the melted white chocolate. Place the chocolate back in the refrigerator for 20 more minutes or until hard and no longer soft/melted.
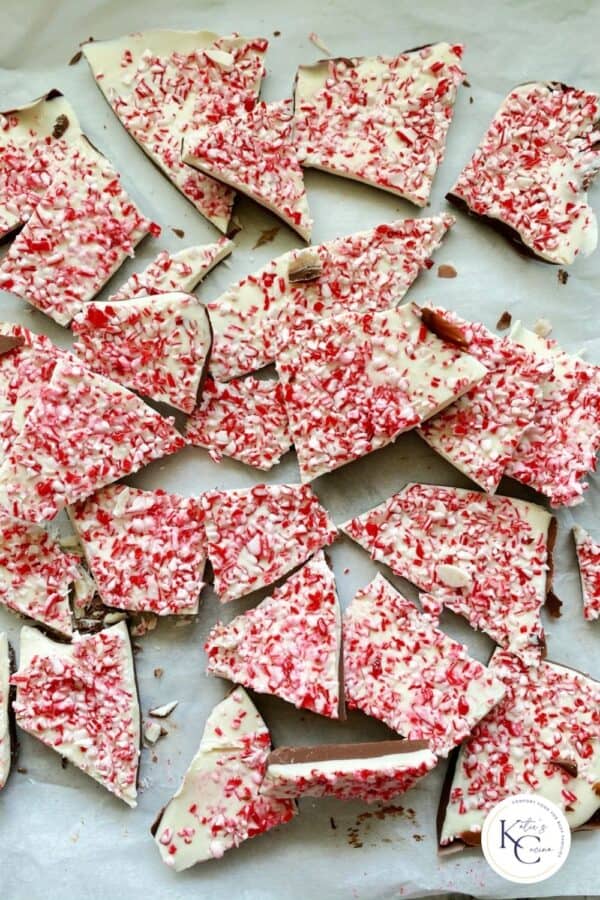
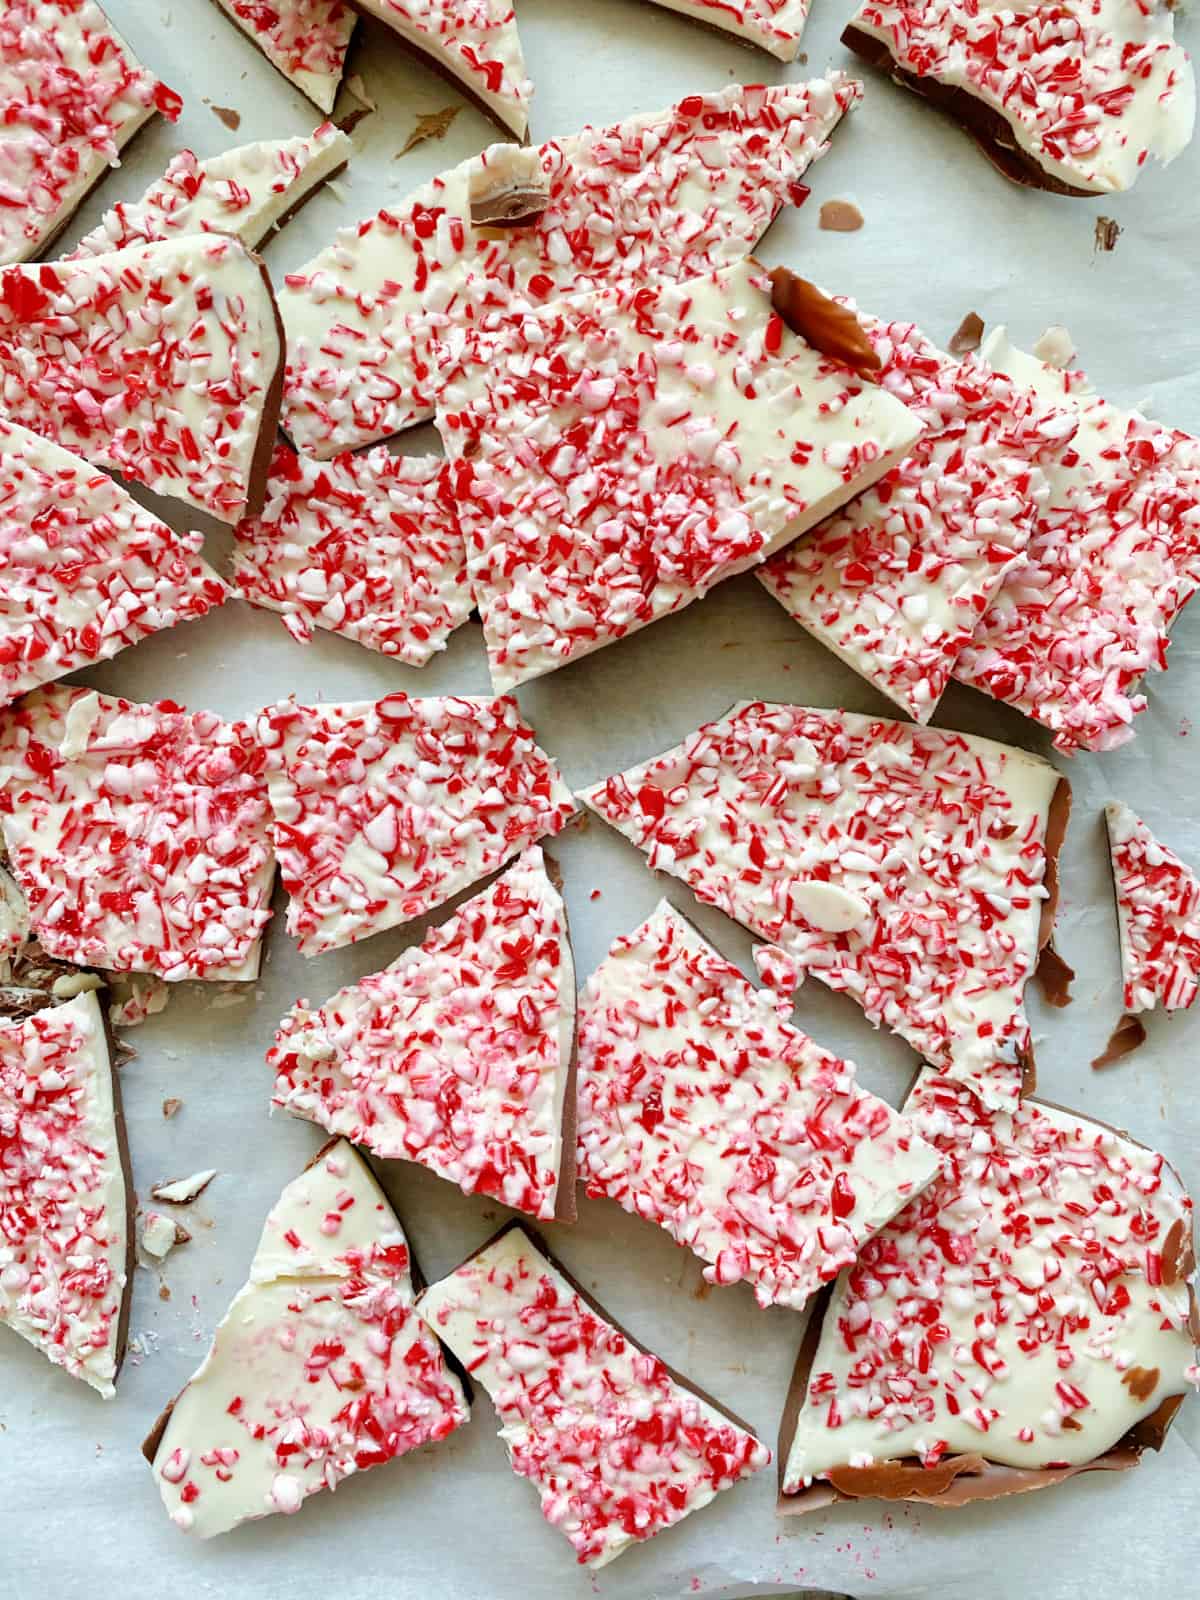
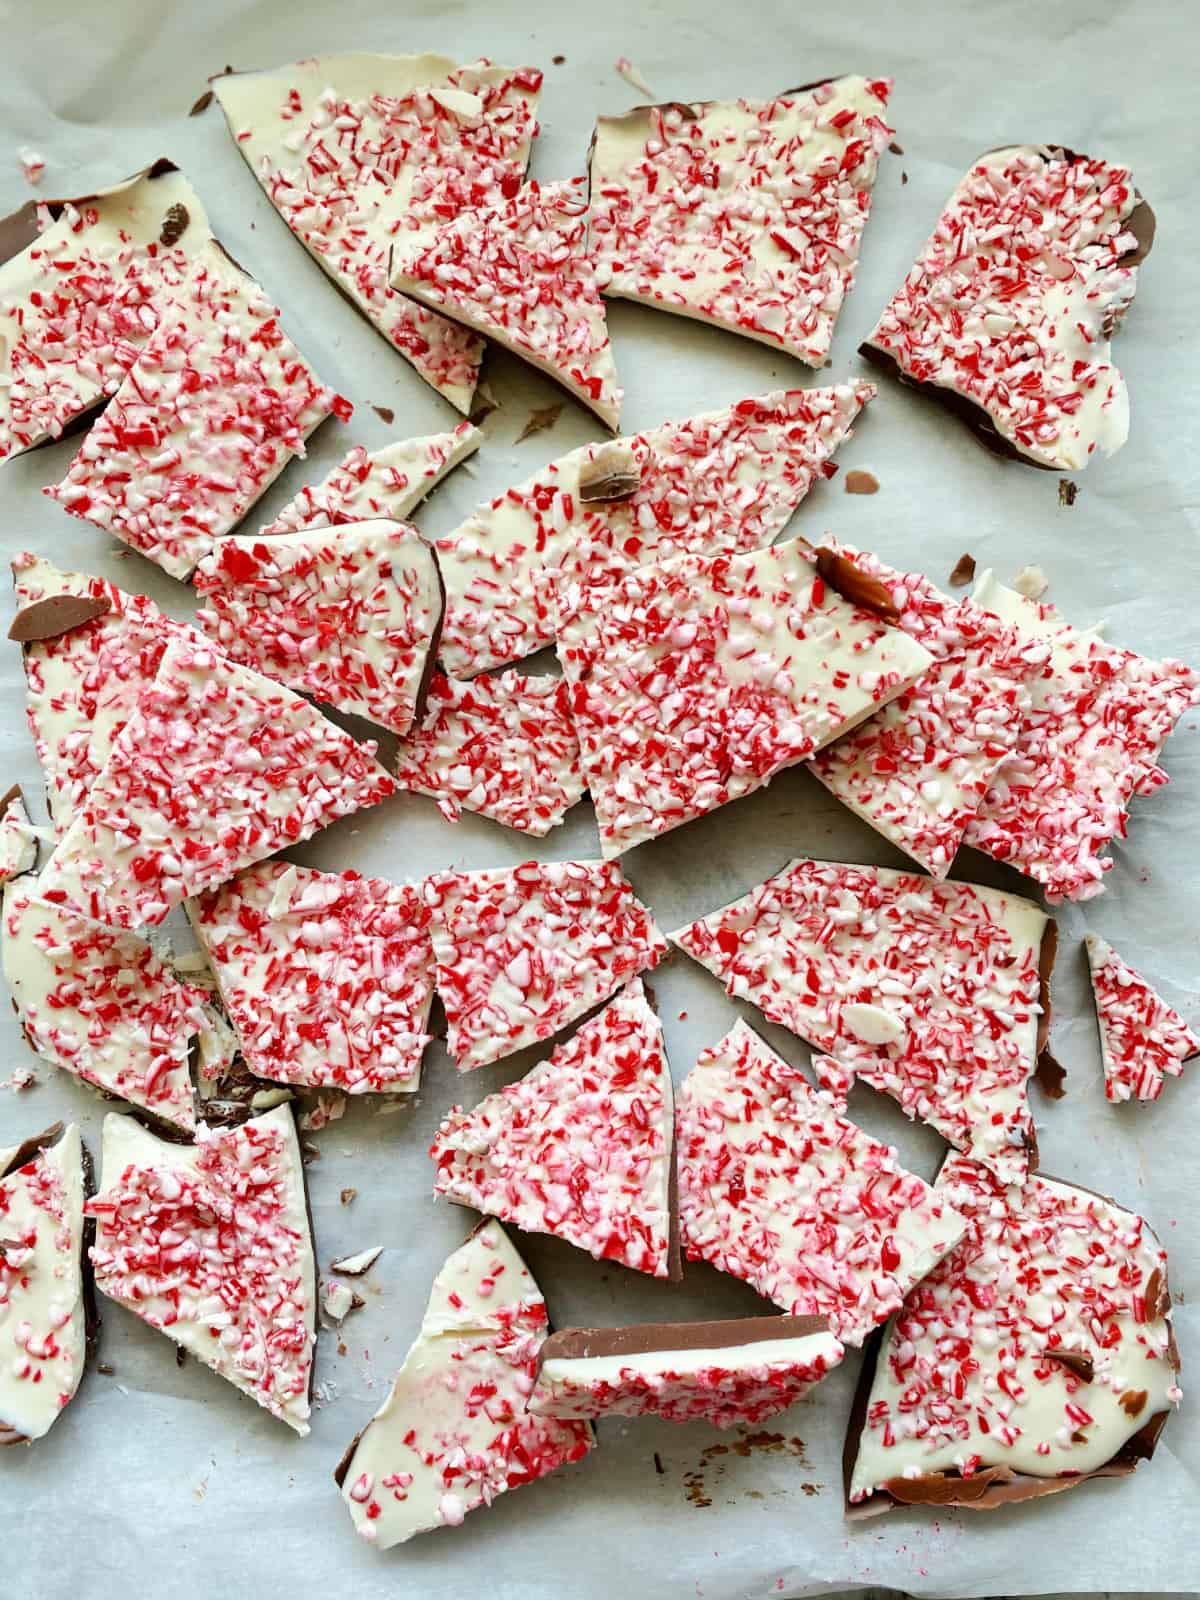
Remove from the refrigerator and begin to break the chocolate into bite-size pieces. Enjoy immediately or place in an air tight container or in a sealed Ziploc bag. Refrigerate for up to 2 weeks.
FAQs
Here are all the frequently asked questions readers have asked when making my homemade peppermint bark.
Yes, peppermint bark will go bad if not stored properly and/or consumed within a few weeks. It’s very important that you store the peppermint bark in an airtight container in the refrigerator for up to 2 weeks.
Yes, can freeze peppermint bark. Make sure you wrap it tightly in plastic wrap then store it in an airtight container. Make sure you thaw the bark in the refrigerator to avoid condensation on the chocolate.
As long as the peppermint bark is stored properly it should keep several months in the freezer.
According to my calculations a one ounce piece of peppermint bark has about 183 calories. This is a rough estimate and could vary depending on the type of ingredients you use.
Tips & Tricks
Here are a few of my favorite tips and tricks I’ve learned when making this recipe for peppermint bark.
- Melting Wafers – I have found the the Ghiradelli brand melting wafers yield the absolute best flavor and creamy consistency of peppermint bark you find at the high end stores like Williams Sonoma. This chocolate is expensive, but well worth the end results.
- White Chocolate – If you cannot find the Ghiradelli brand and opt to go with other white chocolate melts you may need to add shortening or butter to the mix prior to melting. I add two tablespoons of unsalted butter to my white chocolate to help it smooth out better. Remember to microwave in 20 second intervals on half prior until melted. You do not want to over cook your white chocolate. It will be very difficult to work with if it is scorched.
- Peppermint – I like to buy pre-chopped peppermint. However, you can easily chop your own peppermint by unwrapping 24 candy canes, placing them in a Ziploc baggy (sealed). Using a kitchen mallet or can begin to crush the candy canes until desired consistency.
- Chocolate Combinations – You can use a combination of milk chocolate / dark chocolate and/or white chocolate for your Peppermint Bark. I love the layered flavors of dark and white chocolate and tend to always stick with this ratio.
- Storage – Store the Peppermint Bark in a air tight container or Ziploc bag in the refrigerator for up to 2 weeks.
Peppermint Recipes
If you love peppermint you’ll love these other Peppermint Recipes.
If you make this peppermint bark recipe, I would be honored and love for you to take the time to leave a star rating and comment! I spend hours developing and testing these recipes, and always love to hear feedback and user experience!
Don’t forget to FOLLOW ME on Facebook, Pinterest, and Instagram, and subscribe to my email list!
Peppermint Bark
Equipment
- 9.5" x 7" Toaster Baking Sheet
- Parchment Paper
- Refrigerator
Ingredients
- 10 ounces Dark Chocolate Melting Wafers
- 10 ounces White Vanilla Flavored Melting Wafers
- ½ cup Crushed Peppermint
Instructions
- Line a 9.5" x 7" toaster baking sheet with parchment paper, and set to the side.
- In a microwave safe bowl place the bag of dark chocolate melting wafers in the bowl. Microwave at half power or defrost setting for 30 seconds. Stir thoroughly, and repeat using 15 second intervals until melted. Once the chocolate is melted carefully pour and smooth it out on the parchment paper. Place in the refrigerator for 20 minutes.
- Prior to pulling the dark chocolate out of the refrigerator, begin melting the white chocolate. Follow the same exact steps you did for the dark chocolate.
- Pull the baking tray of hardened dark chocolate out of the freezer. Pour the melted white chocolate on to the dark chocolate. Smooth the white chocolate over top using the back of a spoon. Once smooth, sprinkle the crushed peppermint all over the melted white chocolate.
- Place the chocolate back in the refrigerator for 20 more minutes or until hard and no longer soft/melted.
- Remove from the refrigerator and begin to break the chocolate into bite-size pieces. Enjoy immediately or place in an air tight container or in a sealed Ziploc bag. Refrigerate for up to 2 weeks.
Notes
- Melting Wafers – I have found the the Ghiradelli brand melting wafers yield the absolute best flavor and creamy consistency of peppermint bark you find at the high end stores like Williams Sonoma. This chocolate is expensive, but well worth the end results.
- White Chocolate – If you cannot find the Ghiradelli brand and opt to go with other white chocolate melts you may need to add shortening or butter to the mix prior to melting. I add two tablespoons of unsalted butter to my white chocolate to help it smooth out better. Remember to microwave in 20 second intervals on half prior until melted. You do not want to over cook your white chocolate. It will be very difficult to work with if it is scorched.
- Peppermint – I like to buy pre-chopped peppermint. However, you can easily chop your own peppermint by unwrapping 24 candy canes, placing them in a Ziploc baggy (sealed). Using a kitchen mallet or can begin to crush the candy canes until desired consistency.
- Chocolate Combinations – You can use a combination of milk chocolate / dark chocolate and/or white chocolate for your Peppermint Bark. I love the layered flavors of dark and white chocolate and tend to always stick with this ratio.
- Storage – Store the Peppermint Bark in a air tight container or Ziploc bag in the refrigerator for up to 2 weeks.
- Recipe Yield – This recipe yields 20 ounces of chocolate. Peppermint Bark calorie calculations based on a one ounce serving.
Erin
So festive! I love it.
foodonfifth.com, Teresa
Realizing we can easily whip up something in our kitchens instead of just "buying" it pre-made is a wonderful "aha" moment each time it happens don't you think? Your peppermint bark is prettier than the WS brand and has a lovely texture. Yummy and a Happy New Year of Yummies.
Kim B.
My 17 year old son made this for Christmas & it is DELICIOUS!! Love your tip about adding the butter to the white chocolate as that was his only complaint…the white chocolate was hard to spread & was kinda clumpy. But..it was still really good 🙂
Jessica
Love me some Peppermint Bark! Yours looks adorable!