

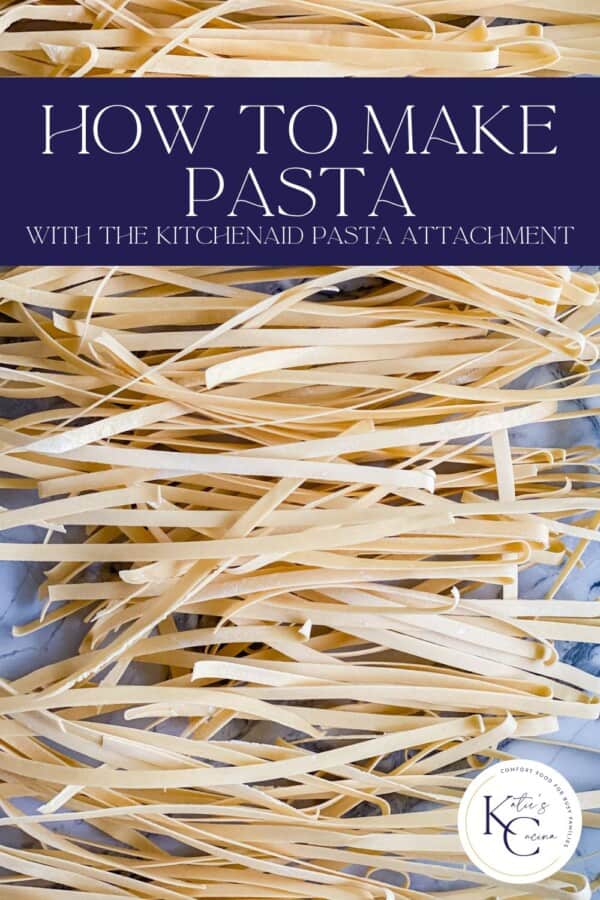

If you own a KitchenAid Mixer and want to venture into the world of homemade pasta making you will love my KitchenAid Pasta Recipe. Homemade pasta takes a little over an hour to make about a pound and a half of delicious fresh noodles.

Have you ever made fresh homemade pasta? Making spaghetti or even fettuccine at home is actually really easy. It takes a little time and patience, and within about an hours time you’ll have a batch of fresh pasta that will knock your socks off. My KitchenAid Pasta Recipe will make even the most novice cook a pasta making pro in no time.
Of course, the real star of this recipe is the KitchenAid Stand Mixer and pasta attachments to thank! They have the most amazing pasta attachments. I will be honest… if it wasn’t for their pasta attachments I would probably not be making pasta. The attachments are simple to use and easy to clean.
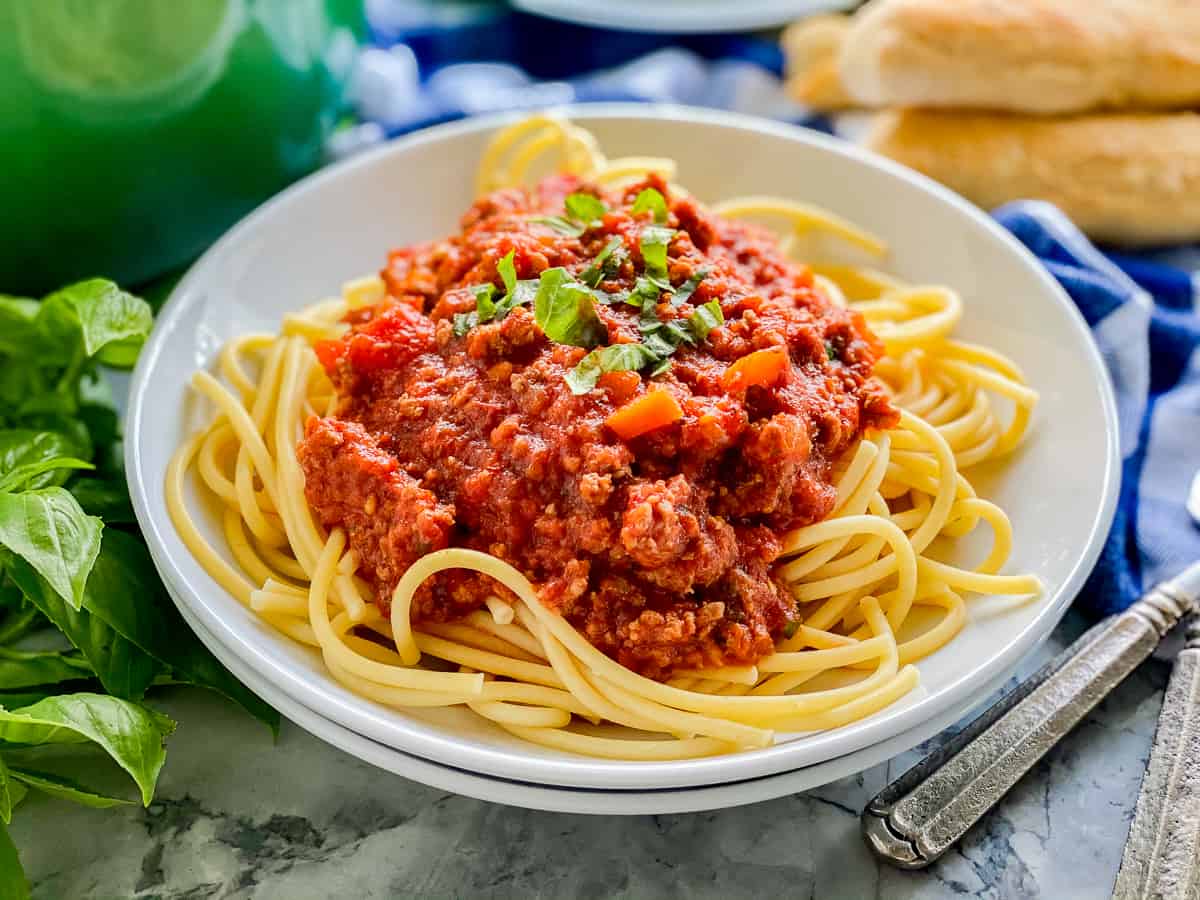
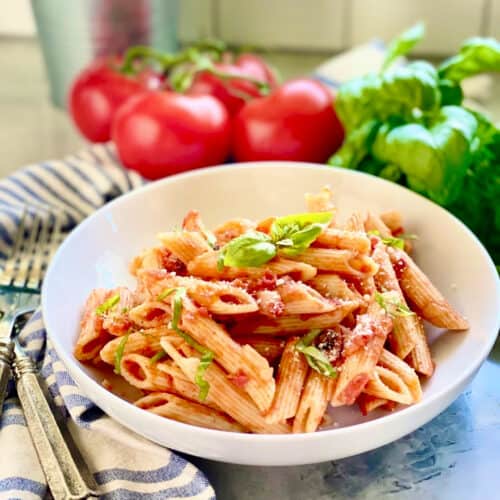
If you just received a KitchenAid Pasta Attachment or simply want to flex and learn some new culinary skills, pasta making is for you. Just like any new hobby or skill you learn—the more you make this recipe the better you will get at making homemade pasta. I find that I typically make homemade pasta for special occasions and Sunday dinners. I love to toss the pasta in my bolognese sauce, amatriciana sauce or even Alfredo sauce.
Jump to:
- Ingredients
- Directions
- Making the Pasta Dough
- Fresh Pasta Sheets
- Homemade Lasagna Noodles
- How to Make Spaghetti
- How to Cook Fresh Pasta
- Recipe FAQs
- How to Dry Fresh Pasta
- How to Store Dried Pasta
- How to Refrigerate Fresh Pasta
- How to Freeze Fresh Pasta
- Recipe Tips and Tricks
- Easy Pasta Recipes
- KitchenAid Pasta Recipe
Ingredients
Flour – I use All-Purpose flour to make my homemade pasta. Some people prefer to use 00 flour which can be difficult to get your hands on at a traditional grocery store. I have never tested this recipe with 00 flour—only with All-Purpose. Make sure you sift the flour prior to measuring. Remember you will also need additional flour for rolling out the dough, flouring the KitchenAid attachments, and flouring at the end after you cut the spaghetti or linguine.
Eggs – This is an egg based pasta. I prefer to let my eggs sit out for 30 minutes to start to get to room temperature, but its not necessary.
Salt – A little bit of salt is going to cut the flour taste.
Water – You only need a little bit of room temperature water. I like to work in 1-2 tablespoon servings as I mix the dough.
Directions
Making the Pasta Dough

In the stand mixer bowl, place the eggs, flour, salt and 2 tablespoons of water. Using the flat beater, attach it to the bowl and mix the ingredients on speed 2 for 30 seconds.
Remove the flat beater and replace it with the dough hook. Turn the dough on to speed 2 and let it knead for 2 minutes. At this time if the mixture looks to dry add 1 tablespoon of water at a time. It should form a ball and have no additional flour or ingredients in the bowl. The dough ball wills tart to make a smacking noise as it mixes.
Remove the dough from the bowl, flour a clean surface, and kneed with your hands for 1-2 minutes.
DO NOT SKIP THIS STEP. It is extremely important for rolling out the dough. By kneading the pasta dough by hand it will help work the gluten.
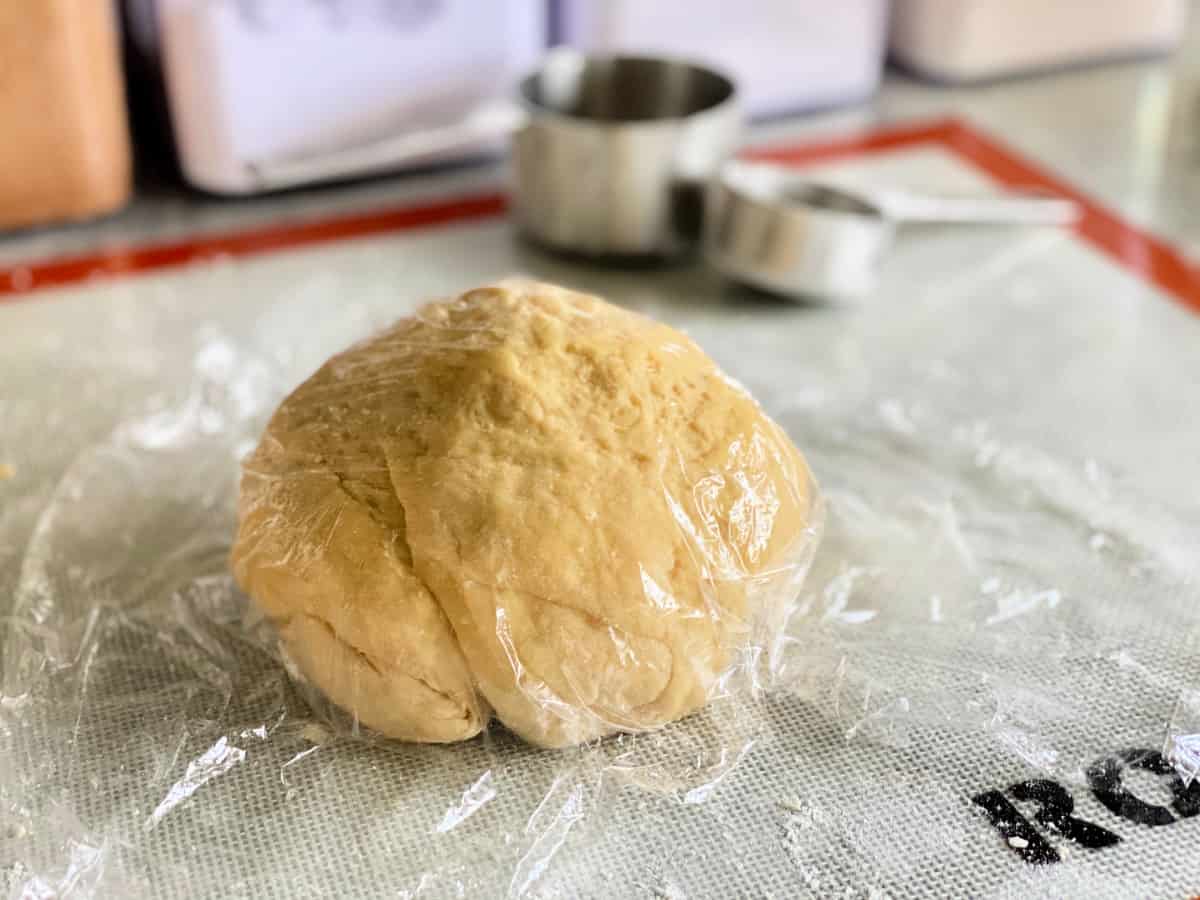
Form the dough into a disc/ball, place plastic wrap over the top of the dough, and let it rest for 20 minutes.
Fresh Pasta Sheets
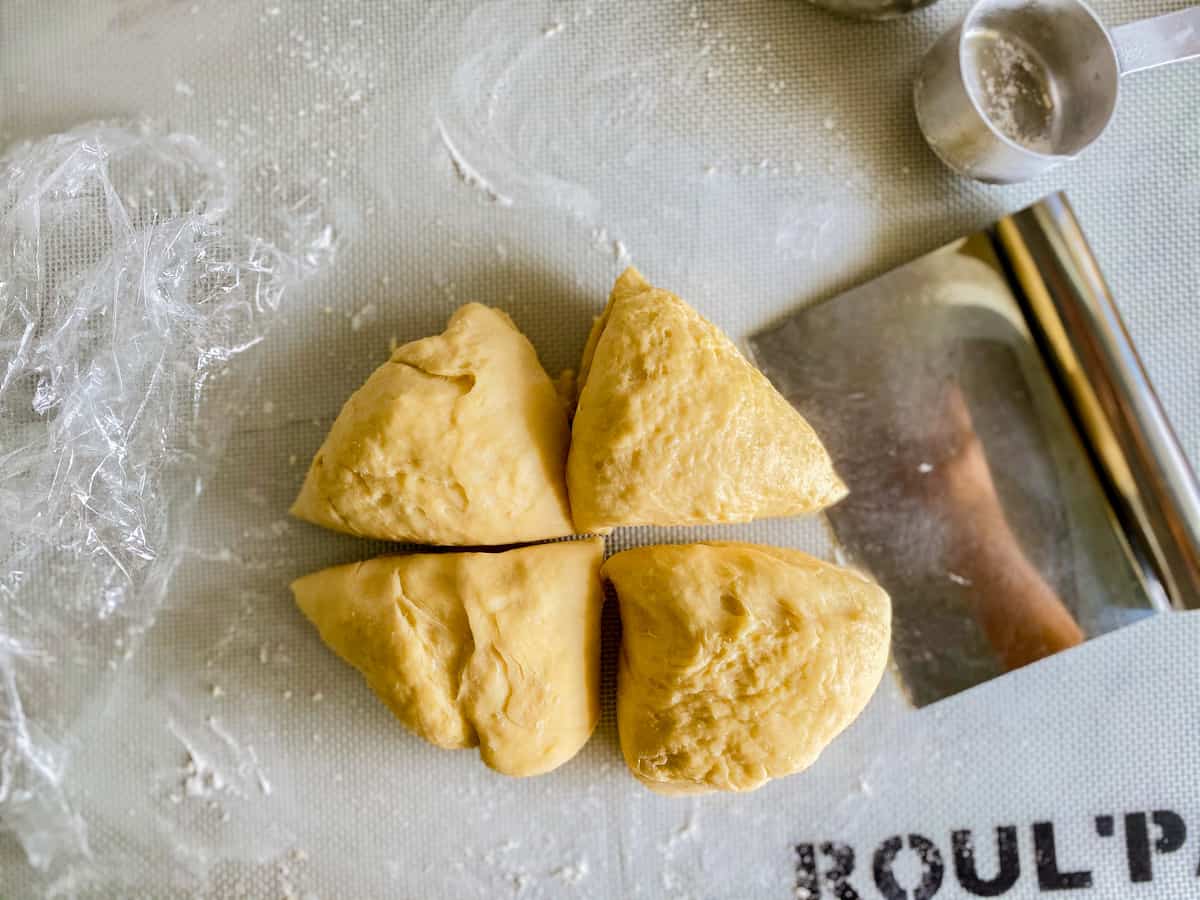
Divide the dough into 4 pieces. Make sure you keep the dough you aren’t working with covered with a damp paper towel, kitchen cloth or plastic wrap. I like to use the same plastic wrap that the ball was covered in.
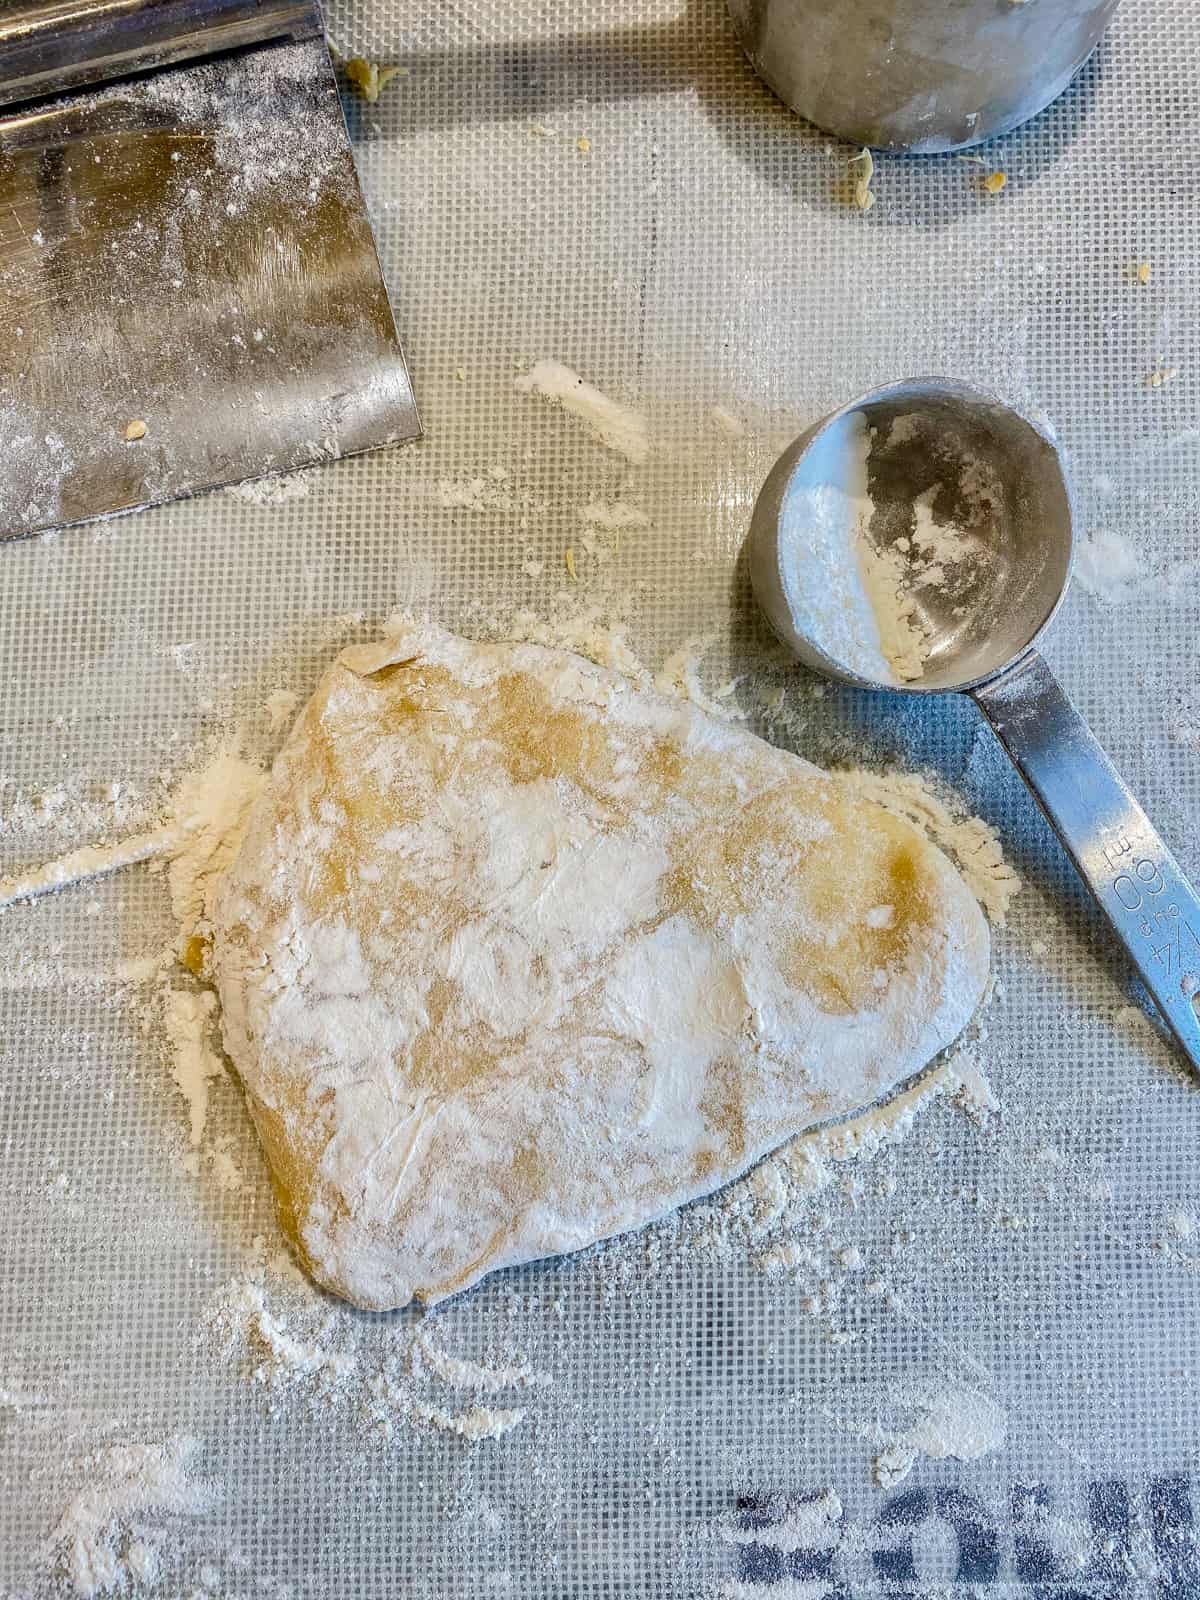
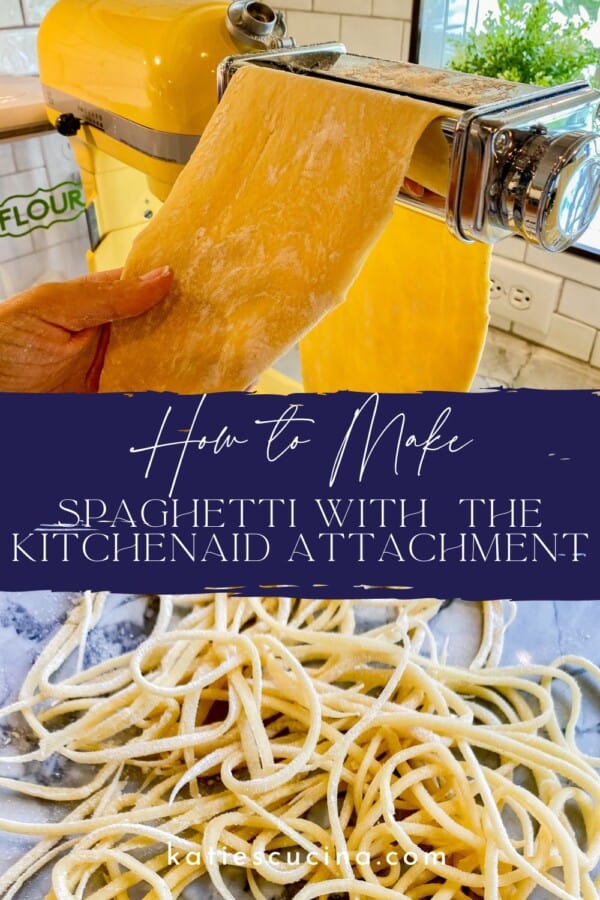
Attach the Pasta Sheet Roller attachment to the stand mixer. Take 1 of the 4 pieces of dough and flatten it until its about a half-inch thick.
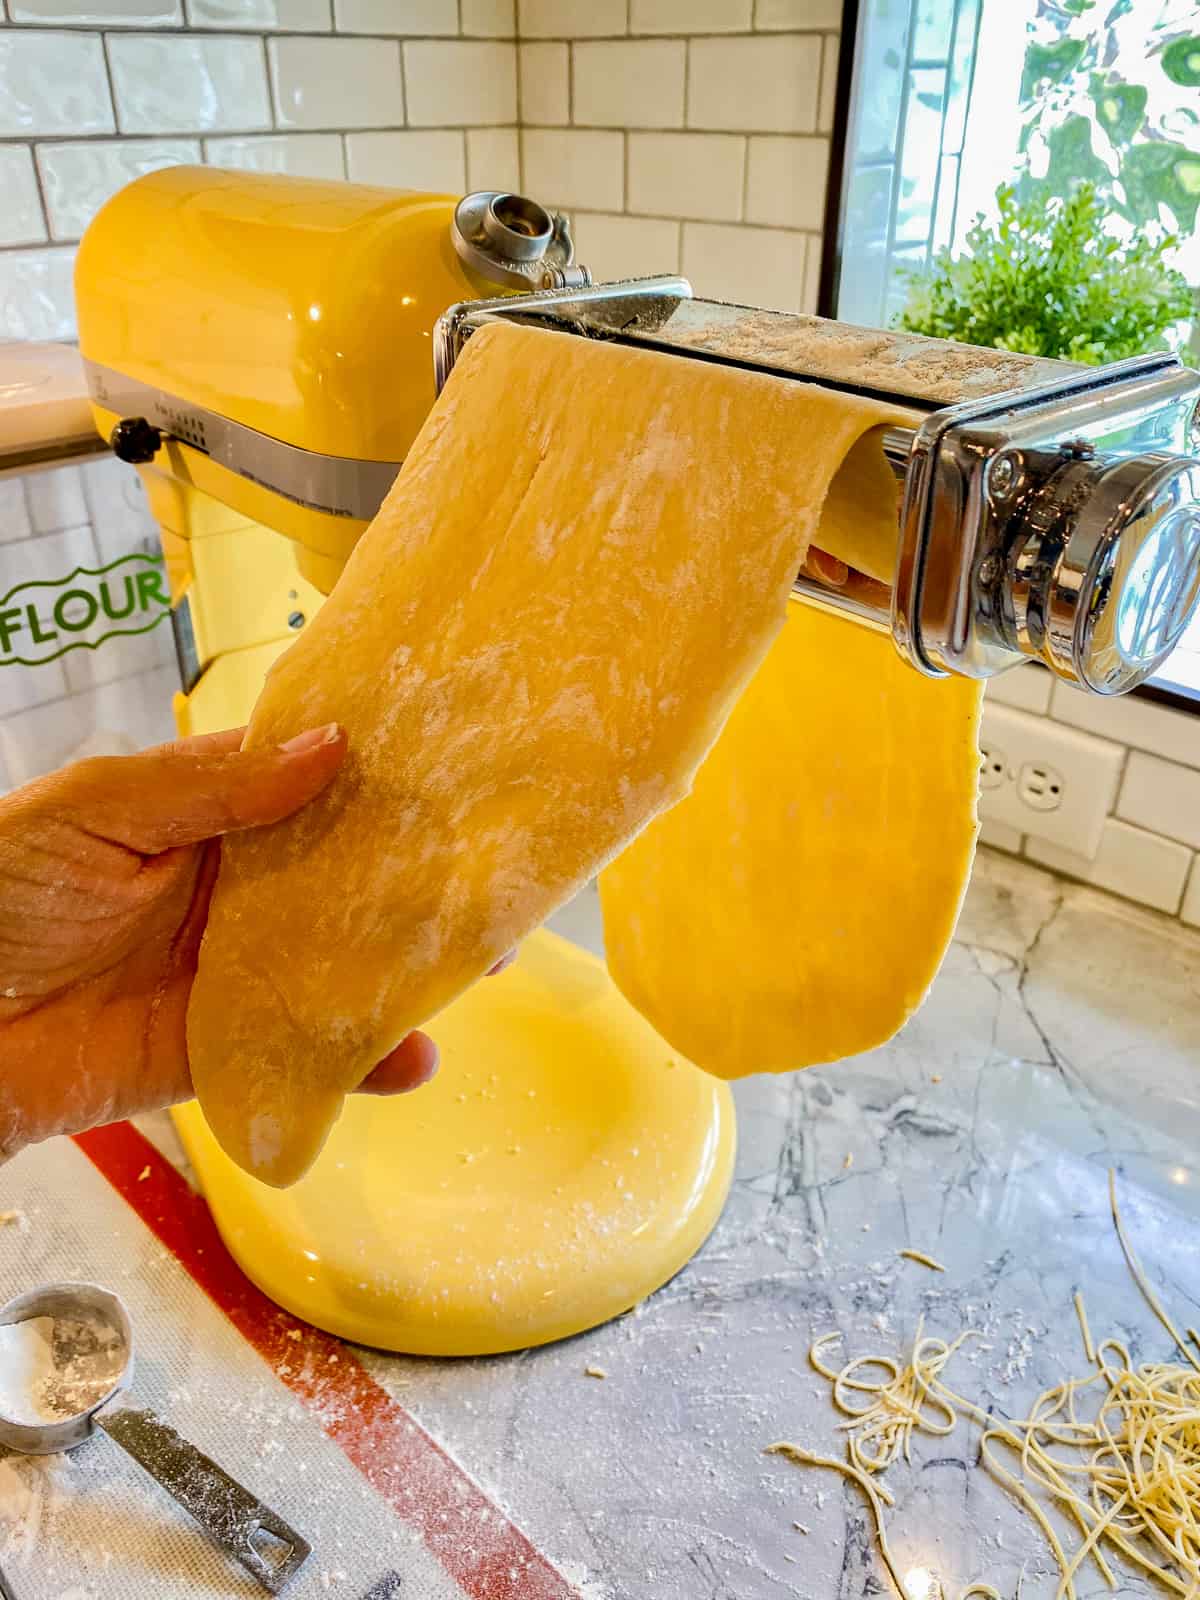
Set the Pasta Sheet Roller to setting 1 and your stand mixer to Speed 2/4 and begin to carefully feed the dough through the attachment.
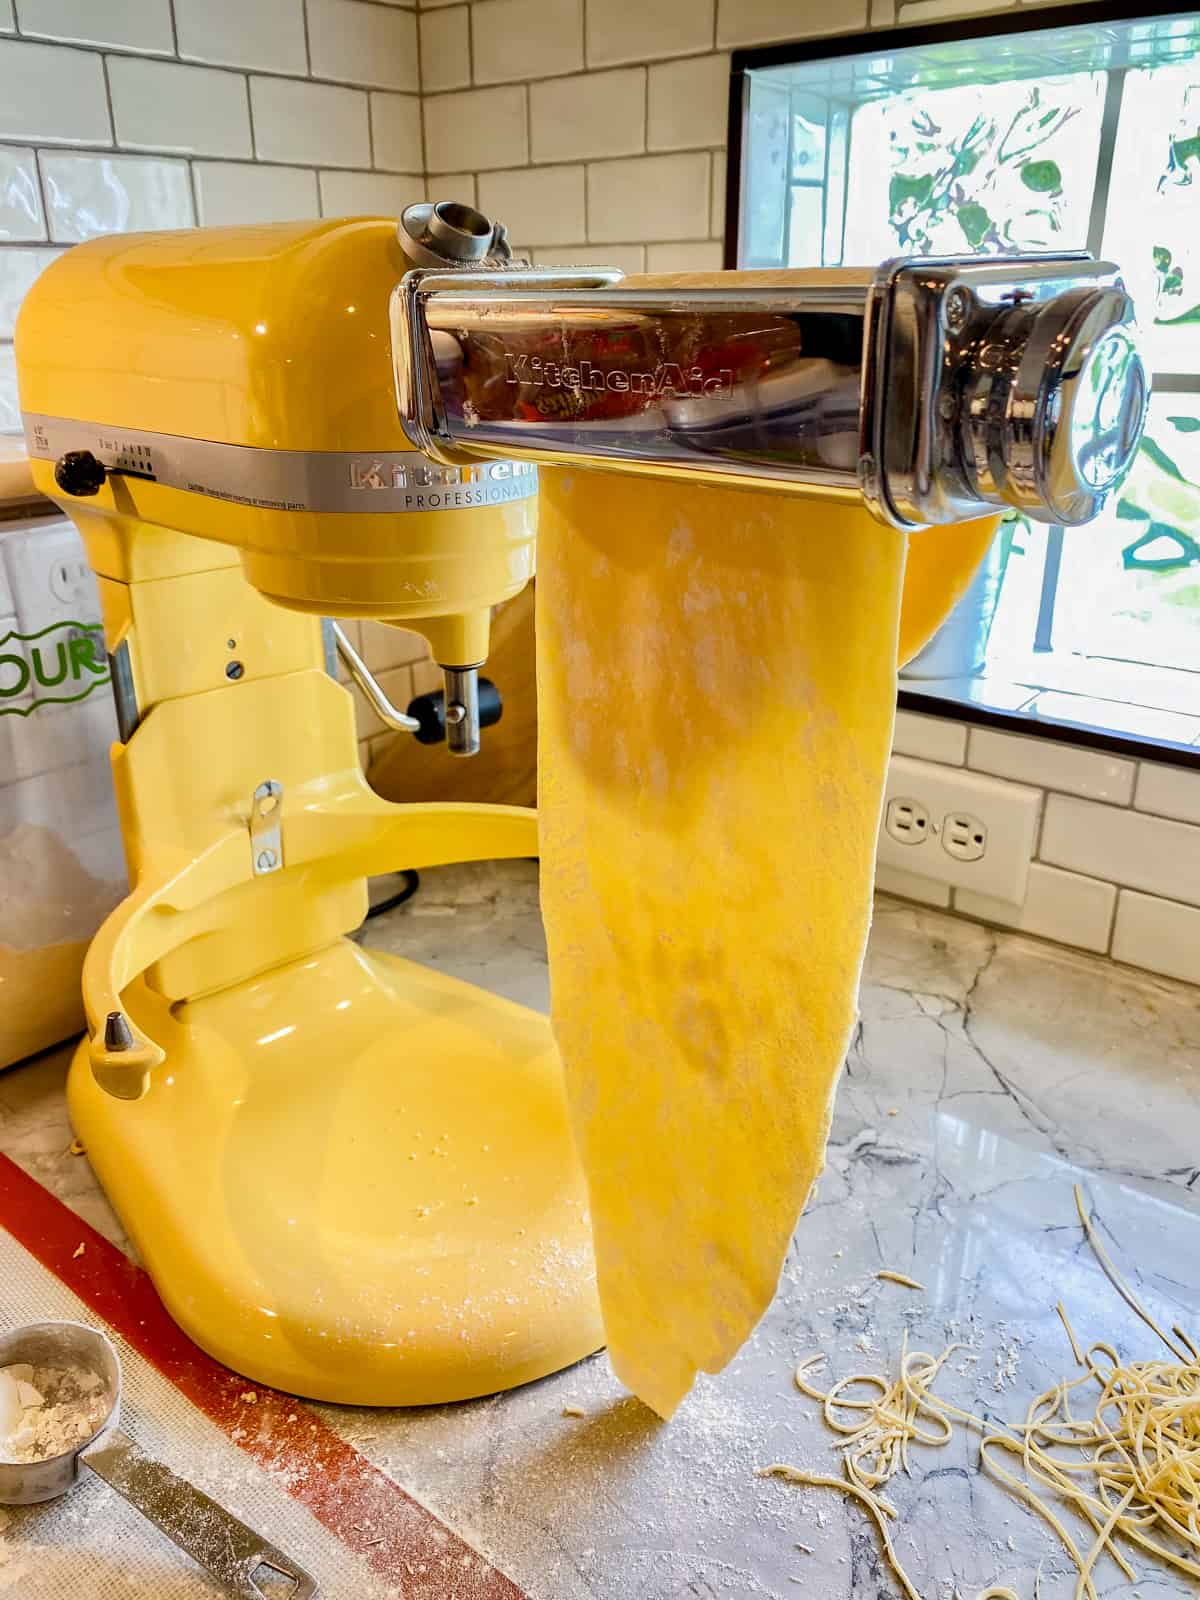
Once this is done you’ll want to fold the dough in half and then half again. Make sure it fits in the top of the attachment. Then run it through the Pasta Sheet Roller again.
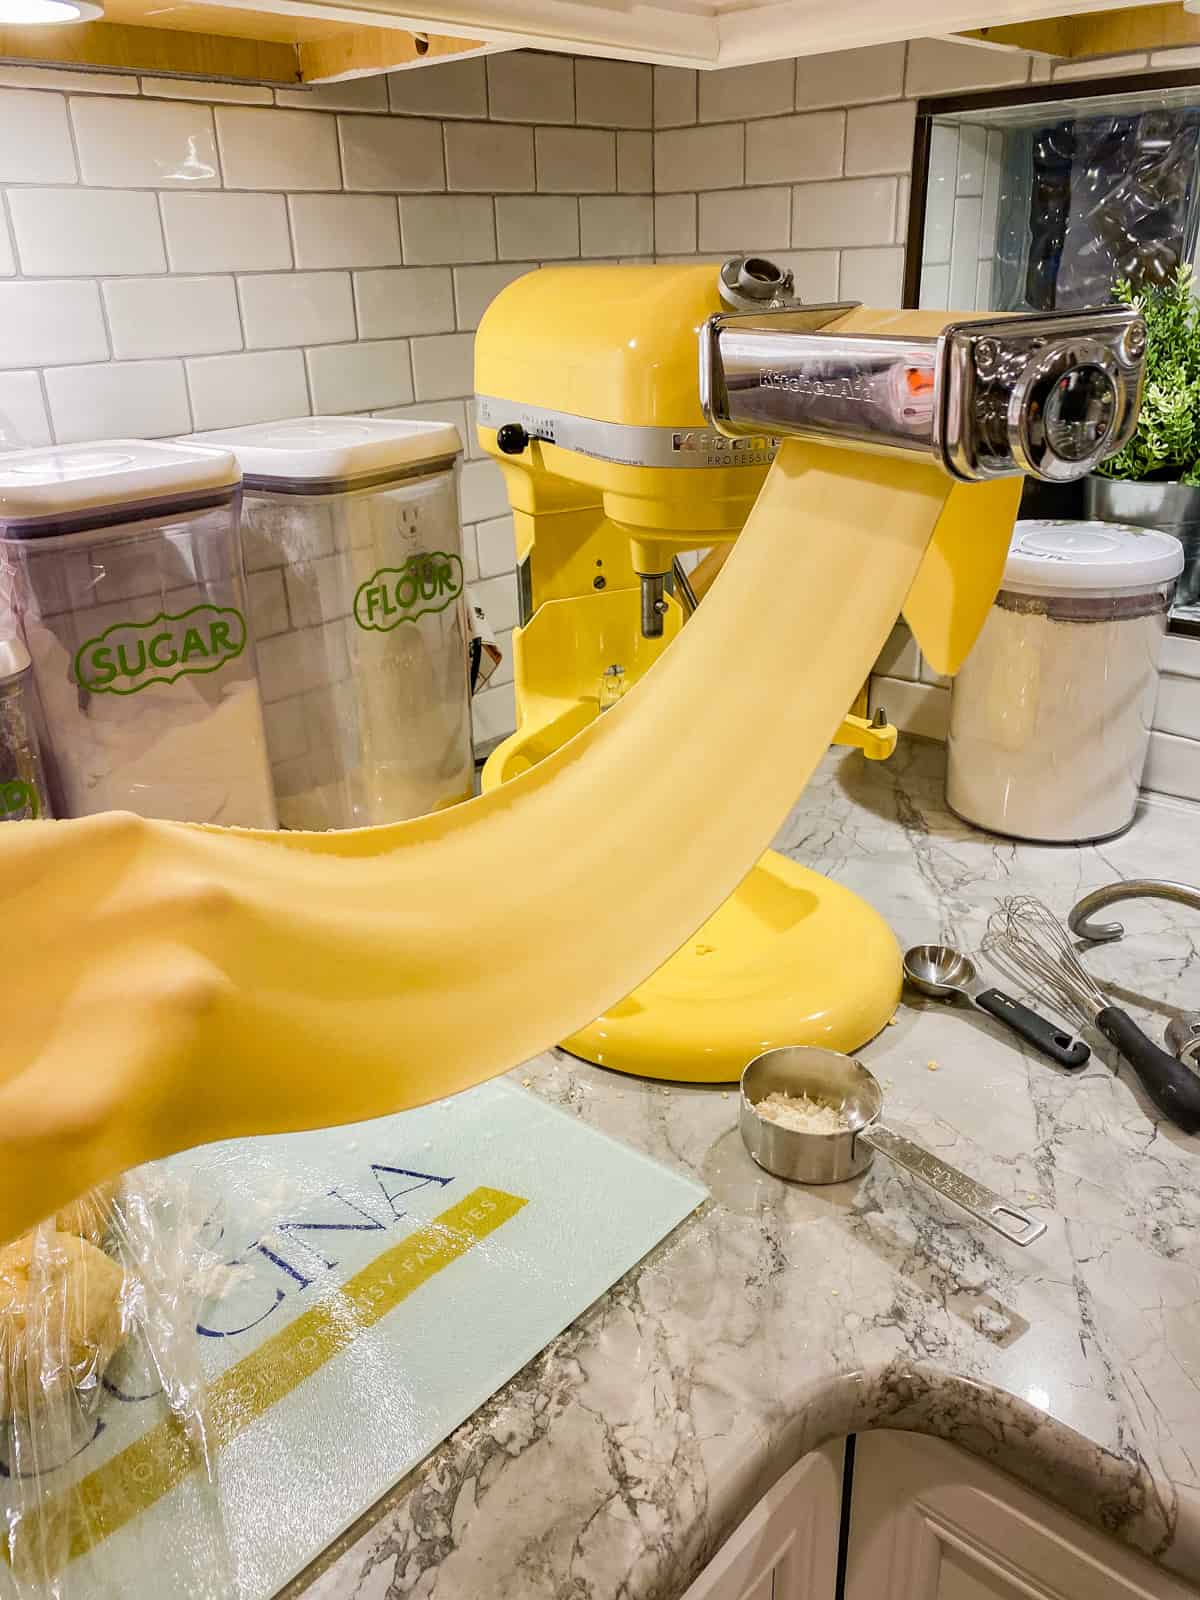
Next, move your Pasta Sheet Roller to setting 2 and then carefully run the dough through. Repeat, by moving the setting all the way up to 5 until you have a thin sheet of pasta.
Pro Tip for easier handling – I typically cut the pasta sheet in half or in thirds by setting 2 or 3– it is much easier to work with. If not you will have very long pasta!
Homemade Lasagna Noodles
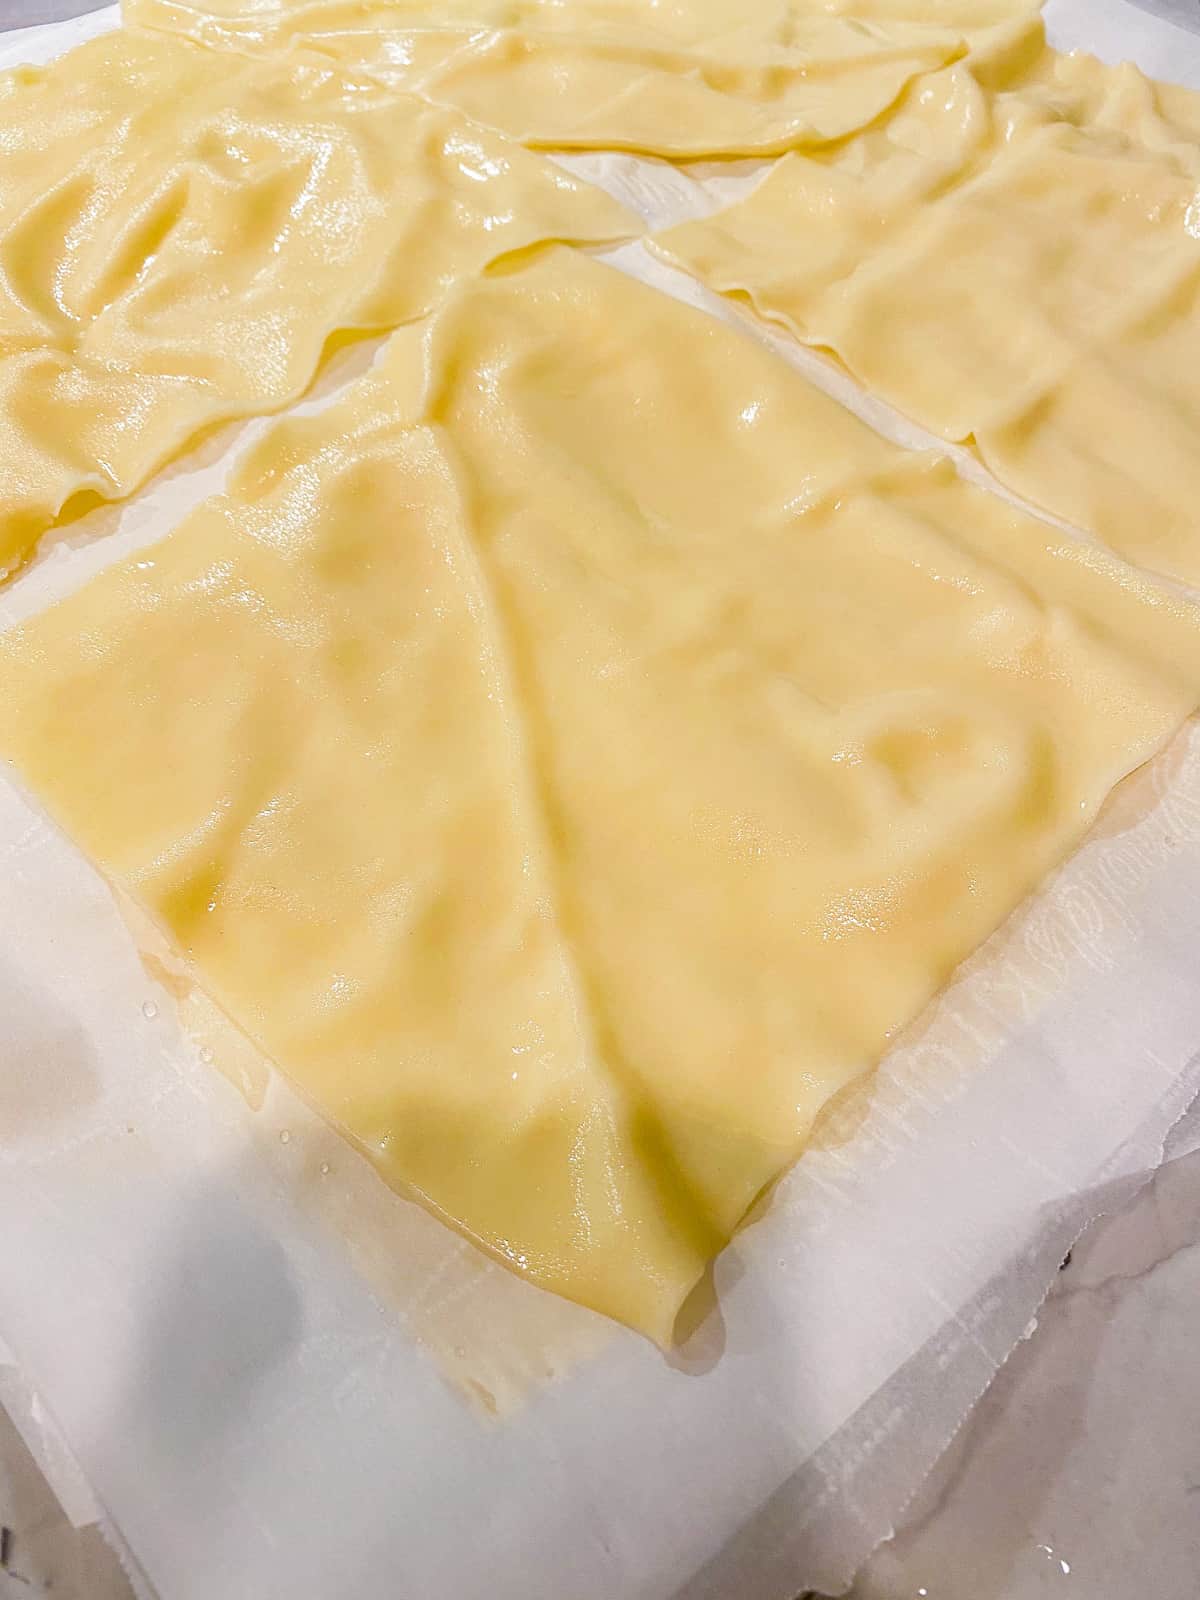
To make homemade lasagna noodles you will follow the process above but stop at the number 4 setting when you roll out the pasta sheets.
Then you will cut into 6-8 inch pieces and boil for 3 minutes until al dente. Drain in a colander, rinse with cool water, and then layer among parchment paper until you are ready to assemble the lasagna. These homemade pasta sheets also work great for lasagna roll ups. You just have to cut them into narrower sheets. The cooking time will be the same as traditional cooked lasagna noodles.
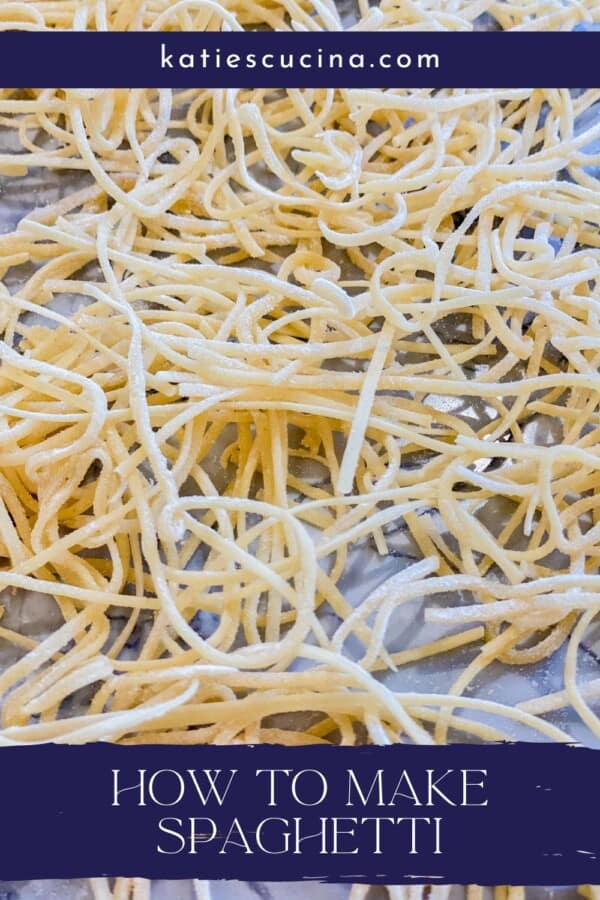
How to Make Spaghetti
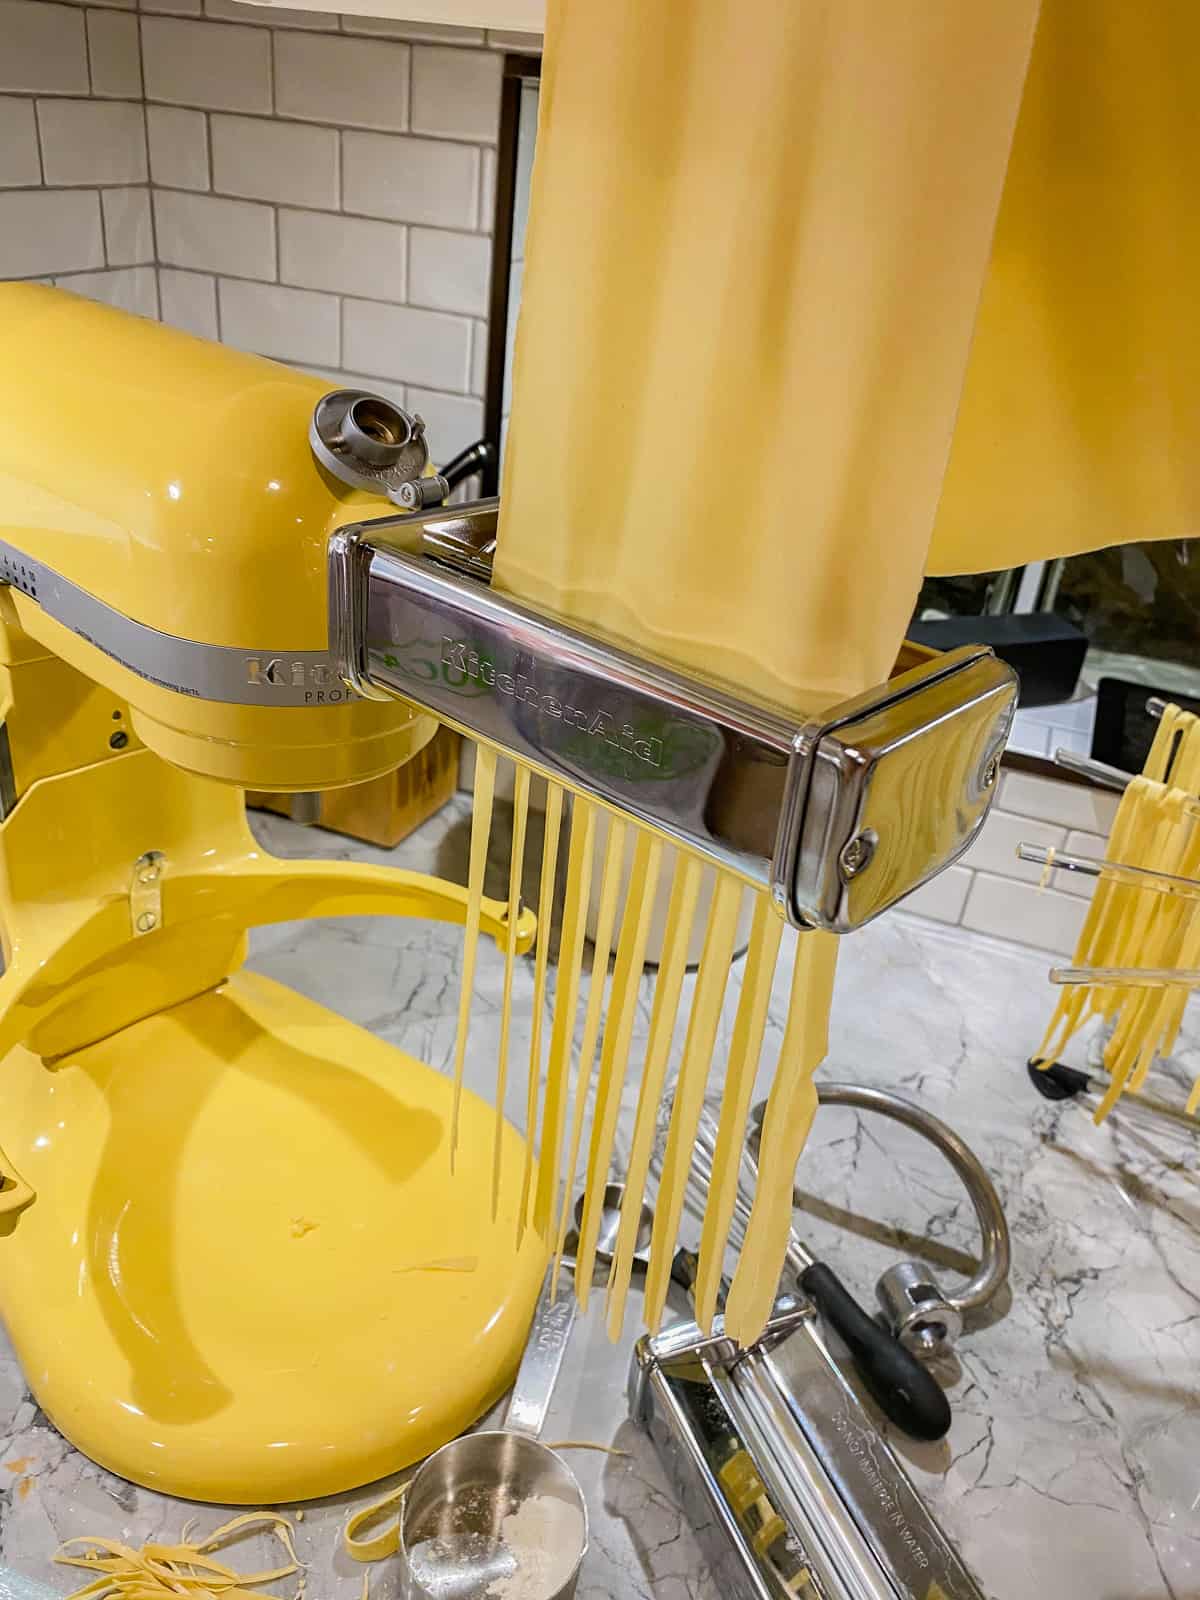
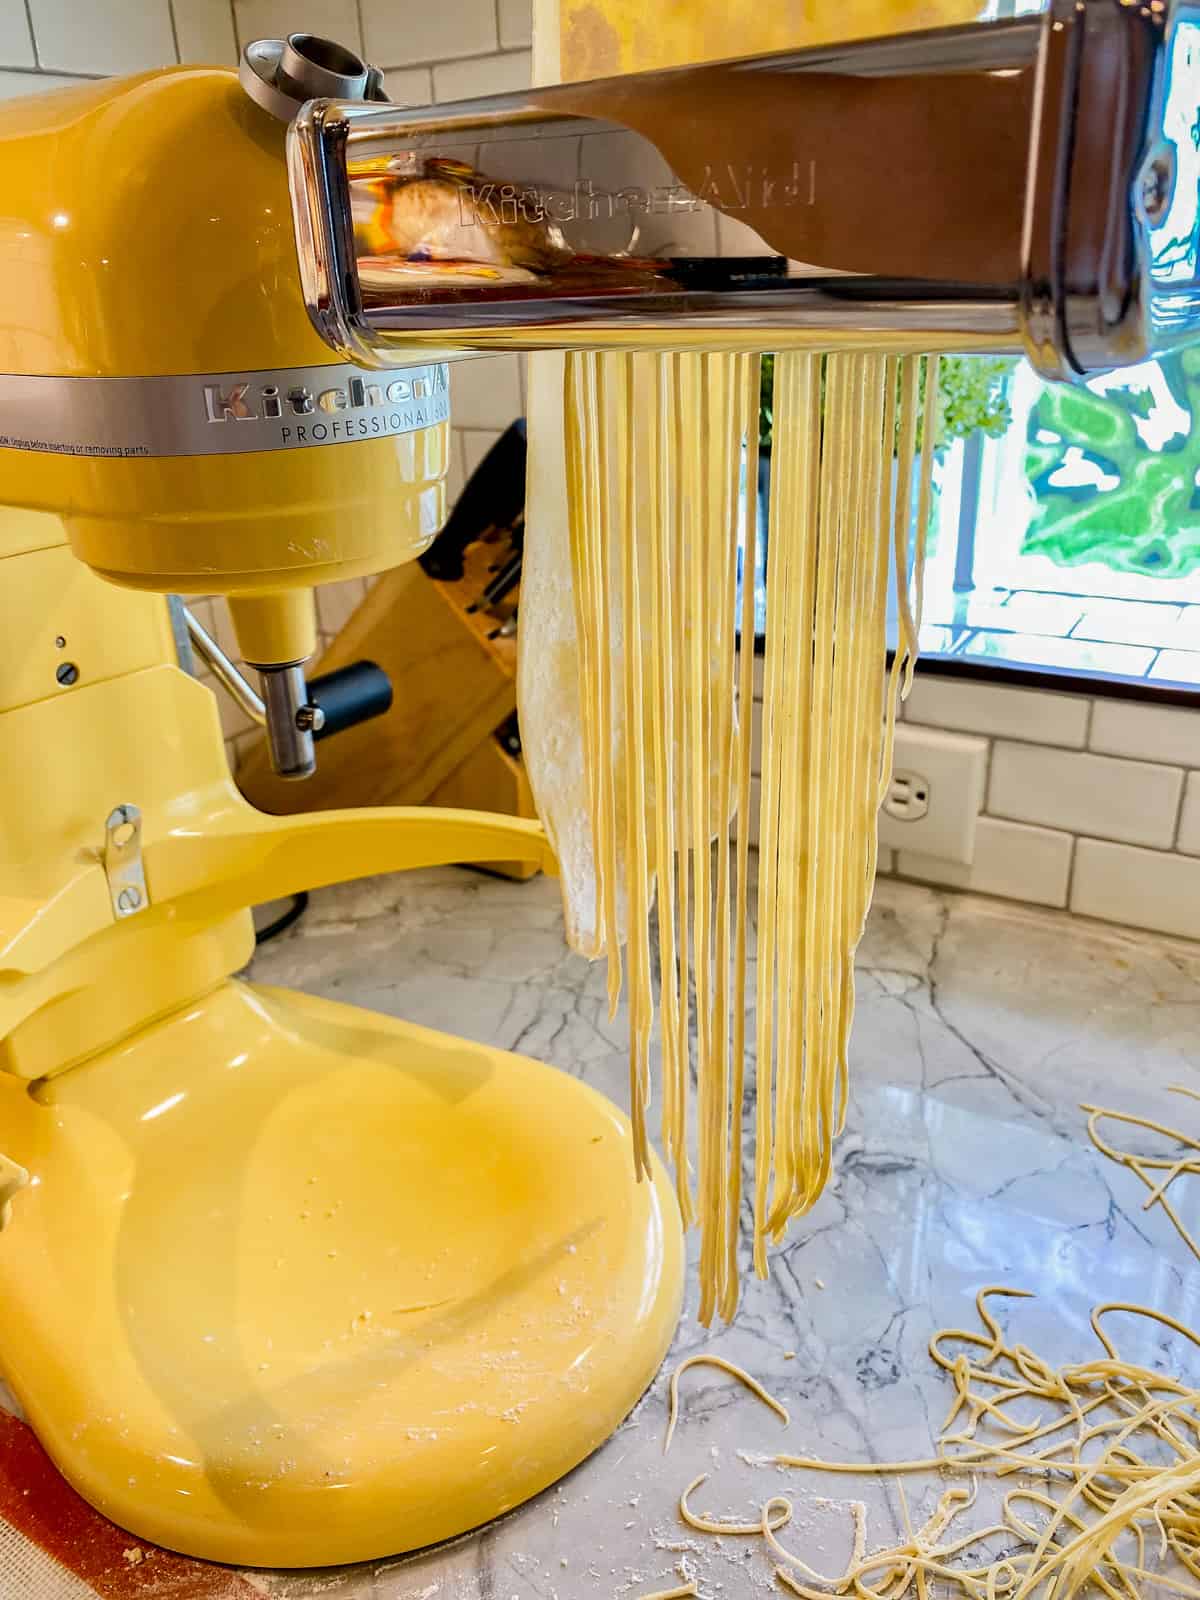
Once you have 2 to 3 thin sheets of pasta, remove the Pasta Sheet Roller and add the Spaghetti attachment (or fettuccine attachment) to the stand mixer. Place the mixer on Speed 2 and carefully begin to feed the sheet of pasta through the attachment.

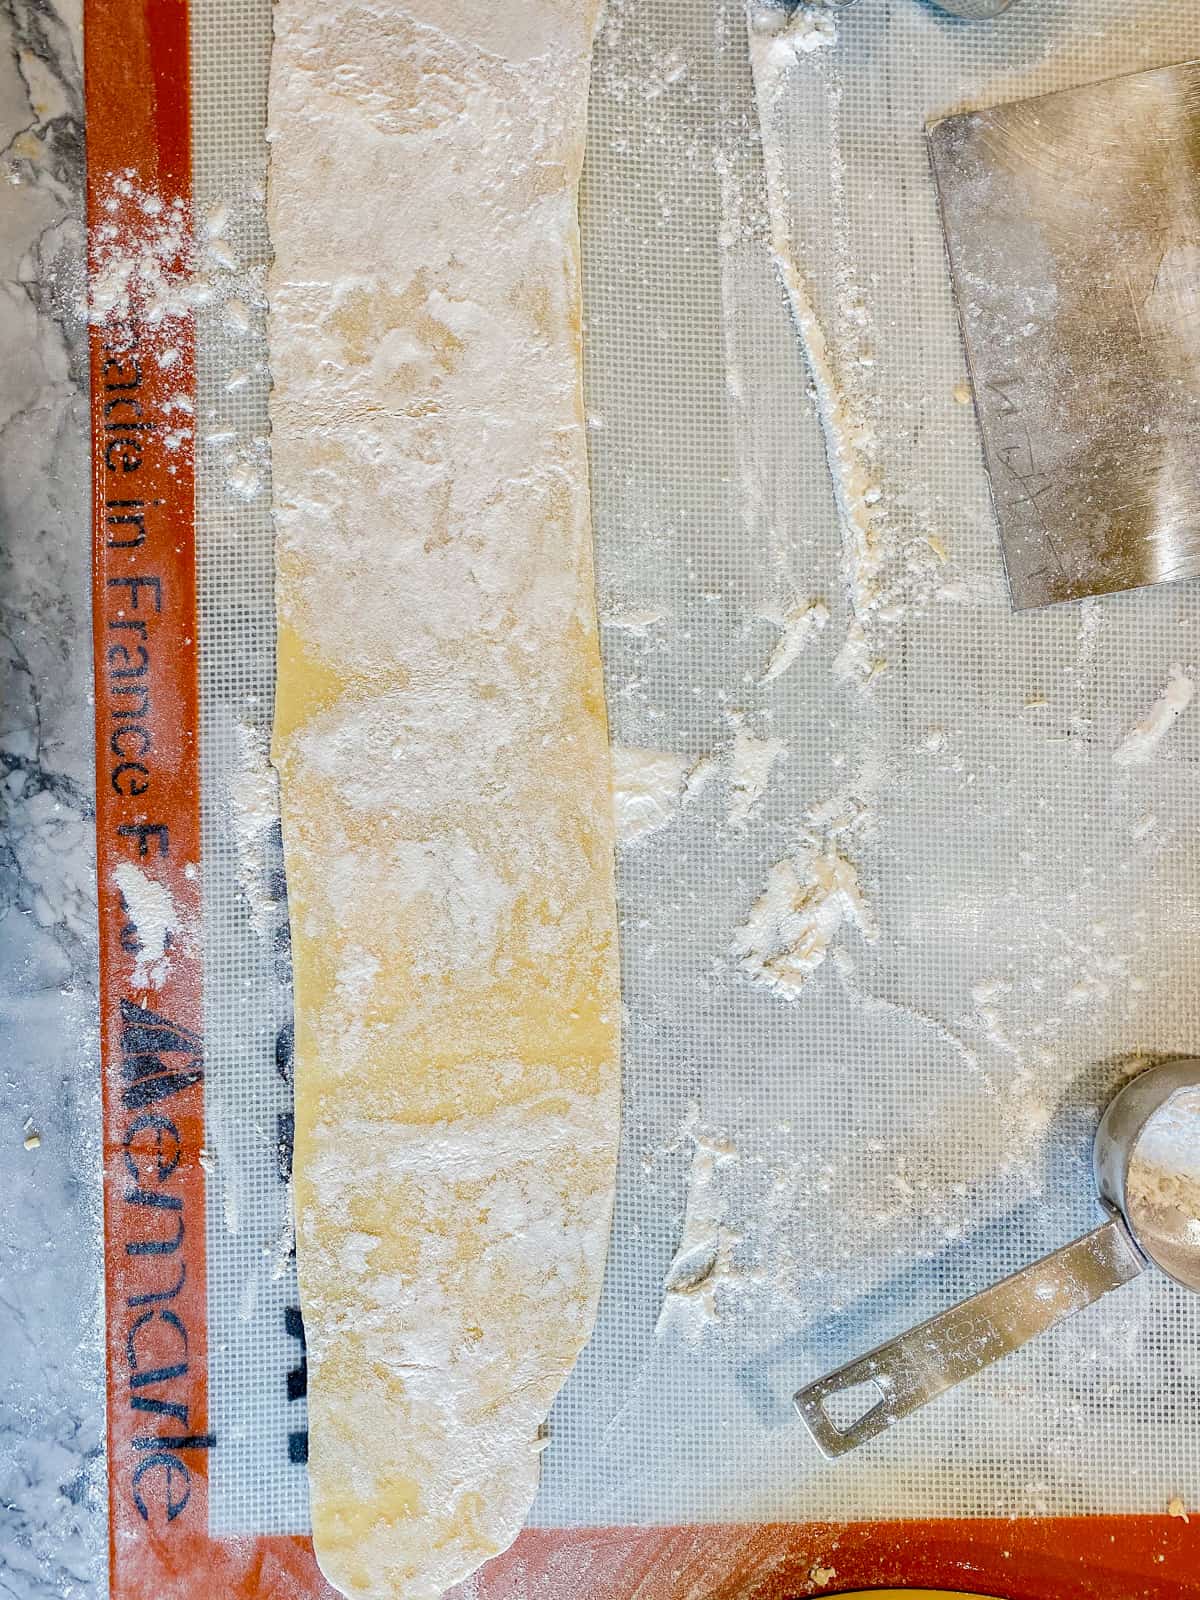
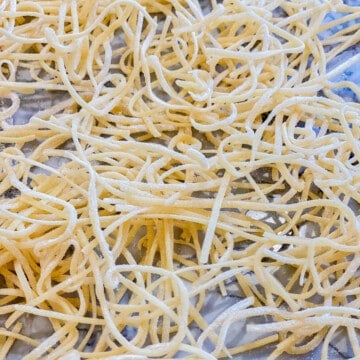
Once you have spaghetti/fettucine cut, dust with additional flour and lay it flat on a floured counter or on a drying rack for 10 minutes before cooking.
How to Cook Fresh Pasta
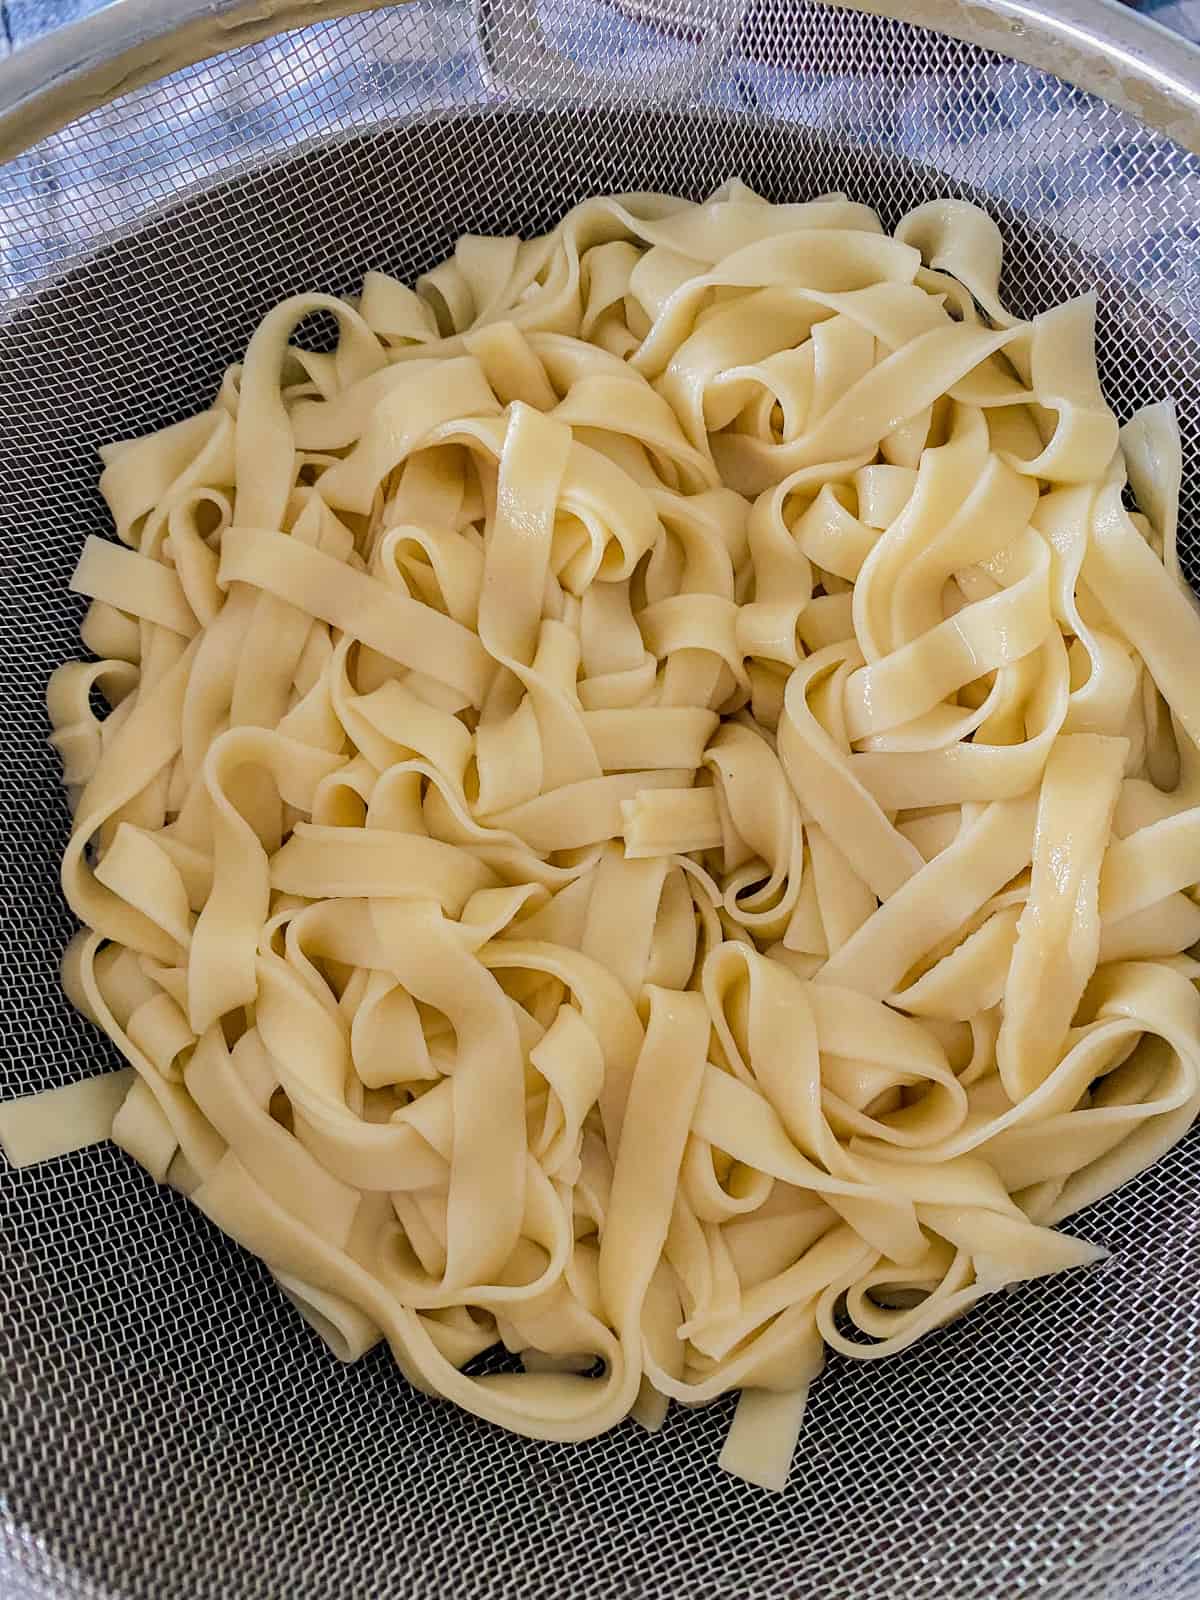
Bring a large stock pot to a rolling boil. Add at least 1 tablespoon of salt then cook fresh pasta for 3-4 minutes until desired consistency is achieved. Drain and quickly rinse with cool water to stop the cooking process and pasta from sticking together. Toss in your favorite sauce and enjoy!
Recipe FAQs
This is all going to depend on what type of pasta you are making. For egg noodles you will want to be on the pasta rolling setting of “4”. For lasagna noodles, fettuccine, spaghetti, and ravioli you can roll out the dough to pasta setting “4 or 5”. For tortellini, thin fettuccine, and thin linguine you can roll the pasta dough to settings “6 or 7”.
Yes, you can use All Purpose flour for pasta. It’s what I have used for years when making pasta.
Yes, it is totally worth the time and energy to make pasta from scratch. My family begs for me to make homemade fresh pasta for dinner all the time. It’s become a treat in my home.
Yes, you can add 1-2 teaspoons of garlic powder to the dough to give a slight garlic flavor. You can also add in dried herbs like parsley or even rosemary to the flour mixture before it is mixed.
This is a very common problem that most people face when making homemade pasta. Myself included. You will want to add additional flour on to the dough if it’s feeling on the sticky/moist side. Then knead the dough a little bit and let it rest for 5-10 minutes longer. I have found that by adding more flour to help dry it out a little and kneading it again and letting it rest is the ticket. I will cover the “faulty” piece and start with a new piece of dough while the other rests.
Yes, you need to let it rest for at least 5-10 minutes. I like to dust the fresh pasta dough with flour before I place it to dry. Then you can cook it.
Fresh homemade pasta cooks in minutes. Drop the fresh pasta dough into a pot of hot water that has a rolling boil to it. Make sure you salt the water very well and then cook for 3-4 minutes until al dente or at your preferred consistency.
Yes, you absolutely can and this is a great way to store leftovers for an easy lunch or dinner for a future buy day. If the pasta has been tossed in sauce, even better. You will want to portion the cooked pasta in sauce into individual portions in a freezer safe container. Freeze up to 3 months. Then thaw in the refrigerator before reheating.
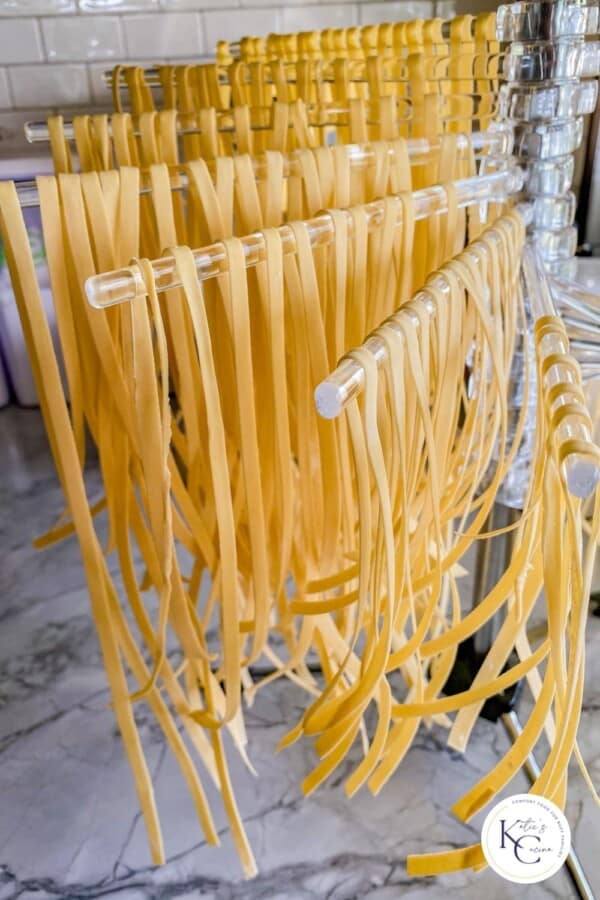
How to Dry Fresh Pasta
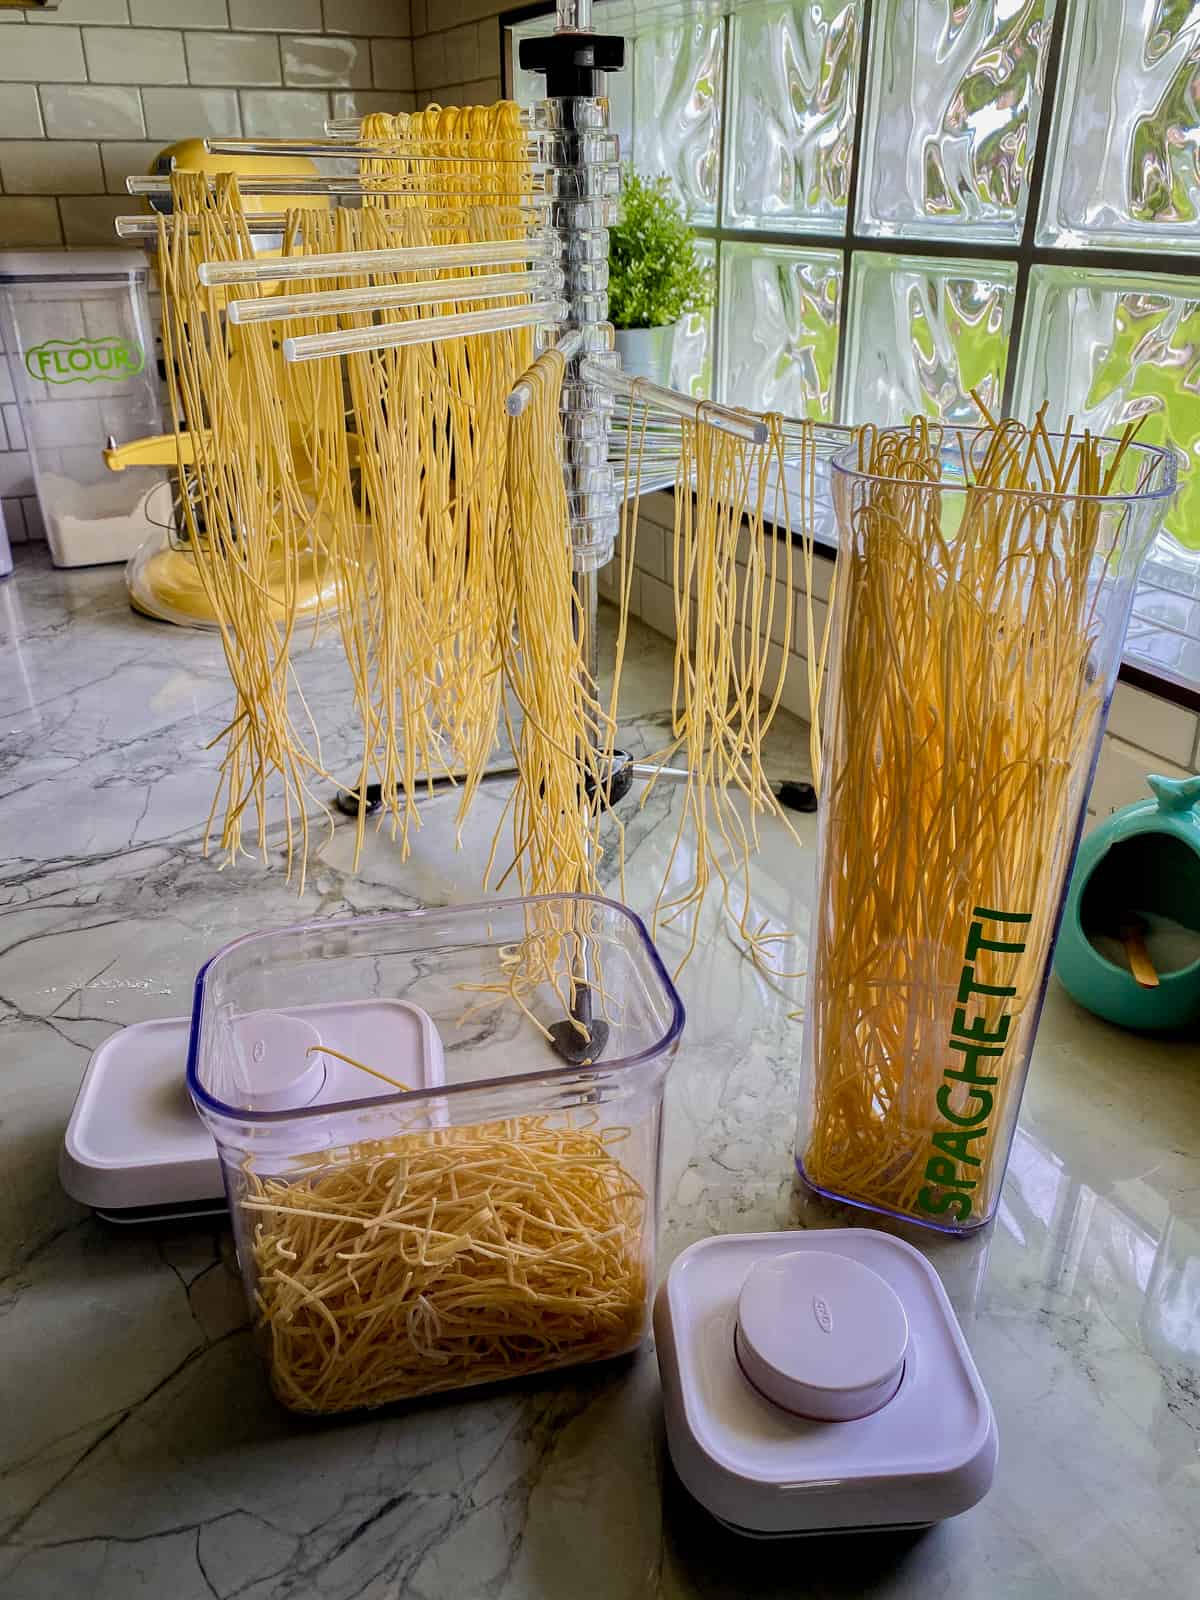
If you decide you are going to dry out the pasta instead of cooking it right away make sure you toss the fresh pasta with flour prior to drying. Dry on a drying rack for at least 24 hours. Depending on the humidity will depend if it takes the full 24 hours. I live in Florida—it takes at least 24 hours for me to dry pasta.
How to Store Dried Pasta
Once the pasta is dry you can store the dried pasta in a sealed container in a dry dark place for up to a month.
How to Refrigerate Fresh Pasta
Refrigerating Pasta – If you prefer to refrigerate your pasta, you need to make sure that it only stays refrigerated for one day. This will ensure that bacteria growth does not happen to the pasta. Before you refrigerate, you will dry out the noodles on a hanging rack for 10 minutes. Then, toss in additional flour and carefully nest the pasta. Grab a small bunch of fresh pasta, make a swirling motion and gently lay on a parchment lined baking sheet. Repeat until all your pasta is in nest. Place plastic wrap over the baking sheet and store in the refrigerator for up to 1 day until you are ready to cook. * You can also refrigerate the pasta by folding pasta in half and not in nest.
How to Freeze Fresh Pasta
Freezing Pasta – Dry out the noodles on a hanging rack for 20 minutes. Then, toss in additional flour and carefully nest the pasta or scatter the fresh pasta on a parchment lined baking sheet. Repeat until all your pasta is in nested or laying out on a baking sheet. Let the fresh pasta rest for an additional hour then transfer to a freezer bag. Make sure to lay the pasta in single piles (if nested) on a flat surface for maximum space saving. Once you are ready to cook simply place the frozen pasta noodles into boiling water. *Frozen pasta will be good for up to 8 months if store properly!
Recipe Tips and Tricks
Here are a few of my favorite tips and tricks when making homemade pasta.
- Recipe Yield – This recipe yields about 1-¼ – 1-½ pounds of pasta. Typically enough to feed 8 people.
- Holes forming in Dough – If you are starting at the rolling flat step and you find your dough is not stretching and instead forming holes this means either you have not worked the dough enough by hand or it is too dry. Try working the dough again for another 2-3 minutes and letting it rest for at least 5-10 before you begin to try to run the dough into the flat roller attachment.
- Rolling Pasta – While rolling out pasta I typically cut the pasta sheet in half once the flatten sheets go through setting 2 or 3– it is much easier to work with.
- Nesting Pasta – To nest the pasta, toss the fresh pasta in additional flour, let dry at least 20 minutes then spin small amounts of pasta into a nest and let continue to dry.
- Pasta Water – Save about a half cup of the pasta water to add into sauces that you toss the pasta with. The starch from the water will help thicken the sauce and allow for the sauce to stick to the pasta better.
- Read the Recipe – Yes, read the recipe below then read it again prior to making the pasta. There are a lot of steps to the process, but I promise it will be well worth it! Make yourself familiar with the recipe so you can execute with ease.
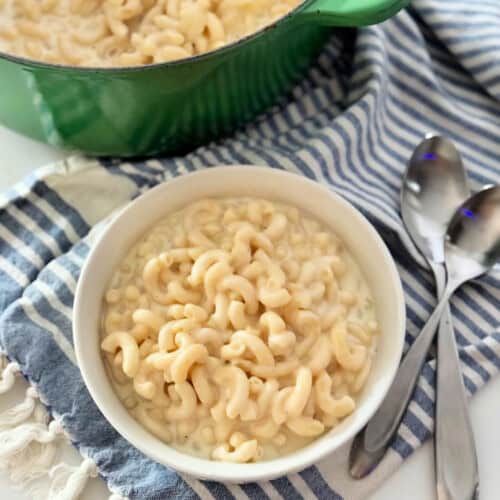
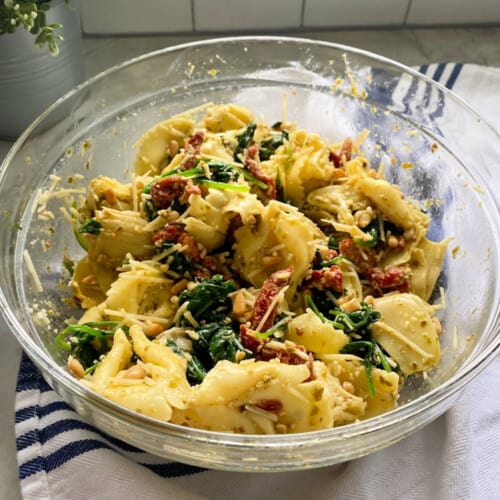
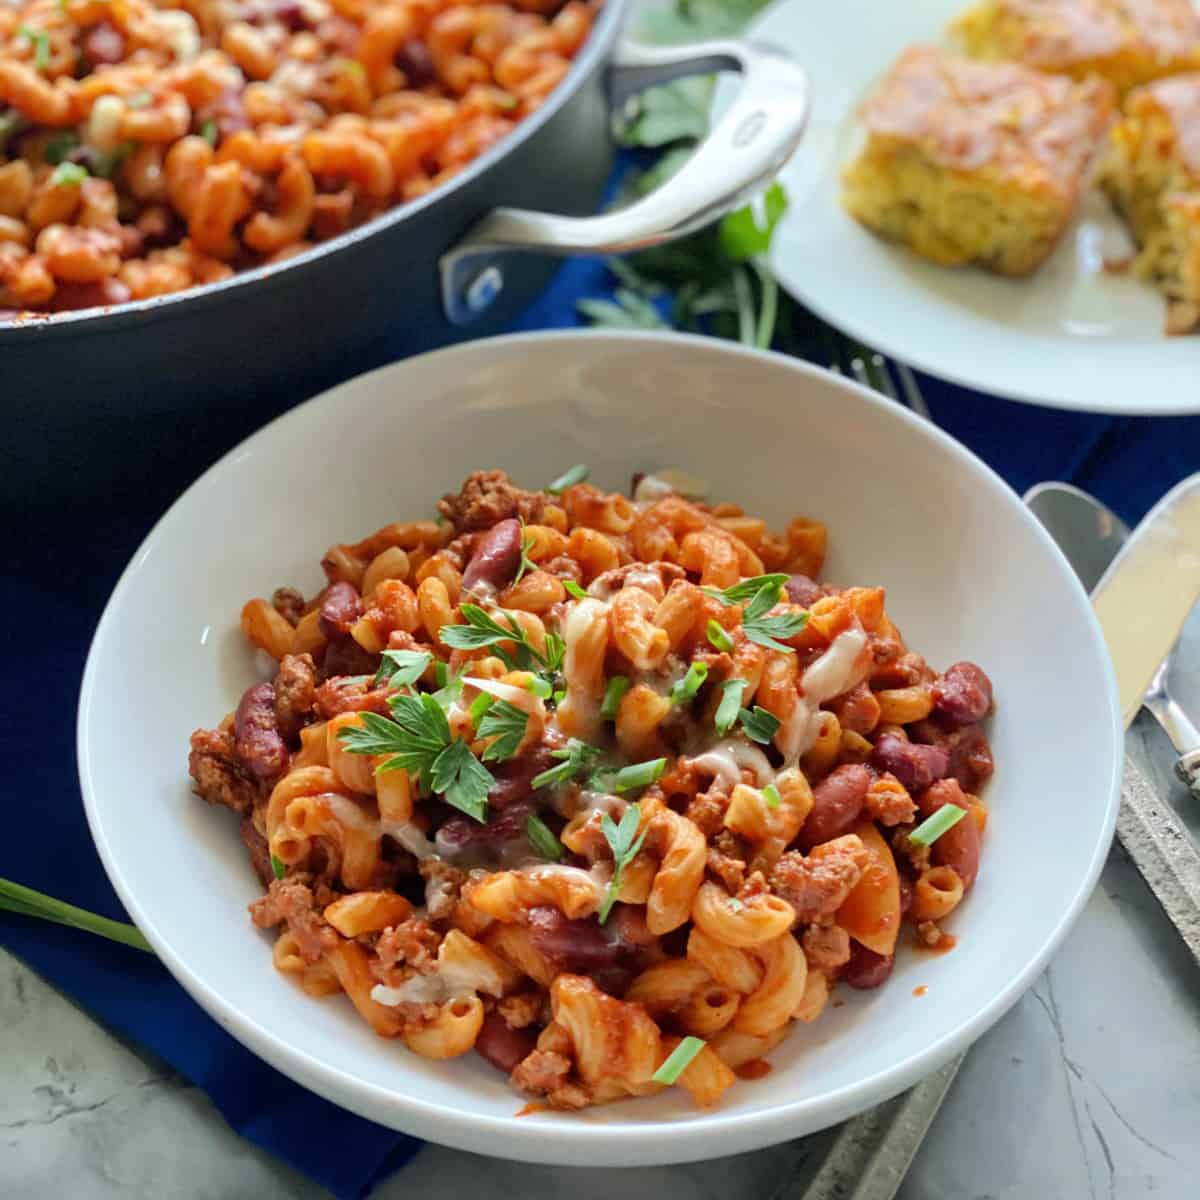
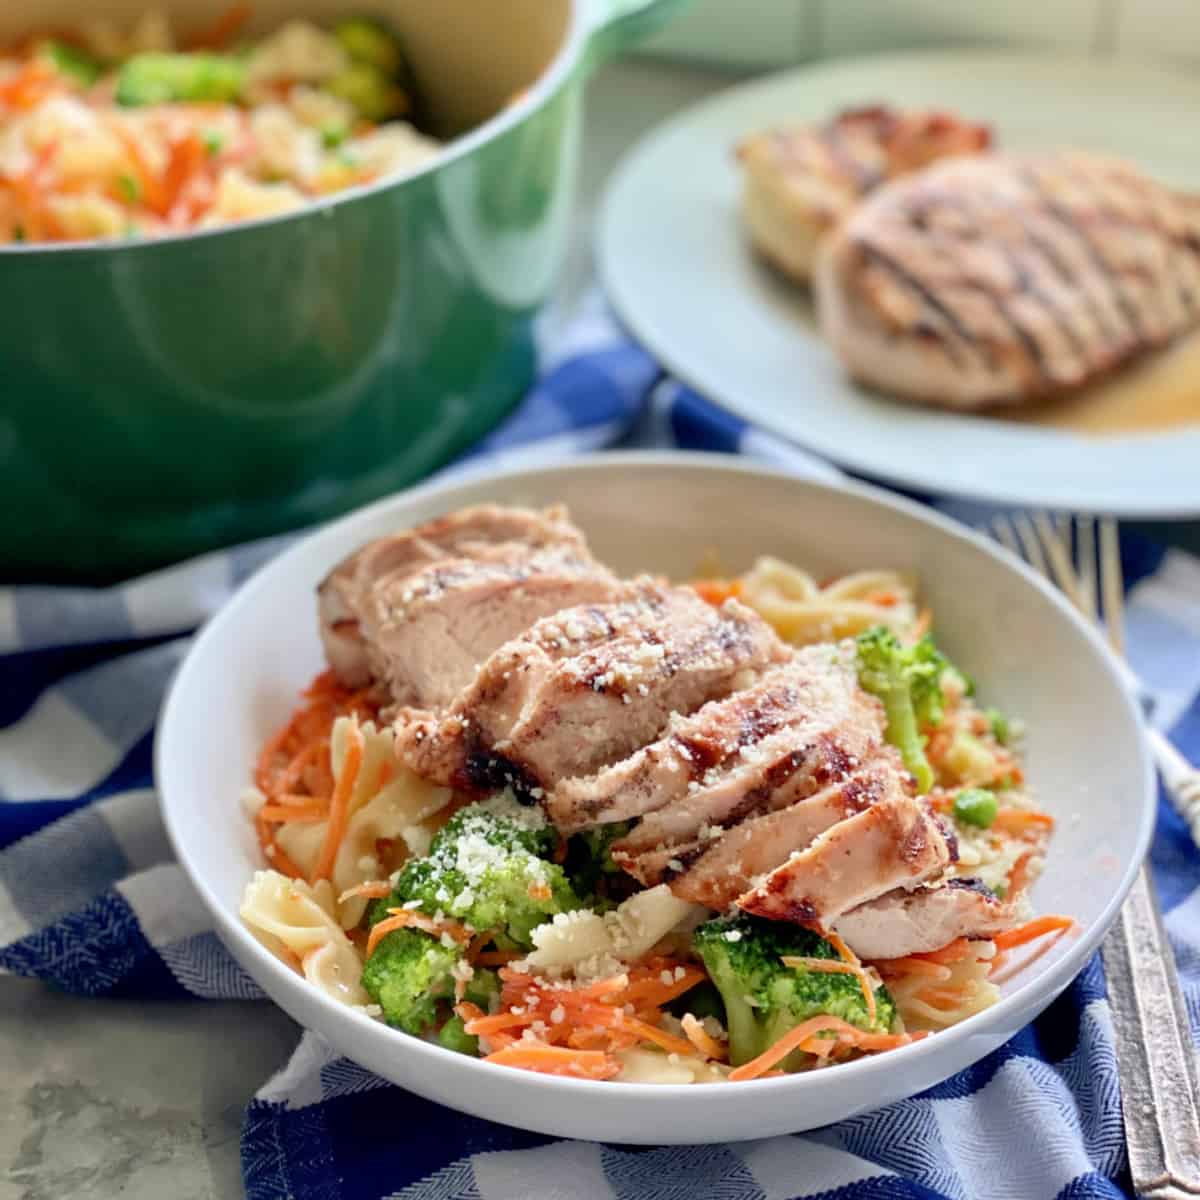
Easy Pasta Recipes
Looking to use your homemade pasta? I have dozens of pasta recipes you can make to enjoy your fresh pasta.

If you make this KitchenAid Pasta recipe, I would be honored and love for you to take the time to leave a ⭐ star rating and comment! I spend hours developing and testing these recipes, and always love to hear feedback and user experience!
Don’t forget to FOLLOW ME on Facebook, Pinterest, and Instagram, and subscribe to my email list!
KitchenAid Pasta Recipe
Equipment
- KitchenAid Pasta Attachment
- Pasta Drying Rack
Ingredients
- 4 large eggs
- 3-½ cups all-purpose flour sifted
- ½ teaspoon salt
- ¼ cup water *start with 2 tablespoons
Instructions
Making the Spaghetti Dough:
- In the stand mixer bowl, place the eggs, flour, salt and 2 tablespoons of water. Using the flat beater, attach it to the bowl and mix the ingredients on speed 2 for 30 seconds.4 large eggs, 3-½ cups all-purpose flour, ½ teaspoon salt, ¼ cup water
- Remove the flat beater and replace it with the dough hook. Turn the dough on to speed 2 and let it knead for 2 minutes. At this time if the mixture looks too dry add 1 tablespoon of water at a time.
- Remove the dough from the bowl and kneed with your hands for 1-2 minutes. (Do not skip this step–it's extremely important for rolling out the dough. By kneeding by hand it will help work the gluten.) Form the dough into a disc/ball, place plastic wrap over the top of the dough, and let it rest for at least 25 minutes.
Rolling the Spaghetti:
- Divide the dough into 4 pieces (keeping the dough you aren't working with it covered with a damp paper towel/kitchen cloth/plastic wrap).
- Attach the Pasta Sheet Roller attachment to you stand mixer. Take 1 of the 4 pieces of dough and flatten it until its about a half-inch thick. Set the Pasta Sheet Roller to setting 1 and your stand mixer to Speed 2/4 and begin to carefully feed the dough through the attachment.
- Once this is done you'll want to fold the dough in half and then half again. Make sure it fits in the top of the attachment. Then run it through the Pasta Sheet Roller again.
- Next, move your Pasta Sheet Roller to setting 2 and then carefully run the dough through. Repeat, by moving the setting all the way up to 5 until you have a thin sheet of pasta. *I typically cut the pasta sheet in half or in thirds by setting 2 or 3– it is much easier to work with. If not you will have some crazy long pasta!
- Once you have 2-3 thin sheets of pasta, remove the Pasta Sheet Roller and add the Spaghetti attachment to the stand mixer. Place the mixer on Speed 2 and carefully begin to feed the sheet of pasta through the attachment.
- Once you have the spaghetti cut, toss in additional flour and lay flat on a floured counter or on a drying rack for 10 minutes before cooking.
Cook the Spaghetti:
- Cook the spaghetti in a pot of boiling water with 1 tablespoon of salt for 3-4 minutes or until al dente. Drain and rinse with cool water before tossing in your favorite sauce.
Video
Notes
- Recipe Yield – This recipe yields about 1-¼ – 1-½ pounds of pasta. Typically enough to feed 8 people.
- Holes forming in Dough – If you are starting at the rolling flat step and you find your dough is not stretching and instead forming holes this means either you have not worked the dough enough by hand or it is too dry. Try working the dough again for another 2-3 minutes and letting it rest for at least 5-10 before you begin to try to run the dough into the flat roller attachment.
- Rolling Pasta – While rolling out pasta I typically cut the pasta sheet in half once the flatten sheets go through setting 2 or 3– it is much easier to work with.
- For drying pasta: Let the cut pasta hang or lay flat and dry in individual strands for 24 hours until the pasta is dried. If drying on a rack the pasta will begin to fall off as it completely dries.
- Nesting Pasta – To nest the pasta, toss the fresh pasta in additional flour, let dry at least 20 minutes then spin small amounts of pasta into a nest and let continue to dry.
- Pasta Water – Save about a half cup of the pasta water to add into sauces that you toss the pasta with. The starch from the water will help thicken the sauce and allow for the sauce to stick to the pasta better.
- Store – Store dried pasta in a well sealed bag or container. It will last for up to 1 month in an airtight container store in a cool dark place.
- Read the Recipe – Yes, read the recipe below then read it again prior to making the pasta. There are a lot of steps to the process, but I promise it will be well worth it!
Mark Hebenstreit says
only pasta recipe I use. goes great with my homemade meatballs and homemade gravy. yes I said gravy!
Katie says
Mark so happy to read this!!!
Shannon says
I made spaghetti noodles with this recipe and let them dry over night on my pasta rack and this morning I woke up to find all pasta had broken off into little pieces and it’s extremely fragile, now I’m going to have to throw it all away. Completely wasted my time doing this.
Katie says
Hi Shannon, Yes, I’ve definitely had the pasta fall while drying over night. I ended up breaking them into smaller pieces and using them as home-style egg noodles for chicken soup and it was divine. Next time, I would suggest you place them on a baking sheet before you go to bed to let them continue to dry out so they don’t fall and break.
Ralph Gratziano says
It’s important to note that eight on the pasta roller is the widest or fattest setting and number one is what you should end up with before you run your spaghetti
Katie says
Hi Ralph, thank you for clarifying that. My pasta roller is over 15 years old, so maybe KitchenAid has updated the numbers on their attachment.
Deborah says
I’m making the lasagne noodles, but need to know if the noodles need to be boiled first before assembling the lasagne?
Katie says
Hi Deborah, yes, I would boil the noodles first to al dente. This will take 1-2 minutes tops as fresh pasta cooks very fast!
Carol says
Do I need to sift the all purpose flour? Do I need to weigh the all purpose flour?
Katie says
Hi Carol, I sift it but don’t weigh it.
David says
Made this last night. Fun. Easy. Perfect. Thanks!
Katie says
David — glad you found that it was easy and fun!
Faith says
Hi! Can this be frozen?
Katie says
Yes! Freshly made pasta freezes beautifully. Just shape the pasta first using the KitchenAid attachment, lightly dust it with flour so it doesn’t stick, and place it in loose nests or single layers on a baking sheet. Freeze until firm (about 20 minutes), then transfer to a freezer-safe bag or container. For best quality, use within a month. When you’re ready to cook, don’t thaw—just drop the frozen pasta straight into boiling, well-salted water. It cooks super fast, usually in under 2 minutes. Filled pastas like ravioli freeze especially well!
Robert A Facella says
I made spaghetti once using this and it was great. can you use this recipe for ravioli?
Katie says
Hi Robert, glad to read you liked this recipe. Yes, you can use this dough recipe for ravioli’s!
Celeste says
This is the first time I used my Kitchenaid spaghetti attachment and your recipe. It turned out exceptionally good! I couldn’t believe how easy it was! Thank you SO much.
Katie says
Celeste, thank you for taking the time to leave a comment. I’m so happy you loved the recipe as much as I do! Pasta is not as hard to make as it seems.
Jenna McPhee says
So I just bought the kitchen aid attachment for pasta, and honestly had no clue how to make pasta. This recipe is delicious and so simple. THANK YOU as my chef husband says, “heard chef and thank you”. He was impressed by my hand making our dinner! I definitely won dinner tonight thanks to your recipe!
Katie says
Jenna, I’m so happy to read this! It is a solid recipe and super versatile. Next time you make chicken noodle soup–use the spaghetti attachment, dry out the noodles and break into small pieces. You will never want chicken noodle soup any other way again! Thanks for taking the time to leave a review!
Jacqueline Slater says
fantastic results!! I got myself the pasta attachment for my KitchenAid and as I was unpacking it, I felt a bit intimidated. But this recipe made it worth it. not all hero’s wear capes! thank you.
Katie says
Jacqueline, thank you so much for the kind words. Pasta making can seem intimidating, but it’s actually a lot easier than it seems!
Todd A Lovins says
very good noodles easy to follow instructions. Will make double next time and vacuum seal. thanka!
Katie says
Todd–great to read. Let me know how it turns out when you vacuum seal the dough.
Ryan says
This “recipe” is horse crap.
How many eggs? How much flour?
How has this been on the internet for a decade and nobody has pointed this out?
Katie says
Hi Ryan, I’m not sure what recipe you are looking at because the recipe card is on the post and clearly states how much eggs, flours, etc. You can leave your “horse crap” comment to yourself next time and simply scroll and LOOK!
Gratefully,
Katie