

Ever wonder how the heck caramel apples are made? My easy fool-proof Halloween caramel apples recipe takes just an hour to make from start to finish and will impress all the guys and ghouls you know!
In the almost 10 years I’ve had Katie’s Cucina I can’t believe I’ve yet to share a recipe for easy caramel apples. We love caramel apples in my house and I try to make them every year come October. It’s a fun treat that we all look forward to.
I strive to share easy and obtainable recipes that anyone can make. From my caramel cream cheese dip to Halloween M&M Cookie Bars. Those recipes and all of my other Halloween recipes are easy to follow and make. I know many people, including myself, may find caramel apples intimidating to make. But they are far from that. I’m sharing all my frequently asked questions and tips and tricks below. My hope is that my Halloween caramel apples recipe is going to be a new family tradition.
How to Make Caramel Apples

The first thing you’ll want to do is wash and dry the granny smith apples. You’ll want the tart granny smith’s over some of the other sweeter varieties. It makes for a good sweet/sour balance. Crisp fresh apples are also key to this recipe. The freshest apples yield the best results.
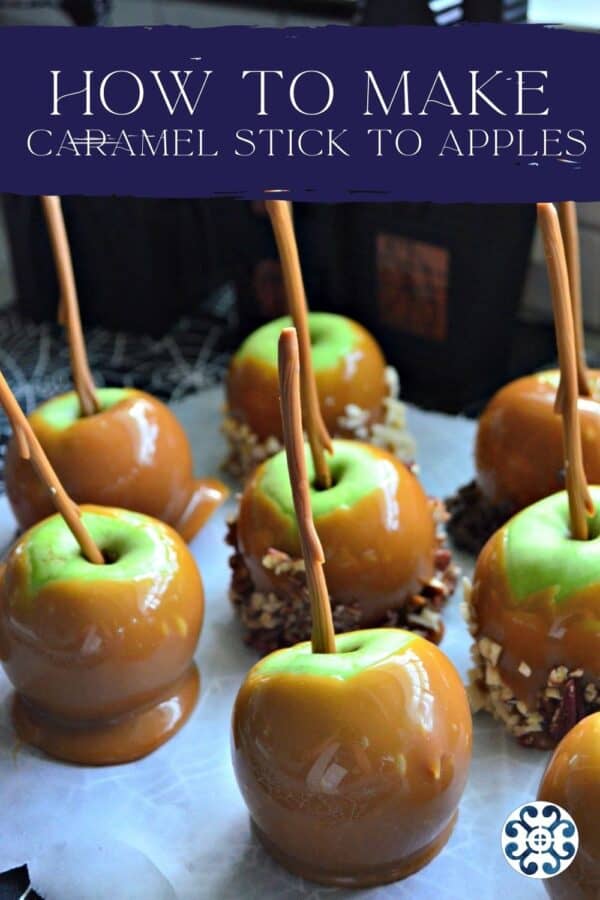
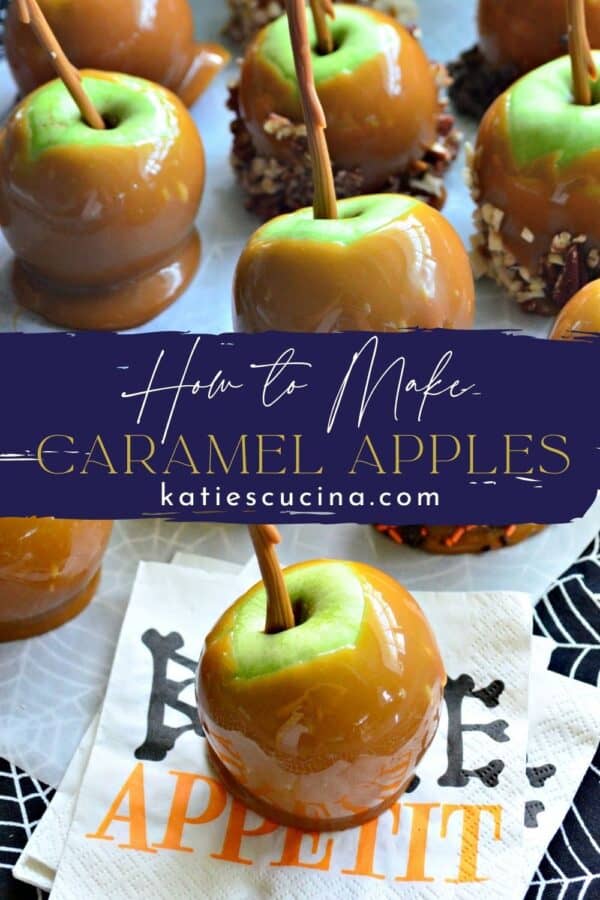
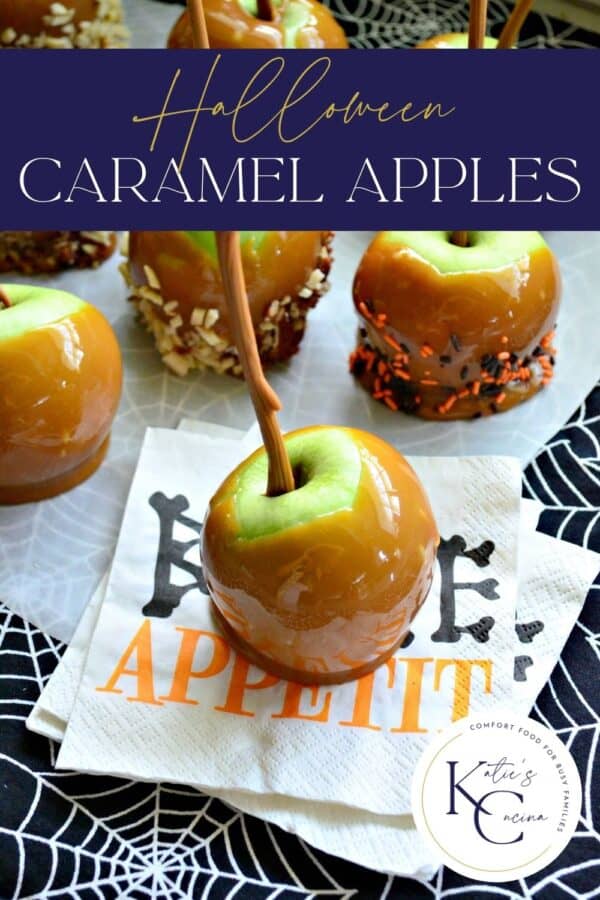
Placing sticks in the apples is key. I like to refrigerate the apples before they are about to be dipped. I’ll spend at least 15 minutes at the stove top stirring the caramels until they are smooth and creamy. I use a spatula to not only stir caramel in between on low heat, but also to help force some of the caramel dipped on the apple off. I like to let the caramel drip off for at least a minute.
If a large pool begins to set on the apple as it cools, I carefully pull the apple off the parchment, scoop the excess caramel off the bottom of the caramel. I return the same cooled caramel back into the melted pot and stir until smooth again. No wasting here!
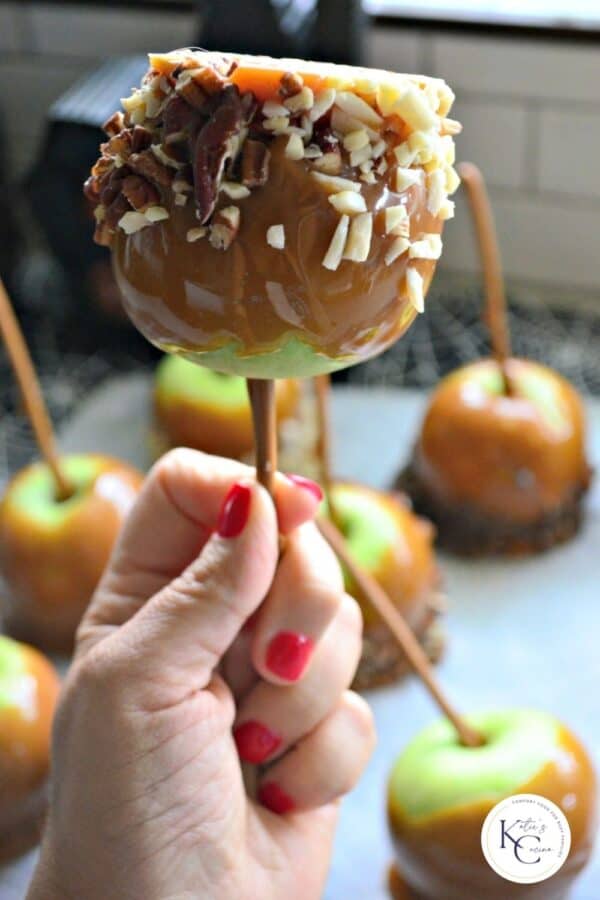
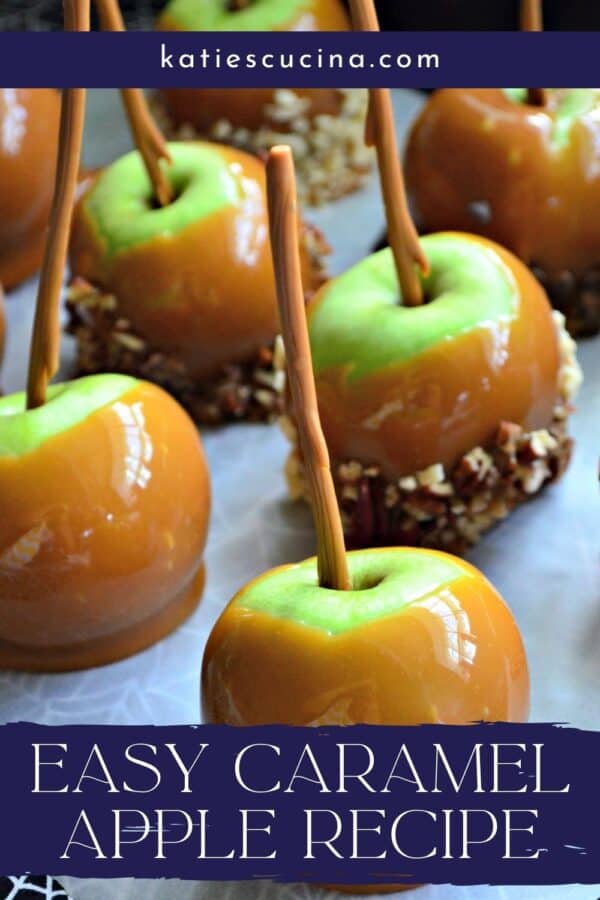
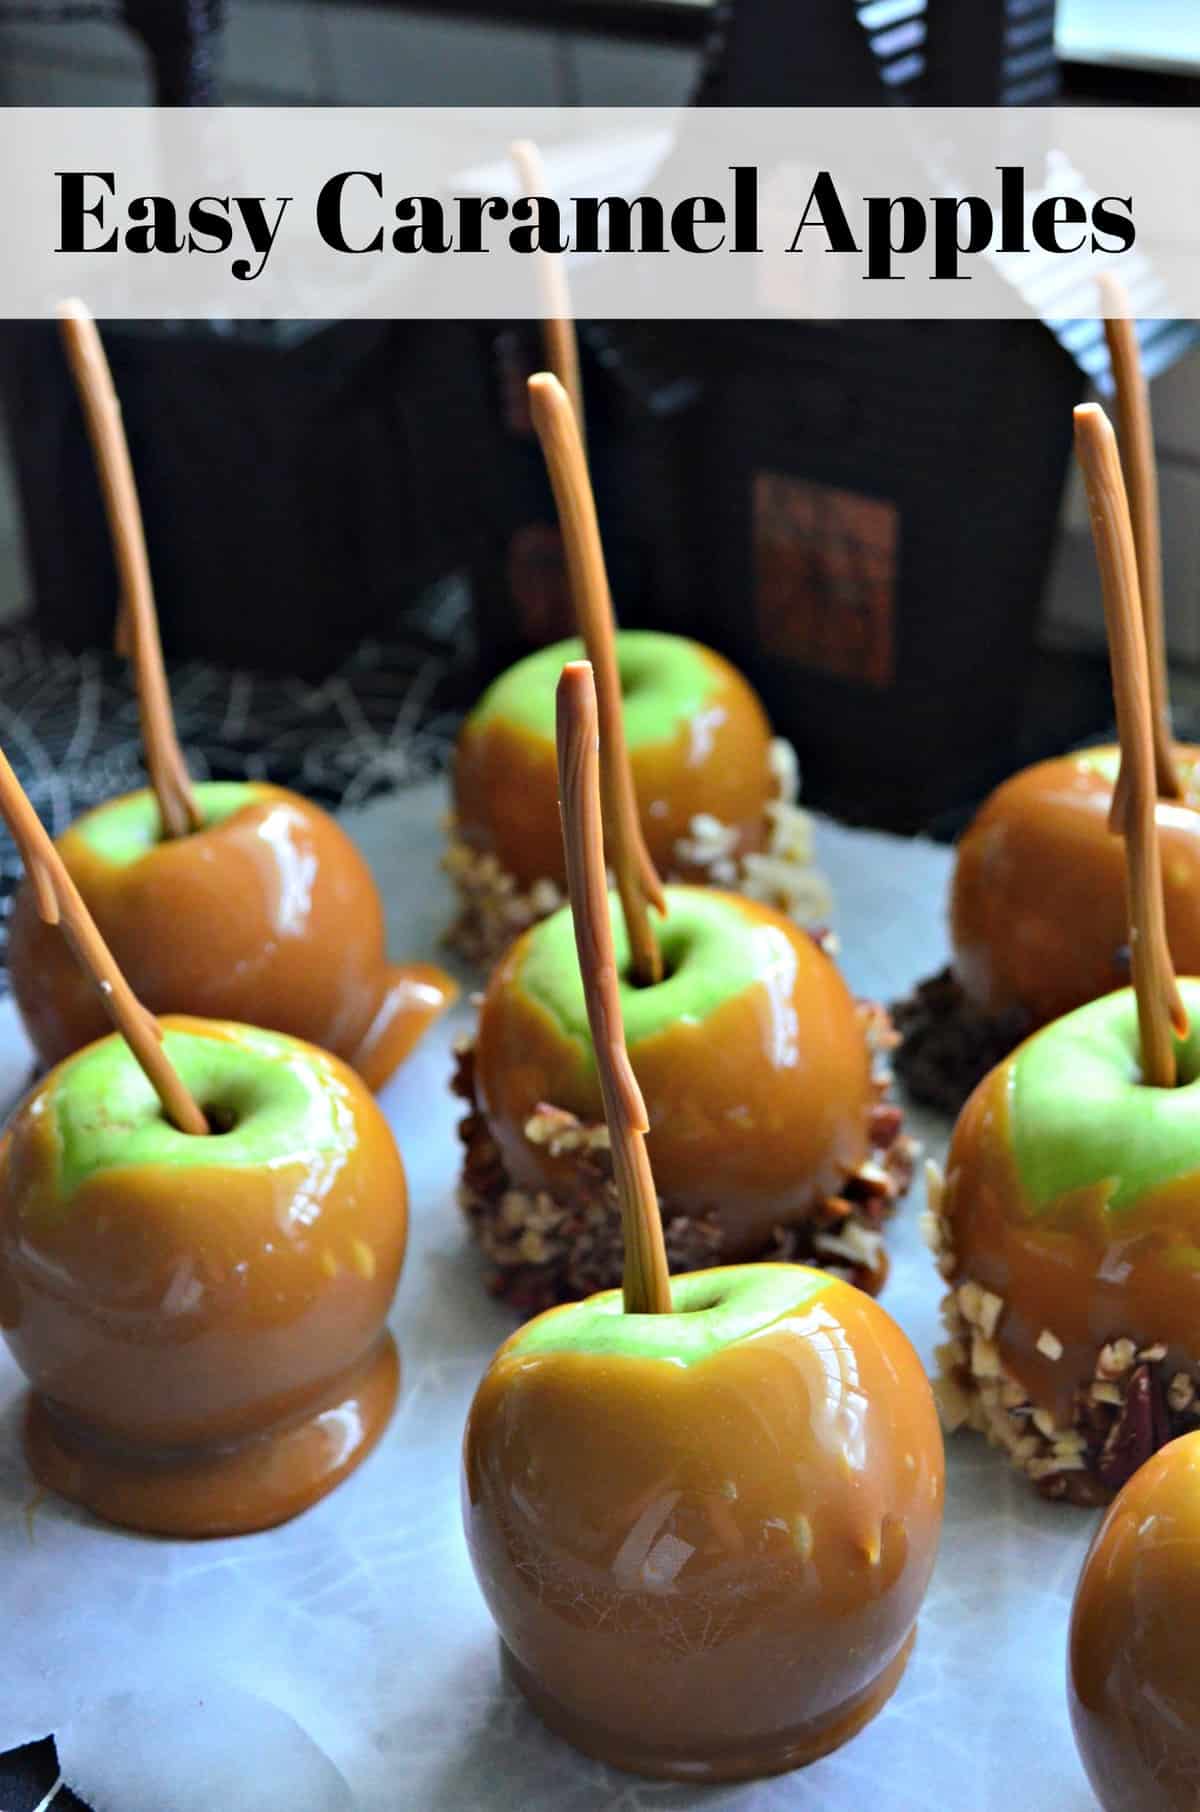
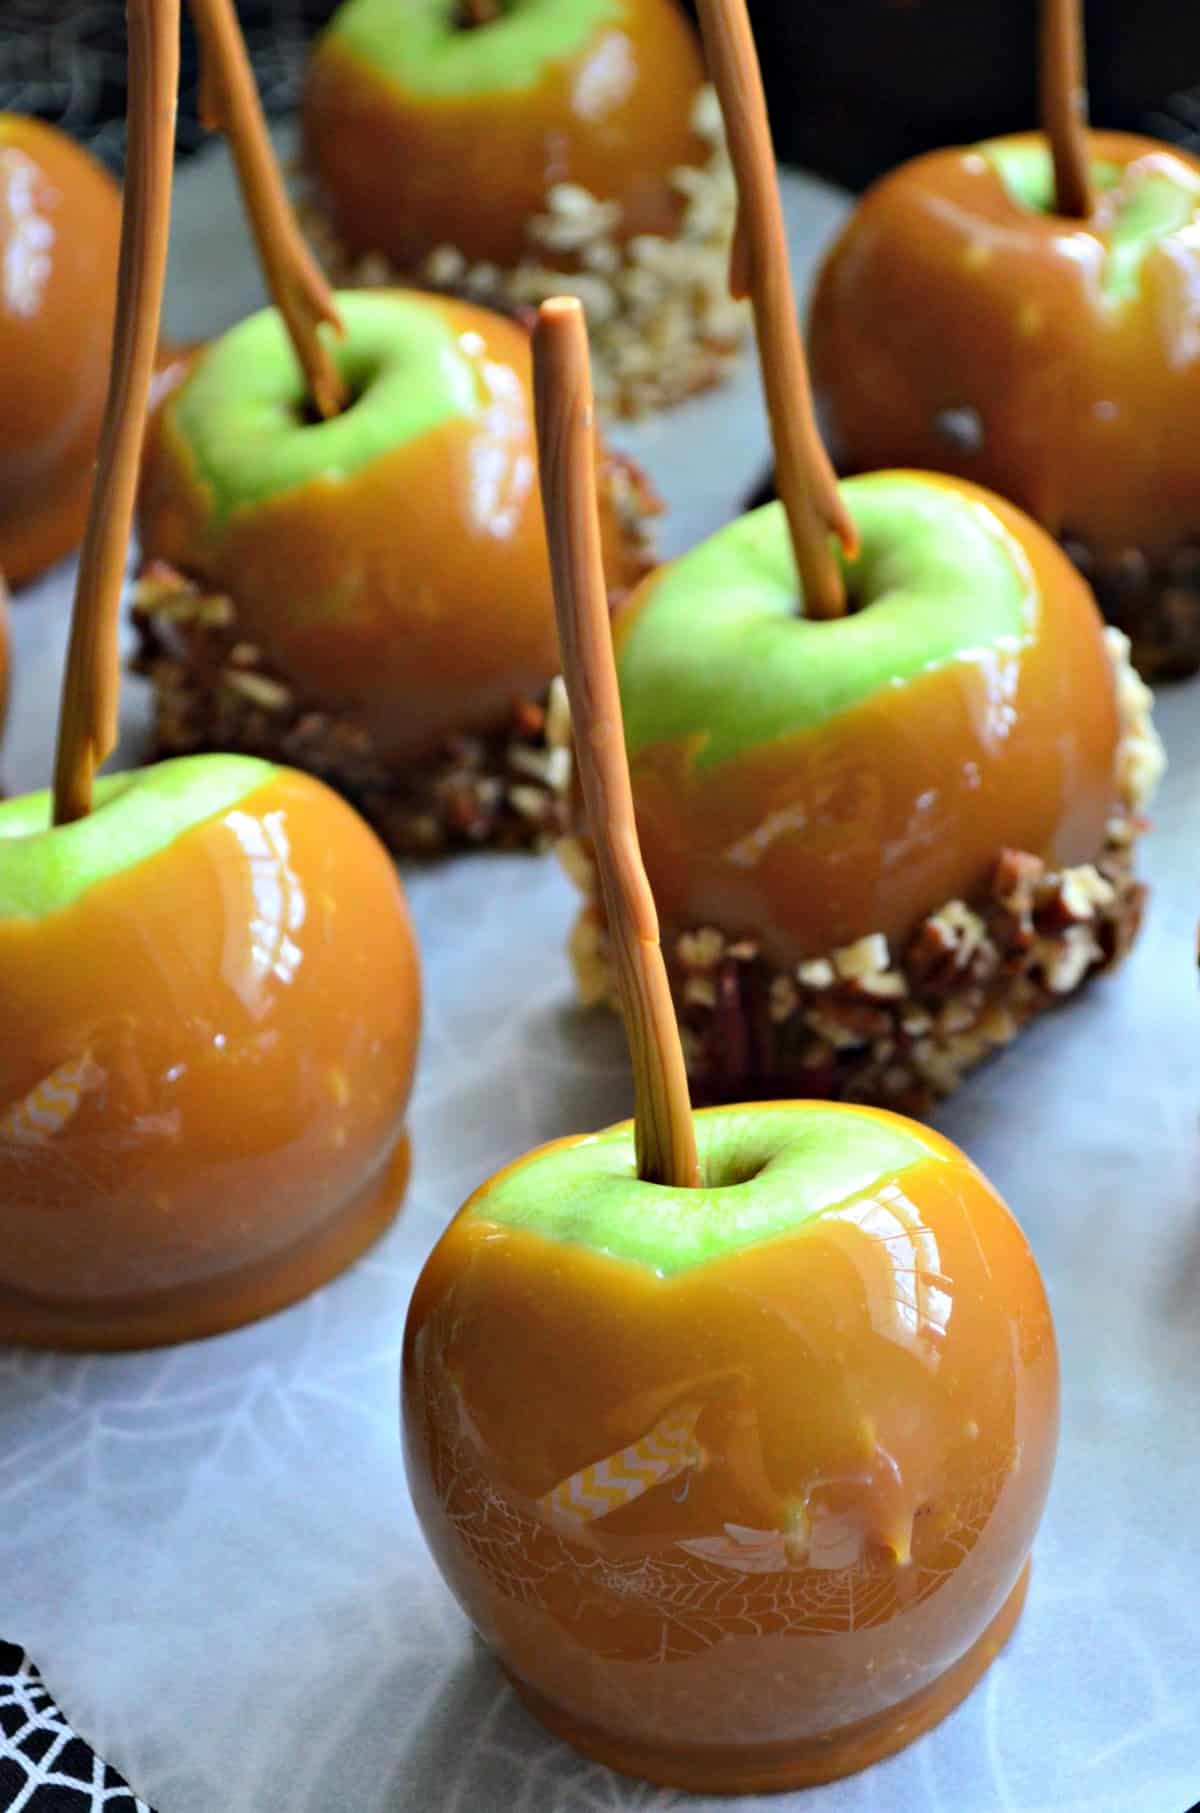
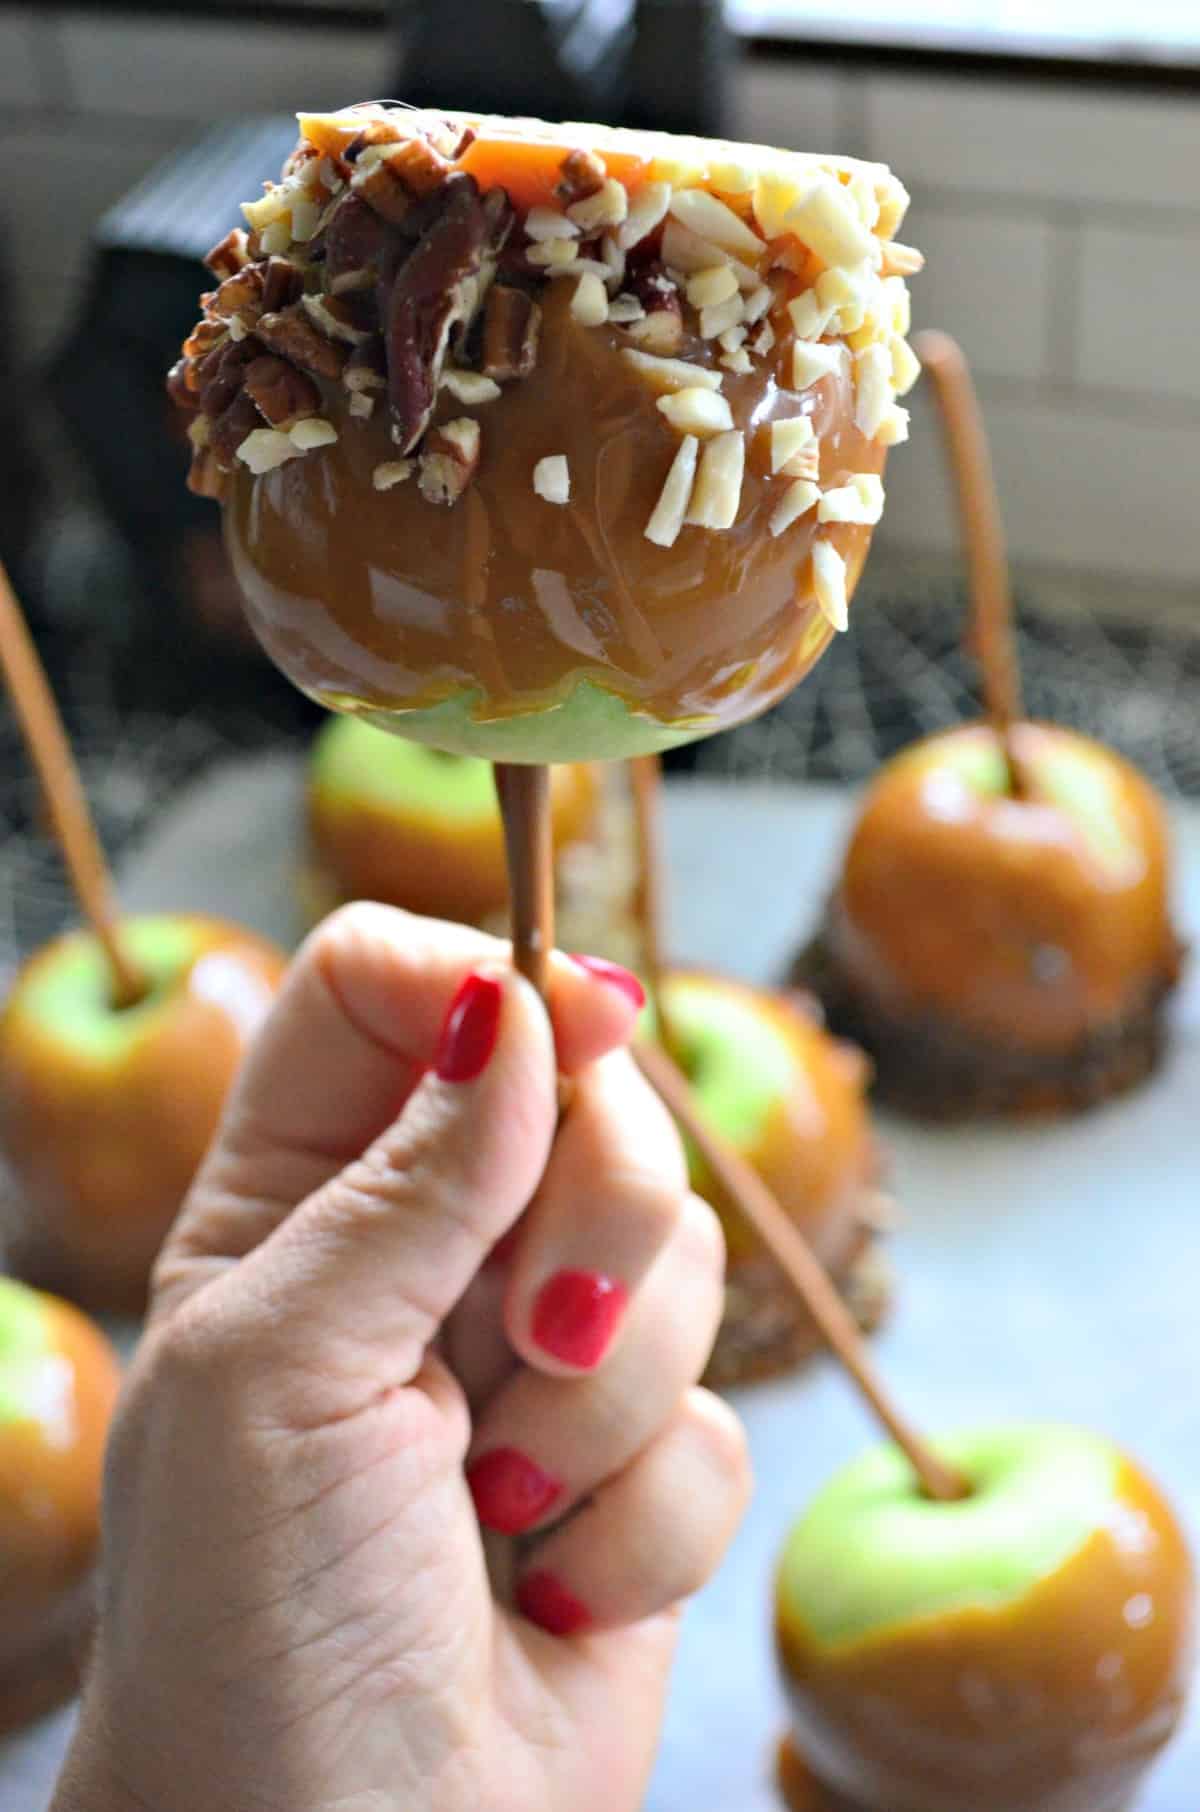
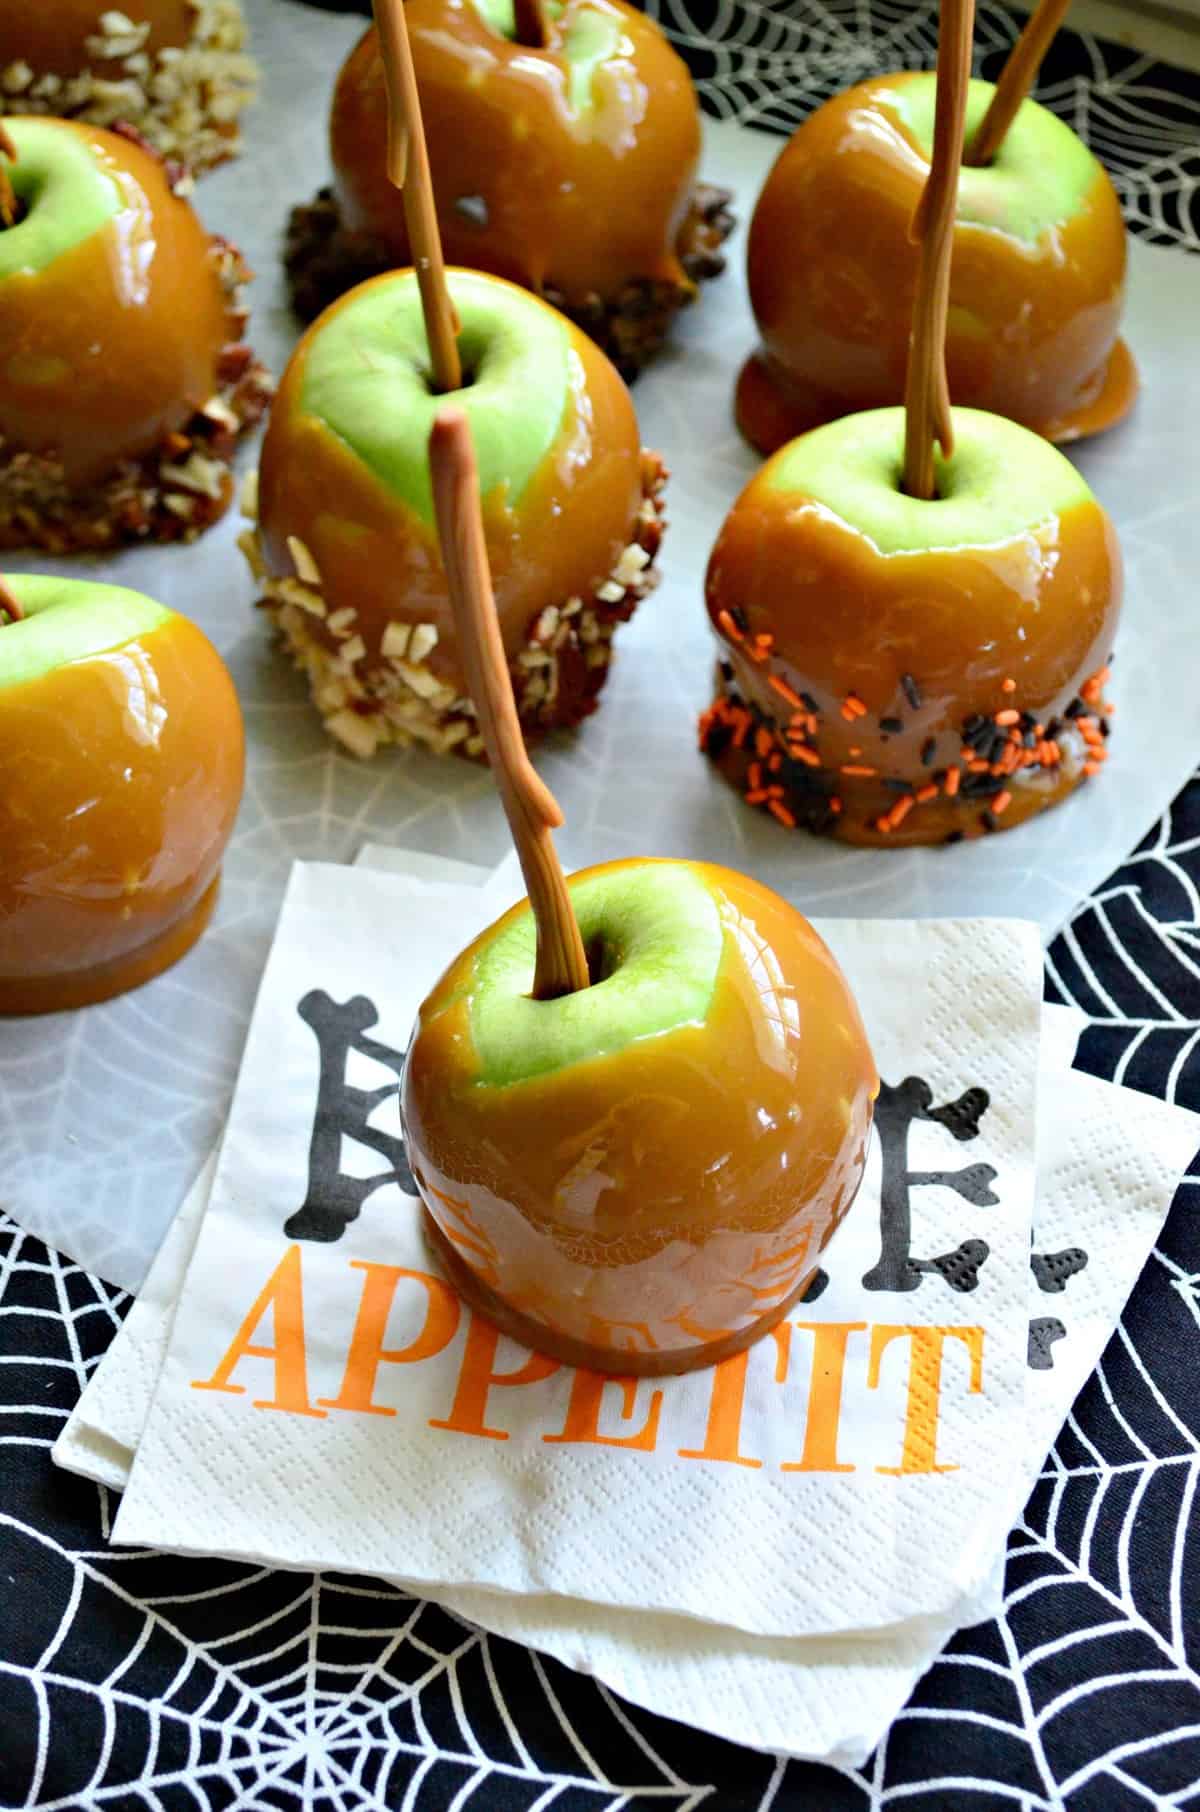
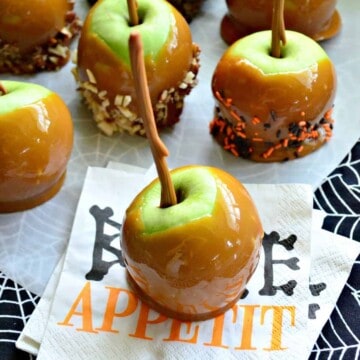
You want to make sure you have all of your toppings prepped prior to dipping. You’ll need to roll the caramel apple into the toppings. The finer the chopped topping the more likely it will stick.
The sky is the limit for toppings–whatever you like you can use as a topping!
FAQs
You can use any variety of apple. But I prefer to use Granny Smith apples since they are tart which offsets the sweetness from the caramel.
This recipe makes about 12 caramel apples with just a little bit of caramel sauce leftover.
It is best to dip the apple then place them immediately into the refrigerator so it has a chance to harden and stick quickly to the sides of the apple.
Yes, it is best if you refrigerate the caramel apples until you are ready to eat. This will help keep them as fresh as possible and avoid the caramel from melting off the apple.
If you keep the caramel apples in an air tight container they will last up to a week in the refrigerator.
I’ve made the caramel for the apples both ways and have found the caramel candy method easier. If you are intimidated to make your own caramel apples you’ll find this method a lot less intimidating. However, just know both methods will yield at least a good 15 minutes of stirring on the stove top, if not more for the scratch.
The caramel candy method is more expensive vs the cream and sugar method. So you will want to weigh the time vs money aspect. I personally like the way the caramel candies make for a thick caramel coating. It’s all preference though.
Tips for Making Caramel Apples
Here are a few of my tips and tricks when making Halloween Caramel Apples.
- Dry Apples – The number one tip I can give you when making caramel apples is to make sure your apples are completely dry. If not the caramel will not stick to the apple.
- Refrigerate – Another big tip I have to mention is to refrigerate apples before dipping into the caramel. This will also help the caramel stick better.
- Sticks – Sticks are a must! You need it as a handle to dip the apple into the caramel. You can use lollipop sticks or even popsicle sticks. I used plastic “wood” twig looking sticks from Wilton as pictured. I like these and re-use them year after year!
- Toppings – I have used the following toppings to roll the apples in; crushed cookies mini M&M’s, mini chocolate chips, coconut flakes, chopped nuts, etc.
Caramel Recipes
If you love caramel here are a few more caramel recipes that you can try.
So if your entertaining this fall or simply want to try your hand at caramel apples. I invite you to give my easy caramel apple recipe a try. I hope you love these as much as my family does.
If you make this recipe, I would be honored and love for you to take the time to leave a star rating and comment! I spend hours developing and testing these recipes, and always love to hear feedback and user experience!
Don’t forget to FOLLOW ME on Facebook, Pinterest, and Instagram, and subscribe to my email list!
Easy Caramel Apple Recipe
Equipment
- lollipop sticks / reusable plastic sticks
- Stove Top
Ingredients
- 4 – 8.10 ounce bags of soft caramels
- 3 tablespoons heavy cream
- 12 small granny smith apples
Instructions
- Wash and dry each apple. Place the lollipop sticks in the middle of each apple. Place on a lined baking tray in the refrigerator until ready to dip.
- Unwrap all the caramel candies. Place the unwrapped caramel candies in a saucepan. Pour in the 3 tablespoons heavy cream and then heat on medium – low.
- Stirring often so that the caramel melts and does not burn. Once the caramels begin to melt reduce the heat to low. Continue to stir until smooth. This process will take about 15 minutes. Do not leave the caramel unattended.
- Remove the apples from the refrigerator. Place all the toppings in shallow trays near the apples. Dip one apple in caramel sauce coating until almost the entire apple is coated. Pull out of caramel and let caramel drip off.
- Using a soft spatula help remove the thick layer on the bottom. Hold apple over the pot for at least one minute to ensure all the excess caramel comes off. Then roll in topping of choice, and set on the parchment lined baking sheet. Repeat until all apples are done.
- Refrigerate for at least 30 minutes until set. Store in the refrigerator for up to 3 days.
Notes
- Dry Apples – The number one tip I can give you when making caramel apples is to make sure your apples are completely dry. If not the caramel will not stick to the apple.
- Refrigerate – Another big tip I have to mention is to refrigerate apples before dipping into the caramel. This will also help the caramel stick better.
- Sticks – Sticks are a must! You need it as a handle to dip the apple into the caramel. You can use lollipop sticks or even popsicle sticks. I used plastic “wood” twig looking sticks from Wilton as pictured. I like these and re-use them year after year!
- Toppings – I have used the following toppings to roll the apples in; crushed cookies mini M&M’s, mini chocolate chips, coconut flakes, chopped nuts, etc.
Nutrition


Disclosure: There are affiliate links present in this post. That means if you click on a link and purchase something. I will receive a small percentage of the sale at no additional cost to you. Thank you for your continuous support of Katie’s Cucina!
Did you make this recipe? Let me know!