
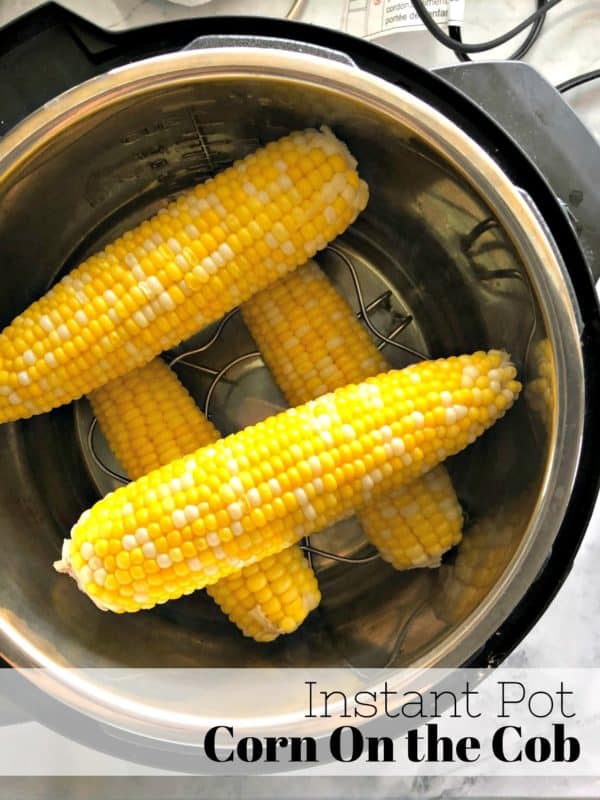
Simplify cooking buttery corn on the cob and follow my easy recipe for Instant Pot Corn on the Cob. This easy summertime side dish is made in just 10 minutes and cooked to perfection EVERY time!

If you love corn on the cob and love using your Instant Pot you are going to love this method of cooking. My easy Instant Pot Corn on the Cob recipe is sure to be your new go-to whenever you need to cook corn!
If you’ve been a follower of Katie’s Cucina you know that I love Instant Pot recipe = perfect simple and easy recipe for any home cook to make! That’s exactly what this corn recipe is.
I love cooking vegetable side dishes in my Instant Pot. I haven’t shared many side dish recipes, but plan to throughout the next few months. The nice thing about using your Instant Pot for side dishes is that they are typically done in minutes.
Ingredients
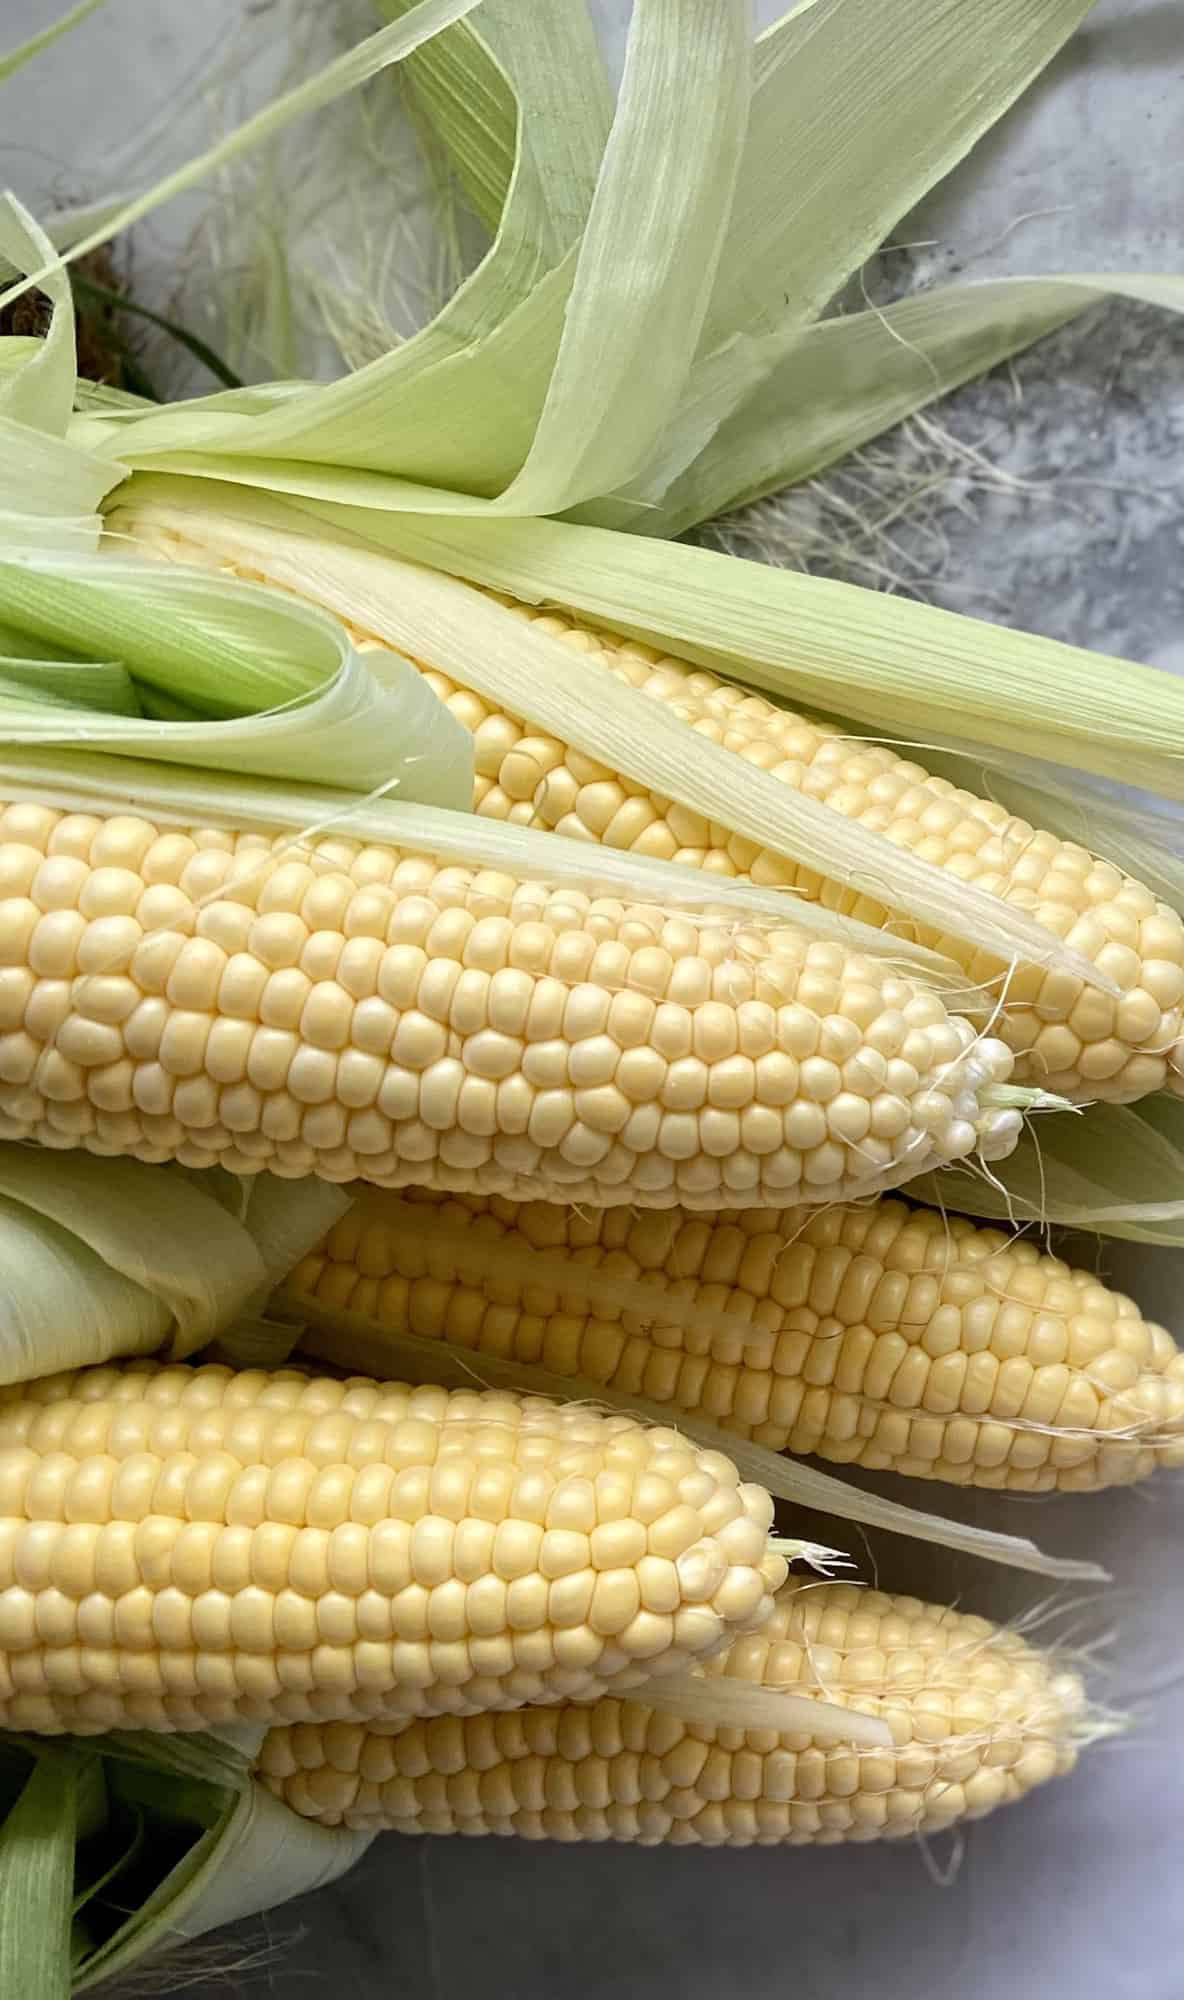
- Corn on the cob – This is the star of the recipe! Depending on the size of your Instant Pot depends on how many ears of corn you can fit.
- Water – You will need at least a cup of water to help steam your corn.
- Butter – Everything is better with butter. I love to drain the water and add a stick of butter on top of the corn before serving. You can even keep the corn warm in the butter sauce.
Directions
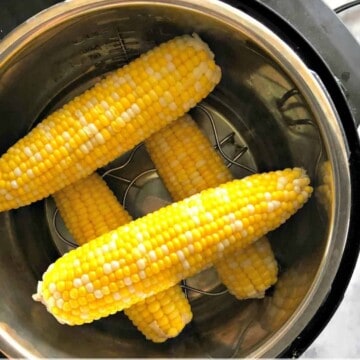
- Place the stainless steel steam rack in a 6 quart Instant Pot. Pour 1 cup of water in the Instant Pot, then place the four ears of corn on the cob (*husk on or off) on the rack.
- Close the lid and seal the pressure valve to closed. Cook at “steam” High Pressure for 3 minutes.
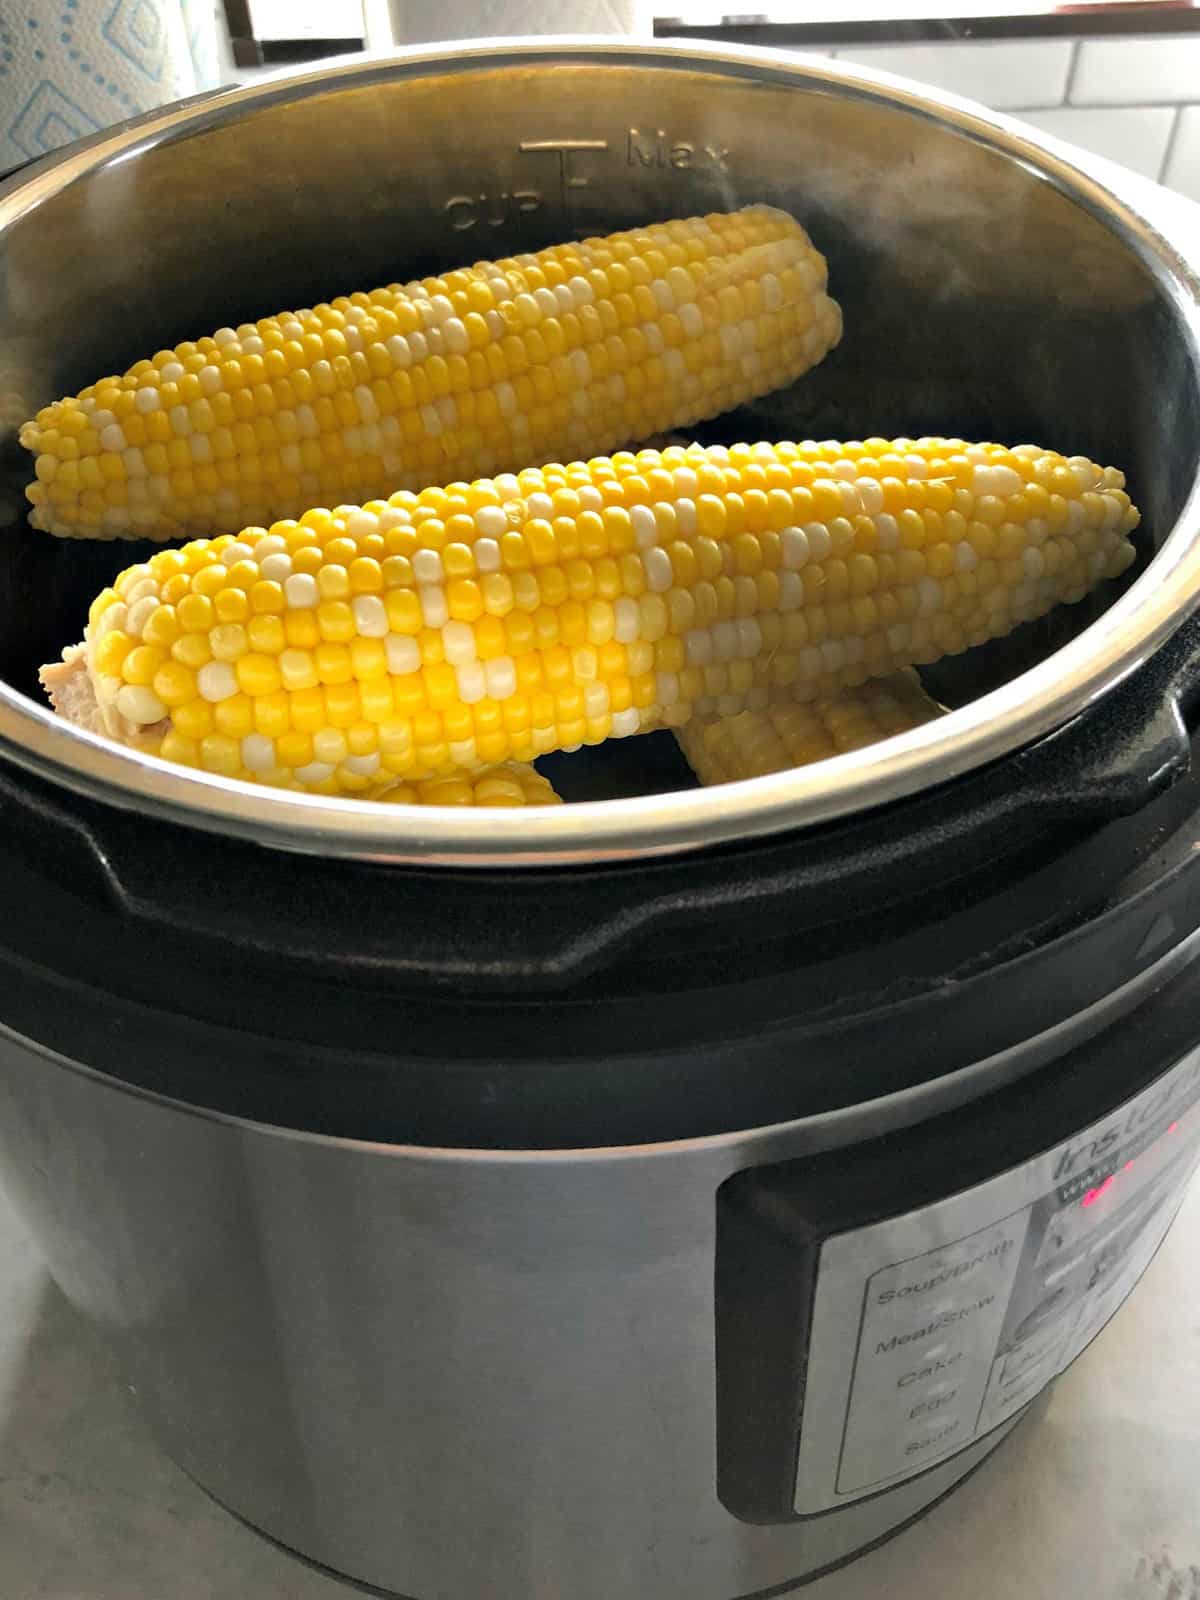
- Once the corn is done cooking and the Instant Pot starts to beep, carefully do a quick release on the pressure valve. Open the lid carefully, and remove the corn. Serve immediately with toppings of choice.
FAQs
Here are all the frequently asked questions readers have asked when making this recipe.
Place corn cobs directly on a trivet or in a steamer basket. Don’t be afraid to stack the corn on top of each other. Place the lid on pressure cooker and be sure lid is sealed and vent knob is closed or pointed towards “seal.”
Yes, you can cook corn with the husk on. In the Instant Pot cook on “steam” for 3 minutes for corn without husk. Cook on “steam” for 4 minutes for corn with husk still attached..
You can peel or “shuck” the corn by simply peeling off the husks followed by the silk hair strands. You can do this before or after the corn has been cooked depending on the method of cooking.
Tips & Tricks
Here are a few of my favorite tips and tricks I’ve learned when making this recipe.
- Husks On or Off – I have cooked the corn with both husk on and husk off. I’ll be honest–I didn’t see any difference other then it’s a smidge easier to clean the corn and remove the husk and hairs when they are already cooked!
- Keeping Warm – Once your corn is done, drain the water, add a stick of butter and toss the corn in the butter. If you are entertaining you can turn on the “keep warm” setting and let the corn sit for up to an hour. During this time it can soak in the butter. Don’t want to add butter. Then simply keep it on the trivet!
- Toppings – You can enjoy the corn hot out of the Instant Pot or top it with butter, fresh herbs, or even bacon. The sky is the limit as far as the toppings you can select for your corn!
- Buttery Corn on the Cob – Love a lot of butter. I use one stick of butter at the end but you can use even more if you choose.
- Pressure – Remember, any time you cook with an Instant Pot it takes the same amount of time to come to pressure as it does to cook. So for this recipe it will take 3-4 minutes to come to pressure, the screen will read “on” and then once it hits pressure then it will take the 3 minutes to cook.
Fresh Corn Recipes
If you love corn you will love some of my other fresh corn recipes. All of these are the perfect way to use up leftover corn on the cob.
- Mexican Street Corn Salad
- Black Bean, Corn, Tomato Salad
- Fresh Corn Saute with Green Onions and Red Peppers
- Stovetop Creamed Corn
- Mexican Corn and Grape Tomato Skillet with Grouper
If you make this Instant Pot Corn on the Cob recipe, I would be honored and love for you to take the time to leave a star rating and comment! I spend hours developing and testing these recipes, and always love to hear feedback and user experience!
Don’t forget to FOLLOW ME on Facebook, Pinterest, and Instagram, and subscribe to my email list!
Instant Pot Corn on the Cob
Equipment
- Instant Pot
Ingredients
- 1 cup water
- 4 ears corn on the cob
Instructions
- Place the stainless steel steam rack in a 6 quart Instant Pot. Pour 1 cup of water in the Instant Pot, then place the four ears of corn on the cob (*husk on or off) on the rack.
- Close the lid and seal the pressure valve to closed. Cook at "steam" High Pressure for 3 minutes.
- Once the corn is done cooking and the Instant Pot starts to beep, carefully do a quick release on the pressure valve. Open the lid carefully, and remove the corn. Serve immediately with toppings of choice.
Notes
- Husks On or Off – I have cooked the corn with both husk on and husk off. I’ll be honest–I didn’t see any difference other then it’s a smidge easier to clean the corn and remove the husk and hairs when they are already cooked! You can use the same exact cooking time for either way.
- Keeping Warm – Once your corn is done, drain the water, add a stick of butter and toss the corn in the butter. If you are entertaining you can turn on the “keep warm” setting and let the corn sit for up to an hour. During this time it can soak in the butter. Don’t want to add butter. Then simply keep it on the trivet!
- Toppings – You can enjoy the corn hot out of the Instant Pot or top it with butter, fresh herbs, or even bacon. The sky is the limit as far as the toppings you can select for your corn!
- Pressure – Remember, any time you cook with an Instant Pot it takes the same amount of time to come to pressure as it does to cook. So for this recipe it will take 3-4 minutes to come to pressure, the screen will read “on” and then once it hits pressure then it will take the 3 minutes to cook.
Nutrition
Disclosure: There are affiliate links present in this post. That means if you click on a link and purchase something. I will receive a small percentage of the sale at no additional cost to you. Thank you for your continuous support of Katie’s Cucina!
Did you make this recipe? Let me know!