
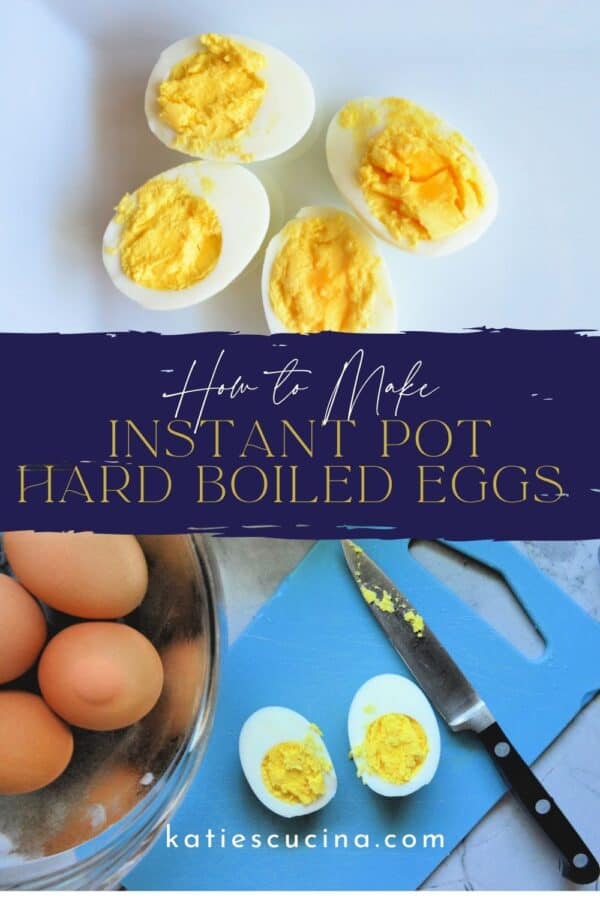
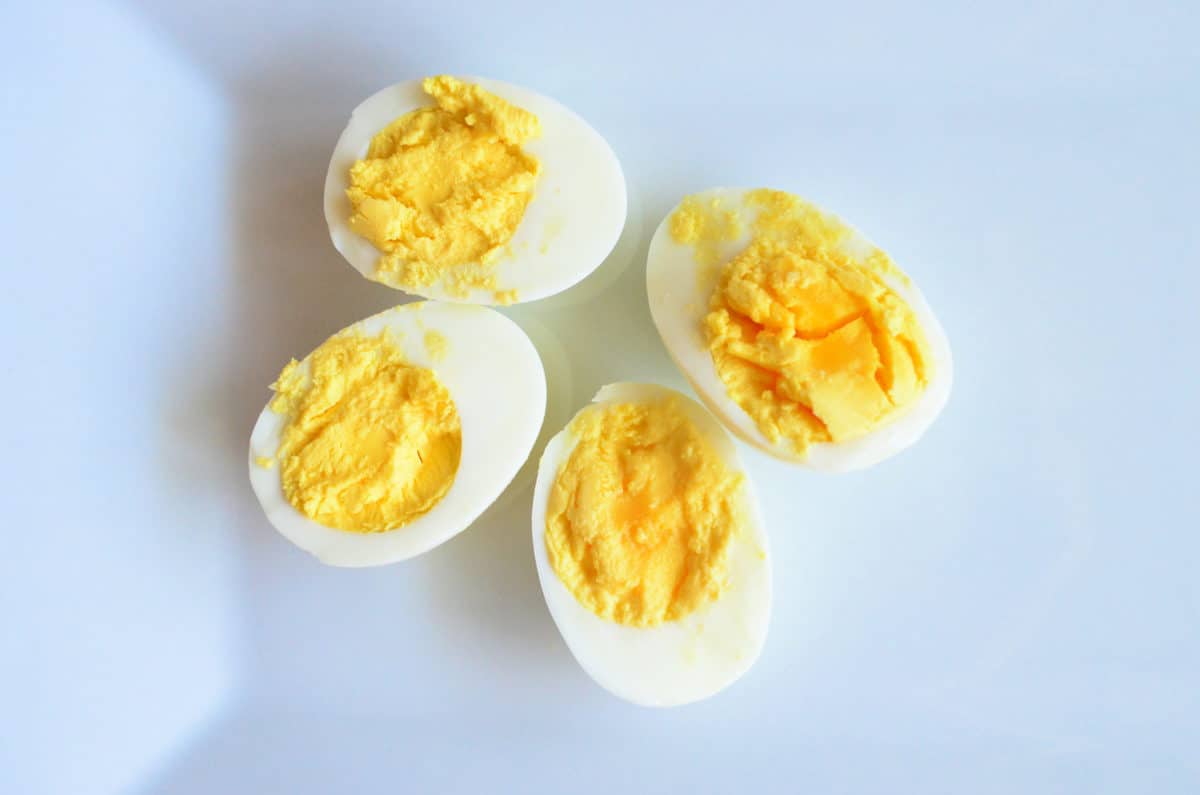
Learn how to make perfect hard boiled eggs in the Instant Pot every single time with my no fail method for Instant Pot Hard Boiled Eggs made in 15 minutes.

Do you love eggs? My family loves my scrambled eggs, I enjoy my egg bites and egg white souffles, and of course my ham, egg, and cheese breakfast casserole. But what about hard boiled eggs? I personally am not a fan, but my husband loves them. Whether you like to eat hard boiled eggs on the daily or simply making them for Easter. I’m here to share with you my no-fail method. If your anything like me–this is one cooking skill I’ve failed miserably at over the years. That is until I got my Instant Pot.
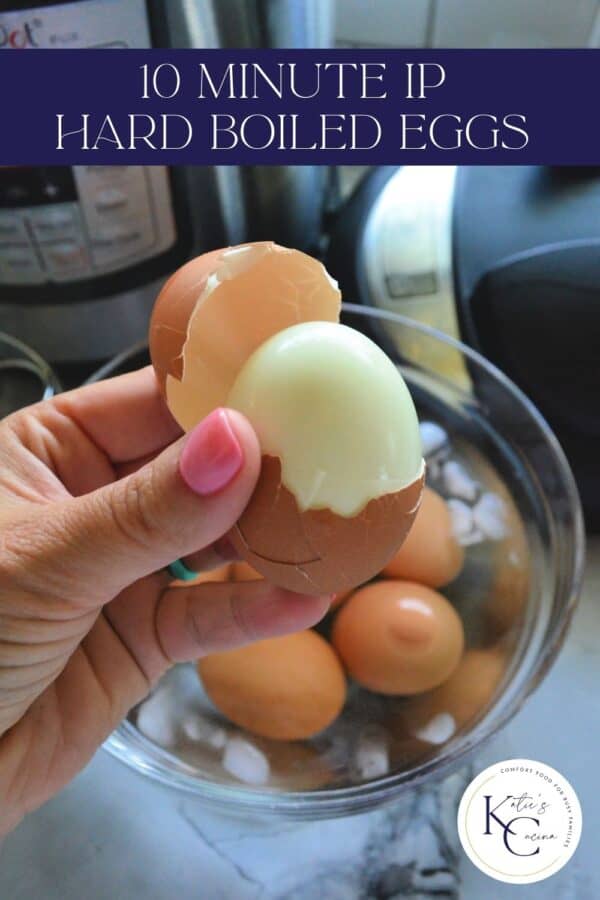
In fact, hard boiled eggs was one of the first cooking skills I tried in my Instant Pot. Within 10 minutes I had hard boiled eggs that were perfectly cooked and even better they are so easy to peel (right after they sit in an ice bath). No guessing and hoping that they are hard boiled or worse over boiled. If you are looking to simplify life and not stress over the small things my easy recipe for Instant Pot Hard Boiled Eggs will be a new favorite.
Table of contents
Why this Recipe Works
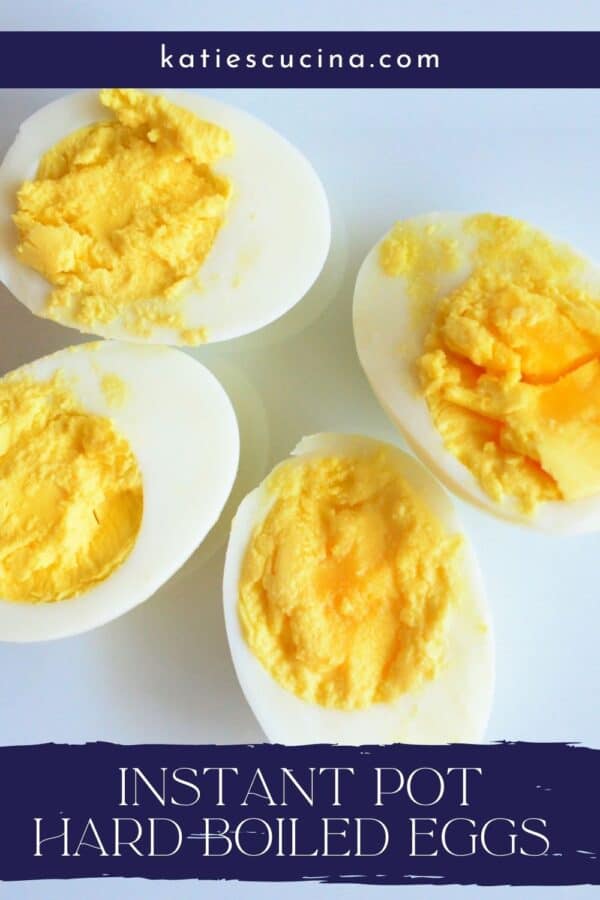
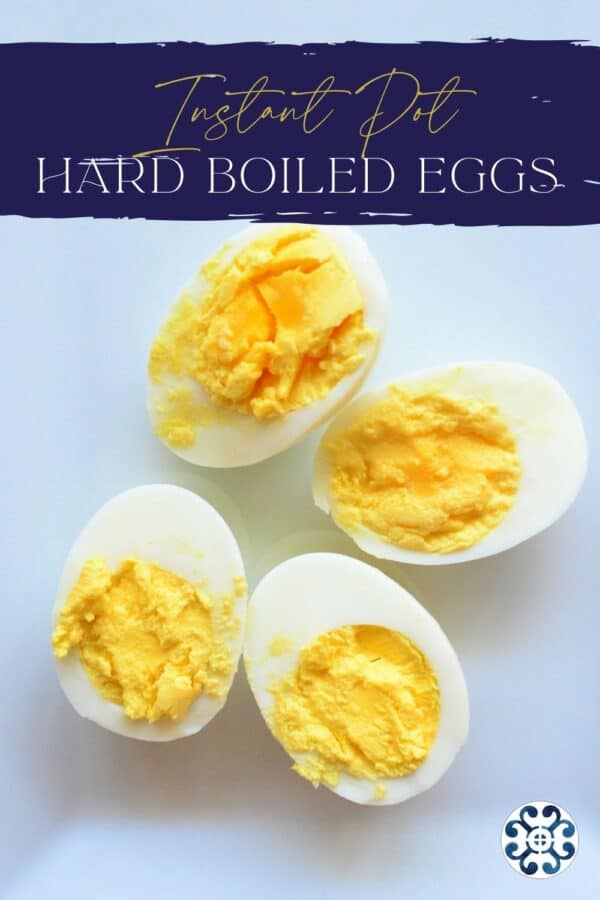
Perfectly hard boiled eggs in minutes.
Much easier to peel the shell off once cooked.
Make as little or as many eggs as you desire.
Tools
Here are all the tools I use to make my hard boiled eggs. I think you will find this list of supplies helpful.
Directions
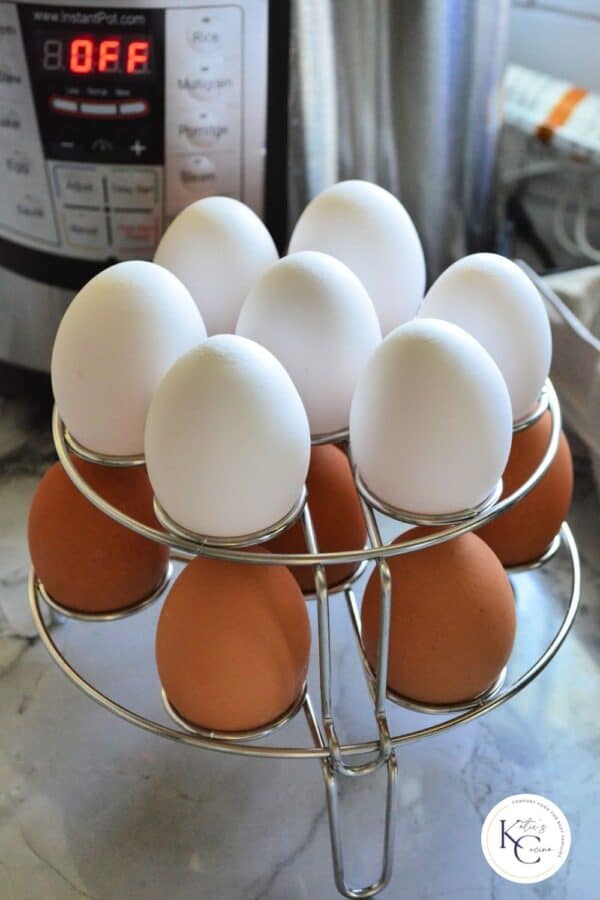
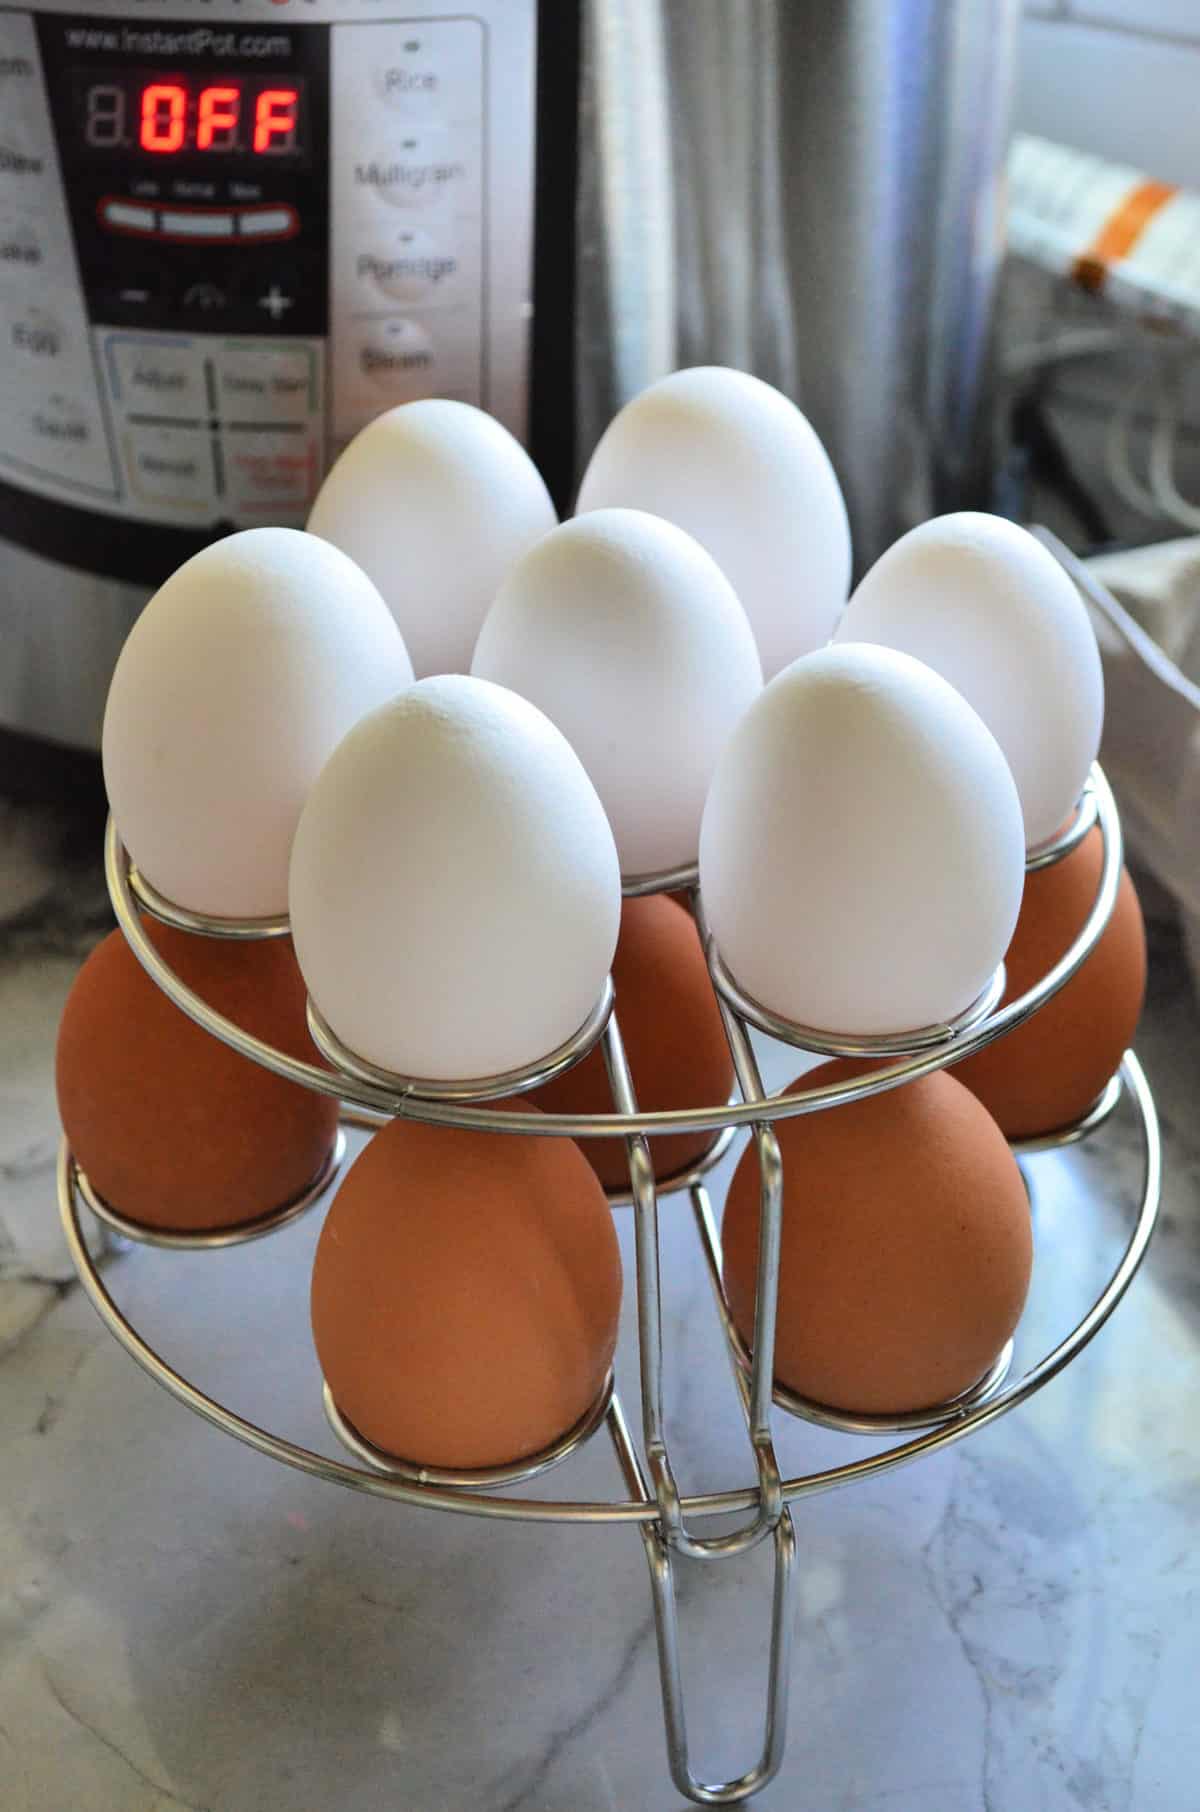
Place one cup of water in the Instant Pot. Place eggs on top of the trivet (or egg trivet). Close the lid, placing the valve to seal steam. Set on “manual” pressure for 5 minutes.
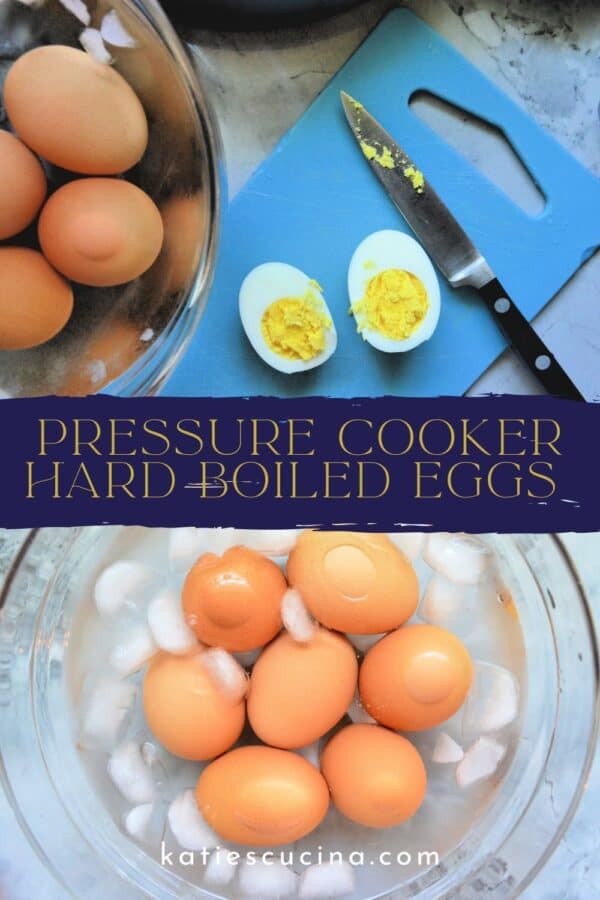
While the eggs cook place 1 cup of ice and 2 cups of cold water in a large bowl. Set to the side.

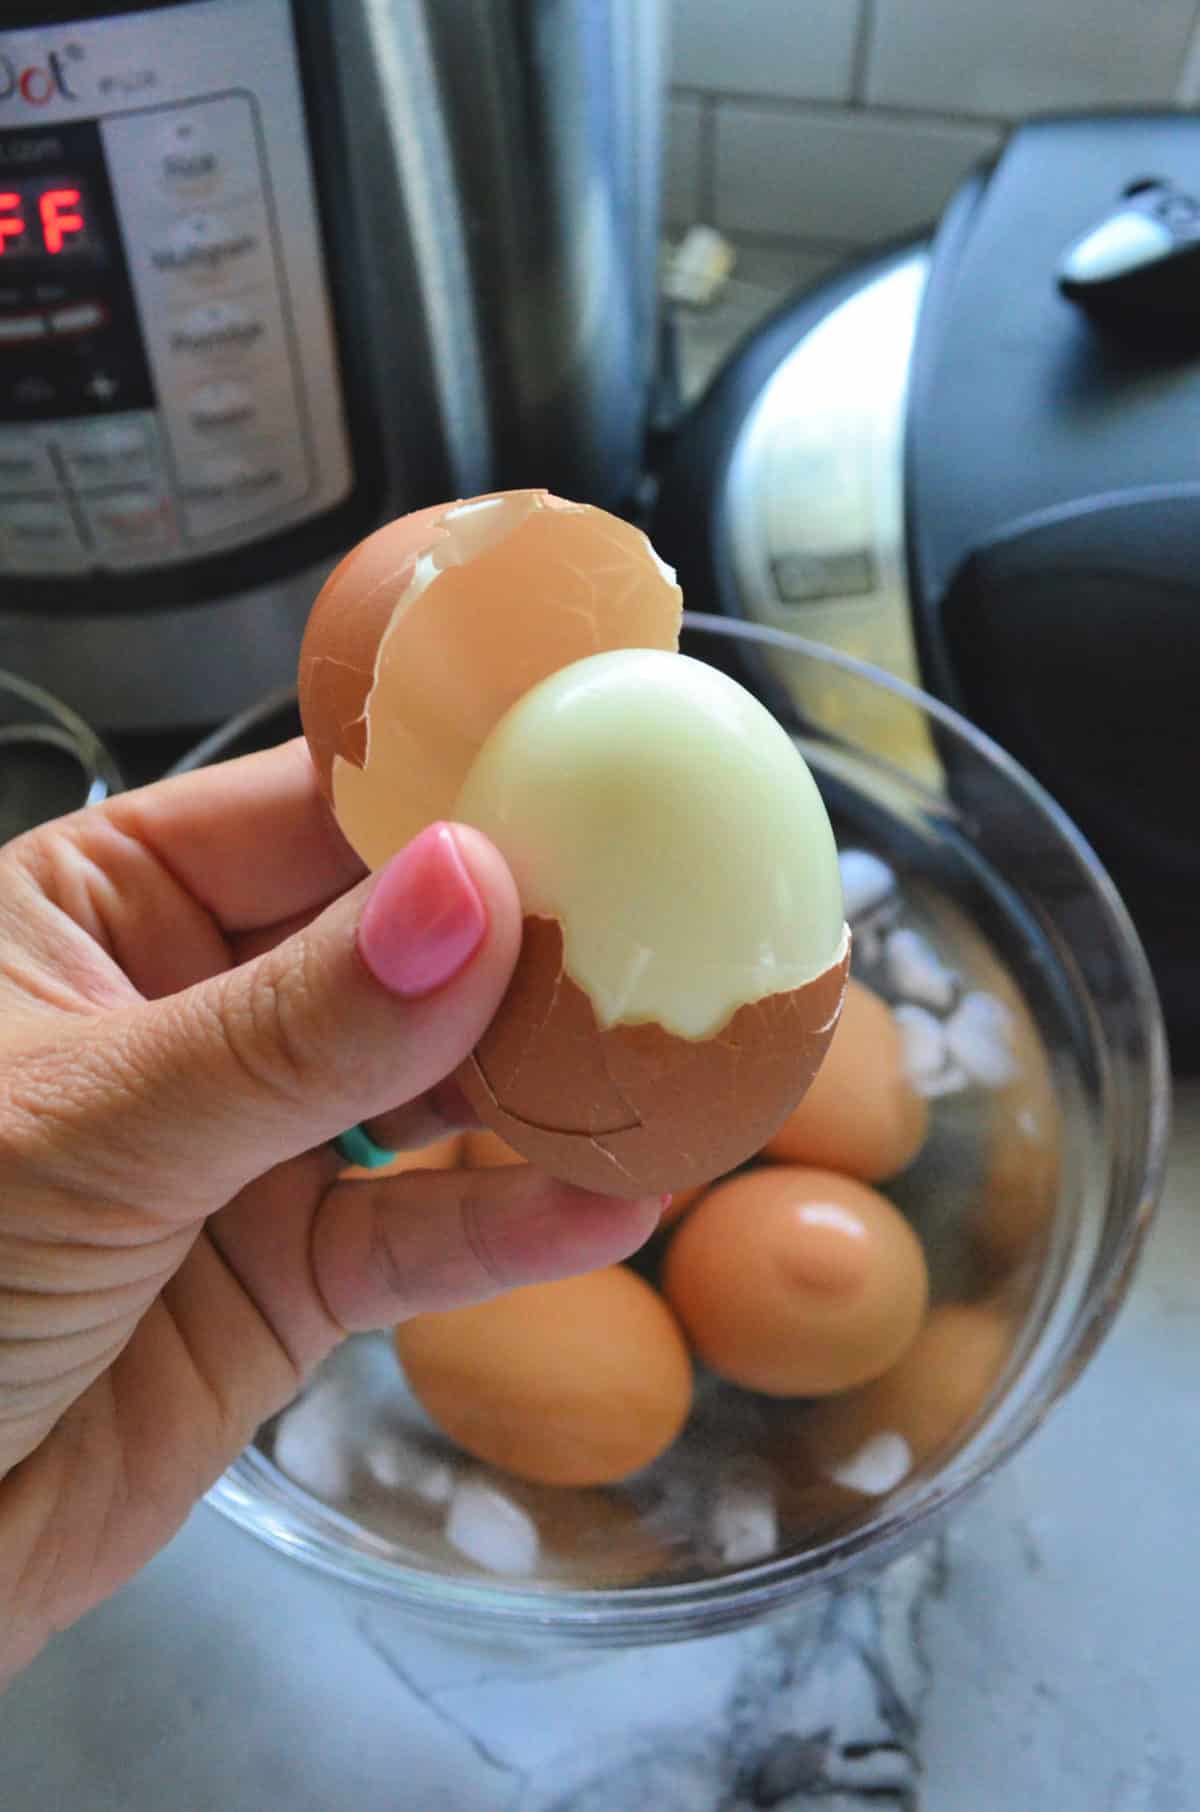
As soon as the Instant Pot is done cooking, carefully force pressure immediately. Using tongs, carefully, place the eggs one by one into the ice bath. Let them rest for 5 minutes, then peel and eat or pat dry and refrigerate.
FAQs
Here are all the most frequently asked questions when making pressure cooker eggs.
5-5-5 method refers to 5 minutes at pressure, 5 minutes before releasing pressure, and then 5 minutes in an ice bath before peeling
Cook on “manual” for 5 minutes, then force pressure, placing the eggs in an ice water bath for 5 minutes before peeling and eating.
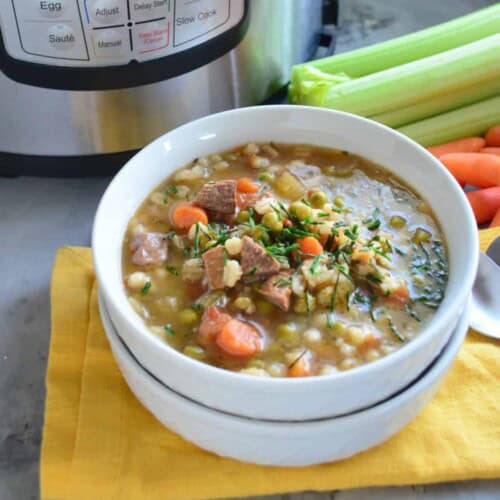
Cook the eggs on “manual” but this time for only 3 minutes–that gives a softer yolk that works great on salads, soups, and more. You will force pressure once the timer goes off, place the eggs in the water bath, and then peel and enjoy.
There are two ways to peel the eggs. The first method is simply rolling the hard boiled egg on the counter until the shell cracks and you can easily peel. The second method is tapping the egg on the counter–breaking the shell and then peeling the egg. Either method works well.
Yes! If you are going to make deviled eggs, or any other recipe that calls for hard boiled eggs. Do not refrigerate and then peel. Peel the egg once you have taken it out of the water bath. The shell seems easier to peel!
I tested both new and old eggs and each time I yielded the same exact results. It really does not matter if your eggs are new or a bit older!
This is definitely a debated subject in the world of cooking your eggs in the Instant Pot. You’ll find some websites and blogs that tell you–you should followed the 5-5-5 method (5 minutes cooking, 5 minutes pressure releasing, 5 minutes bathing in ice cold water). However, I’ve tested both and found that when you don’t force pressure your yolk tends to cook longer resulting in a dried out yolk.
If you peel your hard boiled eggs you can only store them in an air tight container for up to 3 days. If you leave them unpeeled and peel as you eat–you can store them for up to 5-7 days.
The answer is NO! You must let your Instant Pot completely cool down to room temperature before starting another batch! Trust me–I’ve tested this and I found that if it doesn’t cool down your eggs will crack. This is okay if you are just going to eat them or make deviled eggs. However, if you are hoping to dye them–you don’t want to see a single crack!
Deviled Egg Recipes
Want to use up the hard boiled eggs? Try a few of my favorite deviled egg recipes.
- Shrimp Creole Deviled Eggs
- Greek Yogurt Deviled Eggs
- Buffalo Blue Cheese Deviled Eggs
- Horseradish & Bacon Deviled Eggs
So if you have always failed at making hard boiled eggs and own an Instant Pot I hope you will give my no fail method a try!
If you make this recipe, I would be honored and love for you to take the time to leave a star rating and comment! I spend hours developing and testing these recipes, and always love to hear feedback and user experience!
Don’t forget to FOLLOW ME on Facebook, Pinterest, and Instagram, and subscribe to my email list!

Instant Pot Hard Boiled Eggs
Equipment
- 1 Instant Pot
- 1 Instant Pot Egg Rack
- 1 Bowl
Ingredients
- 1 cup water
- 6 eggs
Instructions
- Place one cup of water in the Instant Pot. Place eggs on top of the trivet (or egg trivet). Close the lid, placing the valve to seal steam. Set on “manual” pressure for 5 minutes.
- While the eggs cook place 1 cup of ice and 2 cups of cold water in a large bowl. Set to the side.
- As soon as the Instant Pot is done cooking, carefully force pressure immediately. Using tongs, carefully, place the eggs one by one into the ice bath. Let them rest for 5 minutes, then peel and eat or pat dry and refrigerate.
Notes
- Storage – After you have cooked the eggs you can store them in an air tight container in the refrigerator for up to 5 days.
- Ice Bath – The ice bath is extremely important in cooling down and stopping the eggs from cooking. Do not skip this step.
- Batch Eggs – If you are wanting to cook a few batches of eggs you will need to ensure the Instant Pot has completely cooled before starting another batch. I’ve found that if I put the eggs in the pot that is still hot all the eggs will crack. This is okay if you are making deviled eggs or egg salad. But not okay if you are dyeing Easter Eggs.
Nutrition


Disclosure: There are affiliate links present in this post. That means if you click on a link and purchase something. I will receive a small percentage of the sale at no additional cost to you. Thank you for your continuous support of Katie’s Cucina!
Did you make this recipe? Let me know!