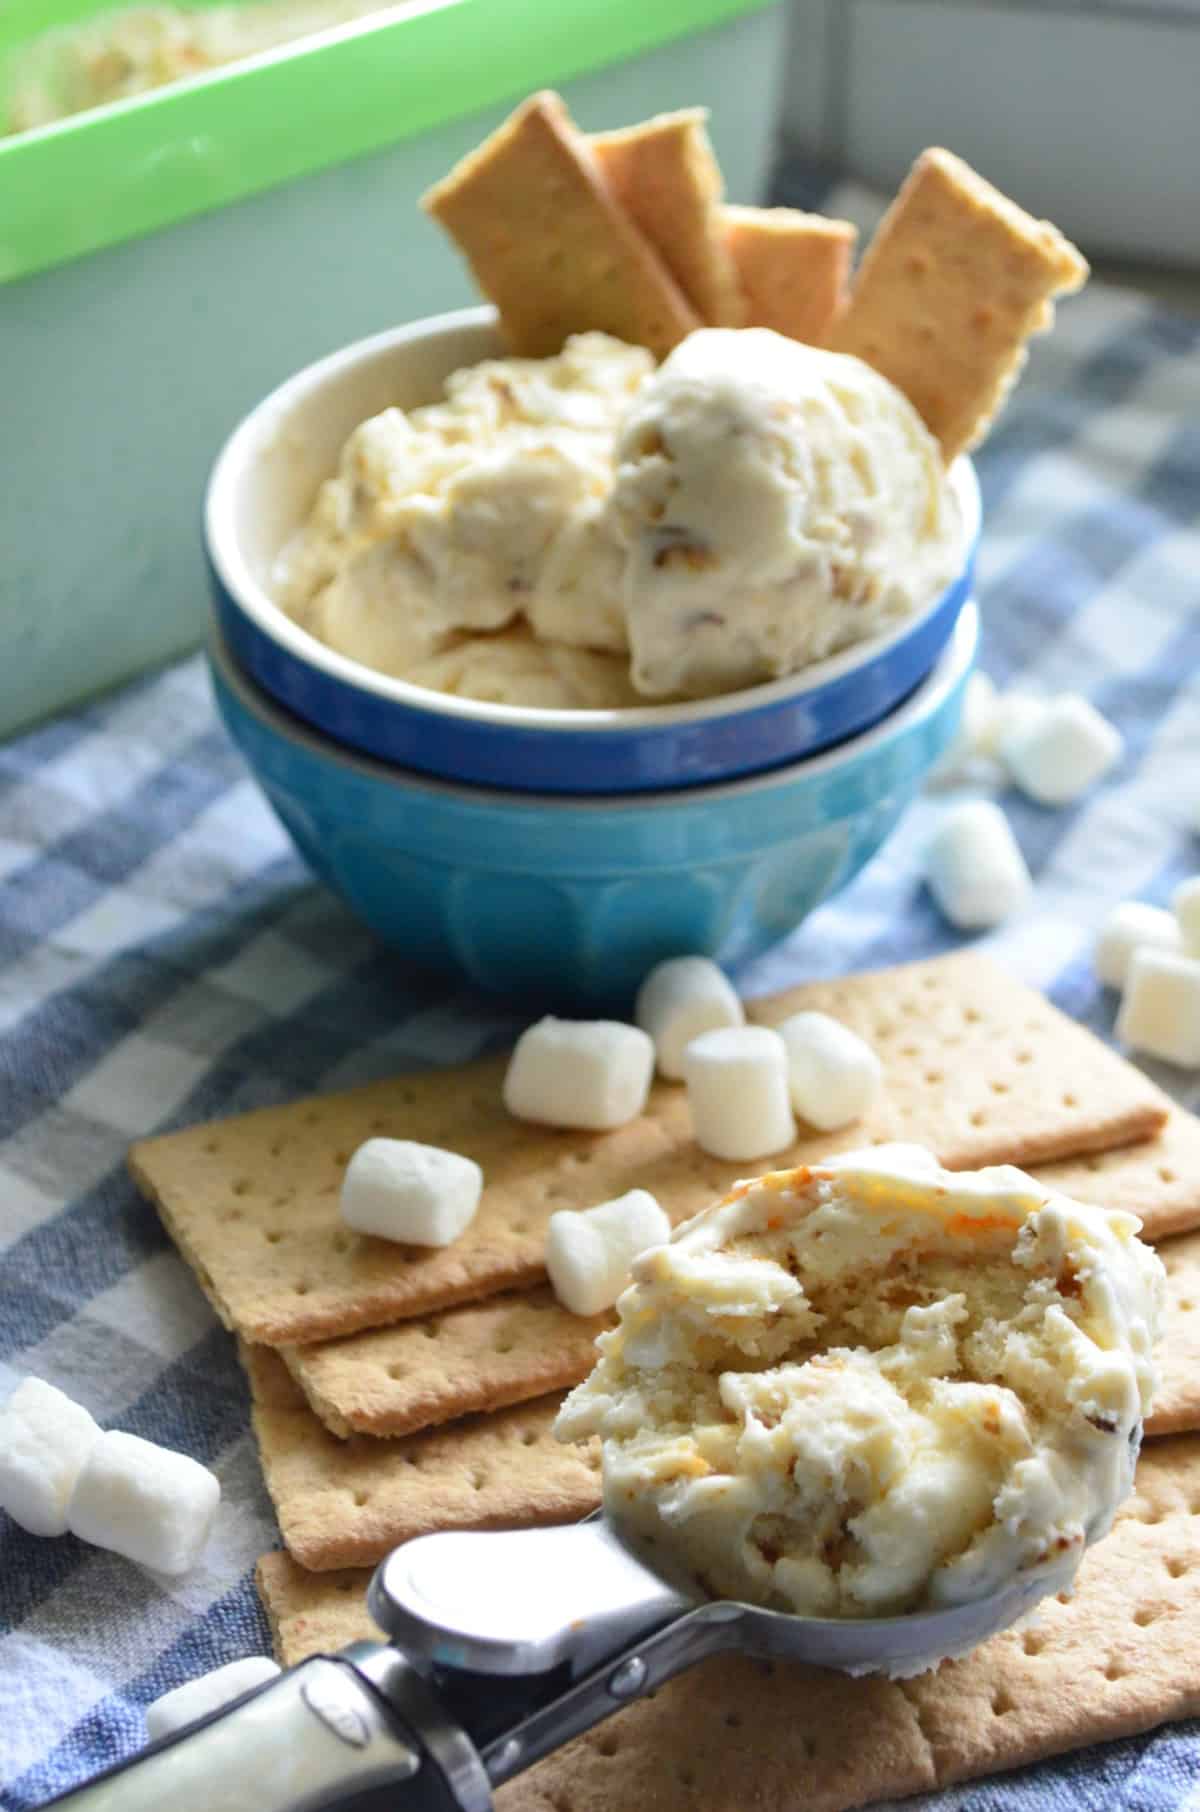
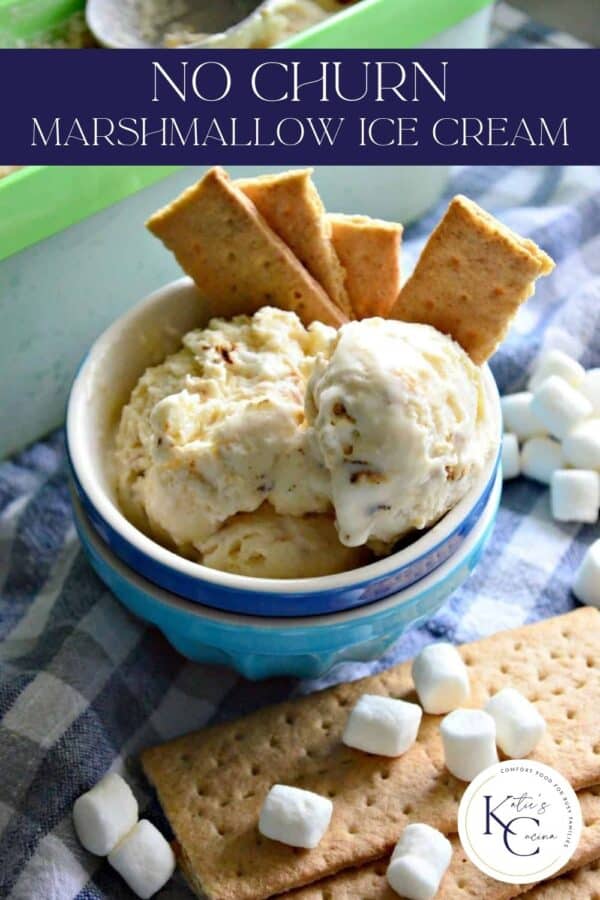
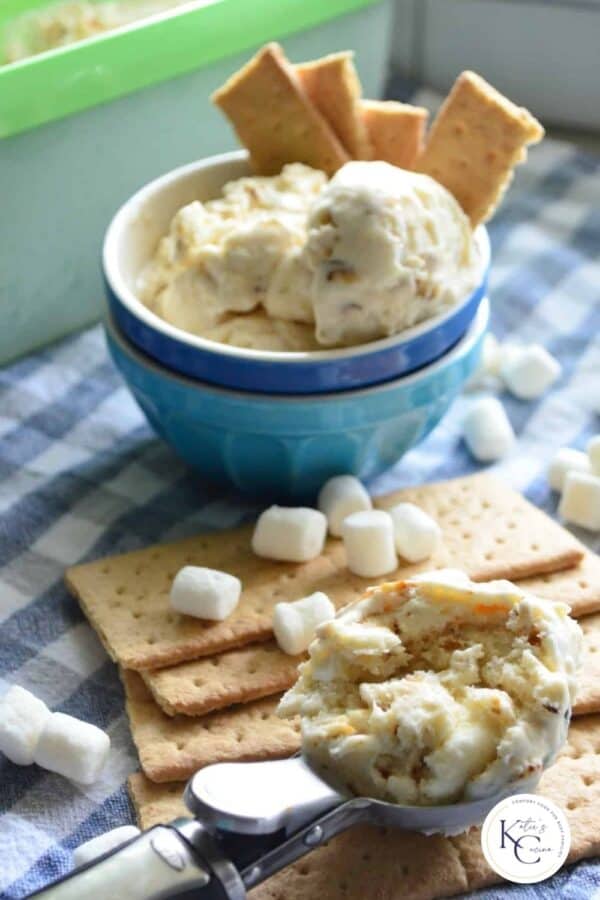
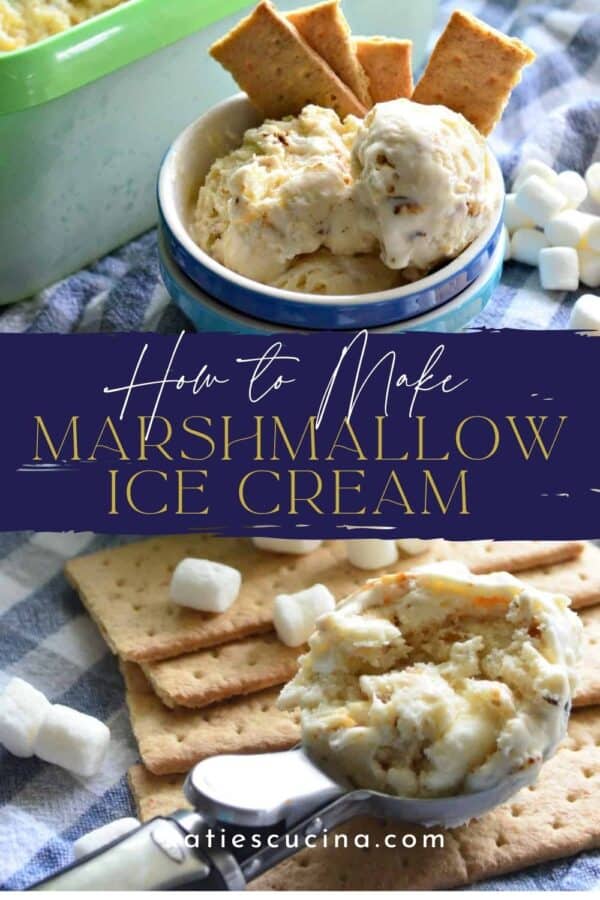
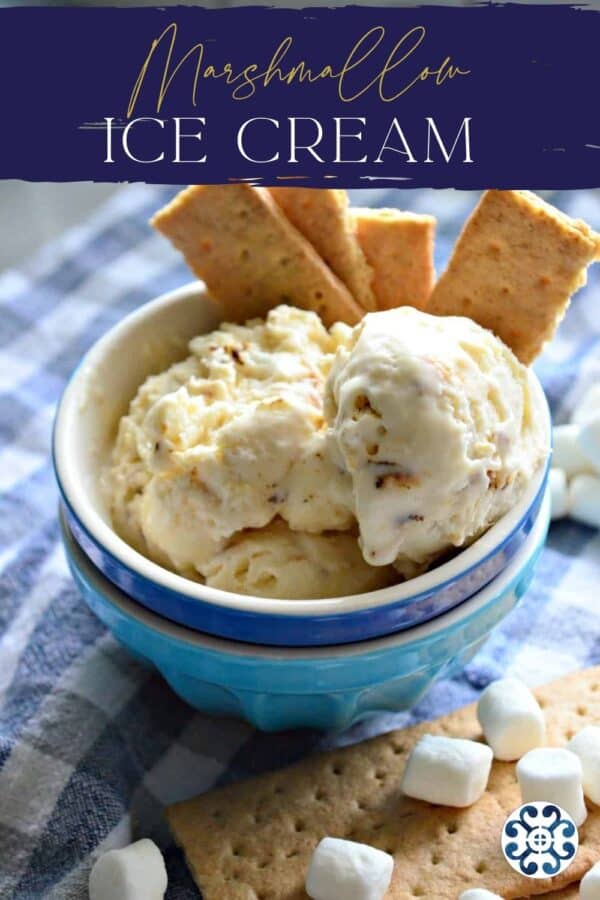
I am obsessed with this easy three-ingredient toasted marshmallow ice cream recipe, it really is as delicious as it sounds! The best part… no ice cream machine is needed! This recipe should take you about 5 minutes…MAX!
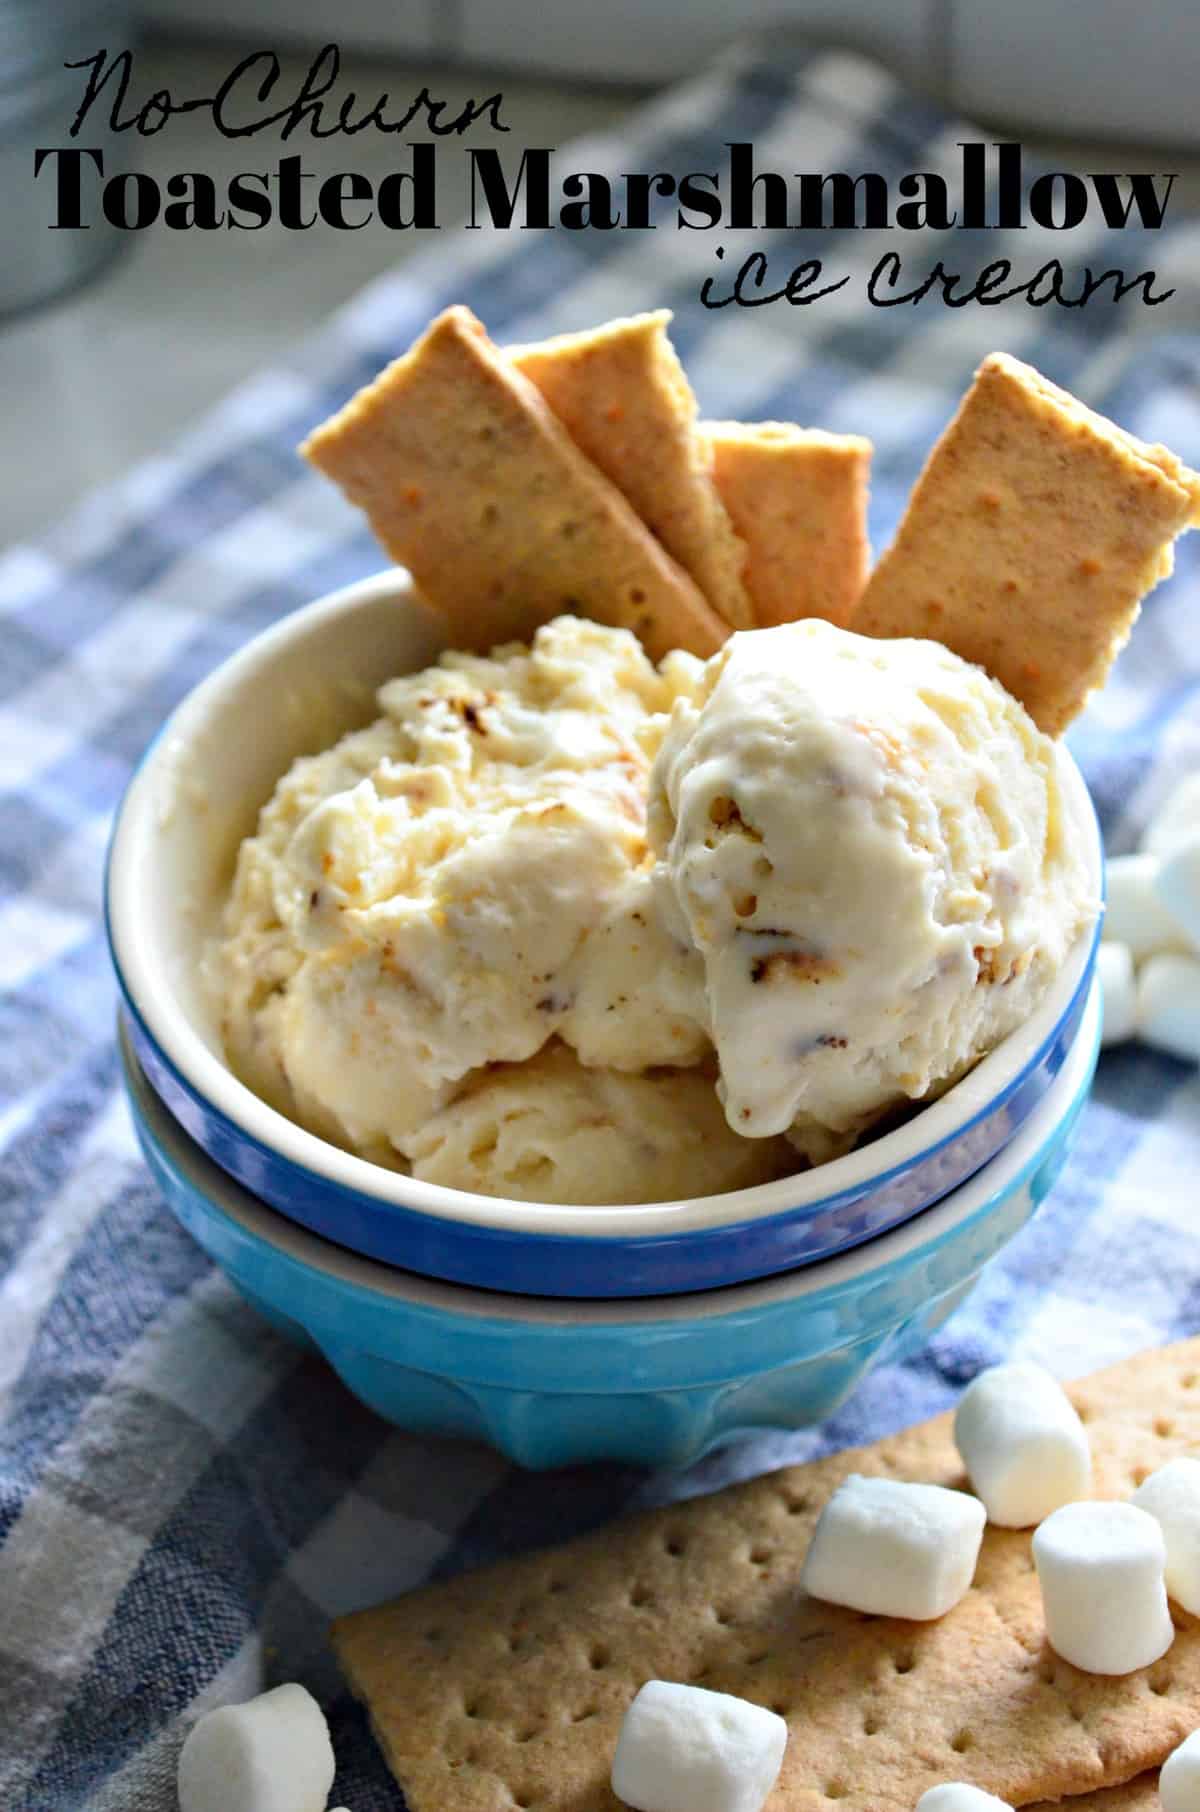
This quick and easy ice cream recipe is a staple at my home during the summer months. Believe it or not, this recipe actually started out as my s’mores popsicles recipe, however, after I tasted the marshmallow batter, I knew I had to create ice cream out of it. If you’re not a fan of vanilla ice cream, no worries! I included some variations you can make with it to change the base flavor.
The ultimate trick to this recipe is to top it with crushed graham crackers for a nice topping. I am especially excited to serve this with my Homemade Hot Fudge Sauce or perhaps eat it with my Chocolate Spoons…maybe even top it with my Salted Maple Caramel Sauce. The possibilities are endless!
Jump to:
Ingredients
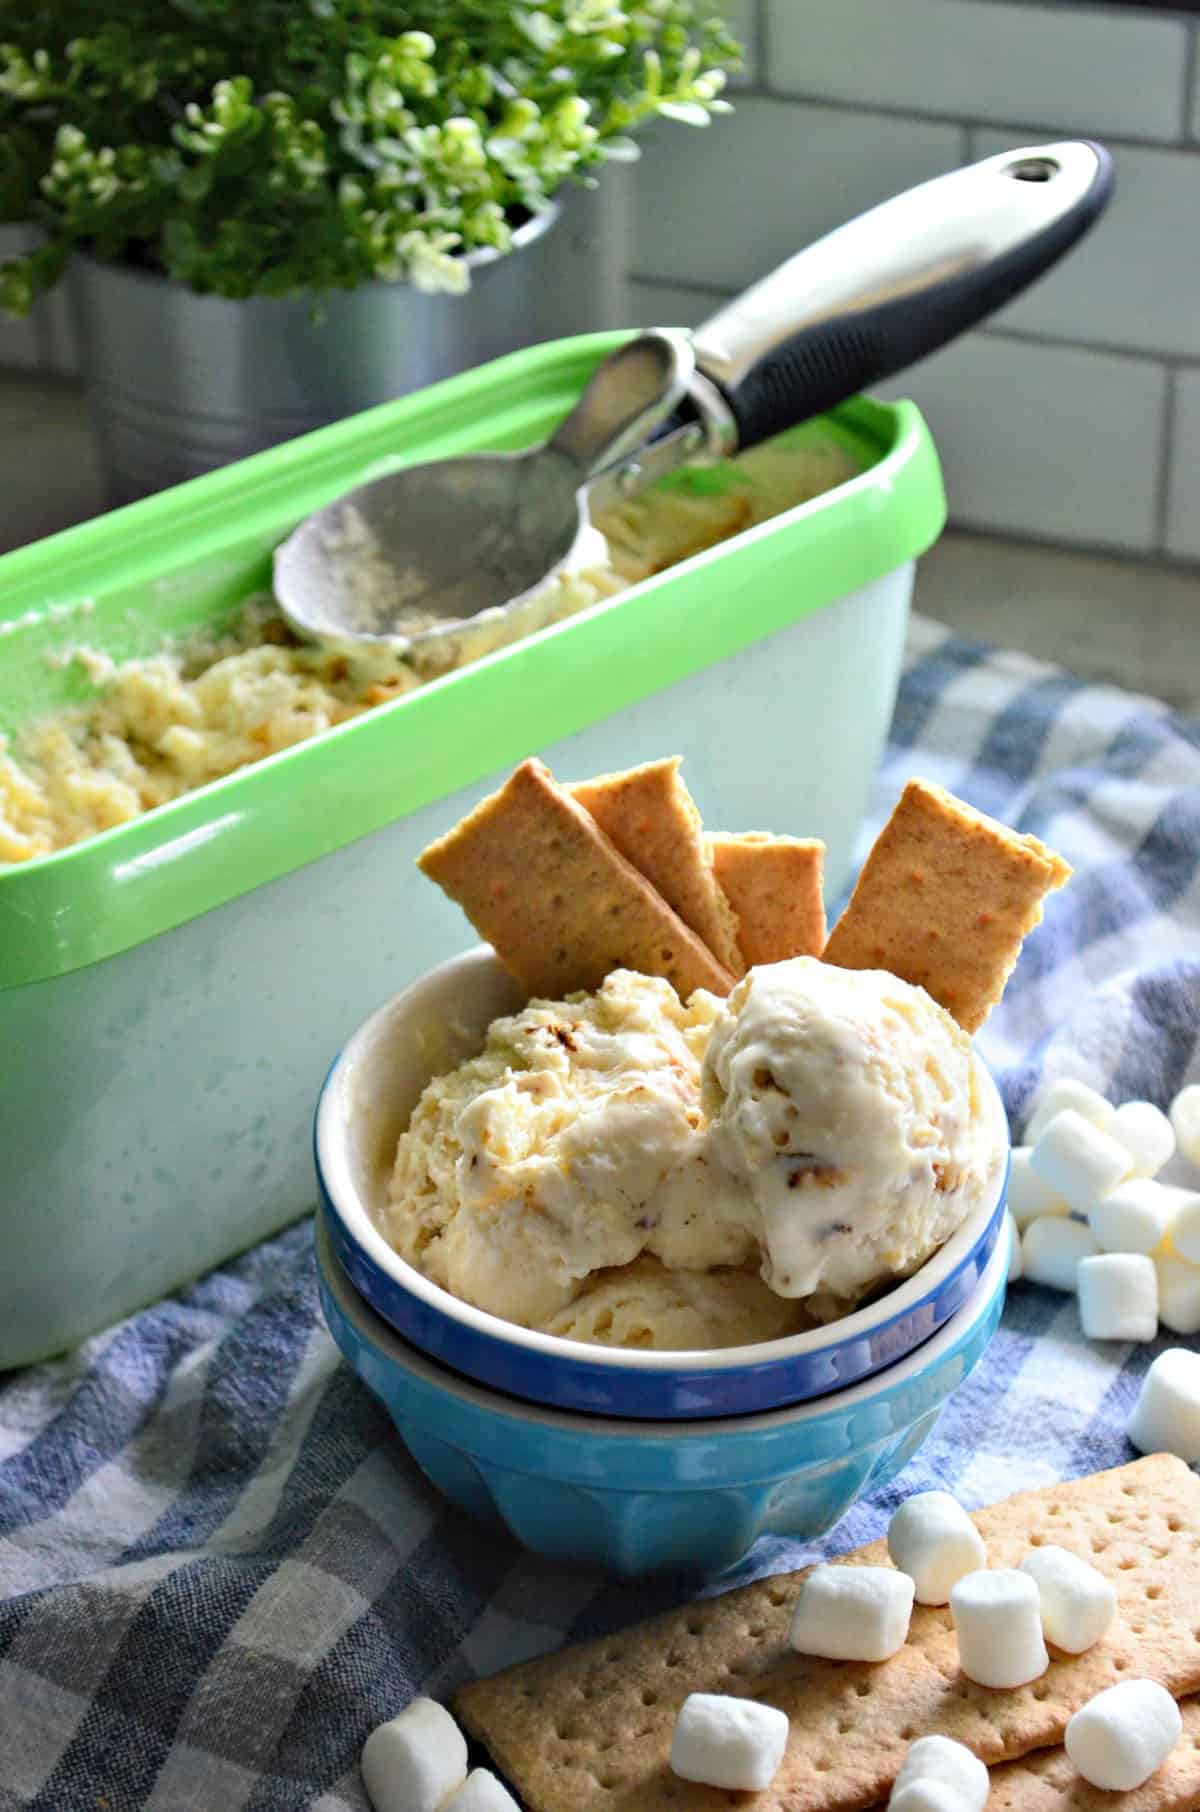
As I mentioned, this recipe only requires a total of 3 ingredients, yet tastes so rich and delicious!
- Marshmallows – These will be toasted and then incorporated into the batter.
- Heavy whipping cream – This will be the base of your ice cream.
- Sweetened condensed milk – This acts as a sweetener to the batter and will also thicken it up.
Supplies Needed
Here are all the supplies you’ll need to make this no-churn ice cream recipe or any in the future.
- Oven/Toaster Oven OR butane torch
- KitchenAid Stand Mixer OR hand mixer
- Tovolo Glide-A-Scoop Ice Cream Tub
- OXO Ice Cream Scoop
- Ice Cream Bowls
Directions
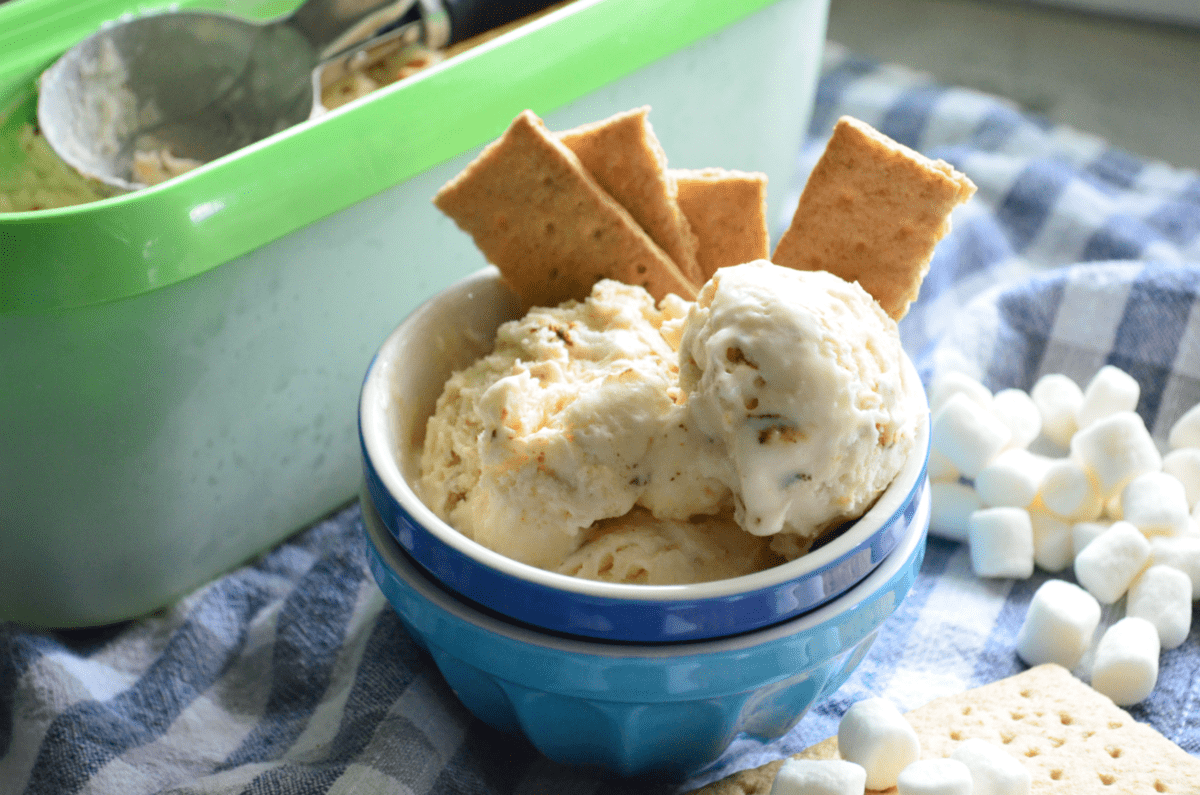
PREHEAT – Preheat the broiler on high. Line a baking sheet with aluminum foil and spray with non-stick spray. Set to the side.
BEAT – While the oven pre-heats you’ll make the base for the toasted marshmallow layer. Using a stand mixer fitted with a whisk attachment. Add the heavy whipping cream and condensed milk. Beat on high for one minute.
TOAST – While the batter mixes, spread the mini marshmallows out on the pan. Toast for about 30 seconds until golden brown but not burnt. Remove from the oven and set to the side.
MIX – Stop the mixer, remove the whisk attachment and insert the paddle attachment. Add in the toasted marshmallows. Mix on medium for 30 seconds until incorporated and not lumpy.
FREEZE – Pour the thick ice cream mixture into a freezer-safe container. Freeze for at least 8 hours. Scoop and enjoy once frozen.
FAQs
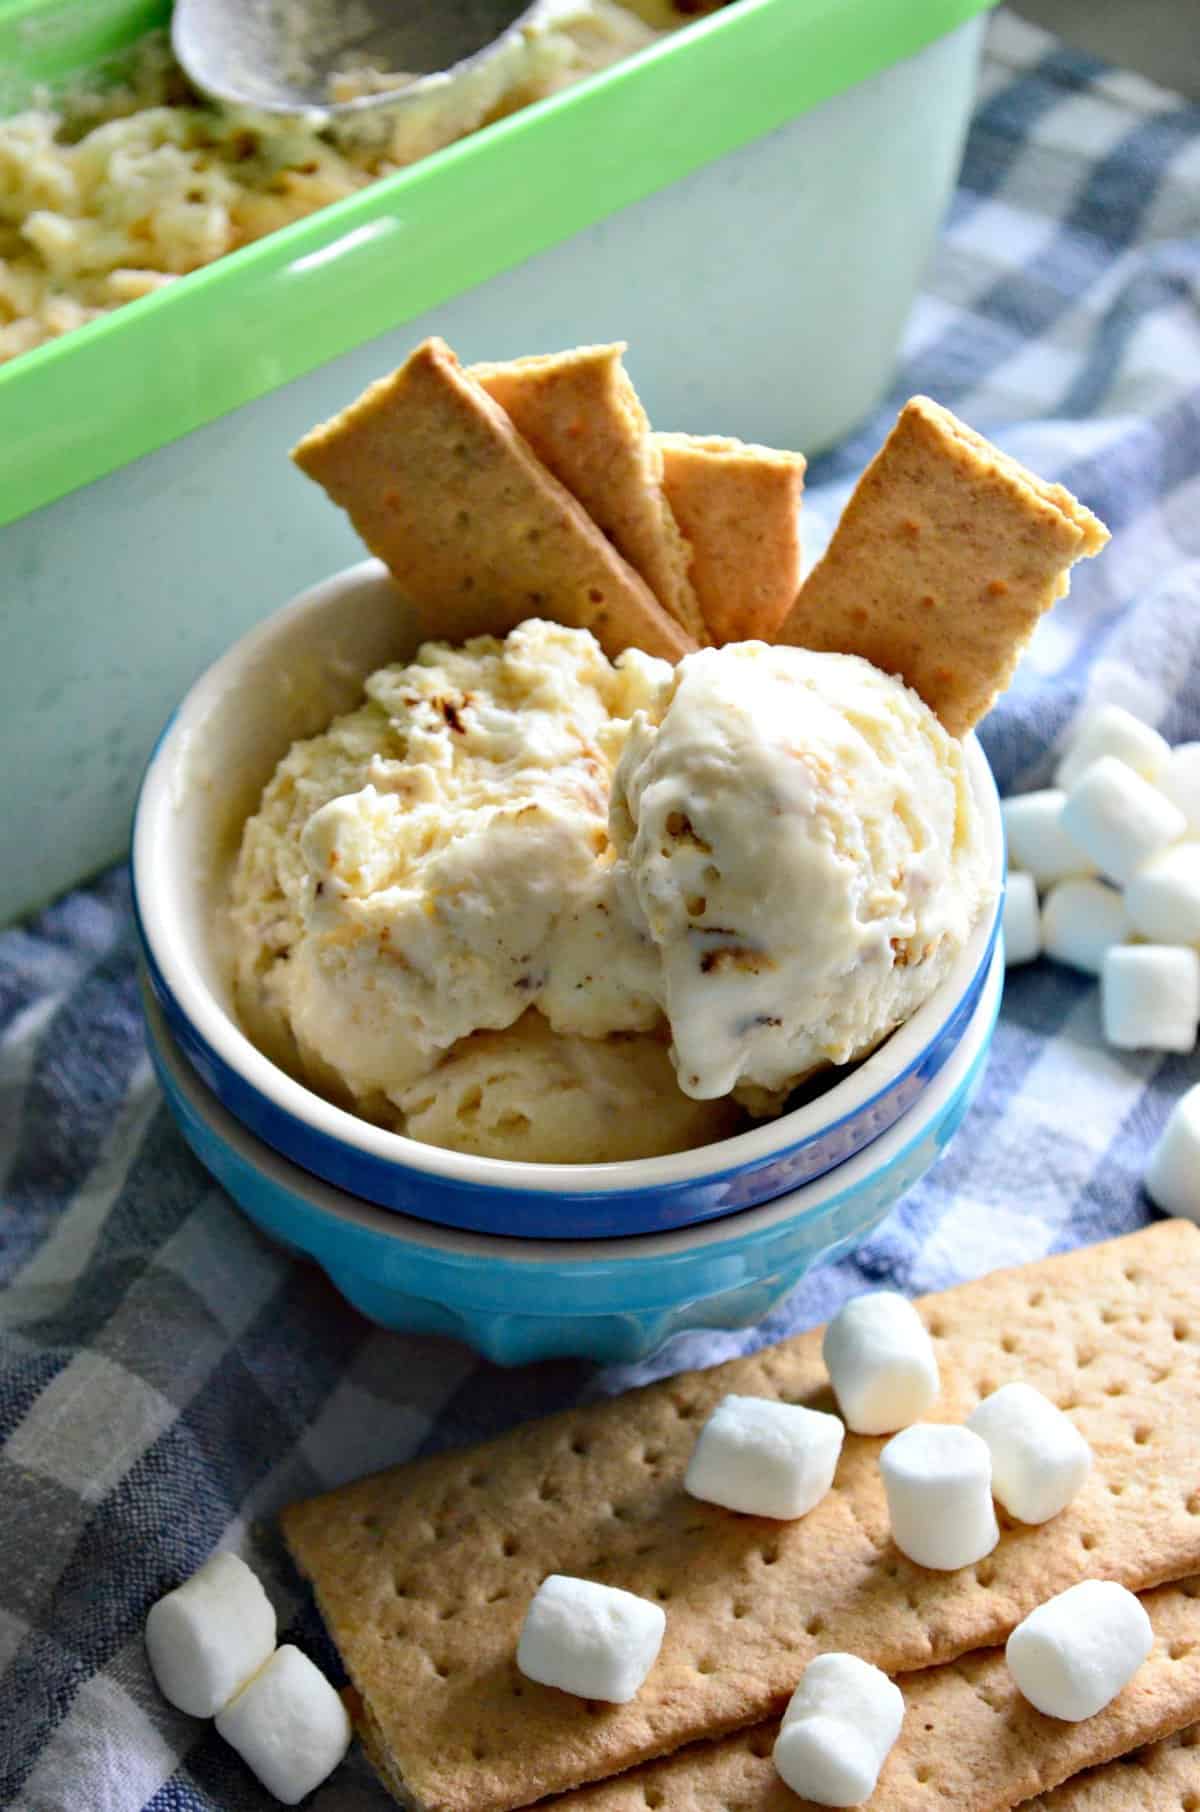
There are many different methods you can use to toast marshmallows without a grill. I’ll be honest I rarely ever toast them on the grill. The easiest method is an oven with the broiler turned on high. You will only need to toast them for 20-30 seconds max. Make sure the light is on and you watch them carefully so they don’t burn.
I also have a toaster oven that I can crank up the heat if I don’t want to heat my whole house for the 30 second toast. In this case, it sometimes takes a little longer to toast. Either way–make sure you watch the marshmallows.
Another option is using a butane torch for toasting. This option will yield an even quicker browning process and give you the toasted flavor you need.
If you don’t have access to an oven you can always use the microwave. This isn’t an ideal method but works. You just won’t yield the toasted flavor you get when you toast in the oven, but it will melt and make the marshmallows softer.
This simple recipe calls for three simple ingredients. Marshmallows, heavy whipping cream, and sweetened condensed milk.
Yes, you can add toasted marshmallows or regular marshmallows. Simply fold in the toasted marshmallows into your ice cream batter then freeze!
Add in the toasted marshmallows to the batter. Mix on medium for 30 seconds until incorporated and not lumpy.
Ice creams such as rocky roads or smores typically contain marshmallow pieces.
No churn simply means that no ice cream machine is needed to create ice cream. Typically, no-churn ice cream tends to be a bit icier as compared to churned ice cream.
Tips & Tricks
Here are a few tips and tricks I have found useful when making Marshmallow Ice Cream.
- Yield – This recipe yields 1 quart.
- Cold Cream – Use cold whipping cream for the best results!
- Toppings – Serve with graham crackers or other toppings of your choice for more flavor!
- Marshmallows – You can use any size marshmallows for this recipe.
- Freezing – To store the batter, make sure to freeze it overnight to achieve the best consistency!
- Nutritional Calculations – Calories are calculated based on a half cup serving.
Ice Cream Recipes
Still craving ice cream? Check out a few more of my favorite ice cream recipes below or my 100 Ice Cream recipes round up.
- Biscoff Ice Cream
- Strawberry Shortcake Ice Cream Sundaes
- Cookies and Cream Ice Cream
- Blueberry Cheesecake Ice Cream
If you’ve ever been intimidated to make your own homemade ice cream I hope that this post has helped put your mind at ease. Once you make this recipe once you’ll be a pro and will be eager to make homemade ice cream on the weekly!
If you make this recipe, I would be honored and love for you to take the time to leave a ⭐ star rating and comment! I spend hours developing and testing these recipes, and always love to hear feedback and user experience!
Don’t forget to FOLLOW ME on Facebook, Pinterest, and Instagram, and subscribe to my email list!
Marshmallow Ice Cream
Equipment
- 1 Oven
- 1 Baking Sheet
- 1 Freezer Safe Container
- 1 Ice Cream Scoop
Ingredients
- 4 cups mini marshmallows
- 2 cups whipping cream
- ½ cup sweetened condensed milk
Instructions
- Preheat the broiler on high. Line a baking sheet with aluminum foil and spray with non-stick spray. Set to the side.
- While the oven pre-heats you'll make the base for the toasted marshmallow layer. Using a stand mixer fitted with a whisk attachment. Add the heavy whipping cream and condensed milk. Beat on high for one minute.
- While the batter mixes, spread the mini marshmallows out on the pan. Toast for about 30 seconds until golden brown but not burnt. Remove from the oven and set to the side.
- Stop the mixer, remove the whisk attachment and insert the paddle attachment. Add in the toasted marshmallows. Mix on medium for 30 seconds until incorporated and not lumpy.
- Pour the thick ice cream mixture into a freezer-safe container. Freeze for at least 8 hours. Scoop and enjoy once frozen.
Notes
- Yield – This recipe yields 1 quart.
- Marshmallows – You can use any size marshmallows for this recipe.
- Nutritional Calculations – Calories are calculated based on a half cup serving.
Nutrition
Disclosure: There are affiliate links present in this post. That means if you click on a link and purchase something. I will receive a small percentage of the sale at no additional cost to you. Thank you for your continuous support of Katie’s Cucina!


Did you make this recipe? Let me know!