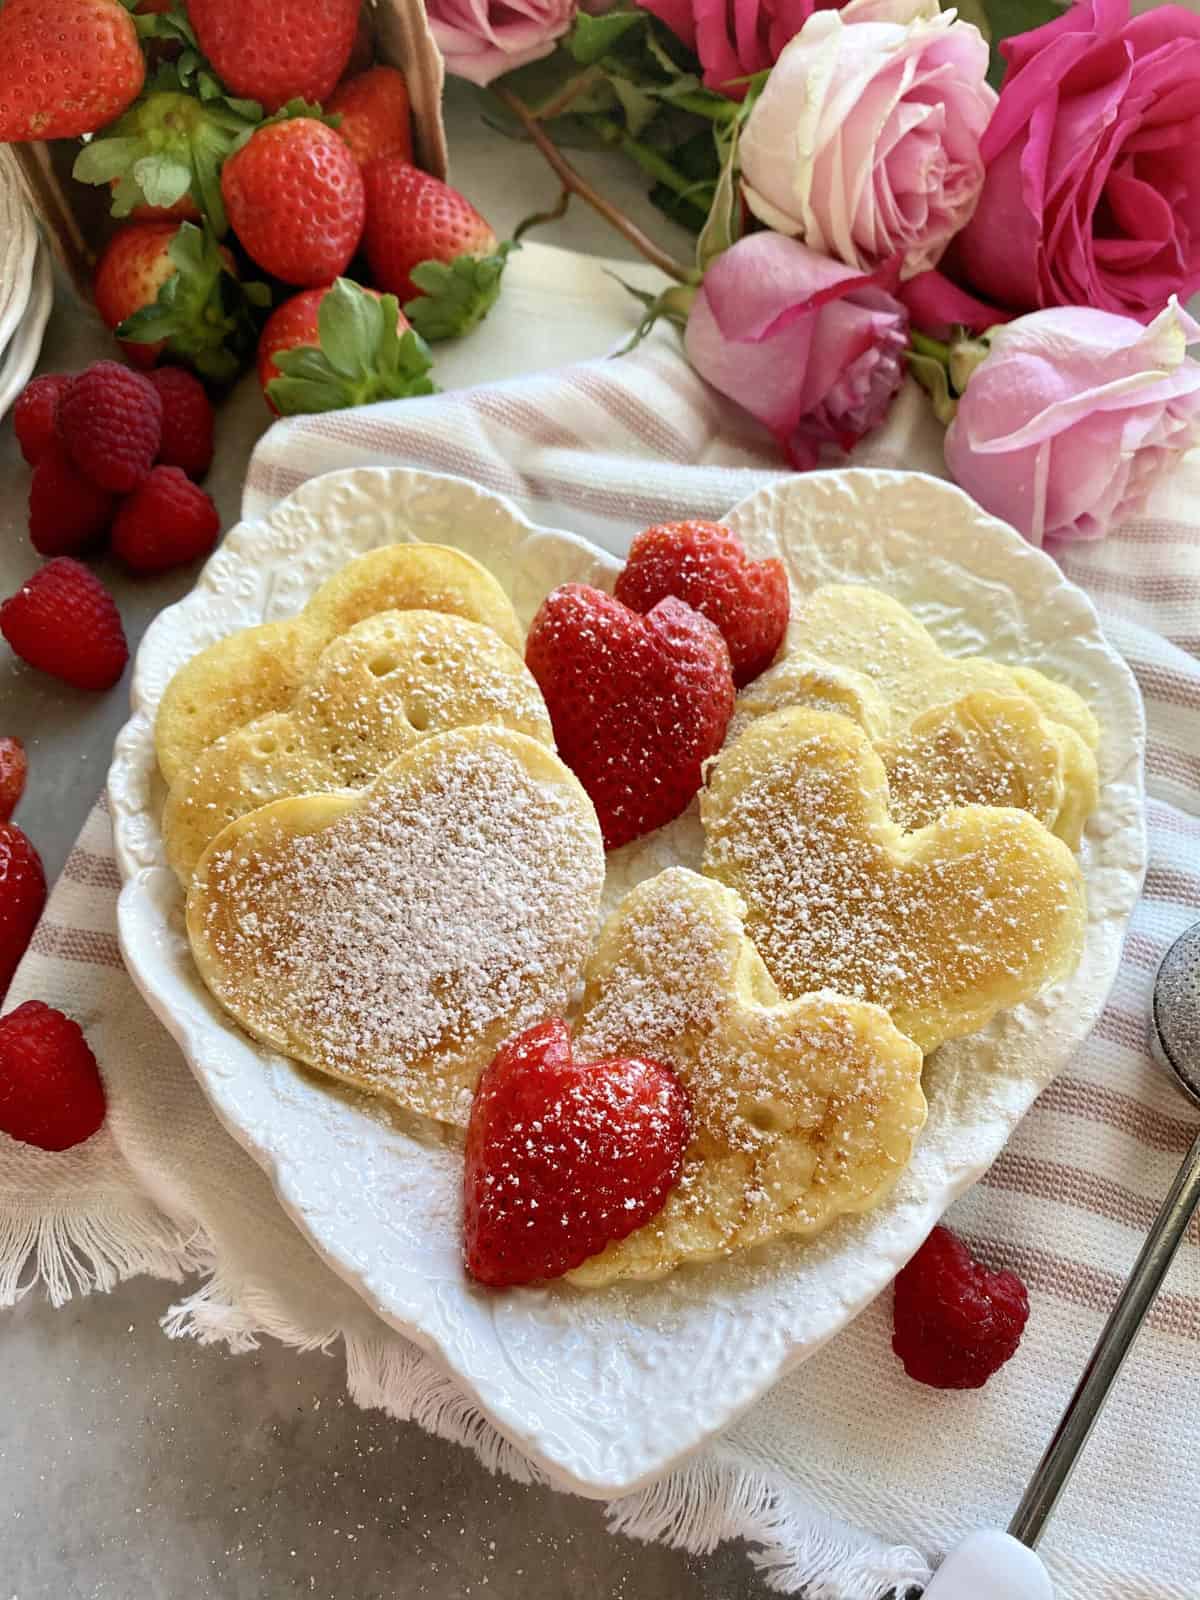
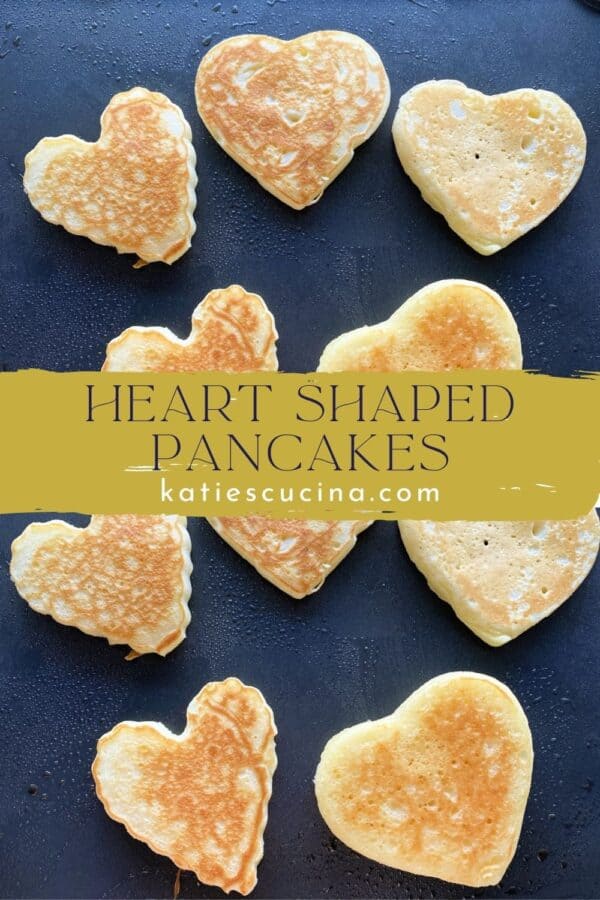
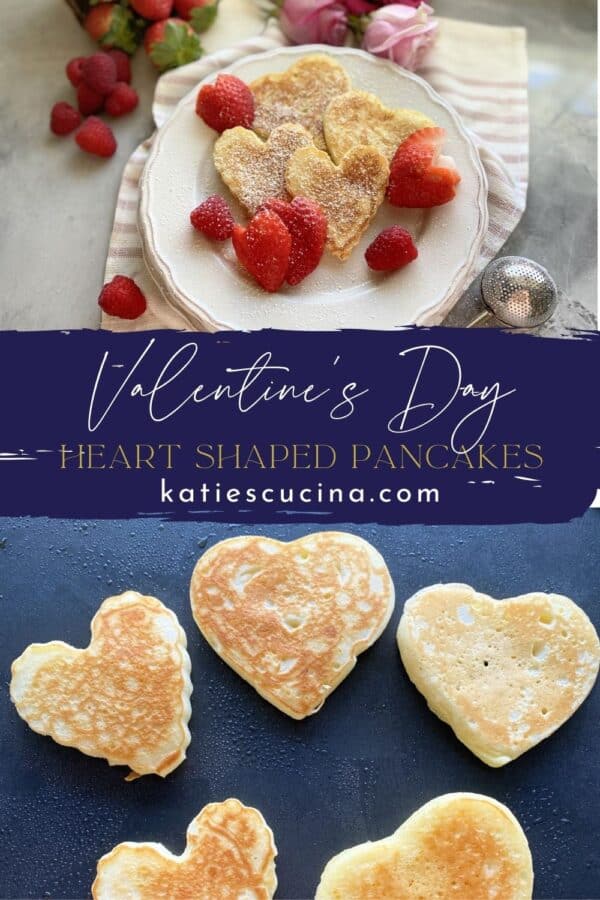
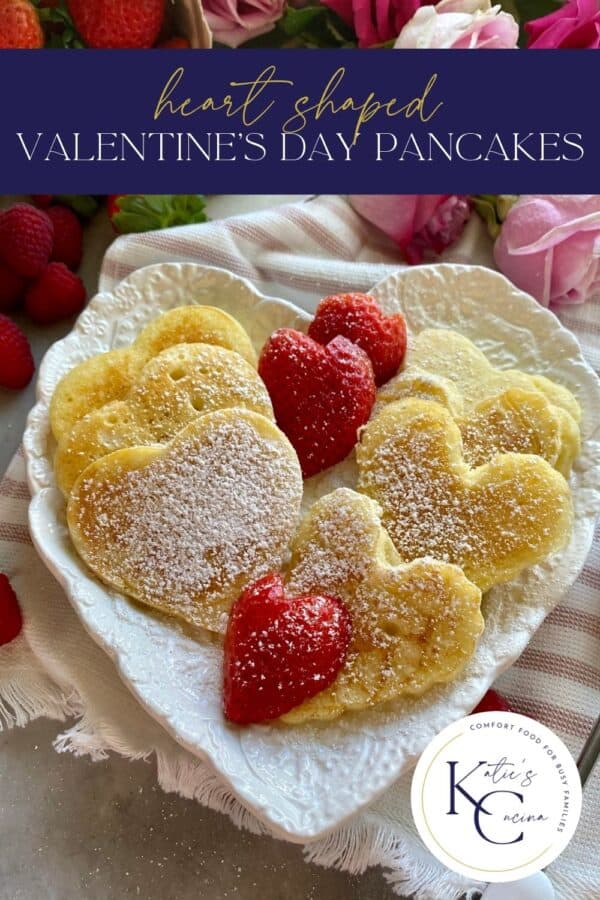
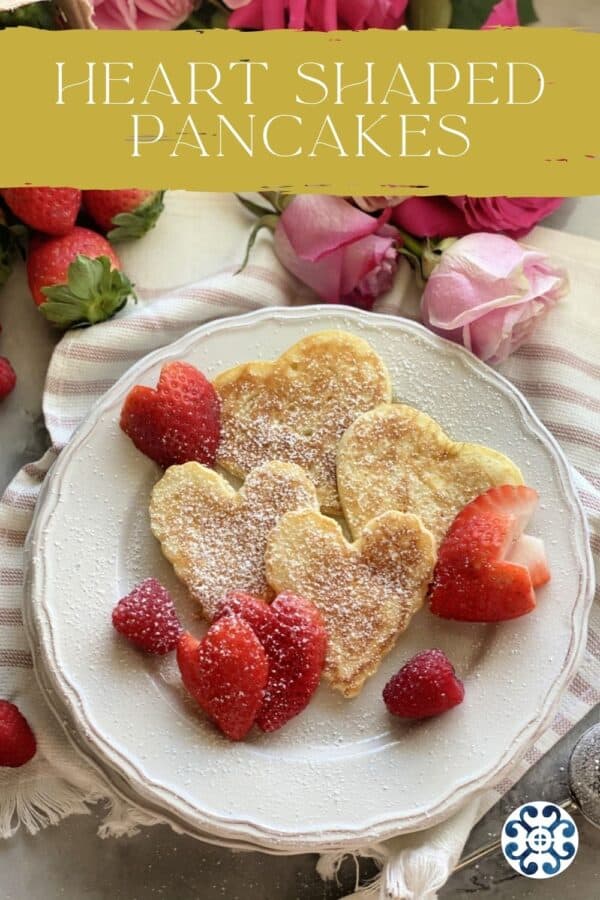
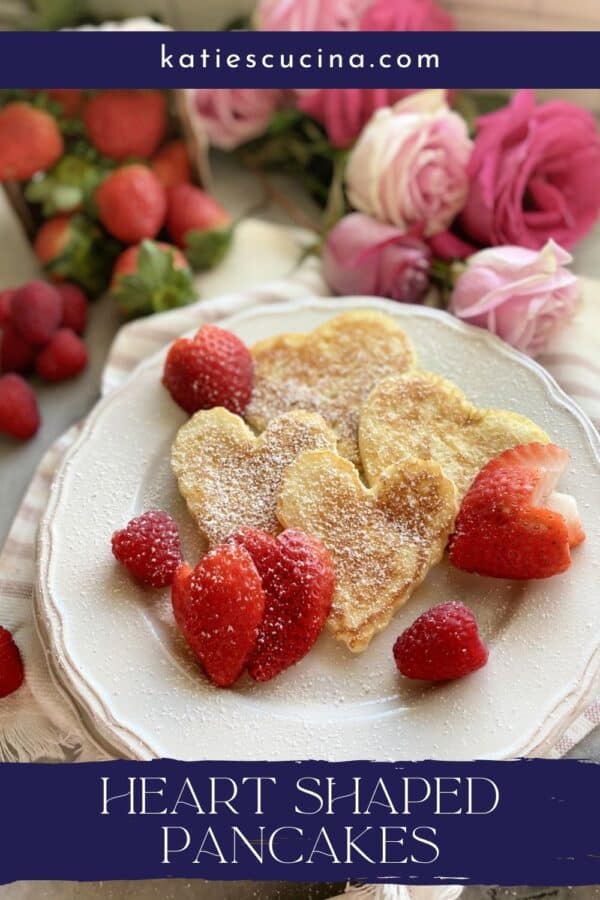
Make a sweet breakfast for those you love with my easy recipe for Heart Shaped Pancakes. You can use either homemade buttermilk pancake batter or a store bought pancake batter.
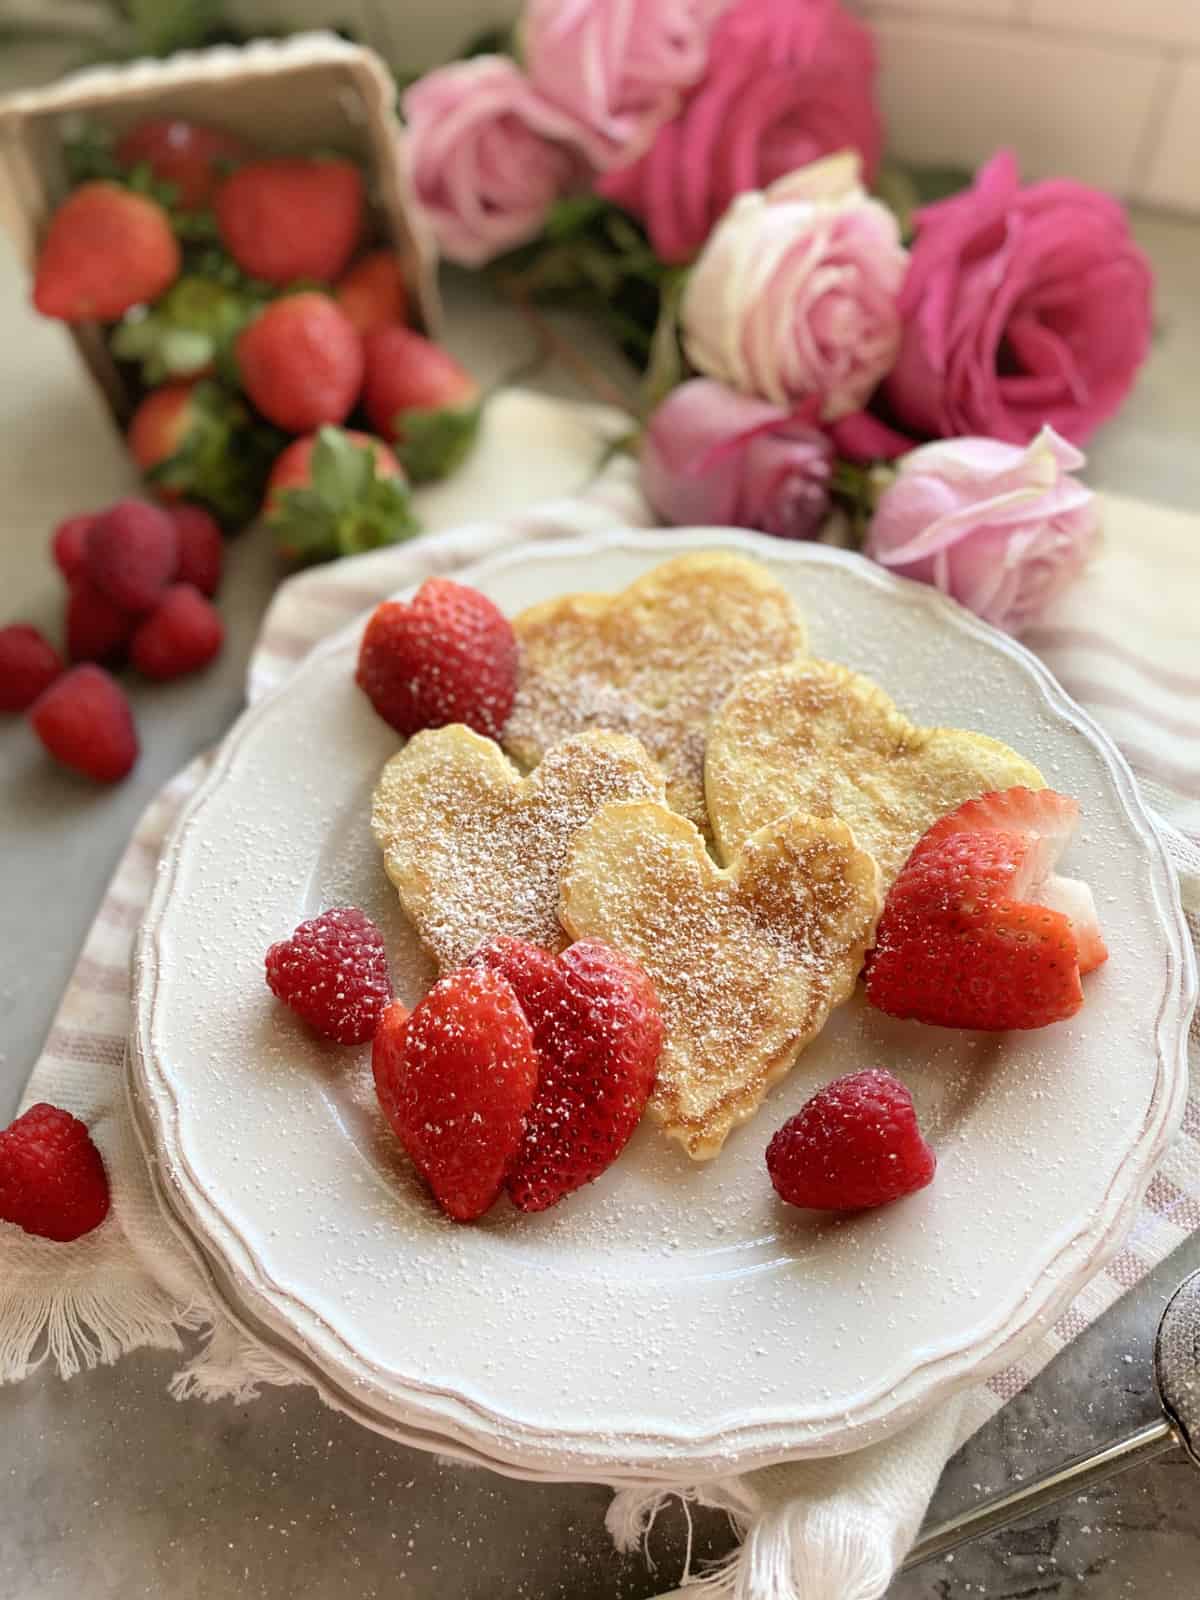
If you love to make fun shaped pancakes my Heart Shaped Pancakes are perfect for any beginner cook. Using a cookie cutter works best and will yield an almost perfect shape every single time; however, they take more time then typical round pancakes.
Since Valentine’s Day is on a Sunday this year, I thought it would be fun to have a Valentine’s Day breakfast/brunch. Since I have little kids the day has turned into a family holiday.
This year, I’m thinking we will do heart-shaped pancakes, where the kids can decorate their own pancakes with whipped cream and topped with red, white, and pink sprinkles. I also like to serve breakfast potatoes and crispy bacon.
Table of contents
Supplies
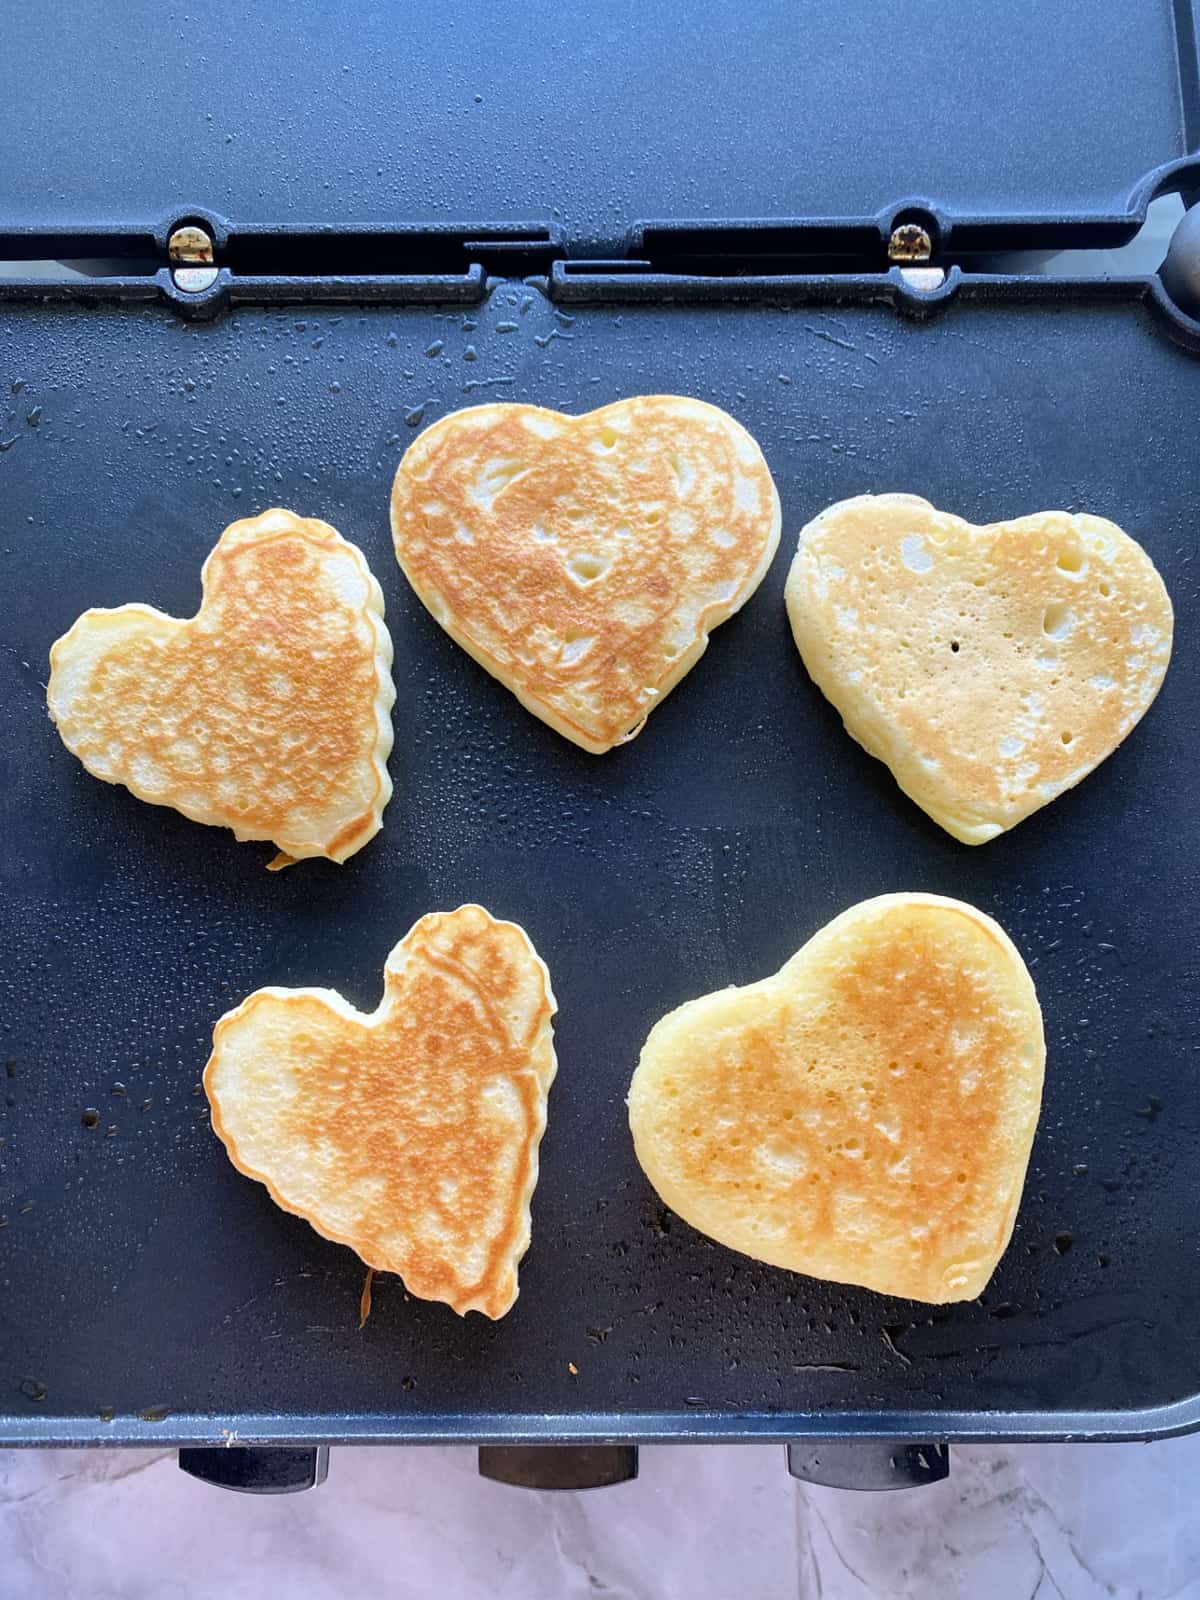
- Frying Pan – A large flat frying pan works best on the stove top.
- Griddler – When I photographed this recipe I used the Cuisinart Griddler that is a free standing table top appliance. The plates remove from the plug-in machine making it very easy to clean. It ranges in price from $60-160 depending on the model you get.
- Heart-shaped metal cookie cutter – This is what you’ll need for perfectly shaped heart pancakes.
- Squeeze bottle – This is needed only if you are doing a free handed heart.
Video: How to Make Heart Shaped Pancakes
Ingredients
- All-Purpose Flour – I have always used all purpose flour and have never tested other flours for my buttermilk pancake recipe.
- White Granulated Sugar – A little sugar goes a long way in this recipe. You don’t want them to be overly sweet since most likely you will use maple syrup which is naturally sweet.
- Baking Powder/Baking Soda – Both are needed to help rise.
- Salt – The salt helps to offset the flour taste.
- Buttermilk – This helps gives the fluffy texture to the pancakes.
- Milk – A few tablespoons of milk is all you need.
- Egg – One egg is all you need for this recipe.
- Salted Butter – The butter needs to be melted and cooled for this recipe. Do this first.
- Nonstick cooking spray – Cooking spray is needed to prevent the pancakes from sticking to not only the griddle but the cookie cutter.
- Powder Sugar – I like to dust the hearts with powdered sugar.
Directions
- In a large bowl, combine flour, sugar, baking powder, baking soda, and salt. Then add in the buttermilk, milk, eggs, and melted butter. Mix for 30 seconds until all ingredients are blended.
- Heat a griddle or frying pan over medium heat. Spray the pan with non-stick cooking spray. *If using a cookie cutter, spray the cookie cutter with non-stick cooking spray.
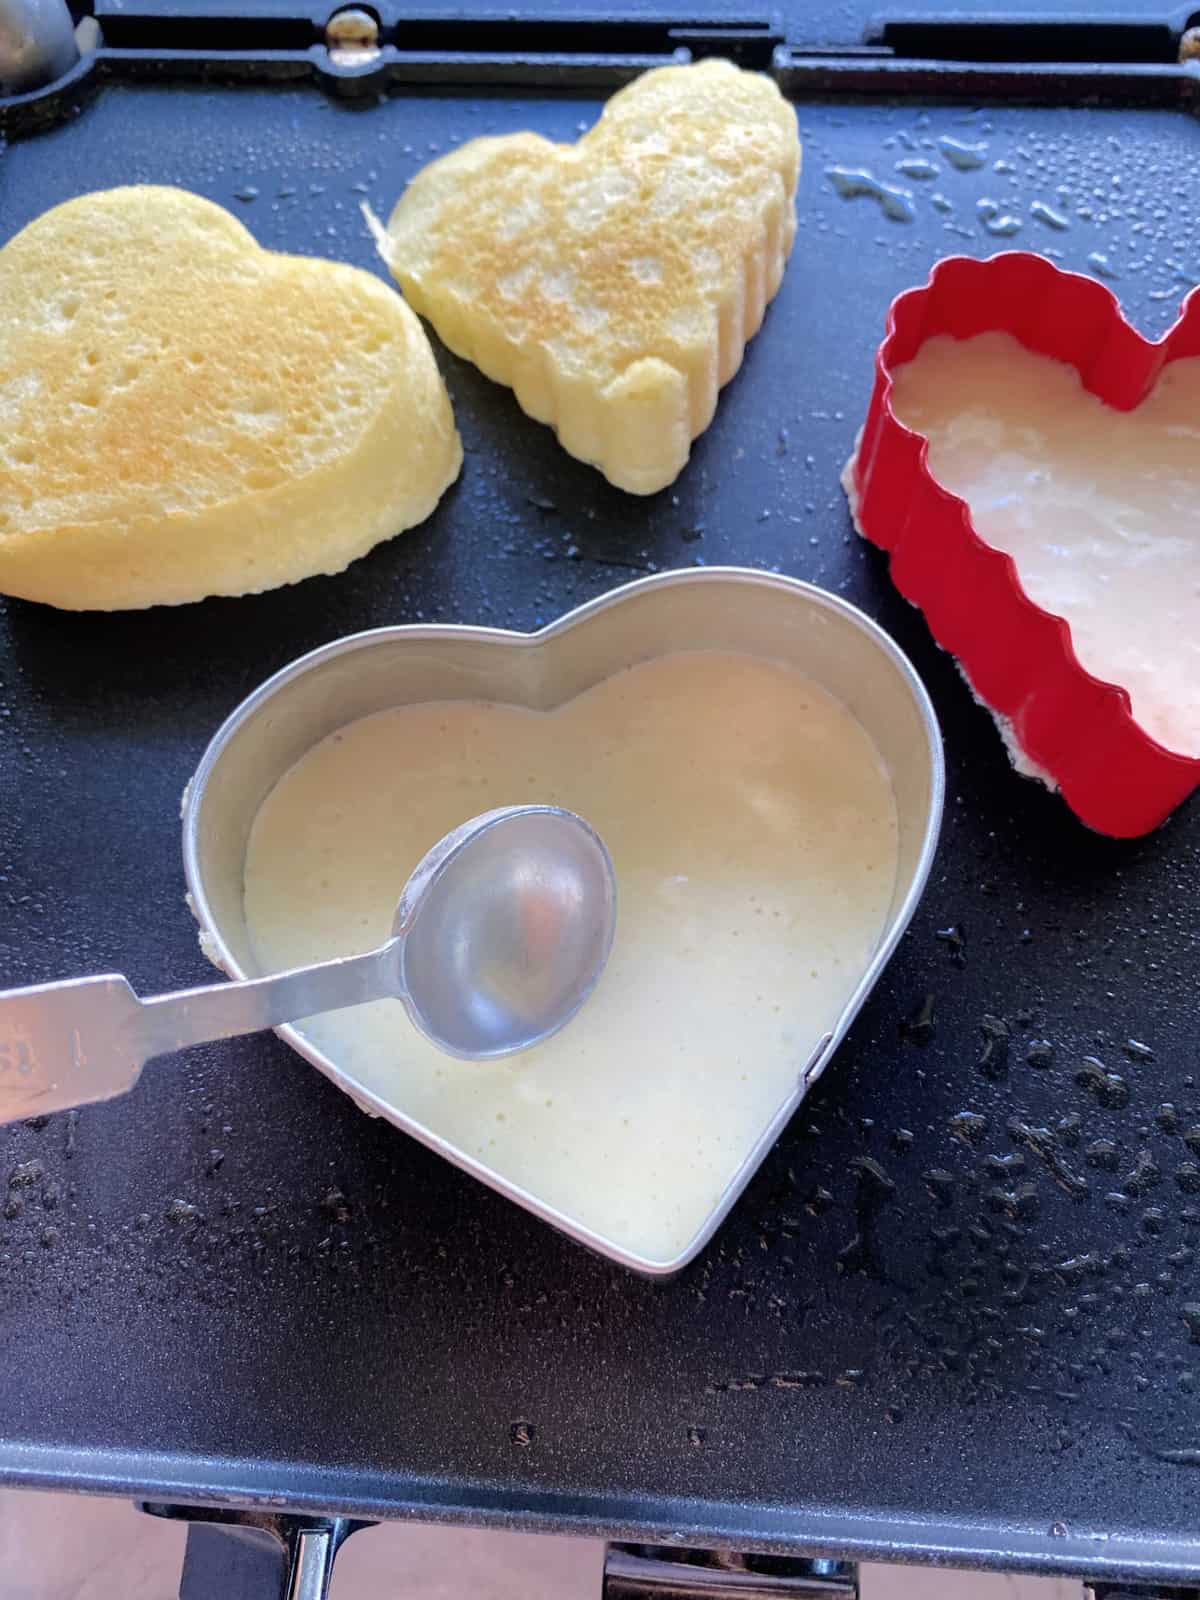
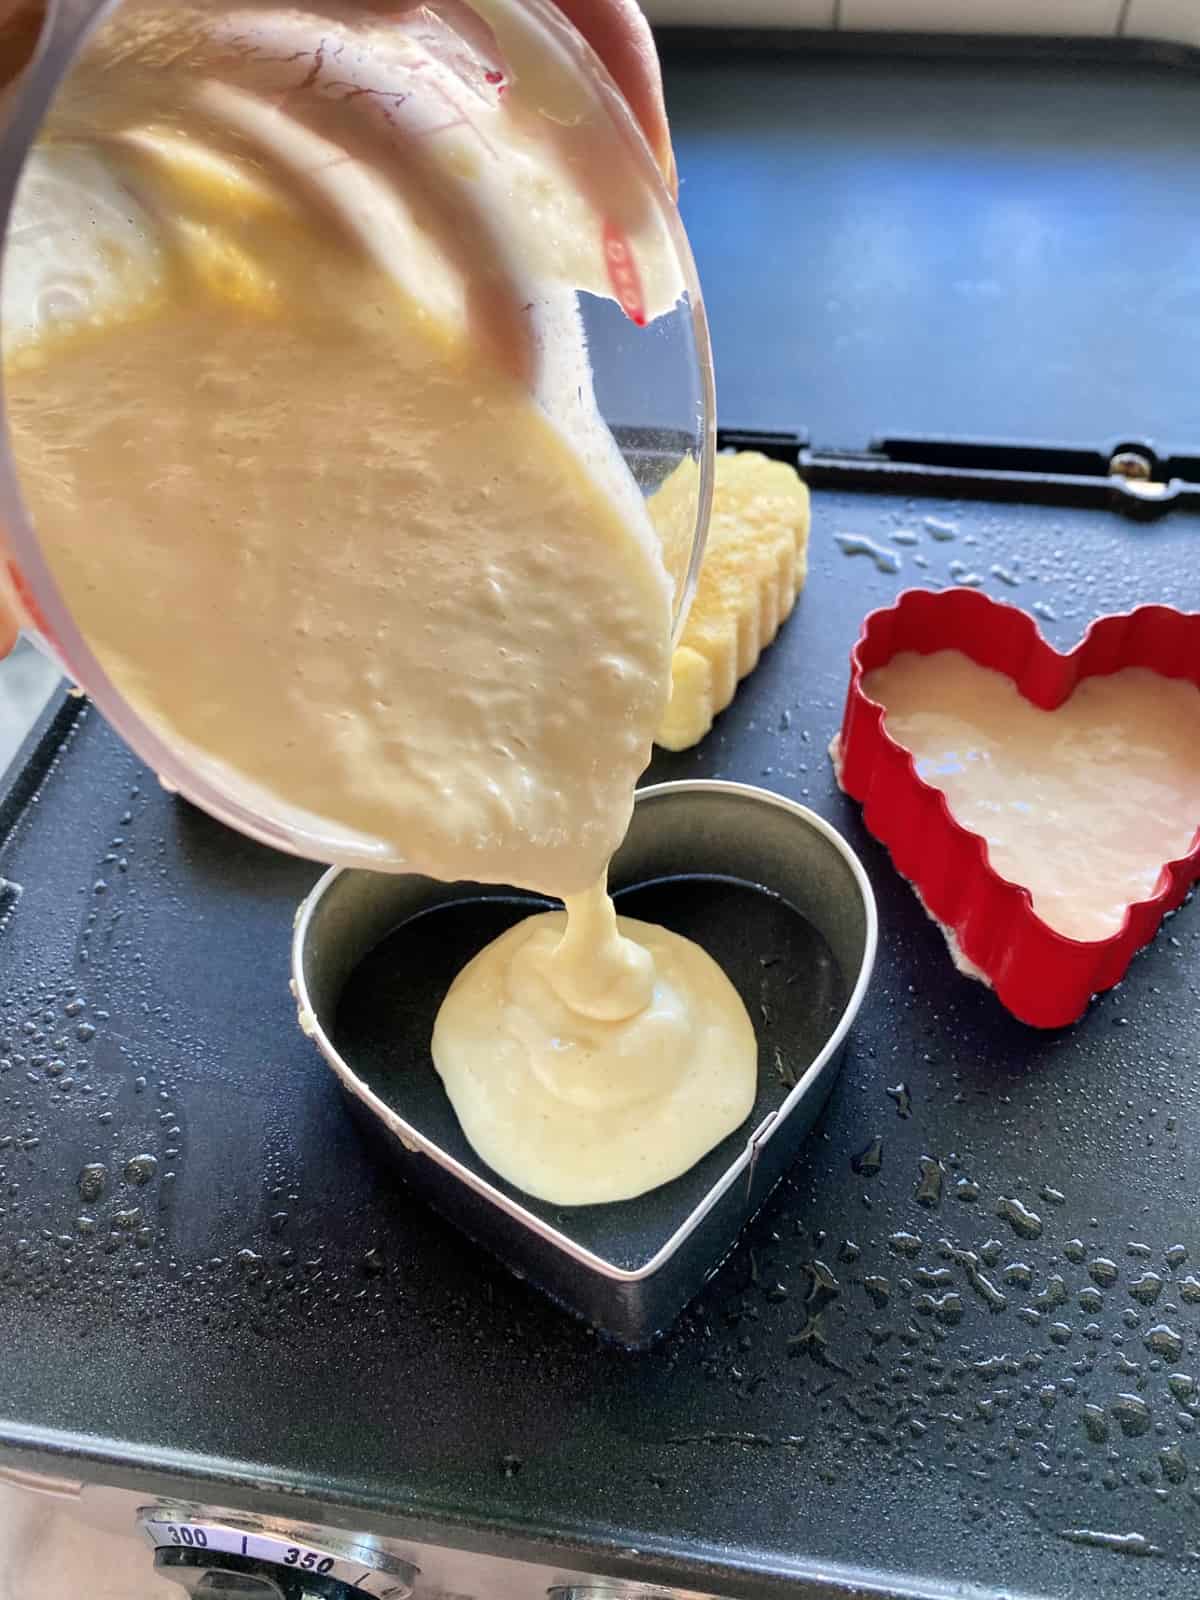
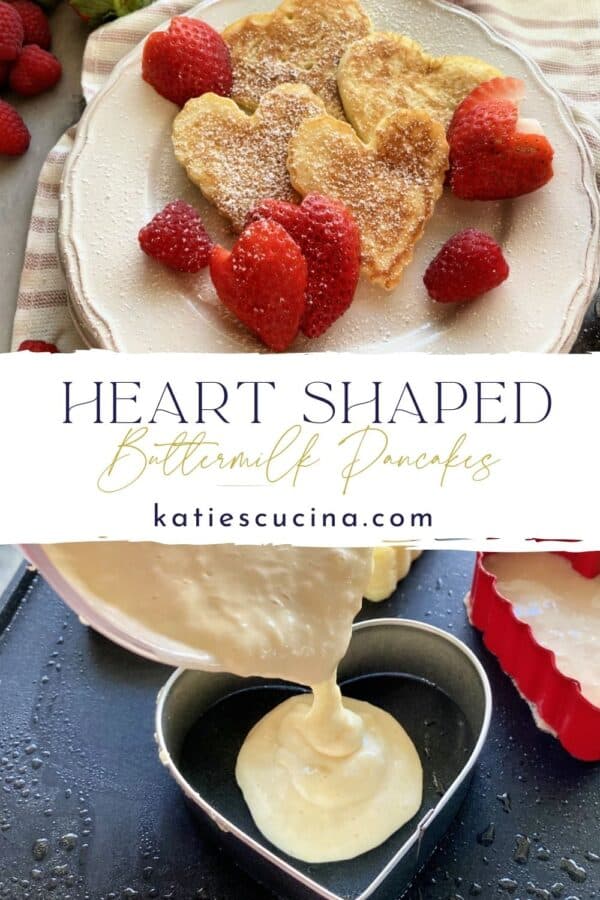
- Reduce the heat to medium-low and pour a thin layer of batter into the greased cookie cutter that is laying flat on the griddle, using about 2-3 tablespoons for each pancake (depending on the size of your cookie cutter—you want a thin layer as it will rise as it cooks). Don’t be afraid to spread out the batter using a spoon. I used a measuring spoon since it was already dirty from measuring the ingredients to reduce dishes!
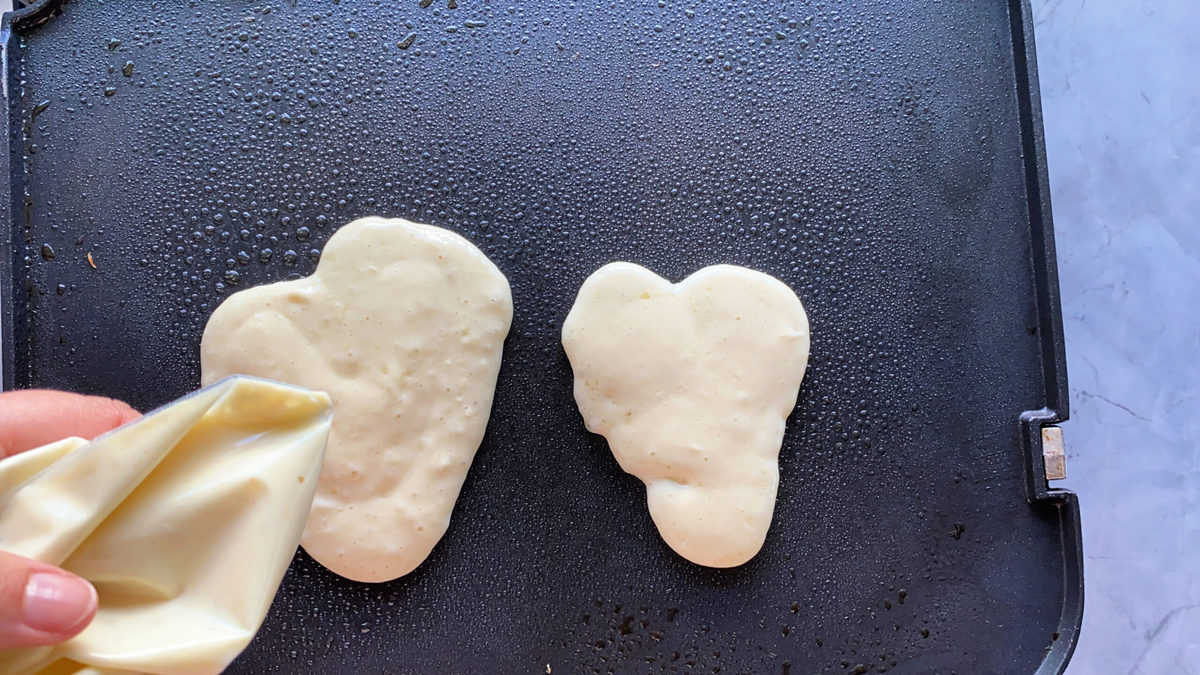
- If you plan to free-hand hearts you’ll want to grease the pan then draw the heart onto the pan, and fill in the heart with the batter.
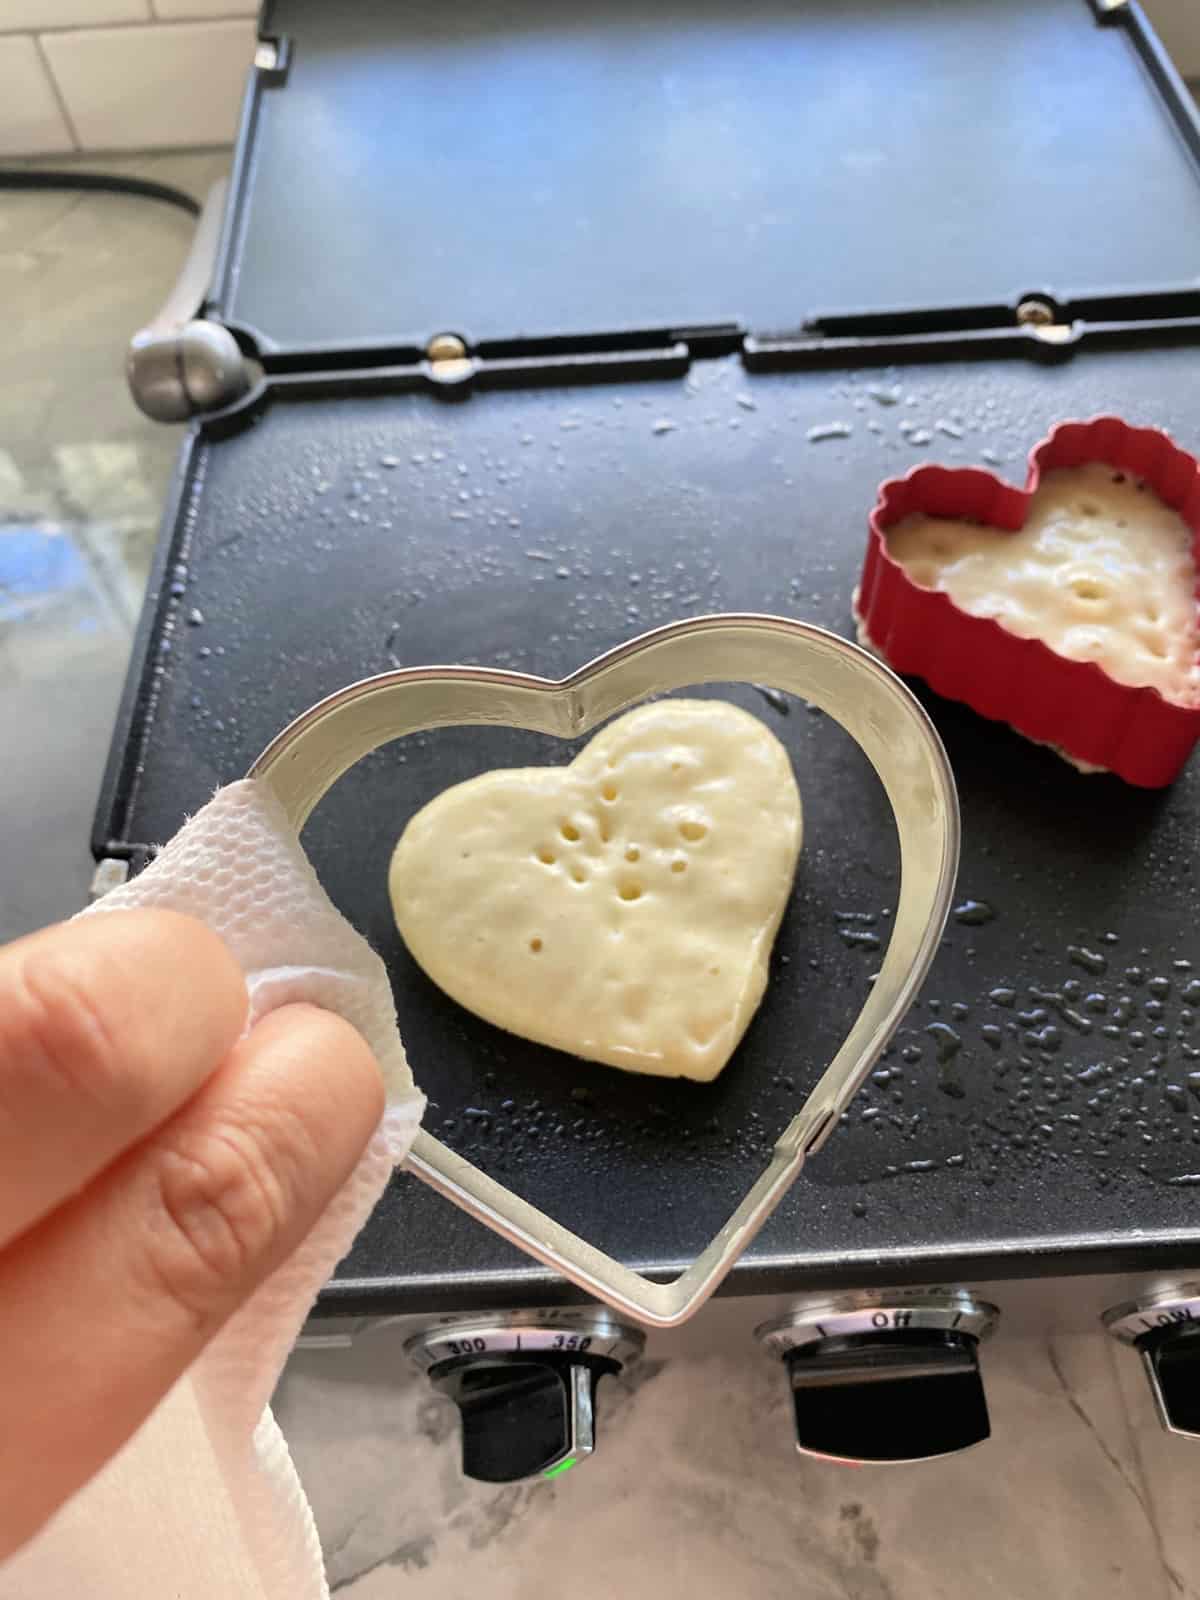
- Once bubbles start to form (about 1-2 minutes), remove the cookie cutter. The metal cutter will be extremely hot–I found using a paper towel made it easier to remove. Flip the pancake. Cook an additional 1-2 minutes until brown but not burnt. Remove from griddle and repeat until all the batter is used.
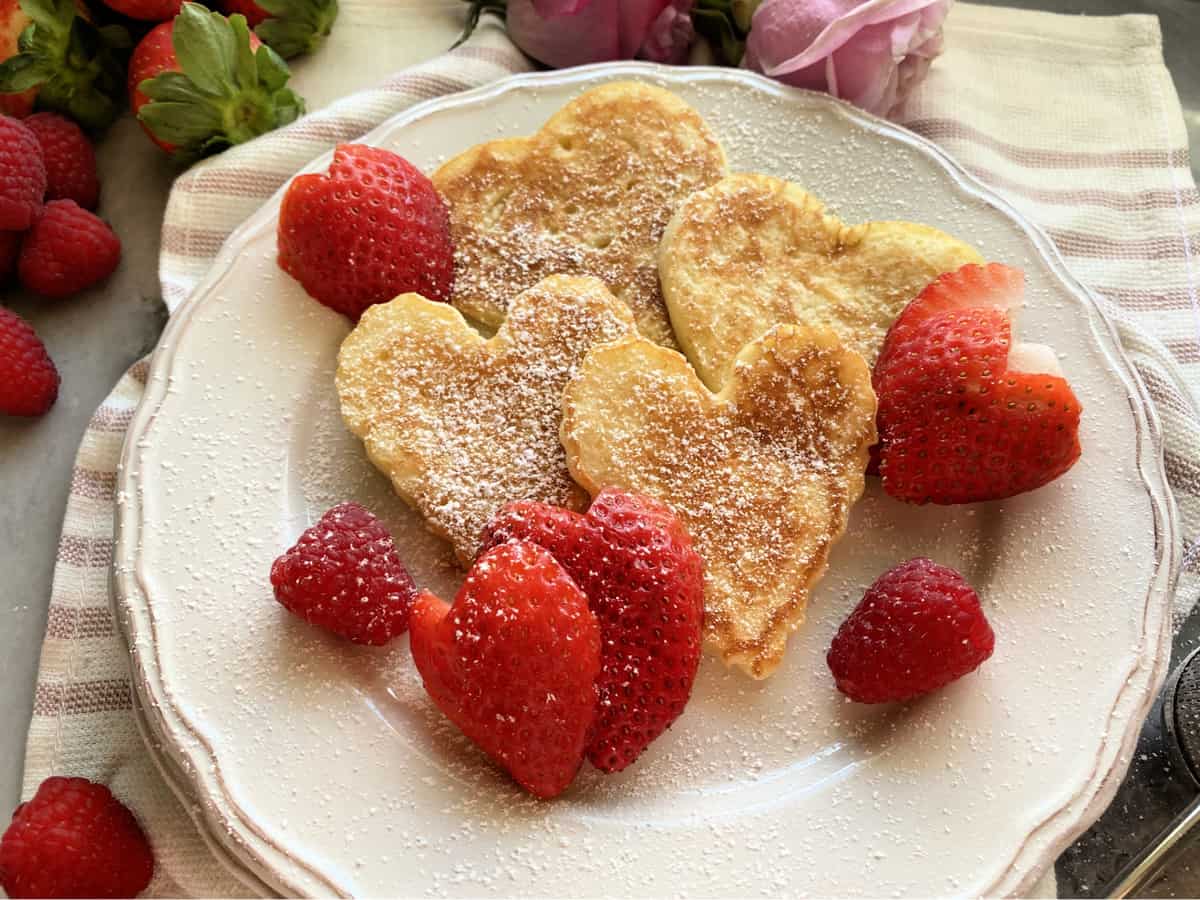
- Before plating sprinkle with powdered sugar or top with butter and maple syrup.
FAQs
Place the pancake batter in a squeeze bottle or baggie and cut the end off it. Essentially you will draw a heart right on the griddle. Then fill the heart with batter. I find this technique much more challenging and it takes a lot of practice!
Use a heart-shaped metal cookie cutter, spray it with nonstick cooking spray and pour the batter directly into the cookie cutter that will lay flat on a frying pan.
To make perfectly shaped pancakes you can use a metal circle cookie cutter. To make fun shaped pancakes take a larger metal cookie cutter. Some of my favorite ways to celebrate holidays is to make fun shaped pancakes. For Valentine’s Day I’ll use heart cookie cutters like this recipe calls for, shamrocks for St. Patrick’s Day, a bunny for Easter, Pumpkins for Halloweens, a tree mold for Christmas, etc.
Tips & Tricks
Here are a few of my favorite tips and tricks I’ve found helpful when making shaped pancakes.
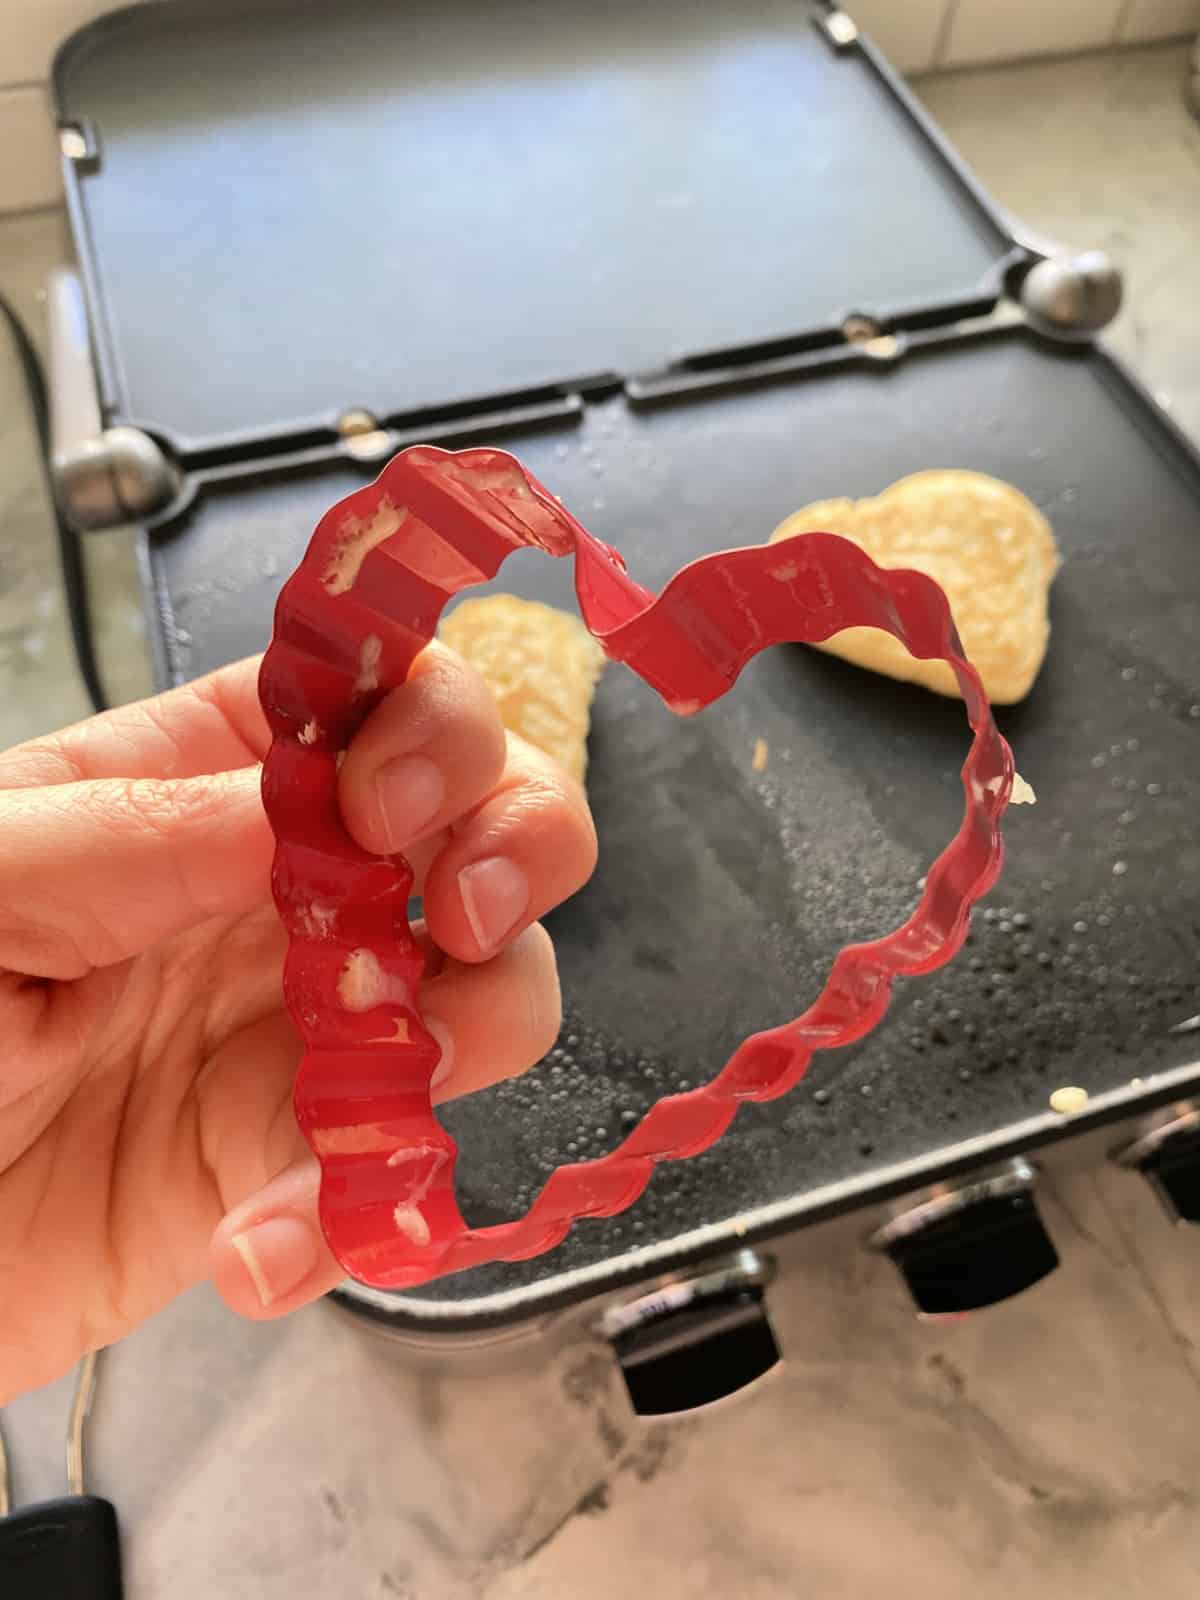
- Cookie Cutter – If using a cookie cutter you must use a metal cookie cutter. They are heat resistant (although will be extremely hot when touching). You cannot use a plastic cookie cutter.
- Non-Stick – You must use non-stick spray on a cookie cutter to avoid the batter from sticking. Spray the cutter each and every time you go to make another pancake.
- Batter Sticking – After you remove the batter if you find some of the batter stuck on the cookie cutter–clean off with a damp paper towel before refilling again.
- Batter – I have tested making pancakes with a cookie cutter using my Fluffy Buttermilk Pancakes mix. I have not tested with store bought pancake batters. Depending on the batter will depend on cooking times.
- Filling – I have found that if using a cookie cutter do not fill the batter to the top. Filling the batter only ¼ of the way of the cookie cutter is best.
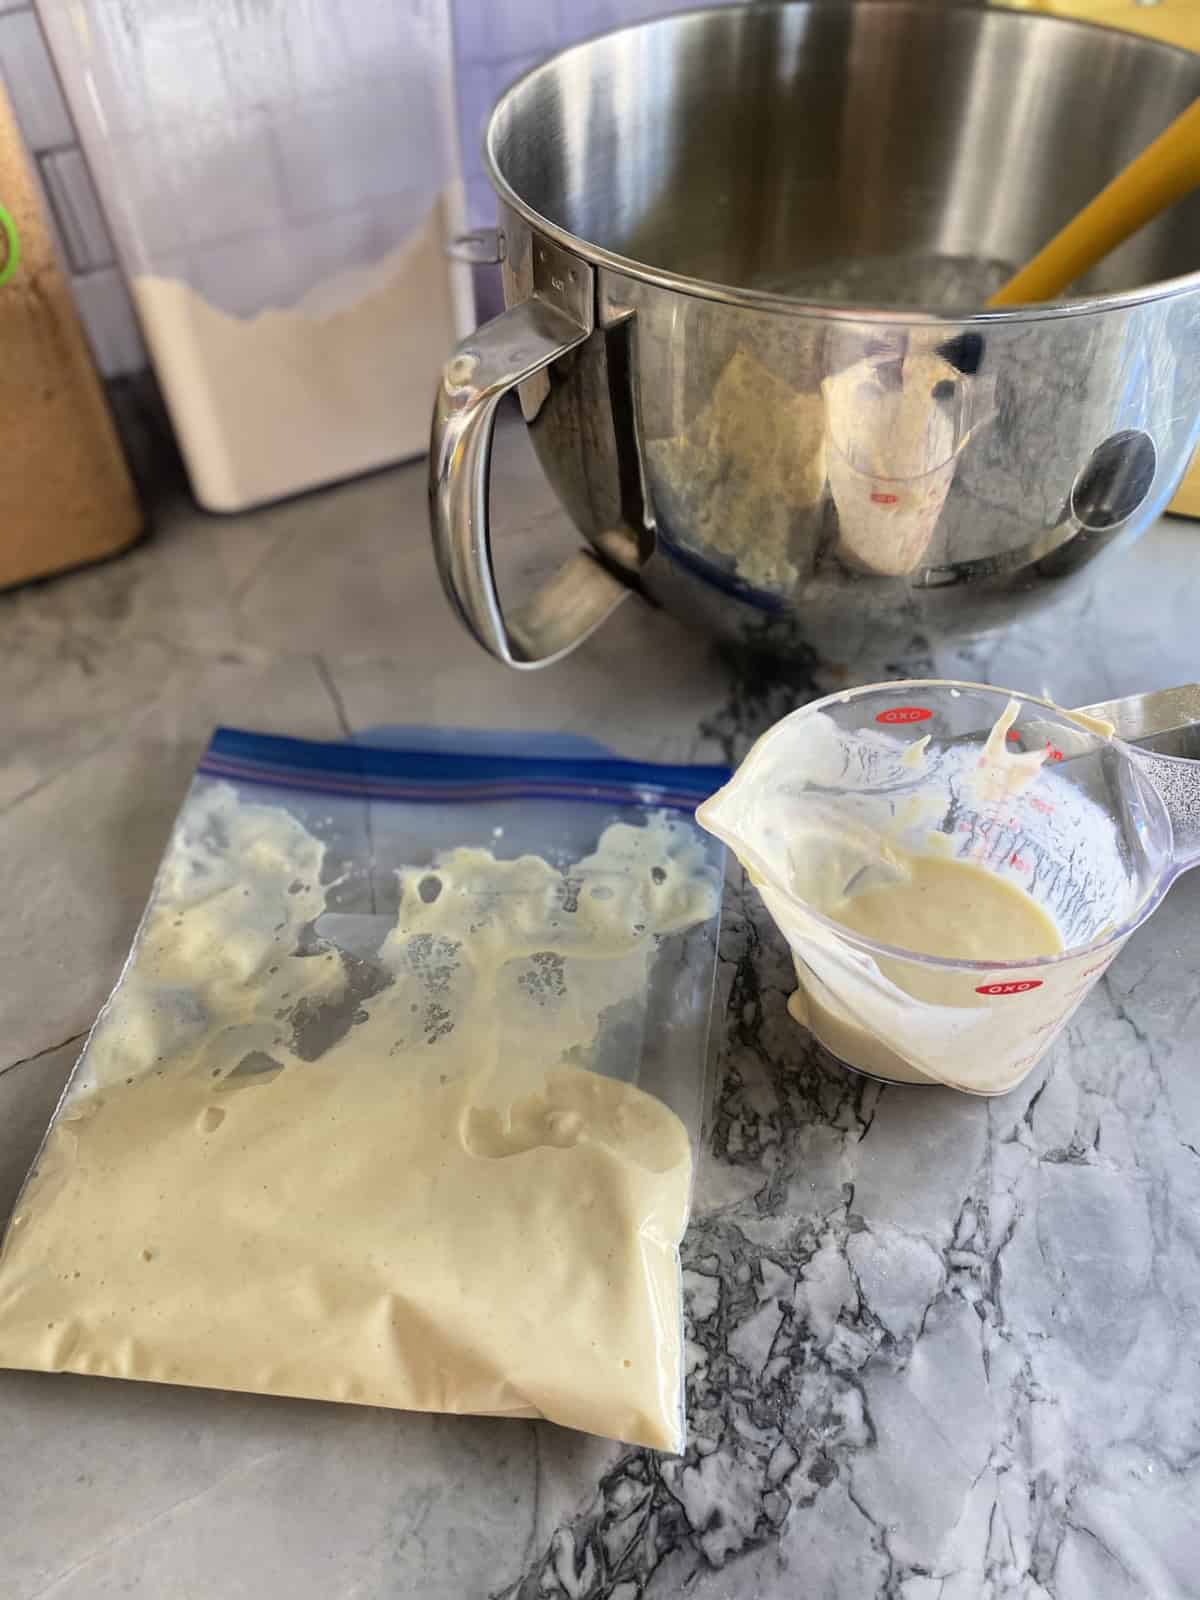
- Pouring Batter – I find it’s easiest to pour the pancake batter into a cookie cutter using a spouted measuring cup.
- Without a cookie cutter – If you don’t have a heart shaped cookie cutter you can use either a squeeze bottle or even a plastic bag and cut the corner of the bag. Then freehand the shape of your choice. In this case it would be a heart shape.
- Removing cookie cutter – Once the batter begins to bubble I like to use a paper towel to remove the cookie cutter from the pan. The metal cutter is extremely hot and is impossible to touch without some form of a barrier to absorb the heat. I find a dish towel or pot holder is too bulky but a paper towel works best.
- Round Pancake – If you just want to make traditional round pancakes ladle about a ¼ cup of batter into a pan and follow step 4 of cooking instructions.
Pancake Recipes
If you love pancakes as much as I do you might love some of these other pancake flavor combos!
Looking to make your own Valentine? Check out my You’re the Sweetest Valentine Printable.
If you make my Valentines pancakes, I would be honored and love for you to take the time to leave a star rating and comment! I spend hours developing and testing these recipes, and always love to hear feedback and user experience!
Don’t forget to FOLLOW ME on Facebook, Pinterest, and Instagram, and subscribe to my email list! This recipe is available as a Google Web Story.
Heart Shaped Pancakes
Equipment
- Stove Top
- Heart Shaped Cookie Cutter
Ingredients
- 1 cup All-Purpose Flour
- 1 tablespoon White Granulated Sugar
- 1 teaspoon Baking Powder
- ½ teaspoon Baking Soda
- ¼ teaspoon Salt
- 1 cup Buttermilk
- 3 tablespoon Milk
- 1 Egg
- 2 tablespoon Salted Butter melted and cooled
- Nonstick cooking spray
- ¼ teaspoon Powder Sugar
Instructions
- In a large bowl, combine flour, sugar, baking powder, baking soda, and salt. Then add in the buttermilk, milk, eggs, and melted butter. Mix for 30 seconds until all ingredients are blended.
- Heat a griddle or frying pan over medium heat. Spray the pan with non-stick cooking spray. *If using a cookie cutter, spray the cookie cutter with non-stick cooking spray.
- Reduce the heat to medium-low and pour a thin layer of batter into the greased cookie cutter that is laying flat on the griddle, using about 2-3 tablespoons for each pancake (depending on the size of your cookie cutter—you want a thin layer as it will rise as it cooks).
- If you plan to free-hand hearts you’ll want to grease the pan then draw the heart onto the pan, and fill in the heart with the batter.
- Once bubbles start to form (about 1-2 minutes), remove the cookie cutter and flip the pancake. Cook an additional 1-2 minutes until brown but not burnt. Remove from griddle and repeat until all the batter is used.
- Before plating sprinkle with powdered sugar or top with butter and maple syrup.
Video
Notes
- Cookie Cutter – If using a cookie cutter you must use a metal cookie cutter. They are heat resistant (although will be extremely hot when touching). You cannot use a plastic cookie cutter.
- Non-Stick – You must use non-stick spray on a cookie cutter to avoid the batter from sticking. Spray the cutter each and every time you go to make another pancake.
- Batter – I have tested making pancakes with a cookie cutter using my homemade buttermilk pancake mix. I have not tested with store bought pancake batters. Depending on the batter will depend on cooking times.
- Without a cookie cutter – If you don’t have a heart shaped cookie cutter you can use either a squeeze bottle or even a plastic bag and cut the corner of the bag. Then freehand the shape of your choice. In this case it would be a heart shape.
- Filling – I have found that if using a cookie cutter do not fill the batter to the top. Filling the batter only ¼ of the way of the cookie cutter is best.
- Removing cookie cutter – Once the batter begins to bubble I like to use a paper towel to remove the cookie cutter from the pan. The metal cutter is extremely hot and is impossible to touch without some form of a barrier to absorb the heat. I find a dish towel or pot holder is too bulky but a paper towel works best.
- Round Pancake – If you just want to make traditional round pancakes ladle about a ¼ cup of batter into a pan and follow step 4 of cooking instructions.
Nutrition
Disclosure: There are affiliate links present in this post. That means if you click on a link and purchase something. I will receive a small percentage of the sale at no additional cost to you. Thank you for your continuous support of Katie’s Cucina!


Did you make this recipe? Let me know!