


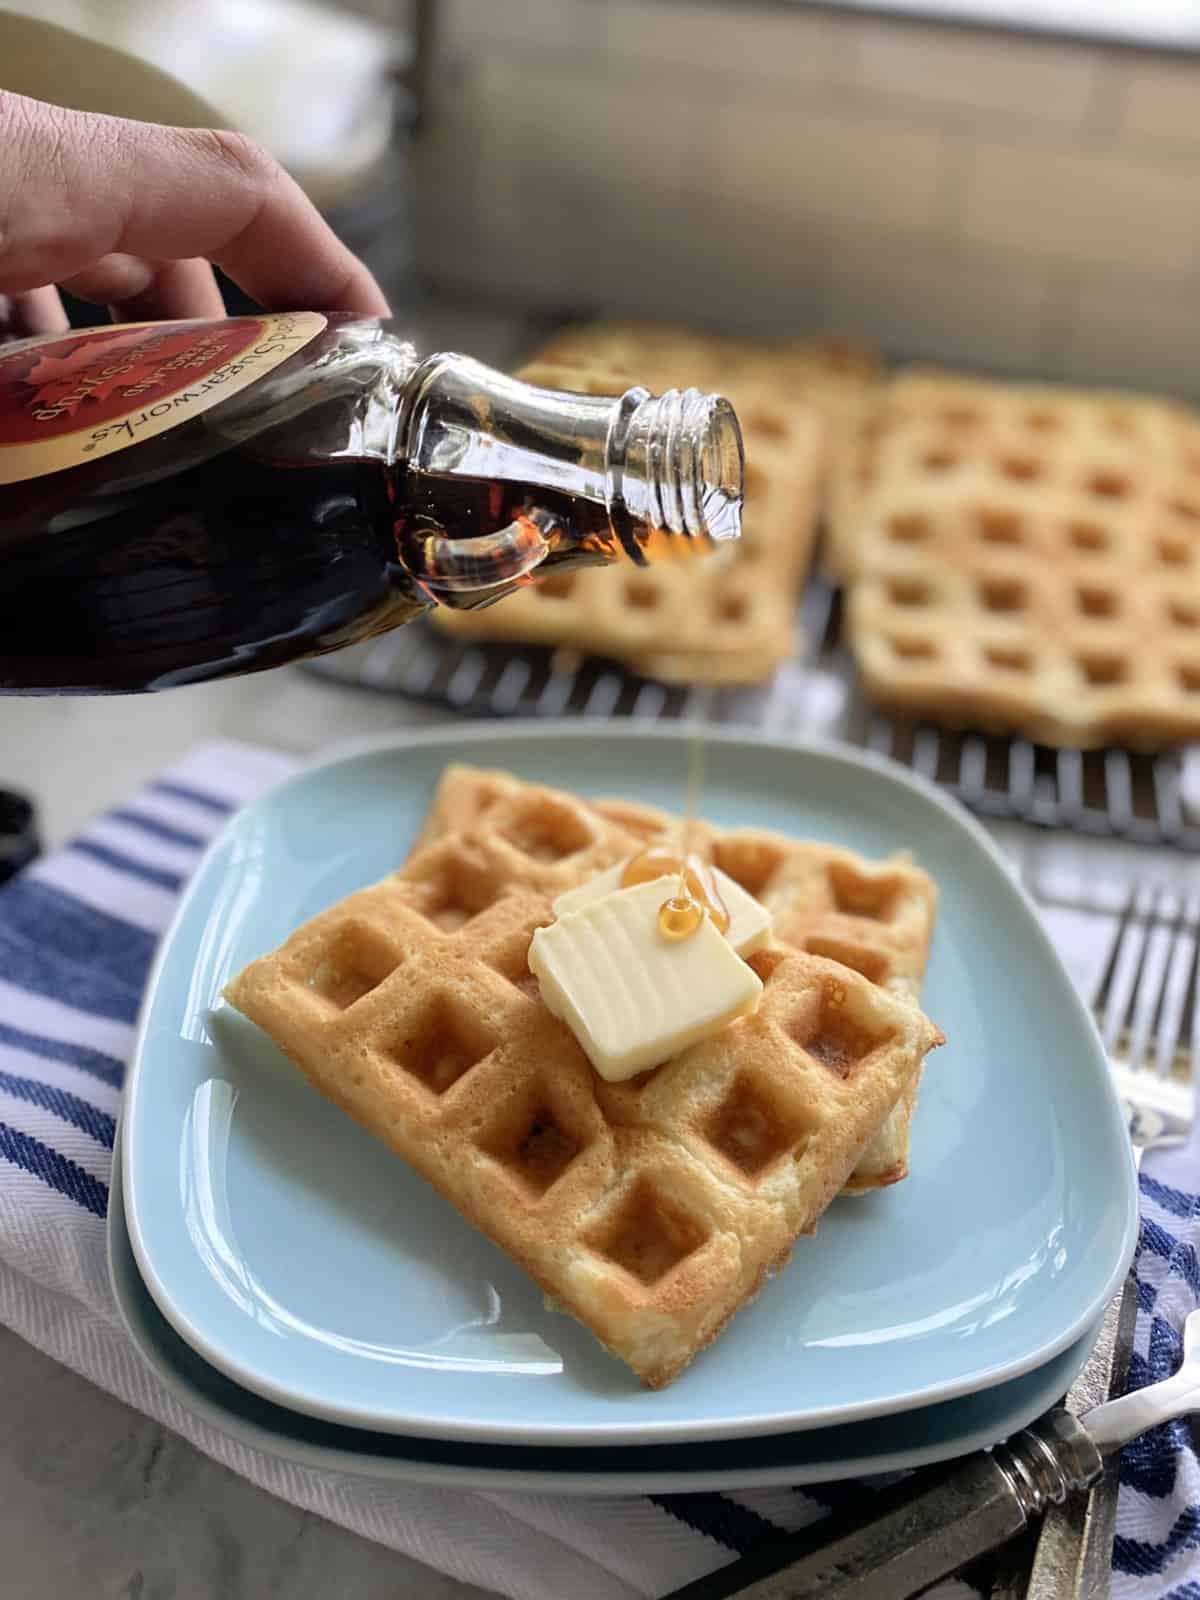
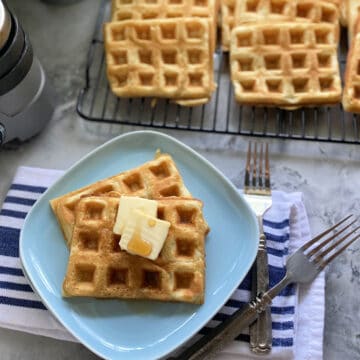
If you crave light and fluffy Buttermilk Waffles you are going to love my recipe. This easy breakfast recipe comes together in 30 minutes from start to finish, and makes enough for about 6 adults depending on the size of your waffle maker.
I bought my first waffle iron back in 2003. I grew up on frozen waffles, and never knew you could make them at home from scratch until I was in my late teens. I was intrigued. So I spent the $20 on the most basic waffle iron, and started making homemade waffles. I started first with this recipe for Crisp and Golden Waffles. Don’t get me wrong the waffles were good, but on the “crispy” side. Not the light and fluffy side like I dreamed of. So I did some research and recipe testing and came up with the most perfect recipe for Buttermilk Waffles.
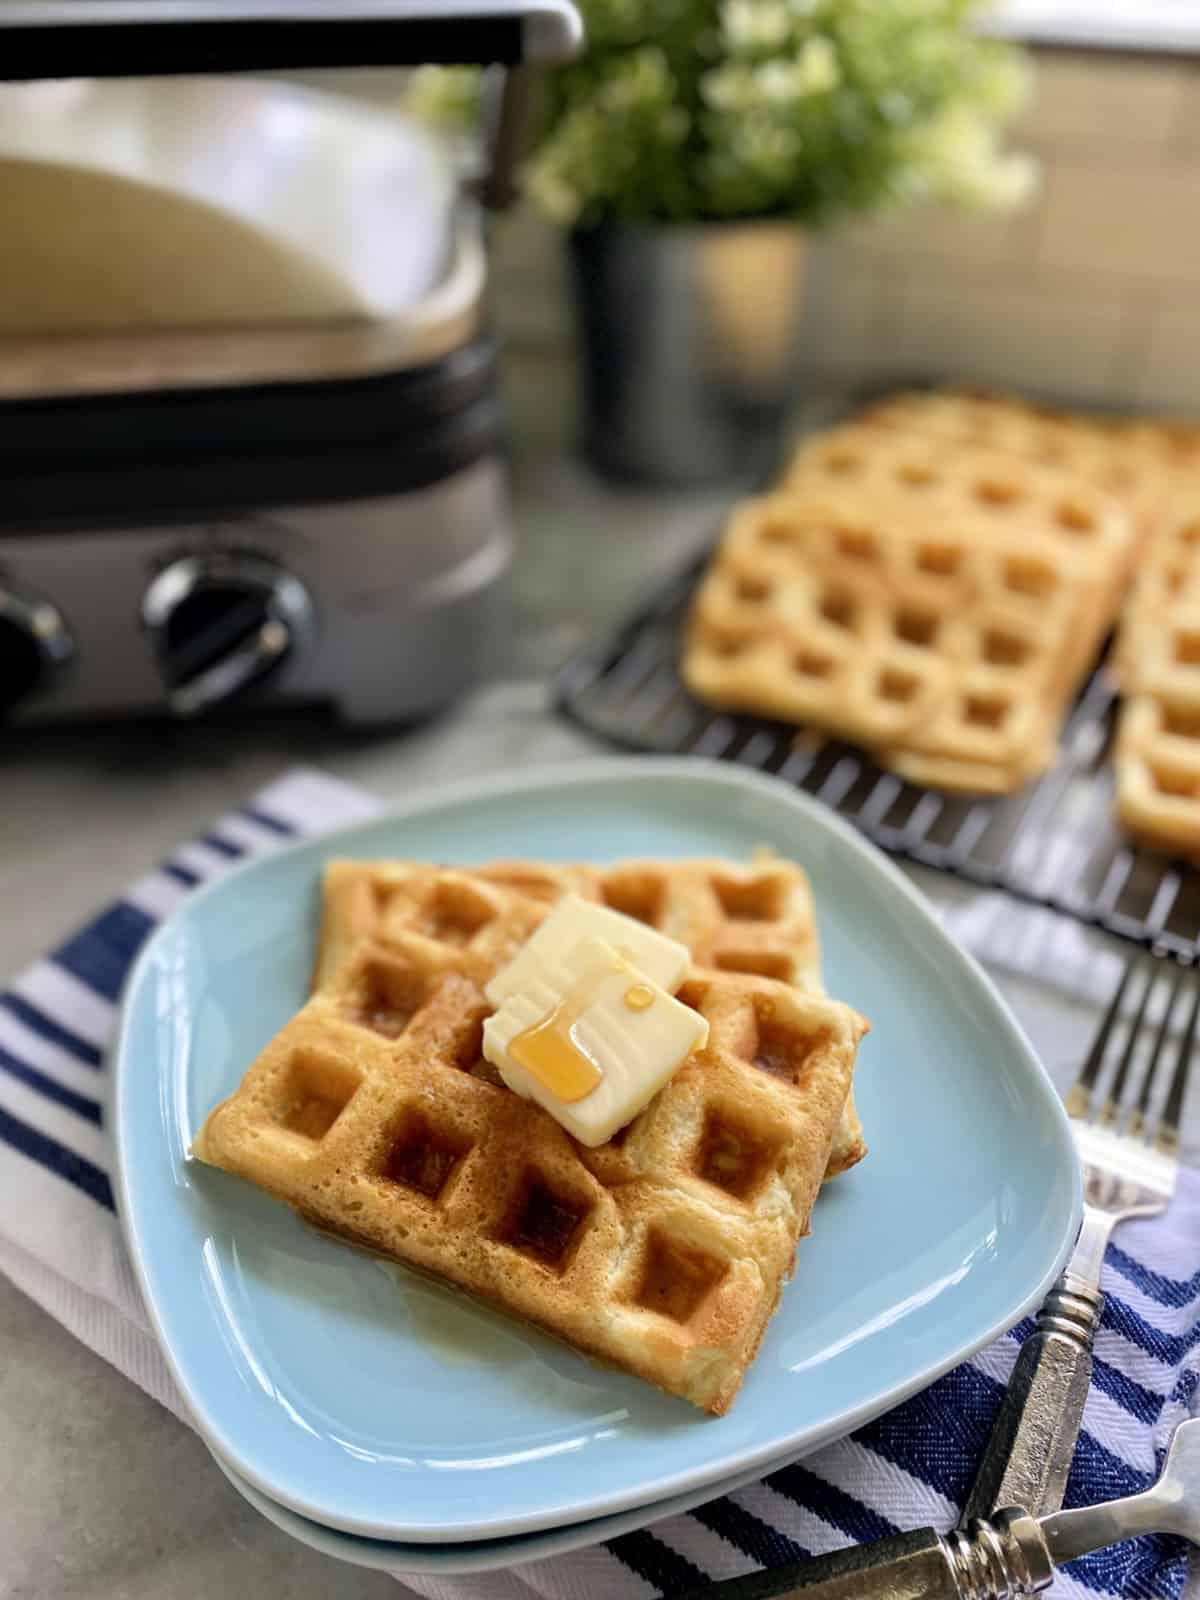
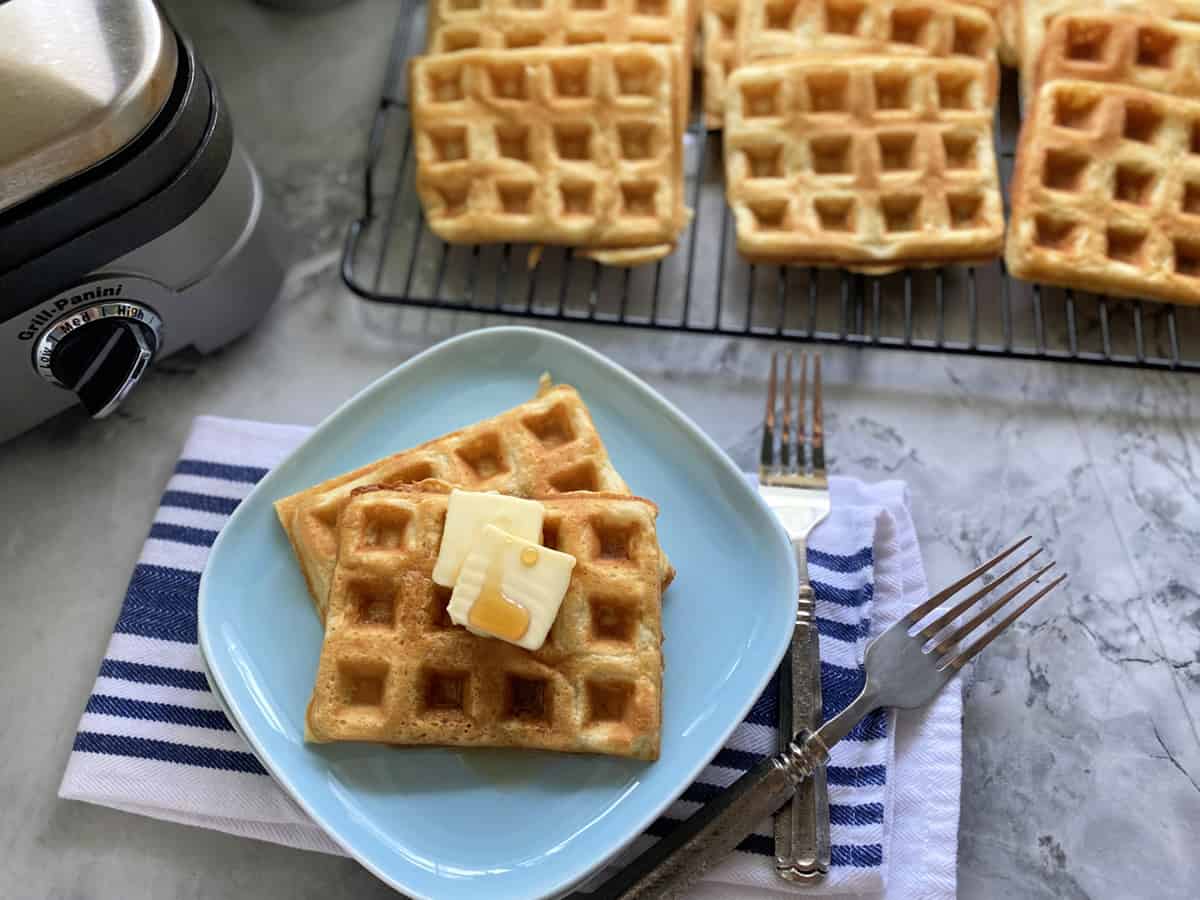
I can proudly say, that I have been making this buttermilk waffles recipe for over a decade now, and I’m still not tired of eating them. I love to serve these fluffy waffles with fried breakfast potatoes, bacon, and an ham and egg casserole if I’m serving a crowd. I am going to break down everything you need to know about how to make the most amazing homemade buttermilk waffles below.
Jump to:
Ingredients
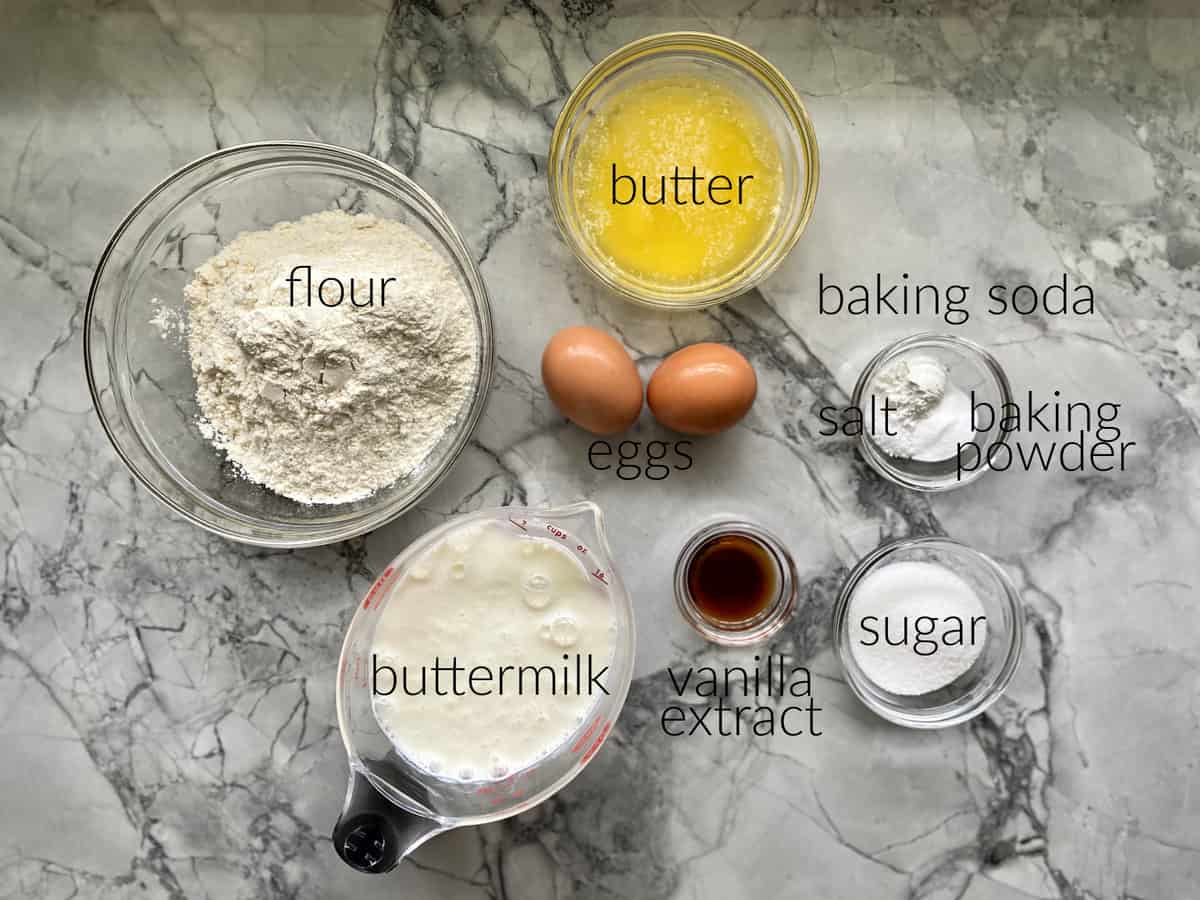
- Eggs – I like to use room temperature eggs. If you can remember to put the eggs out a half hour prior to starting and getting them to room temperature before you start making the waffles.
- Buttermilk – This is the key ingredient to having light and fluffy waffles. I also like to try to take this out a half hour prior.
- Butter – One stick melted and cooled is needed. The cooled part is the hardest part for this recipe since it requires you to wait a little. If your butter is too hot it will harden the minute it touches the buttermilk.
- Vanilla Extract – If you love the flavor of vanilla you can double the measurements!
- All-Purpose Flour – I have never tested this recipe with anything other then All Purpose Flour.
- Granulated Sugar – A little goes a long way.
- Baking Powder & Baking Soda – This will help your waffles rise and interact with the buttermilk to create that light and fluffy texture.
- Salt – A little slat is always good to balance out the flavors.
How to Make Buttermilk
Do you really want to make these buttermilk waffles but find yourself without any buttermilk in the refrigerator! No worries! You can easily make your own buttermilk with milk and either lemon juice or white vinegar.
Take 1 cup of milk and add 1 tablespoon of milk or vinegar to the cup of milk. Stir and let sit for at least 10 minutes until the milk begins to curdle. Making your own buttermilk is that easy!
How to Make Fluffy Waffles
Spray your waffle iron with a non-stick cooking spray before preheating it. Preheat on high heat.
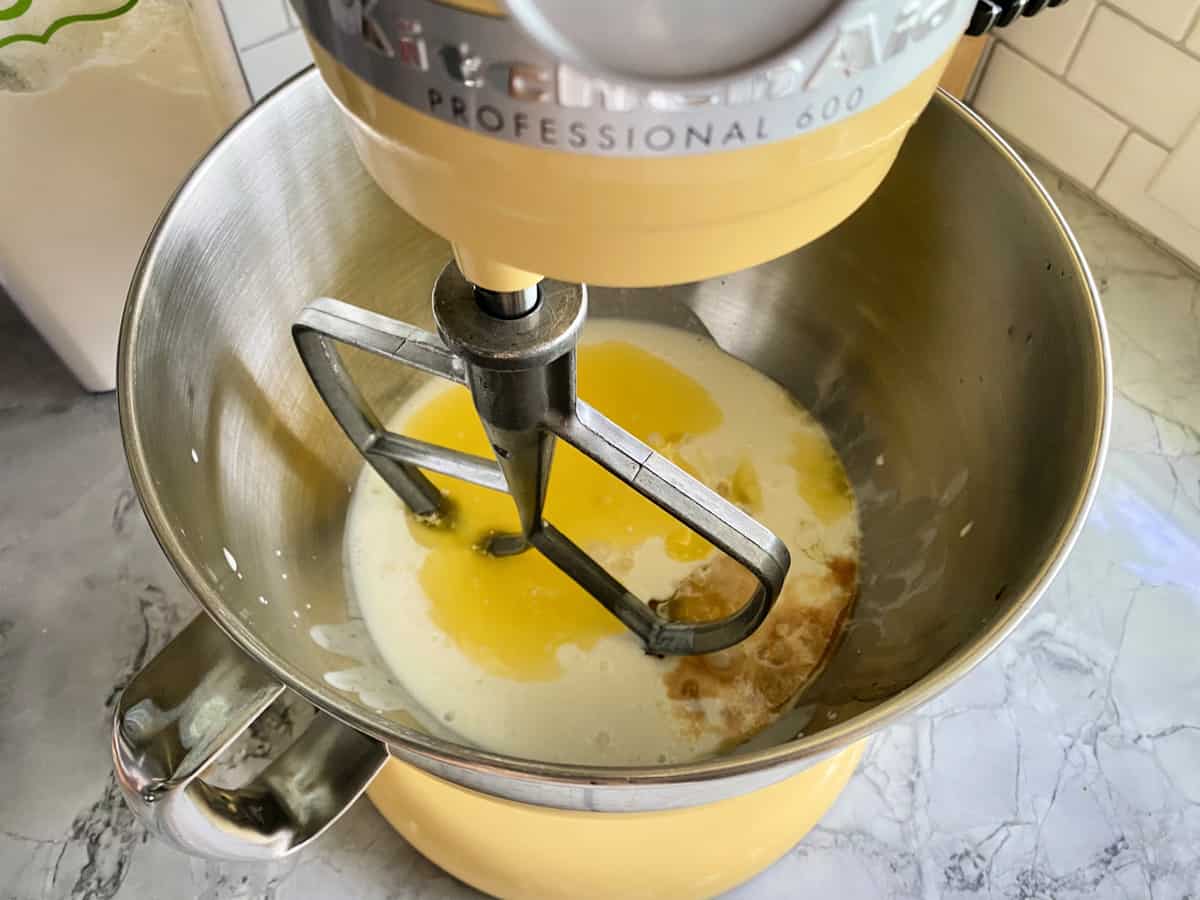
In a medium-sized mixing bowl (or KitchenAid Stand Mixer fitted with a paddle attachment), beat together the eggs, buttermilk, melted butter, and vanilla.
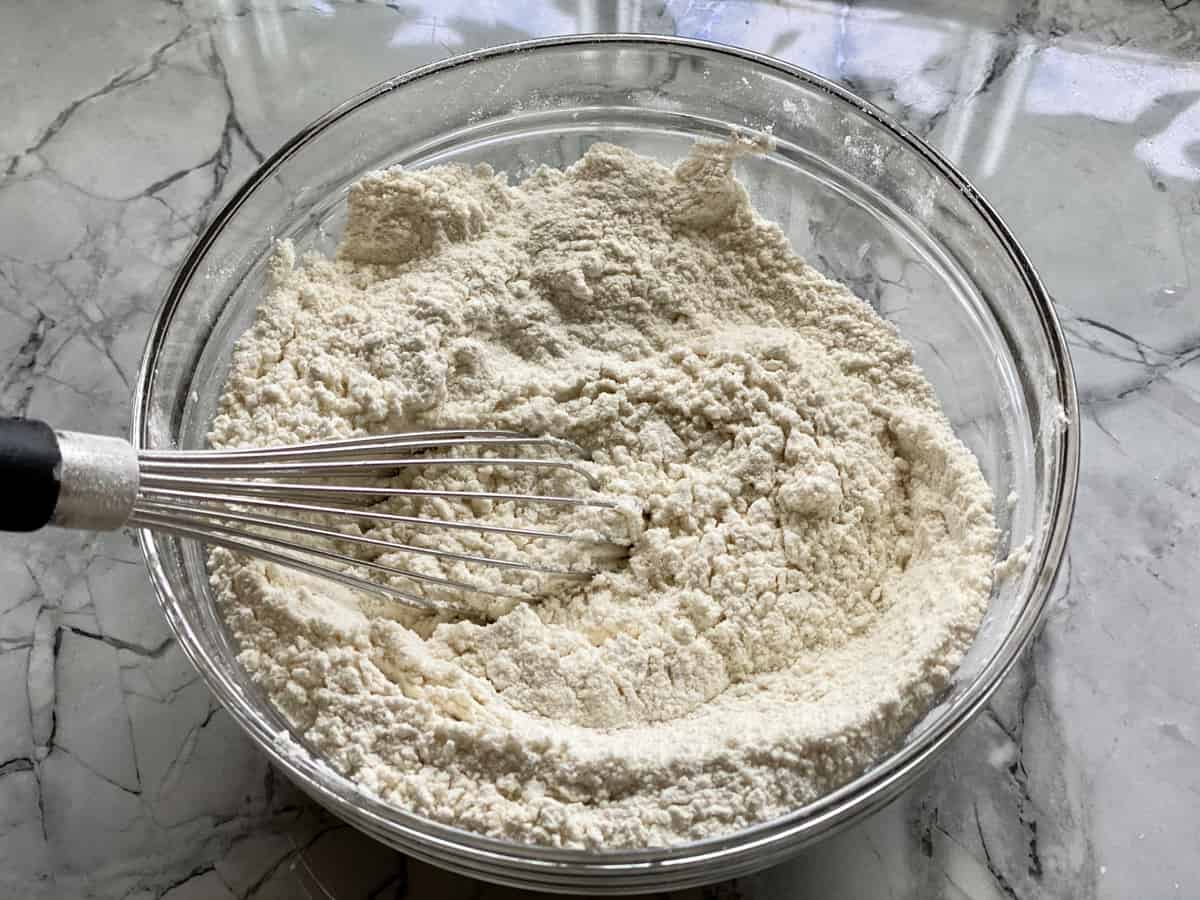
In another bowl whisk together the dry ingredients.
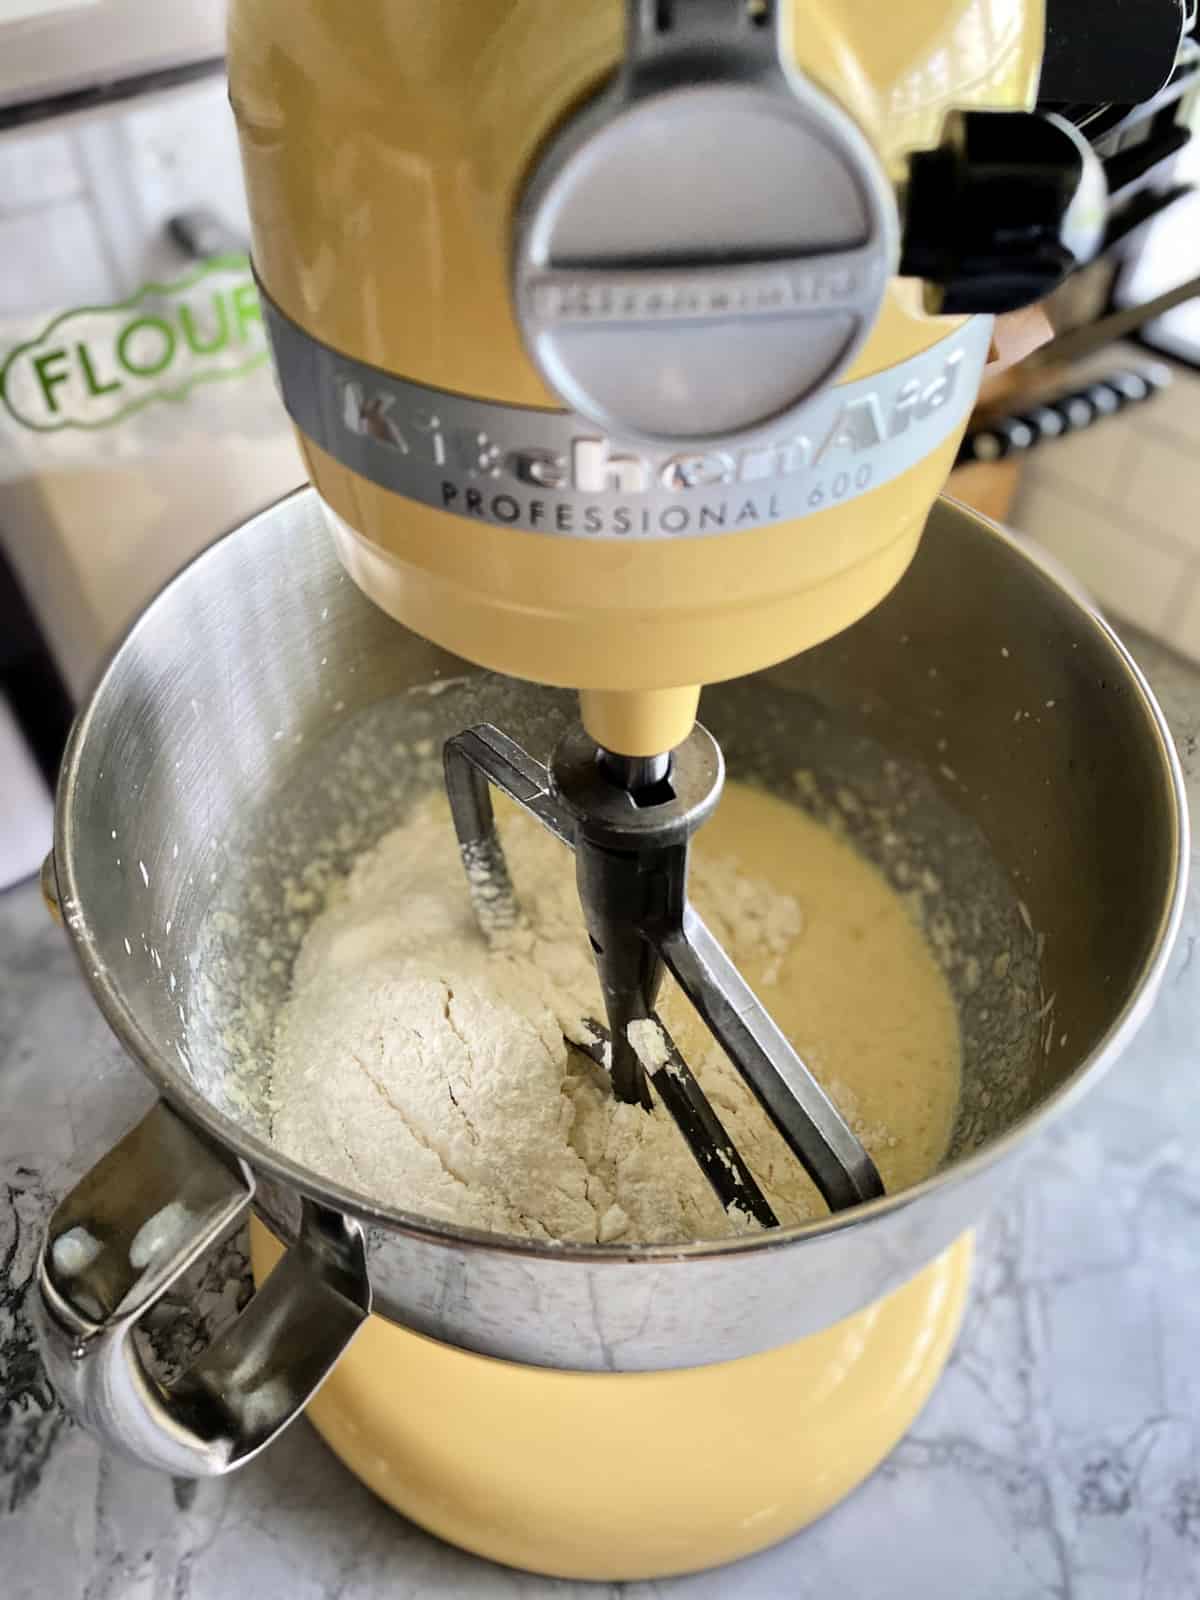
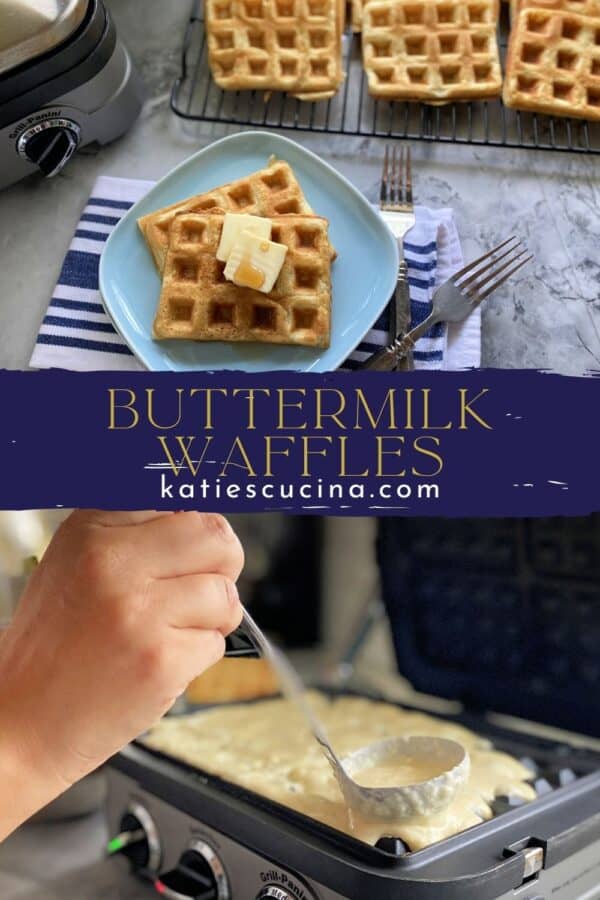
Combine the wet and dry ingredients together until almost smooth.
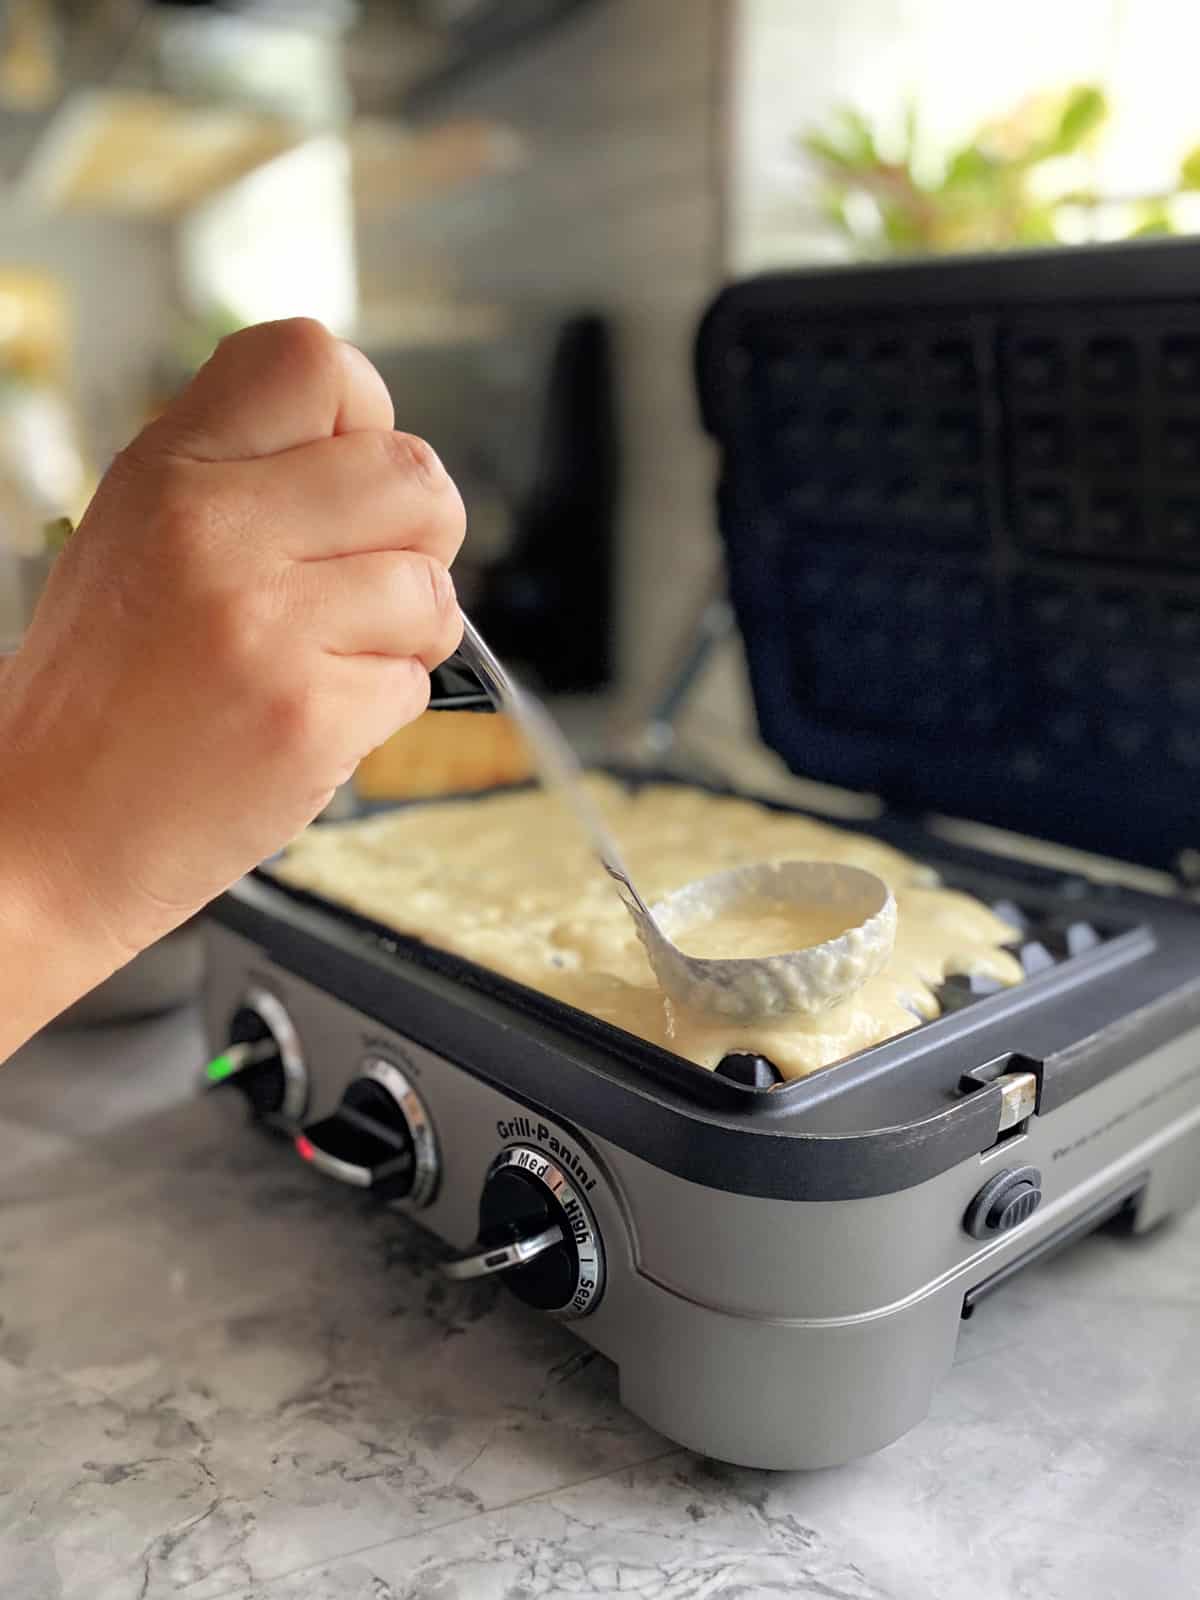
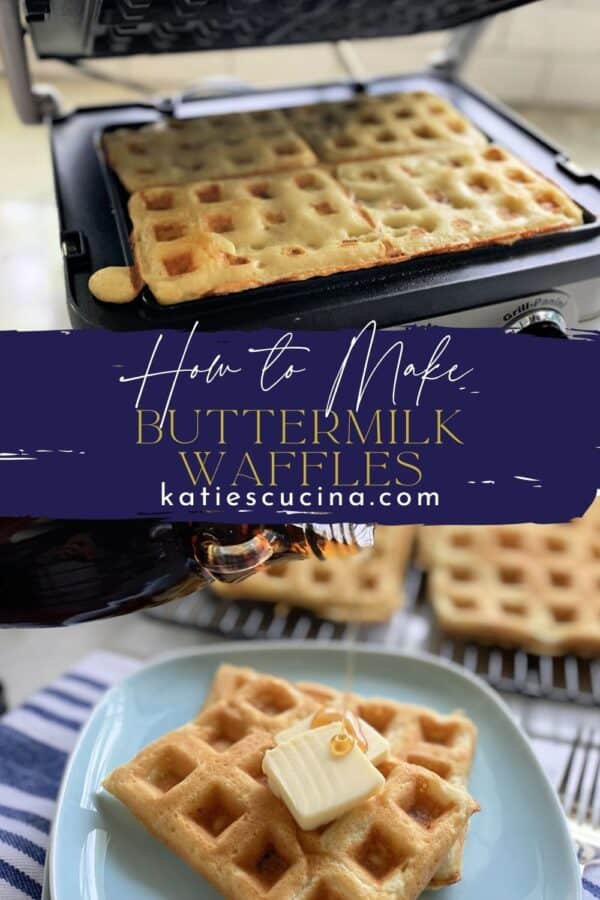
Using a ladle, ladle about ⅓ cup batter. Using the back of the ladle or a silicone spatula smooth out so the waffle iron is completely covered. Cook for 2 to 3 minutes (depending on your waffle iron), until the iron stops steaming and waffles are golden in color.
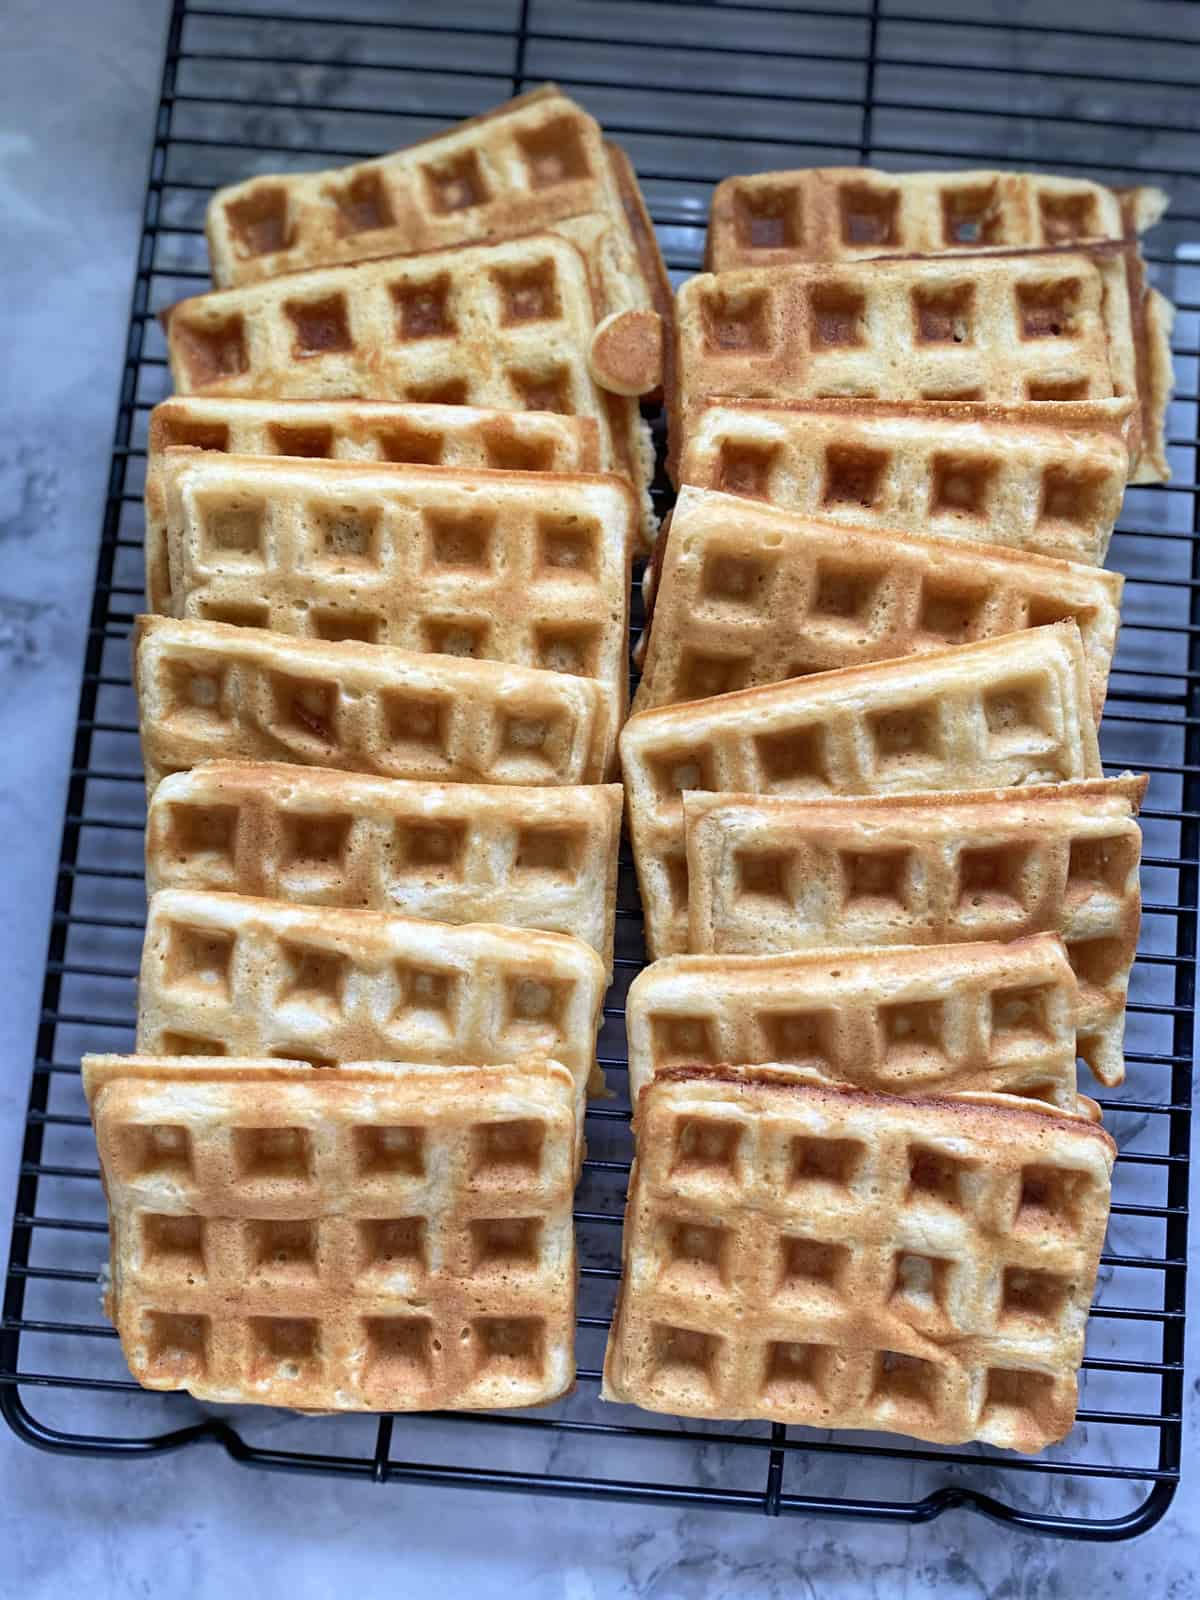
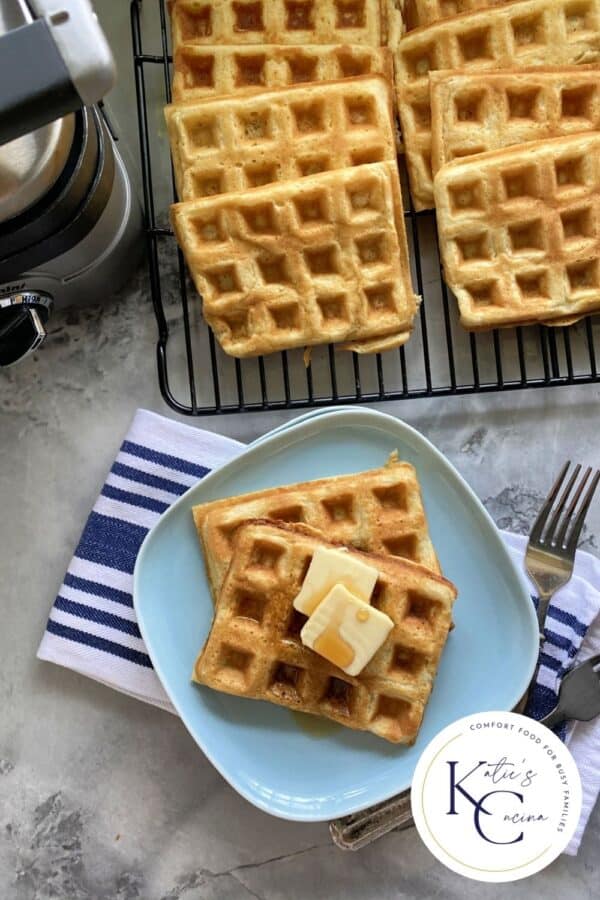
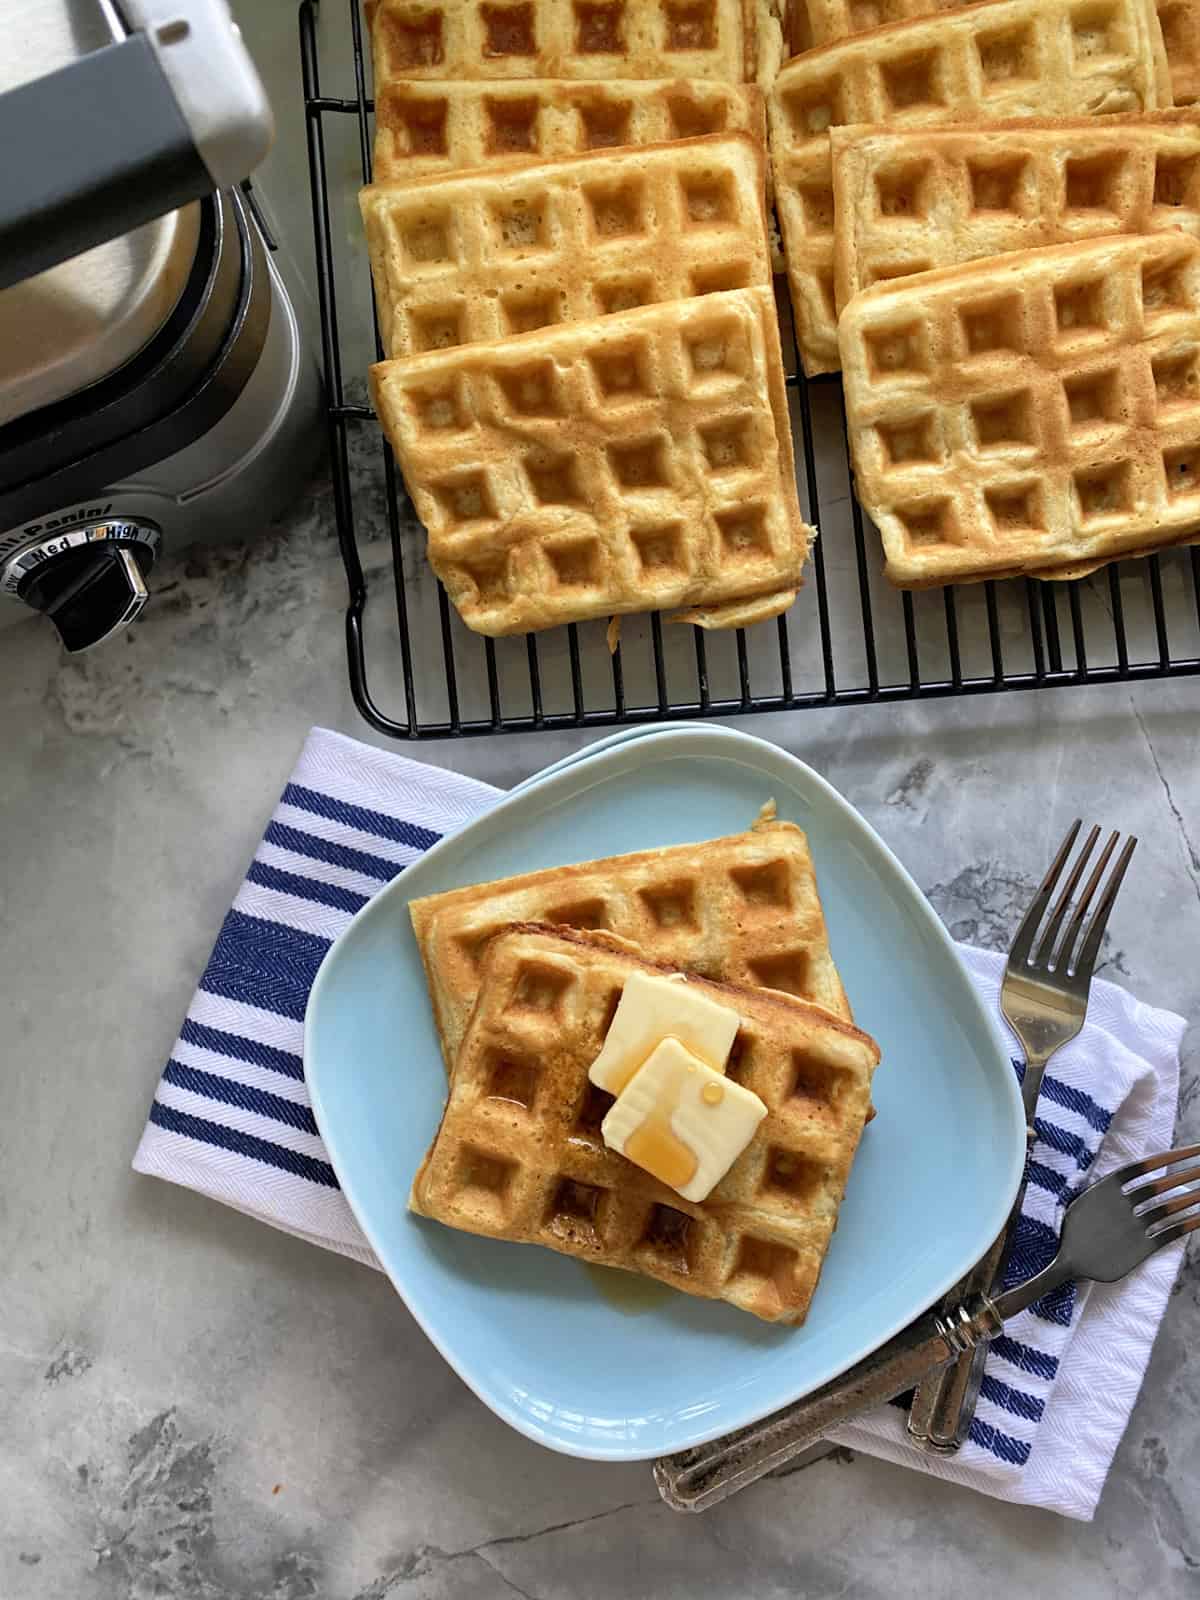
Carefully remove the waffle from the waffle iron, and place on a wire rack to cool until you are ready to serve.
FAQs
Here are all the frequently asked questions readers have asked when making this recipe.
This all depends on how large your waffle iron is. Some of the larger circular Belgium waffle makers will make about 4 large whole waffles. Where some of the small waffle makers can make up to 12 waffles.
Yes, you can; however, you will not get the light and fluffy consistency. If you don’t have buttermilk see above and make my easy recipe for buttermilk.
The buttermilk in baking recipes, including waffles and pancakes provides acid into the batter which has a reaction with baking soda to cause it to u0022riseu0022 even more. Resulting in a light and fluffy waffle or pancake.
Whenever you make waffles you will work in batches. To keep the waffles crispy let them cool on a wire rack for the first 1-2 minutes then move them to a baking sheet in a warm oven until ready to serve. I suggest keep your oven temperature around 150-170 degrees Fahrenheit.
Tips & Tricks
Here are a few of my favorite tips and tricks I’ve learned when making this recipe.
- Yield: Four, 8-inch waffles with KitchenAid Waffle Baker or 12 3.5 x 4.25 in rectangle waffles from the Cuisinart Griddler Waffle Plates. The quantities of waffles will all depend on what style waffle maker you have.
- Make your own Buttermilk – Take 1 cup of milk and add 1 tablespoon of milk or vinegar to the cup of milk. Stir and let sit for at least 10 minutes until the milk begins to curdle. Making your own buttermilk is that easy.
- Do not Over Fill – Try to resist the urge to over fill the waffle iron. The waffles will expand as they cook since they contain both baking soda and baking powder in them. It’s best to pour just enough batter to cover the iron.
- Removing Waffles from Waffle Iron – If you find you are having a difficult time removing the waffles from the waffle iron have no fear. I have found by using a fork and a spatula I can easily remove them out of the iron. Simply place the tines of the fork at the corner of the waffle iron to carefully lift the waffle up. Then use the spatula to get under neath the waffle.
- Cooling Waffles – I always like to place my waffles on a wire cookie rack to cool. They will be extremely hot and full of steam. The wire rack allows the steam to escape from both the bottom and top resulting in a not-so-soggy waffle!
- Keeping Waffles Warm – If you would like to keep your waffles warm while you are cooking them in batches you can lay them out on a baking sheet and keep in the oven at 150 degrees Fahrenheit. Make sure you don’t leave them in the oven for more then 10-15 minutes or else they could dry out.
- Freezing Instructions – You can freeze leftovers by laying flat in between parchment paper in a freezer bag. Freezes well for up to 6 months.
- Reheat frozen waffles – To reheat frozen waffles, simple place in toaster oven and set to medium toast setting. Heat until warm and crispy. I’ve never tested and reheated in the microwave!
Toppings for Waffles
Looking for different toppings for waffles? I have a few of my favorites.
- Strawberry Compote
- Blueberry Compote
- Fresh Whipped Cream
- Homemade Breakfast Syrup
- Fresh Fruit such as strawberries, blueberries, raspberries
- Salted Maple Caramel Sauce
Waffle Recipes
In case you are still craving more waffles–here are three more of my favorite waffle recipes.
Still craving breakfast recipes? Try these…
- Southern Breakfast Potatoes
- Cherry Tomato and Chorizo Omelette
- Bacon and Onion Breakfast Potatoes
- Egg White and Chive Souflee
- Potato, Sausage, and Pepper Breakfast Skillet
If you make this buttermilk waffle recipe, I would be honored and love for you to take the time to leave a star rating and comment! I spend hours developing and testing these recipes, and always love to hear feedback and user experience!
Don’t forget to FOLLOW ME on Facebook, Pinterest, and Instagram, and subscribe to my email list!
Buttermilk Waffles
Equipment
- KitchenAid Waffle Baker
Ingredients
- 2 large Eggs
- 1-¾ cups Buttermilk
- 1 stick Butter melted and cooled to room temperature
- 2 teaspoon Vanilla Extract
- 1-¾ cups All-Purpose Flour
- 2 tablespoon Granulated Sugar
- 2 teaspoon Baking Powder
- 1 teaspoon Baking Soda
- 1 teaspoon Salt
Instructions
- Spray your waffle iron with a non-stick cooking spray before preheating it. Preheat on high heat.
- In a medium-sized mixing bowl (or KitchenAid Stand Mixer fitted with a paddle attachment), beat together the eggs, buttermilk, melted butter, and vanilla.
- In another bowl whisk together the dry ingredients.
- Combine the wet and dry ingredients together until almost smooth.
- Using a ladle, ladle about ⅓ cup batter. Using the back of the ladle or a silicone spatula smooth out so the waffle iron is completely covered. Cook for 2 to 3 minutes (depending on your waffle iron), until the iron stops steaming and waffles are golden in color.
- Carefully remove the waffle from the waffle iron, and place on a wire rack to cool until you are ready to serve.
Video
Notes
- Yield: Four, 8-inch waffles with KitchenAid Waffle Baker or 12 3.5 x 4.25 in rectangle waffles from the Cuisinart Griddler Waffle Plates.
- Make your own Buttermilk – Take 1 cup of milk and add 1 tablespoon of milk or vinegar to the cup of milk. Stir and let sit for at least 10 minutes until the milk begins to curdle. Making your own buttermilk is that easy.
- Do not Over Fill – Try to resist the urge to over fill the waffle iron. The waffles will expand as they cook since they contain both baking soda and baking powder in them. It’s best to pour just enough batter to cover the iron.
- Removing Waffles from Waffle Iron – If you find you are having a difficult time removing the waffles from the waffle iron have no fear. I have found by using a fork and a spatula I can easily remove them out of the iron. Simply place the tines of the fork at the corner of the waffle iron to carefully lift the waffle up. Then use the spatula to get under neath the waffle.
- Cooling Waffles – I always like to place my waffles on a wire cookie rack to cool. They will be extremely hot and full of steam. The wire rack allows the steam to escape from both the bottom and top resulting in a not-so-soggy waffle!
- Keeping Waffles Warm – If you would like to keep your waffles warm while you are cooking them in batches you can lay them out on a baking sheet and keep in the oven at 150 degrees Fahrenheit. Make sure you don’t leave them in the oven for more then 10-15 minutes or else they could dry out.
- Freezing Instructions – You can freeze leftovers by laying flat in between parchment paper in a freezer bag. Freezes well for up to 6 months.
- Reheat frozen waffles – To reheat frozen waffles, simple place in toaster oven and set to medium toast setting. Heat until warm and crispy. I’ve never tested and reheated in the microwave!
Nutrition
Disclosure: There are affiliate links present in this post. That means if you click on a link and purchase something. I will receive a small percentage of the sale at no additional cost to you. Thank you for your continuous support of Katie’s Cucina!
Granville I Stark
These are some of the best waffles I have ever had. I love the buttery taste.
It is a quick and easy recipe. It didn’t seem like enough flour or batter but it worked fine.
Katie
Thank you so much for taking the time to leave a comment. I’m so happy you loved this recipe!
katie b
Oh my YUMMMMMM!!! These are so good! We just finished up breakfast and these is seriously the best waffle recipe I’ve tried!! Thanks for sharing 🙂
brettb734
Those look and sound absolutely delicious! I am so fixing stealing this recipe. 😉
Lisa
Those look so fluffy good. I bet they'd be divine with whipped cream and strawberries.
The Teenage Taste
These waffles are yet another reason why I am putting a belgian waffle maker on my Christmas list. Bookmarking…
Lenore
Okay fine, I clearly need to buy a waffle iron! These look so much better than the Eggos I've been eating and if they compare to the Epcot ones, I must have them!