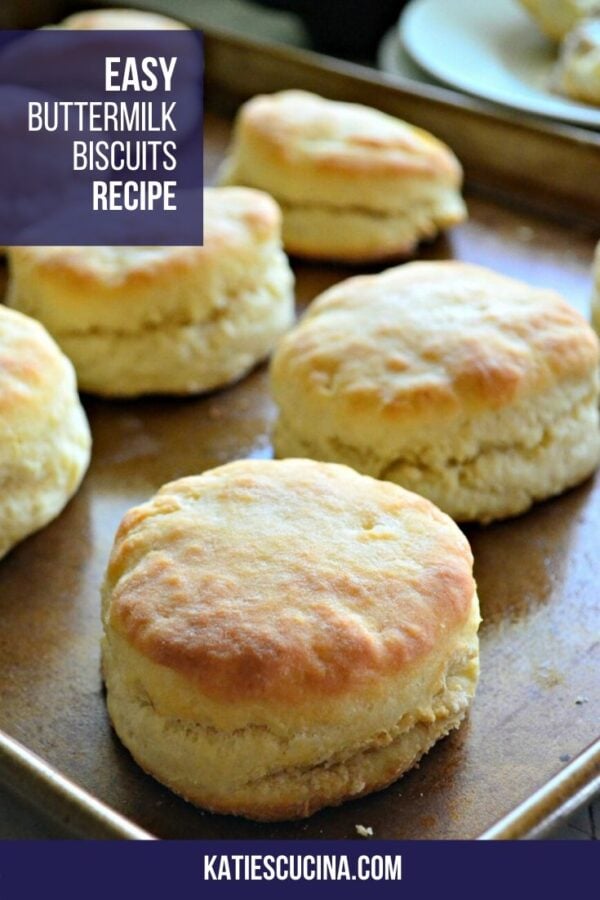
Melt-in-your mouth homemade buttermilk biscuits made in your kitchen in less than 30 minutes time! With just a few ingredients your next breakfast or brunch will be complete.
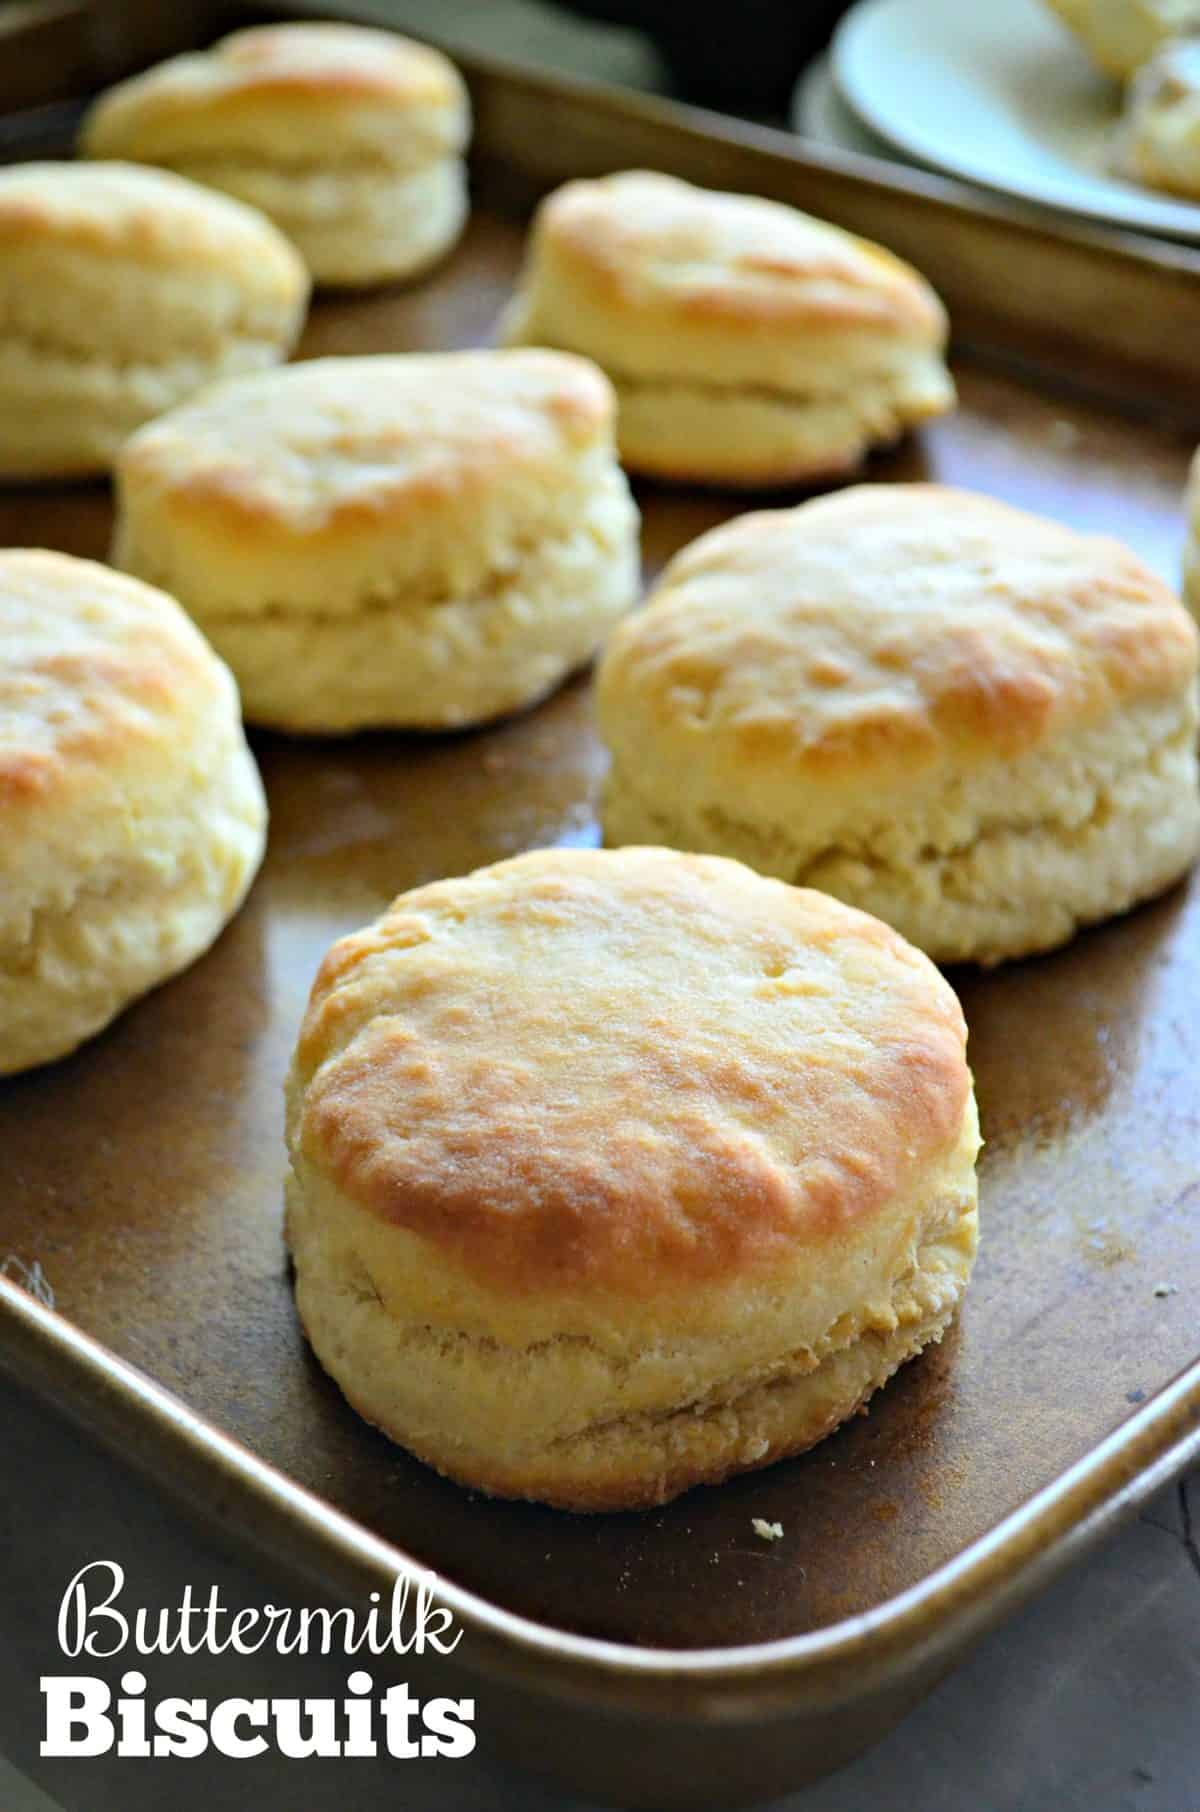
Let’s take a break and talk about breakfast for a quick minute. We love it in our home. Nothing is better then bacon, eggs, potatoes maybe even a little sausage gravy on a thick and fluffy buttermilk biscuit.
The problem is –most people either don’t know how to make mouthwatering biscuits or they are straight up intimidated by the thought of even making your own. I’ll raise my hand. I was one of those until about four years ago. I tried my hand at so many different biscuit recipes for years always resulting in a dry thin hockey puck.
That was until I went on a media trip with the Florida Beef Council. That’s when I learned the secret to making the best buttermilk biscuits around. So what does beef and biscuits have to do with each other? Well, we had the most amazing home cooked southern breakfast on a cattle ranchers summer home one of the mornings of my trip.
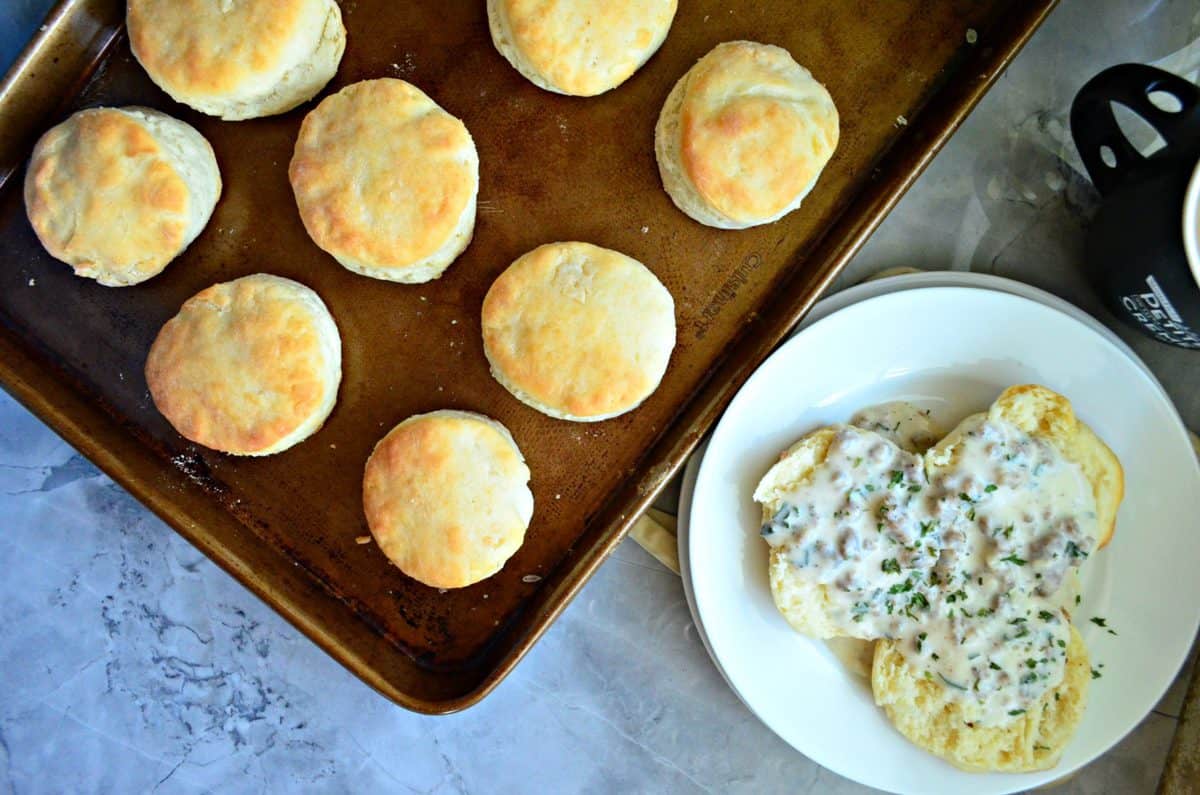
Their entire family cooked the breakfast from scratch. One of the sweet daughter in-laws, Annie, made the most amazing buttermilk biscuits. I pressed her for the recipe and she wouldn’t divulge; however, she did say that the key to the ultimate buttermilk biscuit is Crisco. Don’t be intimidated by it. Grab it by the stick and show it whose boss!
Yep, you heard right. Good old shortening. That’s one ingredient I stayed far from. As I left that trip, I was determined more than ever to make the most mouthwatering fluffy buttermilk biscuits. At the time, I was pregnant and in my first trimester with Reagan.
After I ate those biscuits on my media trip, I couldn’t get them out of my head. I was determined to master the art of biscuit making. I probably made over 100+ biscuits in just a few short weeks after that trip. Also, it helped that I craved all things comfort food with her, and biscuits were right at the top of my list!
My husband was in biscuit and gravy heaven for weeks and weeks. He was happy that I had finally mastered yet another favorite food of his; the buttermilk biscuit. And I’ll be honest, pretty darn proud of myself for conquering my biscuit fears.
In this post you will learn the following information.
Ingredients
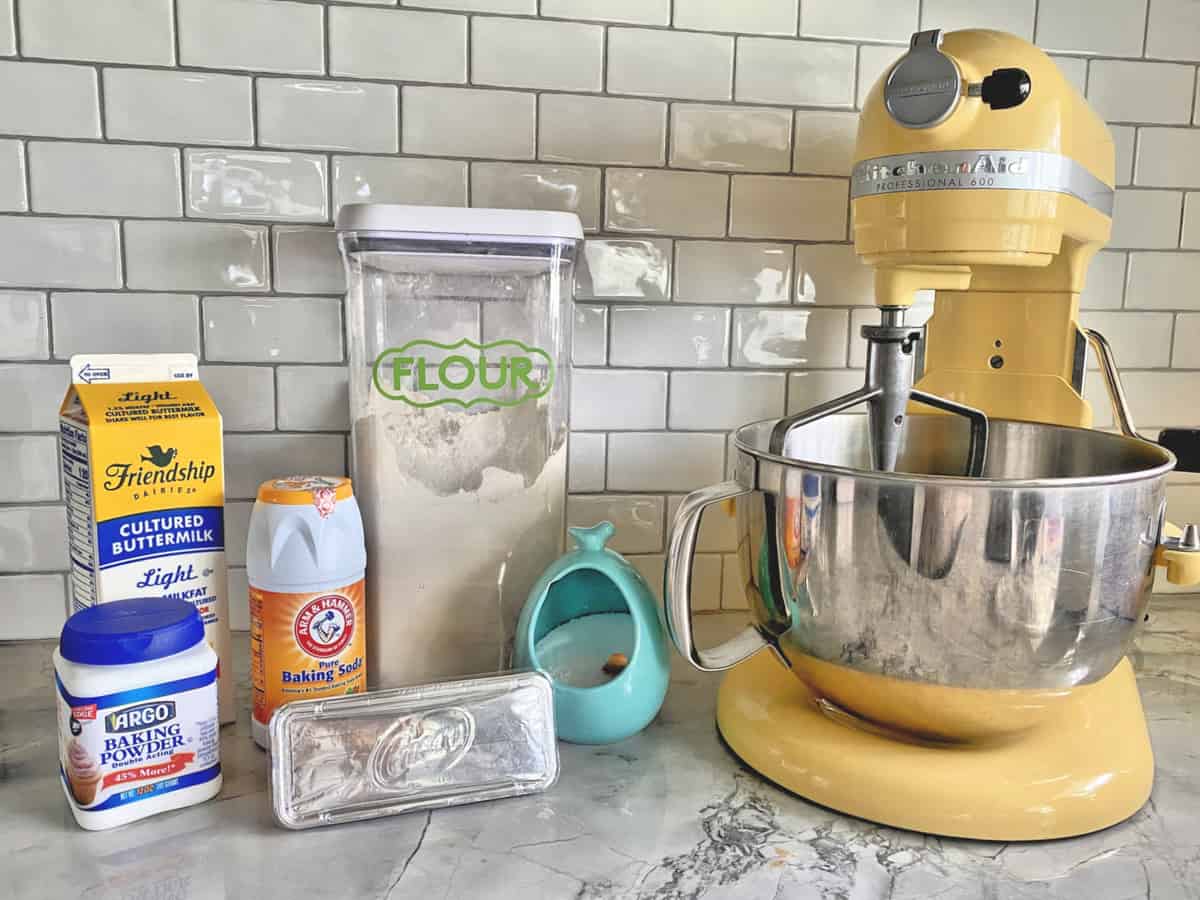
- Buttermilk – the acidity and high fat content is exactly what you need to make light and fluffy biscuits!
- Crisco – I’ve never tried this recipe with real butter. Once I figured out the trick–I stuck with shortening and never looked back.
- All Purpose Flour – Nothing fancy here just the typical flour that most people have on hand at all times!
- Baking Soda & Baking Powder – These two ingredients are what assist the biscuits in rising!
Directions
Preheat the oven to 425°F. Coat cookie sheet with non-stick cooking spray.
While the oven preheats add flour, baking powder, baking soda and salt in a stand mixer fitted with a paddle attachment. Add the Crisco and mix for 30 seconds to 1 minute on speed 2/4 until mixture resembles coarse crumbs. While mixer is still running, pour in the buttermilk and mix until a soft dough forms. It needs to pull away from sides of bowl.
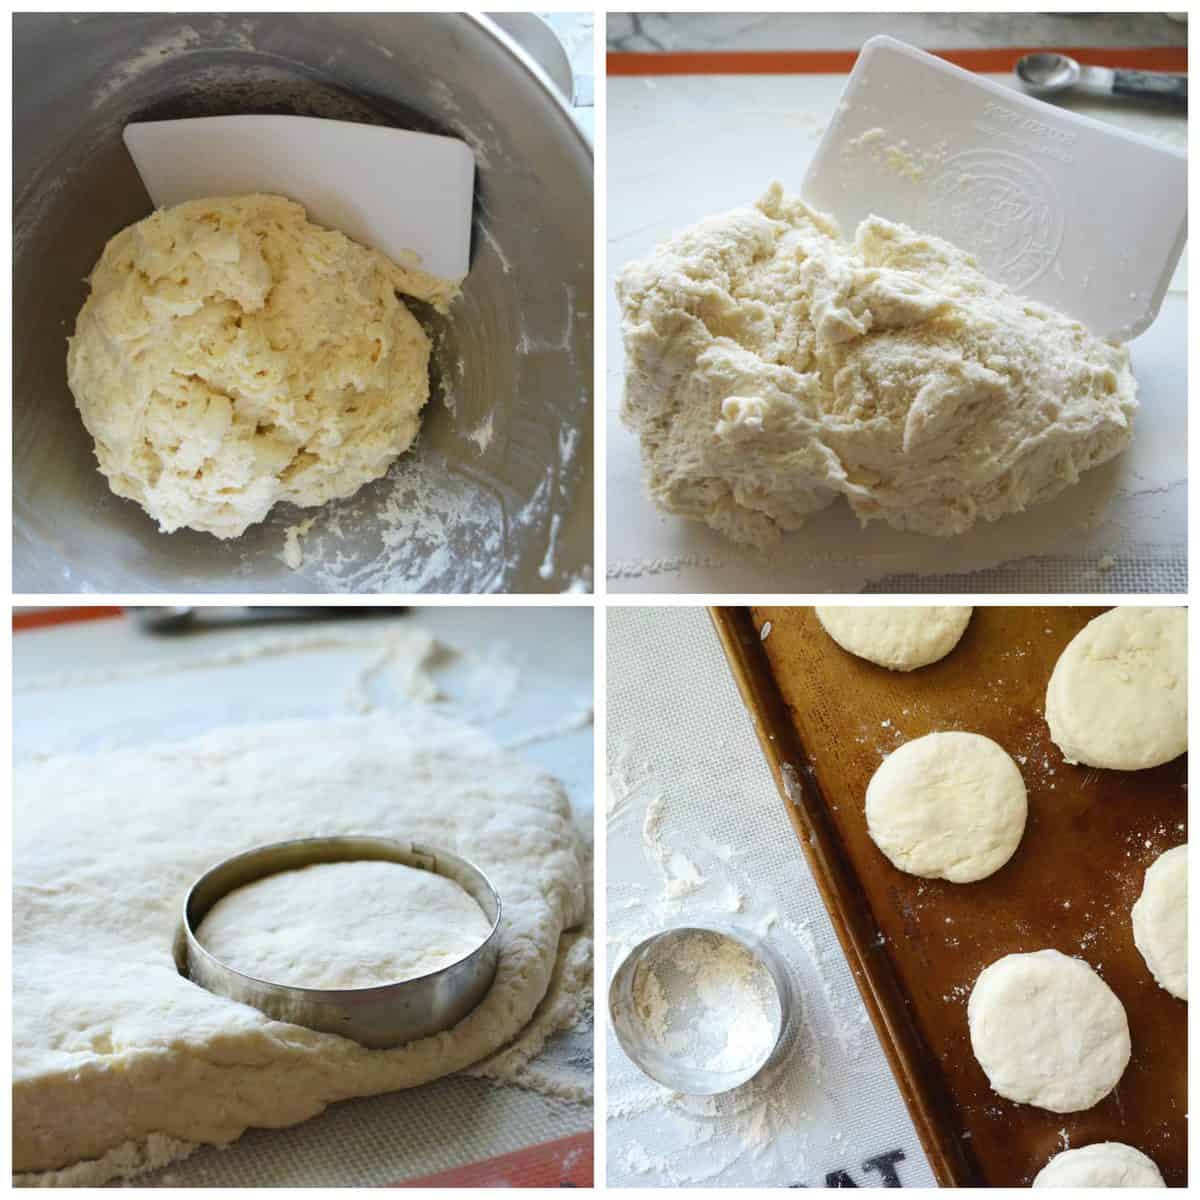
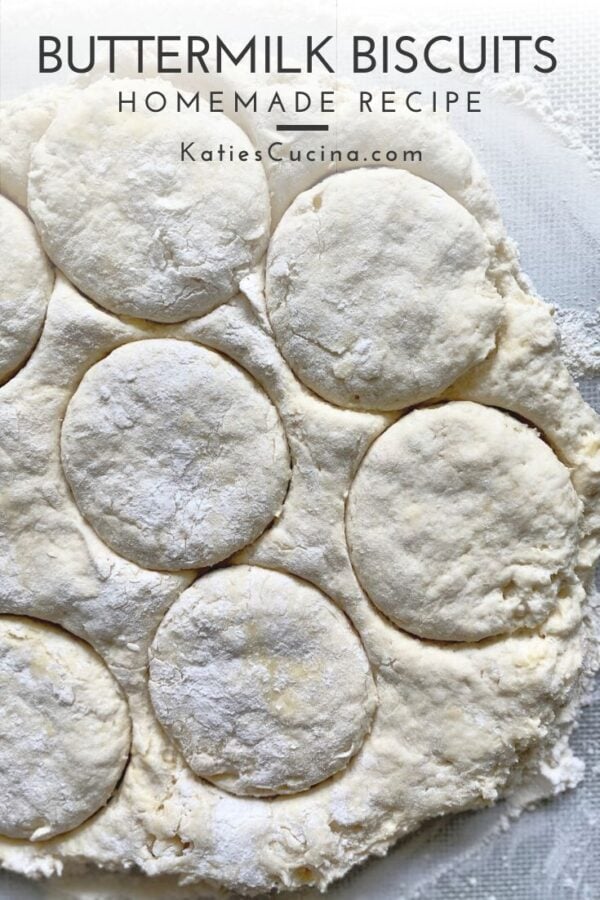
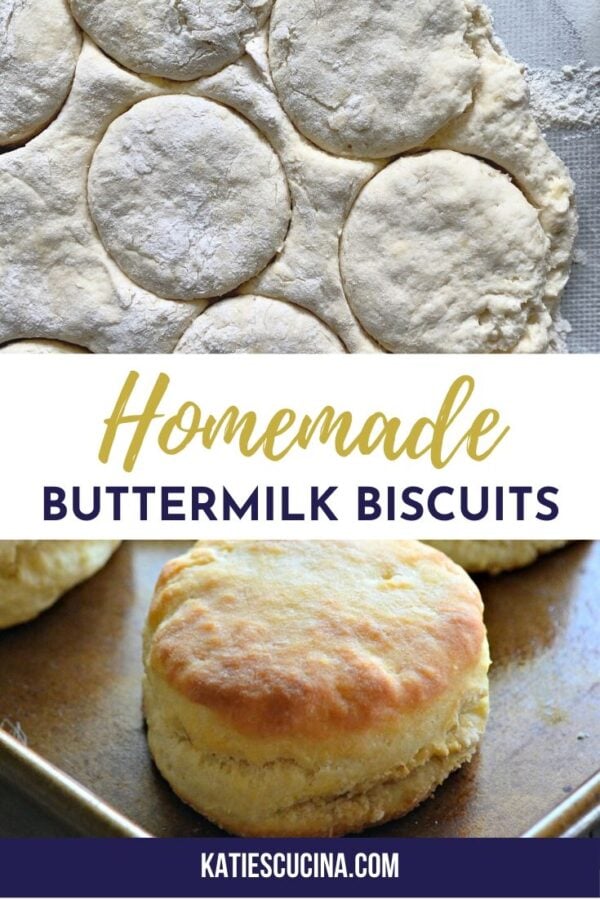
Using a dough scraper (pictured above in the top two photos) move the dough on to a lightly floured surface. Sprinkle additional flour on top of the dough (and flour on your hands so the dough doesn’t stick to your hands). Pat with flour and roll out to ½-inch thickness.
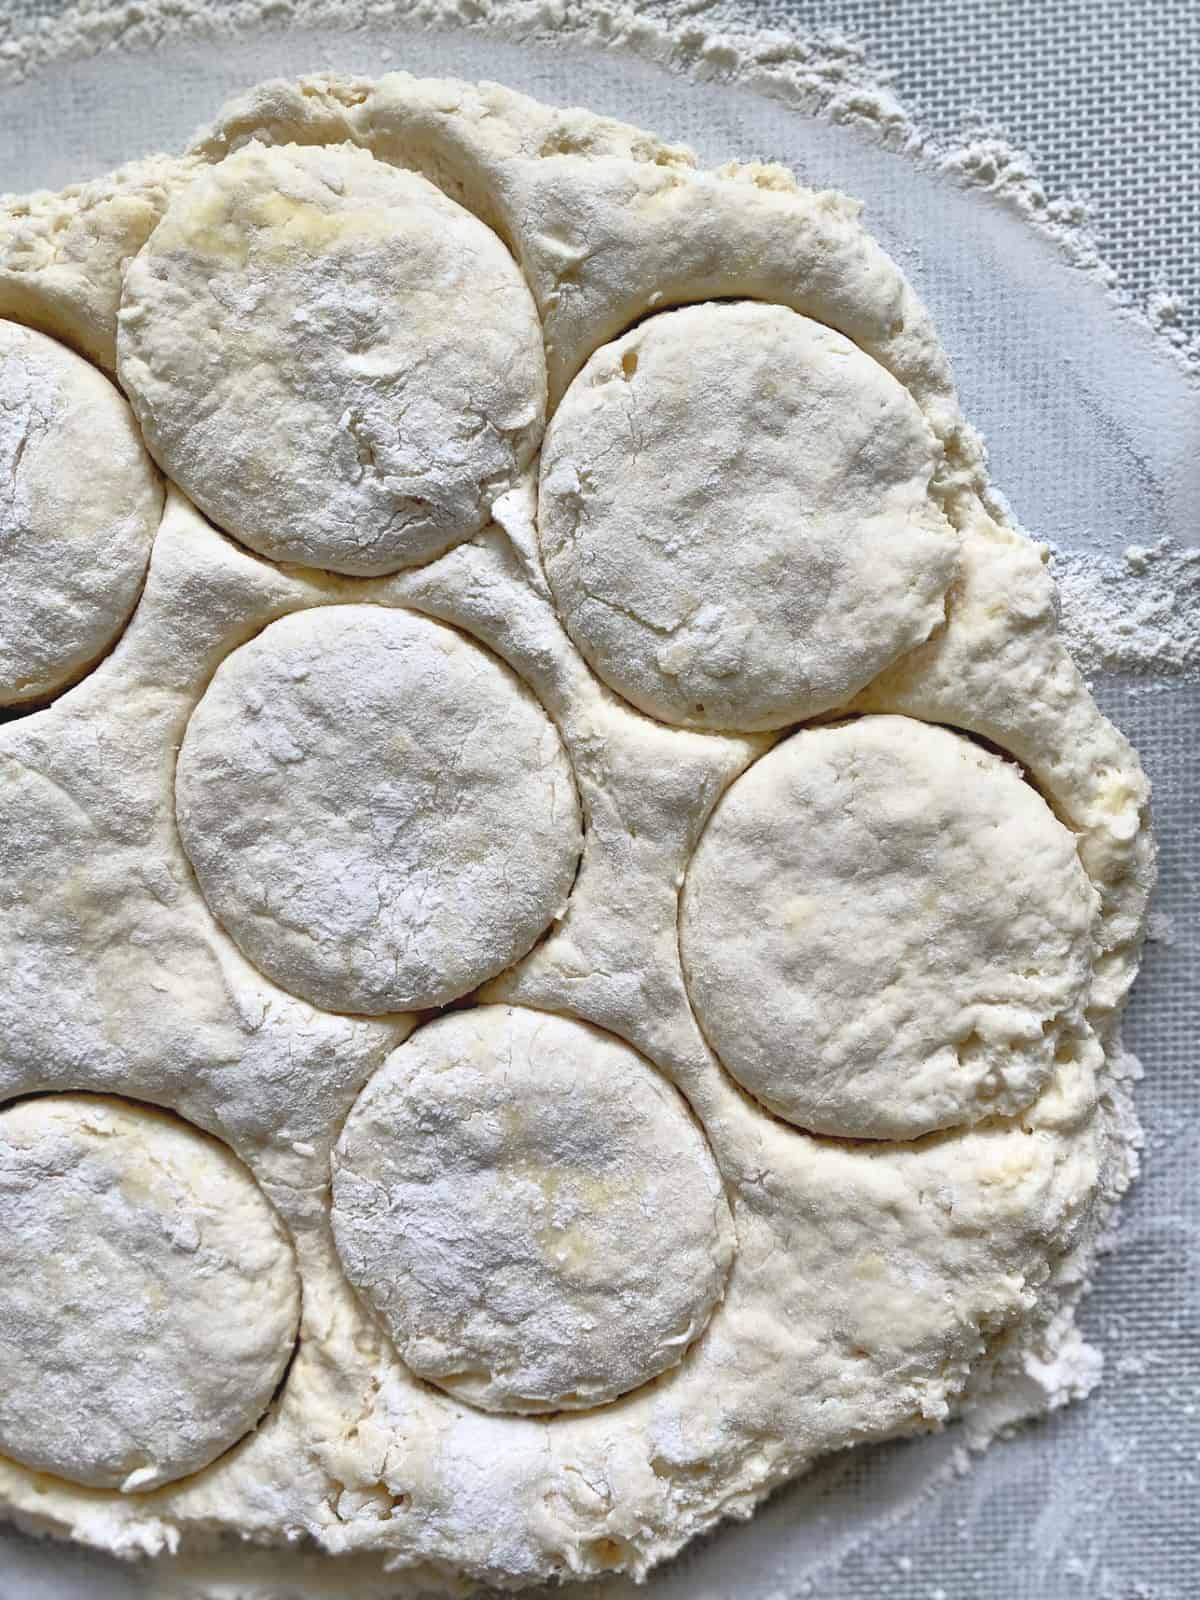
Using a biscuit cutter or a cup, flour the rim and and cut biscuit dough.
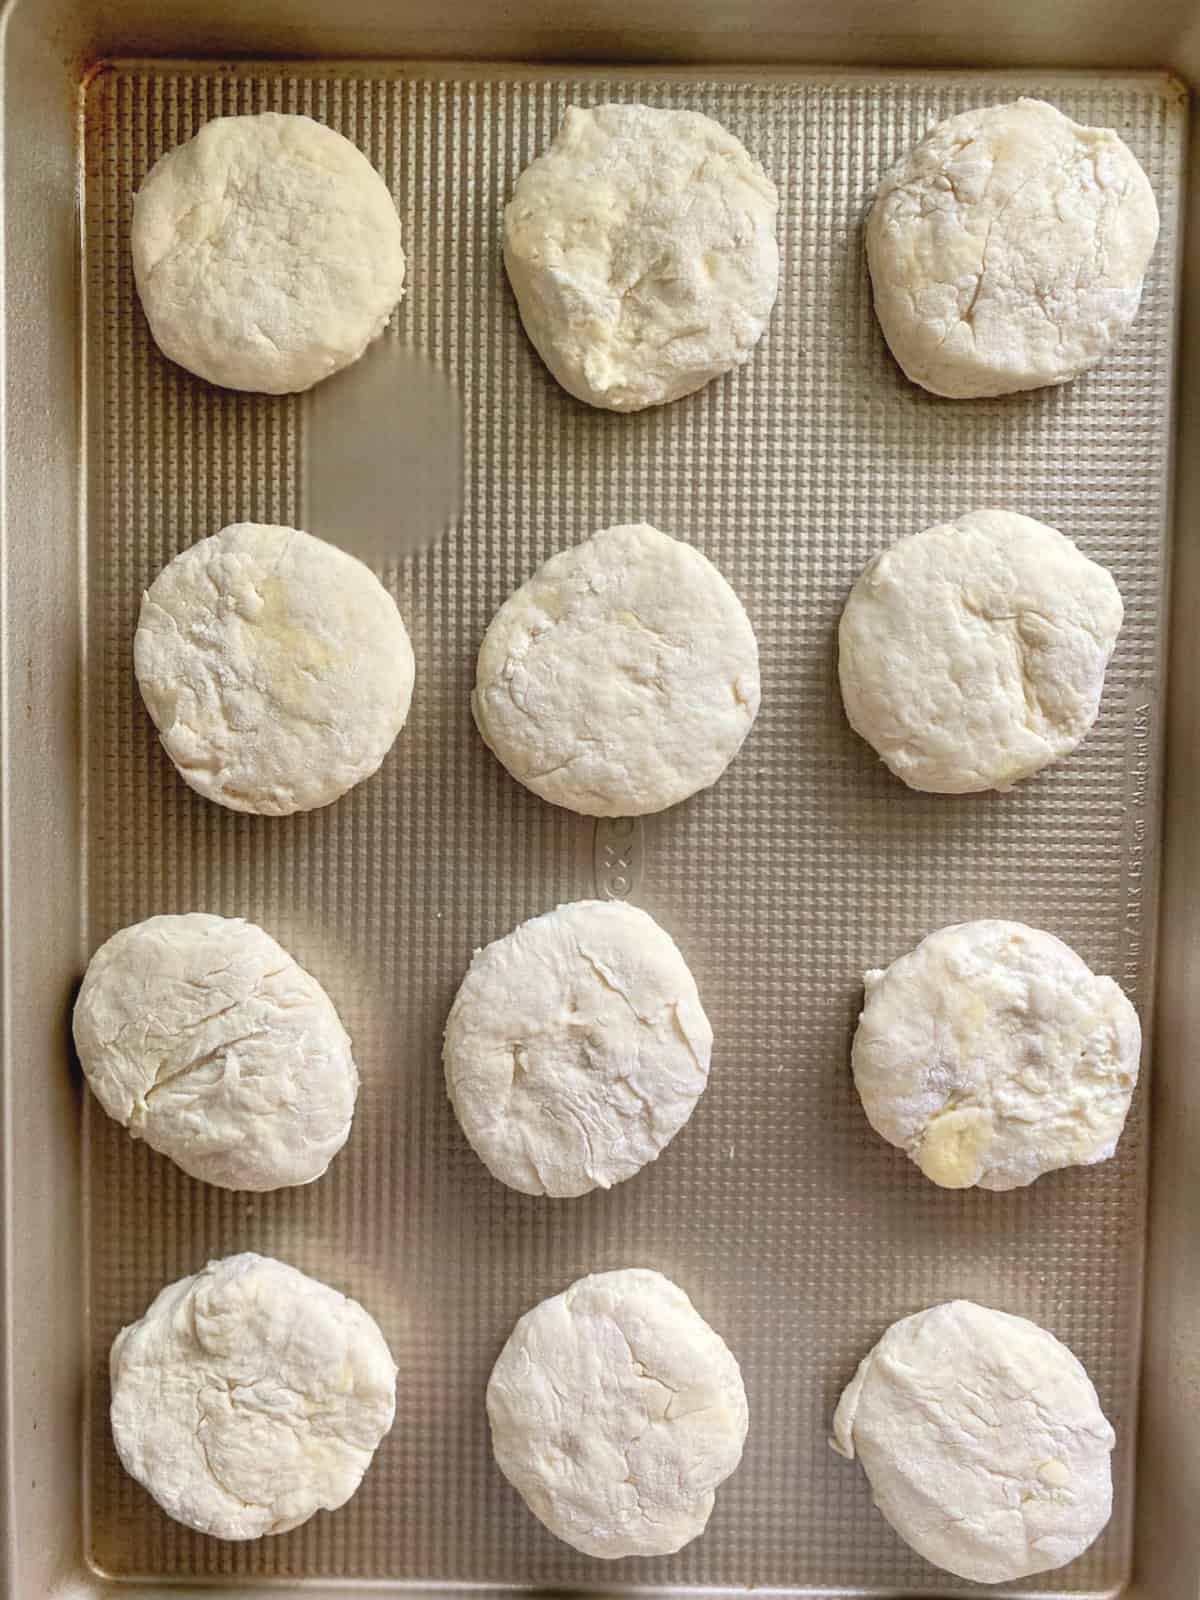
Place the biscuits 2-inches apart on the cookie sheet. Bake for 10 minutes.
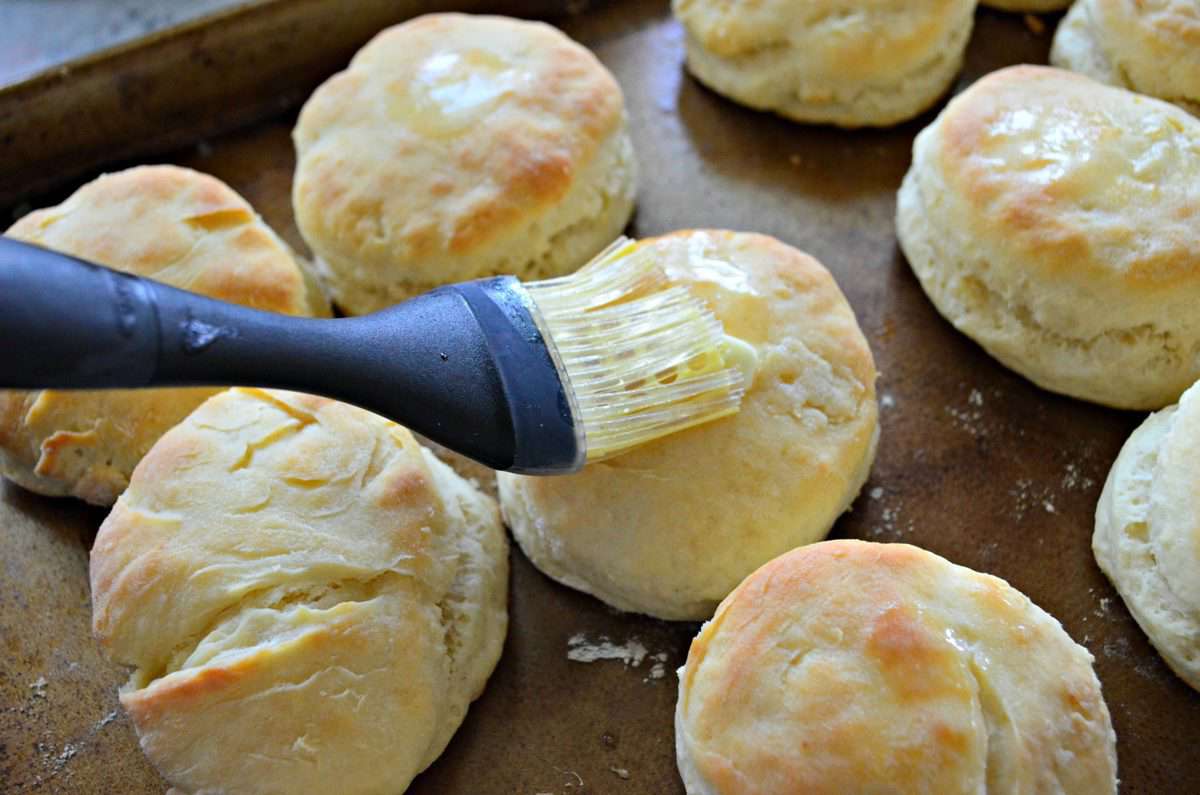
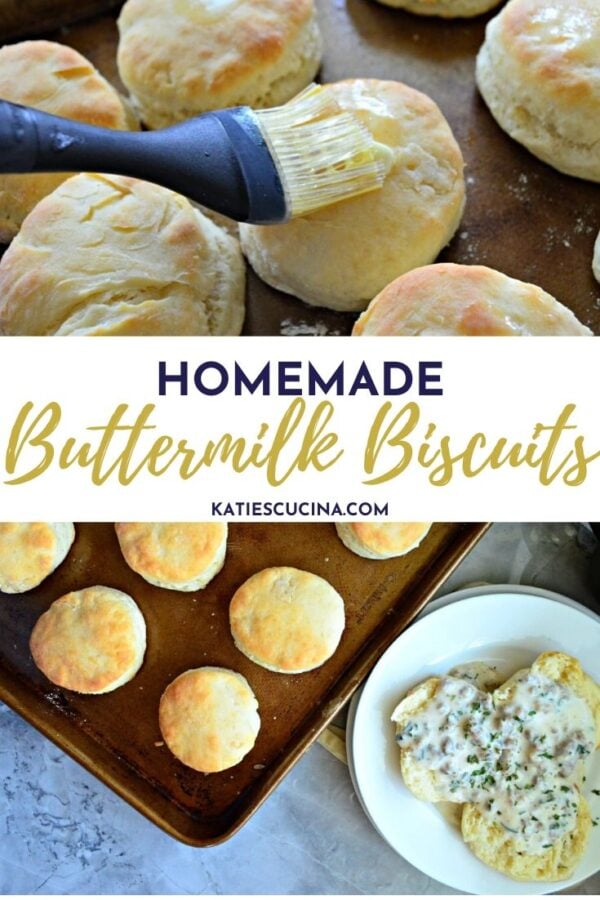
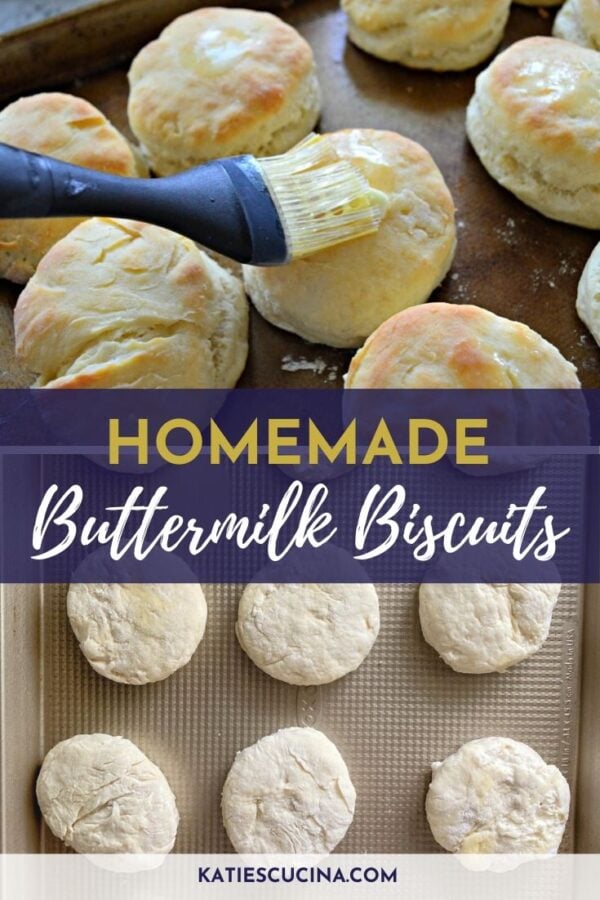
Then remove the biscuits from the oven and brush with with melted butter. Bake for an additional 2-4 minutes until golden and cooked through.
Helpful Supplies
A few supplies that I find very helpful when making biscuits:
- KitchenAid Stand Mixer – I always mix my dough using my mixer fitted with a paddle attachment. You can mix by hand, but be prepared for an intense workout.
- Bowl Scraper – As pictured above–this is the best and cleanest way to get the biscuits out of the bowl.
- Rolling Pin – You will only need to roll a few times to make your dough equal in thickness.
- Roul Pat Mat – I love to use this mat on my countertop to contain the flour and mess!
- Biscuit Cutter – I own a not so fancy one. Before I owned a biscuit cutter I would use a cup to cut my biscuits.
- Baking Sheet – This is what you will need to bake on.
- Silicone brush – I like to use silicone over a bristled brush. You’ll need this at the end when you go to add the butter on to the baked biscuits.
FAQs
Buttermilk has a high fat content and is acidic. The acidity in the buttermilk will help the dough to rise paired with the high fat content will give you that buttery taste.
If you want fluffy biscuits you need cool biscuits and a hot oven. I cook these biscuits at 425 but some prefer to even go as high as 500 degrees. I’ve never tested that. But I do know that the high heat will product steam, which encourages the biscuits to rise as high as they possibly can.
You most likely either didn’t have cold buttermilk OR over-mixed your batter.
Tips & Tricks
Since mastering making biscuits 4 years ago I have learned quite a few tips and tricks over the past few years.
- Do not overwork – this is key with mostly everything. You want to get the dough just incorporated so your biscuits don’t turn out like hockey pucks.
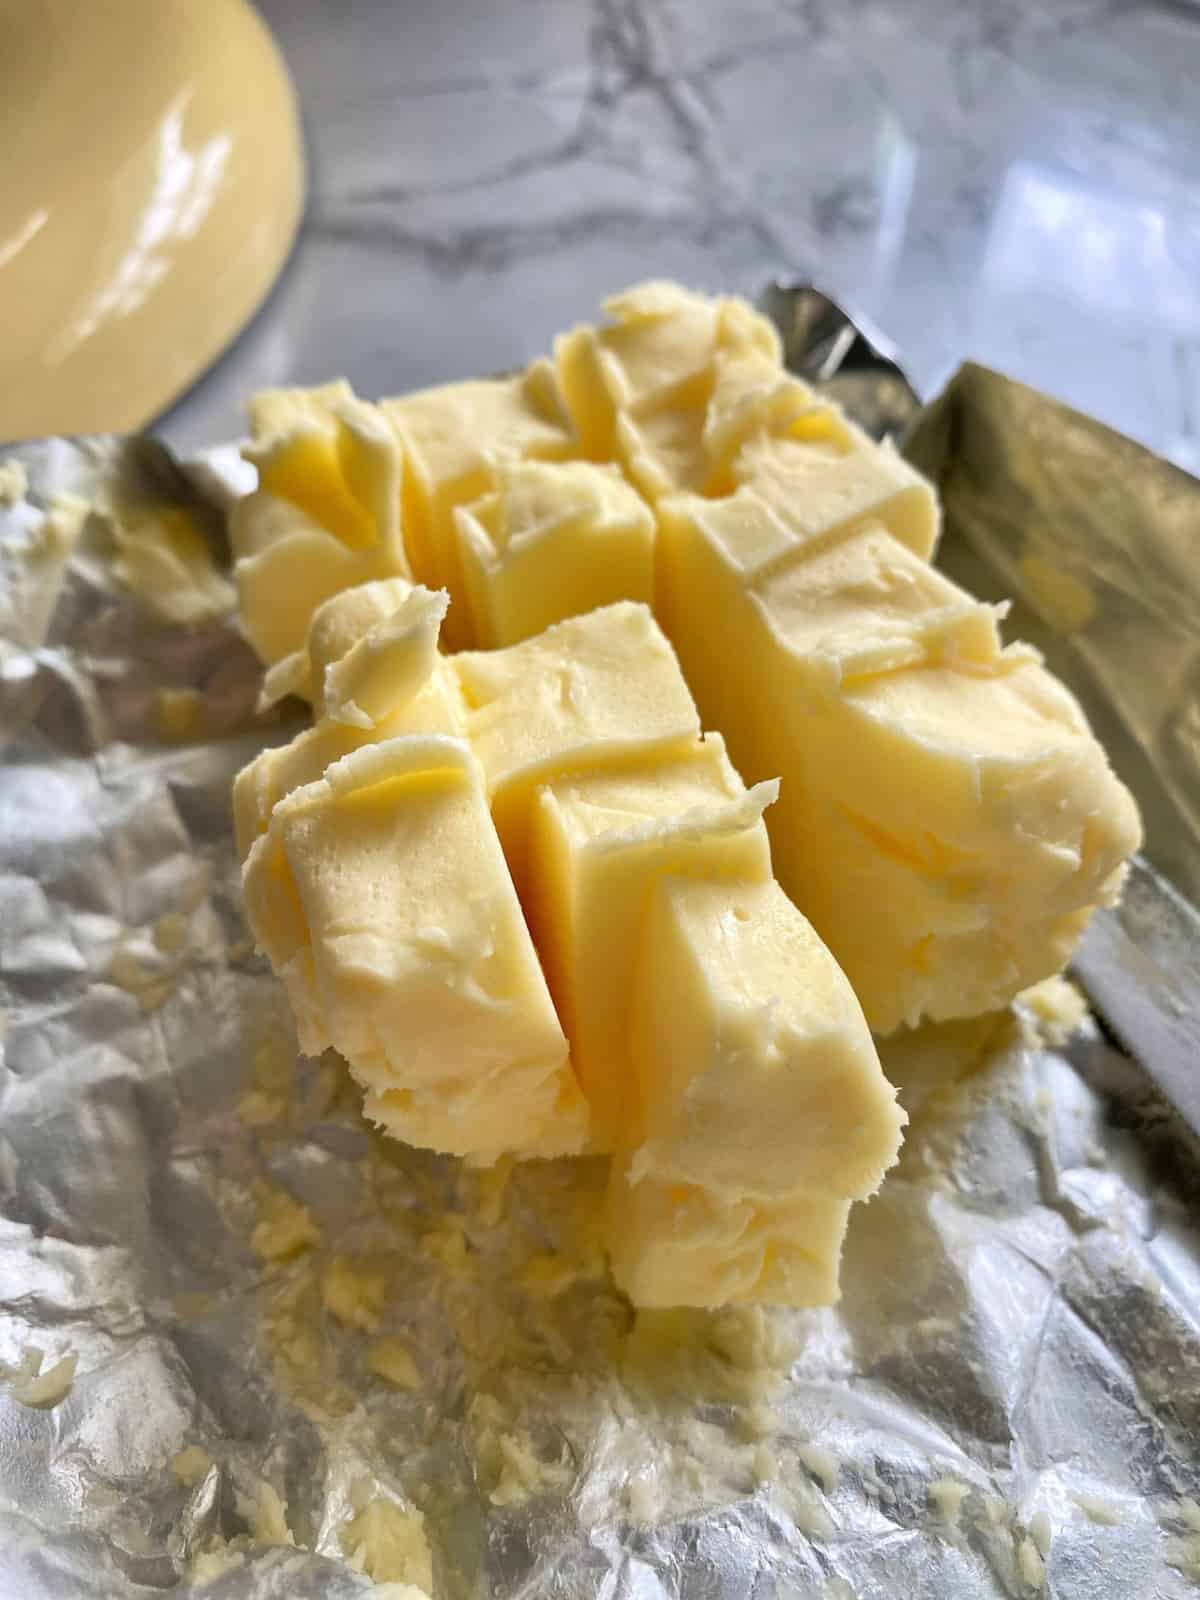
- Crisco vs Butter – I was never successful at making fluffy mouthwatering biscuits using butter. I found Crisco worked best. I also found that you need to cube it to help it form into pea-size floured pieces. Just like the photo above.
- Mise En Place – Once you are ready to start rolling dough it’s extremely helpful to have everything around you prepped. This includes having the oven preheated. Your hands will be very sticky and full of dough. It’s best if you have your baking sheet out, the mat to roll biscuits on, and extra flour to dust on the dough. You do not want to let your dough rest at room temperature. You want it to stay as cold as possible to help with the rise in the hot oven.

Breakfast Recipes
If you are looking for more breakfast recipes–look no further!
- Kielbasa Breakfast Skillet with Eggs
- Southern Style Breakfast Potatoes
- Apple Cinnamon Streusel Muffins
- Huevos Rancheros Breakfast Nachos
- Homemade Apple Butter
- Blueberry Granola Parfait
- Apple & Pear Turnovers
So if your like me and have been searching for years to find the perfect buttermilk biscuit recipe, then I invite you to give this recipe a try. I promise it won’t disappoint. The result will make you a biscuit making pro in no time at all!
If you make this recipe, I would be honored and love for you to take the time to leave a star rating and comment! I spend hours developing and testing these recipes, and always love to hear feedback and user experience!
Don’t forget to FOLLOW ME on Facebook, Pinterest, and Instagram, and subscribe to my email list!
Buttermilk Biscuits
Equipment
- Baking Sheet
Ingredients
- No-Stick Cooking Spray
- 3 cups All-Purpose Flour
- 4 teaspoon Baking powder
- ¼ teaspoon Baking soda
- 1 teaspoon Salt
- ½ cup Crisco® All-Vegetable Shortening
- 1 ½ cups Buttermilk
- 2 tablespoon Melted butter
Instructions
- Preheat the oven to 425°F. Coat cookie sheet with non-stick cooking spray.
- While the oven preheats add flour, baking powder, baking soda and salt in a stand mixer fitted with a paddle attachment. Add the Crisco and mix for 30 seconds to 1 minute on speed 2/4 until mixture resembles coarse crumbs. While mixer is still running, pour in the buttermilk and mix until a soft dough forms. It needs to pull away from sides of bowl.
- Place the dough on a lightly floured surface and sprinkle additional flour on top of the dough (and flour on your hands so the dough doesn't stick to your hands). Pat with flour and roll out to ½-inch thickness.
- Using a biscuit cutter or a cup, flour the rim and and cut biscuit dough. Place the biscuits 2-inches apart on the cookie sheet.
- Bake for 10 minutes, then remove the biscuits from the oven and brush with with melted butter. Bake for an additional 2-4 minutes until golden and cooked through.
Notes
- Do not overwork – this is key with mostly everything. You want to get the dough just incorporated so your biscuits don’t turn out like hockey pucks.
- Crisco vs Butter – I was never successful at making fluffy mouthwatering biscuits using butter. I found Crisco worked best. I also found that you need to cube it to help it form into pea-size floured pieces. Just like the photo above.
- Mise En Place – Once you are ready to start rolling dough it’s extremely helpful to have everything around you prepped. This includes having the oven preheated. Your hands will be very sticky and full of dough. It’s best if you have your baking sheet out, the mat to roll biscuits on, and extra flour to dust on the dough. You do not want to let your dough rest at room temperature. You want it to stay as cold as possible to help with the rise in the hot oven.
Nutrition
Disclosure: There are affiliate links present in this post. That means if you click on a link and purchase something. I will receive a small percentage of the sale at no additional cost to you. Thank you for your continuous support of Katie’s Cucina!


Penny
Thank you so much!!! I finally was able to make incredible homemade buttermilk biscuits. It was so easy!!!! Thank you, thank you!!!! I’m
So excited. My waste line not so much probably! Lol
Katie
Penny–so glad you loved this recipe! My daughter and I make them at least once a month!
April Montes-Hamm
As a woman with Rheumatoid Arthritis/Mixed Connective Tissue Disease/Fibromyalgia and who missed homemade biscuits you made it so much easier. These biscuits were so good and easy to make. Thank you thank you thank you.
Katie
April, I’m so glad you enjoyed this recipe. I too suffer with arthritis so this is the only way I can make biscuits happen in my home, too.
Sherry B.
My biscuits tired out great, hand mixed, first try. Great directions and reviews. Thank you,, Sherry
Katie
Sherry–Thank you for taking the time to leave a 5 star review. Glad to know they turned out great hand mixed!
Gerry J
Excellent recipe! Biscuits were tall and fluffy, light not heavy. I did use a cup as my cutter and I made them bigger like 3/4″ tall. Baked a couple extra minutes for color. I did also have success using butter instead of crisco in this recipe. Thanks for the tips!
Katie
Hi Gerry, thank you so much for taking the time to make this recipe and leave such wonderful feedback. Great to know that this recipe worked with butter!
Diane
These are making my mouth water! So glad you figured it all out for us
Can’t wait to smell these baking in my kitchen!