Chicken Recipes
What's for dinner? Chicken of course. I have dozens of easy chicken recipes sure to please your family or even a crowd.
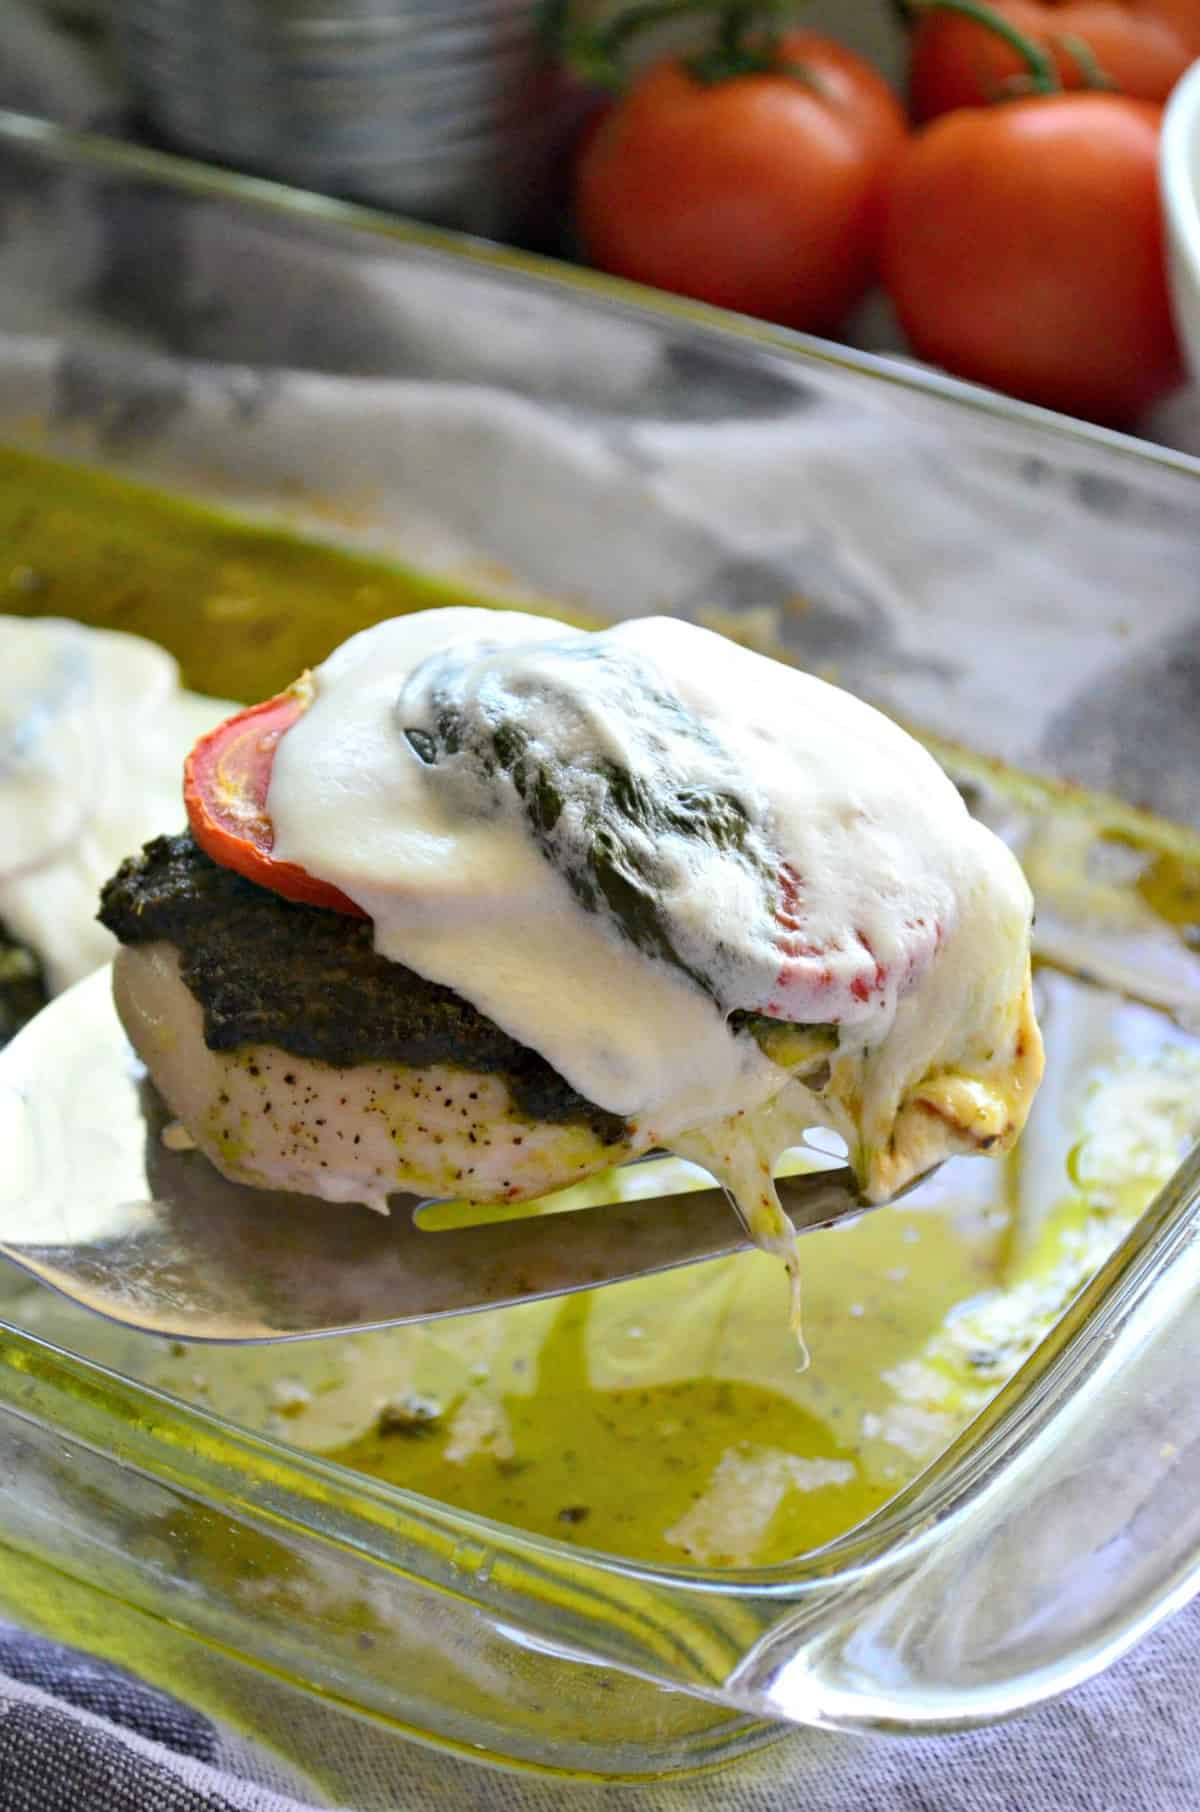
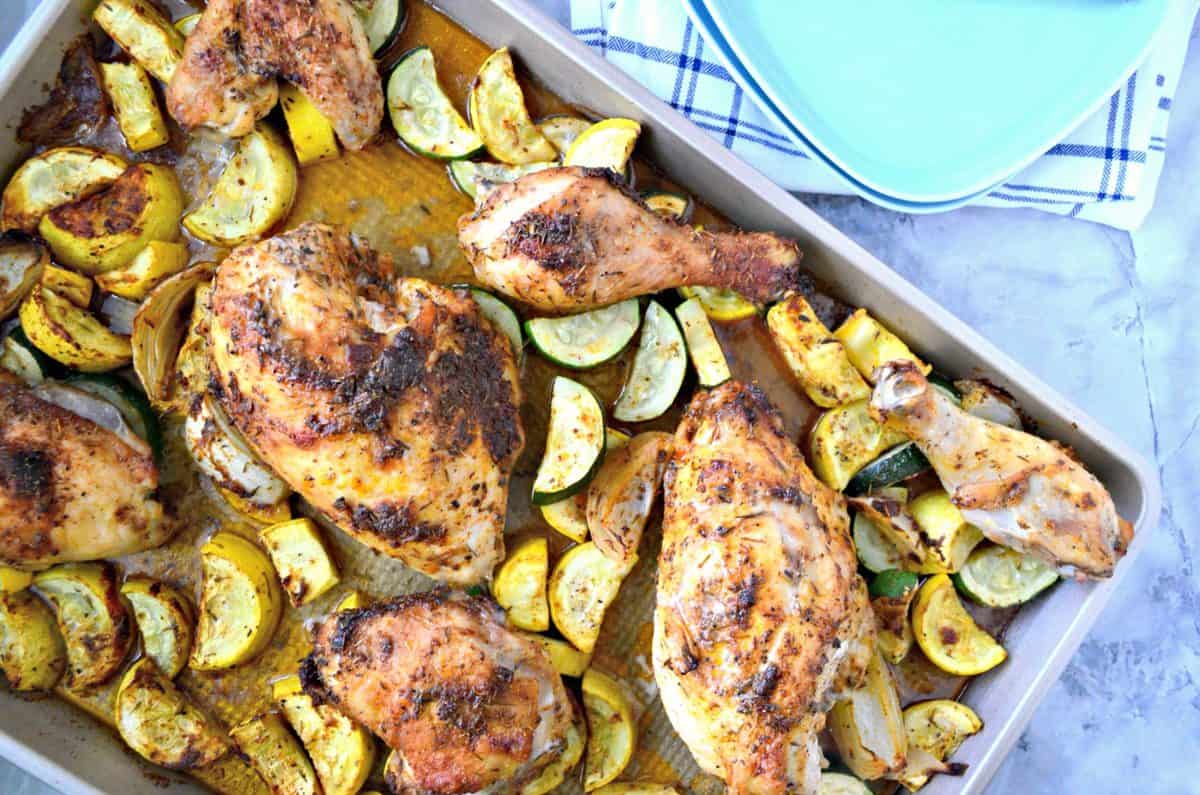
Need a recommendation? Consider my Caprese Pesto Chicken for your next dinner in. Looking for little mess to clean up after dinner... make my Sheet Pan Chicken and Squash Dinner. Watching sports or simply craving wings? Make my Instant Pot Chicken Wings from frozen!
Be a dinner time hero with one of my delicious chicken recipes. After all, winner winner chicken dinner!
-
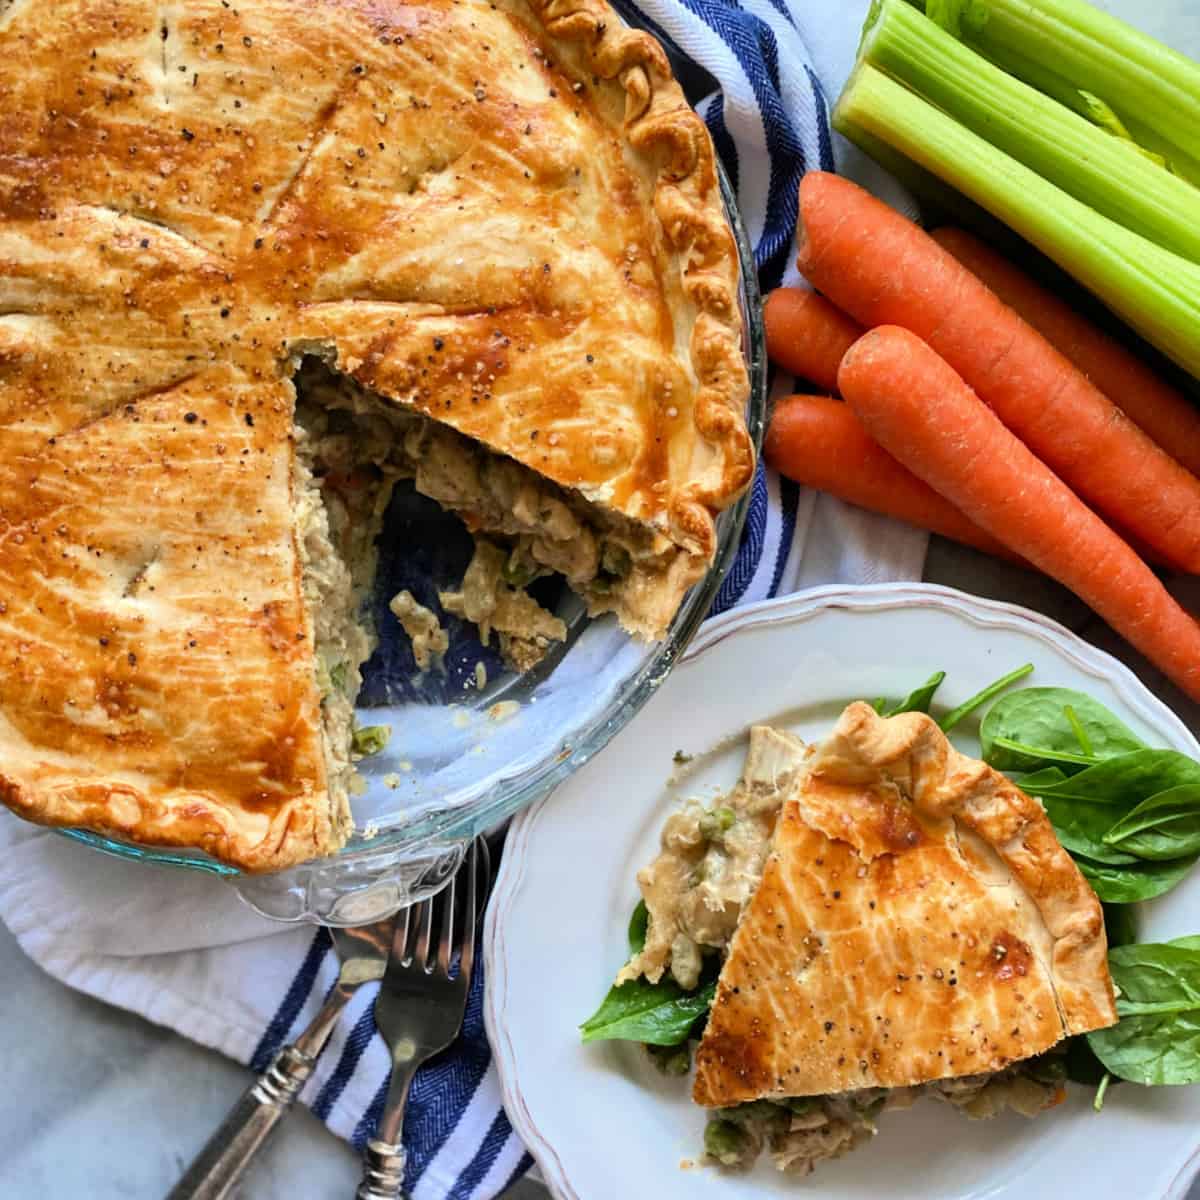
Easy Chicken Pot Pie
-
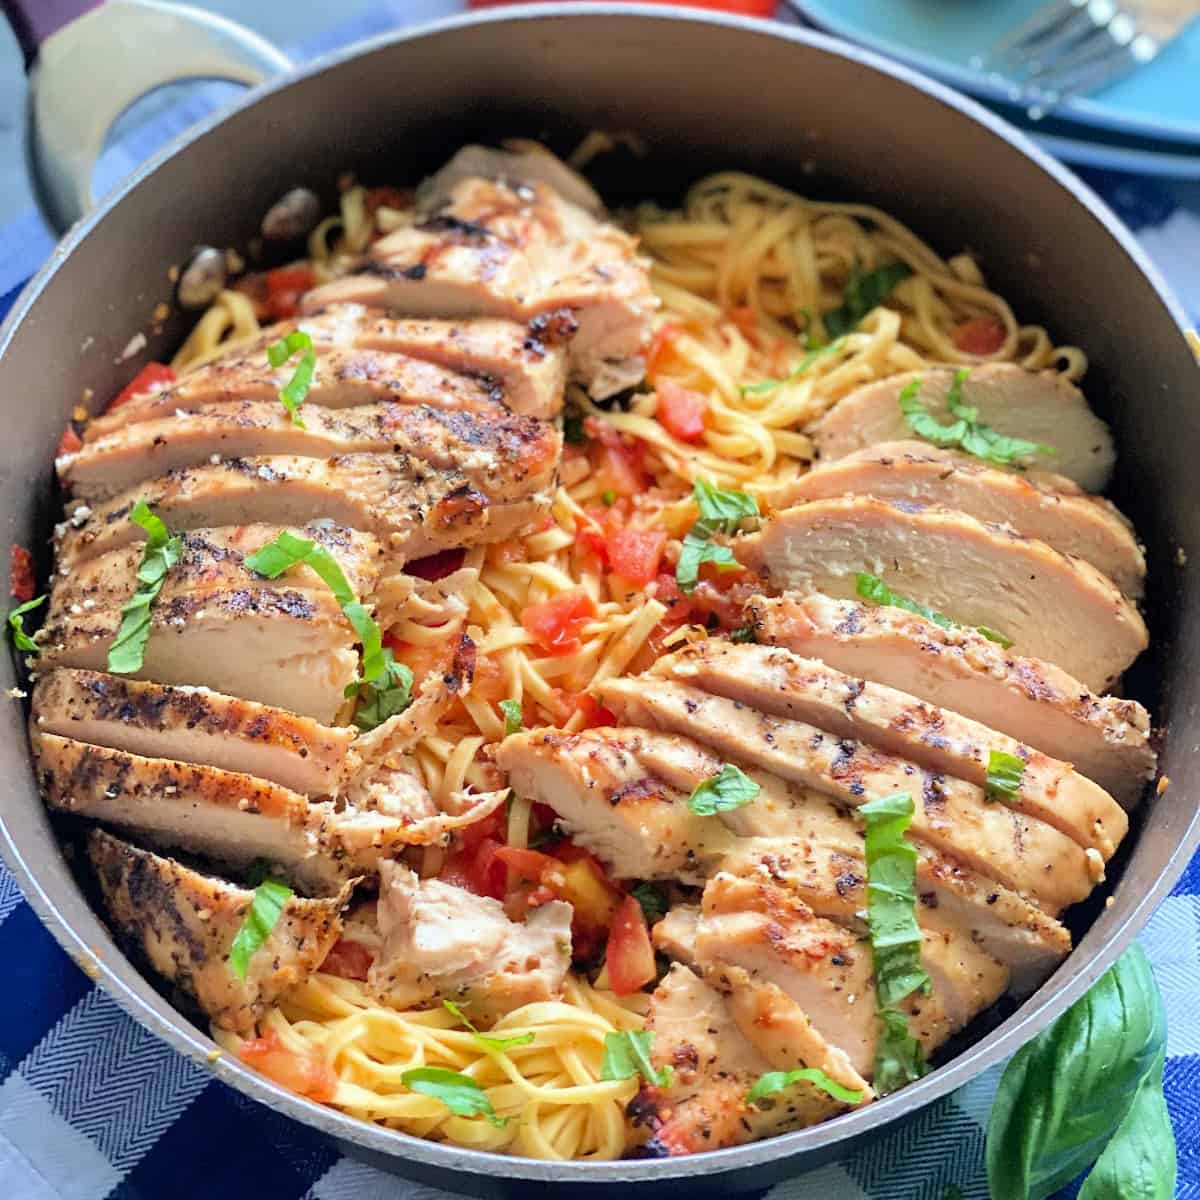
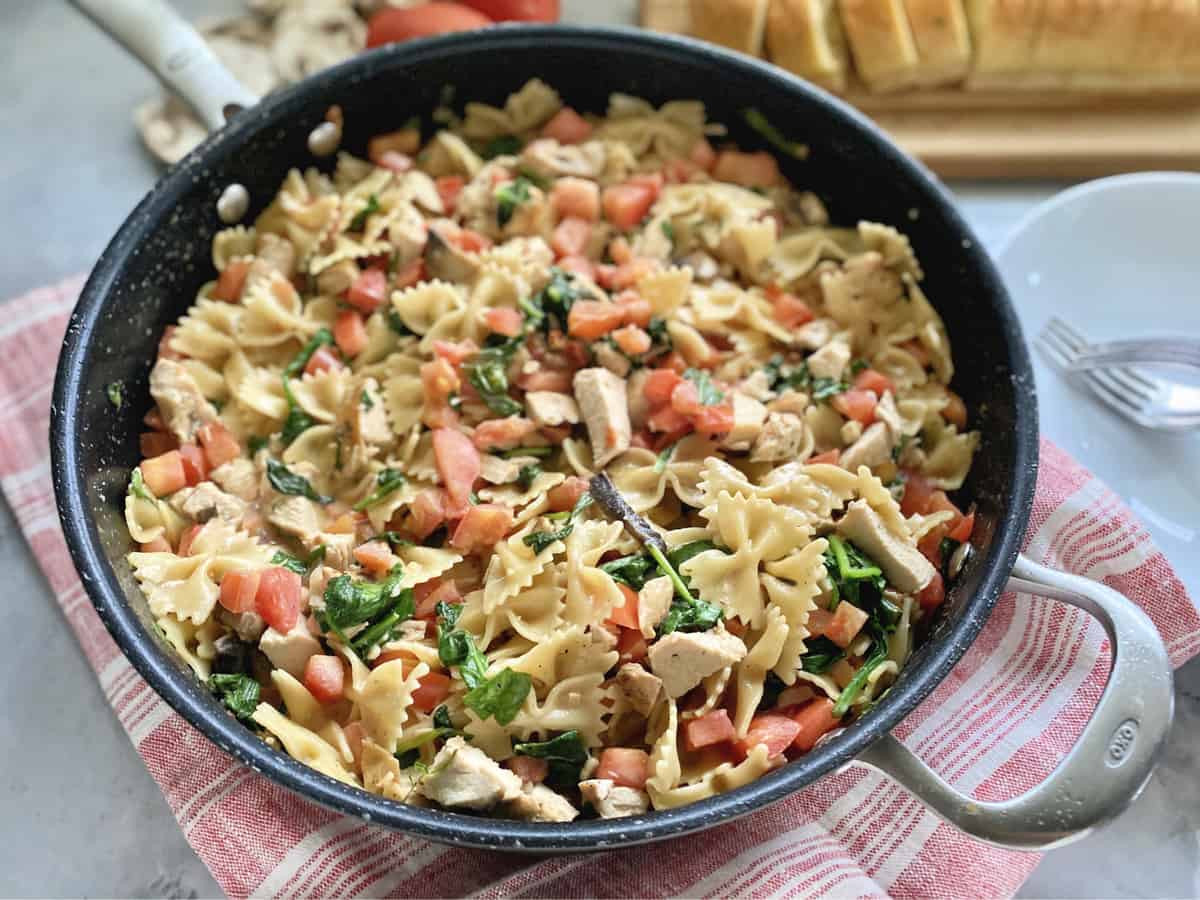
Bruschetta Chicken Pasta
-
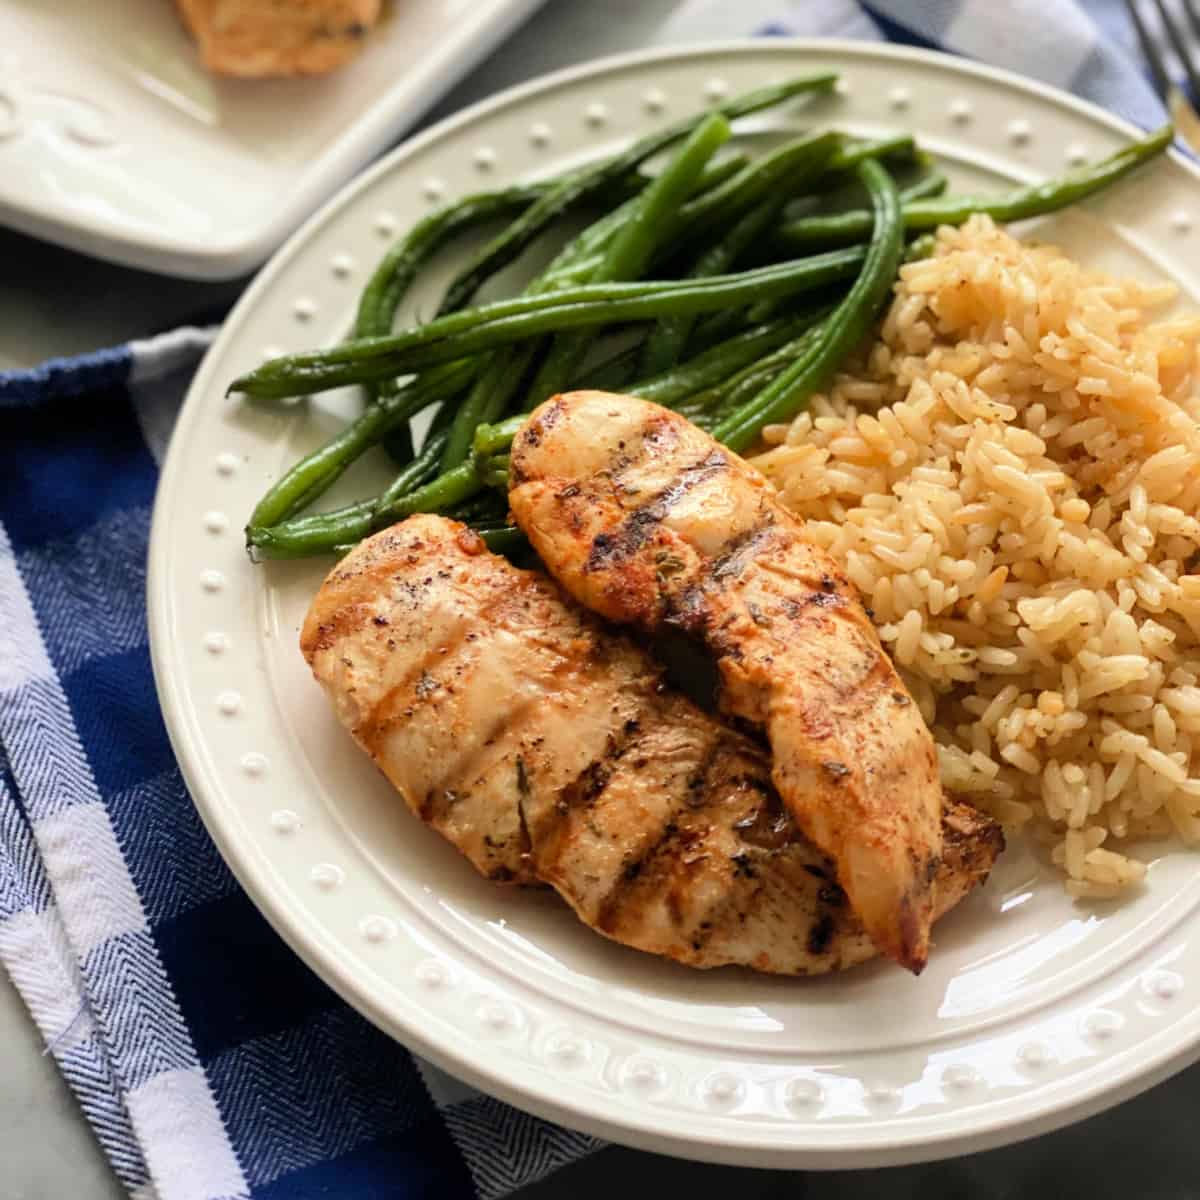
Grilled Chicken Strips
-
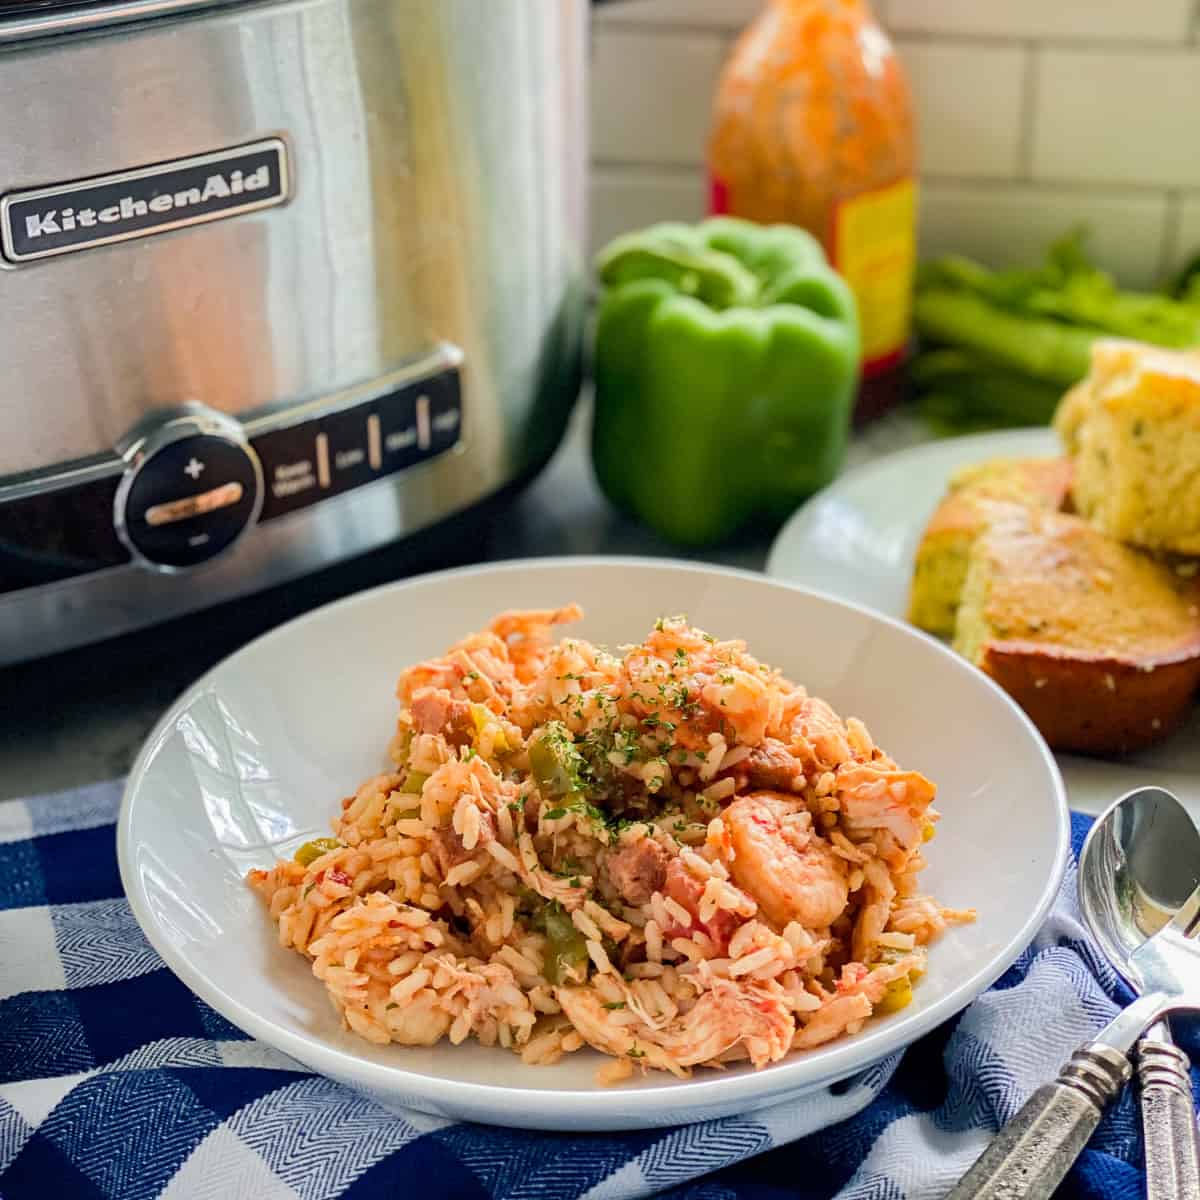
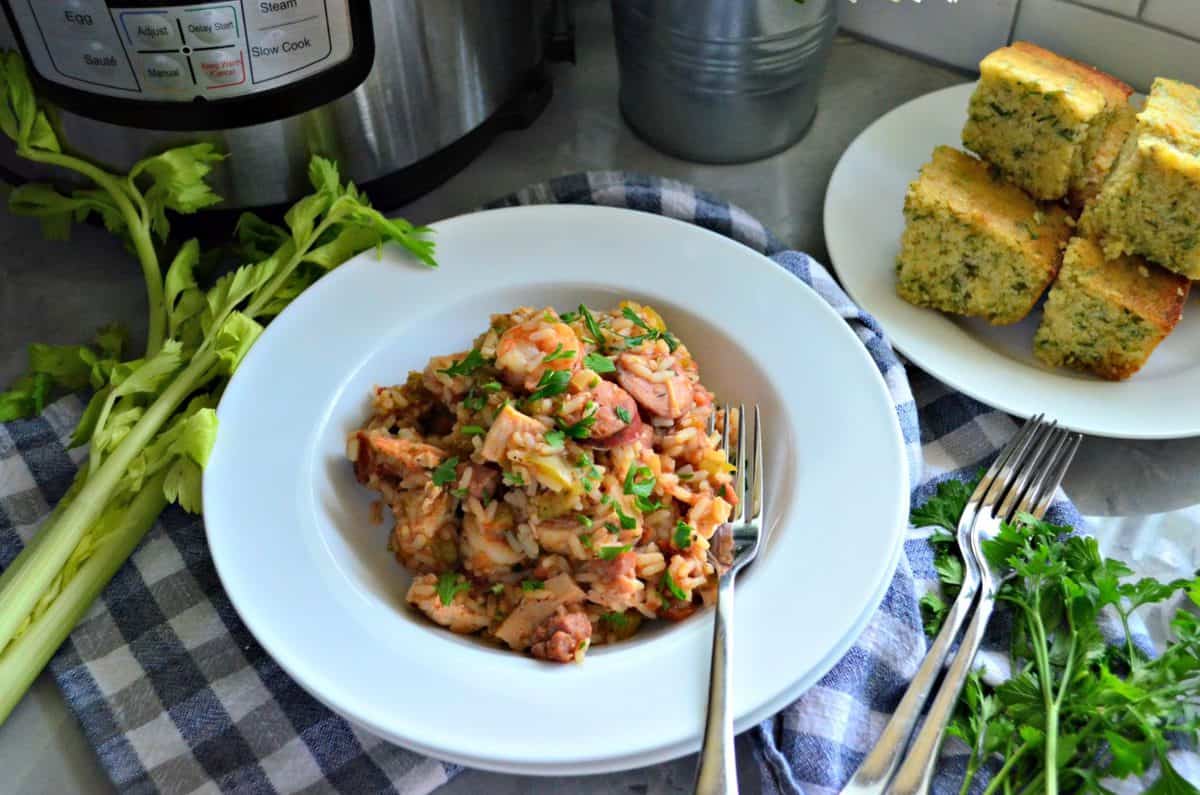
Crock Pot Jambalaya
-
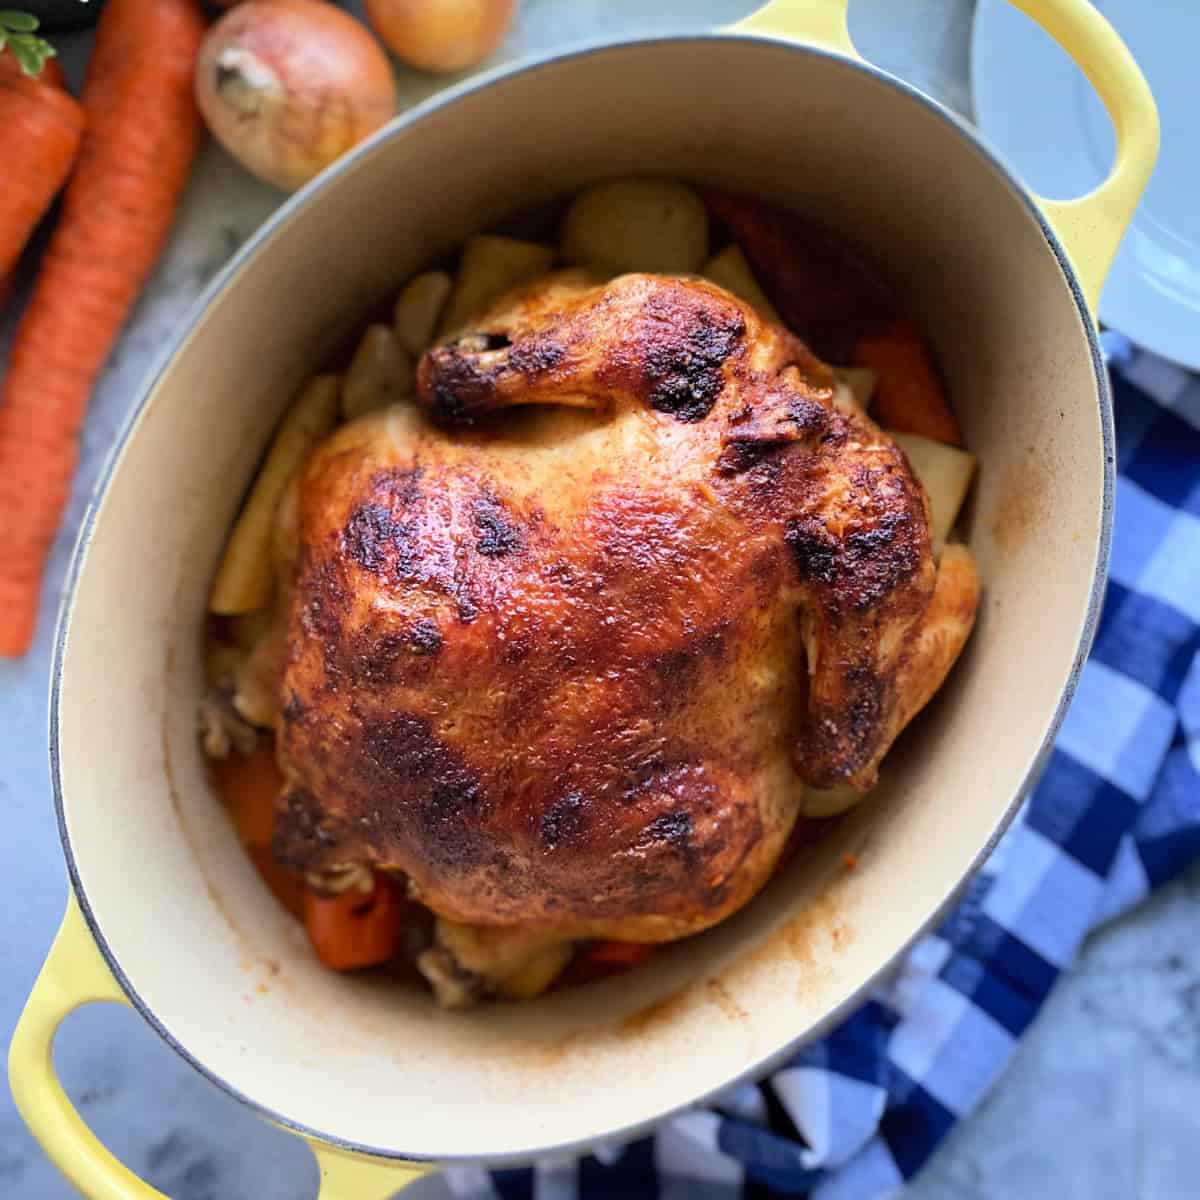
Dutch Oven Whole Chicken
-
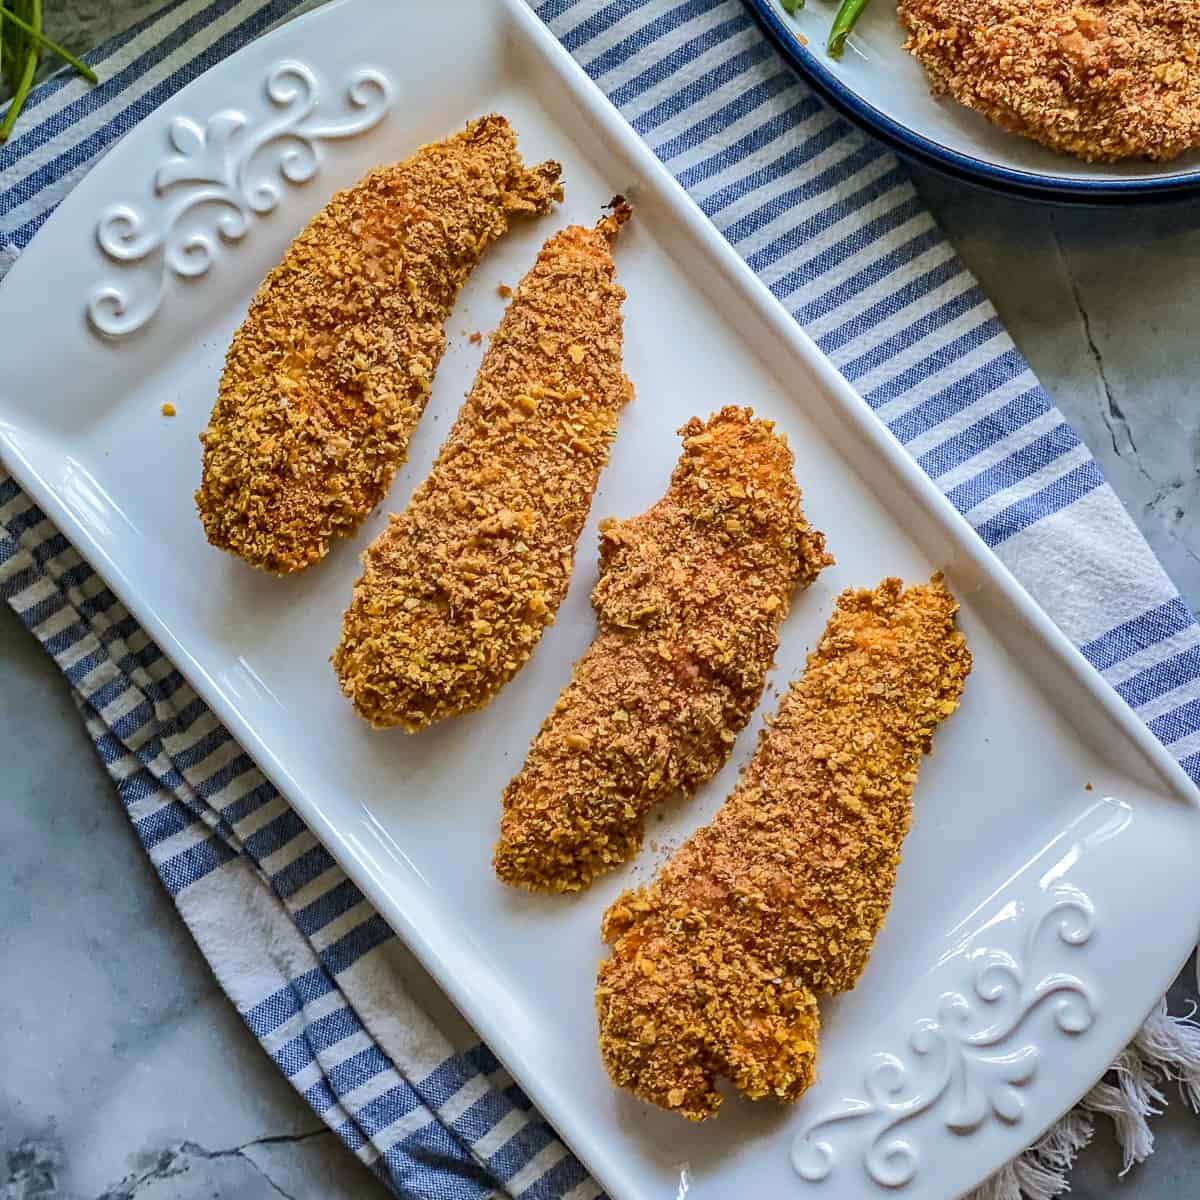
Chicken Tenders in Oven
-
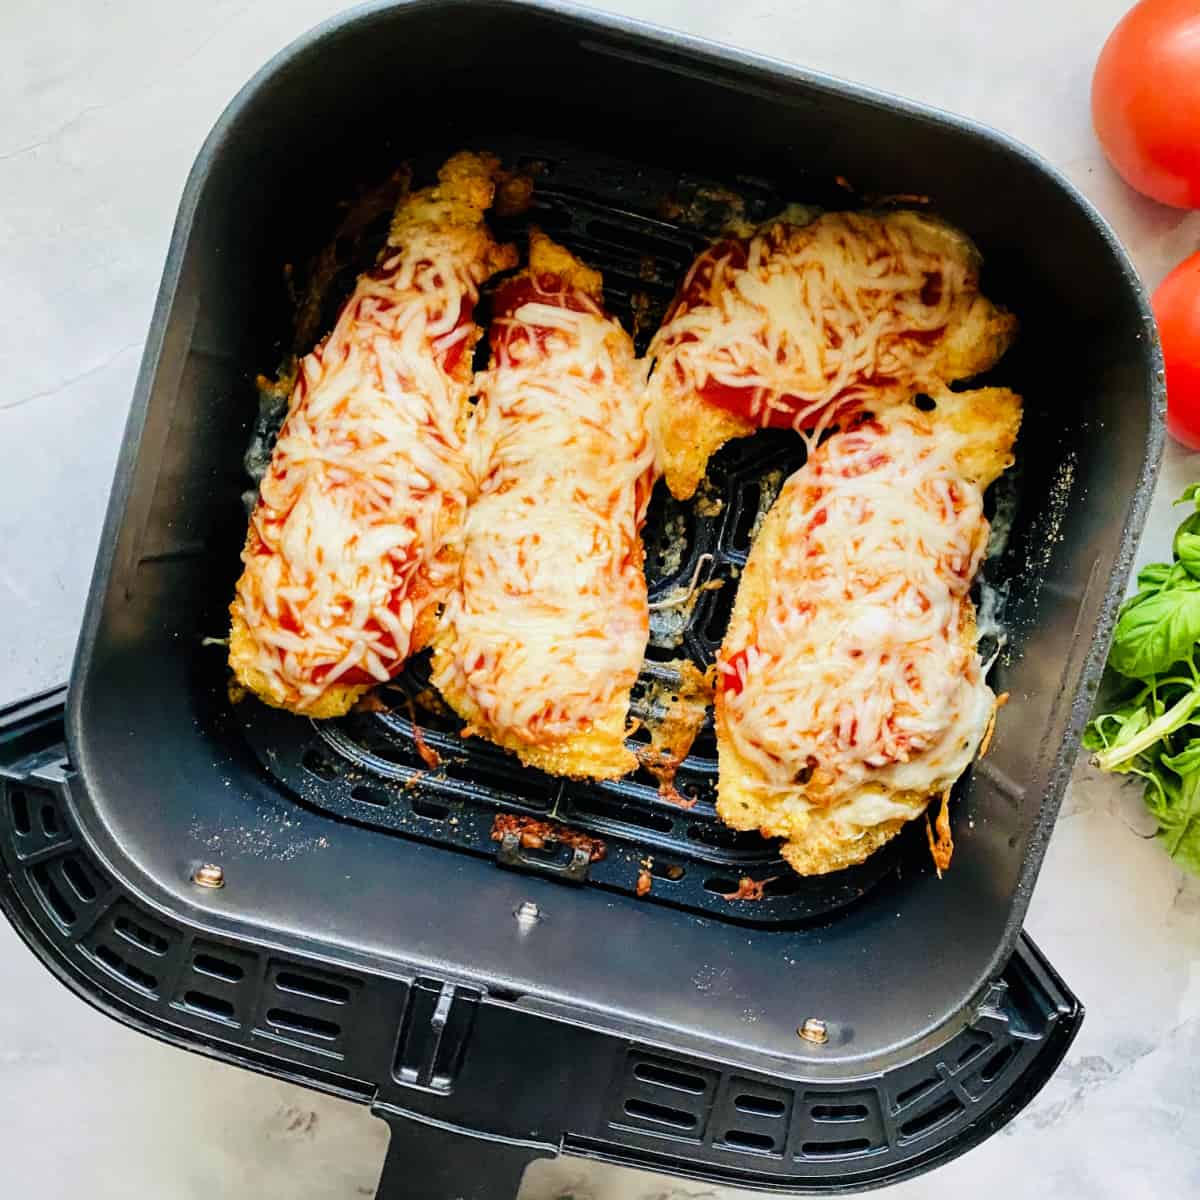
Air Fryer Chicken Parmesan
-
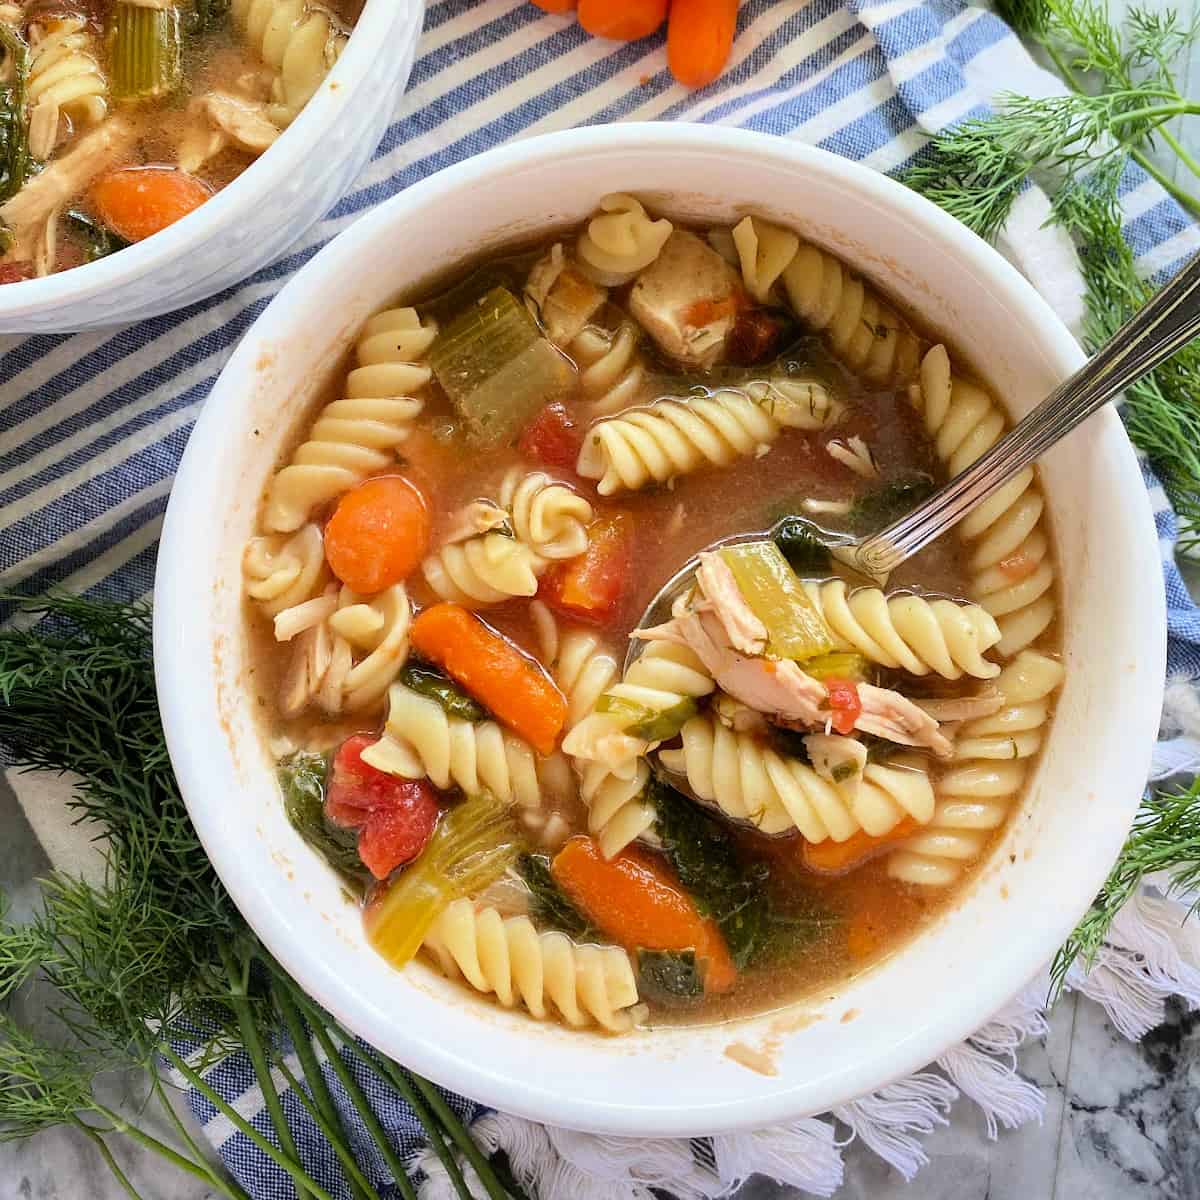
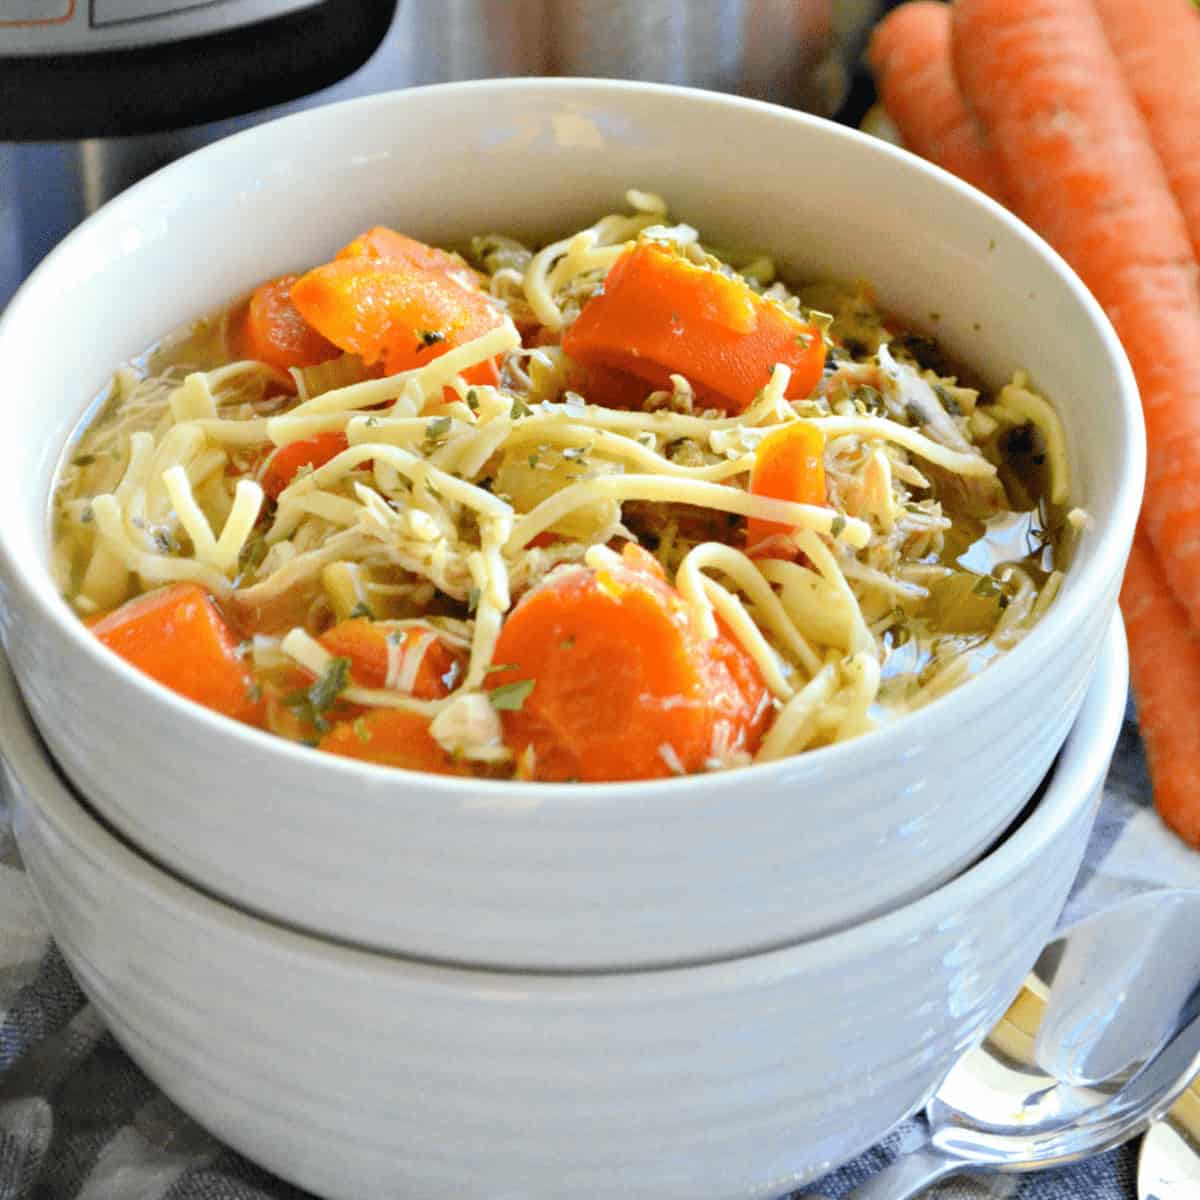
Rotisserie Chicken Noodle Soup
-
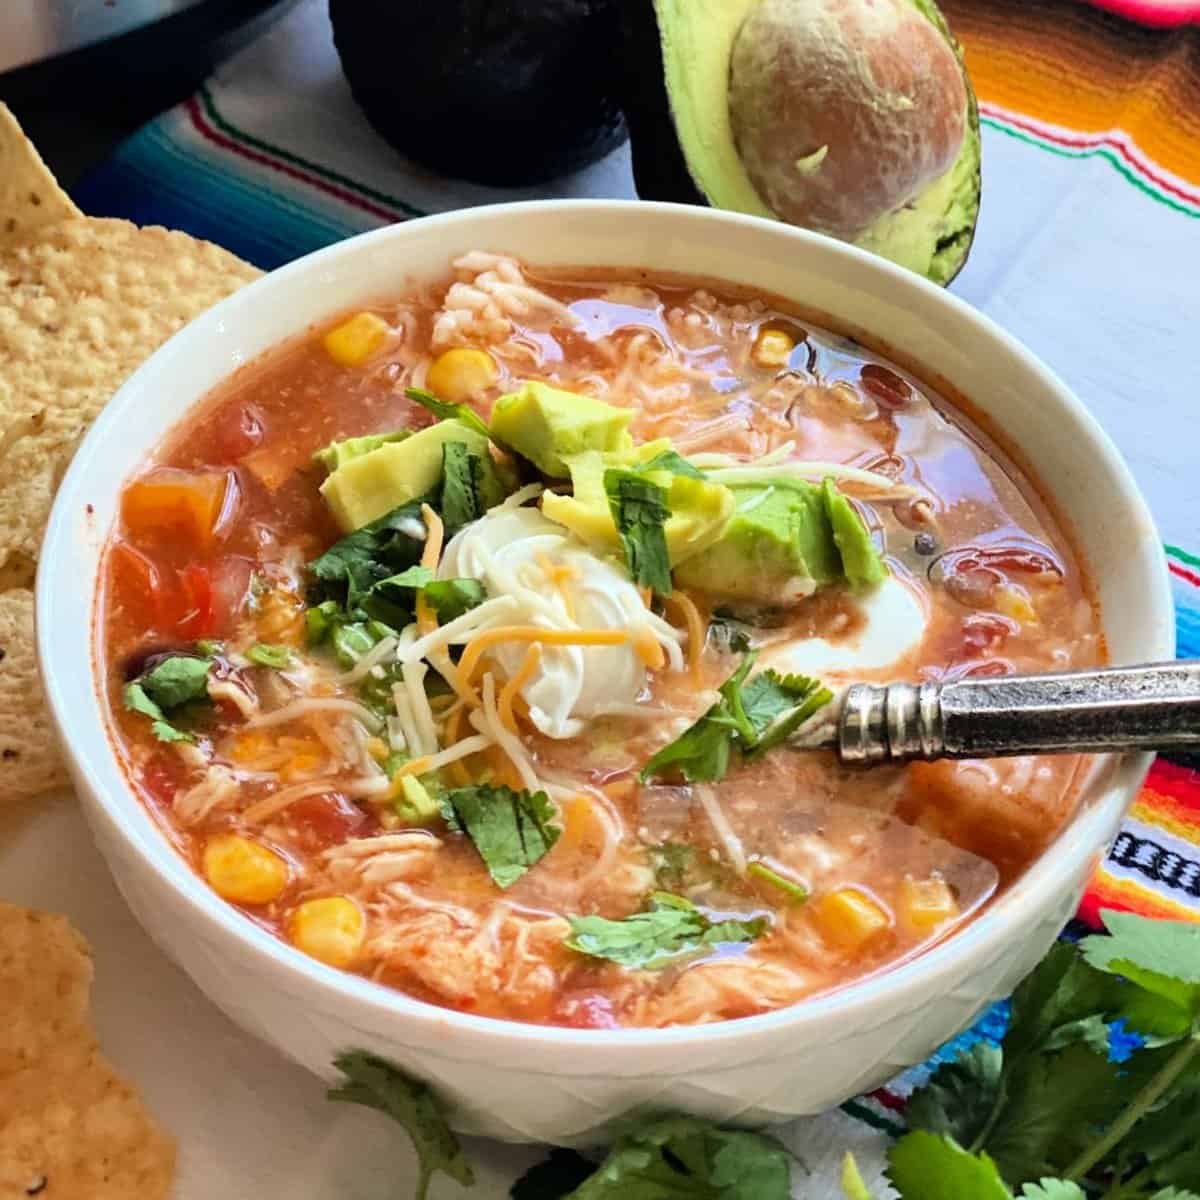
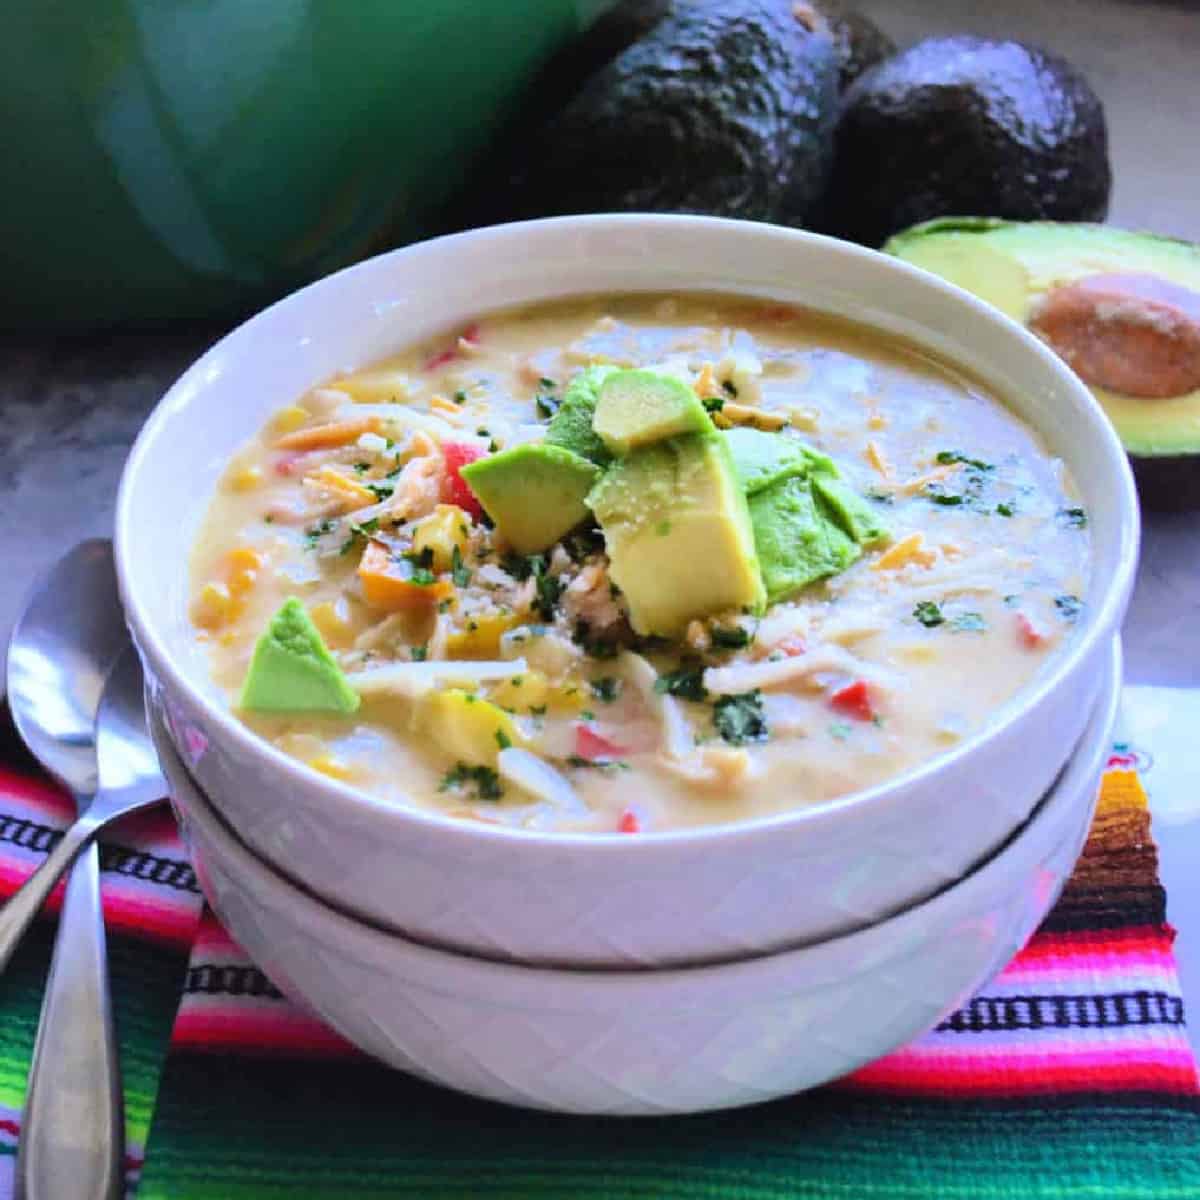
Crockpot Chicken Enchilada Soup
-
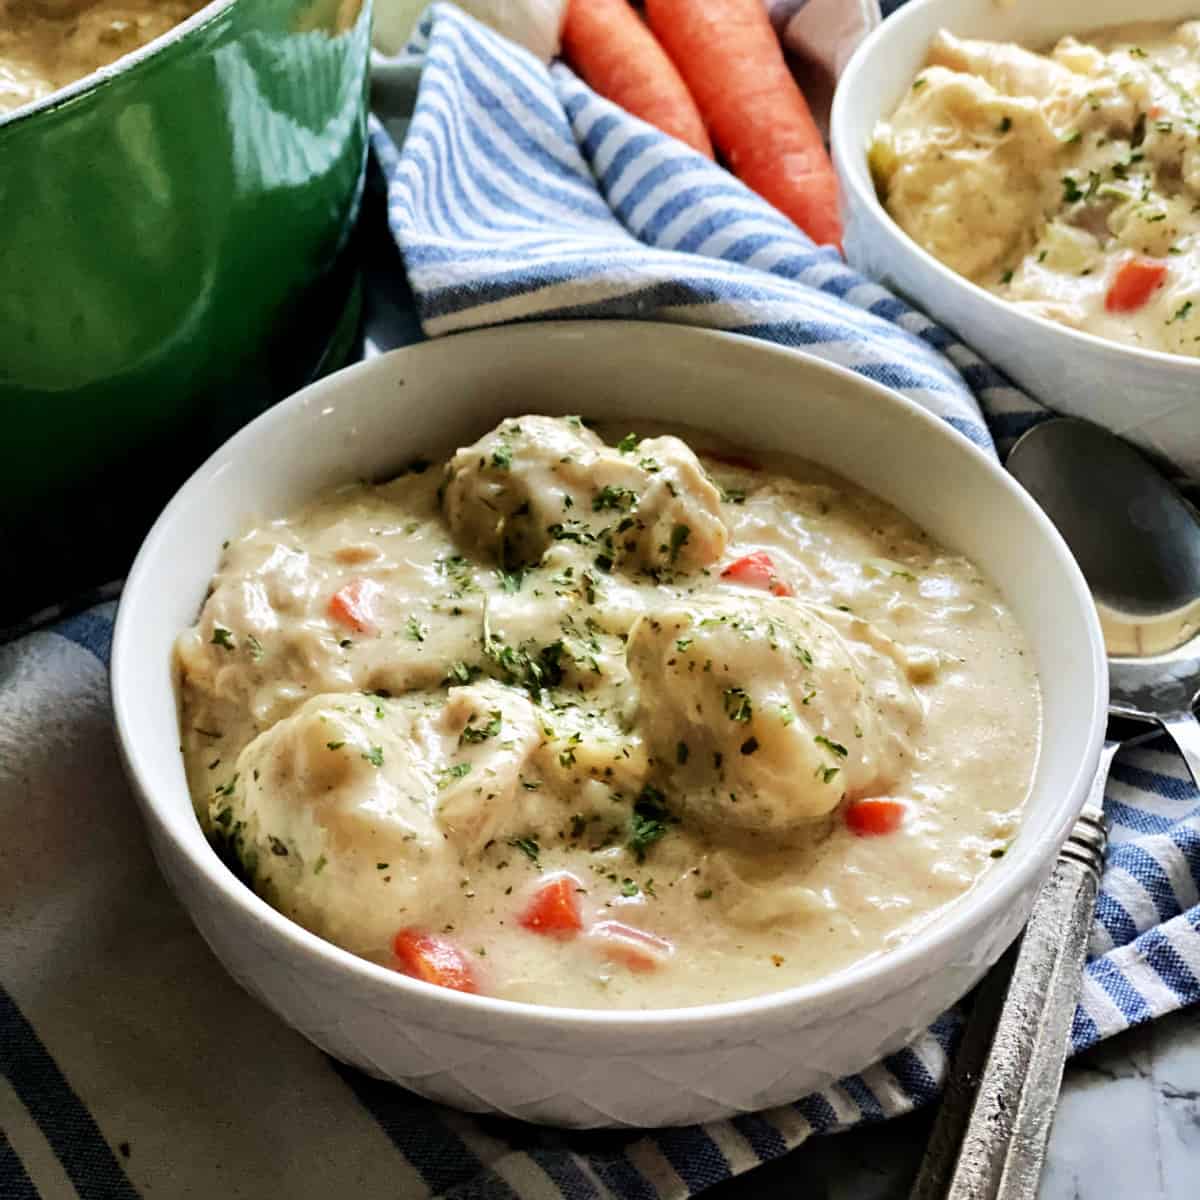
Chicken and Dumplings Recipe
-
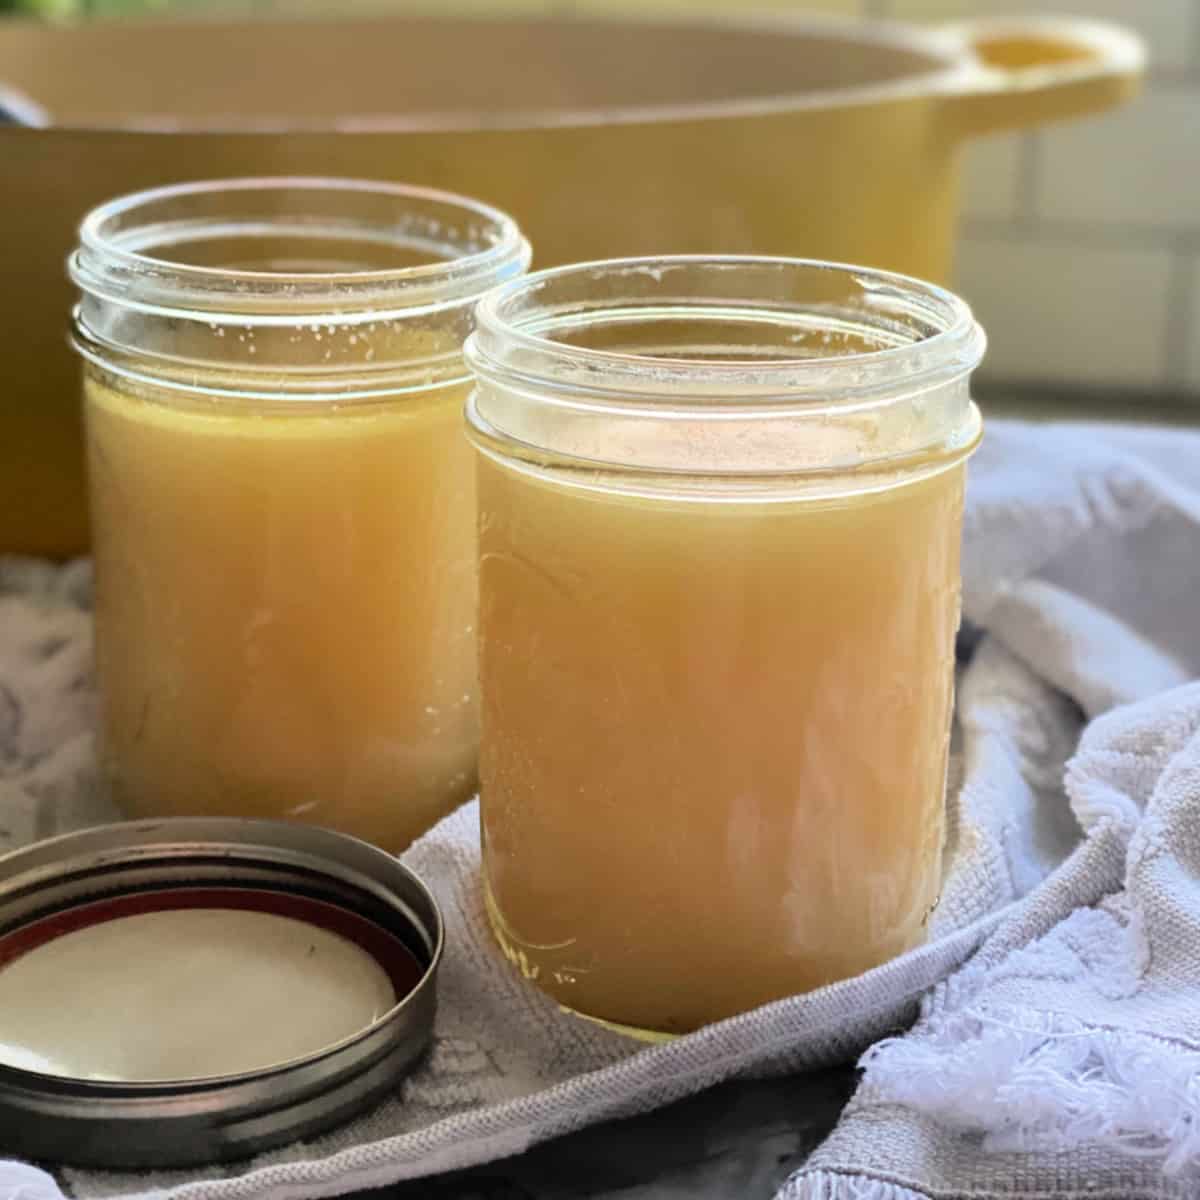
How To Make Chicken Stock From A Rotisserie Chicken
-
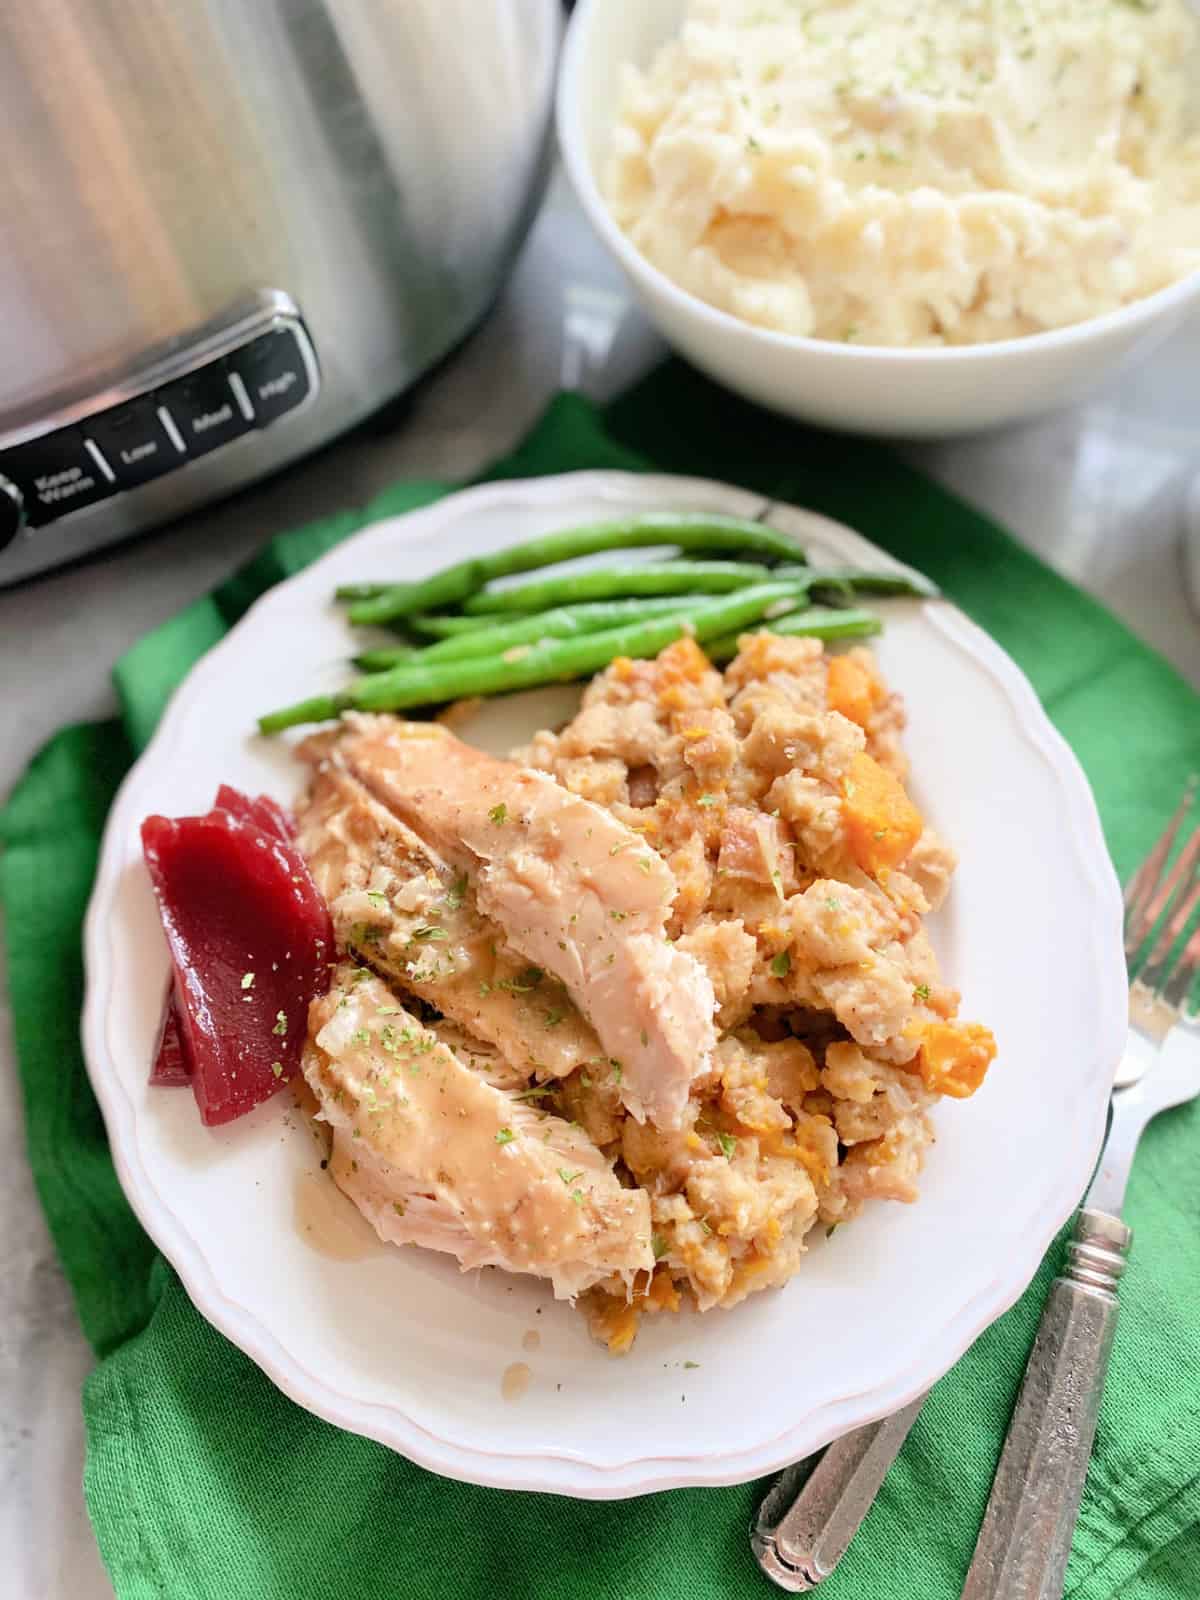
Crockpot Turkey and Stuffing
-
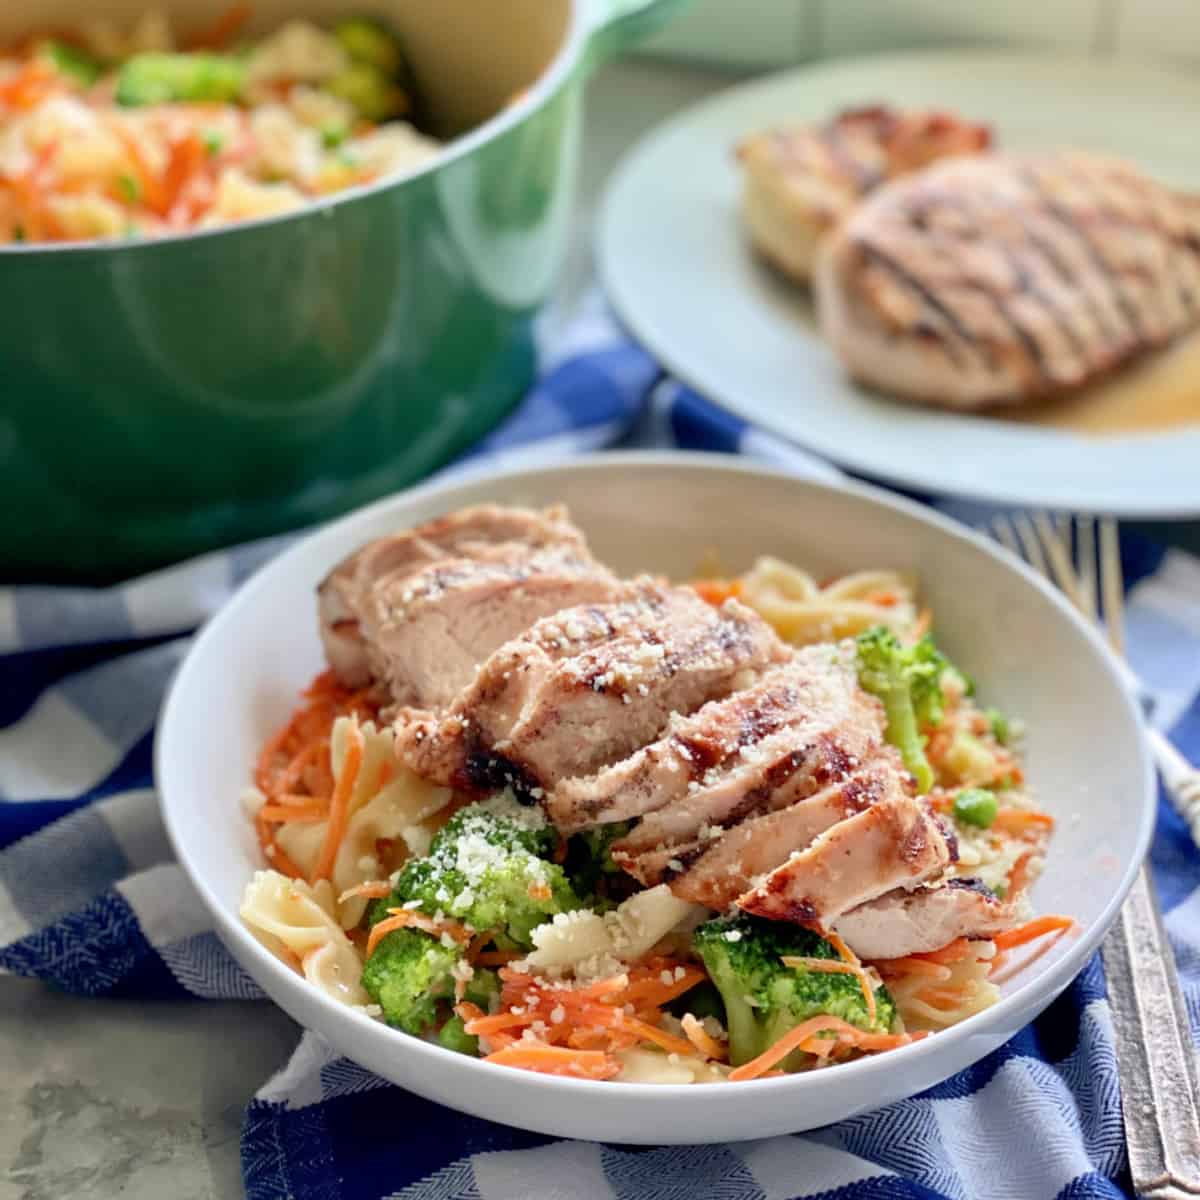
Grilled Chicken Pasta
-
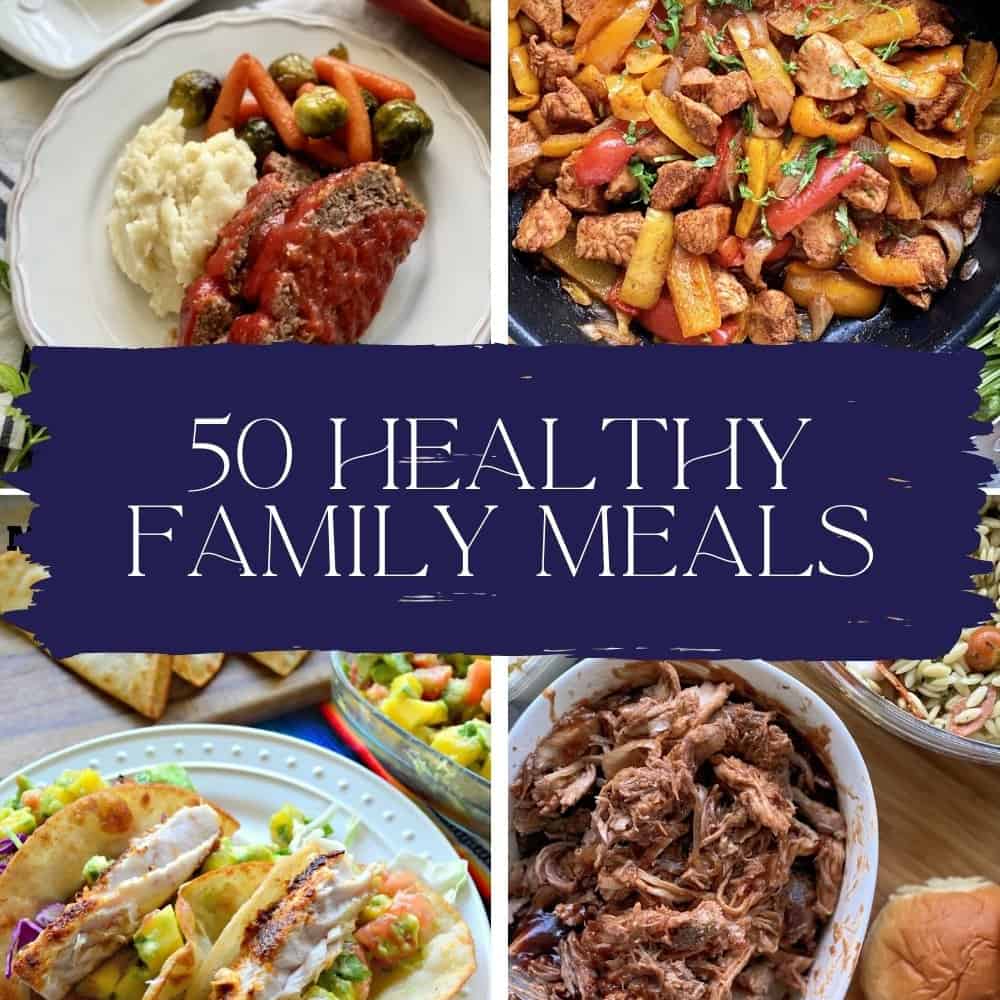
50 Healthy Family Meals
-
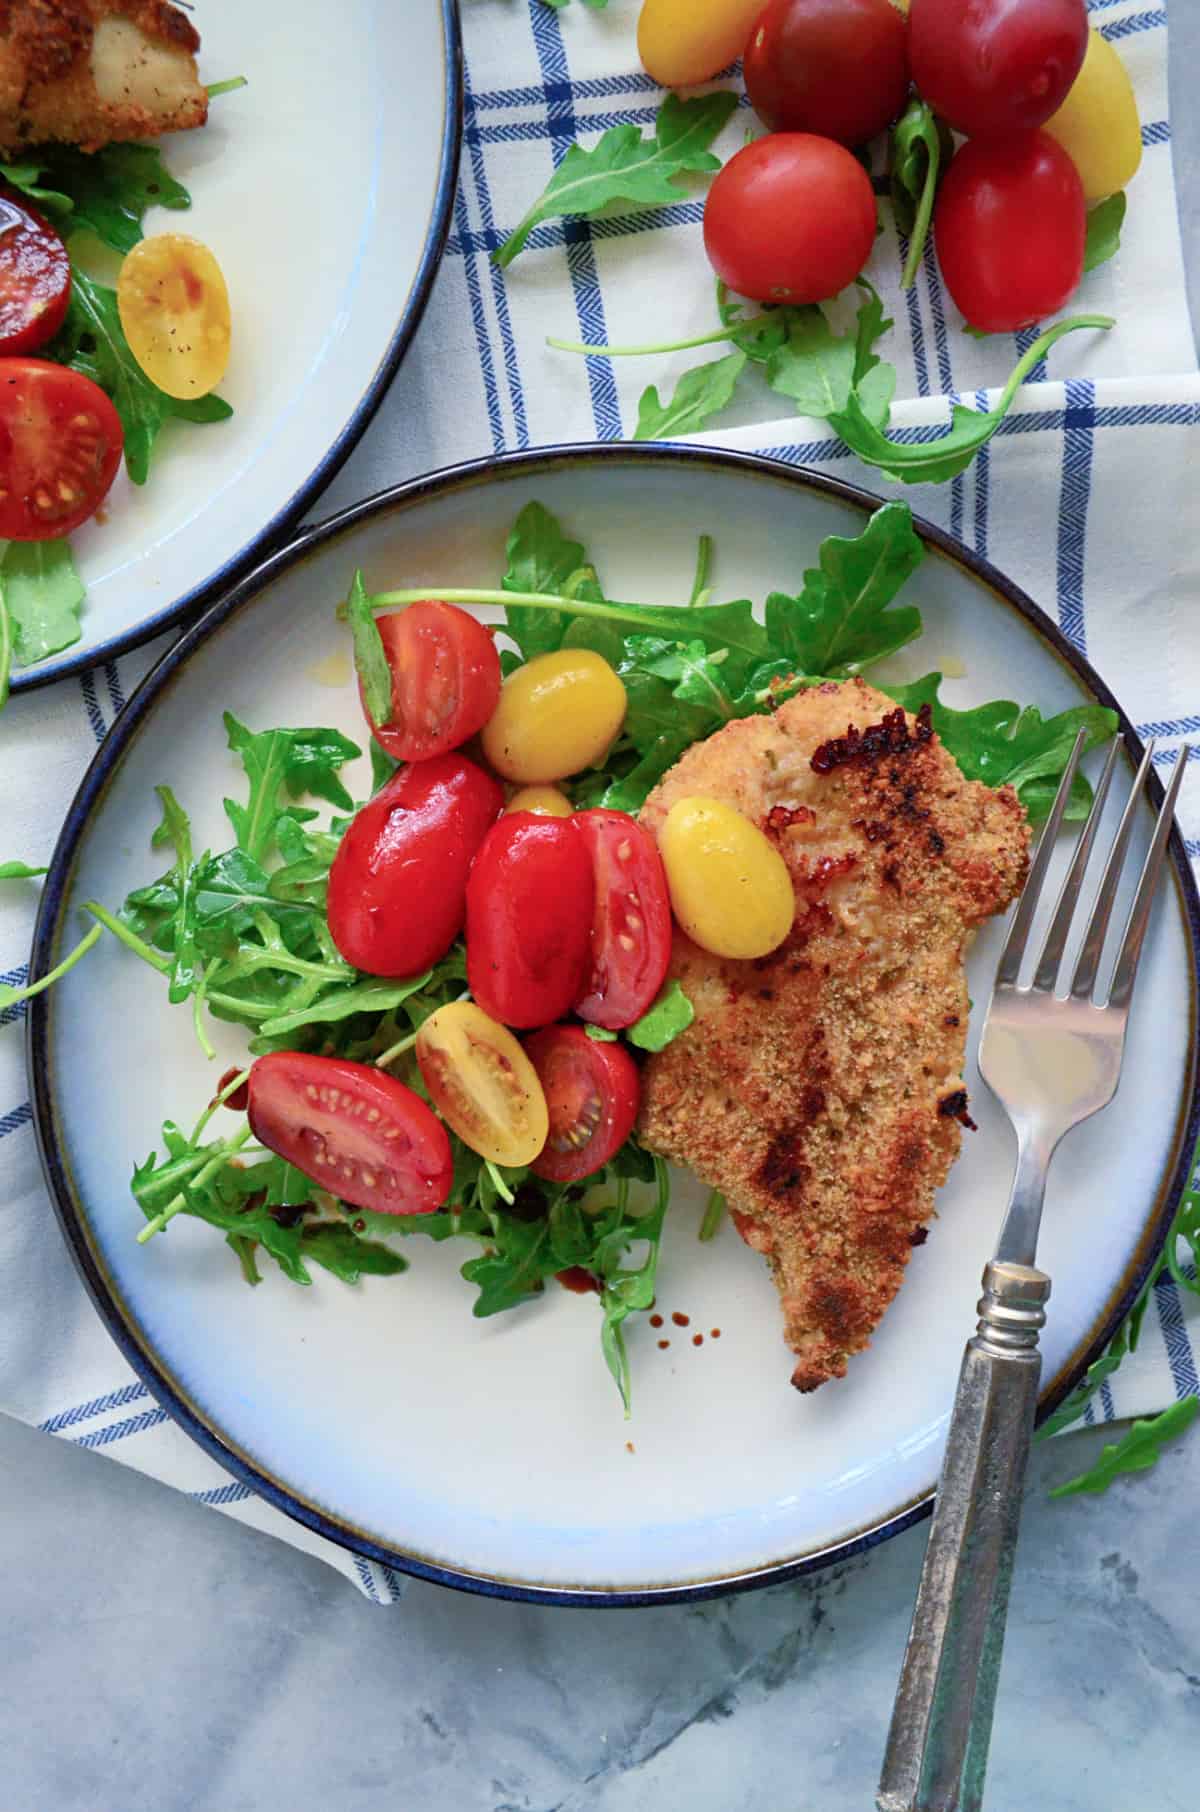
Chicken Milanese
-
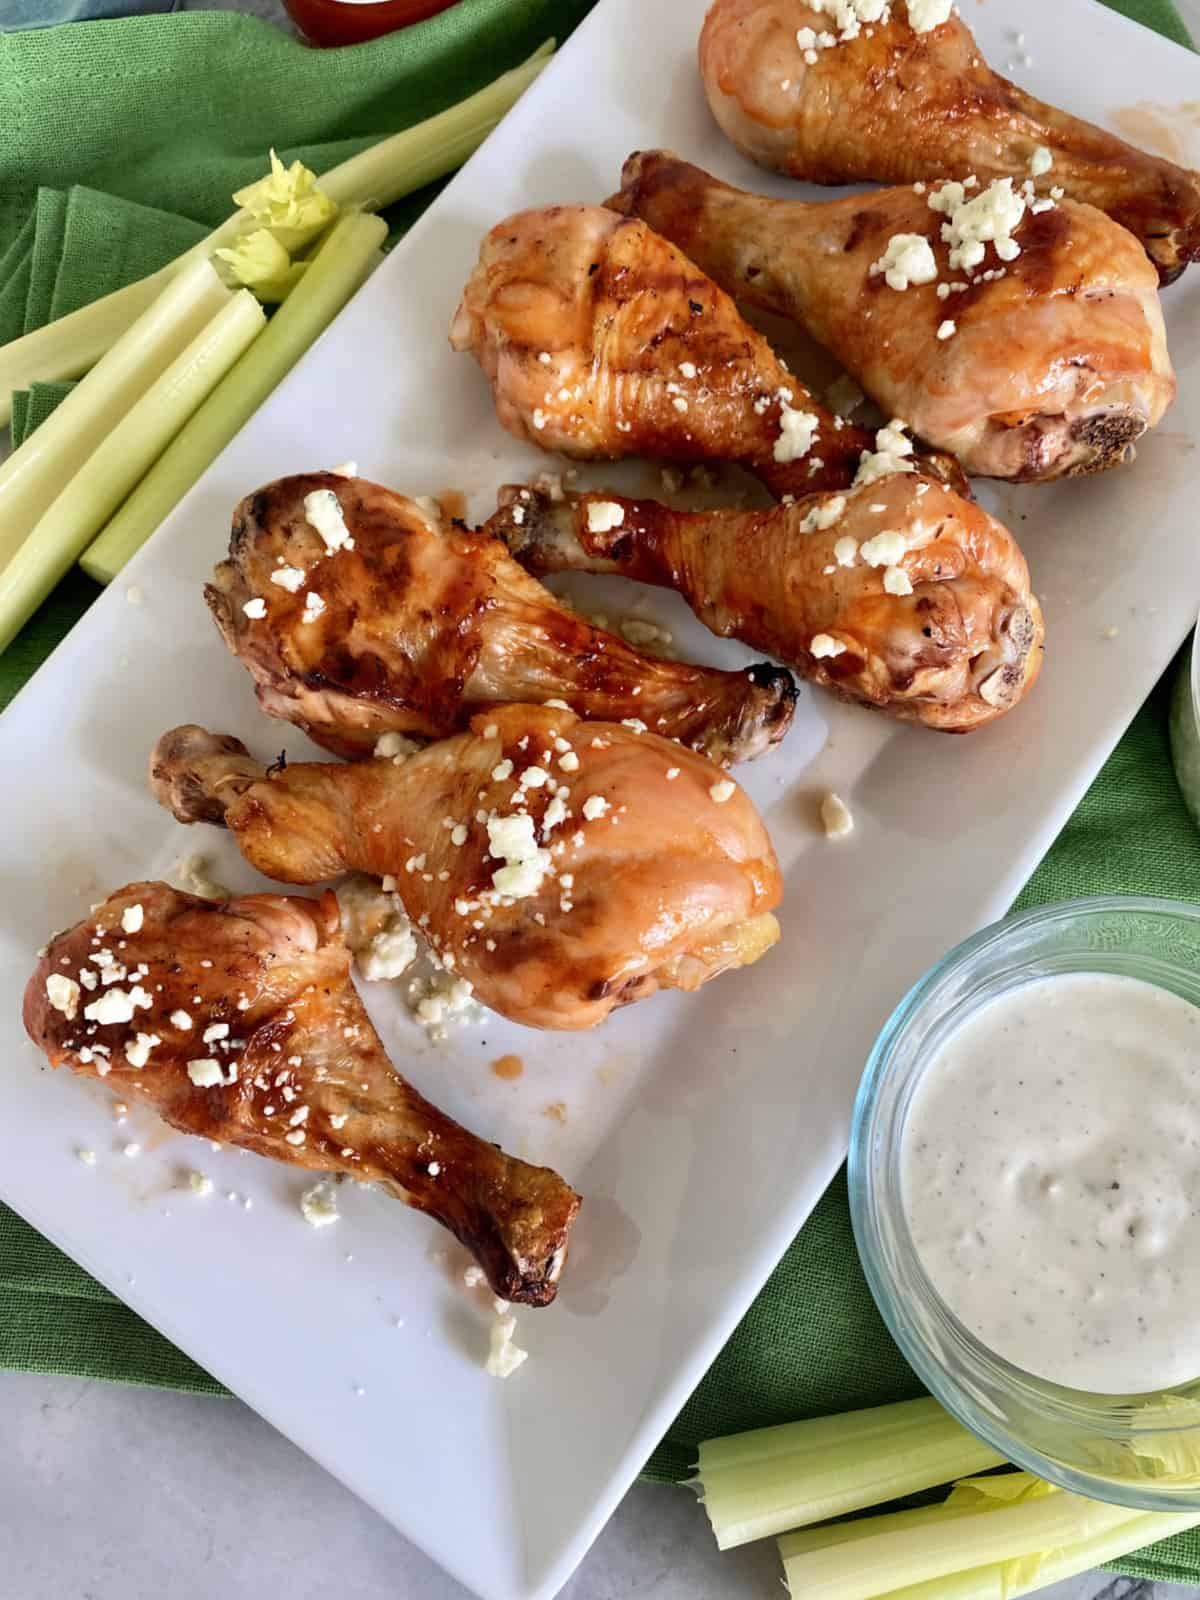
Grilled Buffalo Chicken Drumsticks with Blue Cheese
-
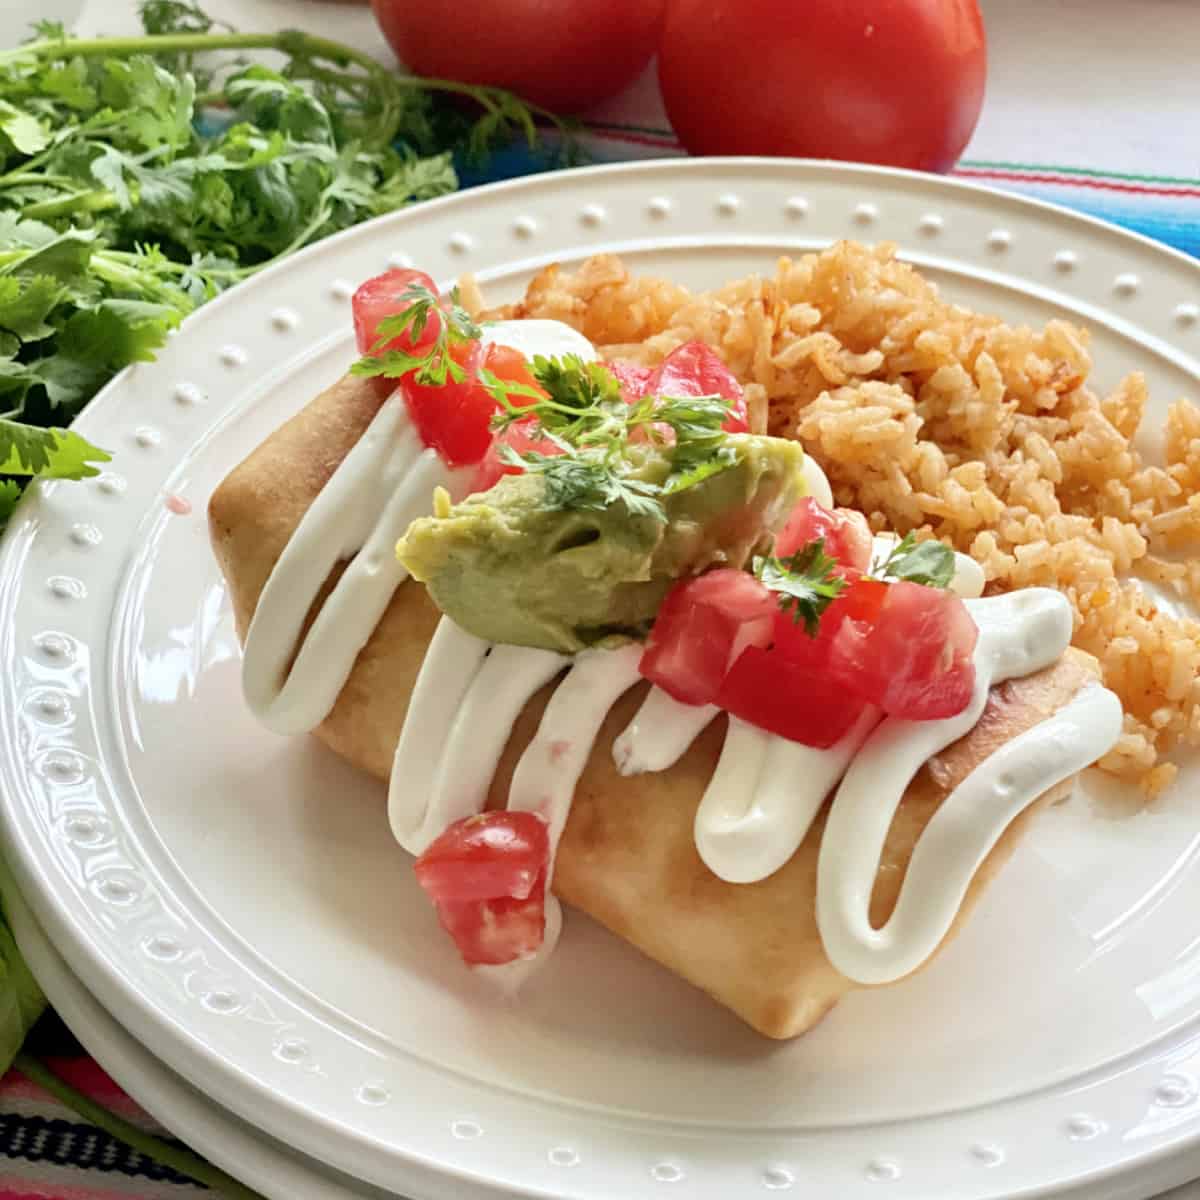
Chicken Chimichanga Recipe
-
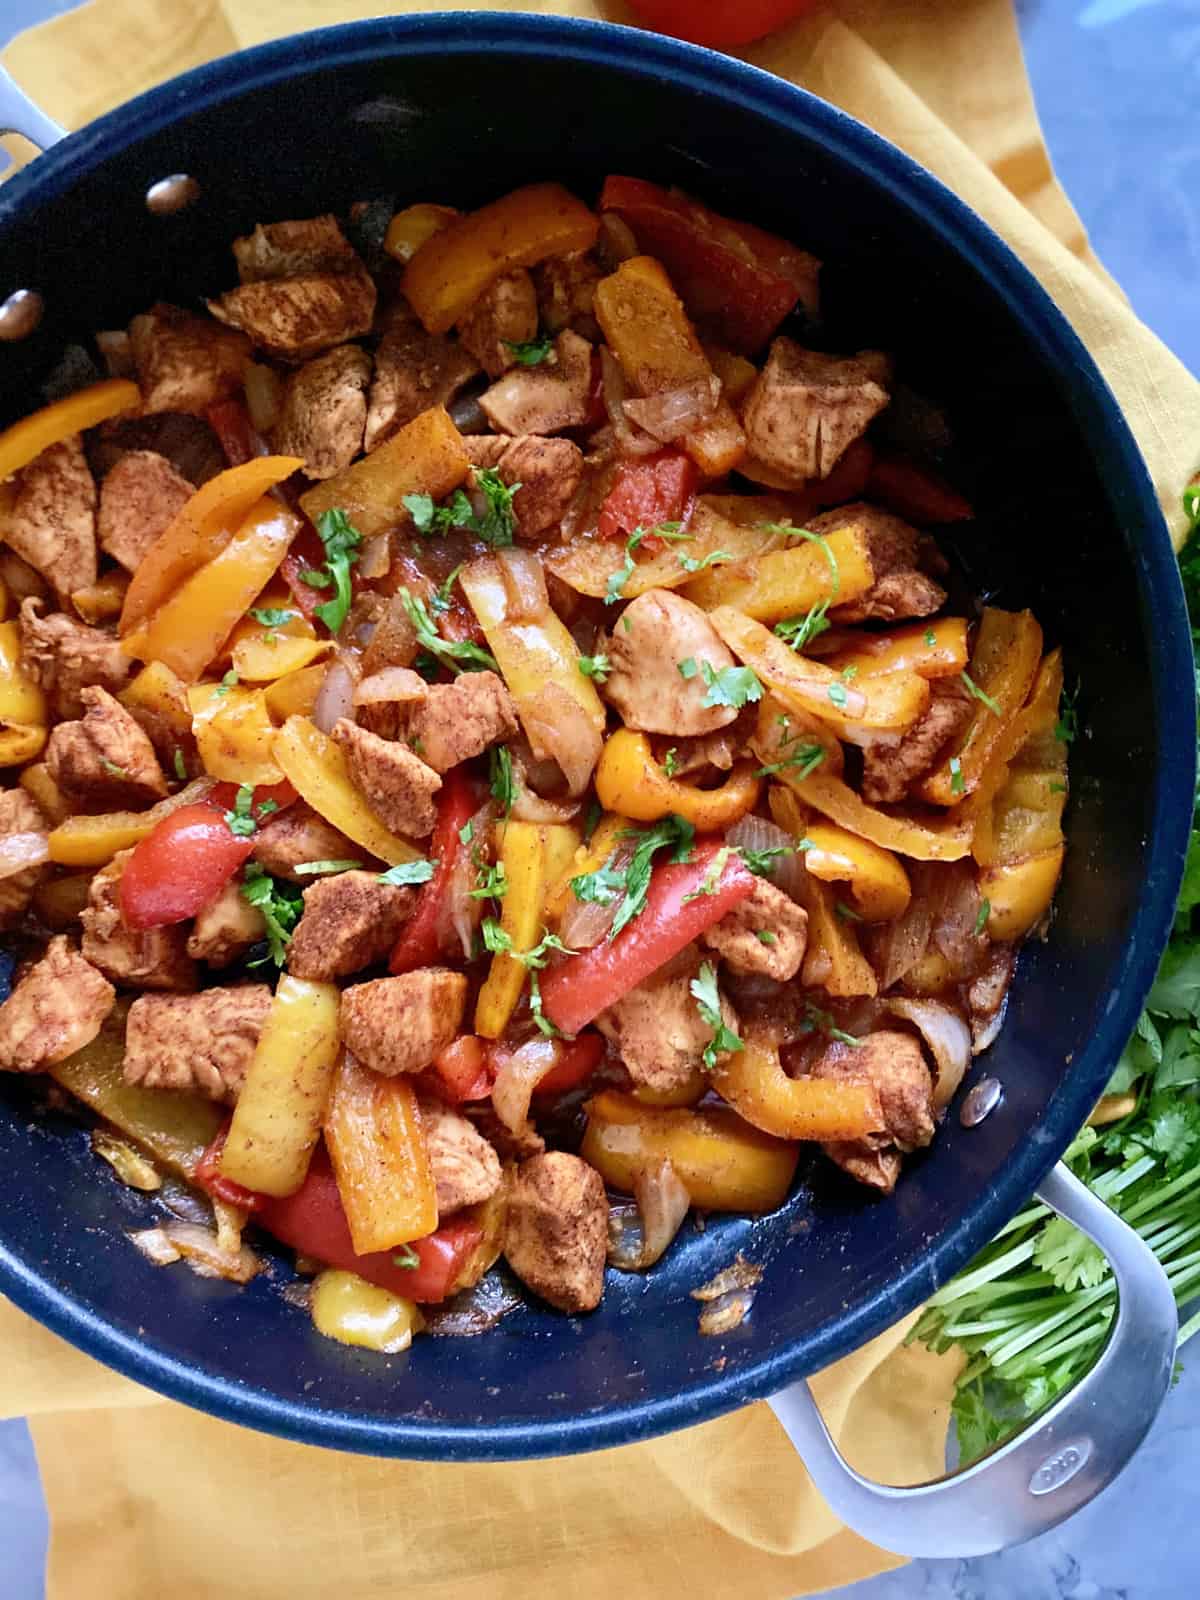
Skillet Fajitas
-
Instant Pot Chicken Soup
-
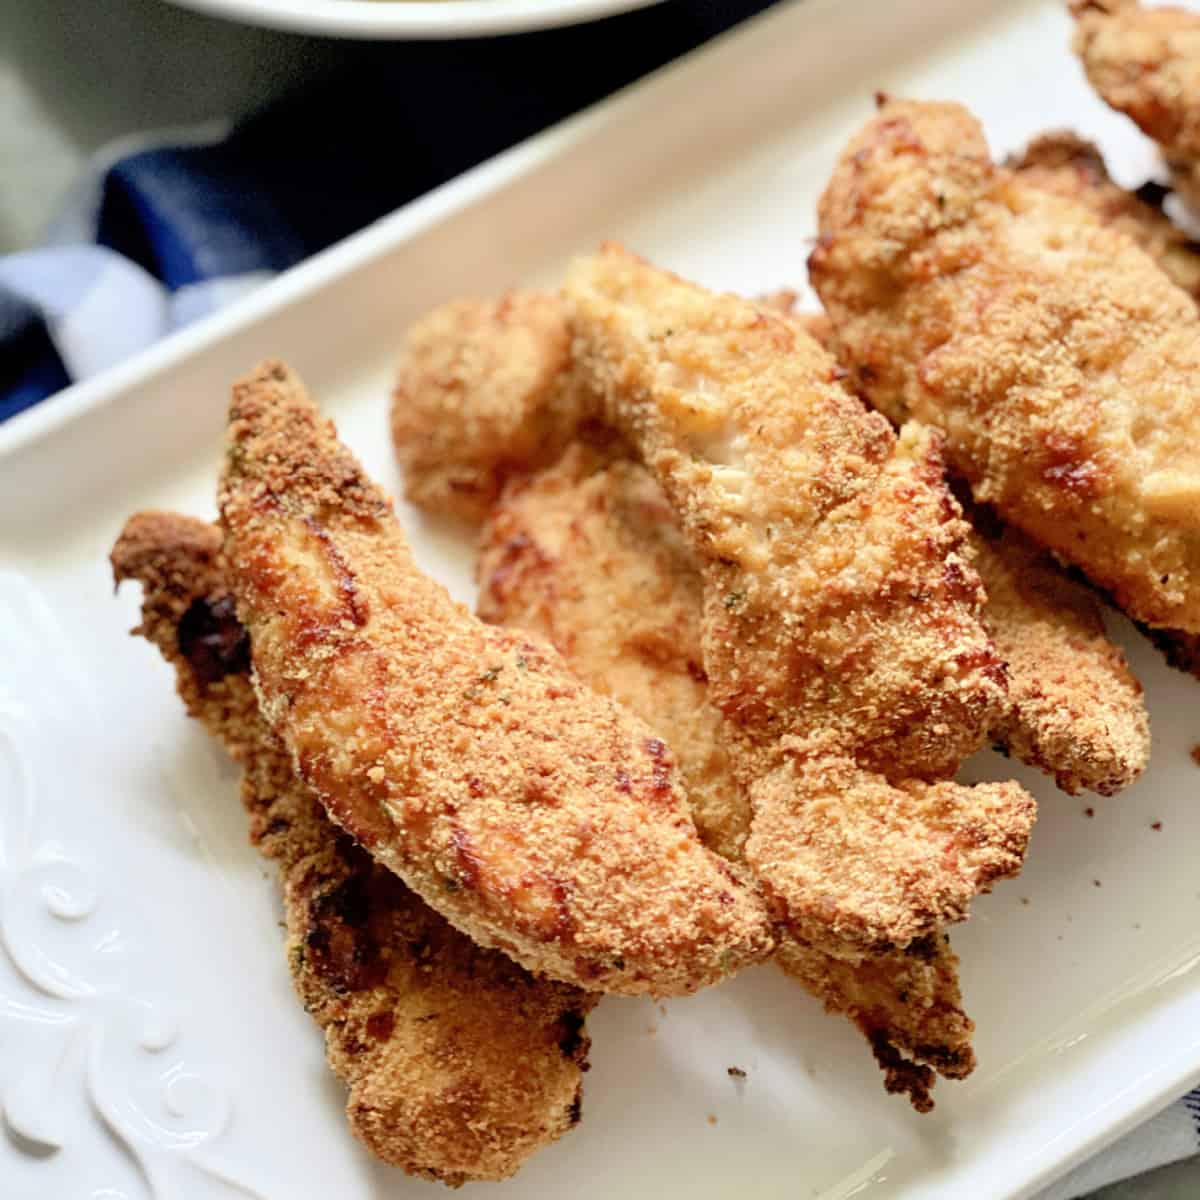
Chicken Tenders in Air Fryer
-
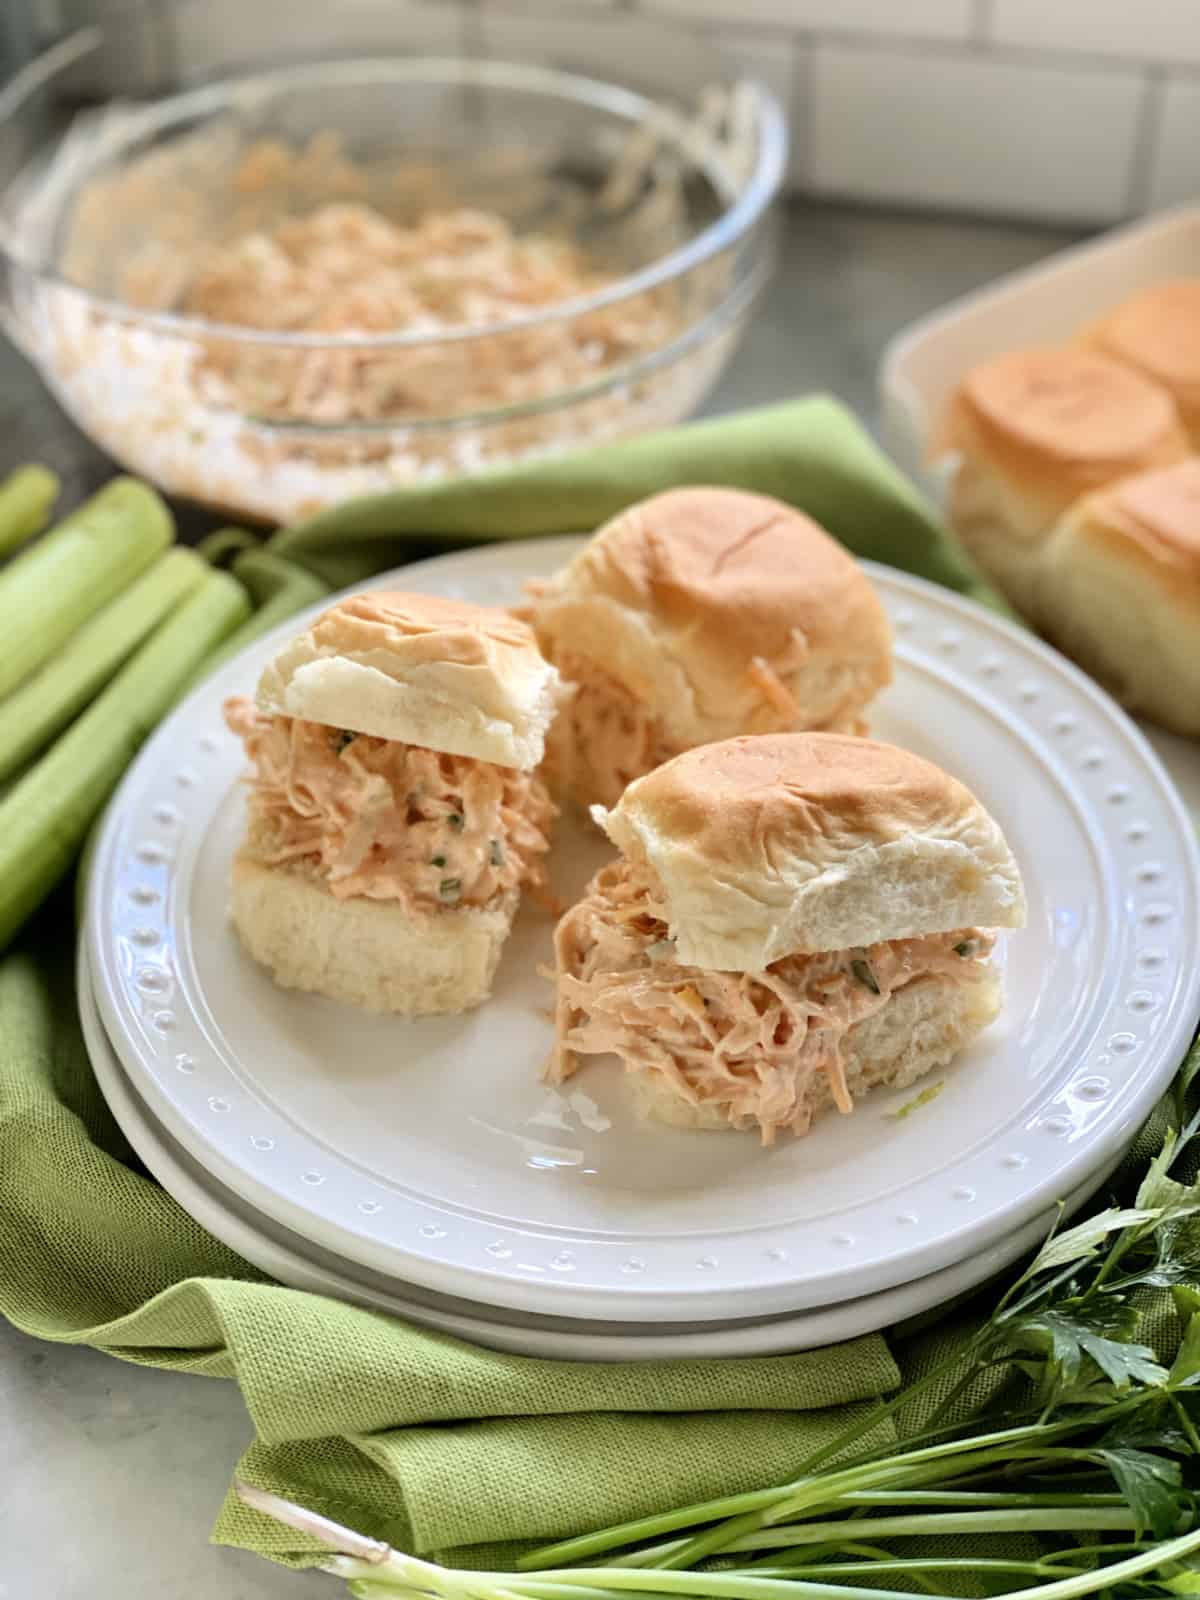
Buffalo Chicken Salad
-
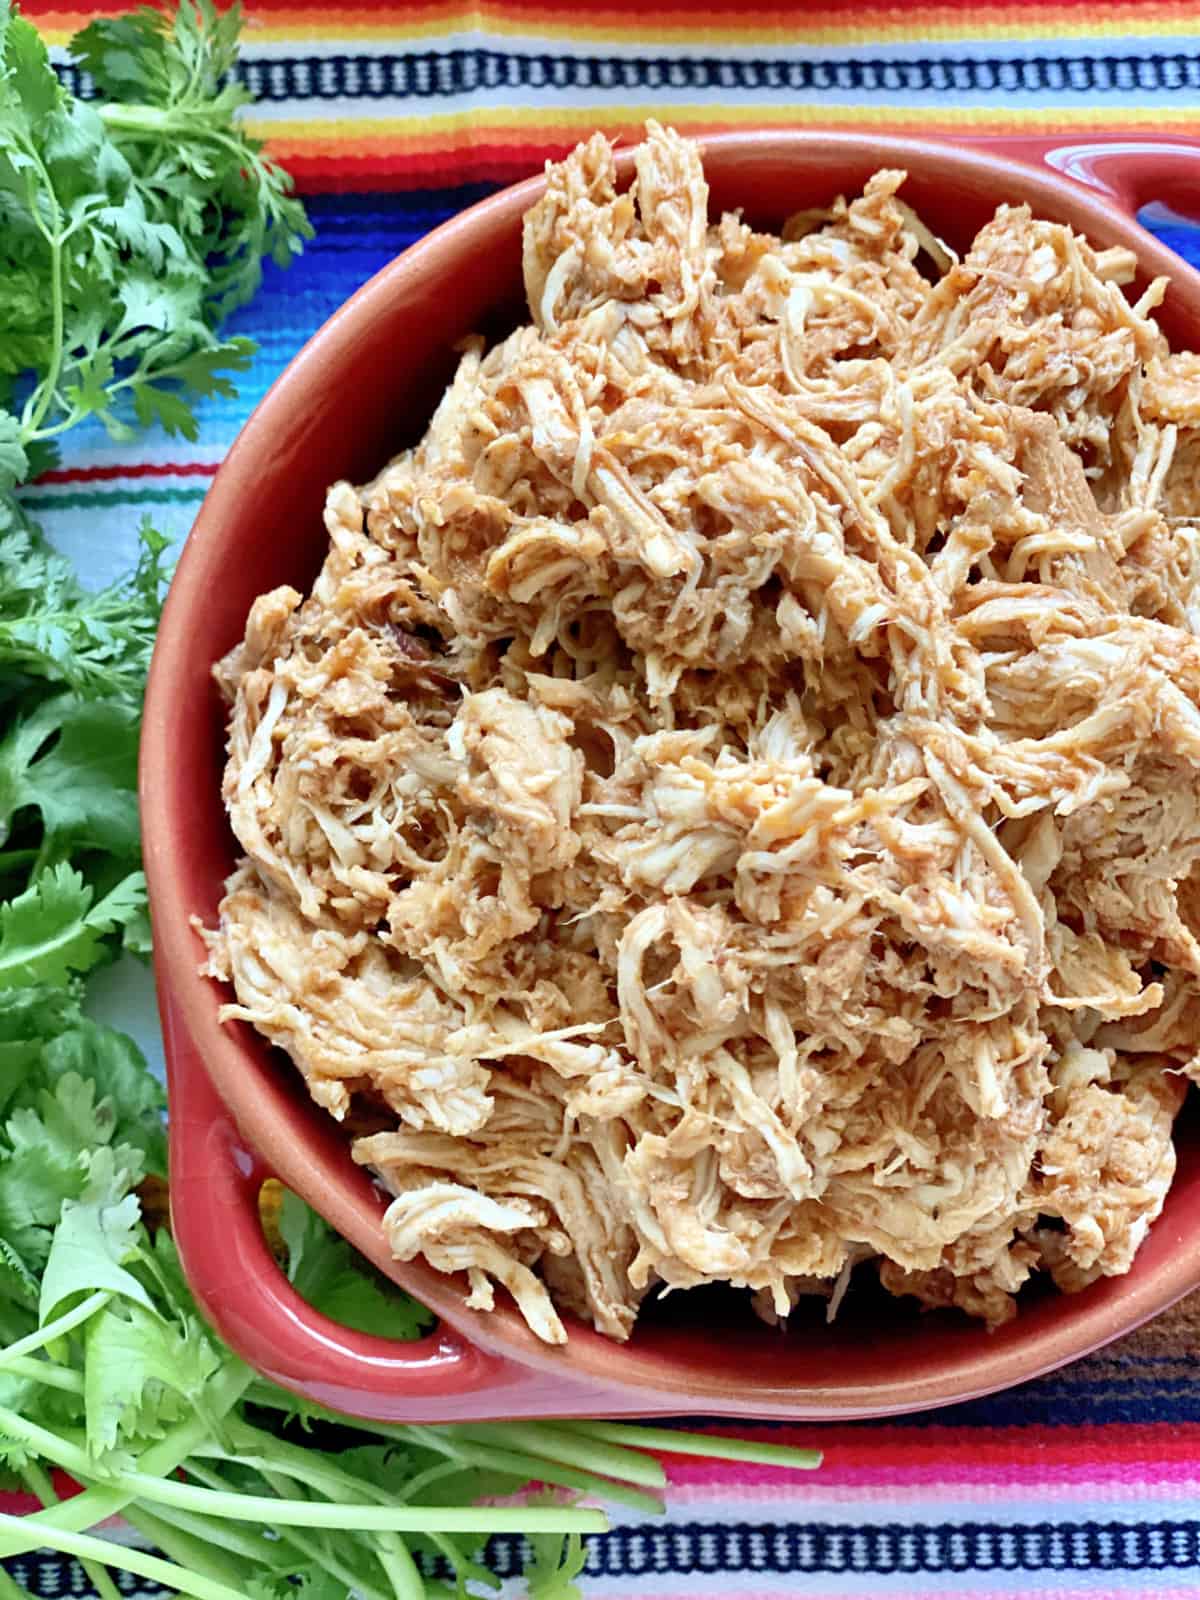
Instant Pot Mexican Chicken
-
Chicken Florentine Pasta
-
Slow Cooker Salsa Chicken
-
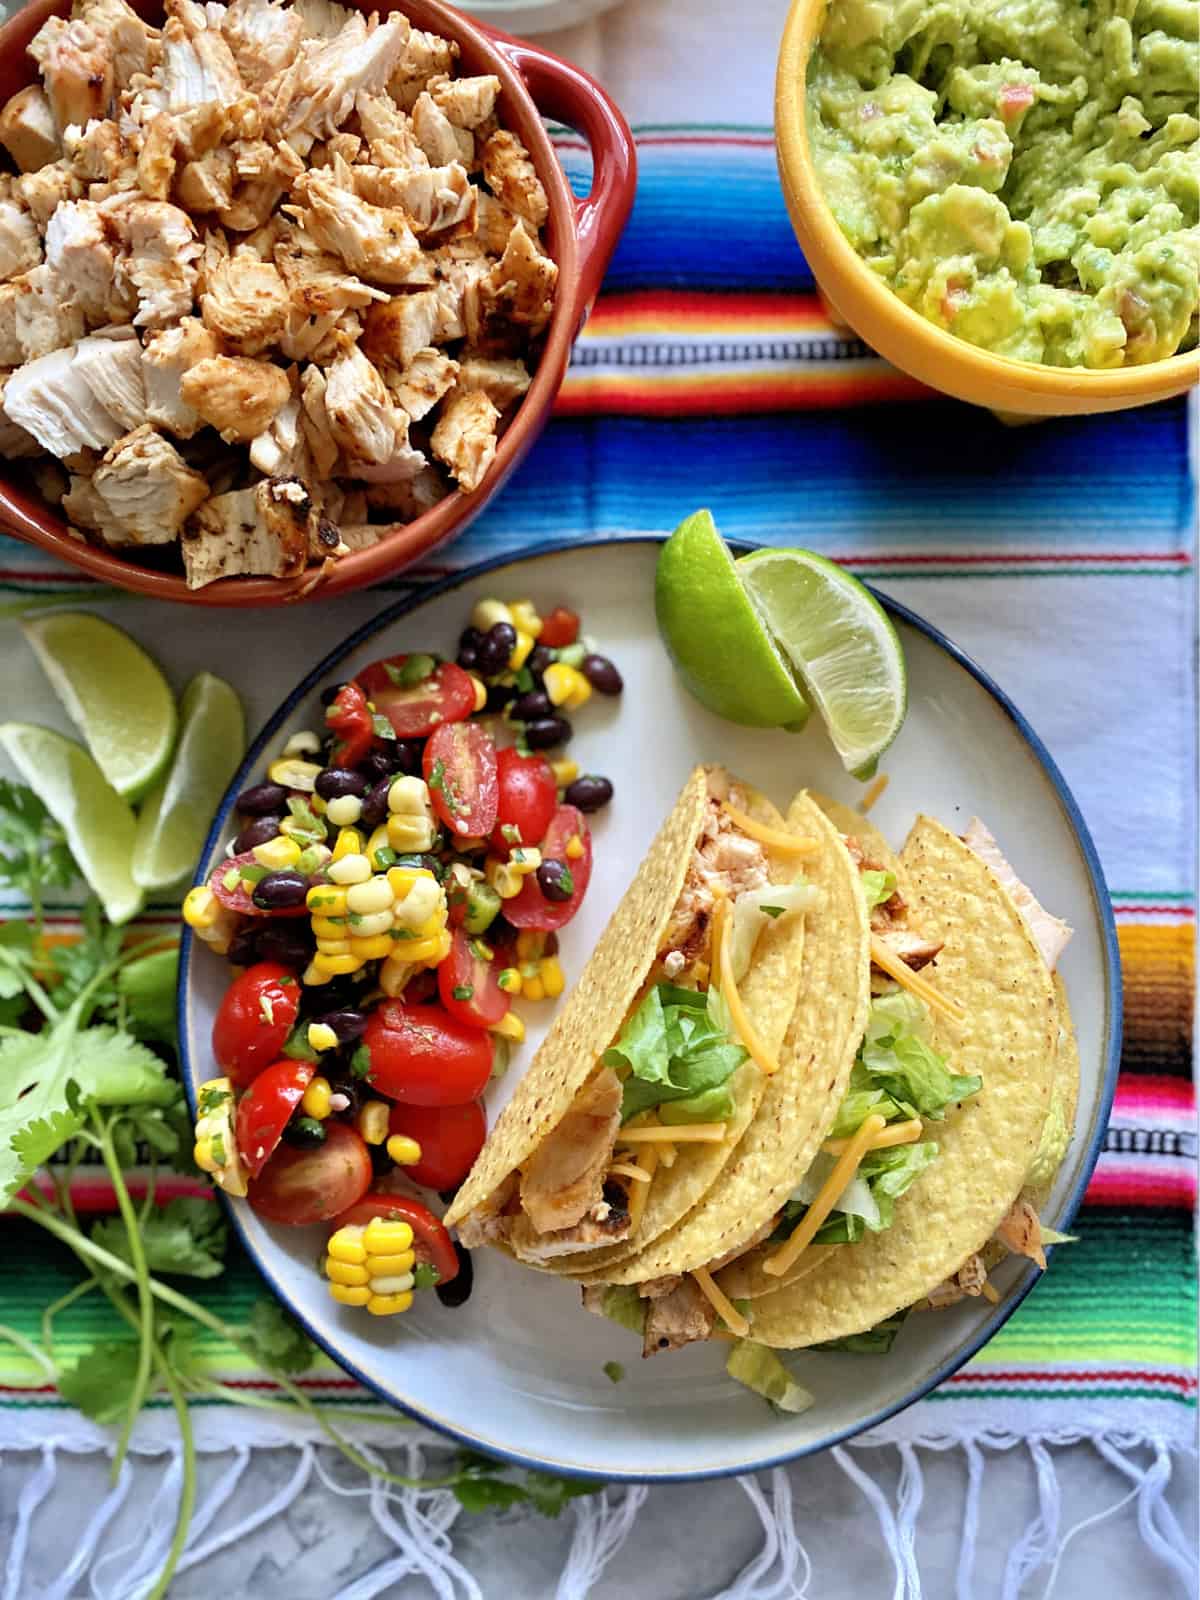
Grilled Chicken Tacos
-
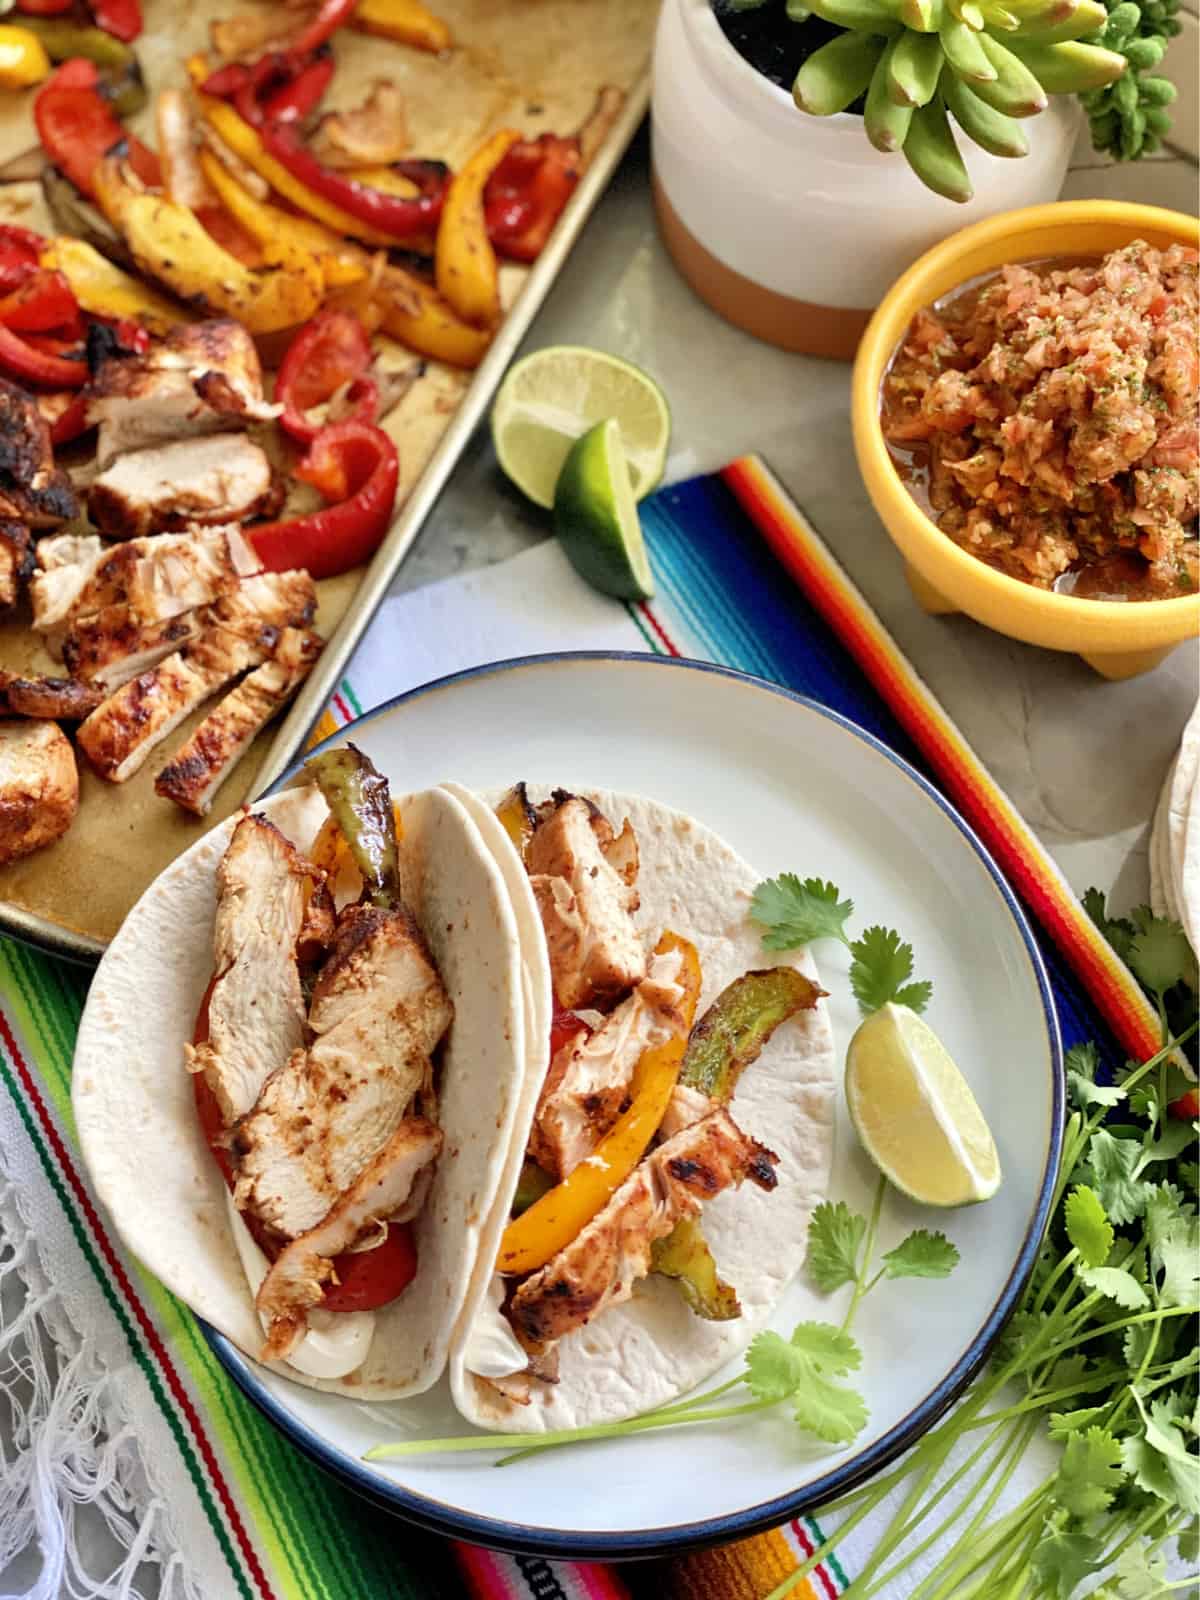
Grilled Chicken Fajitas
-
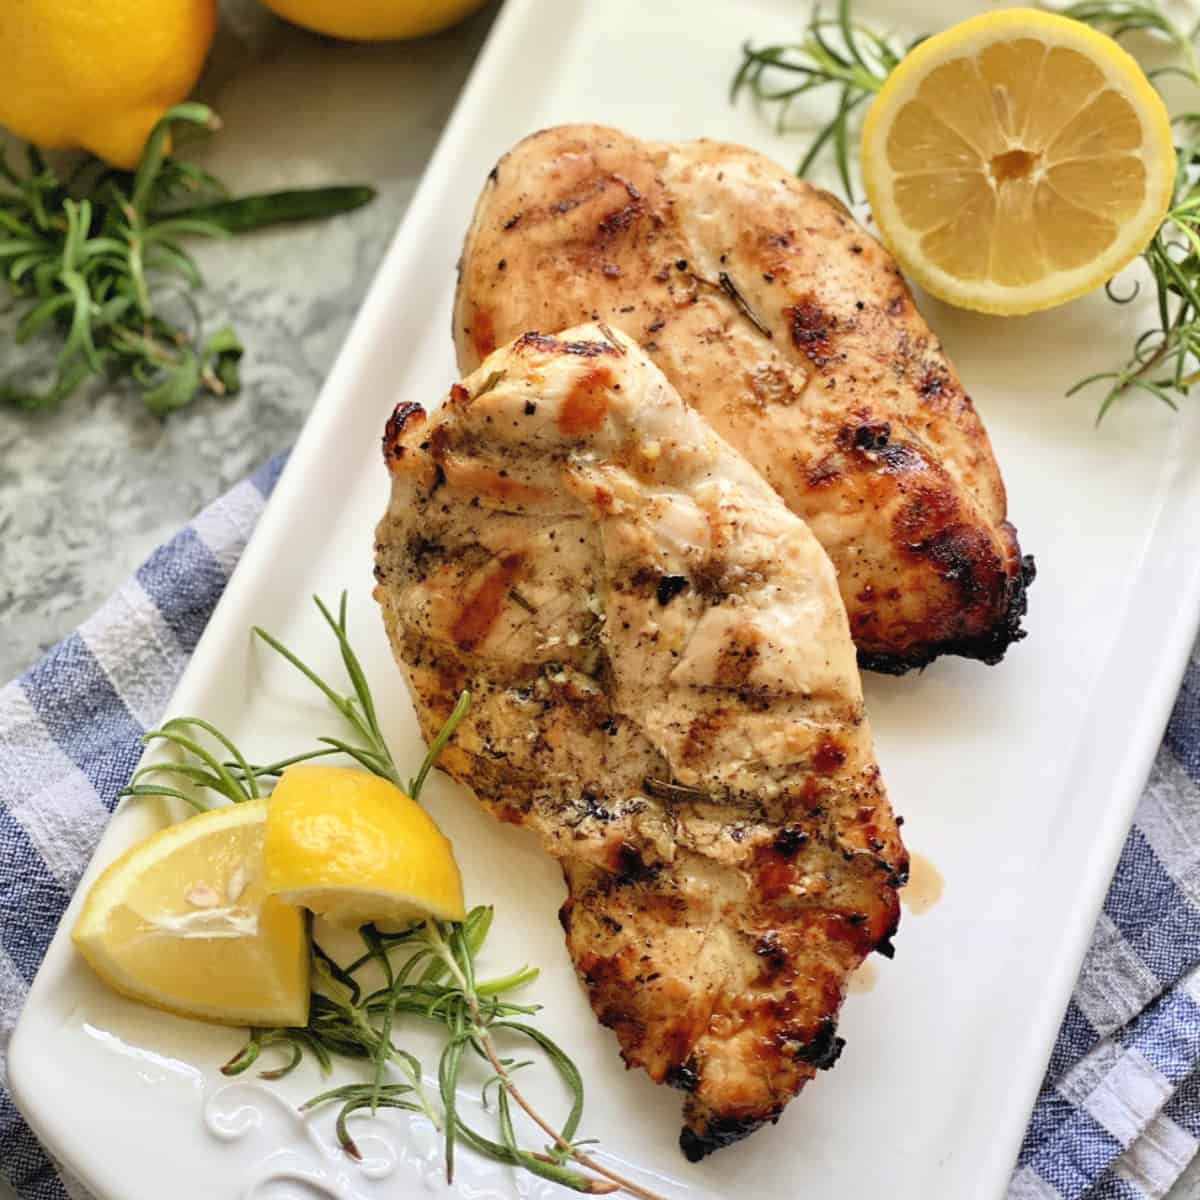
Grilled Lemon Chicken
-
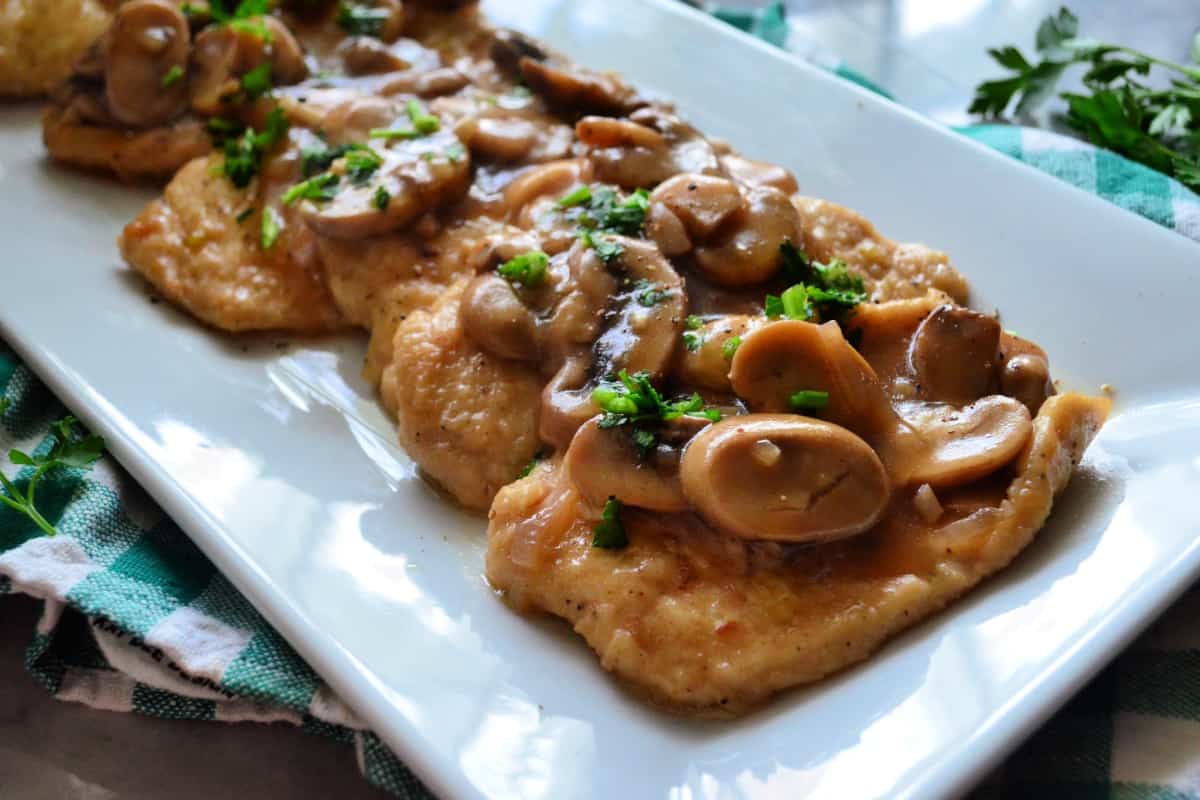
Instant Pot Chicken Marsala
-
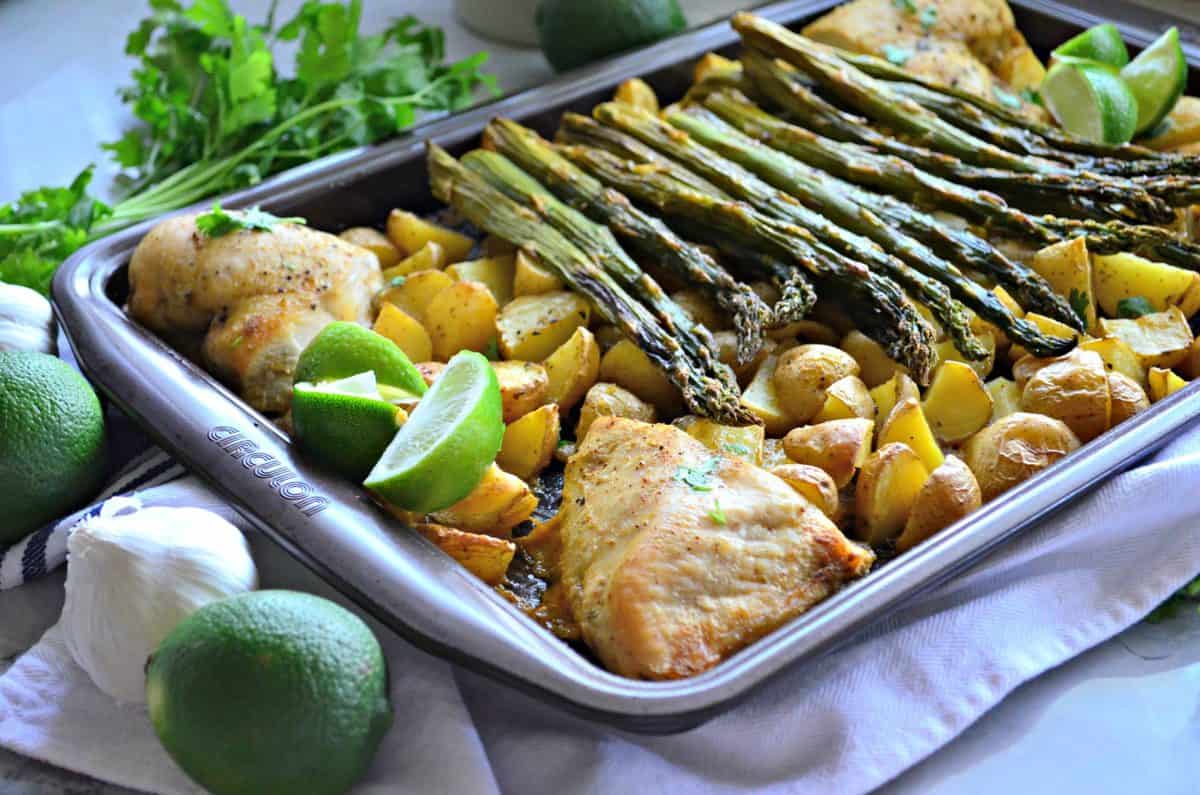
Sheet Pan Cilantro Lime Chicken Dinner
-
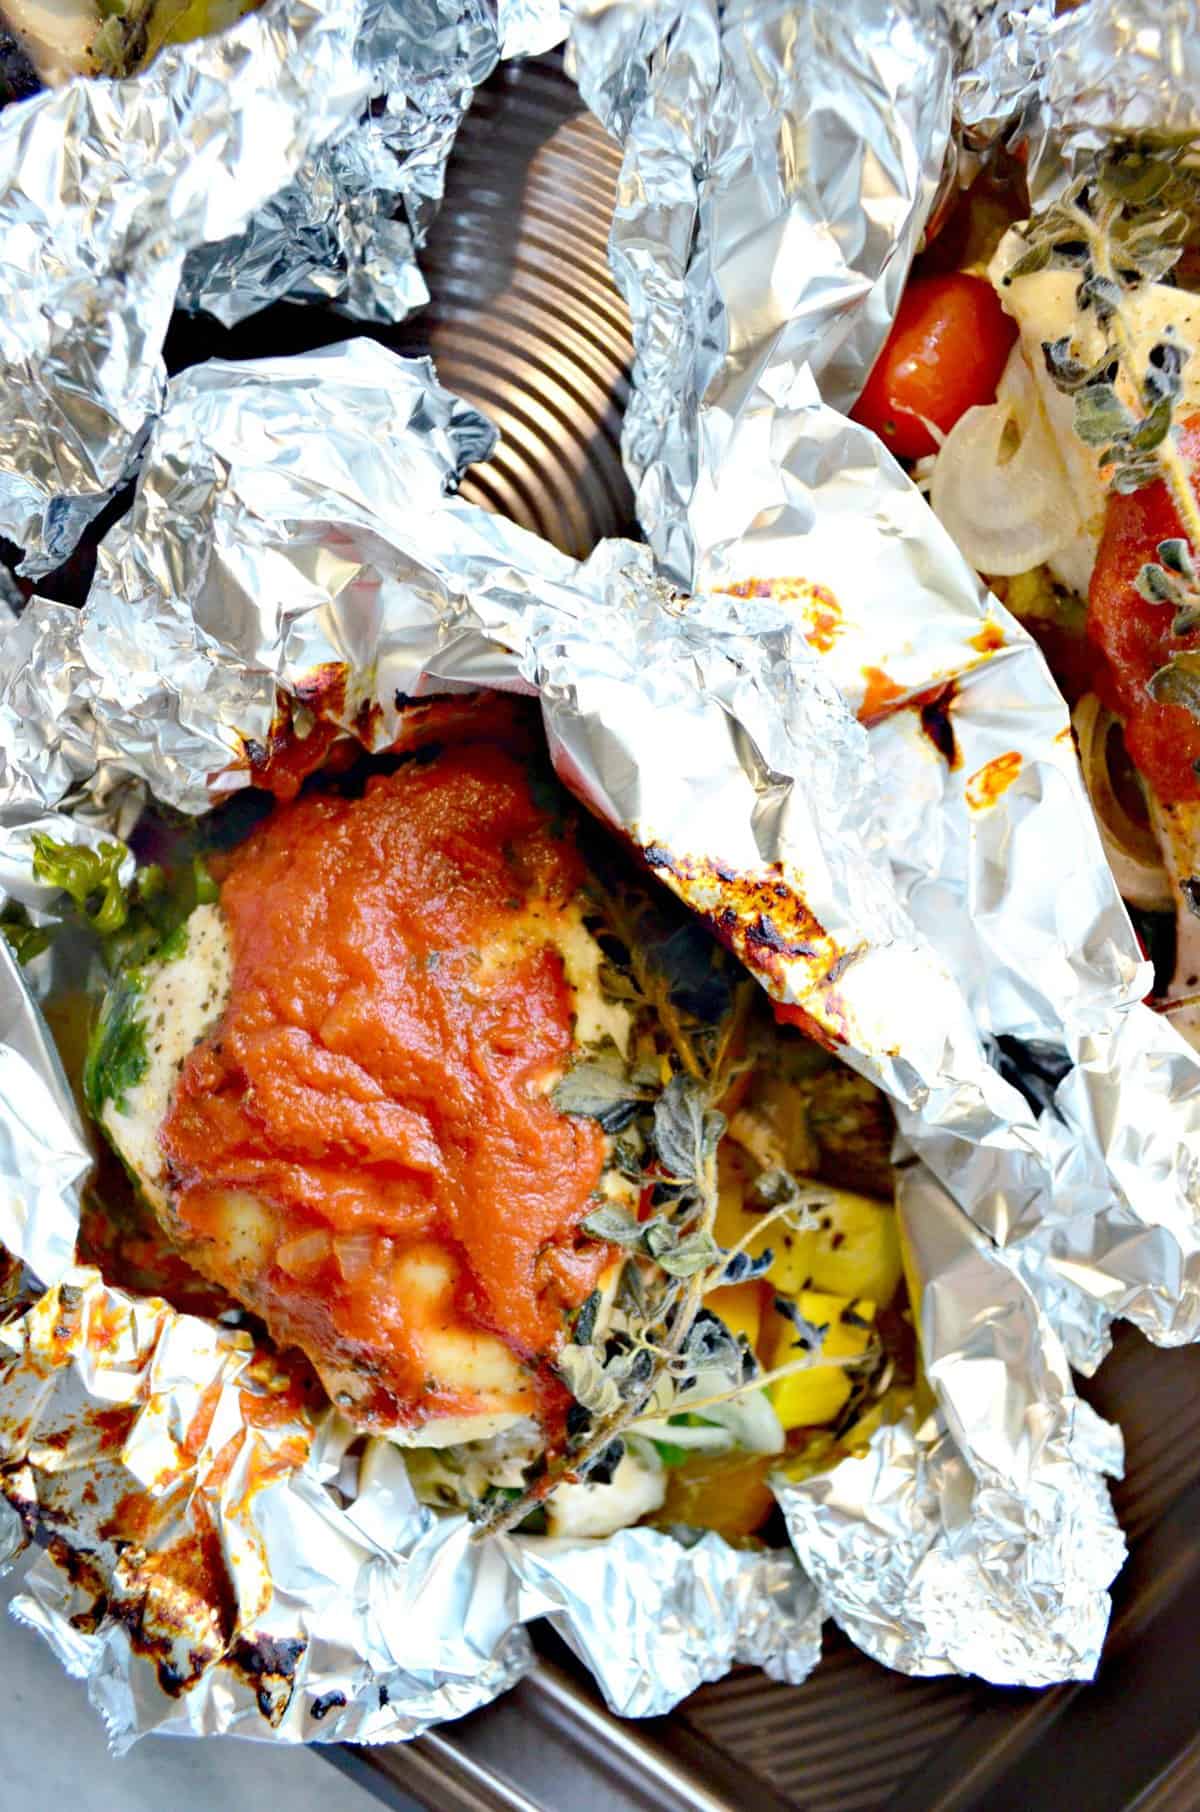
Mexican Chicken Foil Packets
-
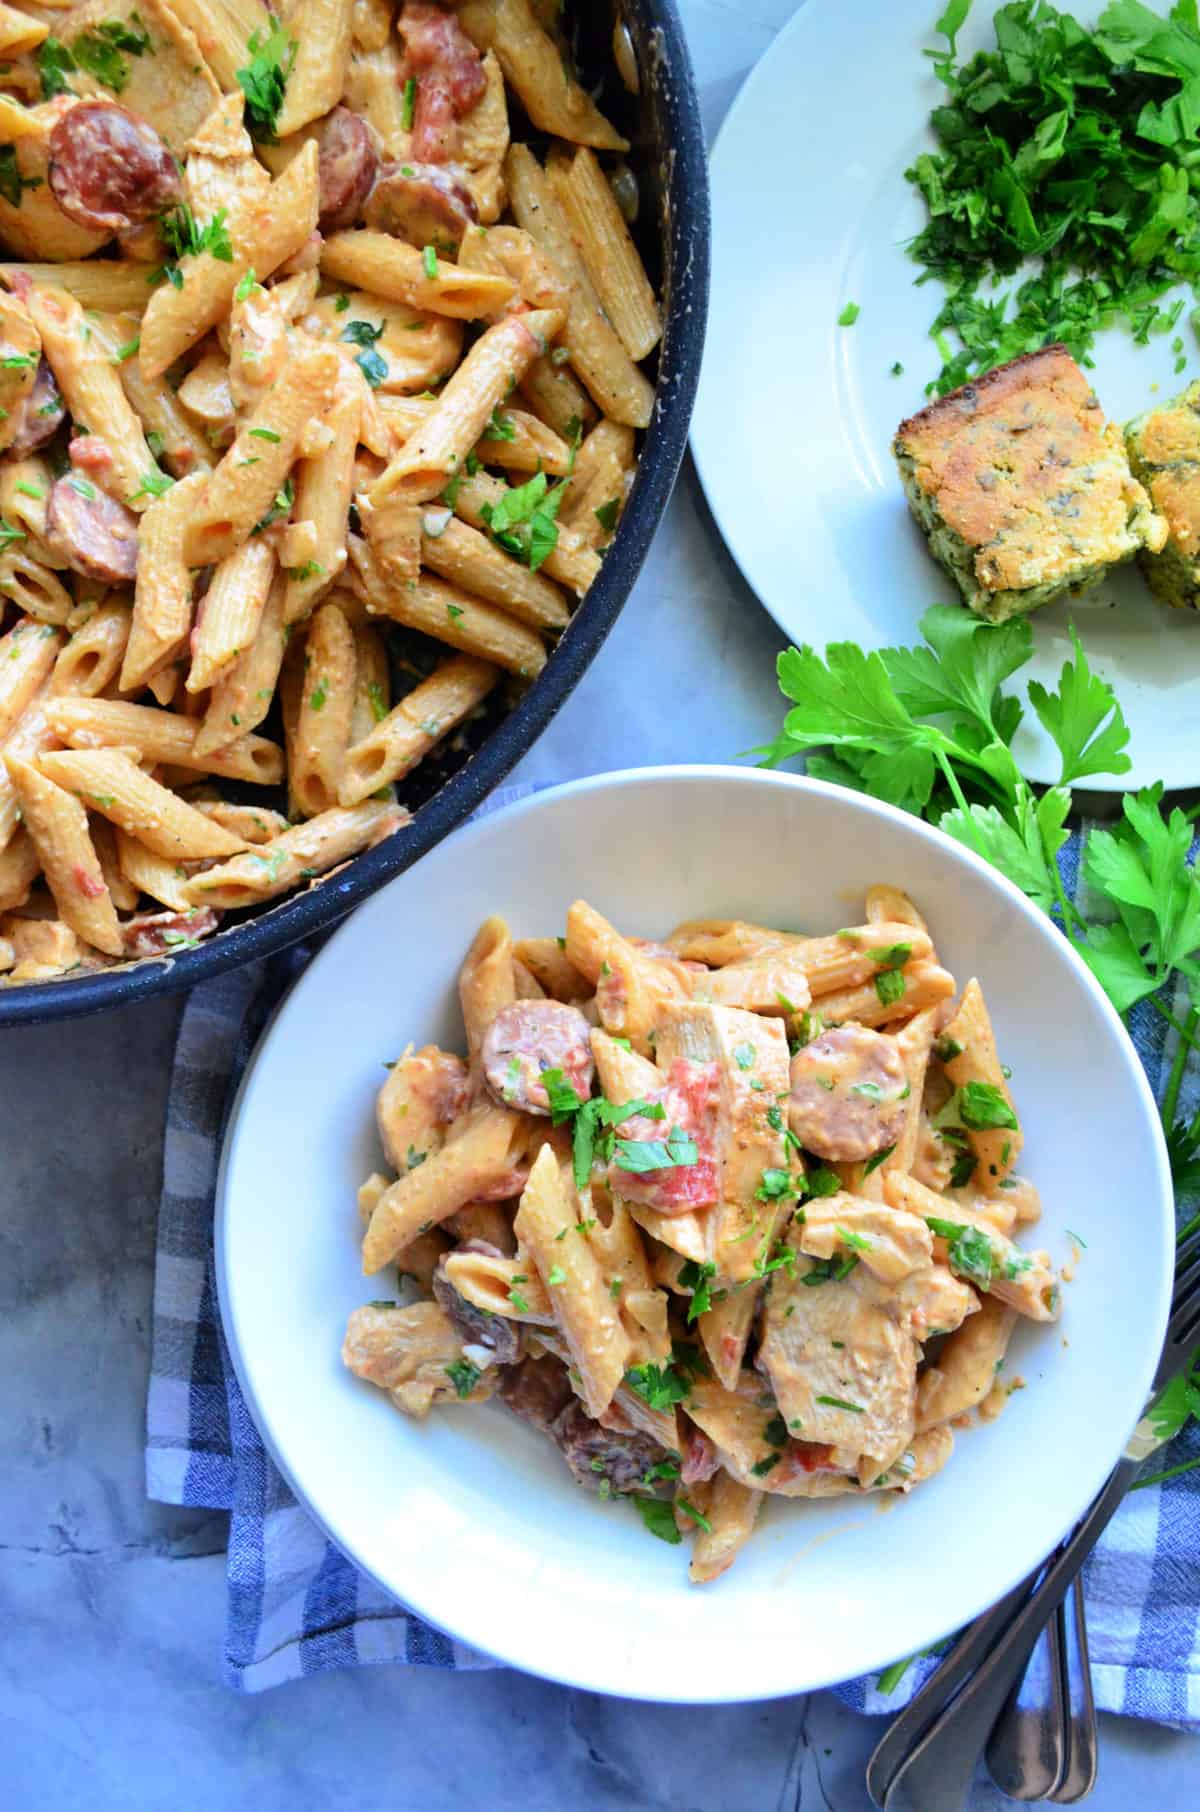
Creamy Cajun Chicken Pasta
-
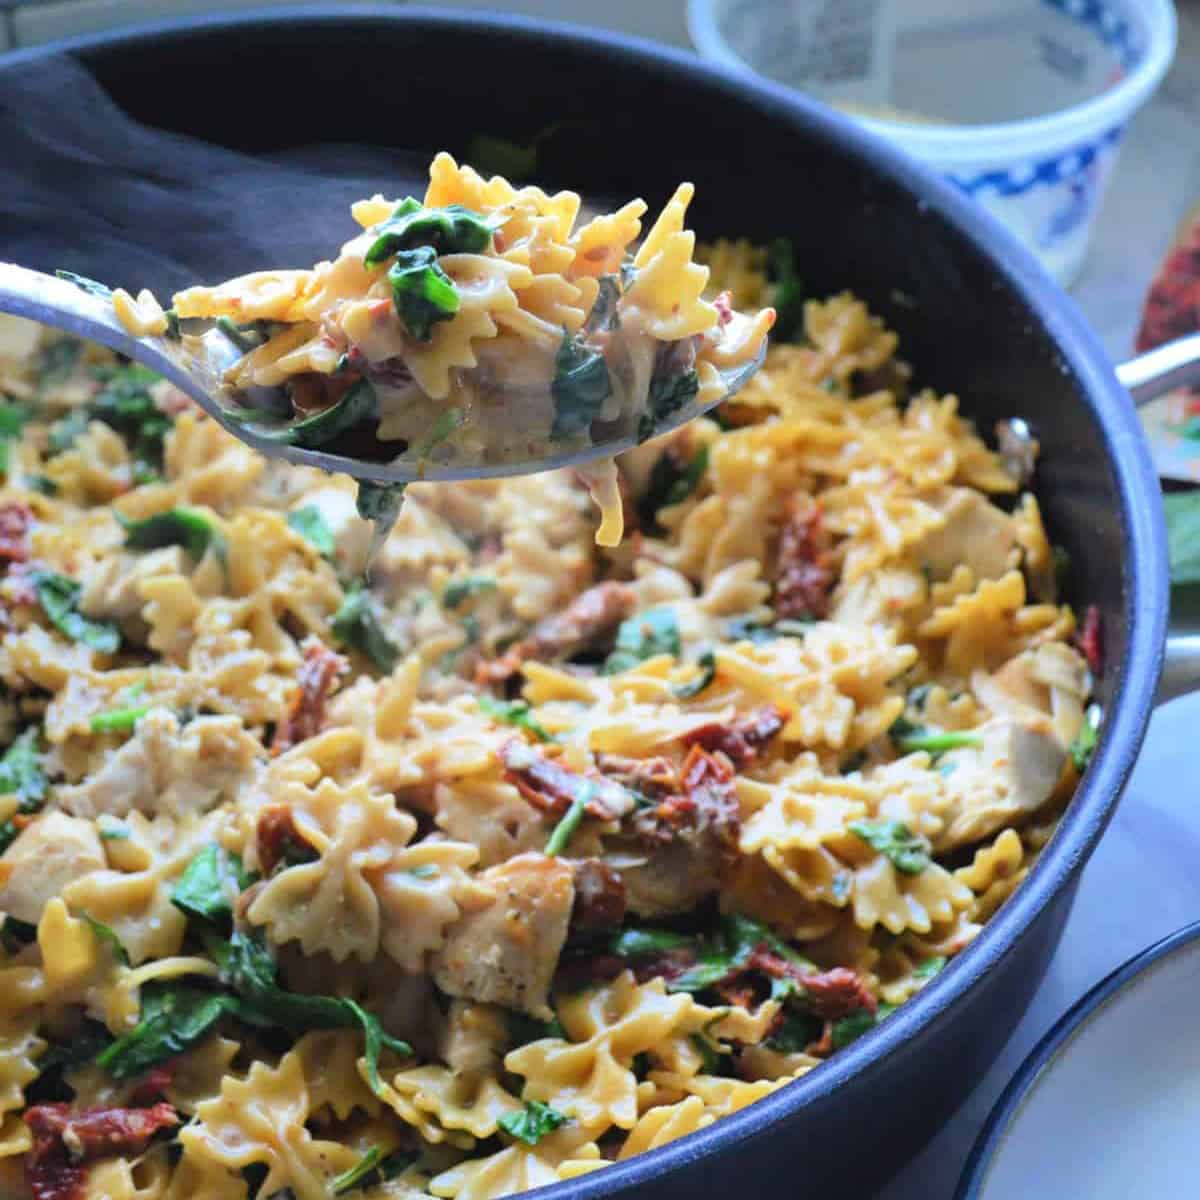
Sun-Dried Tomato Pasta with Chicken
-
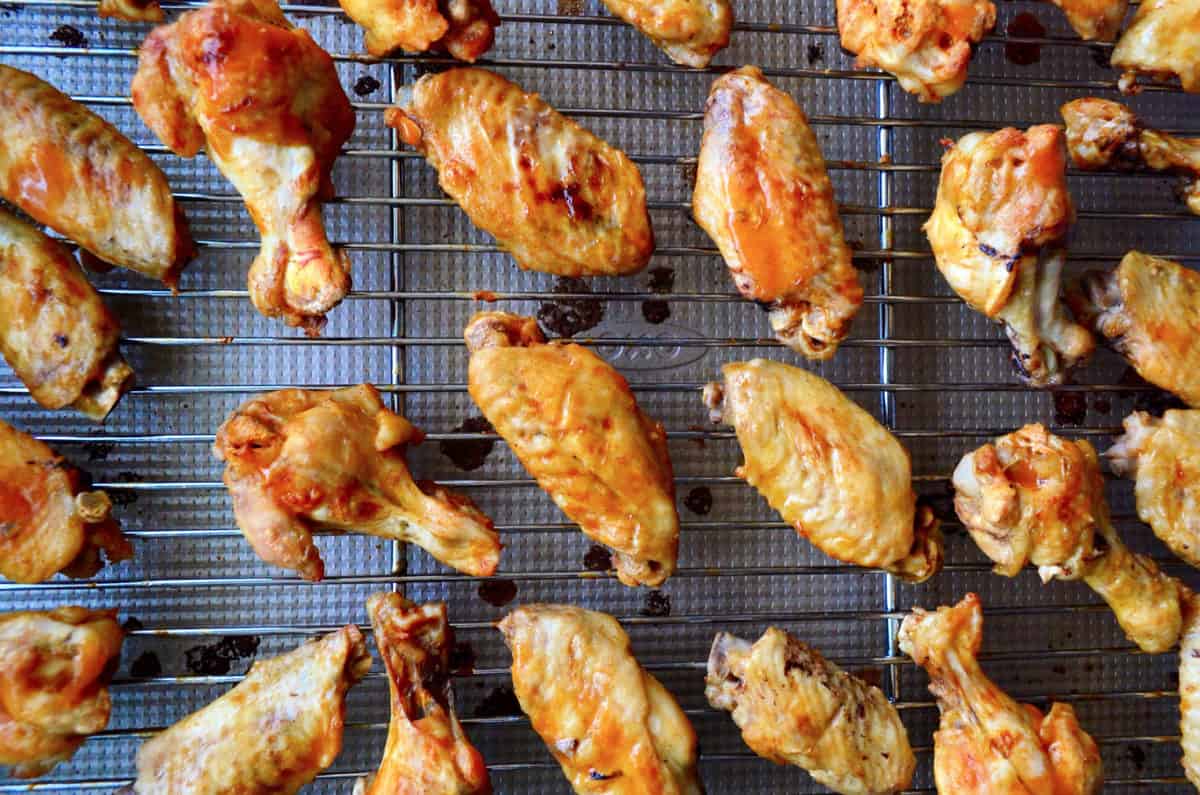
Instant Pot Chicken Wings from Frozen
-
Green Enchilada Chicken Soup
-
Instant Pot Jambalaya
-
Chicken Cacciatore Foil Packets
-
Caprese Pesto Chicken
-
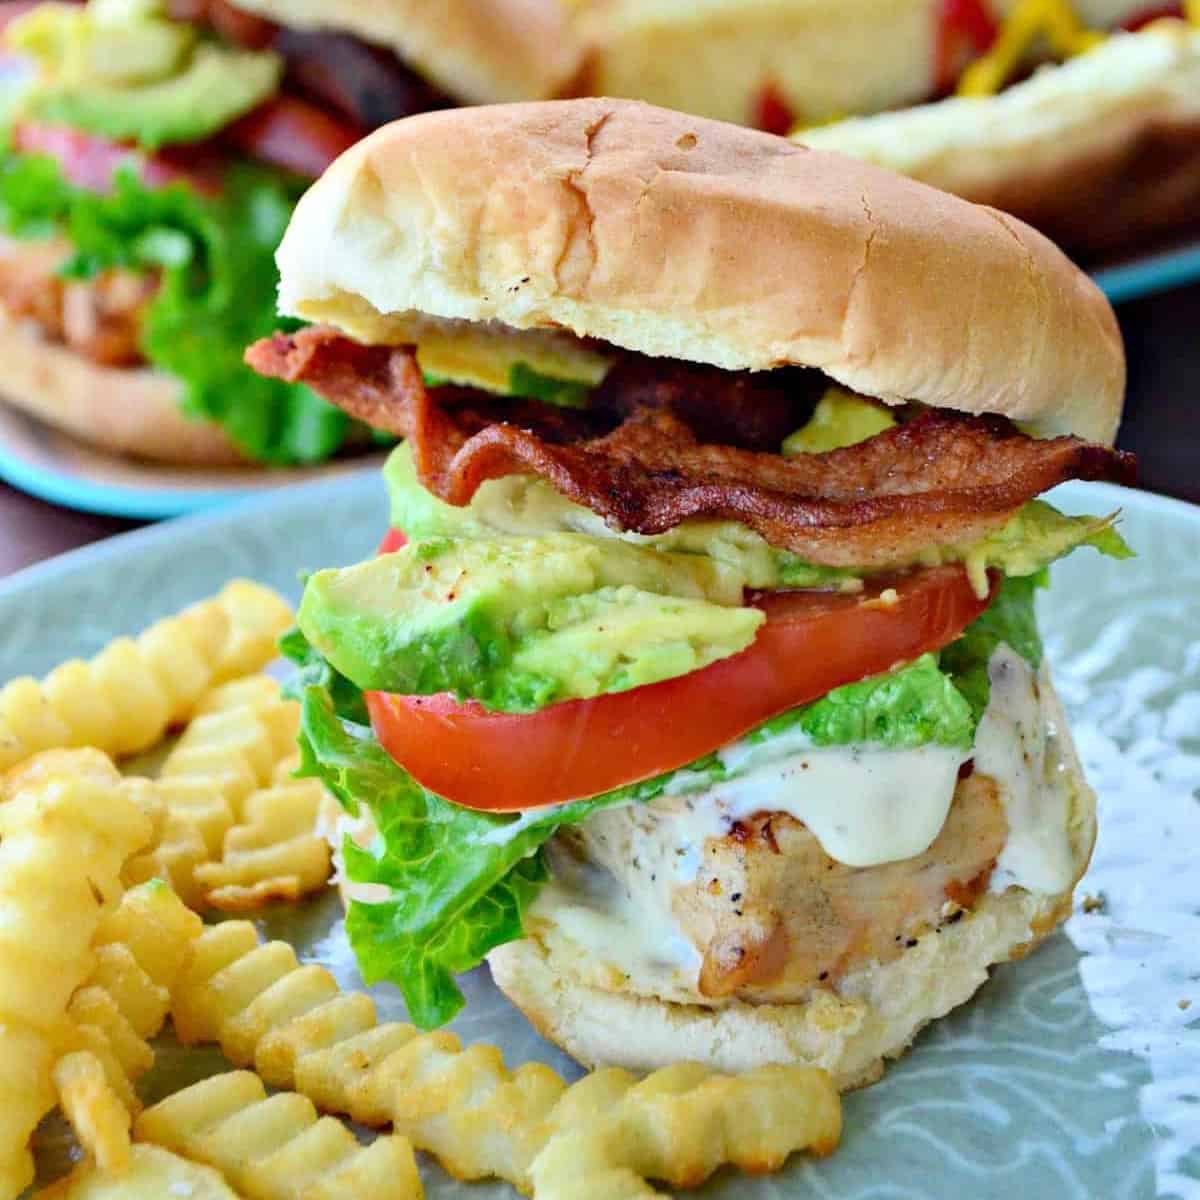
Grilled Chicken Sandwich
-
Sheet Pan Chicken and Squash Dinner
-
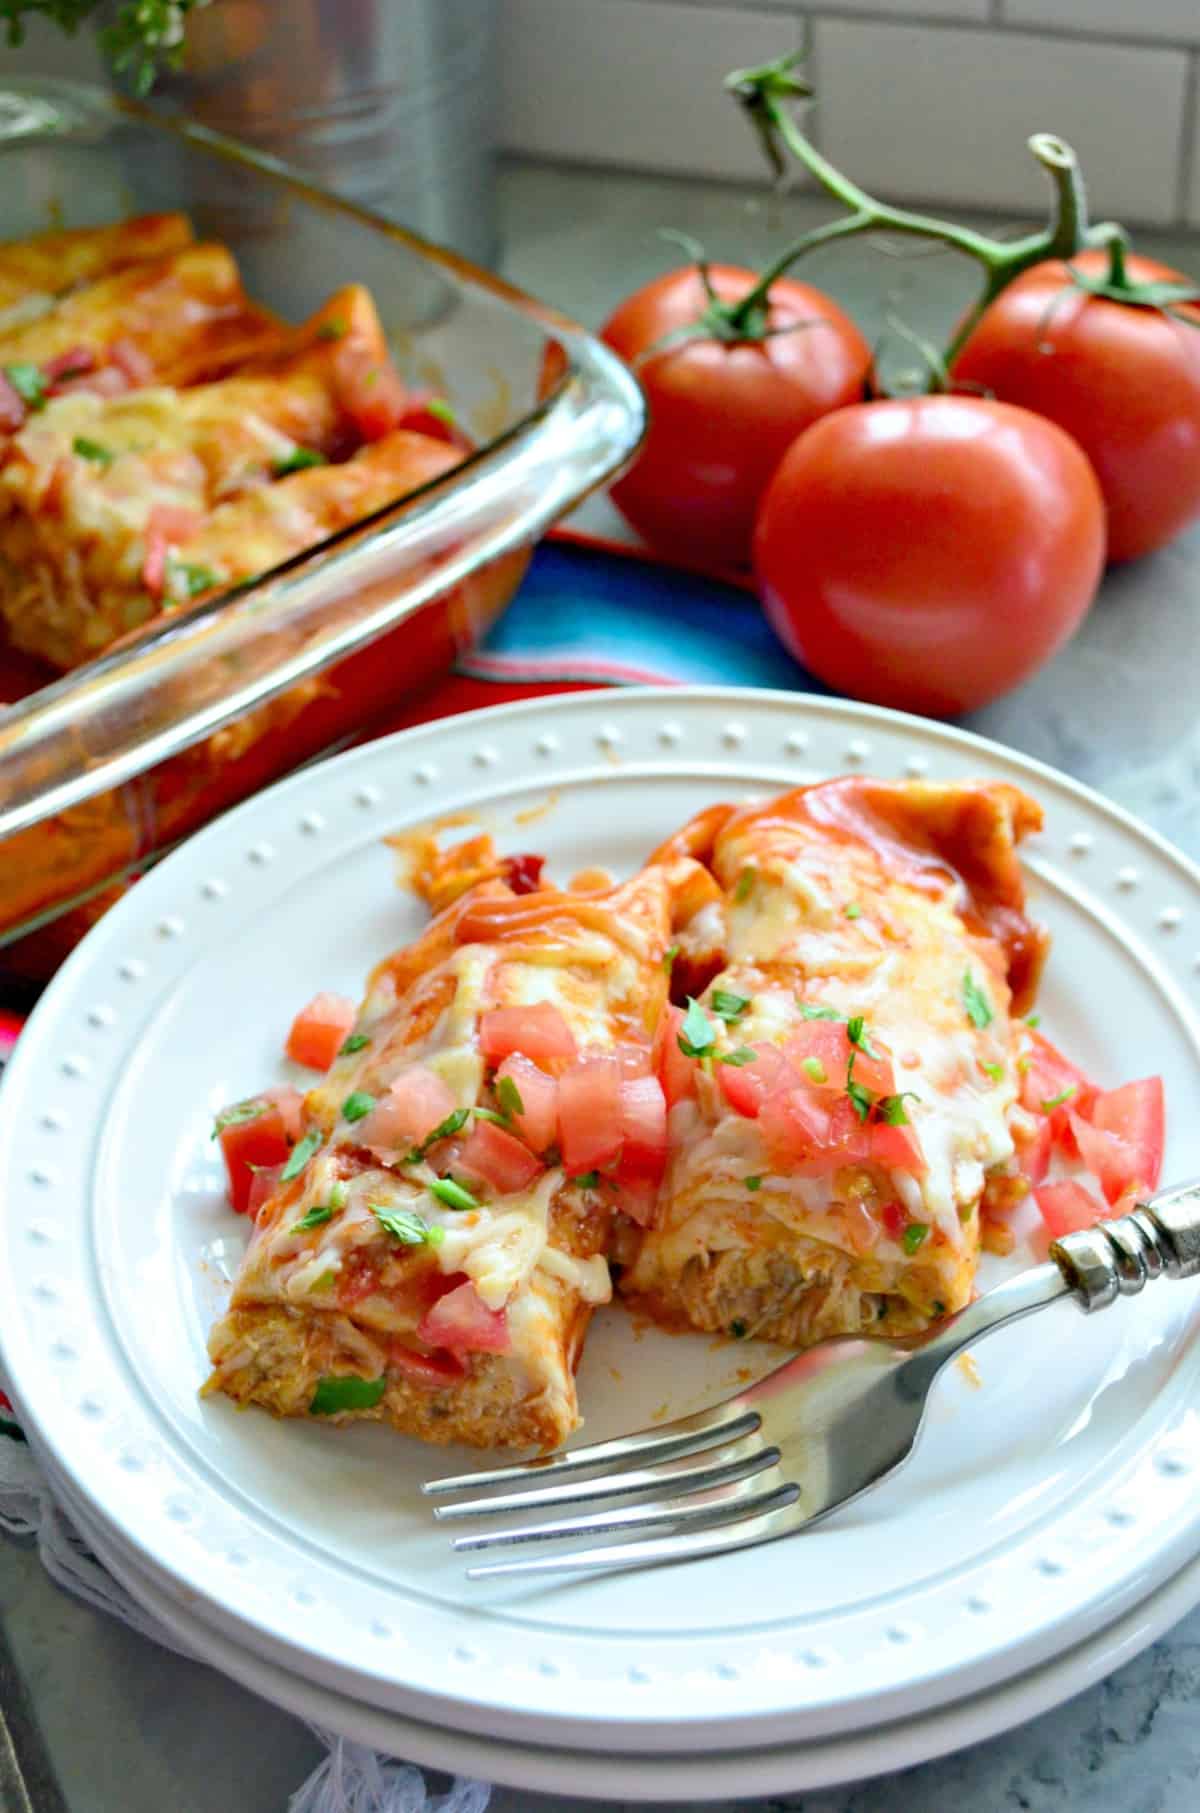
Chicken and Cheese Enchiladas