Welcome to Katie’s Cucina—your go-to source for delicious, family-friendly recipes made for busy weeknights and special celebrations alike. From easy one-pot meals and comforting breakfasts to quick lunches and holiday-worthy dinners. Katie shares creative, seasonal dishes that are big on flavor and low on stress. Every recipe comes with step-by-step instructions, helpful photos, making it easy to cook with confidence, and wow your loved ones, too.
Grilling Recipes
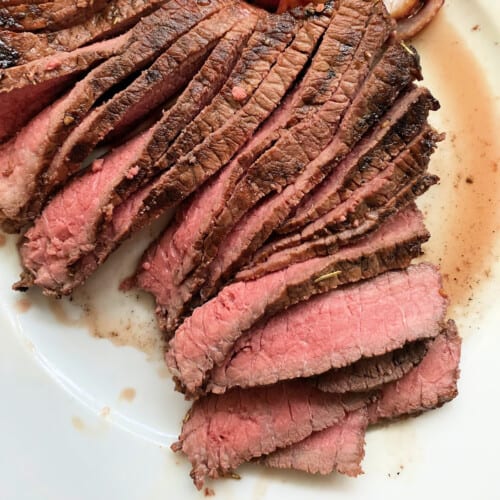
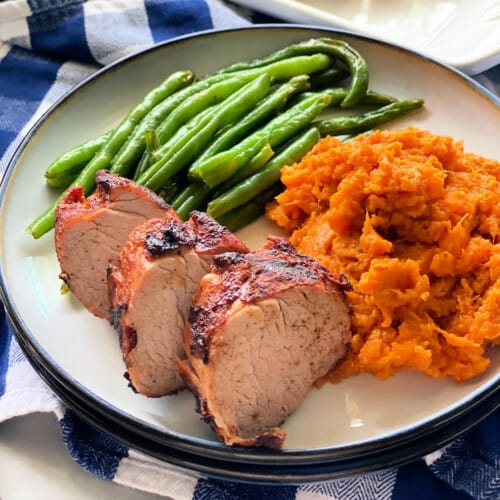
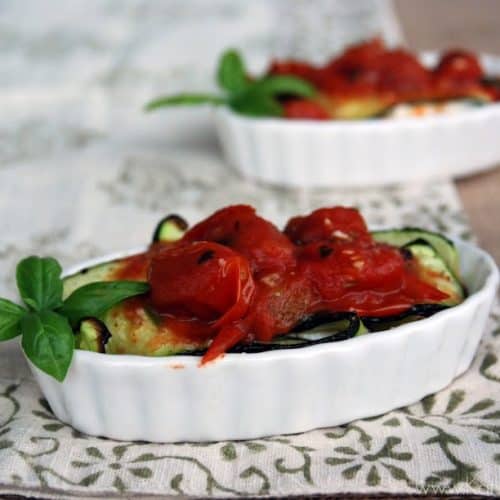
Discover delicious grilling recipes perfect for backyard cookouts, packed with bold flavors and simple techniques.


See more grilling recipes →
Recent Recipes
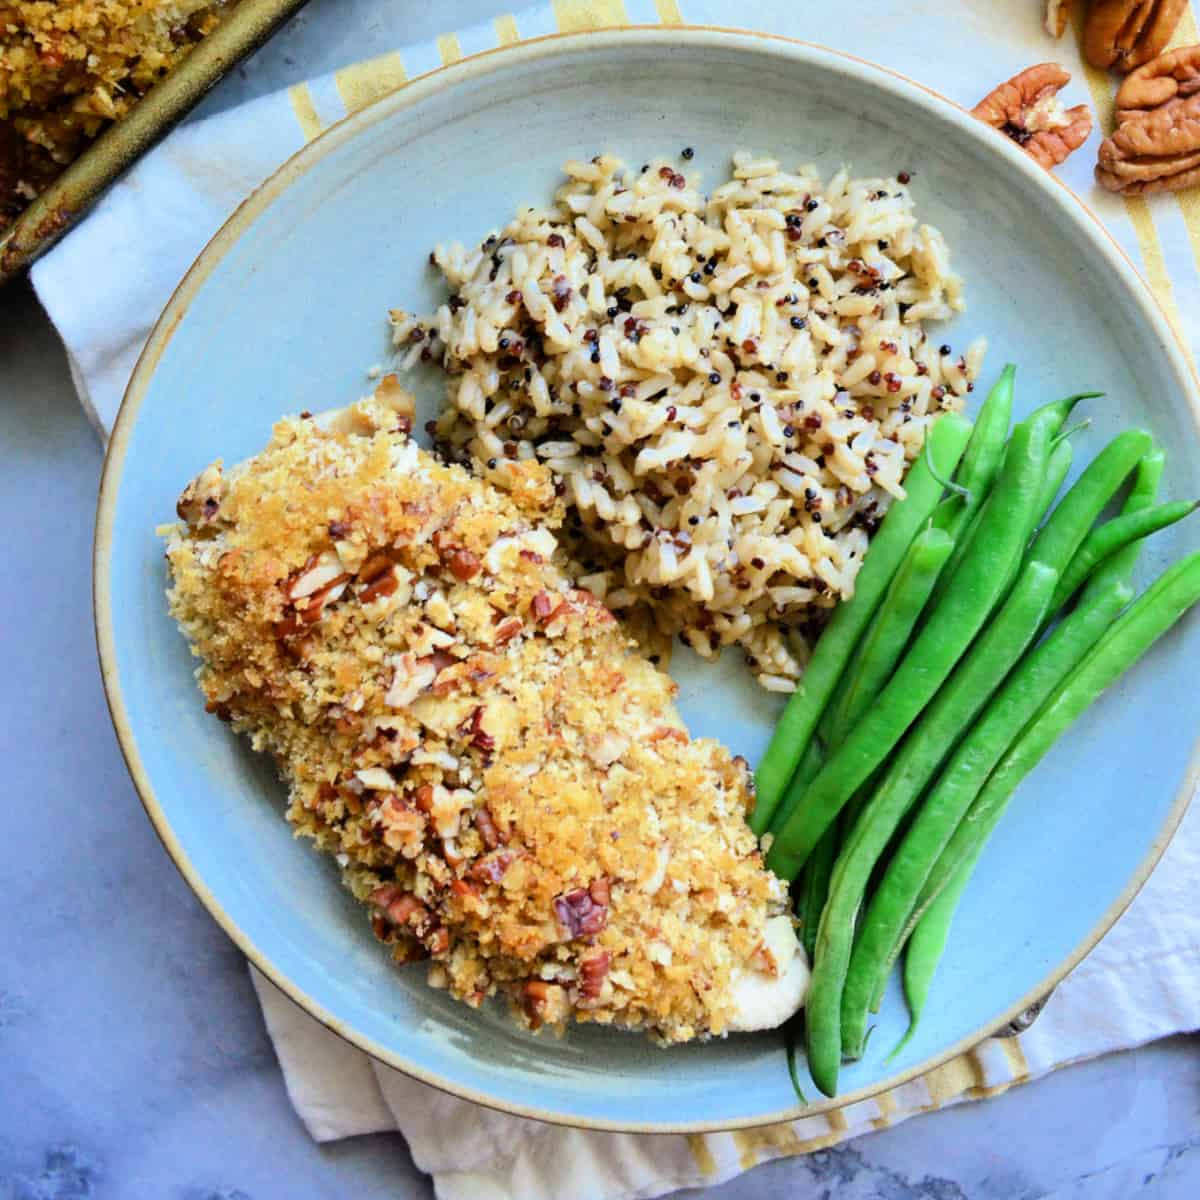
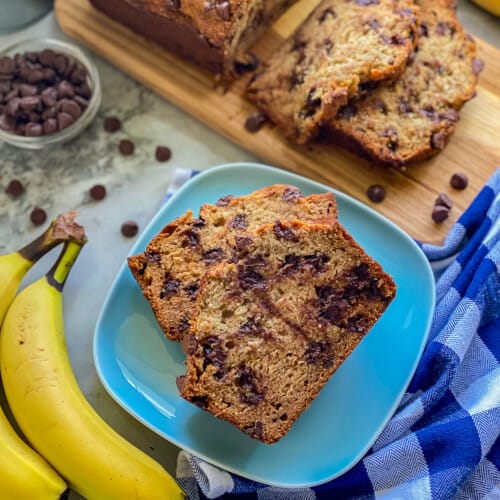
Check out the latest recipes from my kitchen— they are family-approved, full of flavor, and perfect for bringing everyone around the table.

Trending Recipes
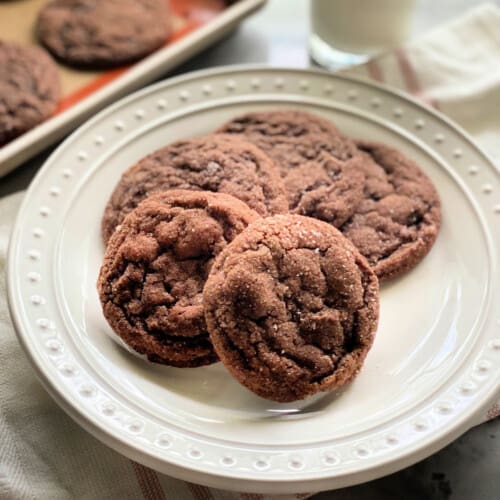
These are my tried-and-true favorites recipes that readers can’t get enough of on Katie’s Cucina—each one has earned multiple 5-star reviews from home cooks just like you!


About Katie
I’m Katie Jasiewicz: home cook, food blogger, and recipe developer. A busy mom of two children who loves to feed her family delicious meals that don’t take hours to cook! My mission is to create easy-to-make modern comfort food for the busy family.
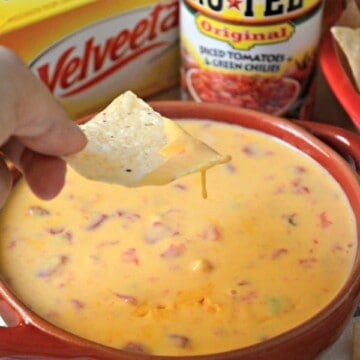
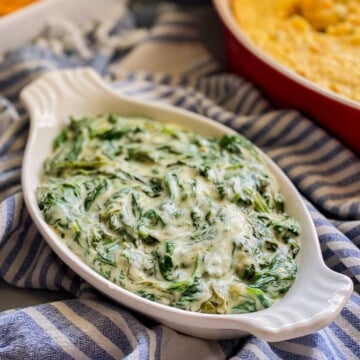
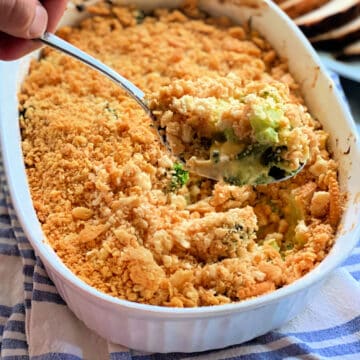
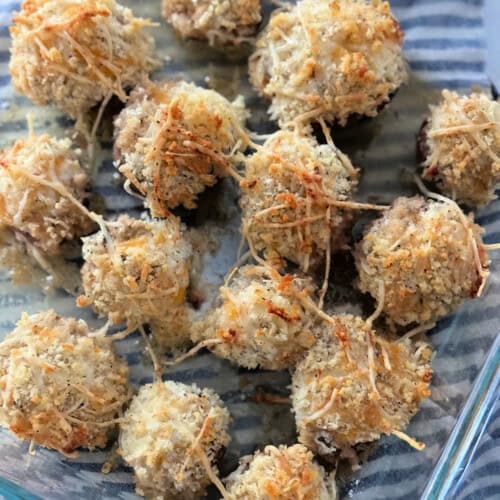
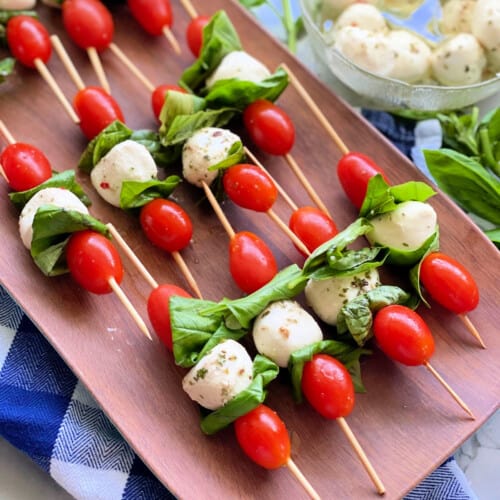
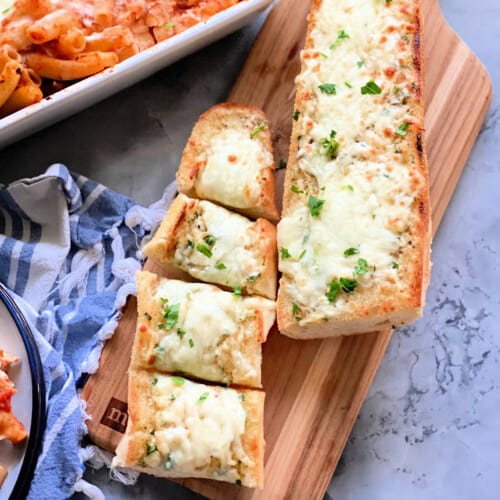
Appetizer Recipes
We’re big fans of appetizers in our house—sometimes we make a meal out of a few, and other times it’s all about enjoying a good dip before dinner.
See more appetizer recipes →
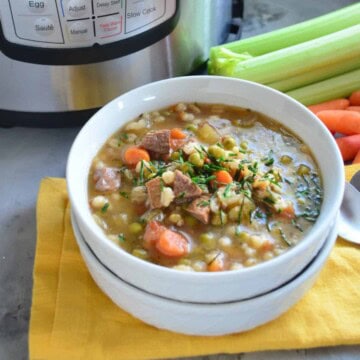
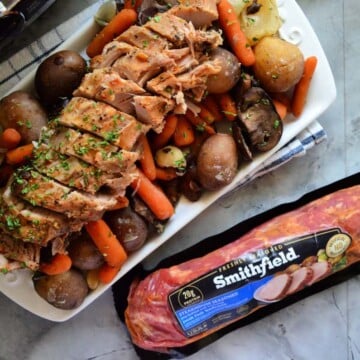
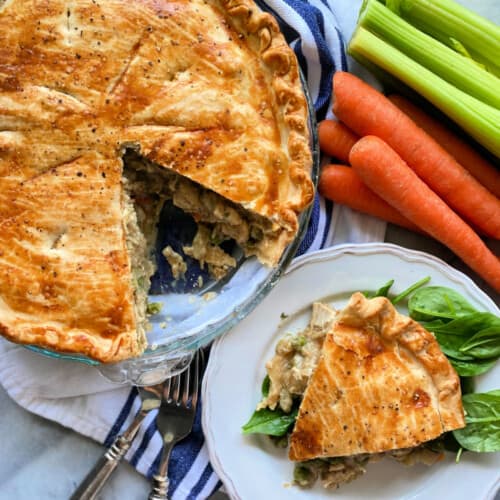
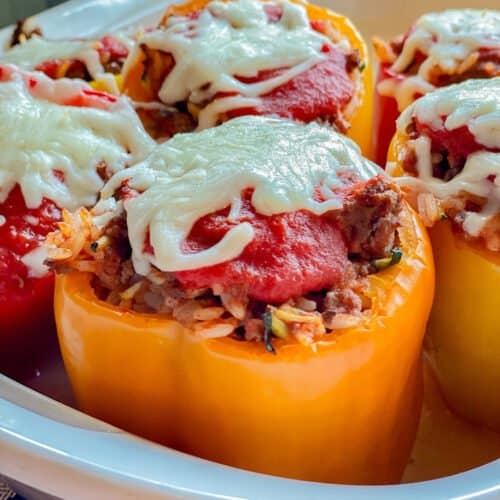
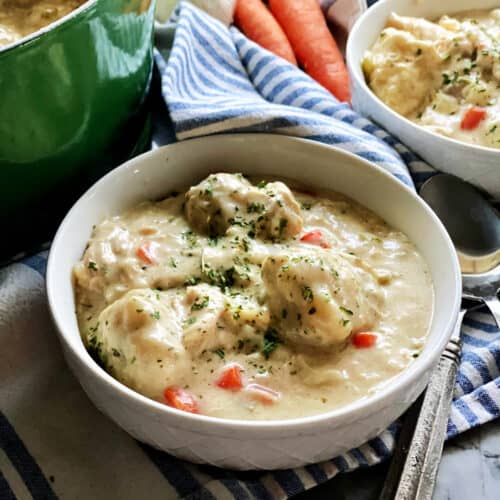
Comfort Food
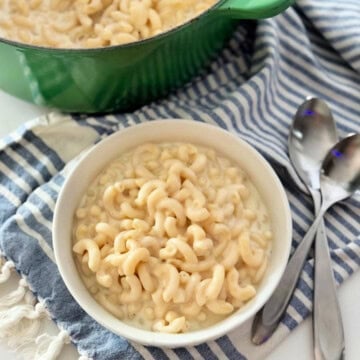
Dig into cozy, comforting recipes that feel like a warm hug—from creamy chicken and dumplings to classic family favorites like chicken pot pie, stuffed peppers, and more!
See more comfort food recipes →
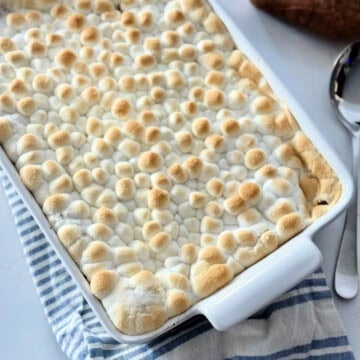
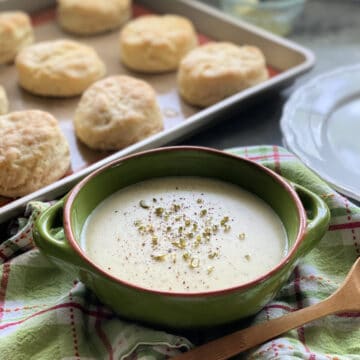
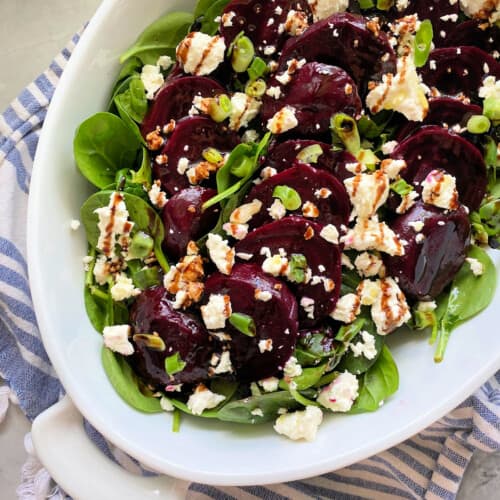
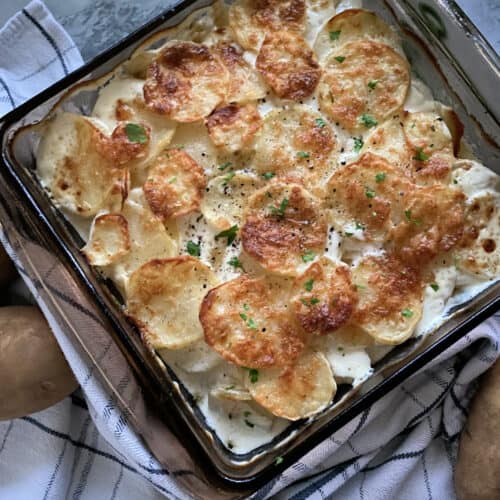
Side Dish Recipes
A meal isn’t complete without a delicious side—or two! These are some of my go-to side dishes that pair perfectly with just about any main course.
See more side dish recipes →
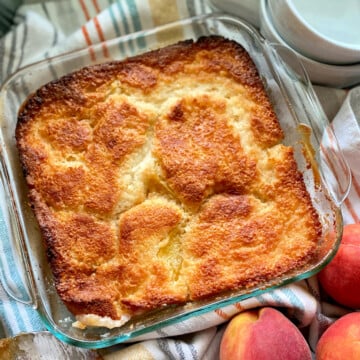
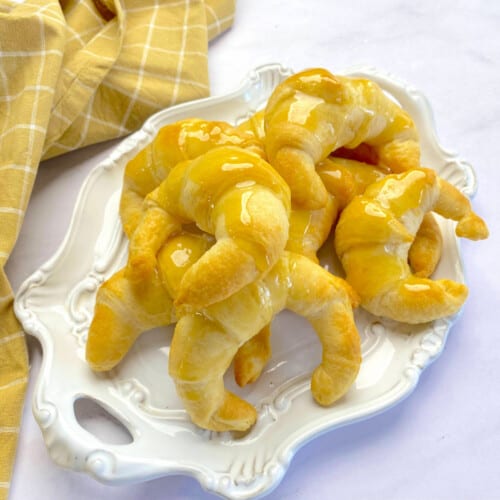
Dessert Recipes
Craving something sweet? You’ll find plenty of treats here to satisfy your sweet tooth—whether you’re a beginner or a seasoned pro in the kitchen—with everything from quick no-bake goodies to impressive baked desserts.

See more dessert recipes →
Recently Updated
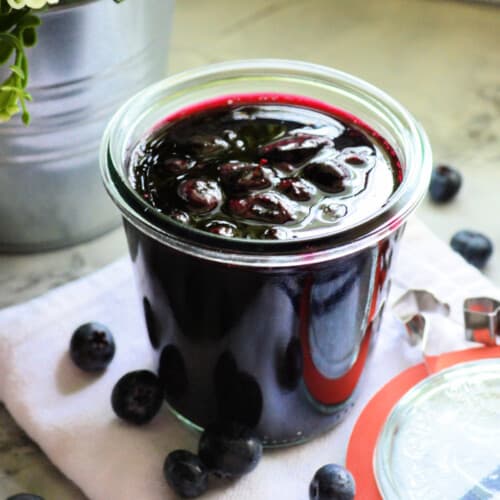
These are some of my tried-and-true favorites that just got a fresh update—same great recipes, now even better!