Skip to main content
Skip to primary sidebar
Home
About
Contact Me
FAQS
Privacy Policy
Accessibility Statement
Collaborate
Recipes
Appetizer
Asian
Breakfast
Bread
Comfort Food
Dairy Free
Dessert
Cookies
Ice Cream
Drinks
Smoothie
gluten free
Greek
Grilling
Holiday
Christmas
Halloween
Instant Pot
Italian
Katie Original
Main Dish
Beef
Chicken
Pork
Sausage
Turkey
Pizza
Mexican
One Pot Meal
Polish
Salad
Dressing
Sandwich
Seafood
Shrimp
Side Dish
Slow Cooker
Soups and Stews
Vegetarian
Travel
Search
menu icon
Home
Recipe Index
About Me
Contact
search icon
Search
Home
Recipe Index
About Me
Contact
×
Katie's Cucina
Search Results for: cajun
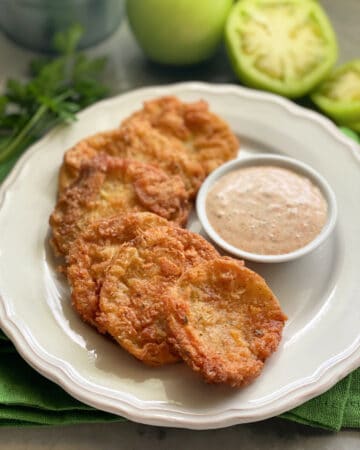
Fried Green Tomatoes with Cajun Ranch Dipping Sauce
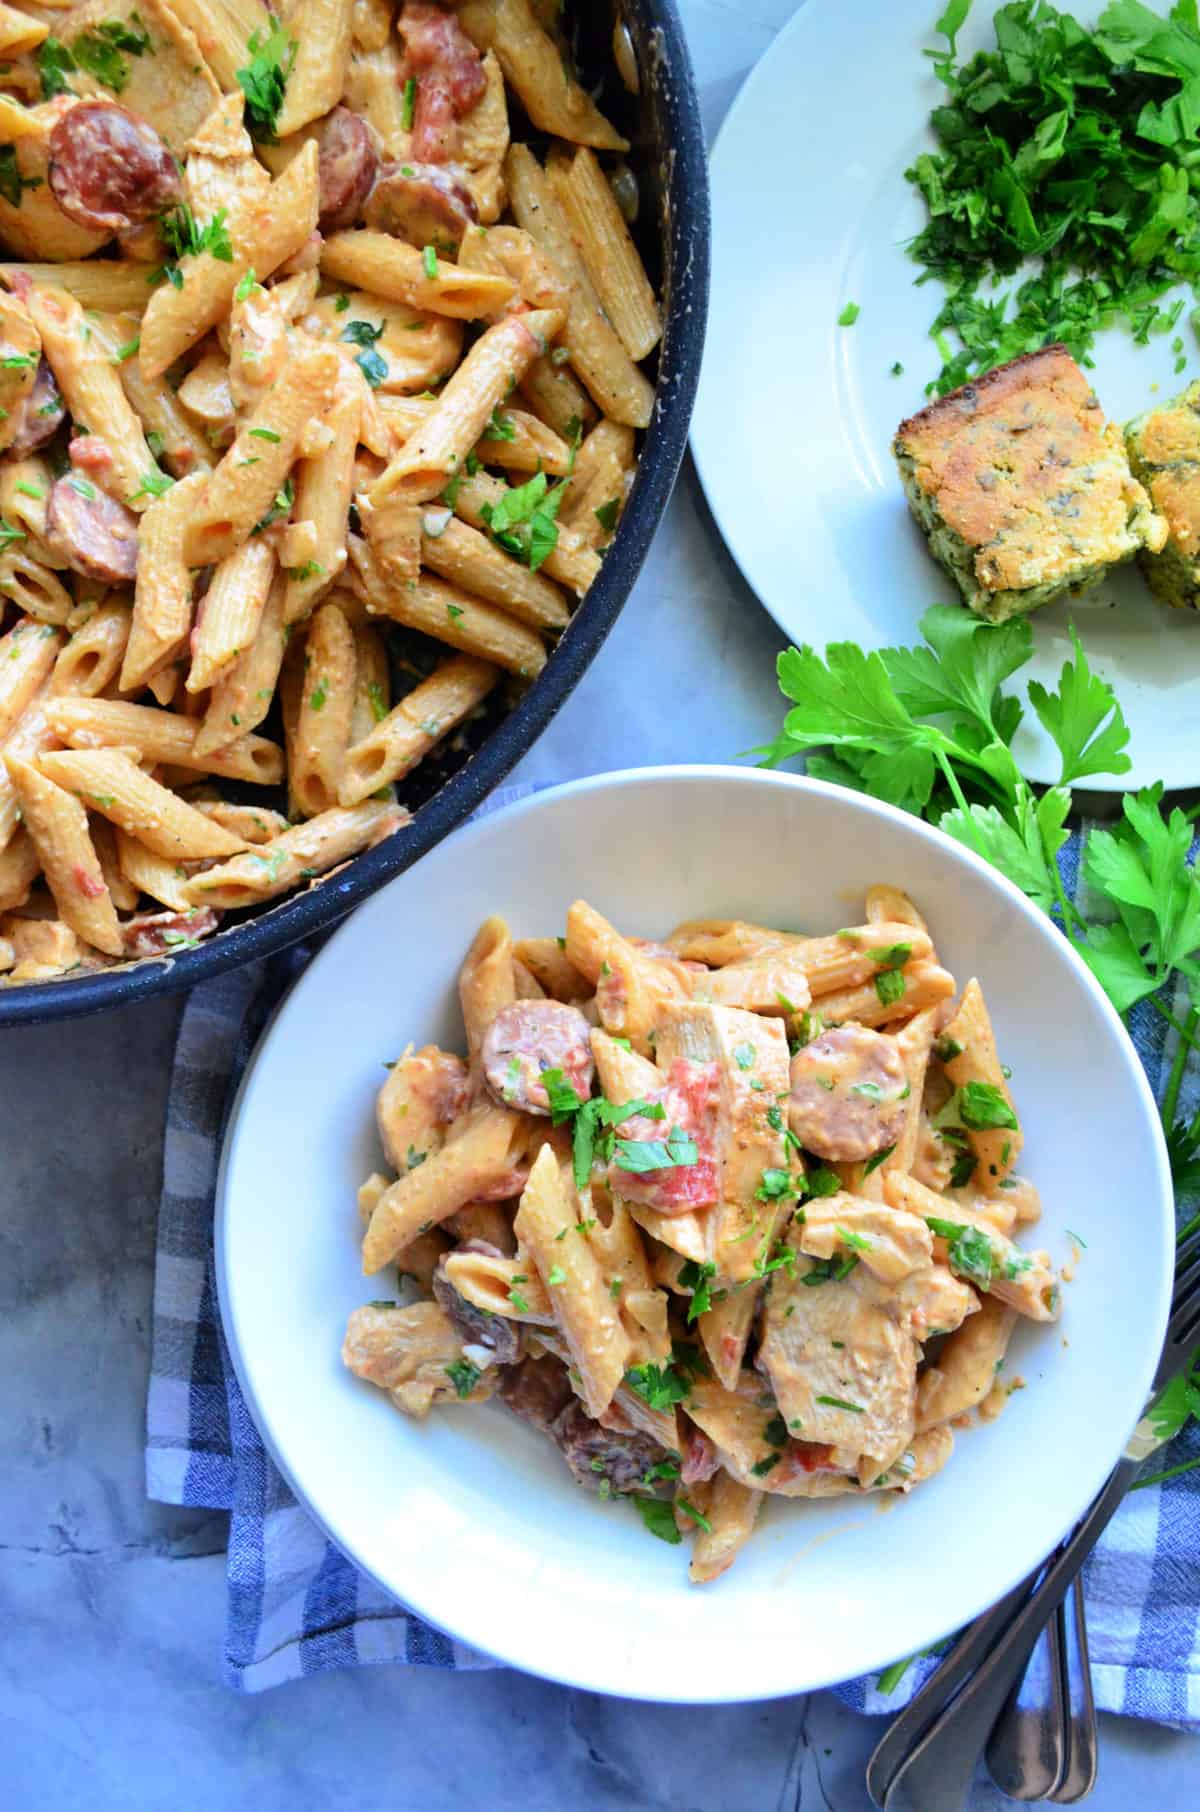
Creamy Cajun Chicken Pasta
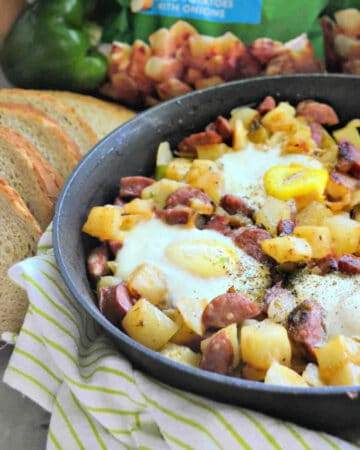
Cajun Breakfast Skillet
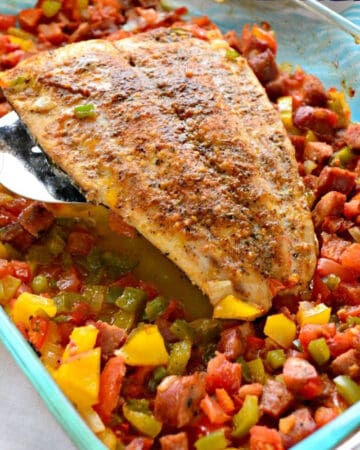
Baked Cajun Mahi Mahi Dinner
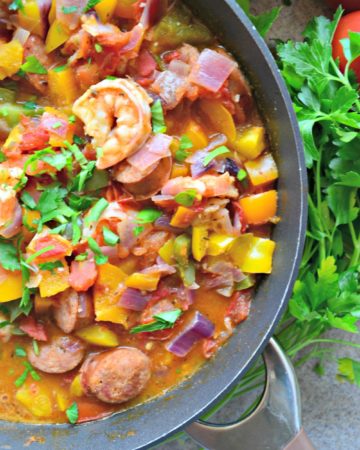
Cajun Shrimp and Sausage
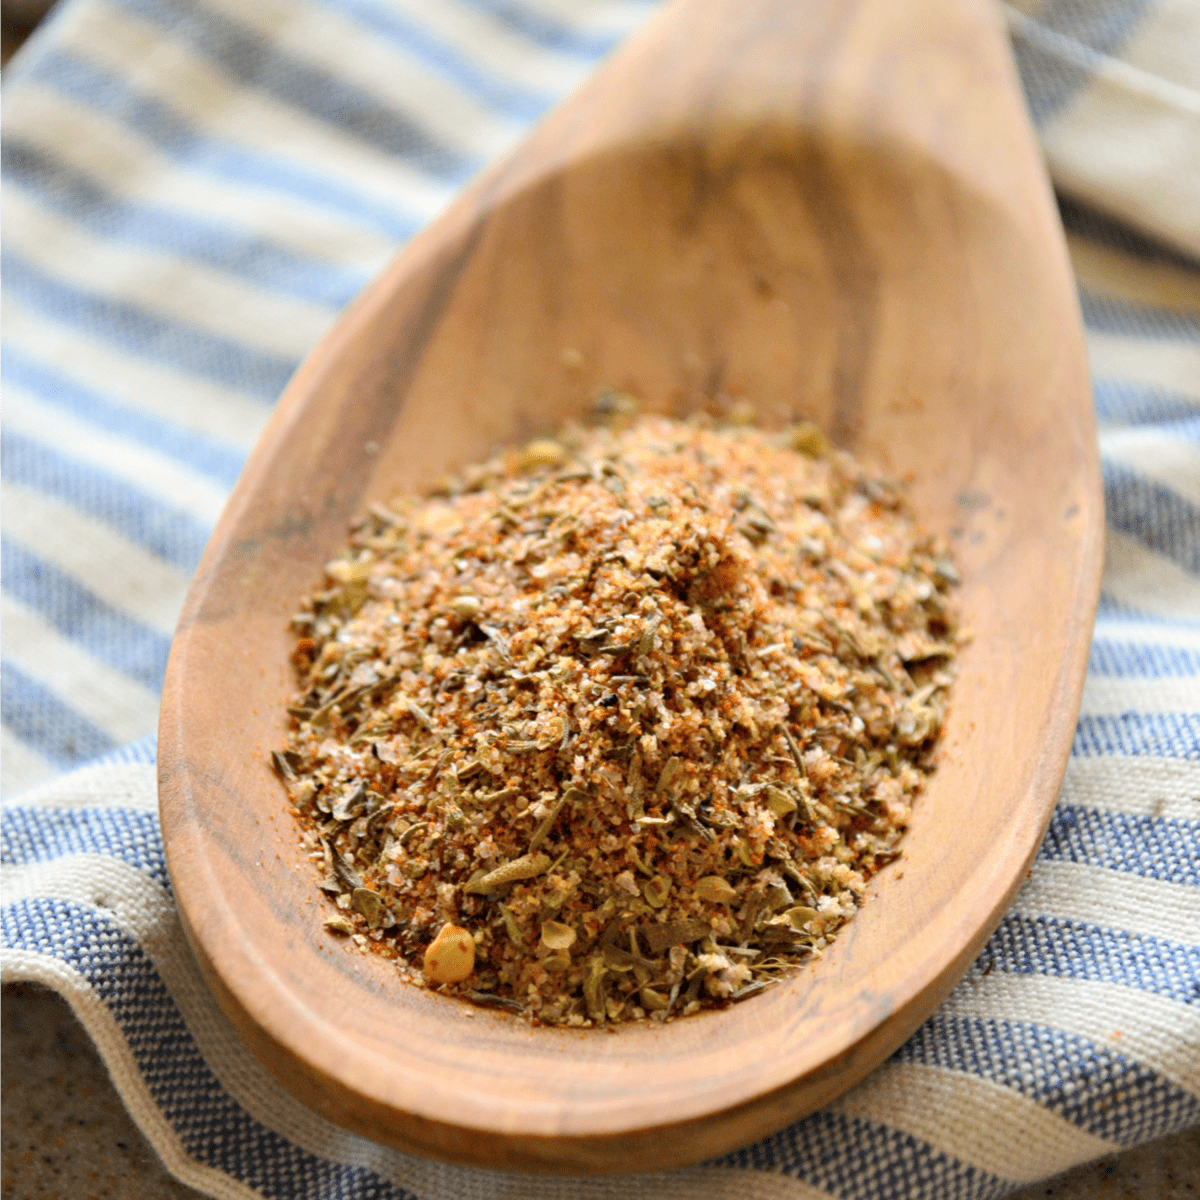
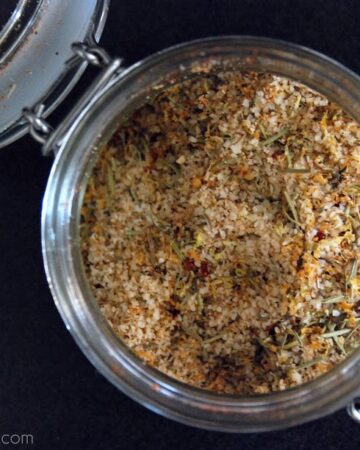
Homemade Cajun Seasoning
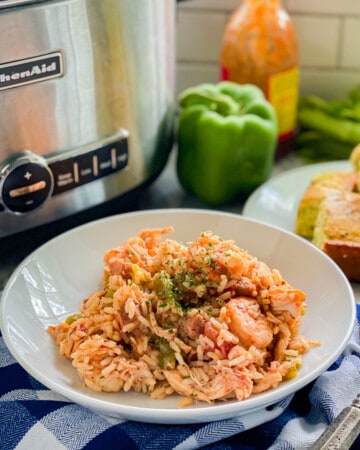
Crock Pot Jambalaya
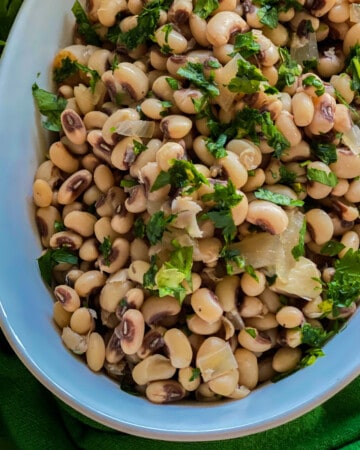
Slow Cooker Black Eyed Peas
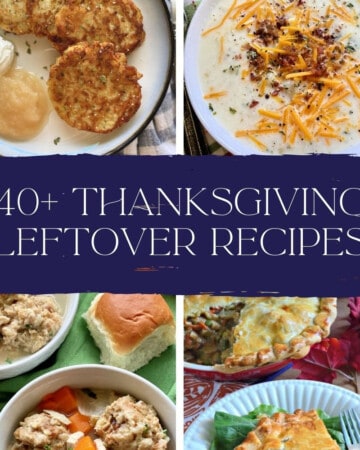
40+ Thanksgiving Leftover Recipes
Baked Potato Wedges
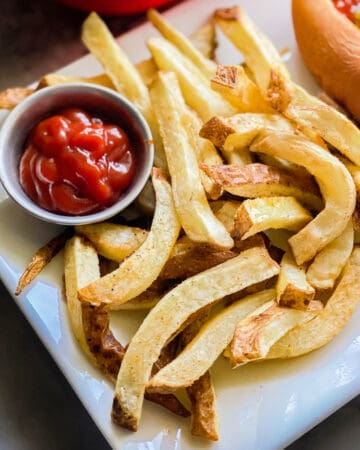
Air Fryer French Fries
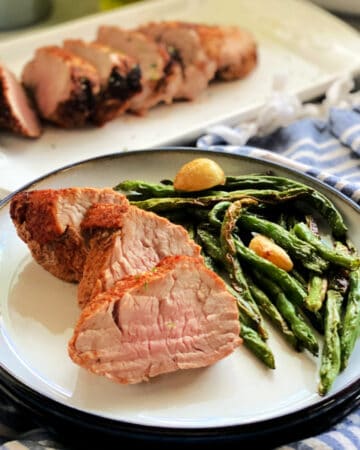
Air Fryer Pork Tenderloin
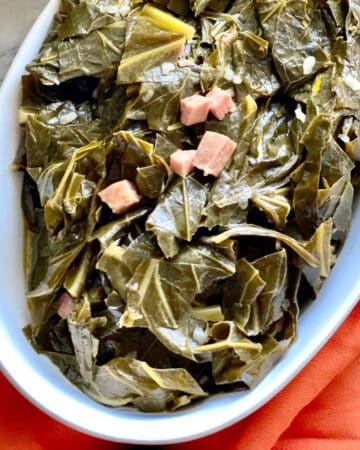
Seasoned Collard Greens
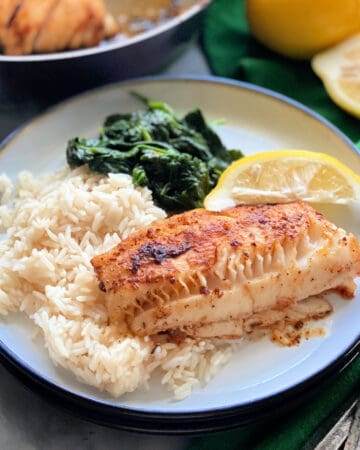
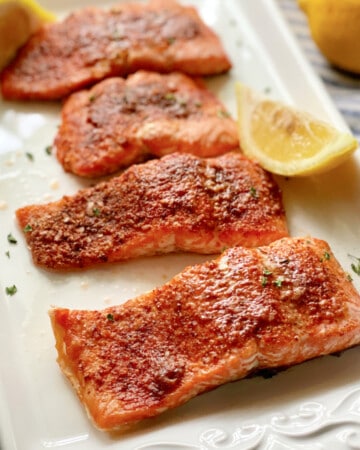
Blackened Cod
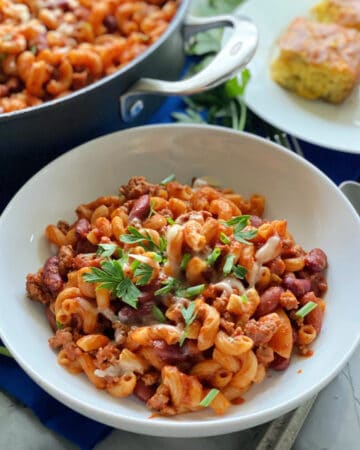
Chili Pasta
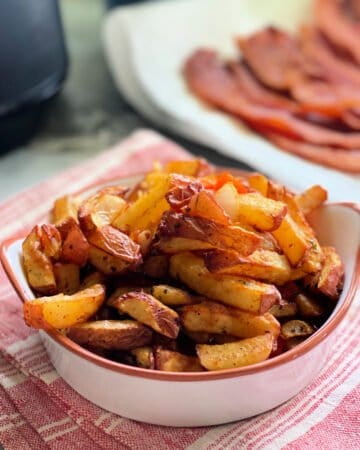
Air Fryer Breakfast Potatoes
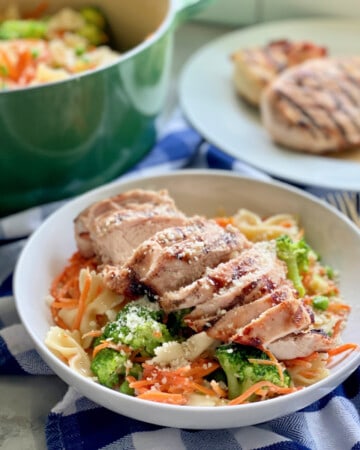
Grilled Chicken Pasta
Air Fryer Salmon Recipe
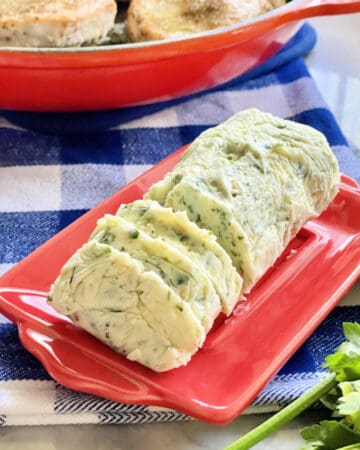
Garlic Herb Butter for Steak
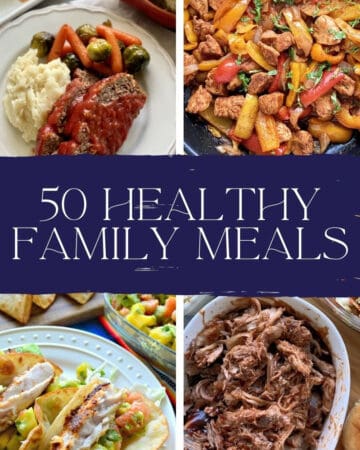
50 Healthy Family Meals
Fajita Seasoning
Montreal Steak Seasoning
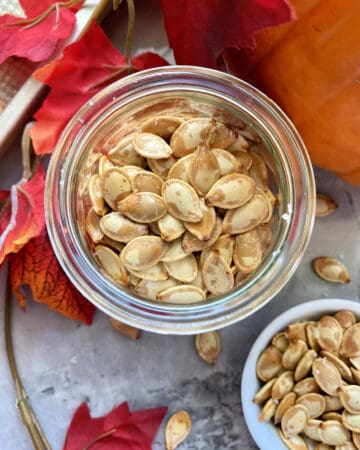
Pumpkin Seeds Recipe
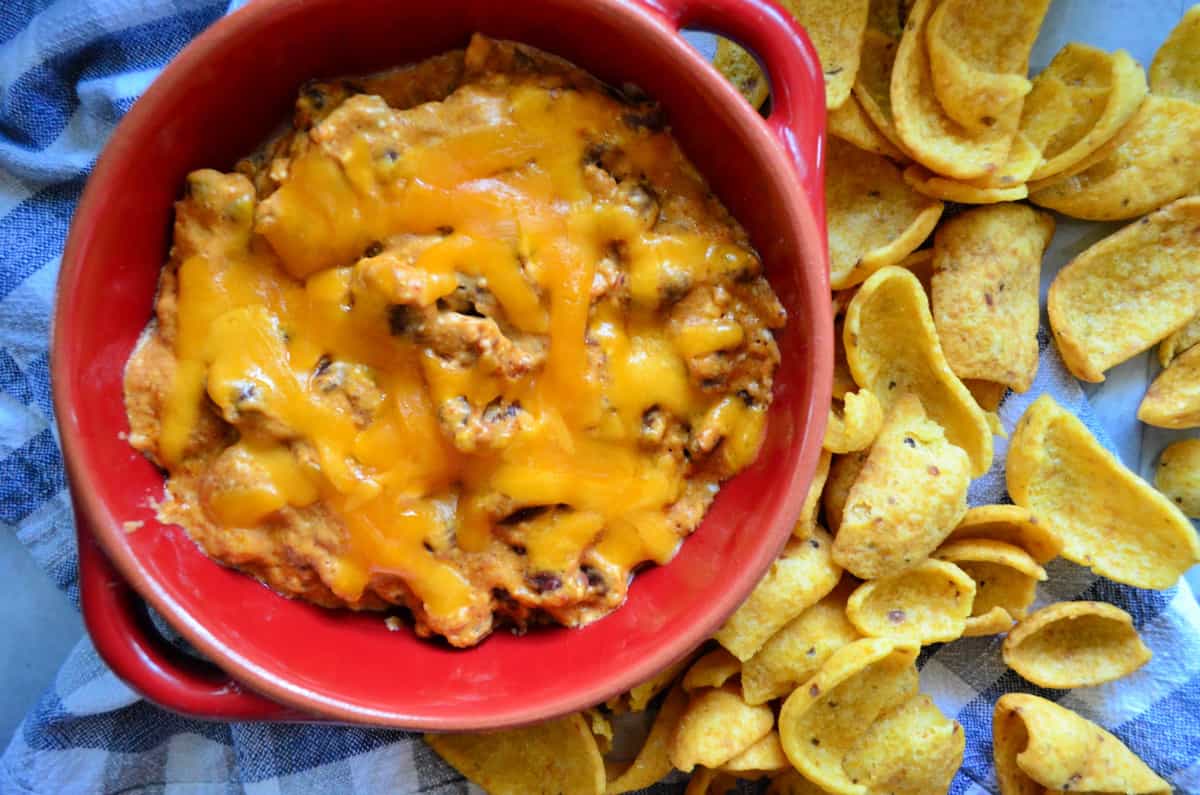
Slow Cooker Chili Cheese Dip
Craft Beer Festival at SeaWorld Orlando
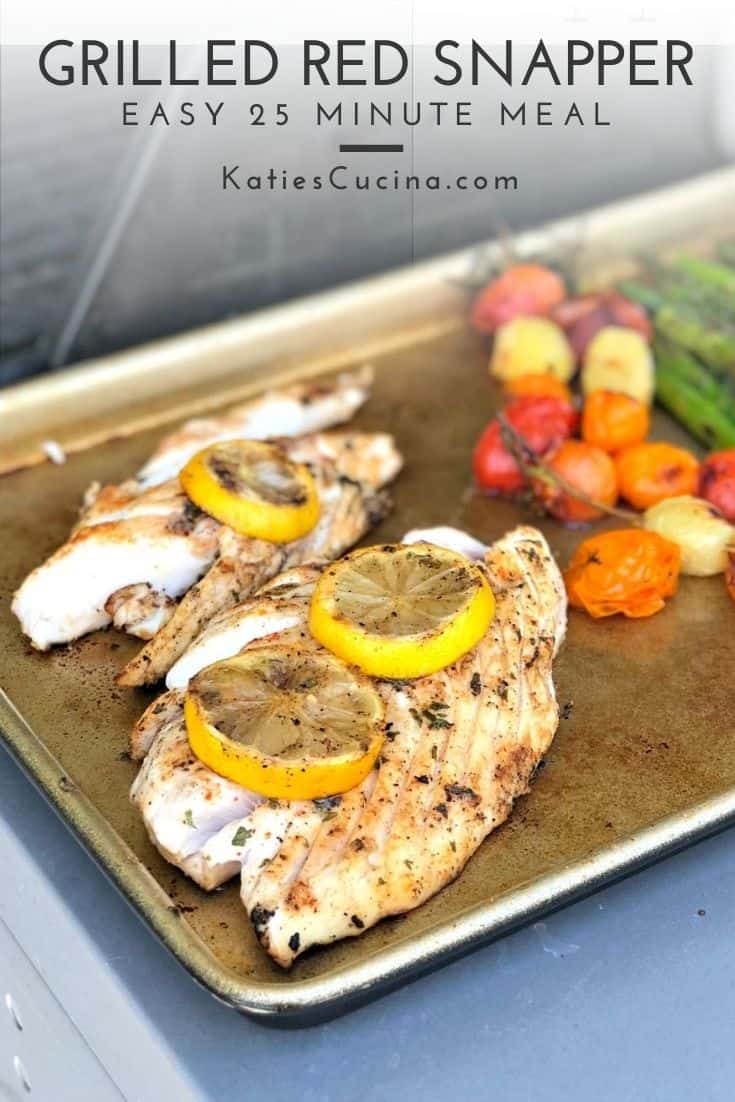
Grilled Lemon Garlic Red Snapper
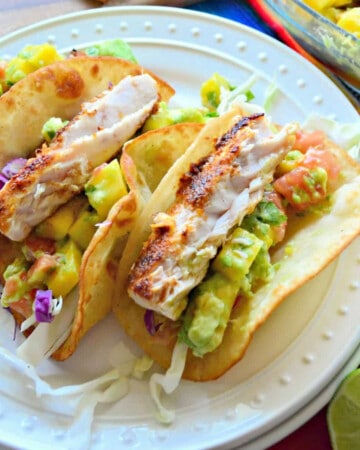
Mahi Mahi Tacos
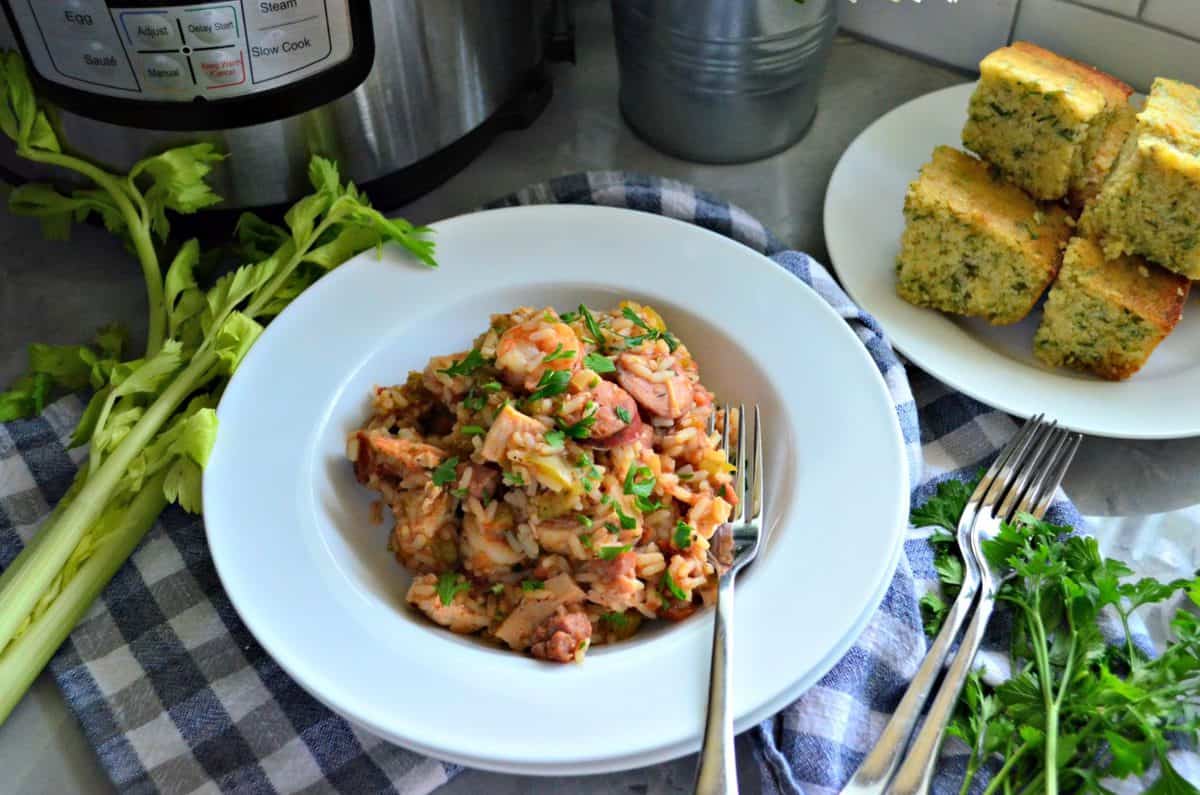
Instant Pot Jambalaya
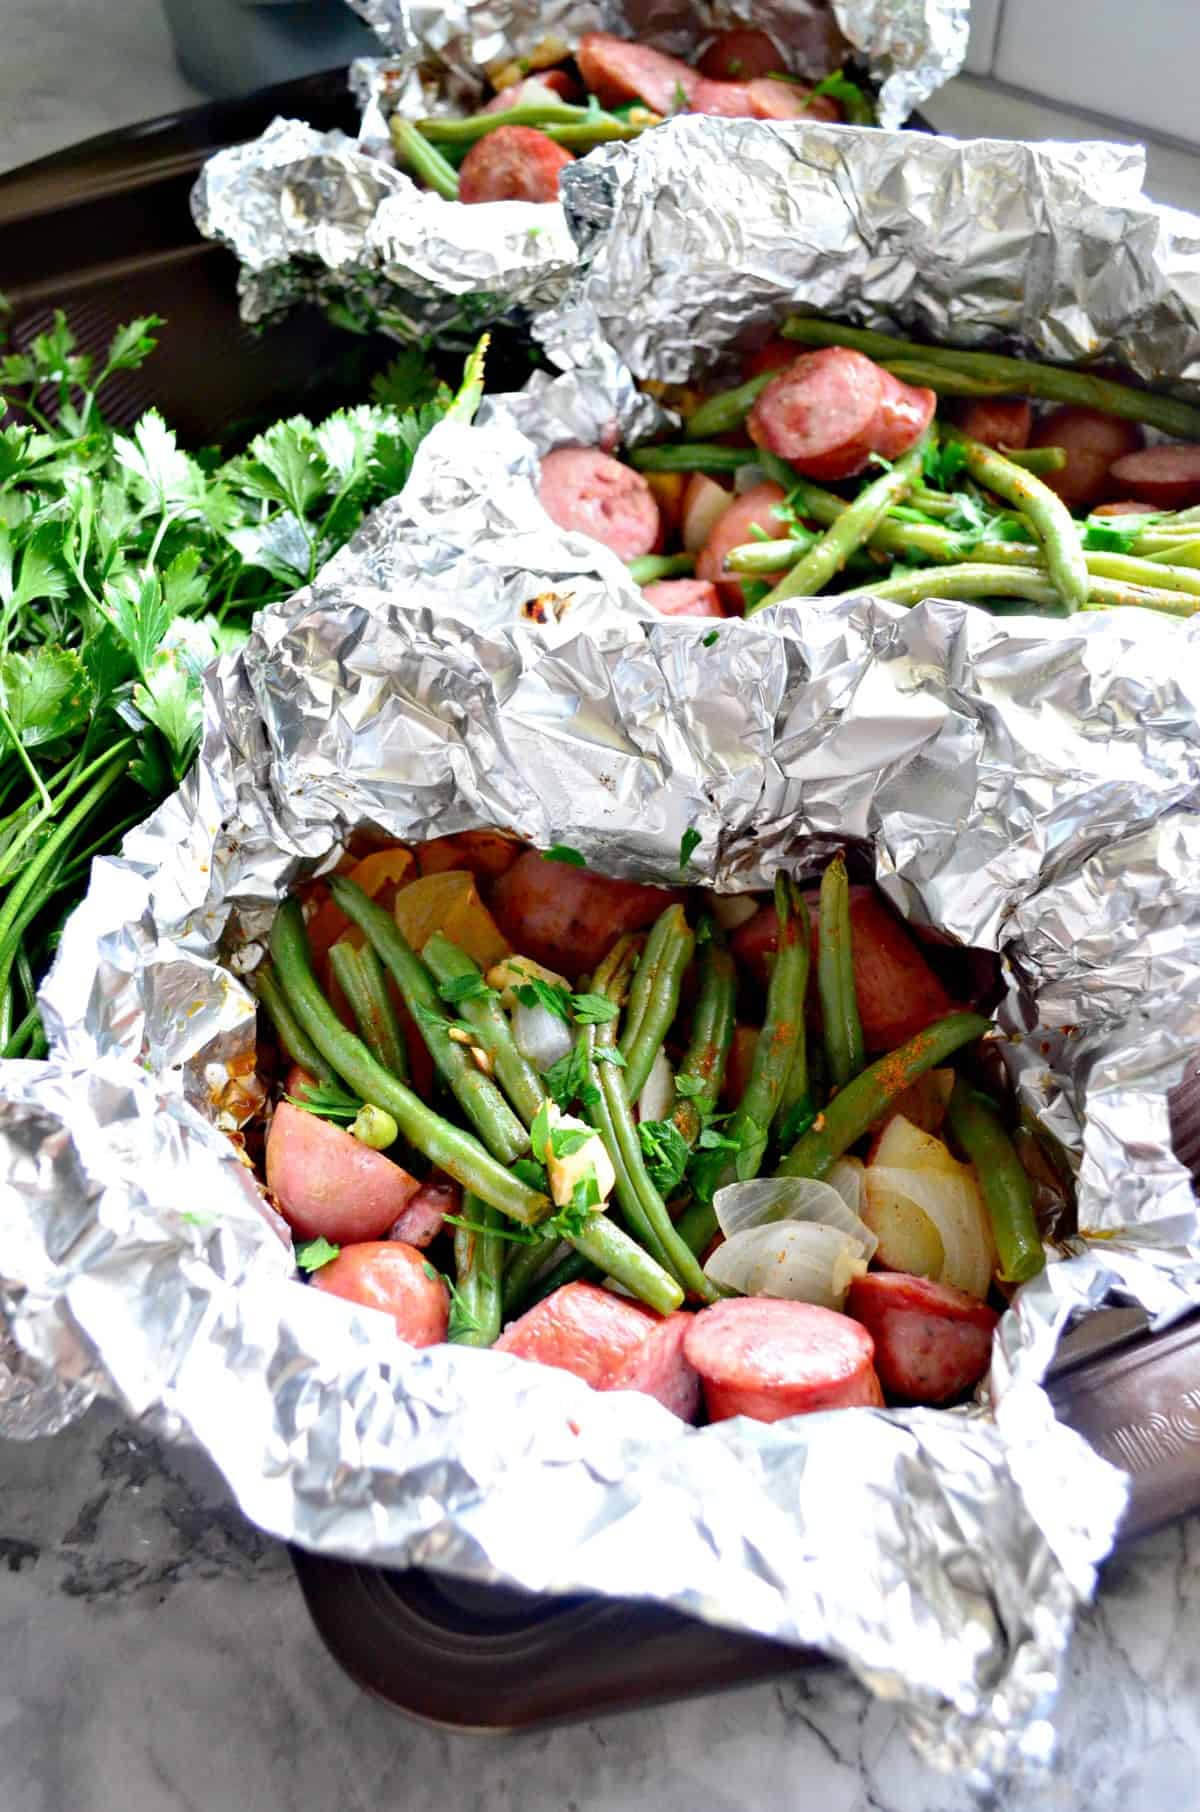
Grilled Kielbasa and Potato Foil Packets
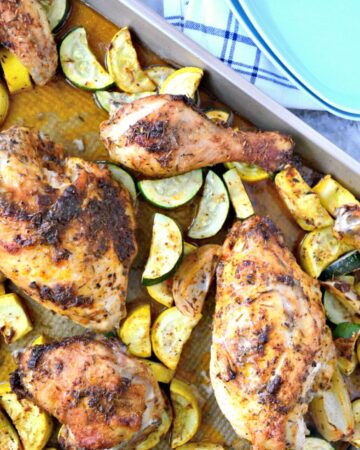
Sheet Pan Chicken and Squash Dinner
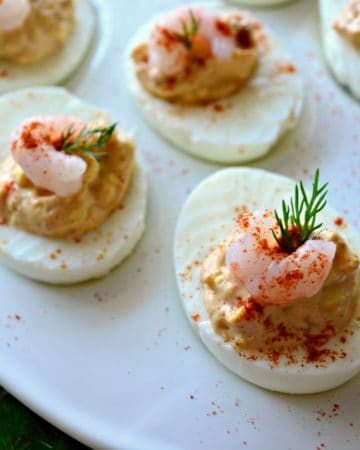
Shrimp Creole Deviled Eggs
Escape to the Bahamas… at Bahama Breeze!
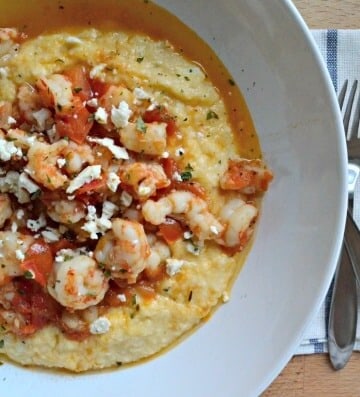
Rock Shrimp with Tomato Basil Feta Cheese Grits
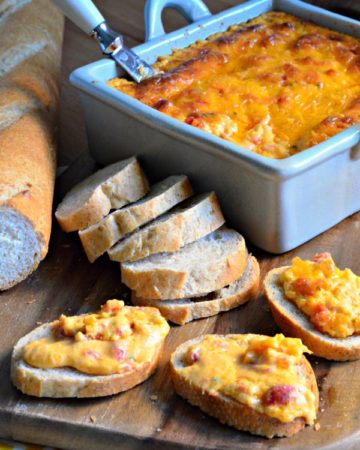
Hot Pimento Cheese Dip
{Recap} BlogHer Food 2013 – Austin, Texas
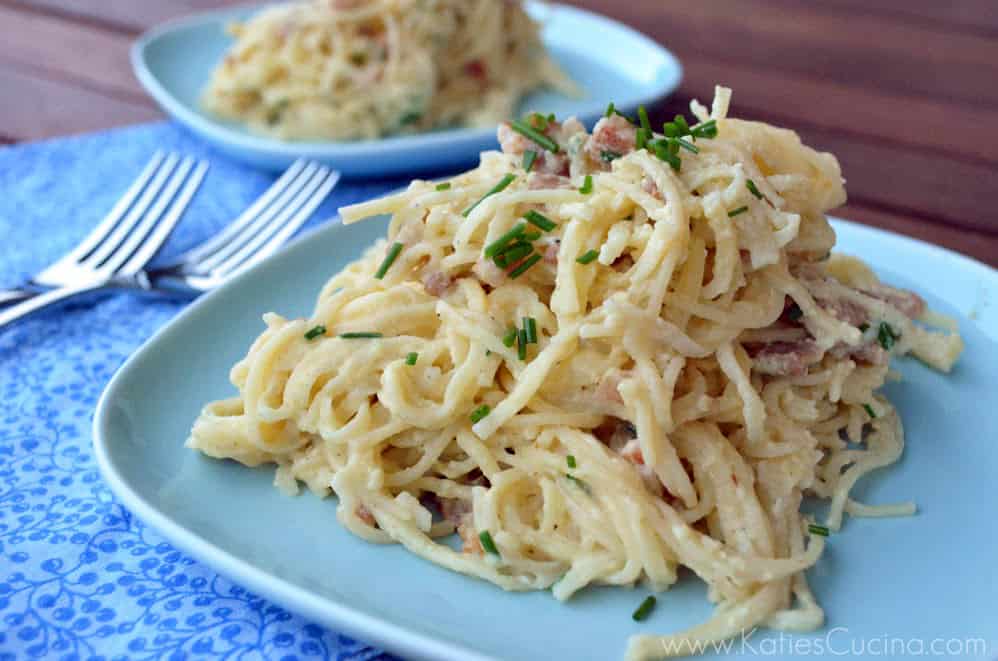
Lighter Spaghetti Carbonara
Citrus Herb Seasoning
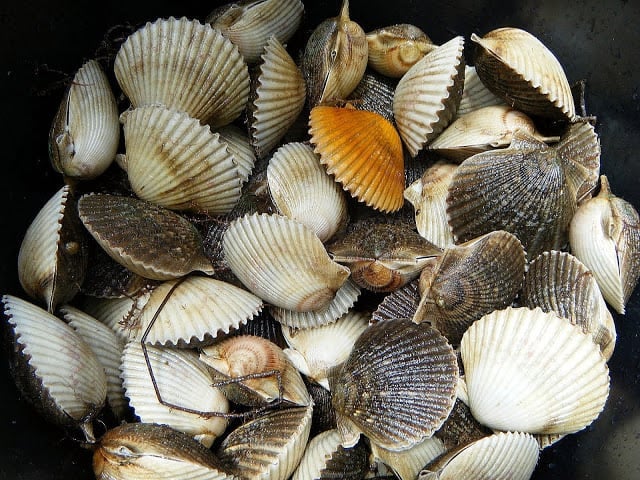
Foodie Travels–Keaton Beach, Florida