Mexican Recipes
Do you love Mexican food? You are in luck! With dozens of Mexican recipes you will find something to please everyone you are cooking for.
Start your morning with my huevos rancheros breakfast nachos or my cherry tomato and chorizo egg omelets.
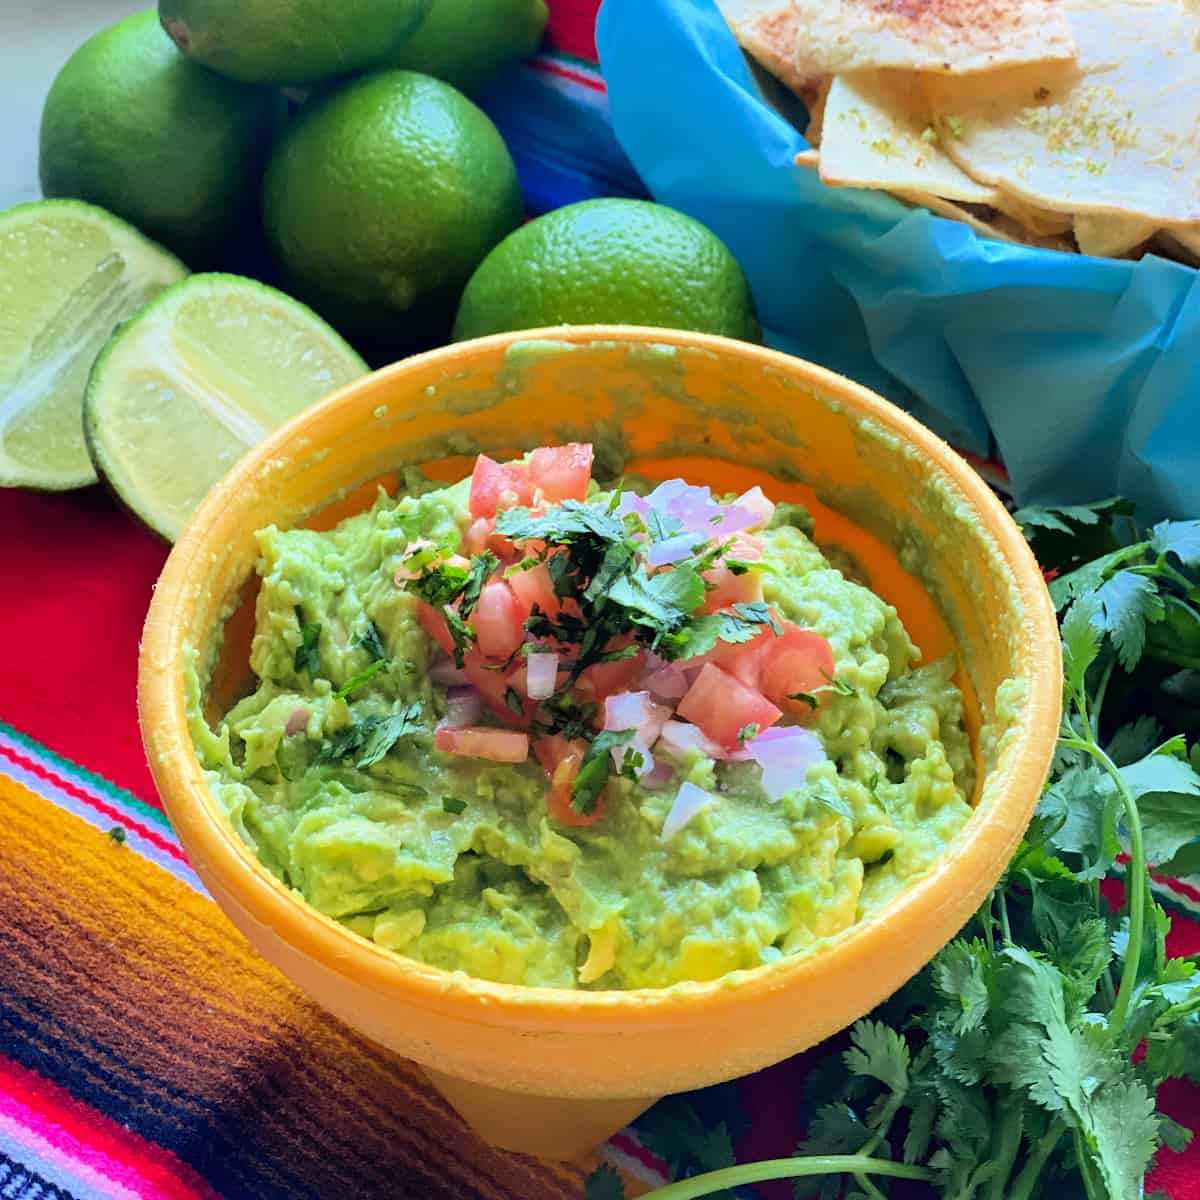
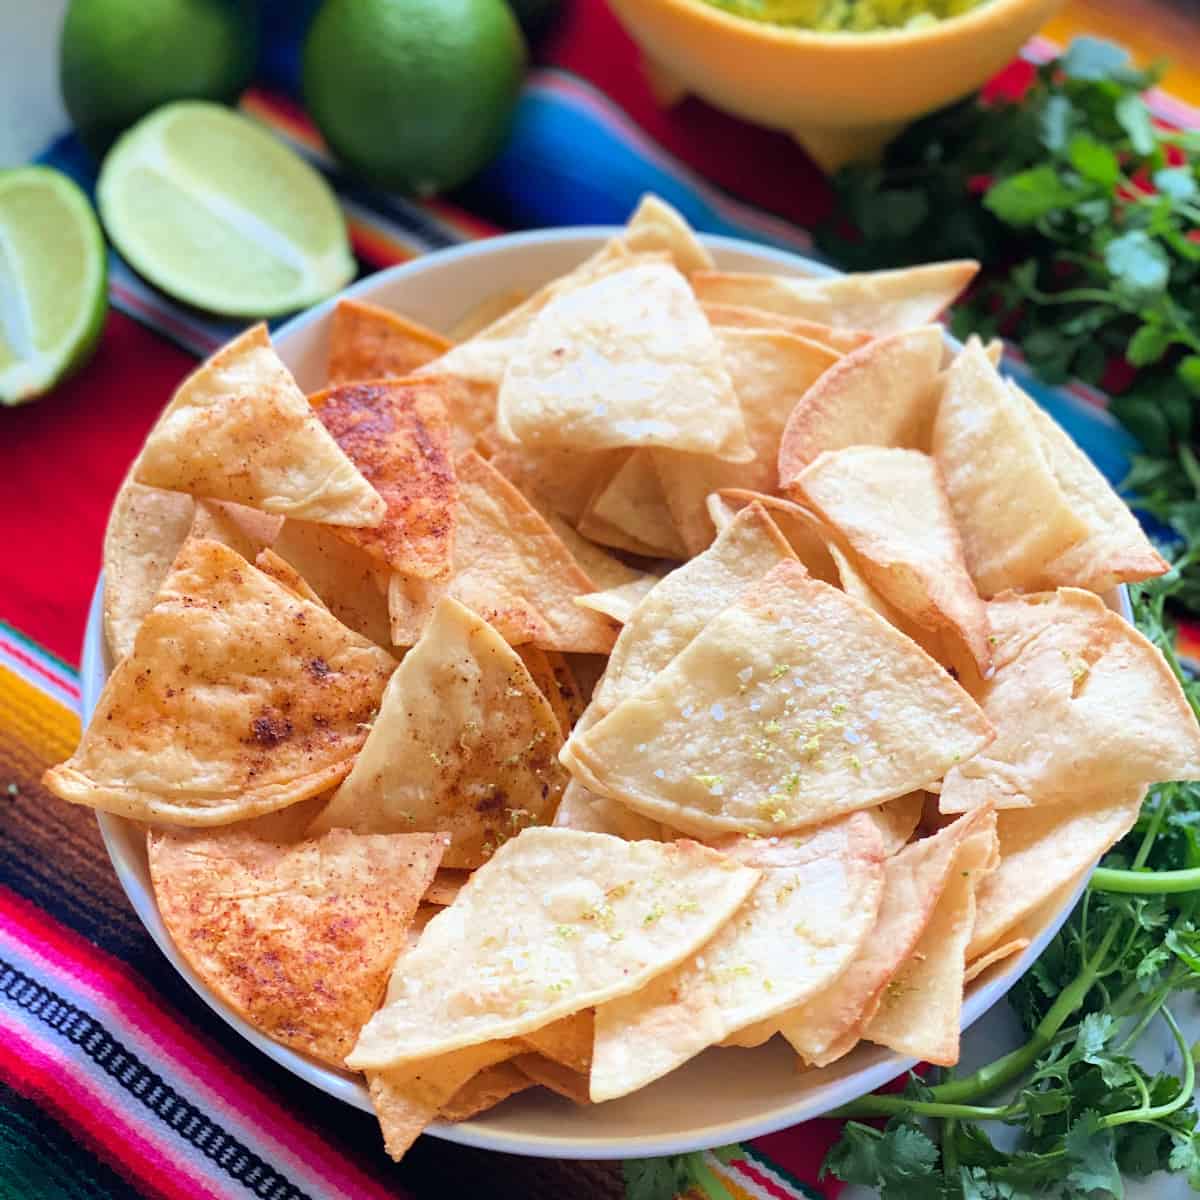
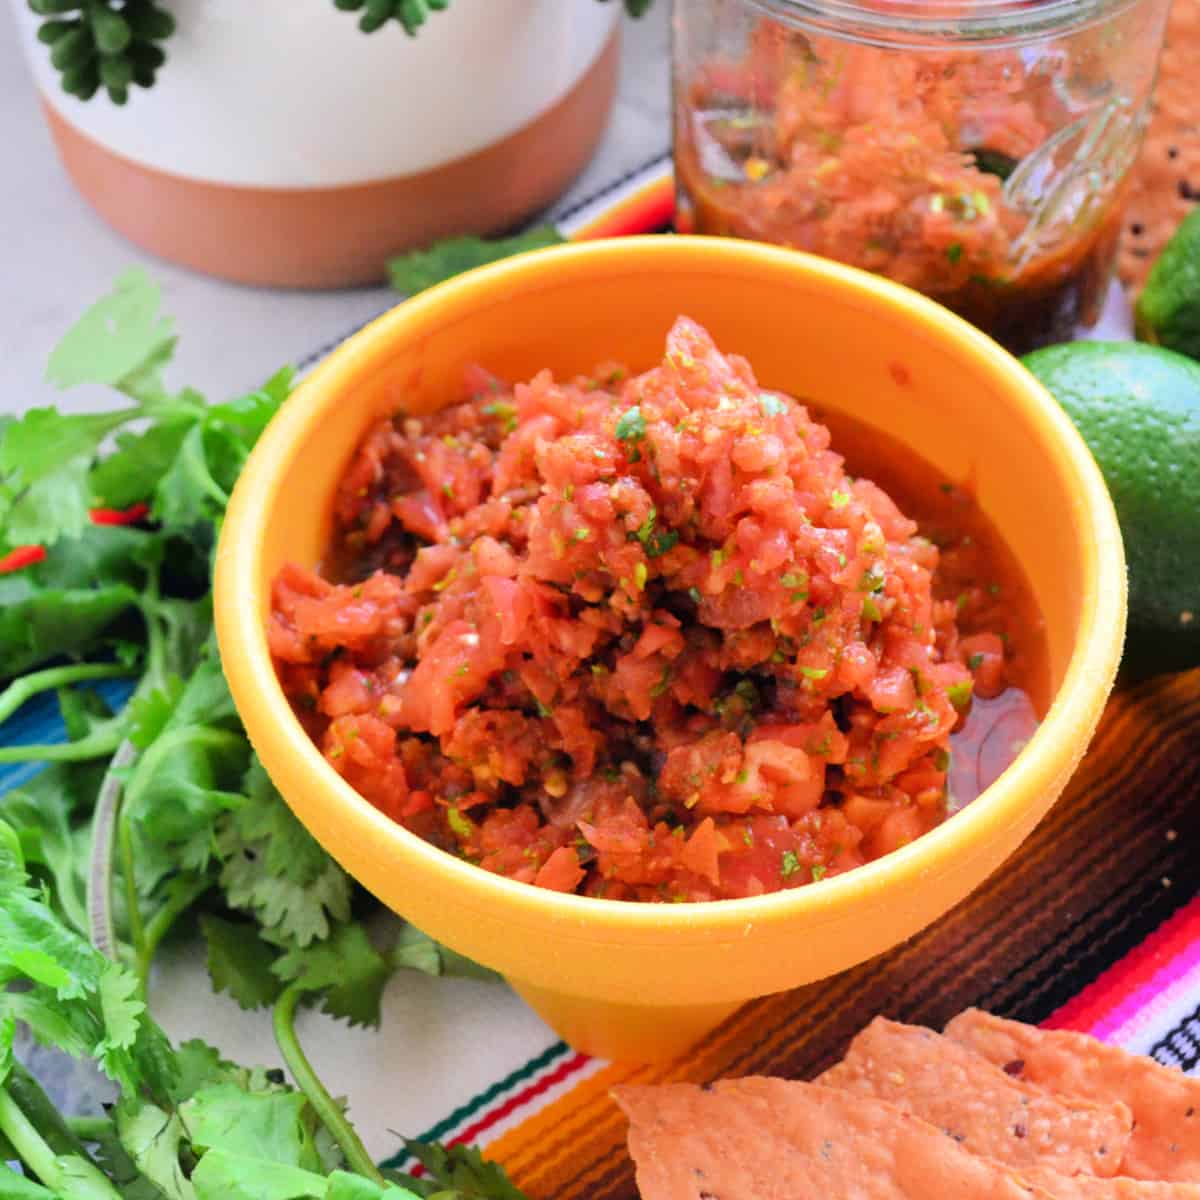
Need a dip? Start with my homemade salsa, bacon & queso fresco guacamole, 2 ingredient queso dip, or my cilantro lime yogurt dip paired with my homemade corn tortilla chips.
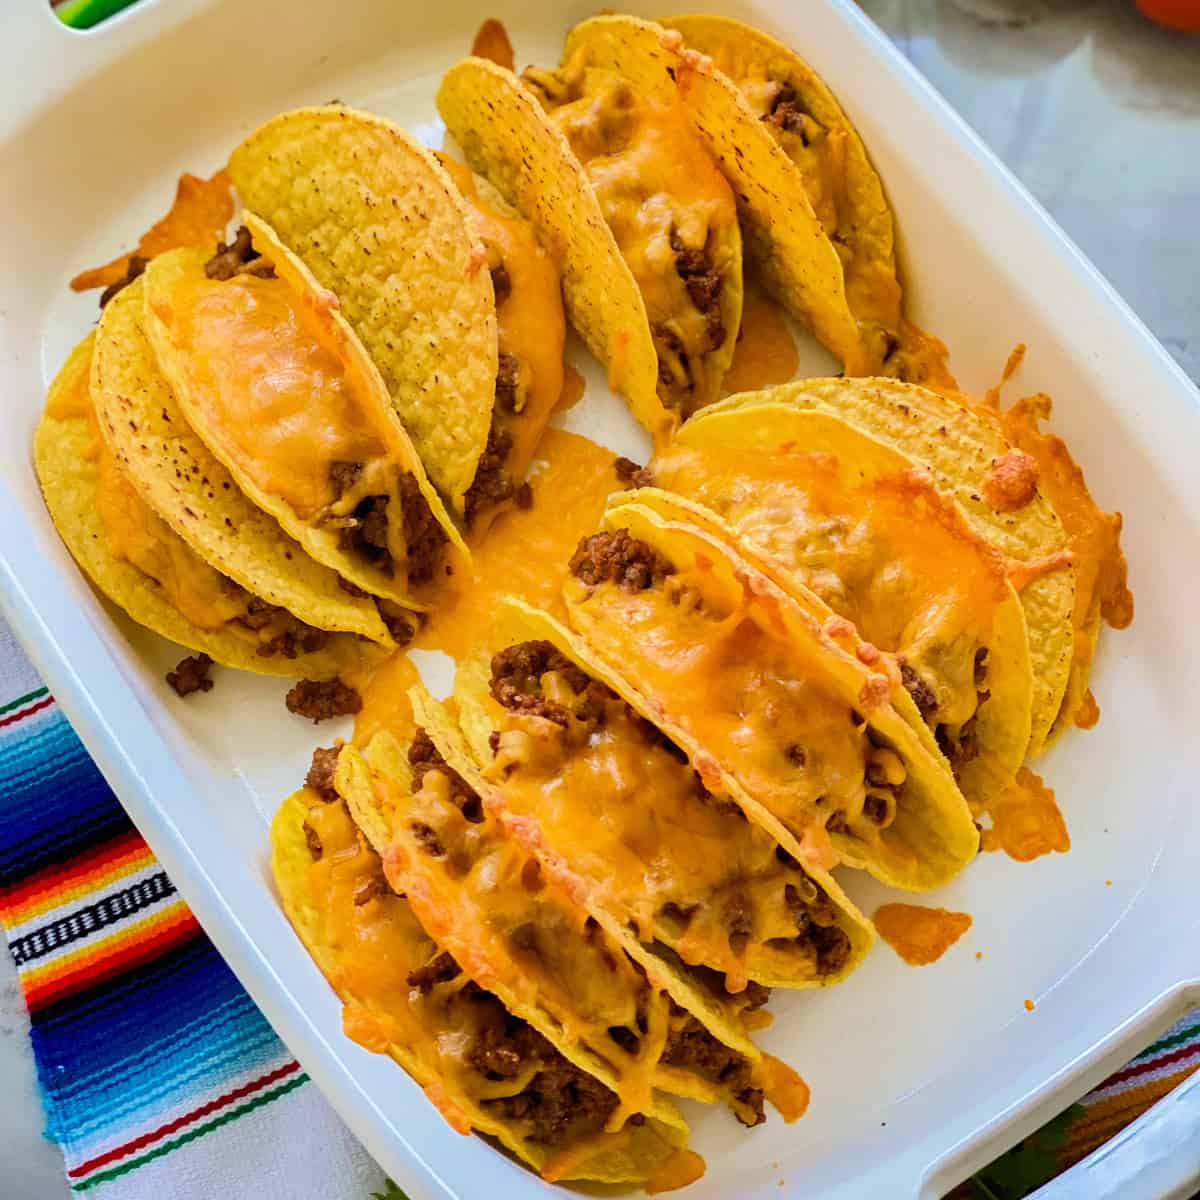
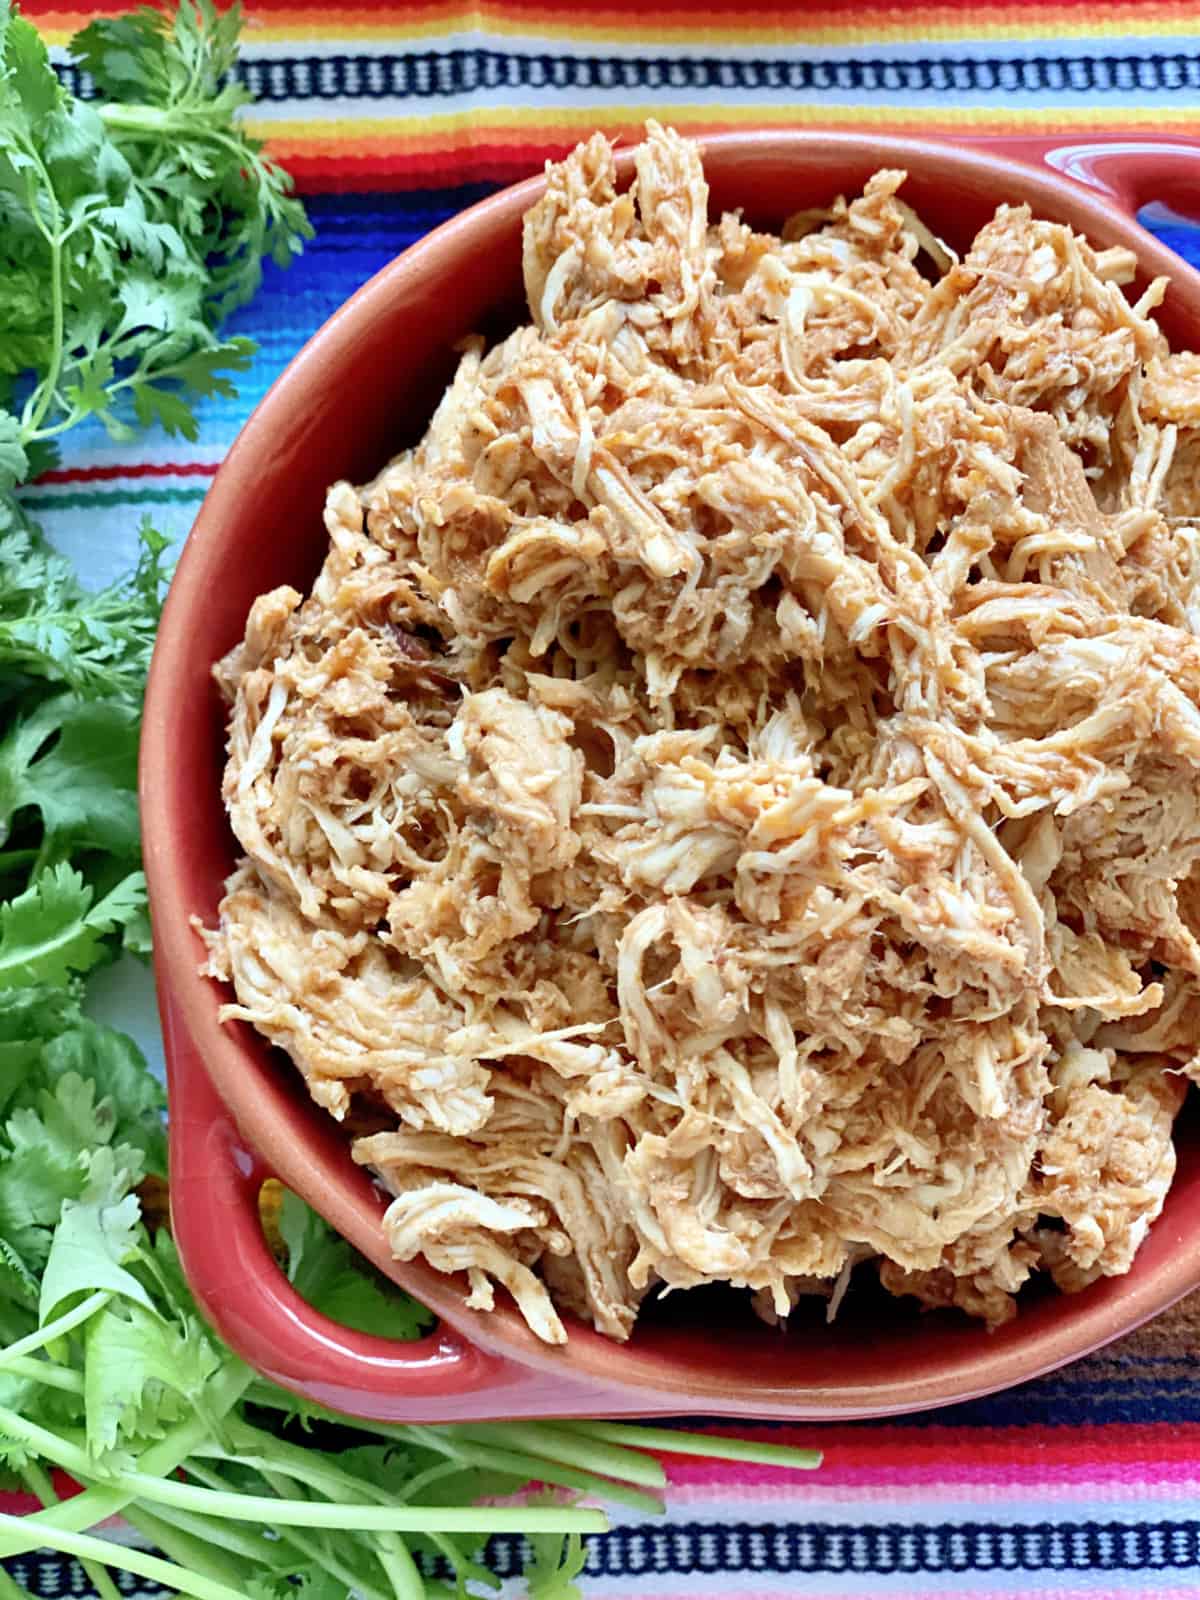
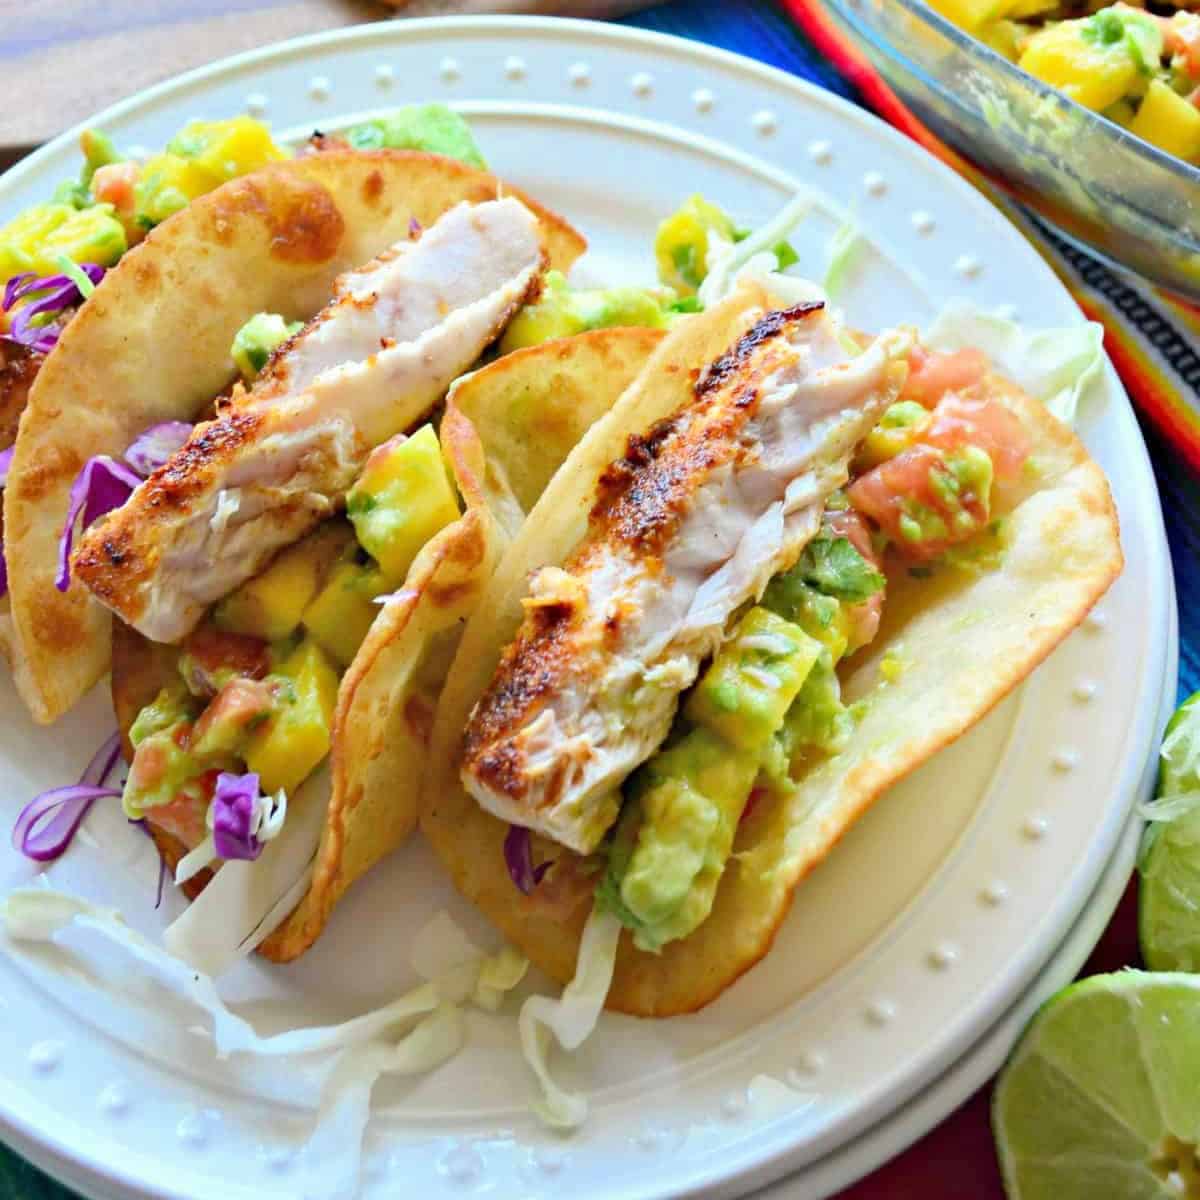
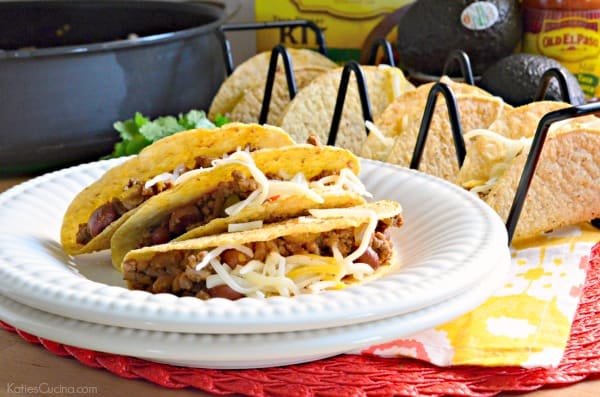
Love tacos? Try my Instant Pot Mexican Shredded Chicken, Beef and refried bean baked tacos, or even my Blackened Swordfish Tacos.
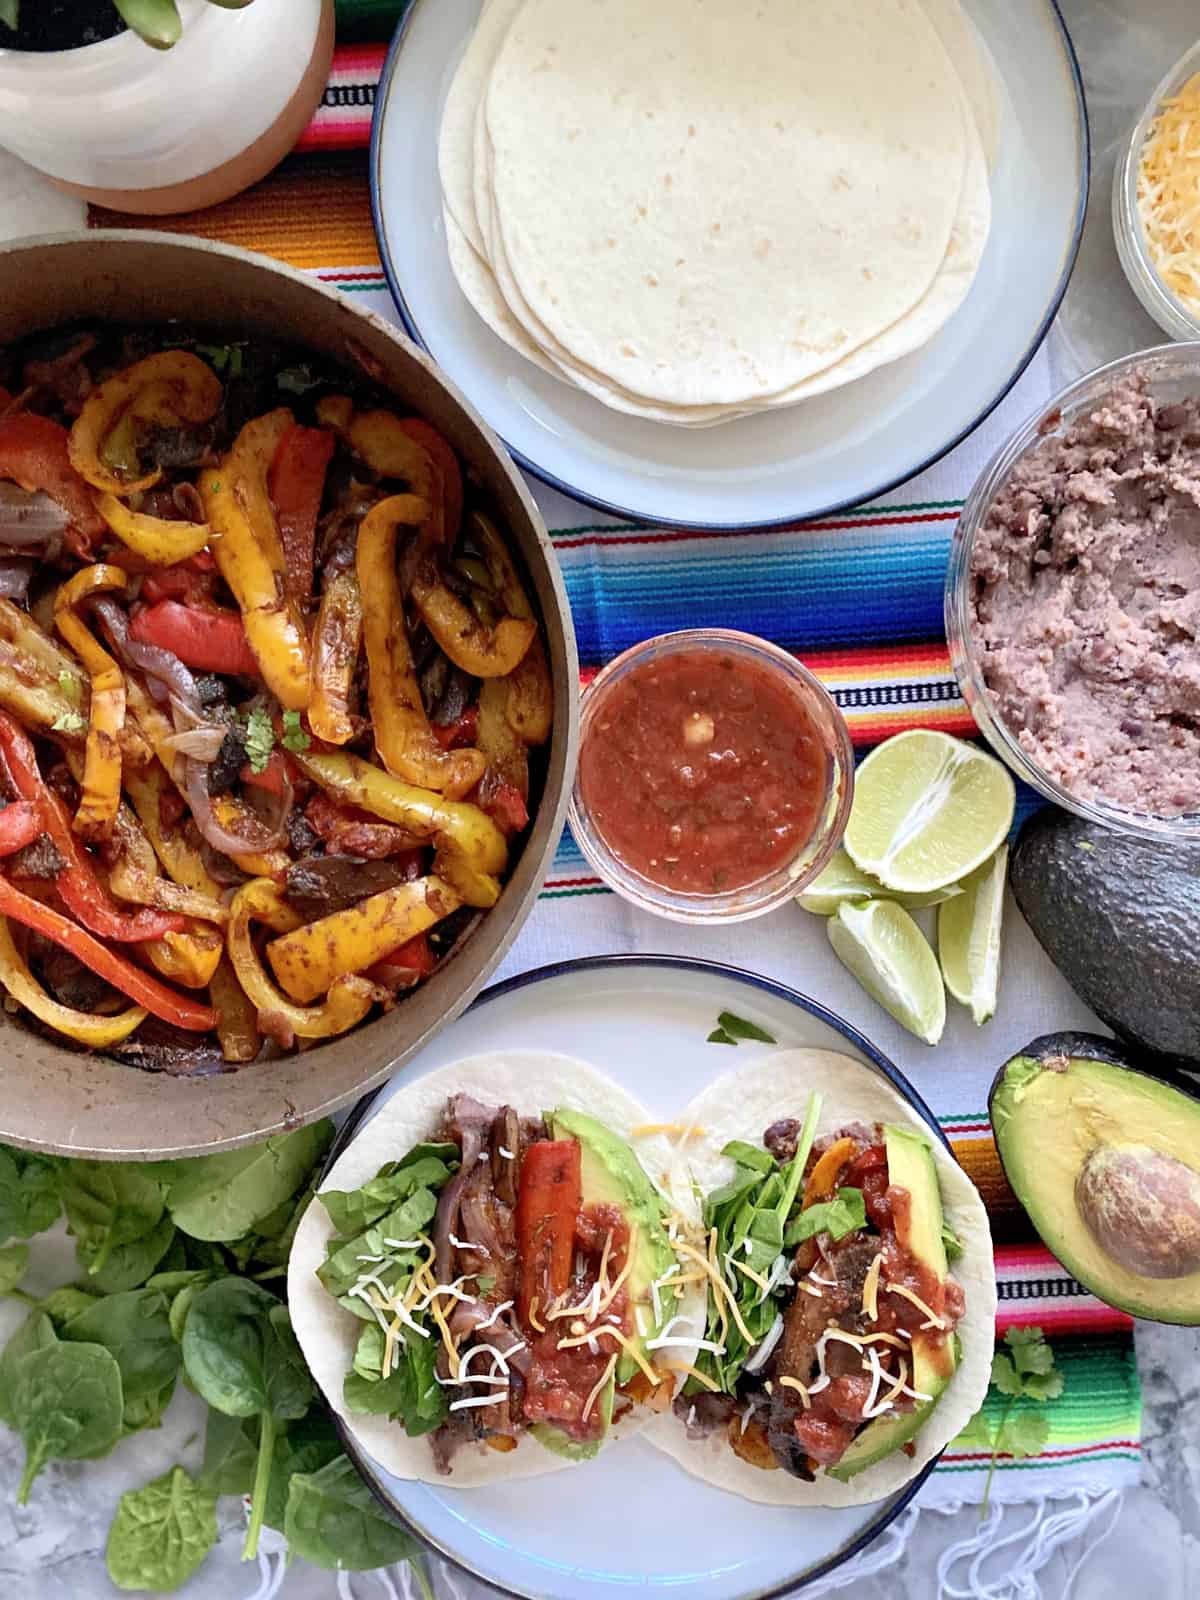
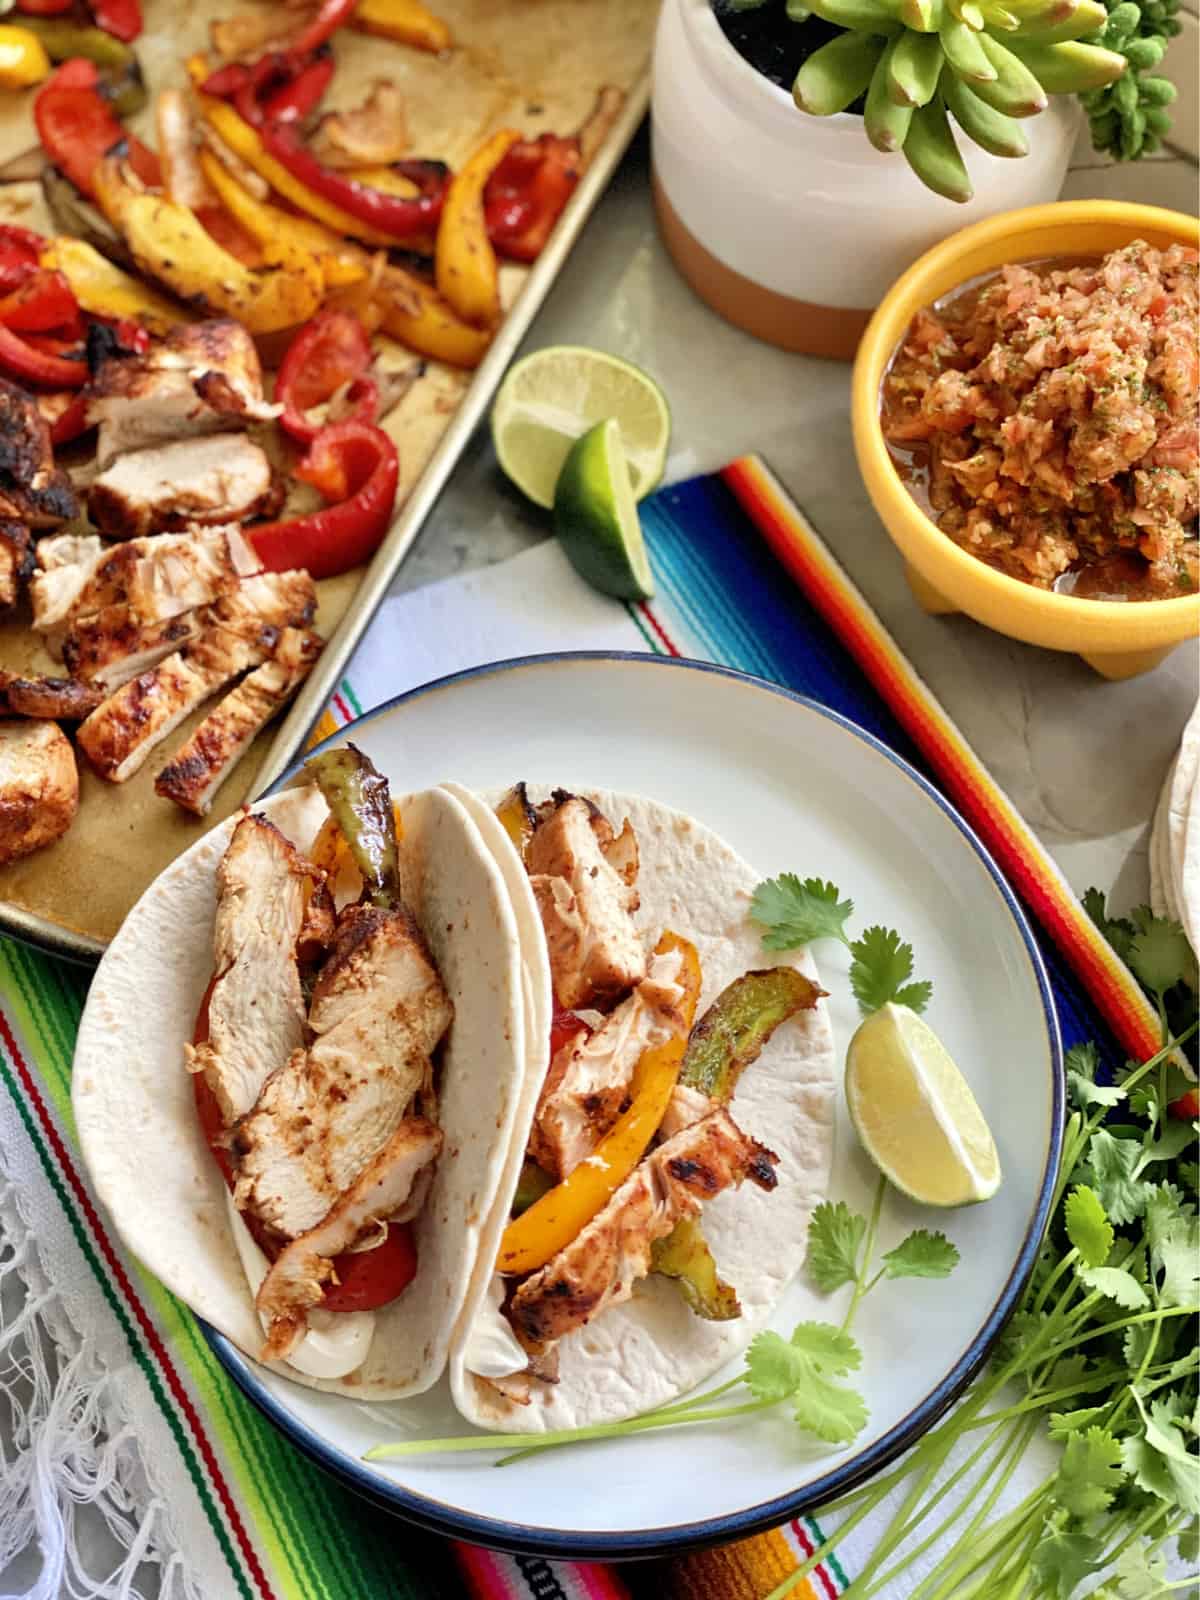
Craving other Mexican main dishes? Try my chicken and cheese enchiladas or my grilled chicken fajitas or even my grilled skirt steak and shrimp fajitas!
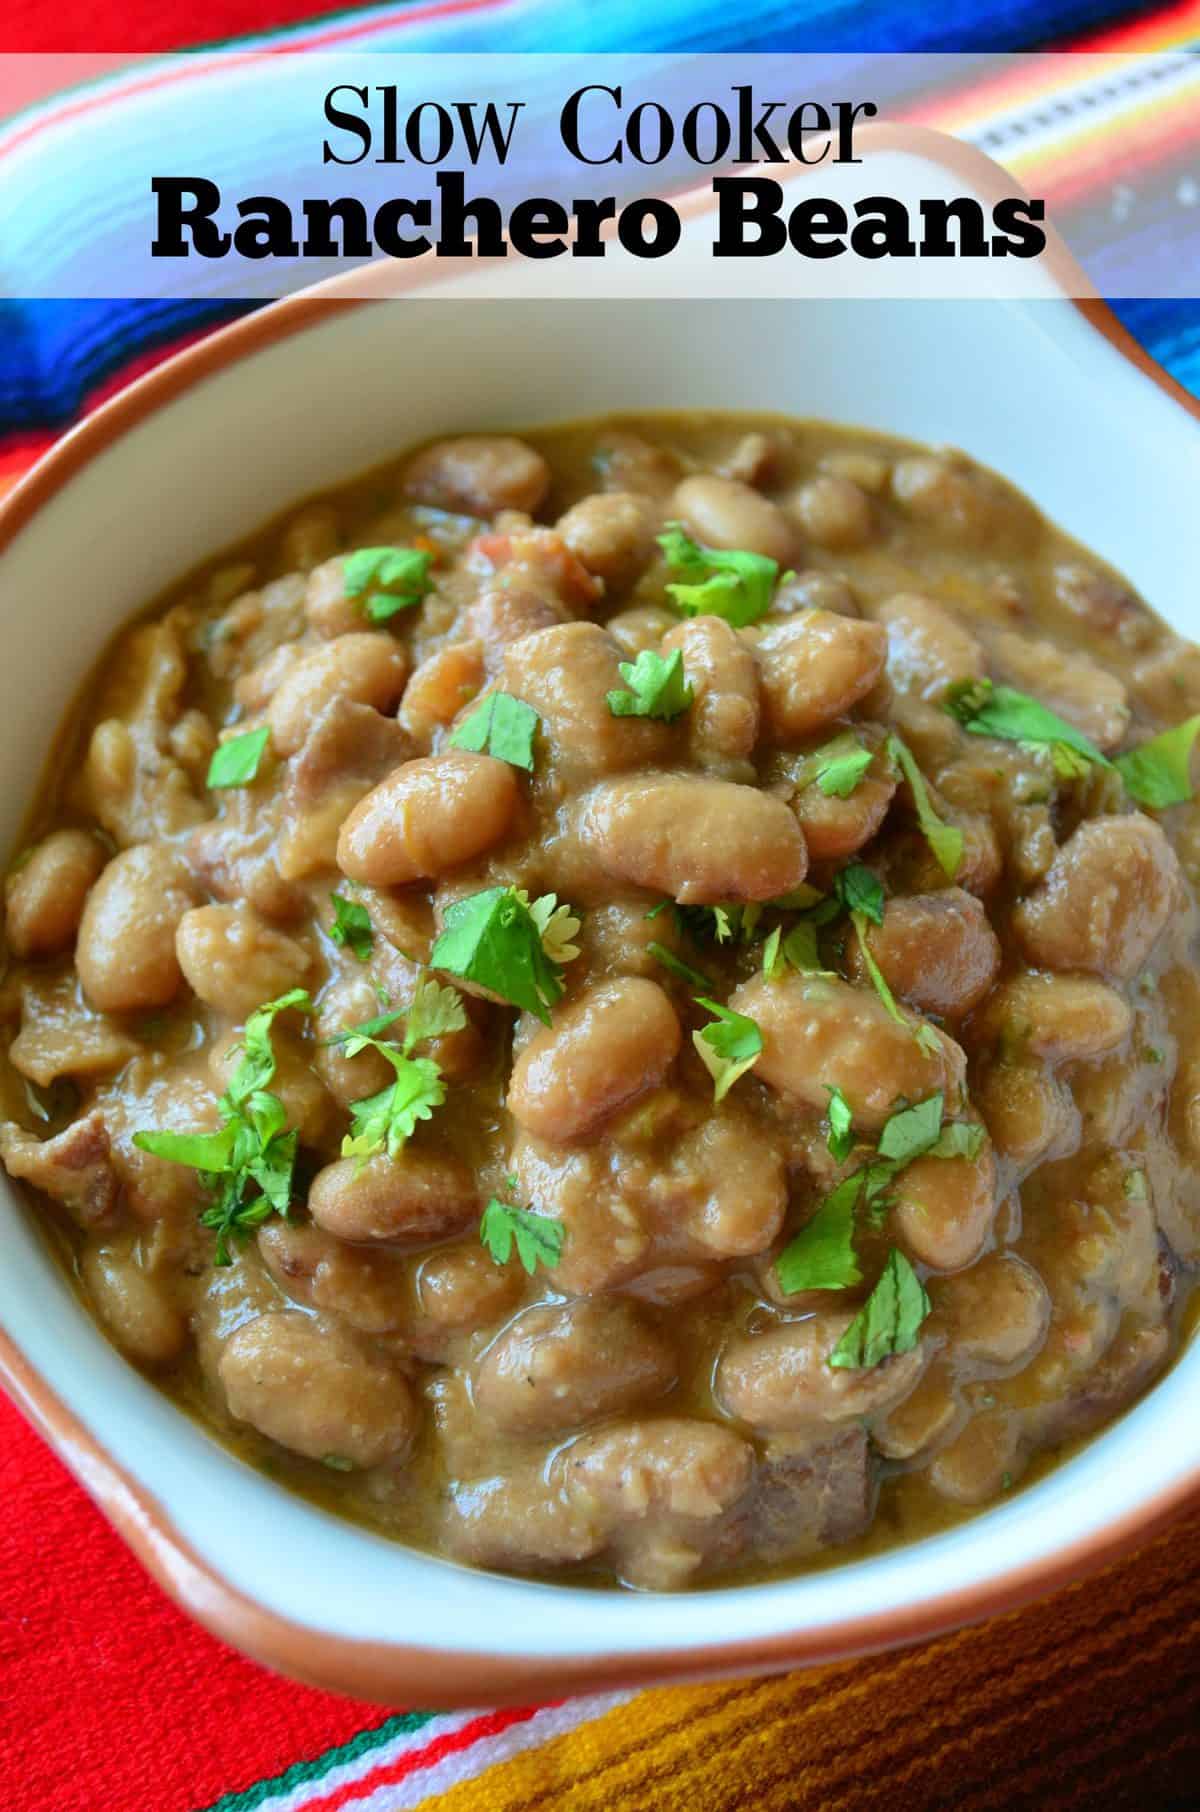
Serve your dinner with bacon refried beans, slow cooker rachero beans, or Mexican street corn salad.
Make sure you save room for dessert as my strawberry and raspberry dessert nutella tacos are a fan favorite!
-
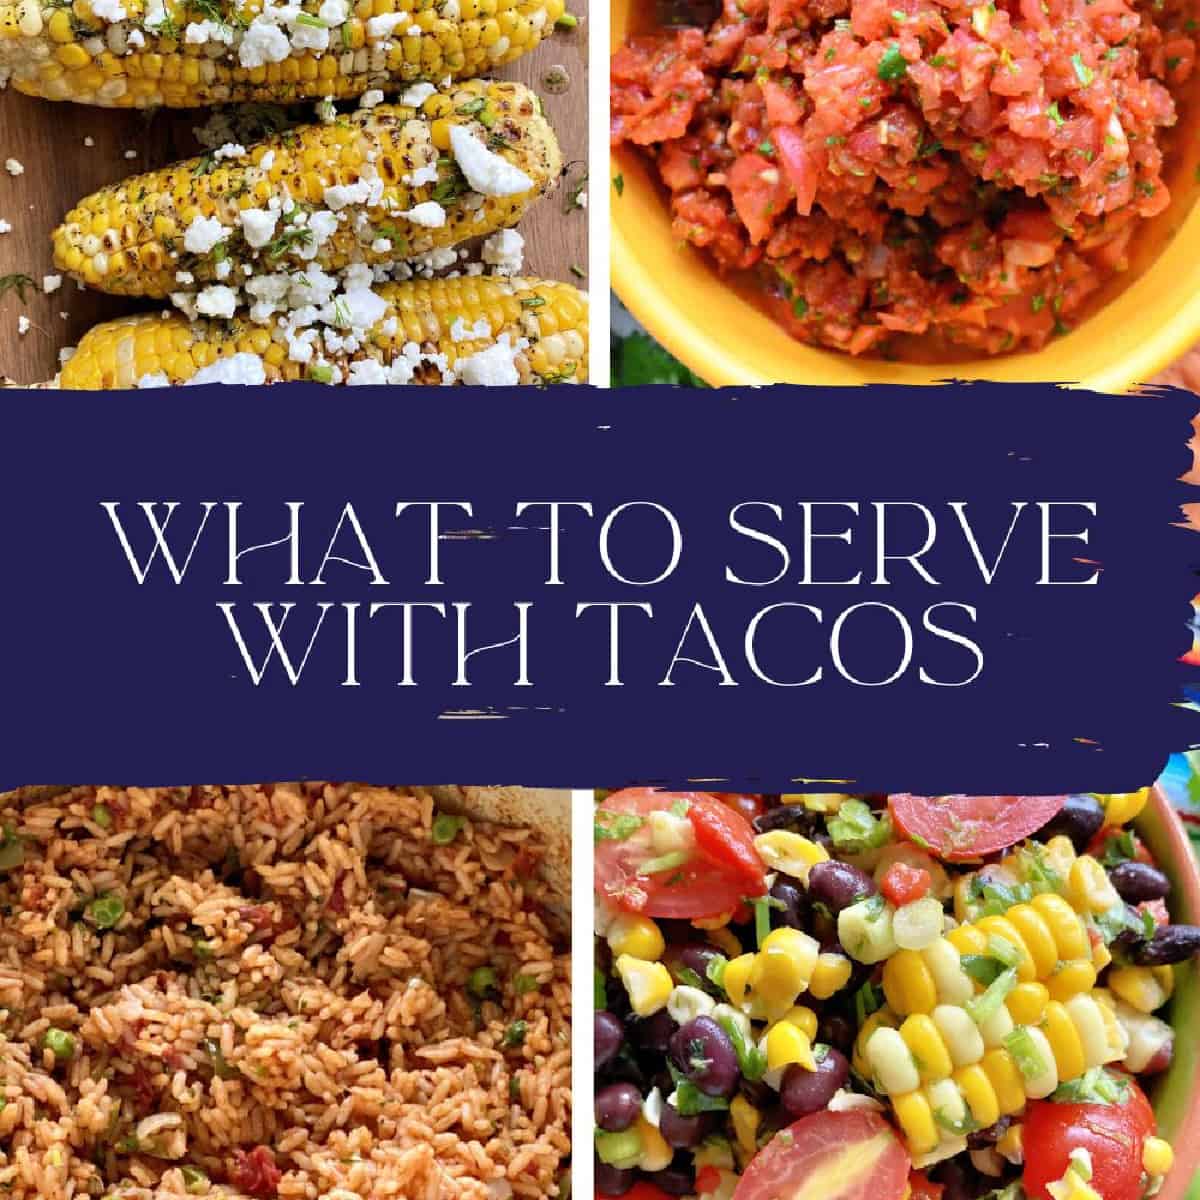
What to Serve with Tacos
-
Baked Tacos
-
4 Ingredient Guacamole Recipe
-
Air Fryer Tortilla Chips
-
Gluten Free Cornbread
-
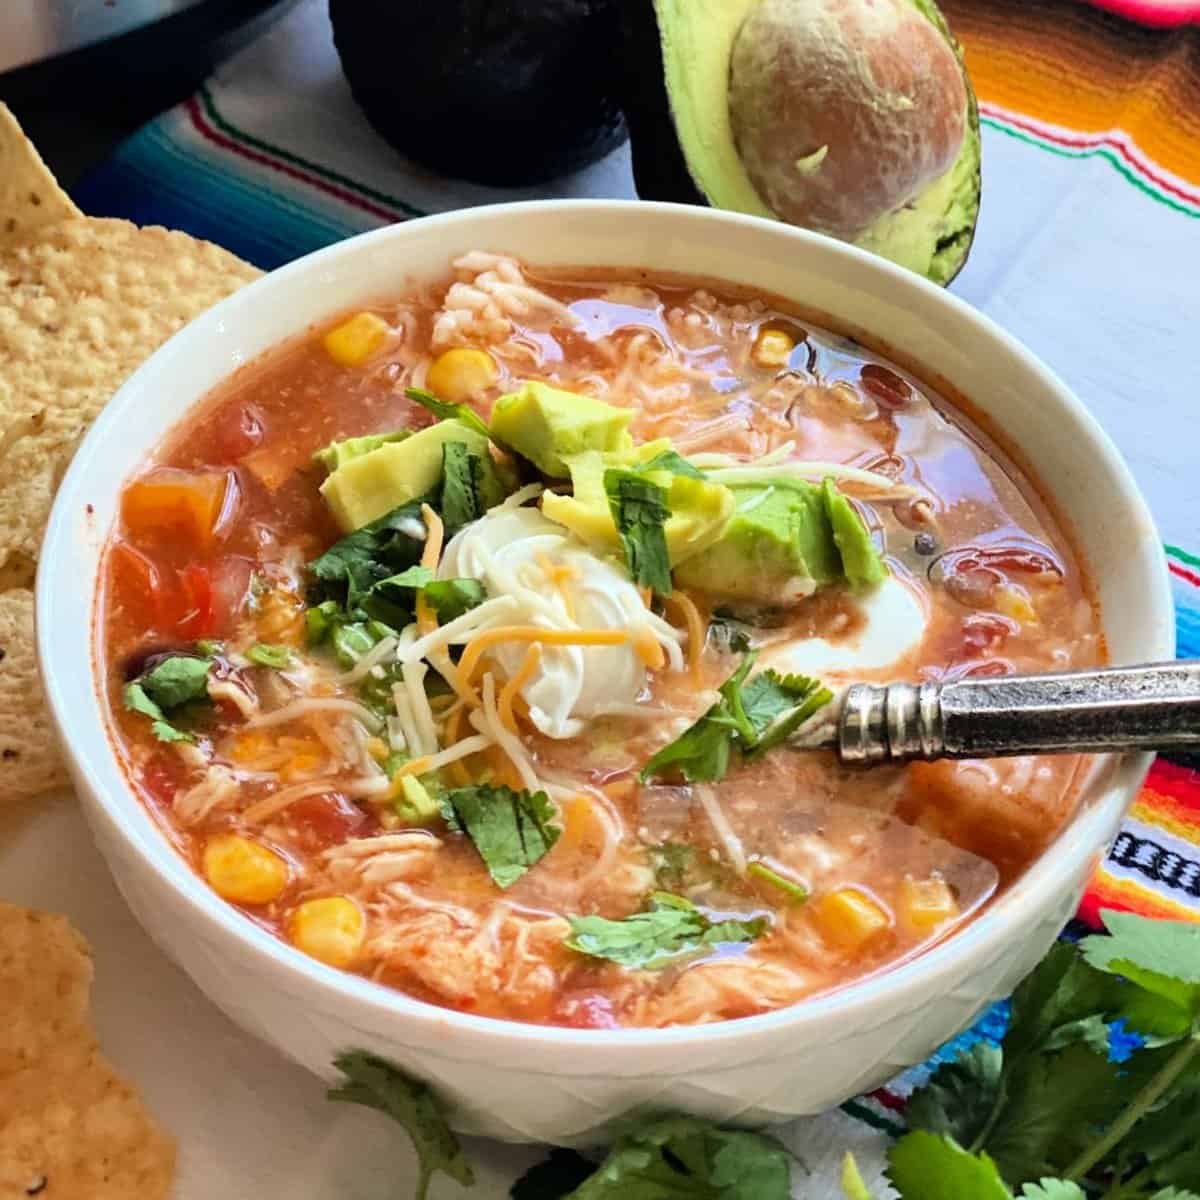
Crockpot Chicken Enchilada Soup
-
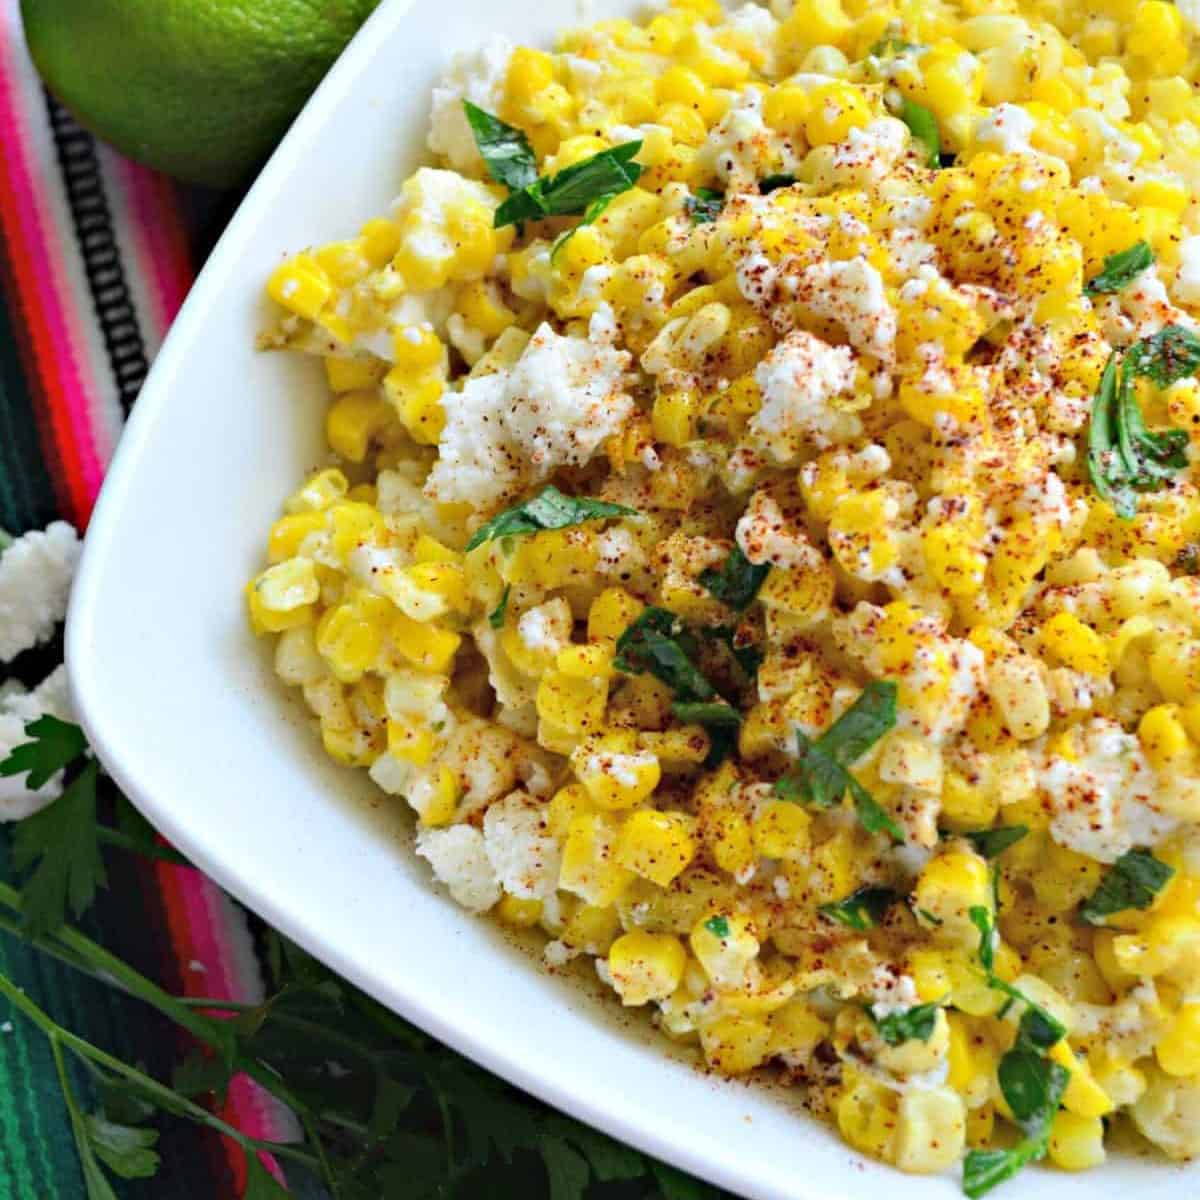
Mexican Street Corn Salad
-
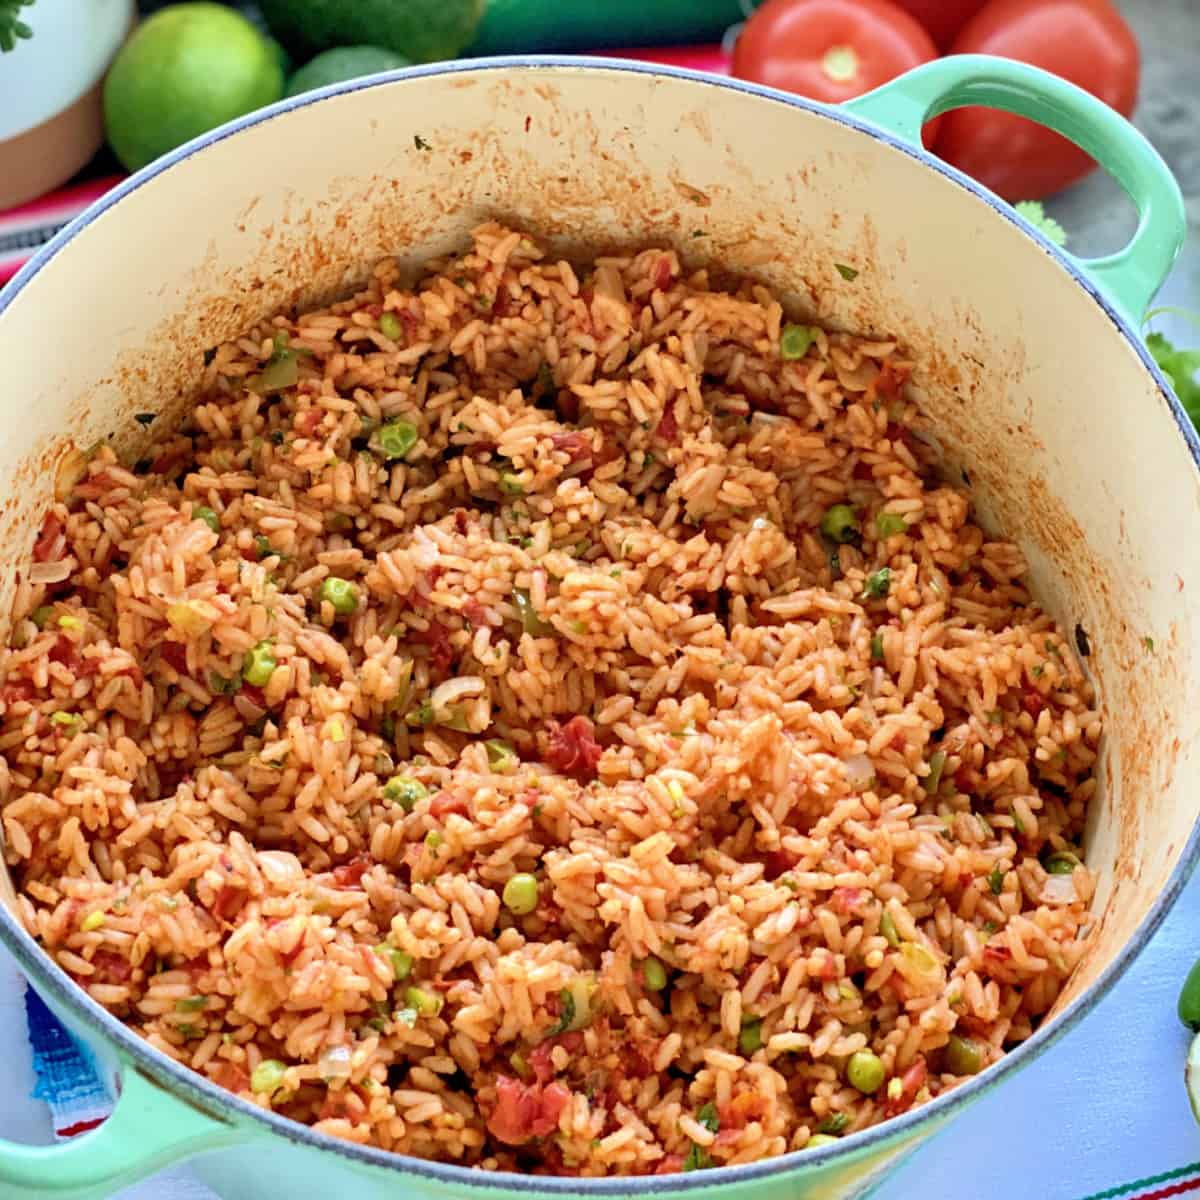
Mexican Red Rice
-
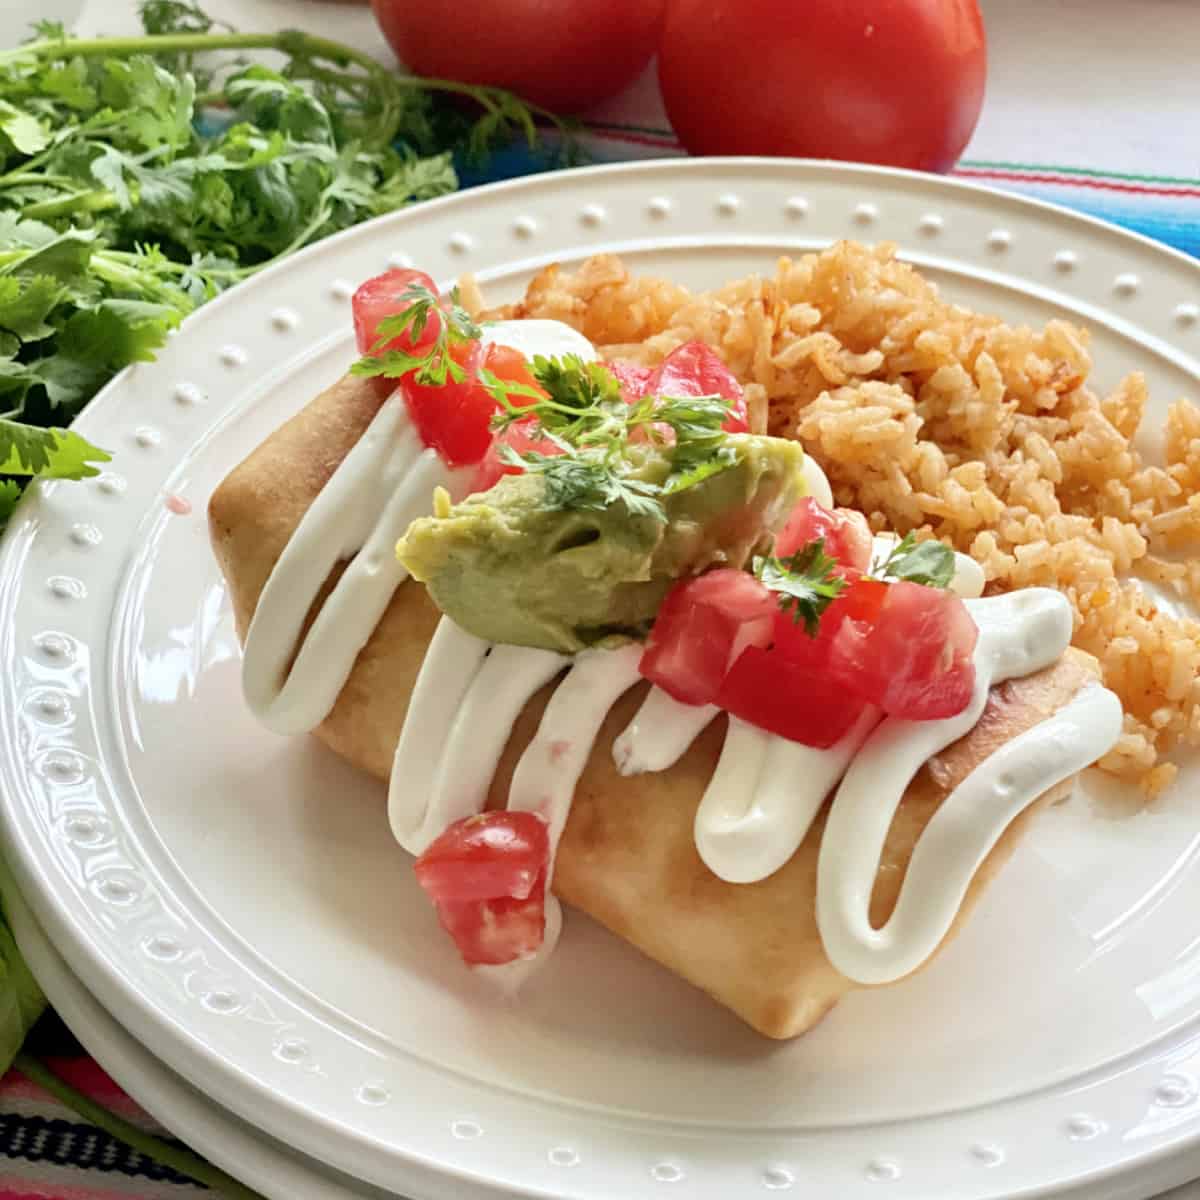
Chicken Chimichanga Recipe
-
Skillet Fajitas
-
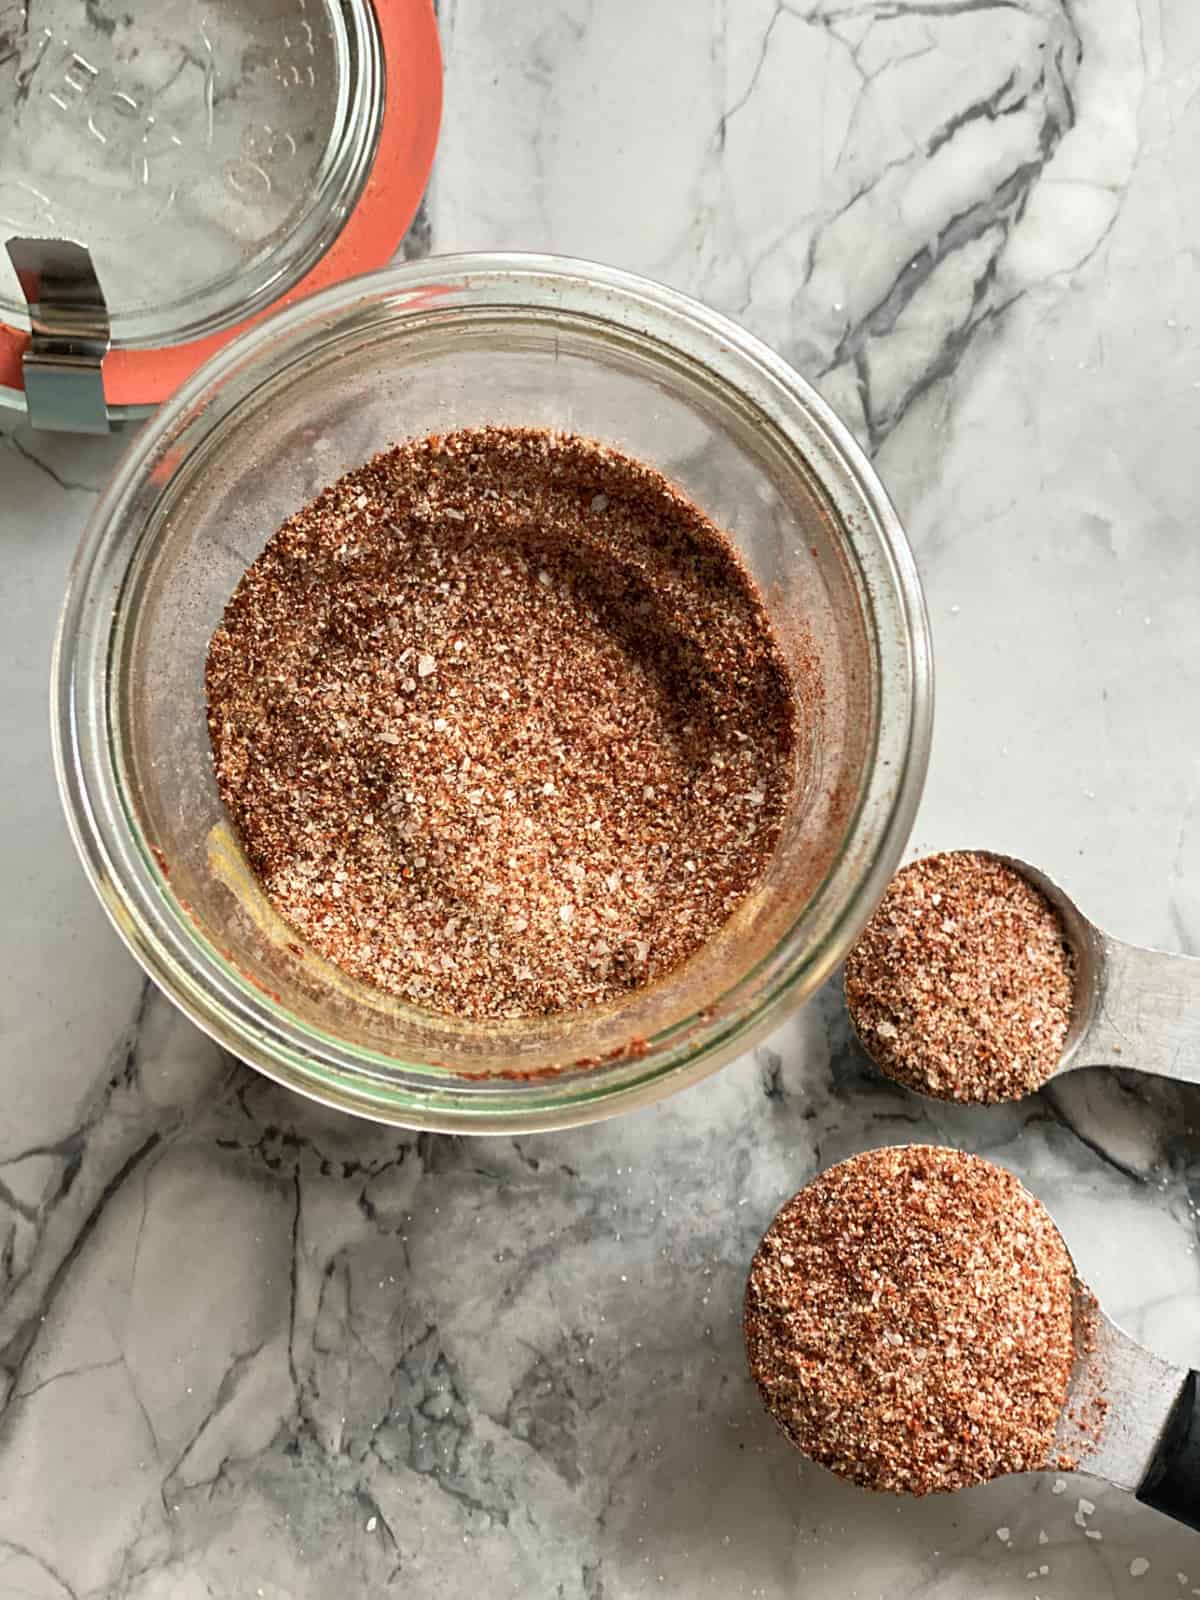
Fajita Seasoning
-
Vegetarian Fajitas
-
Chili Cheese Nachos
-
Instant Pot Mexican Chicken
-
Slow Cooker Salsa Chicken
-
Swordfish Tacos
-
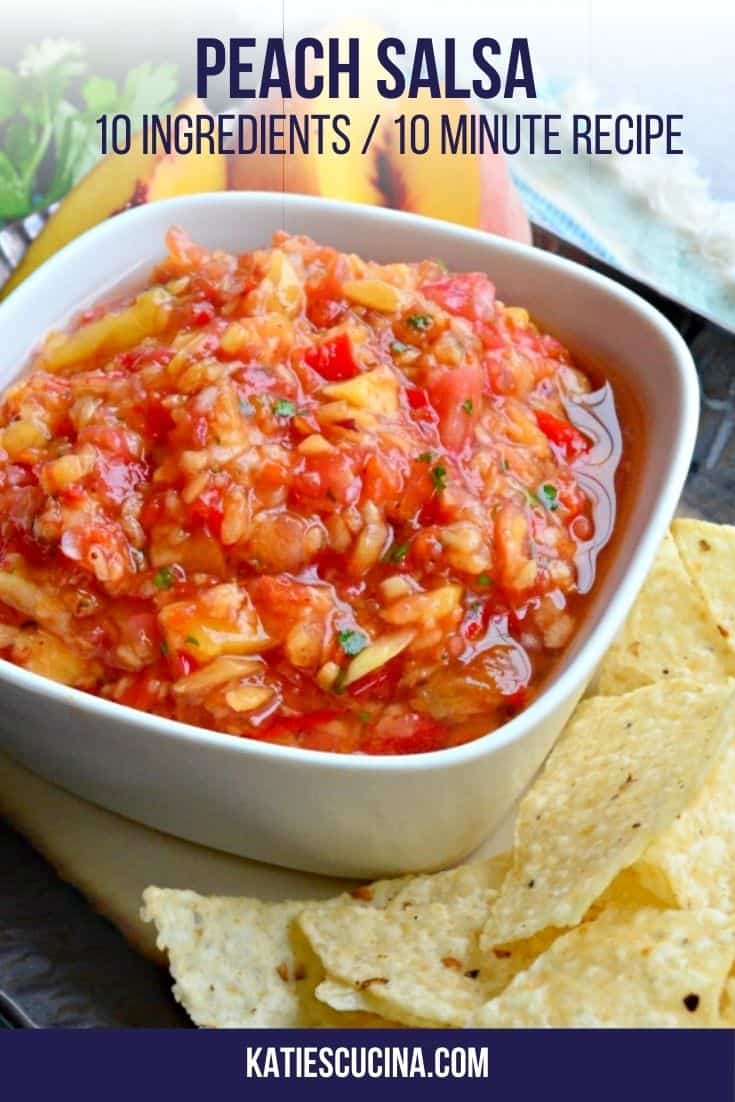
Peach Salsa
-
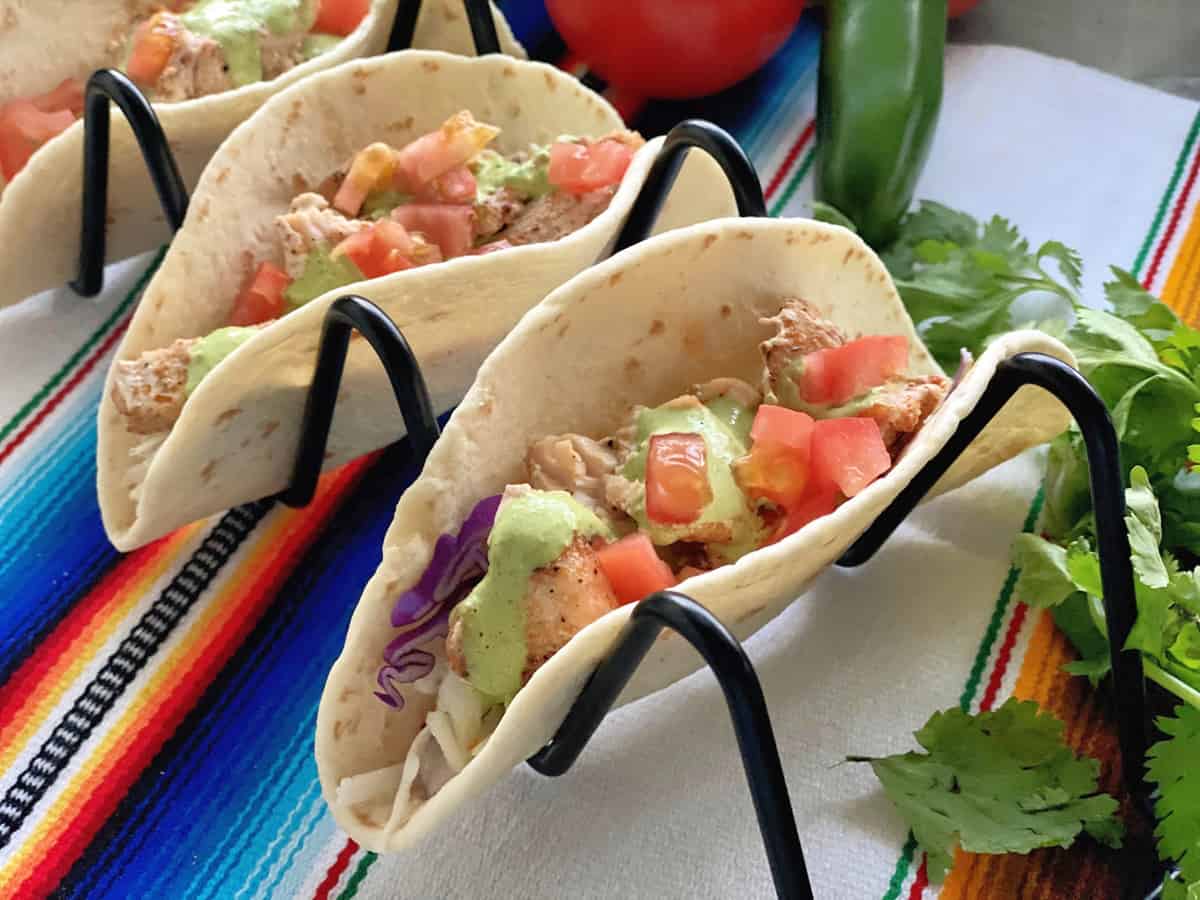
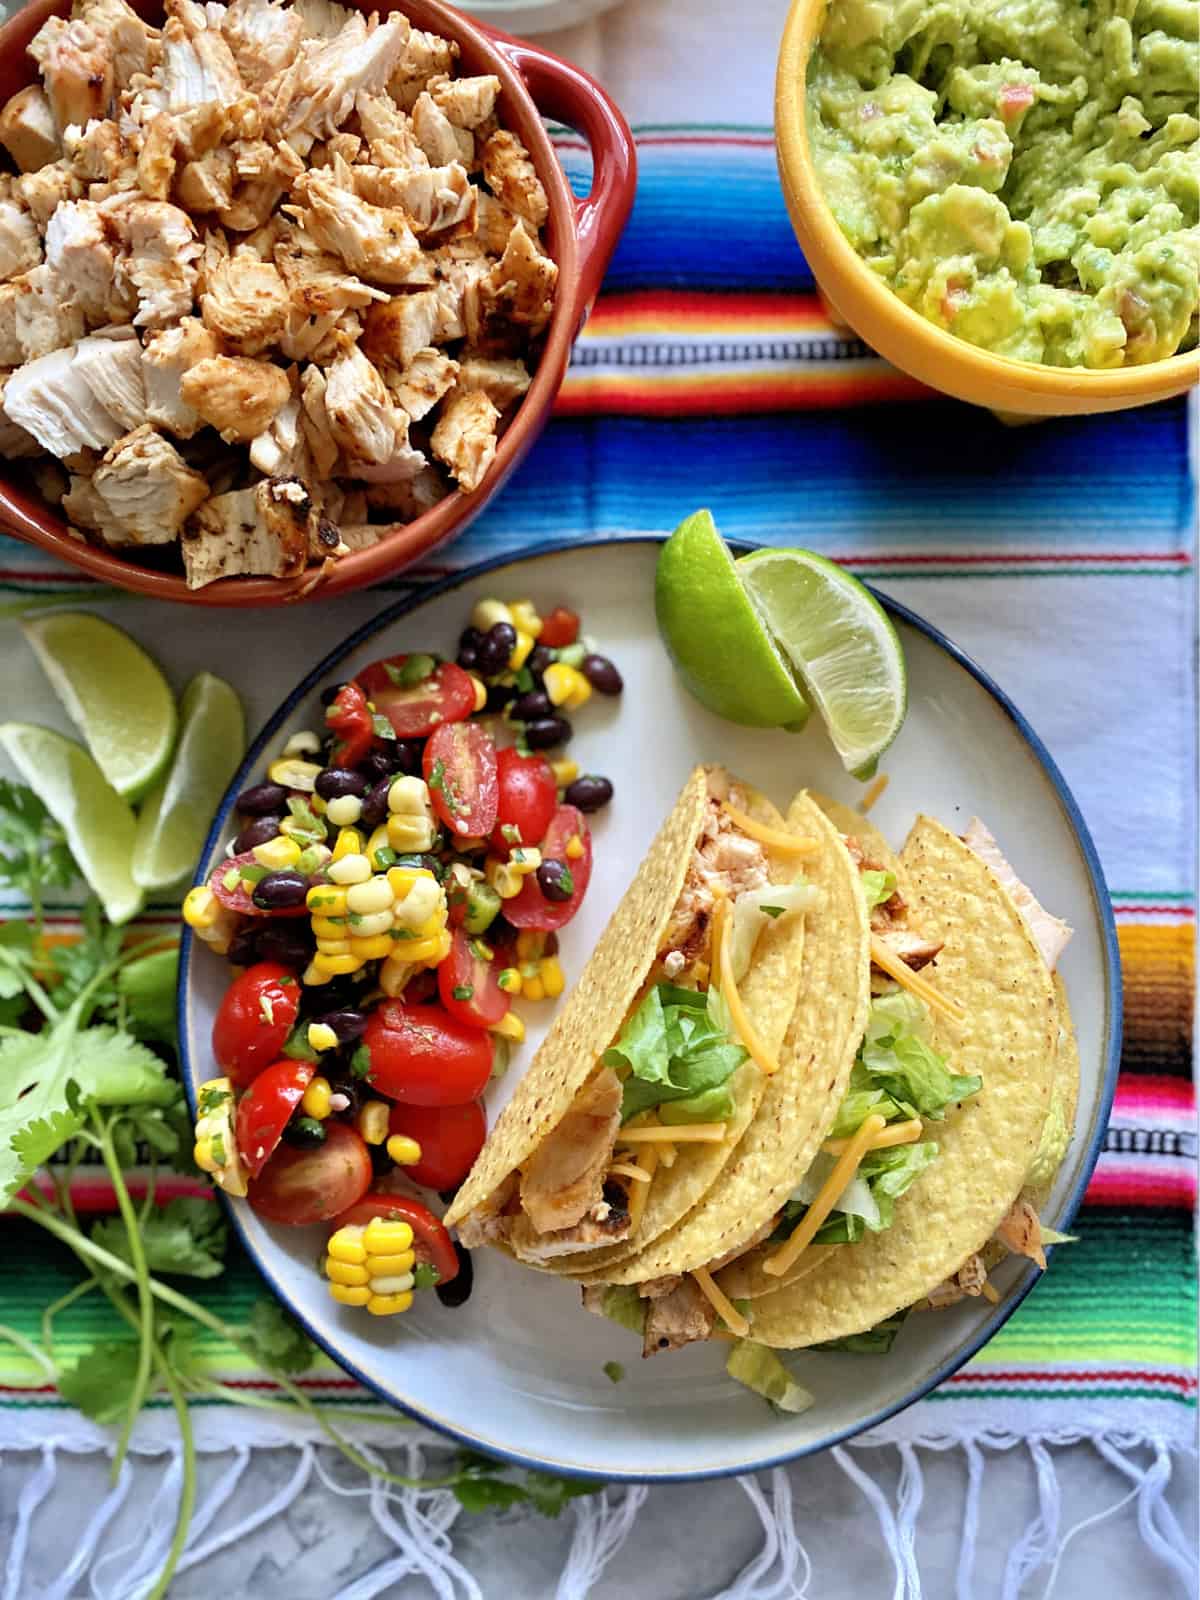
Grilled Chicken Tacos
-
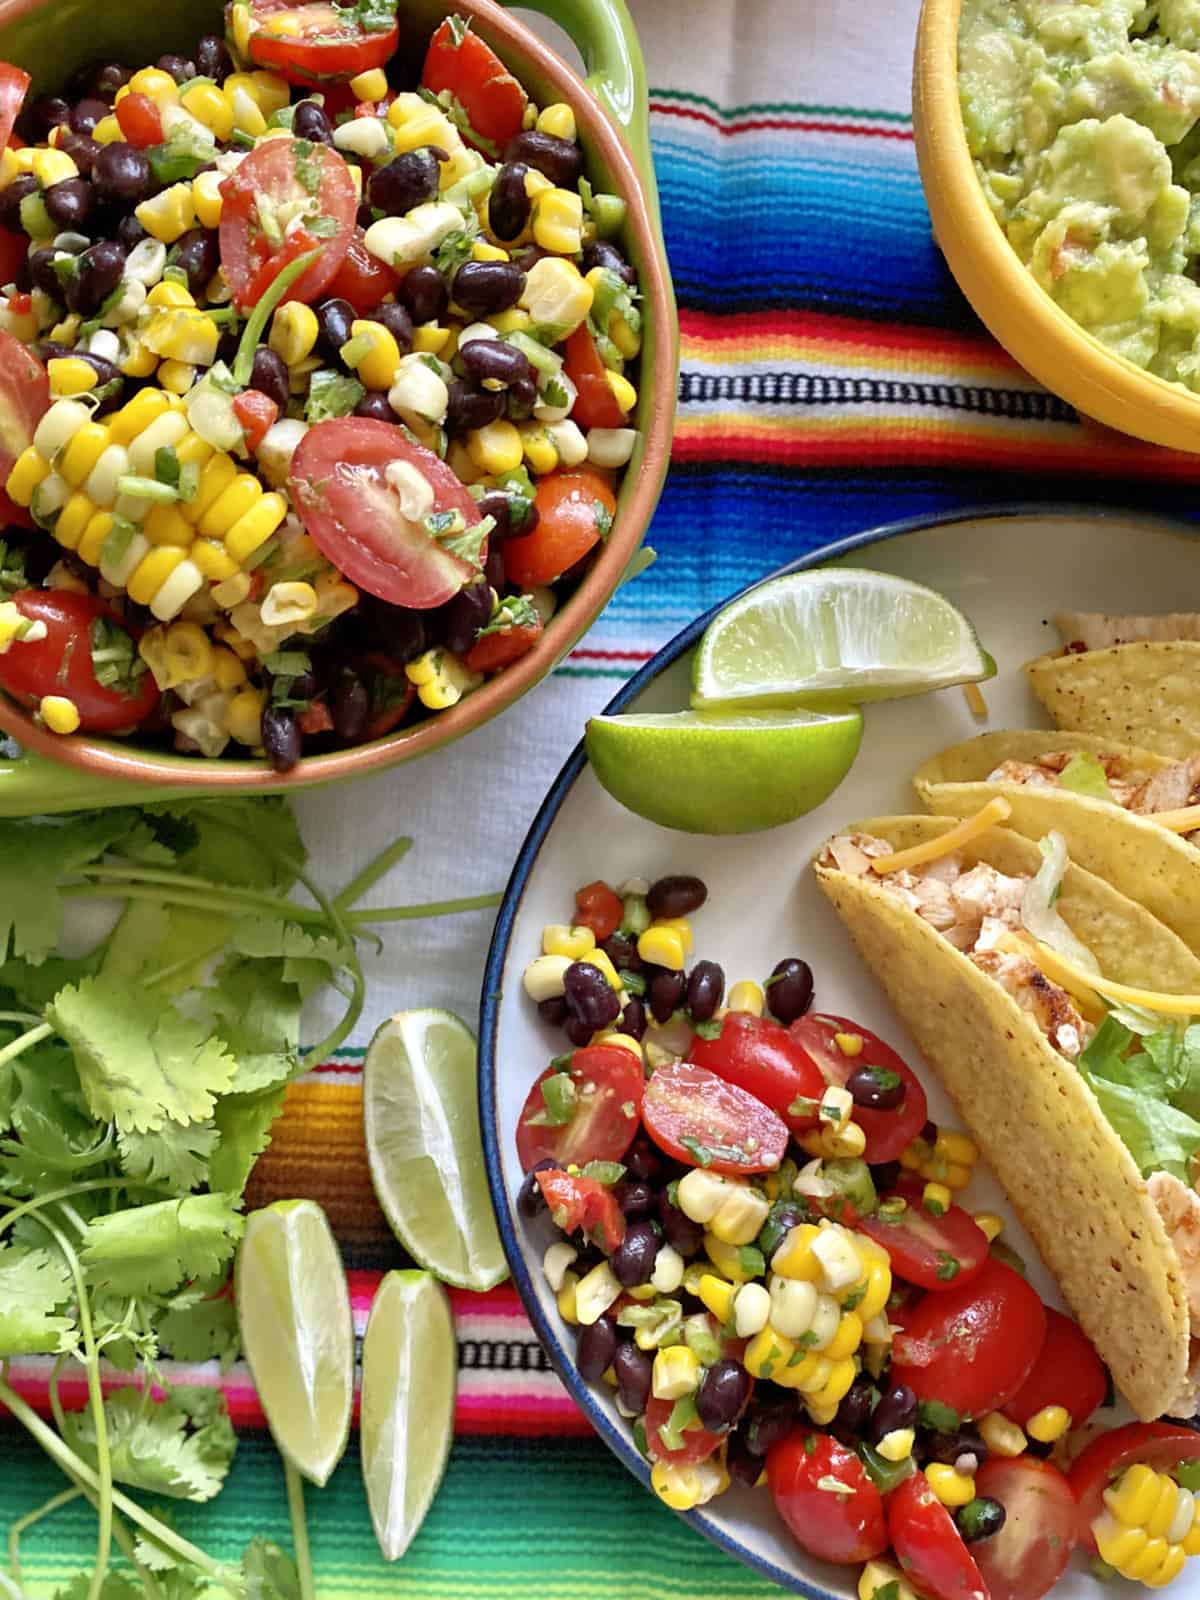
Black Bean Corn Tomato Salad
-
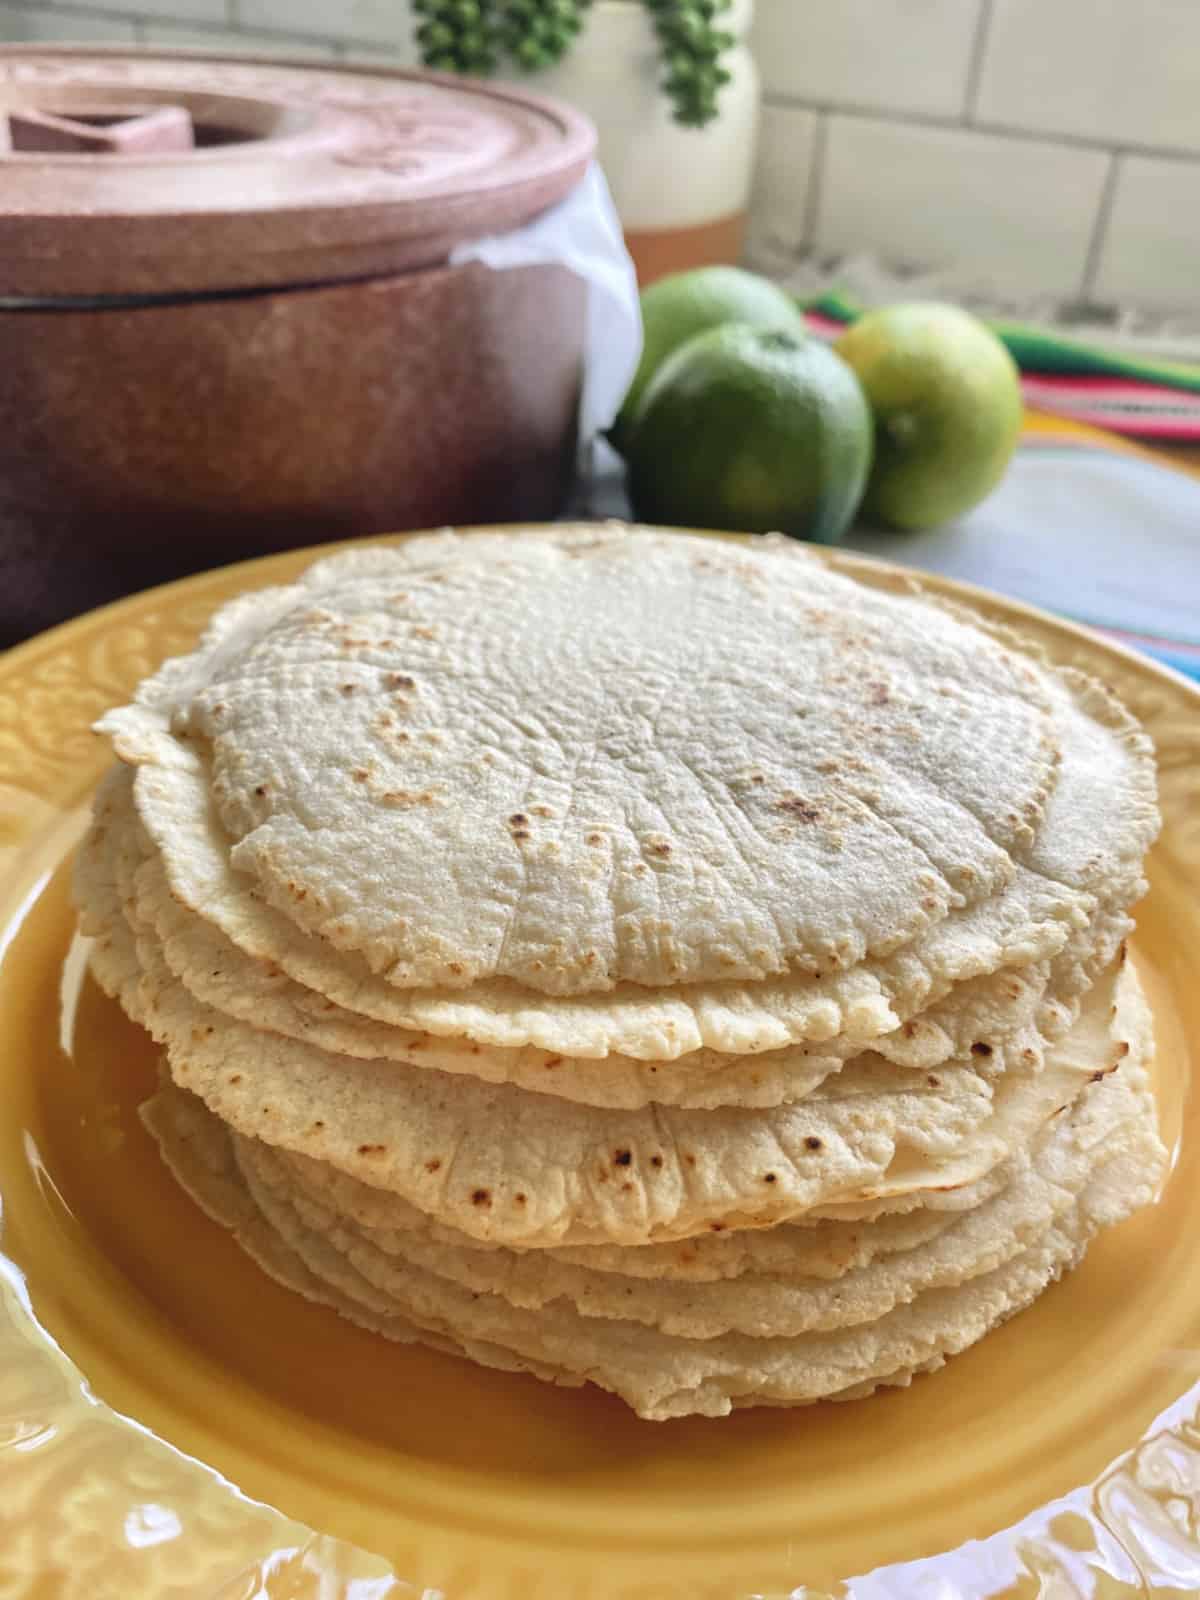
Homemade Corn Tortillas
-
Grilled Chicken Fajitas
-
Salsa Dip for Nachos
-
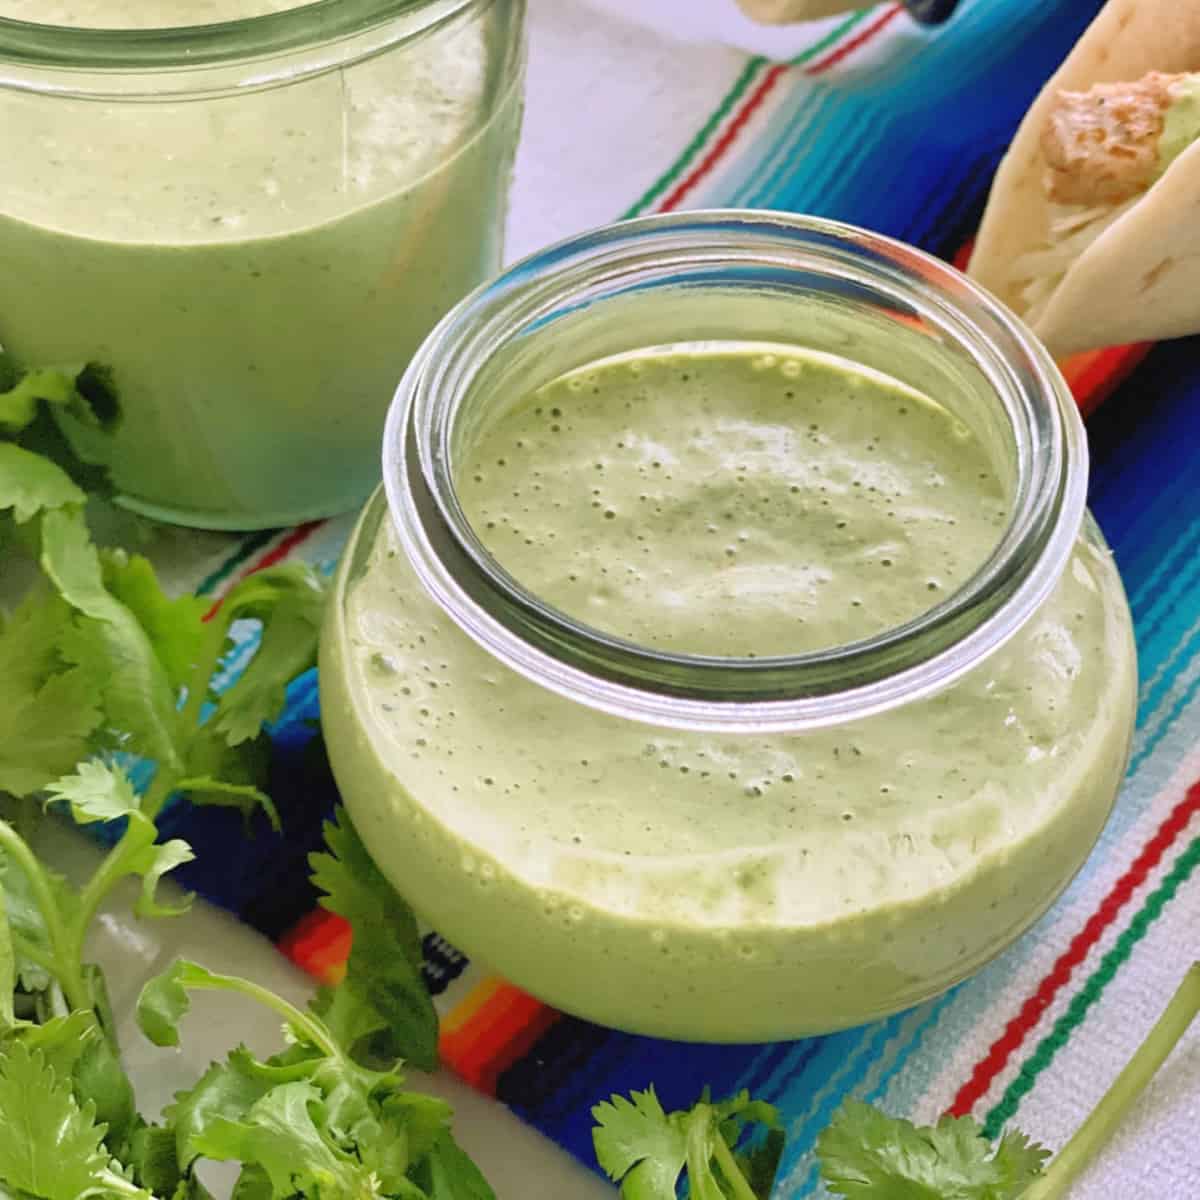
Creamy Cilantro Dressing
-
Mahi Mahi Tacos
-
Mexican Chicken Foil Packets
-
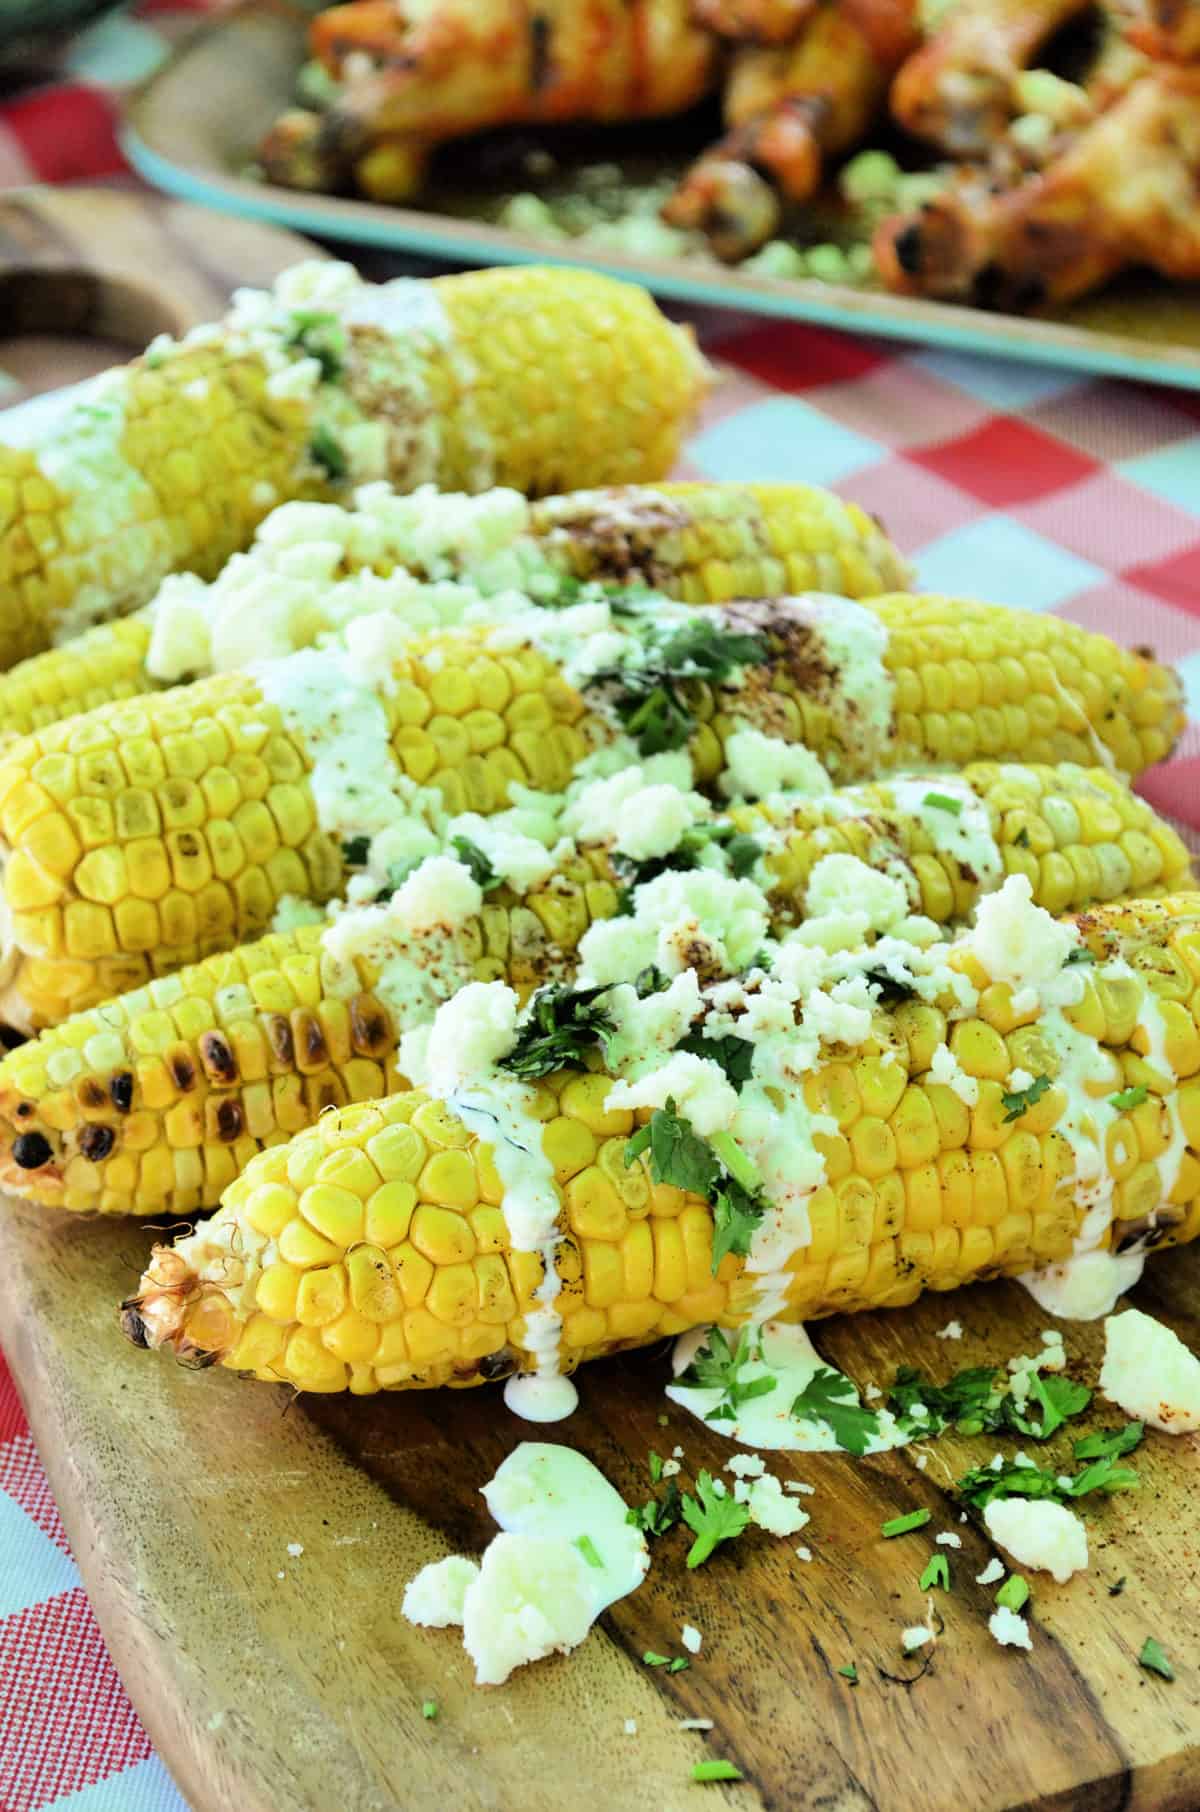
Grilled Mexican Street Corn
-
Grilled Skirt Steak And Shrimp Fajitas
-
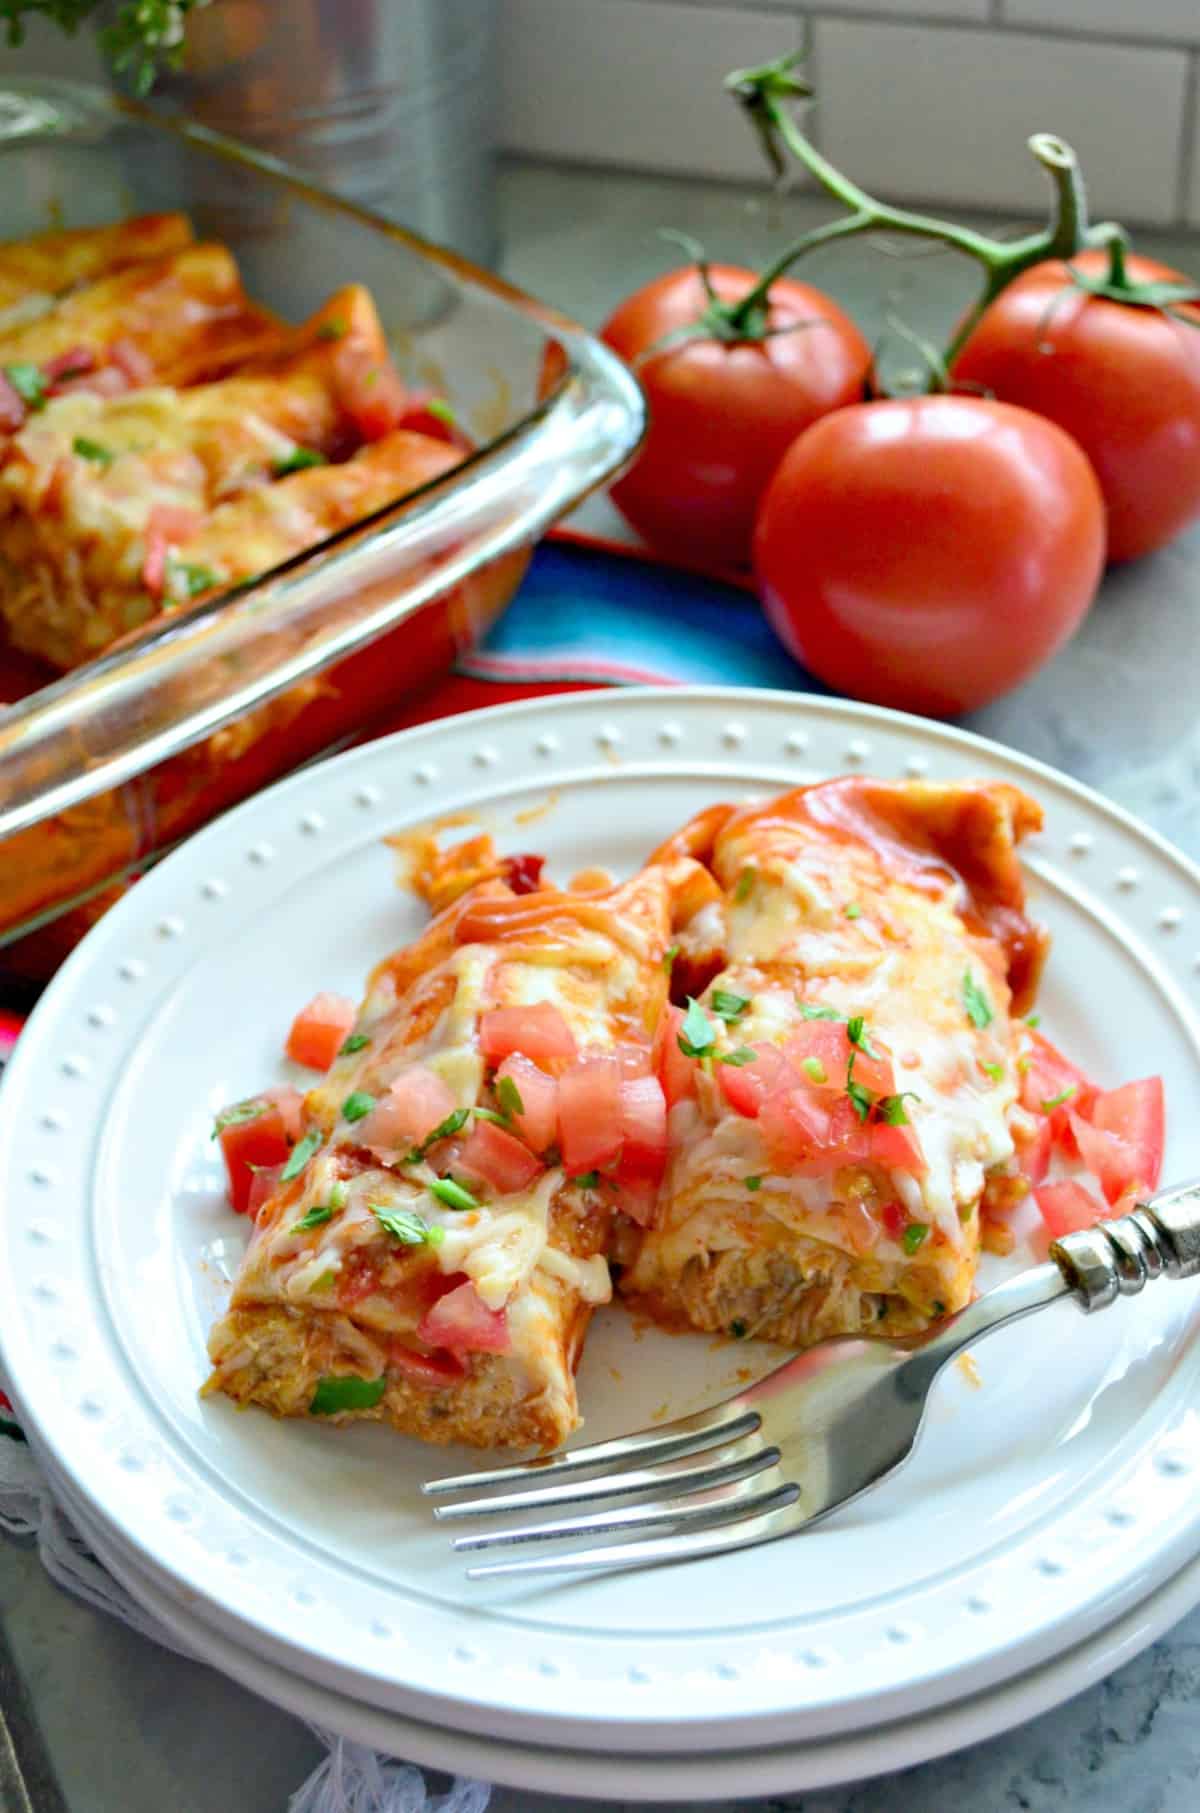
Chicken and Cheese Enchiladas
-
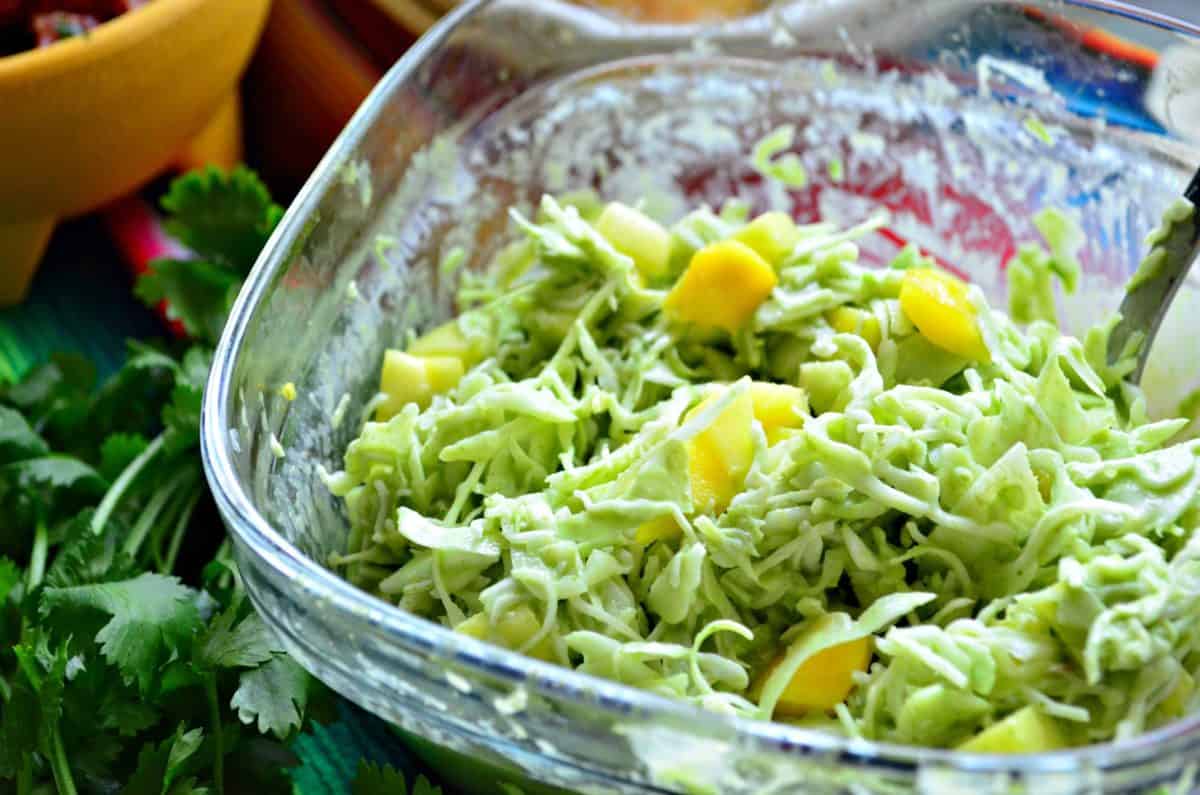
Creamy Cilantro Mango Coleslaw
-
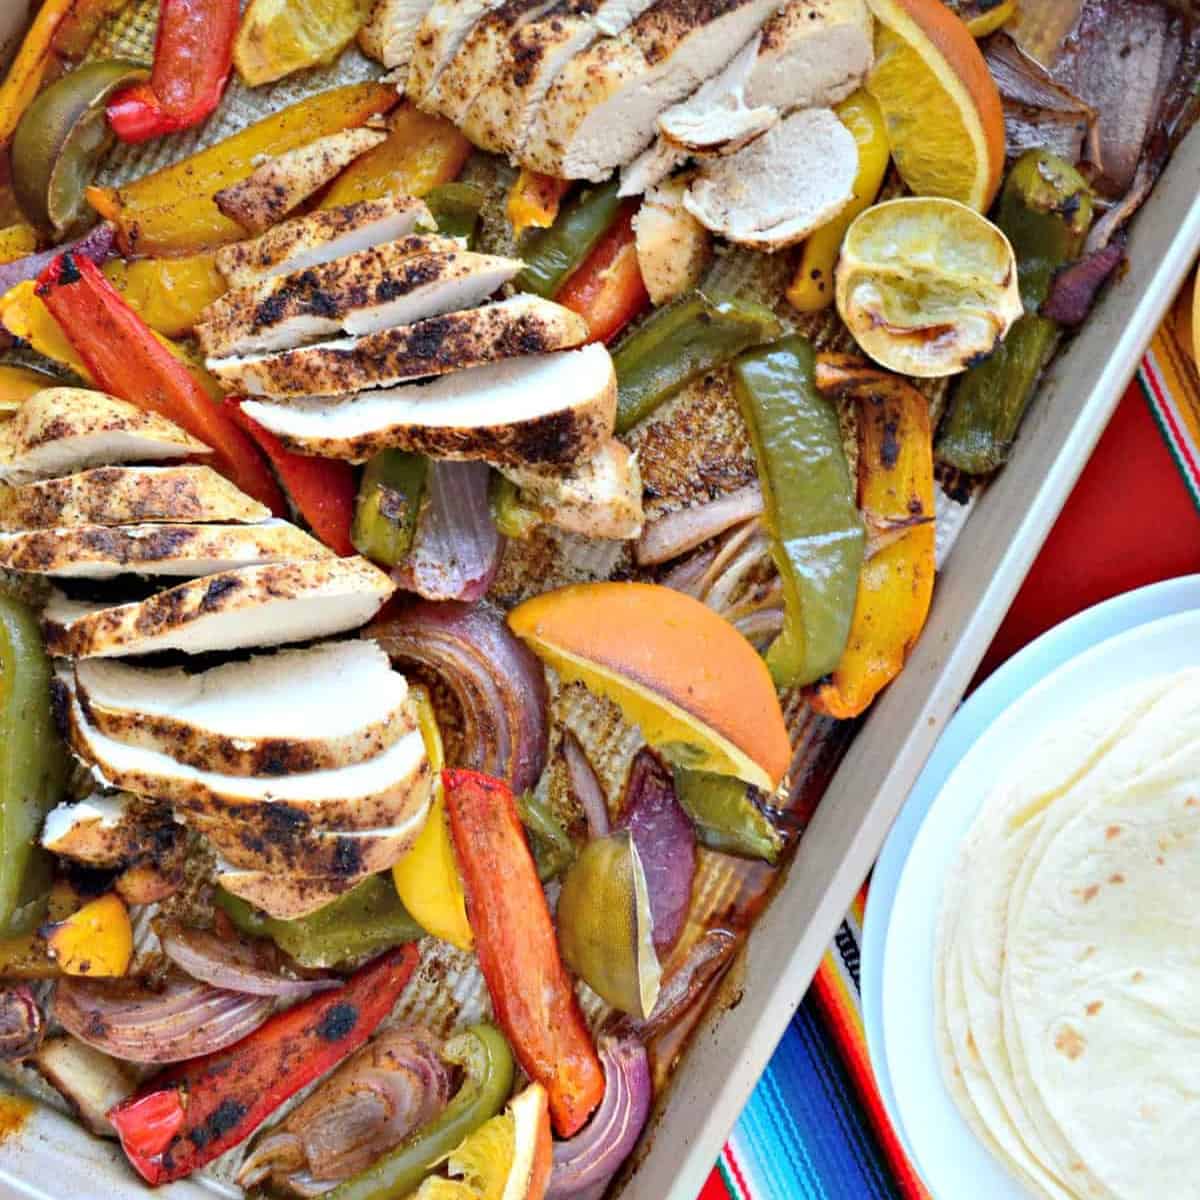
Sheet Pan Chicken Fajitas
-
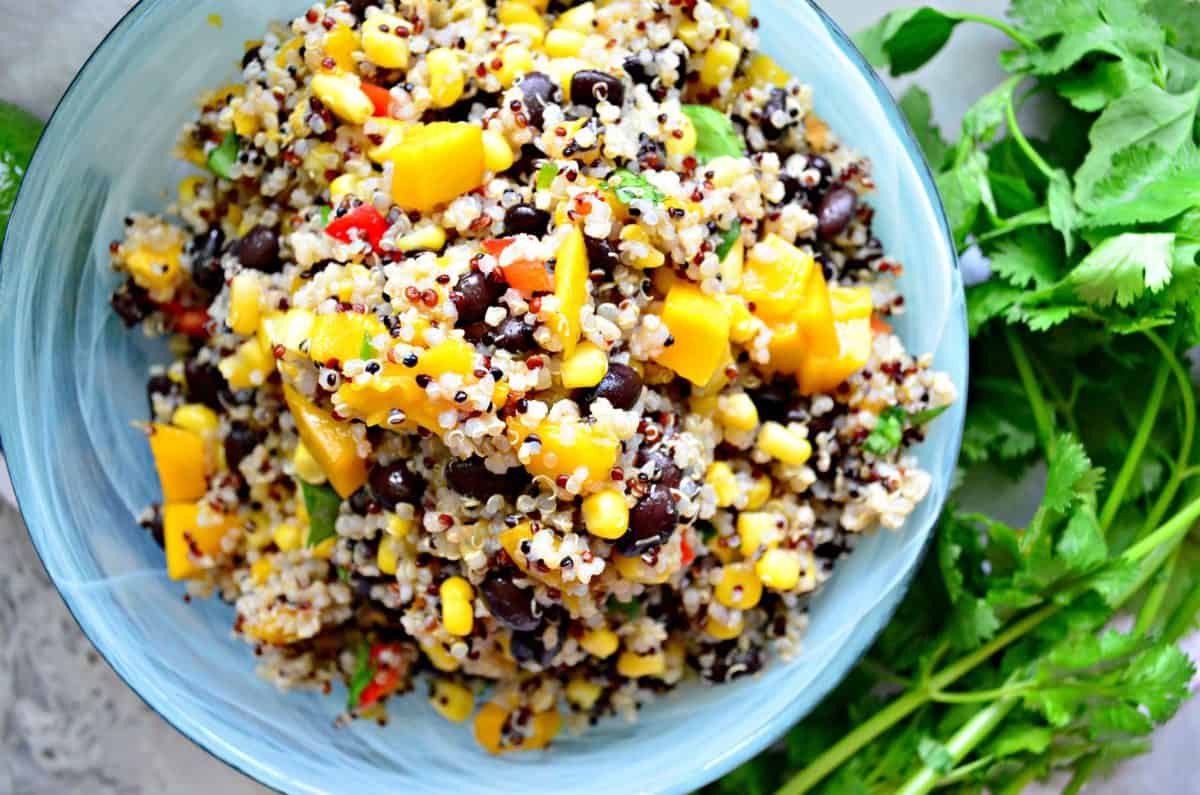
Mango Quinoa Salad
-
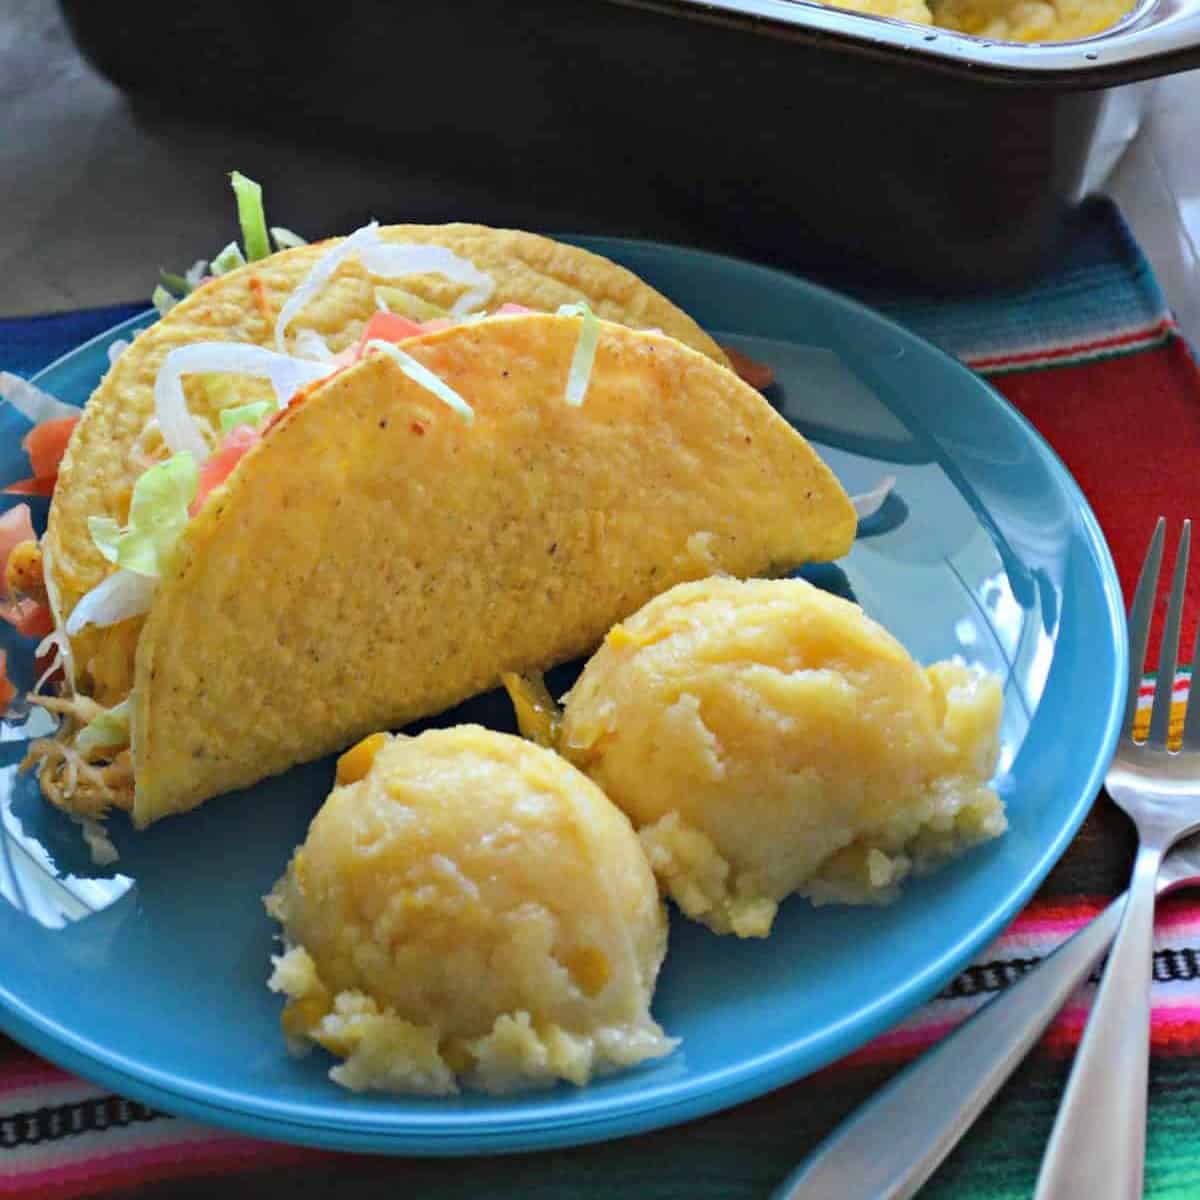
Mexican Sweet Corn Cakes
-
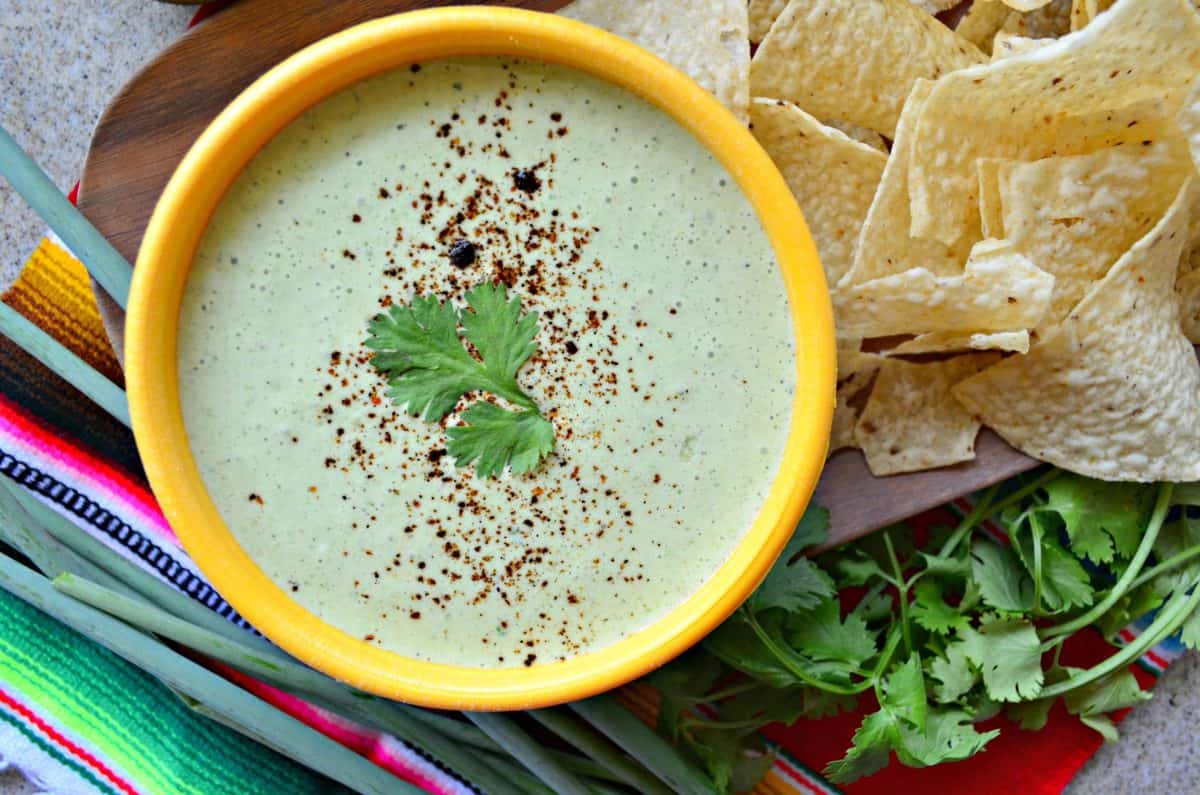
Cilantro Lime Yogurt Dip
-
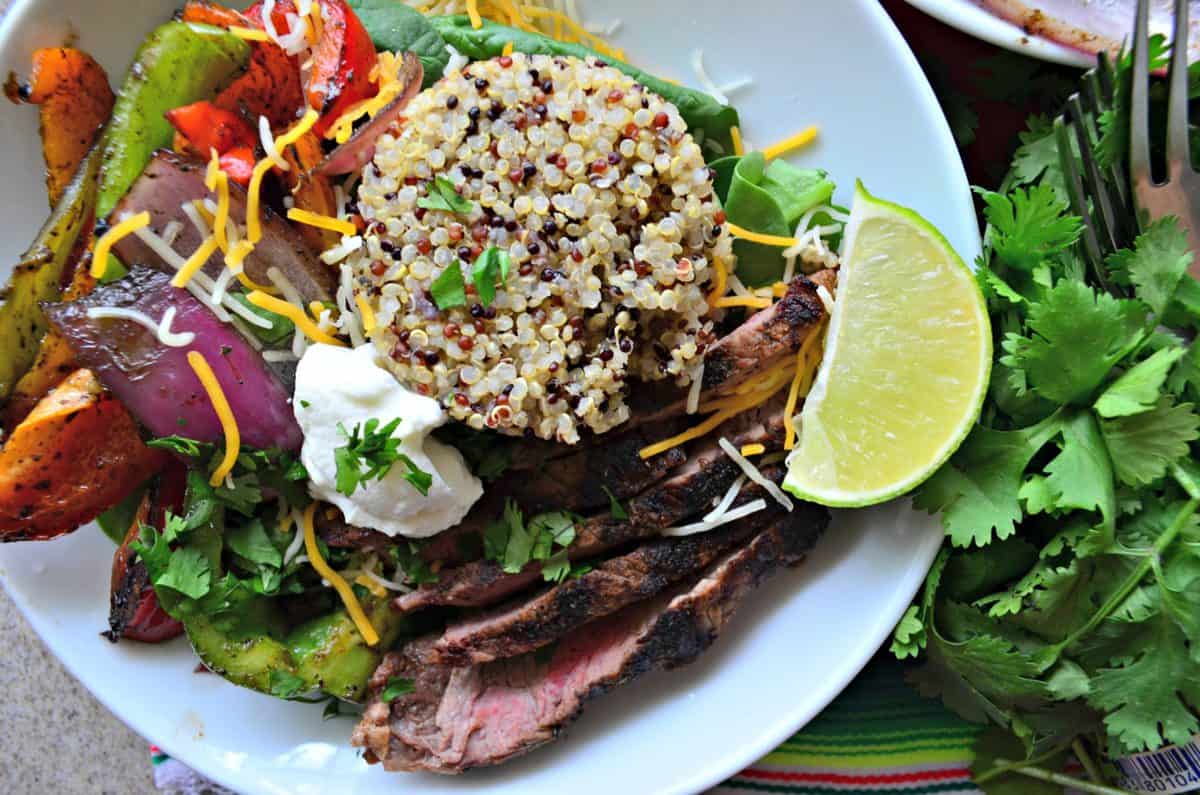
Steak Fajita Bowls
-
Ranchero Beans
-
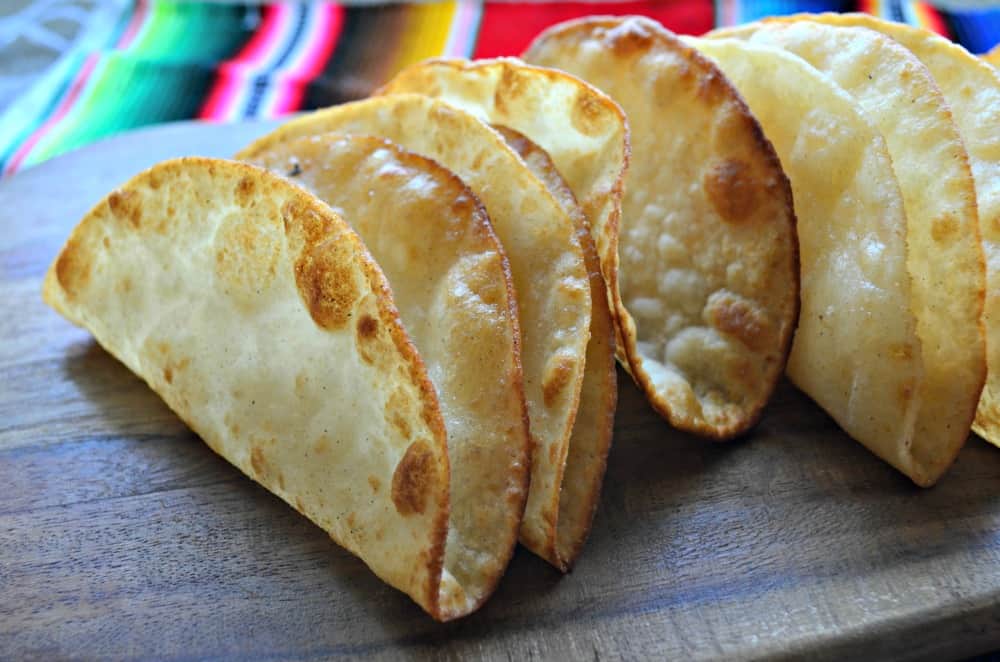
How To Make Crunchy Hard Taco Shells
-
Chicken Soft Taco Bowl Salad Bar
-
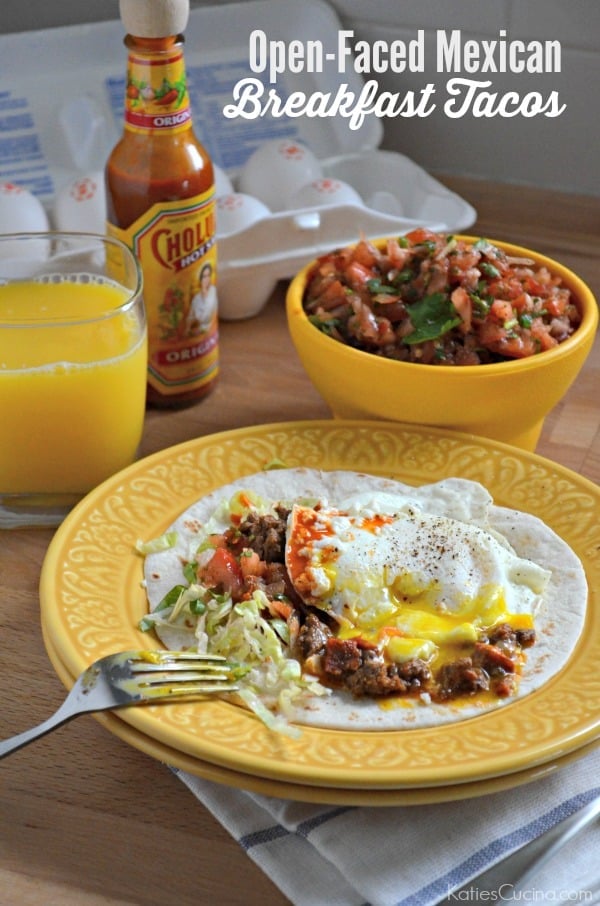
Open-Faced Mexican Breakfast Tacos
-
Beef and Red Bean Tacos
-
Strawberry-Raspberry Nutella Dessert Tacos