Side Dish
If you are looking for side dish recipes you are in the right place. We have hundreds of side dish recipes to help complete your meal. Whether you are entertaining or simply needing a new side dish for dinner.
Love potatoes? Try my Instant Pot Mashed Potato recipes? Use the leftover mashed potatoes to make my mashed potato cakes!
Doing the low carb thing? Try my Cauliflower Puree or my grilled asparagus in foil.
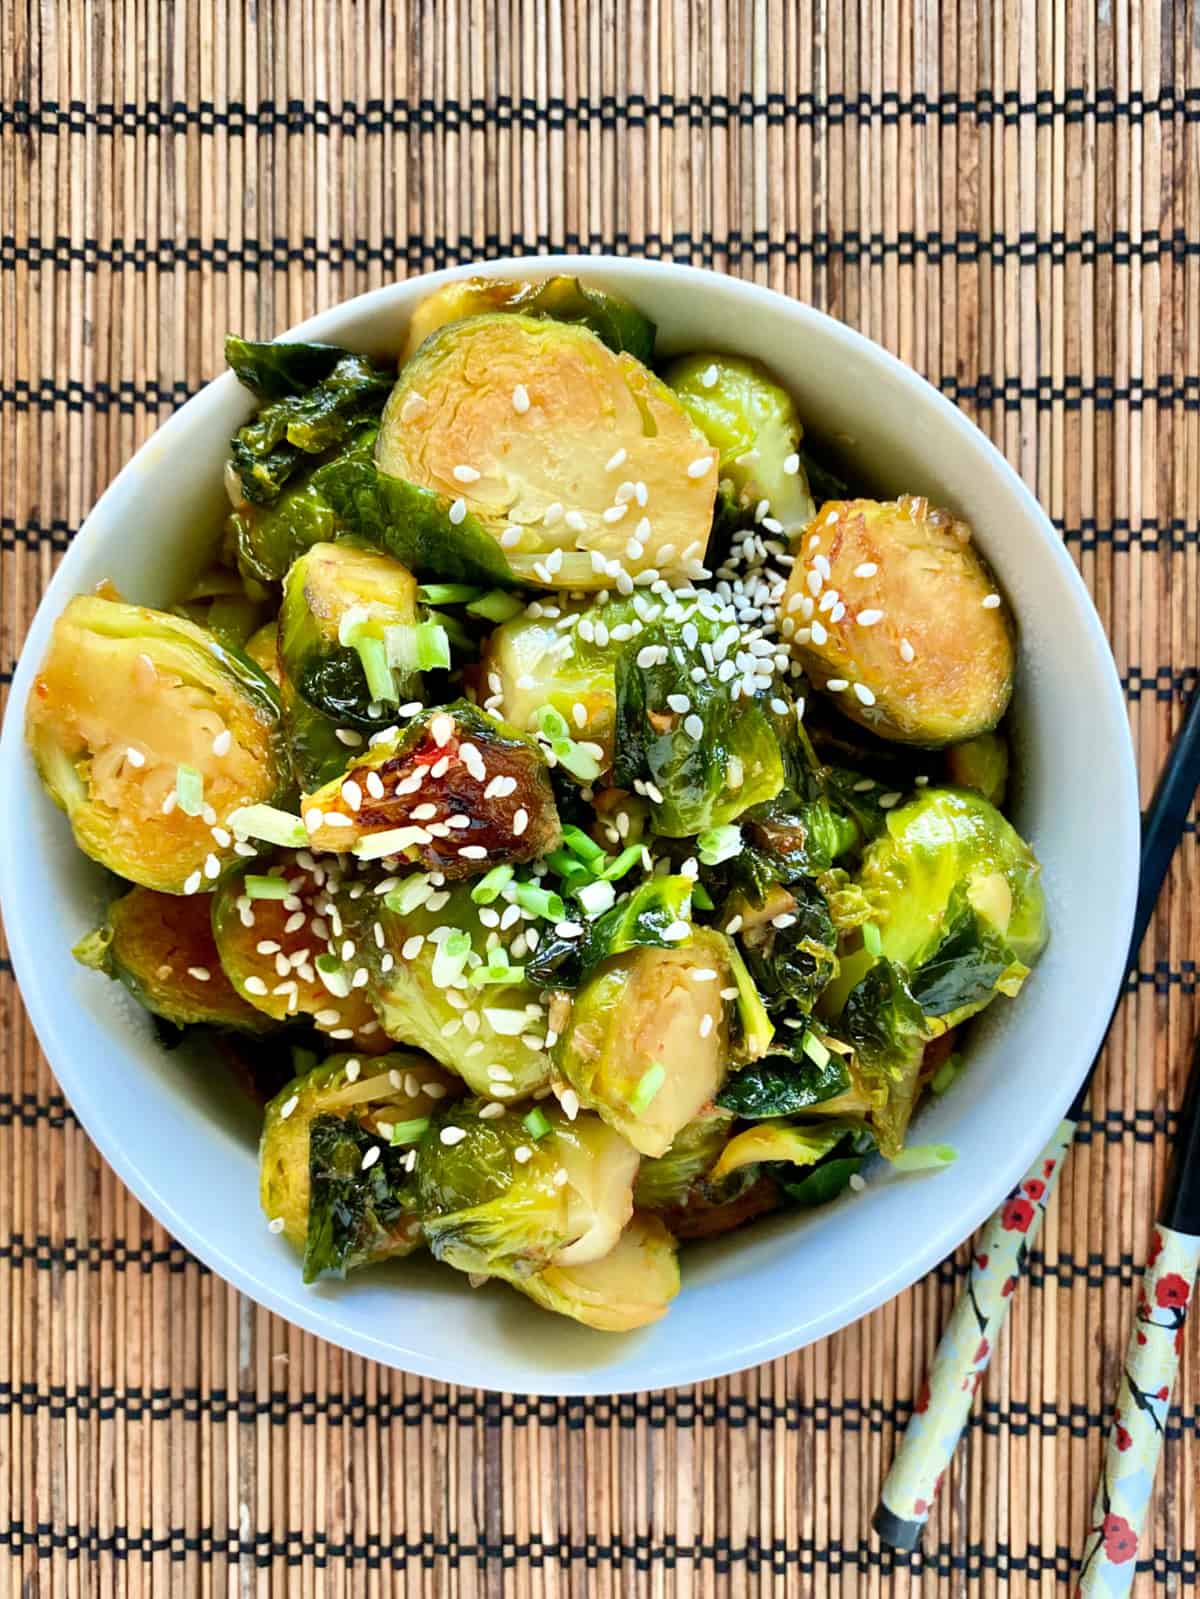
My copycat P.F. Changs Brussels Sprouts are a reader favorite as is my Mexican Street Corn Salad.
Don't forget my famous honey butter crescent rolls either!
-
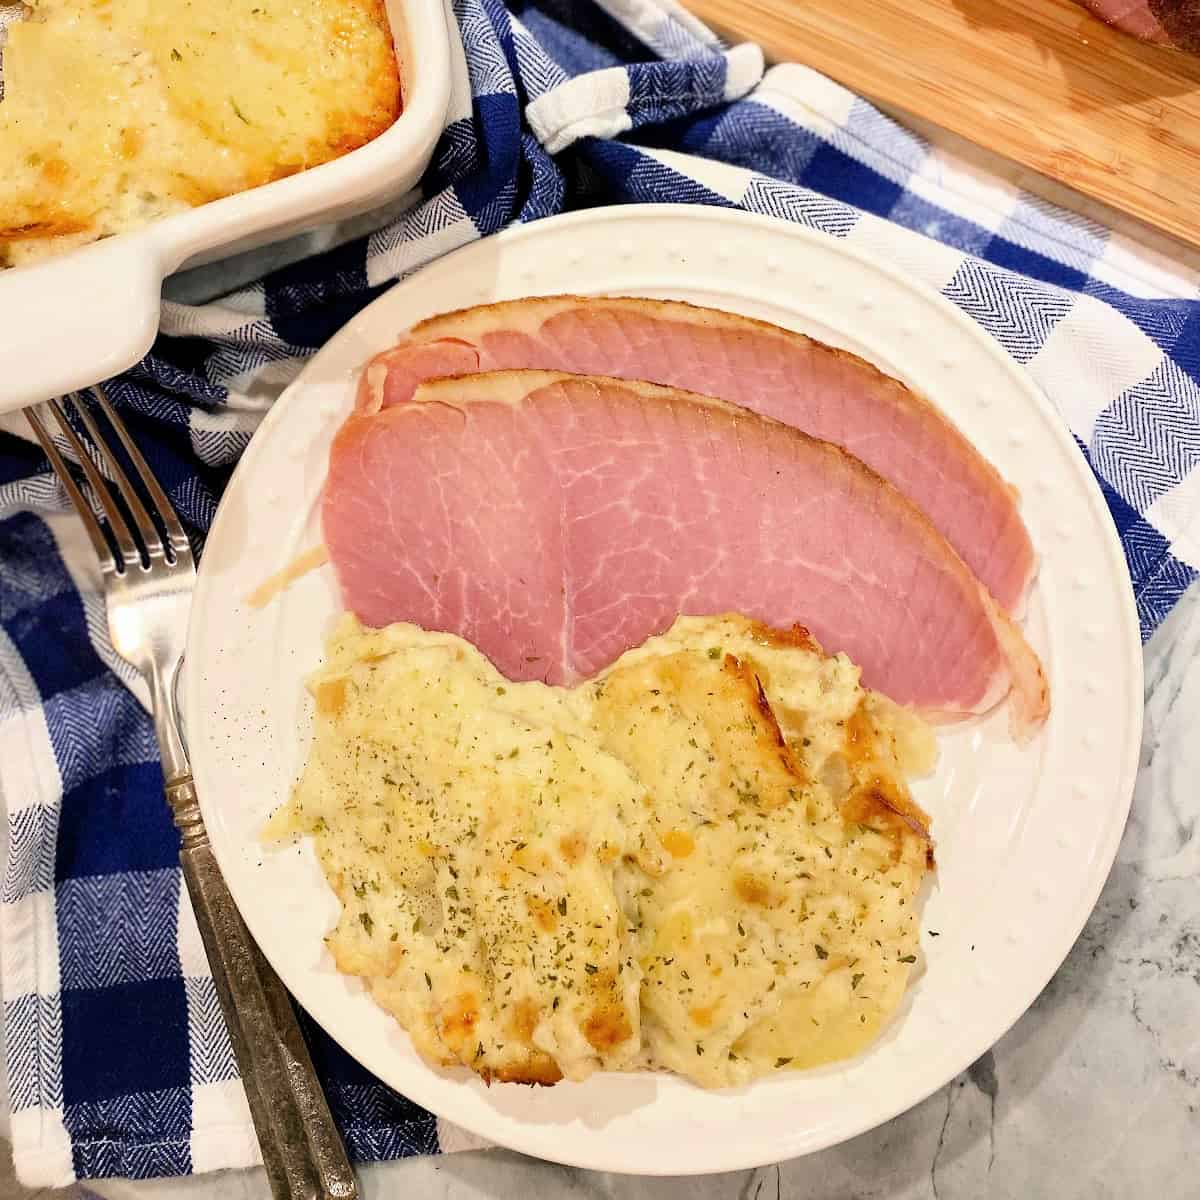
Cheesy Scalloped Potatoes
-
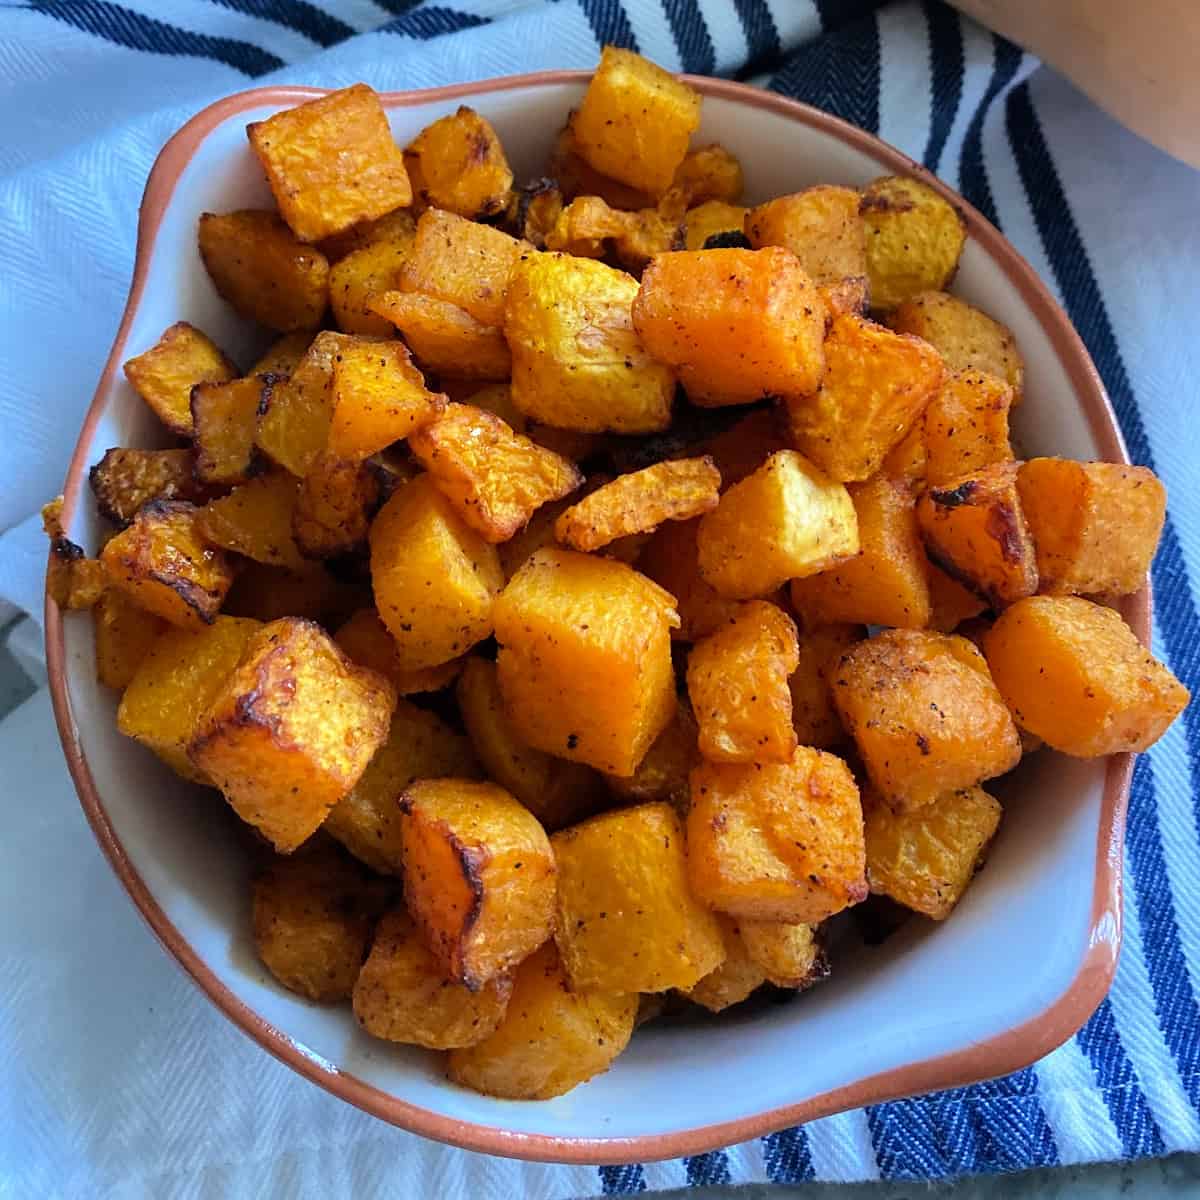
Air Fryer Butternut Squash
-
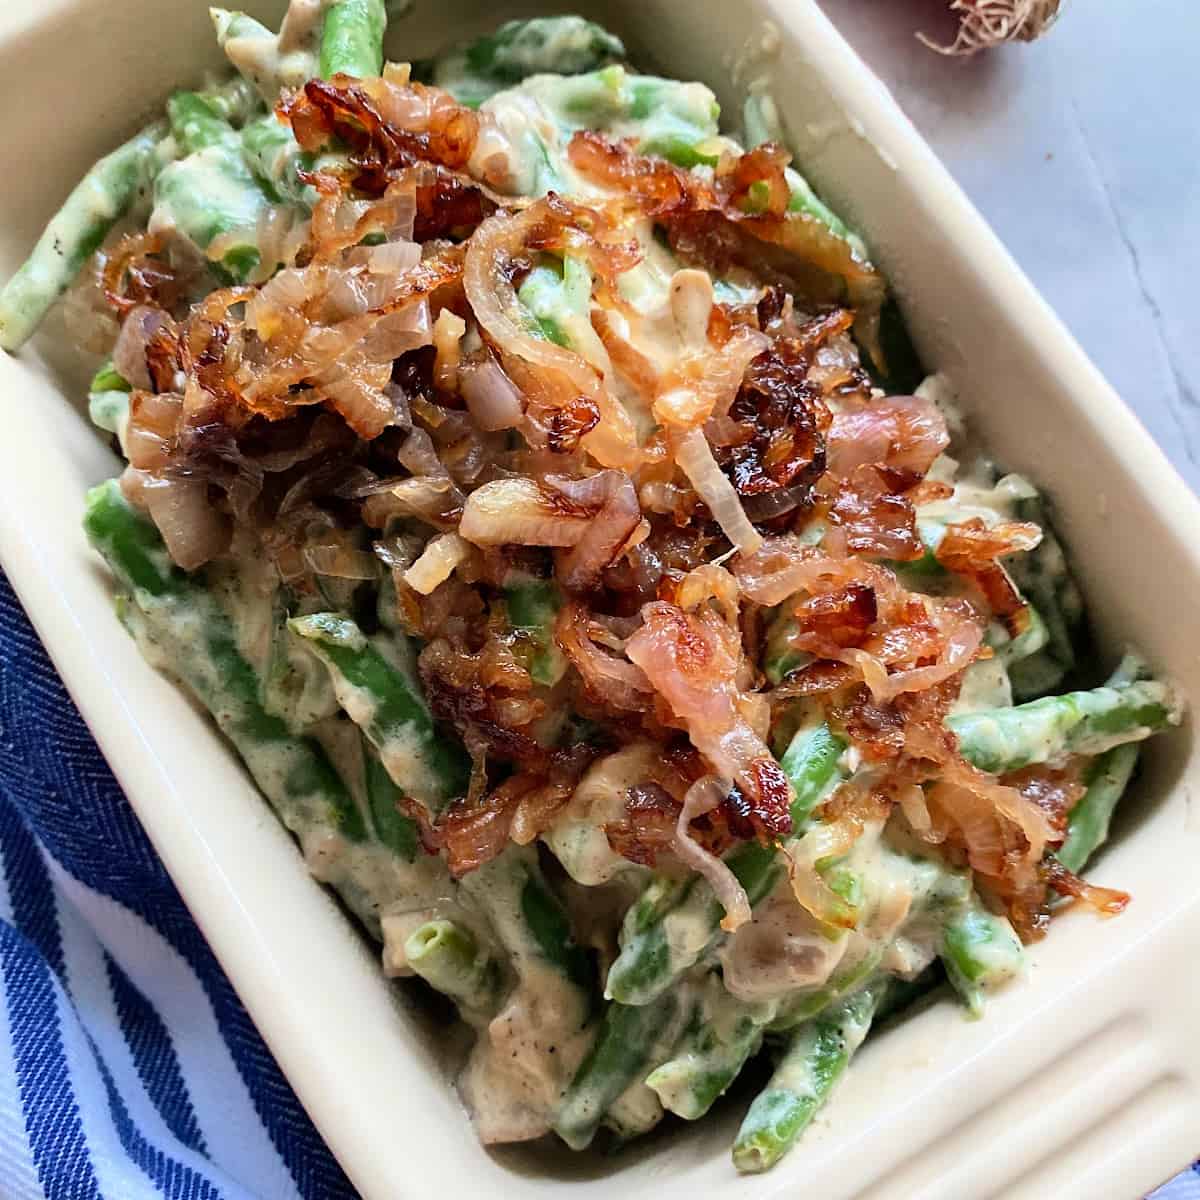
Gluten Free Green Bean Casserole
-
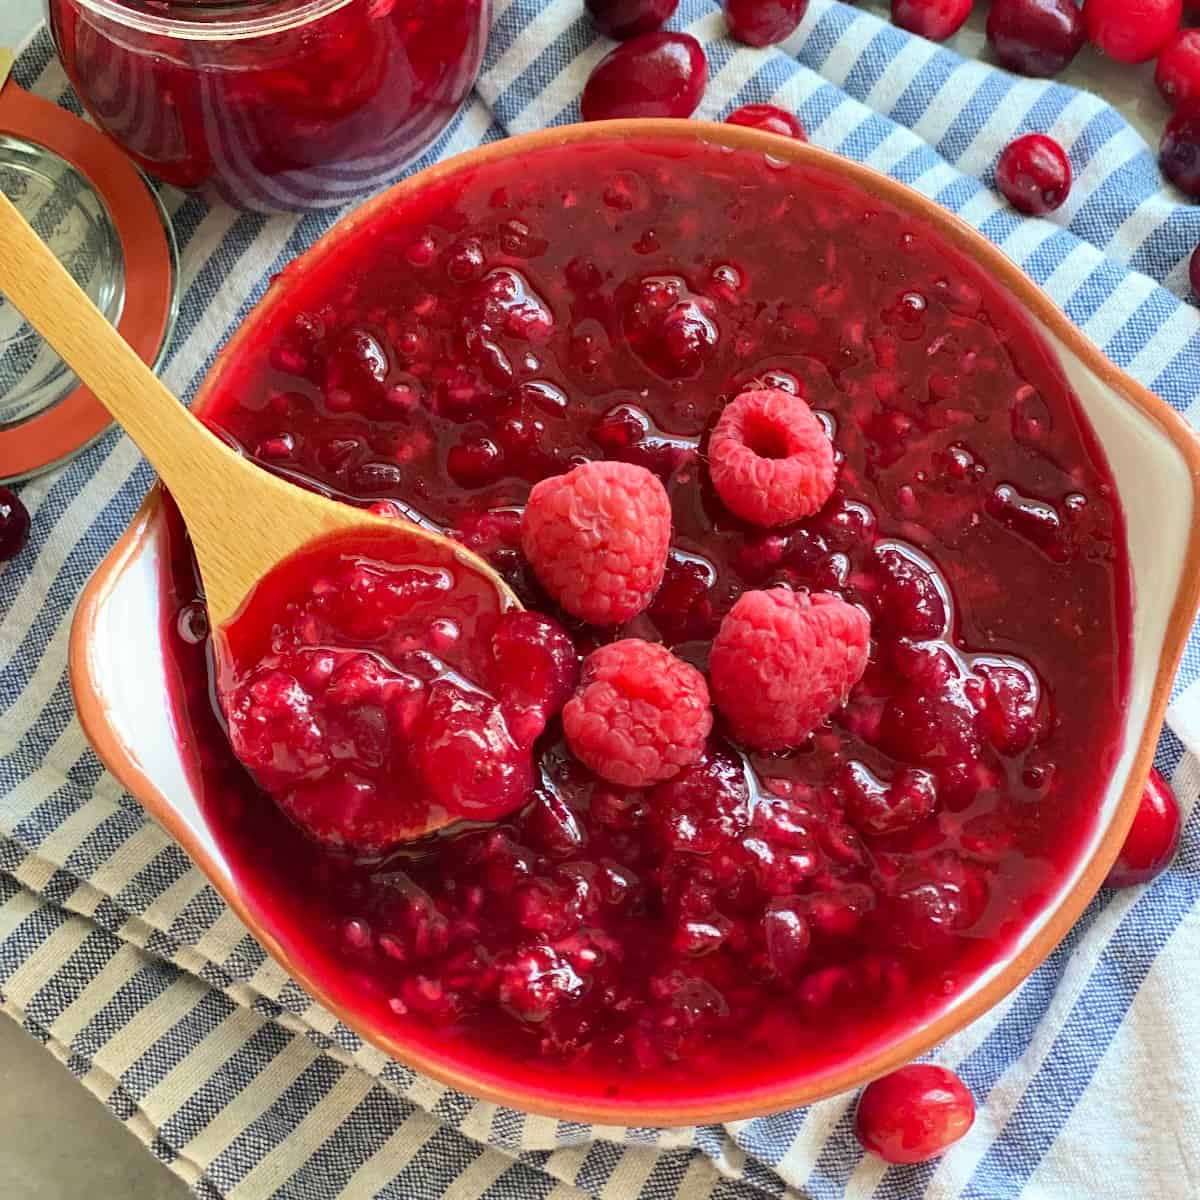
Cranberry Raspberry Sauce
-
Sides for Chicken Tenders – 17 Mouthwatering Sides
-
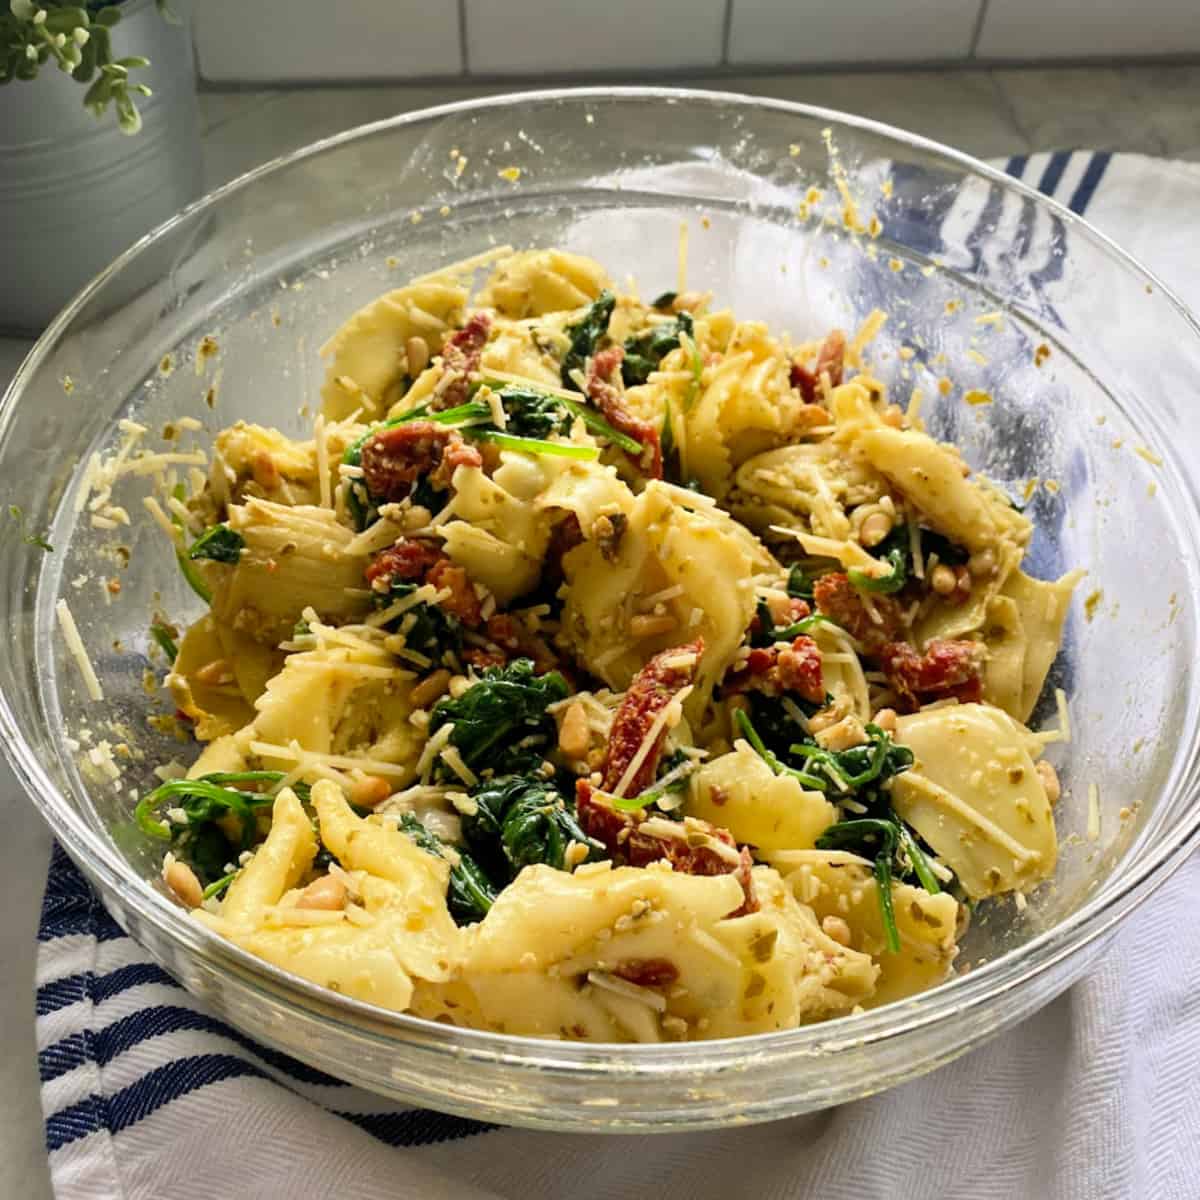
Pesto Tortellini Salad
-
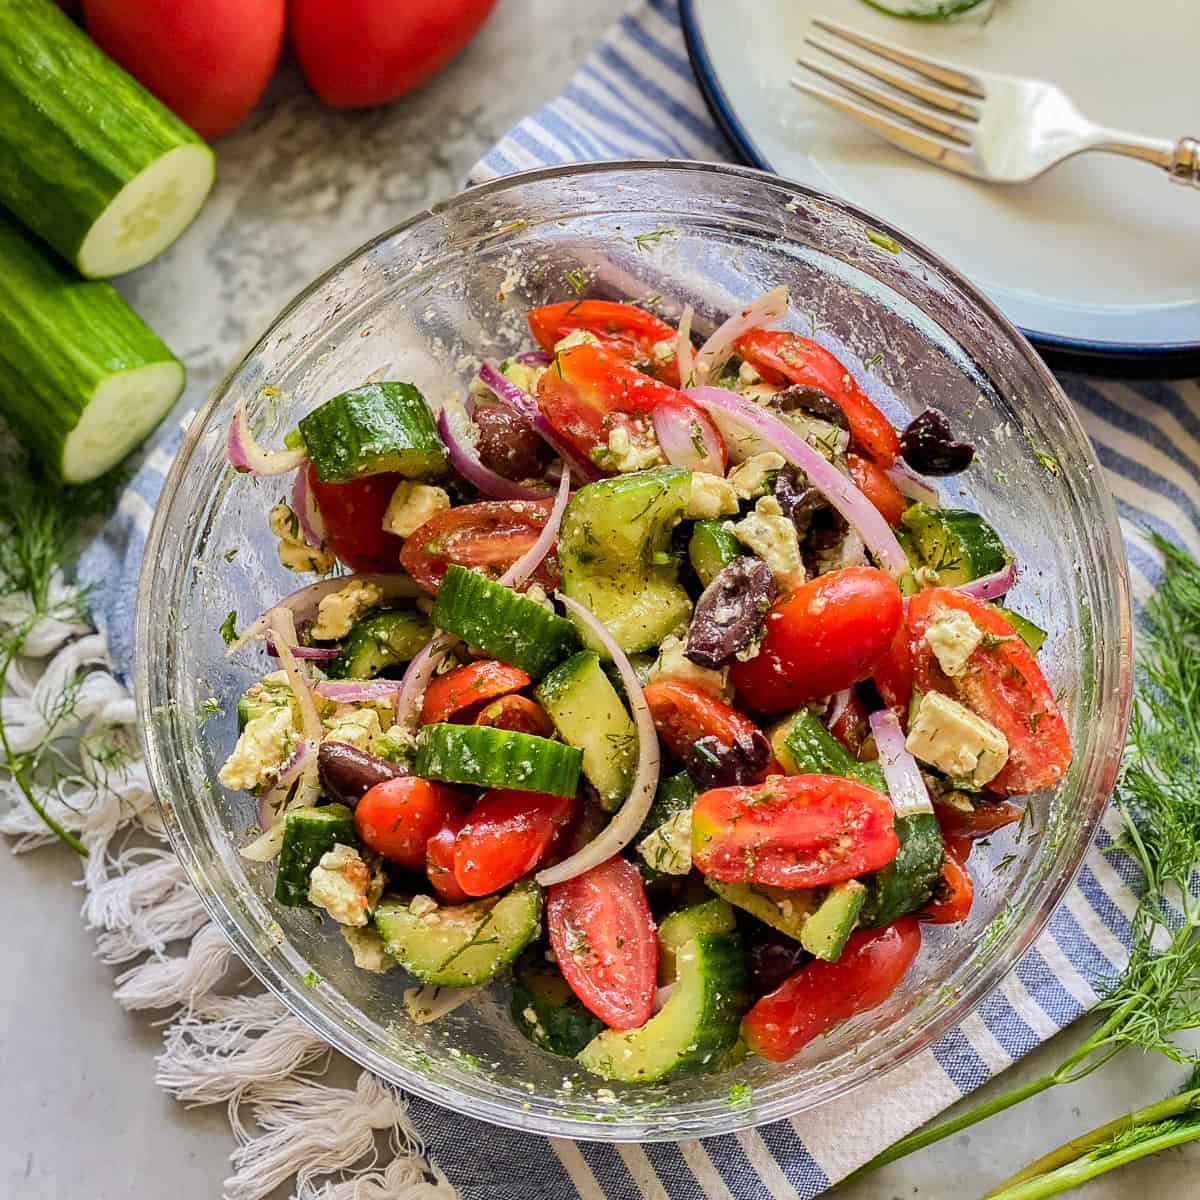
Greek Cucumber Salad
-
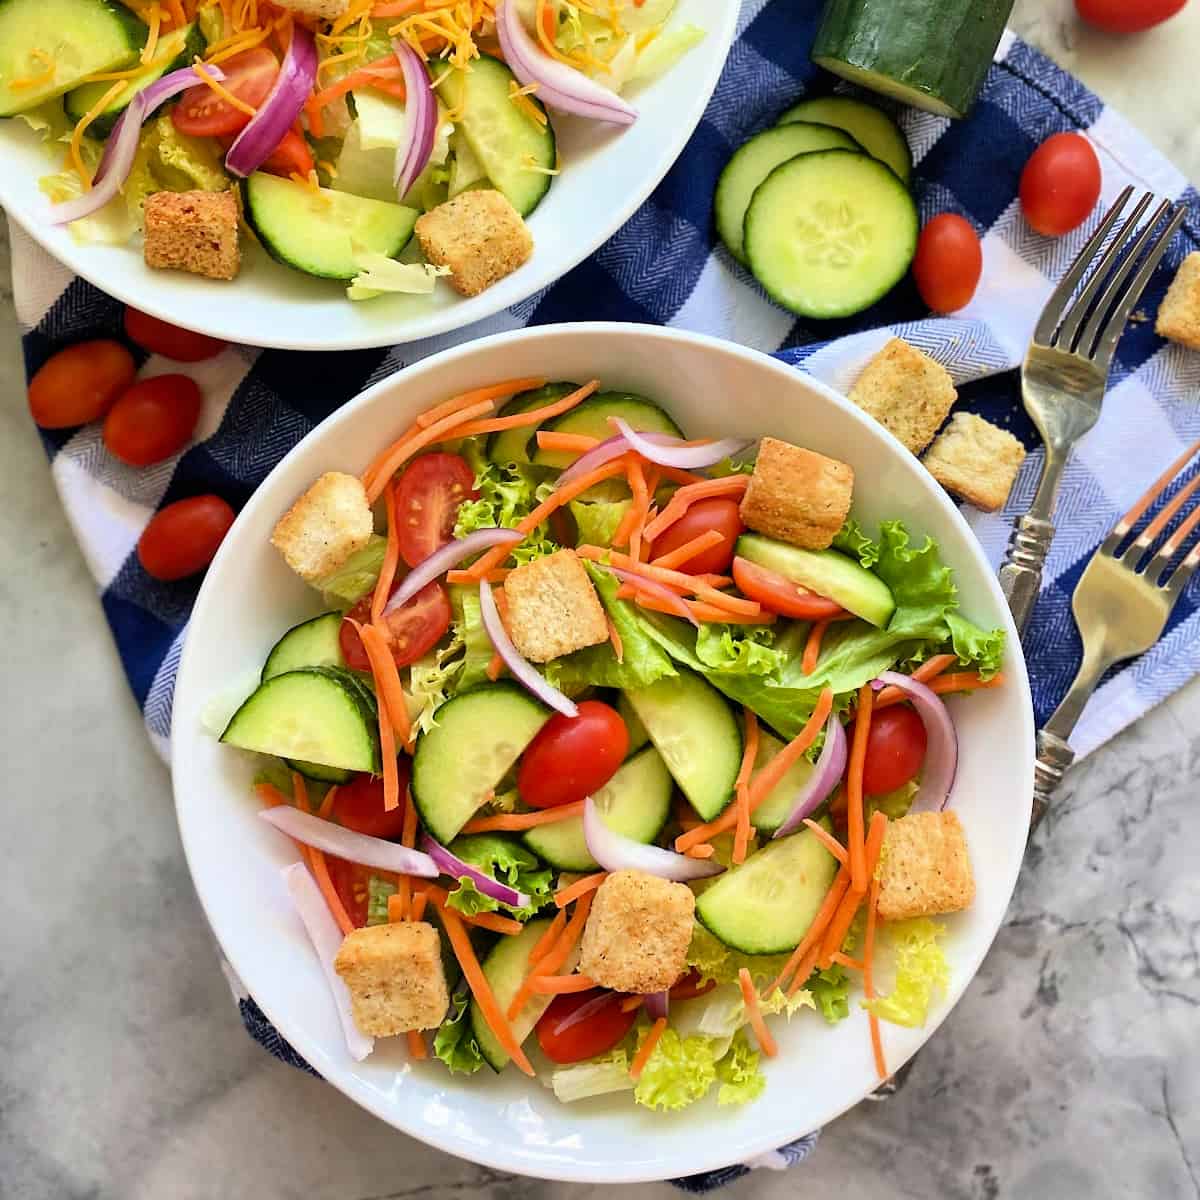
House Salad
-
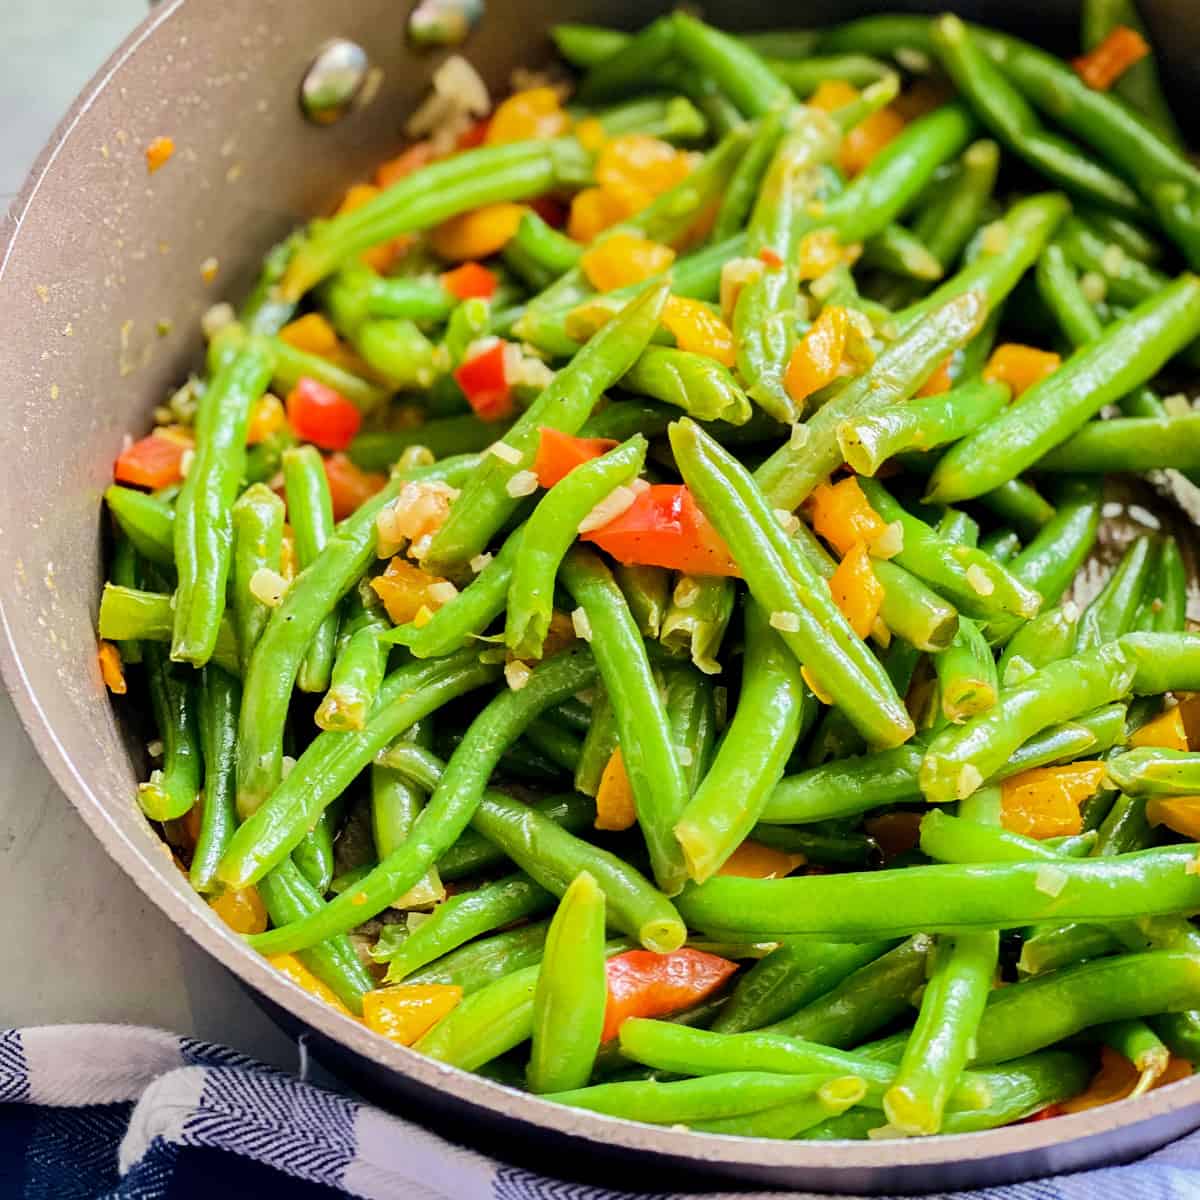
Skillet Green Beans
-
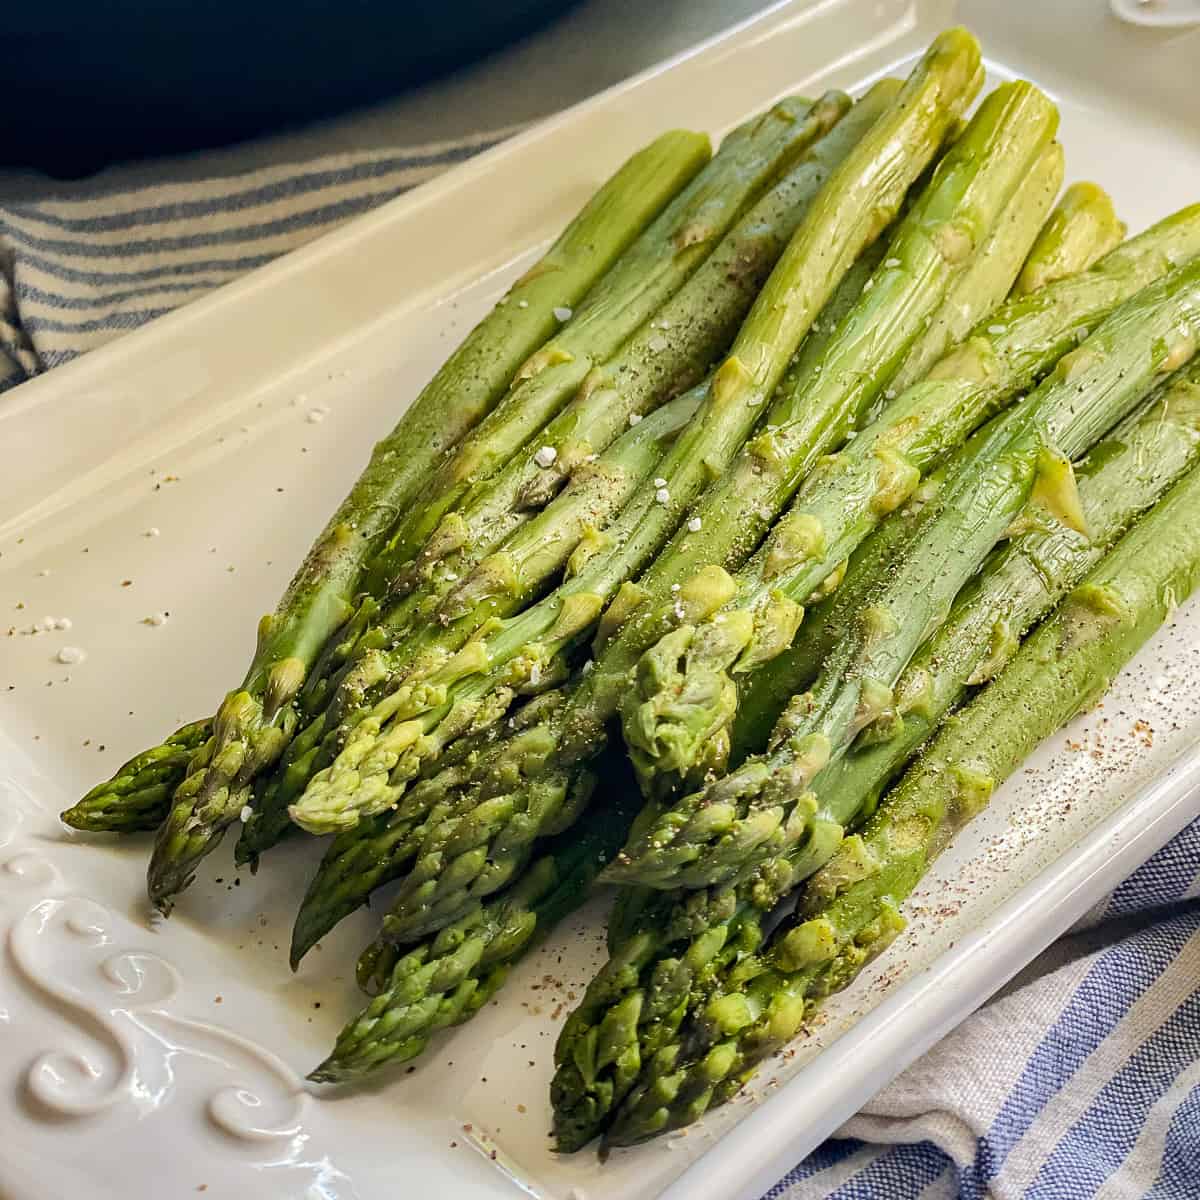
Instant Pot Asparagus
-
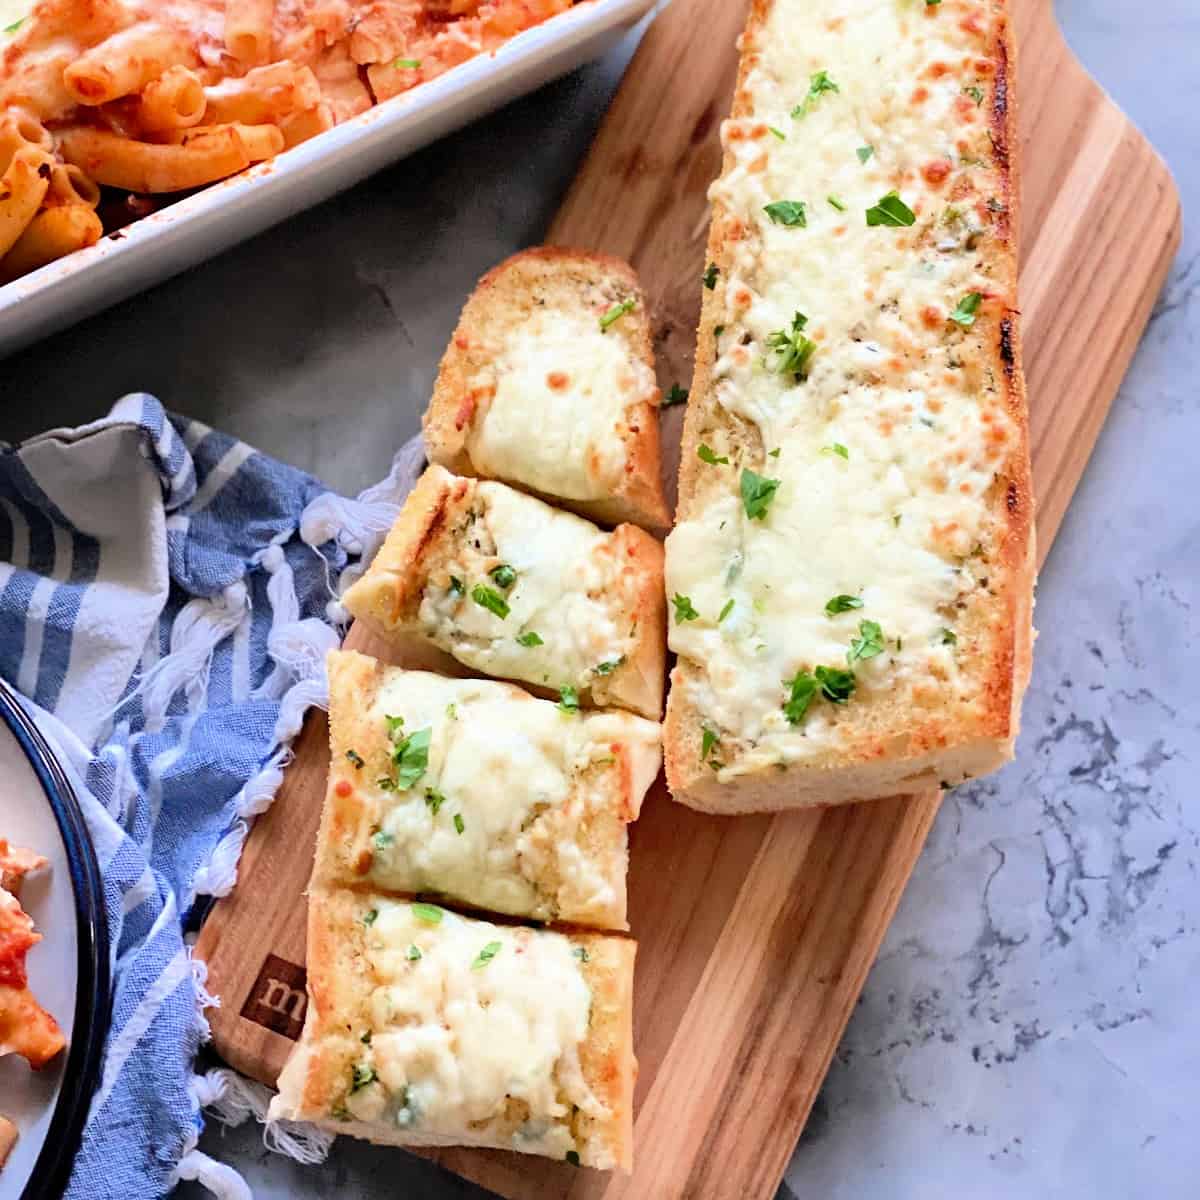
Garlic Cheese Bread
-
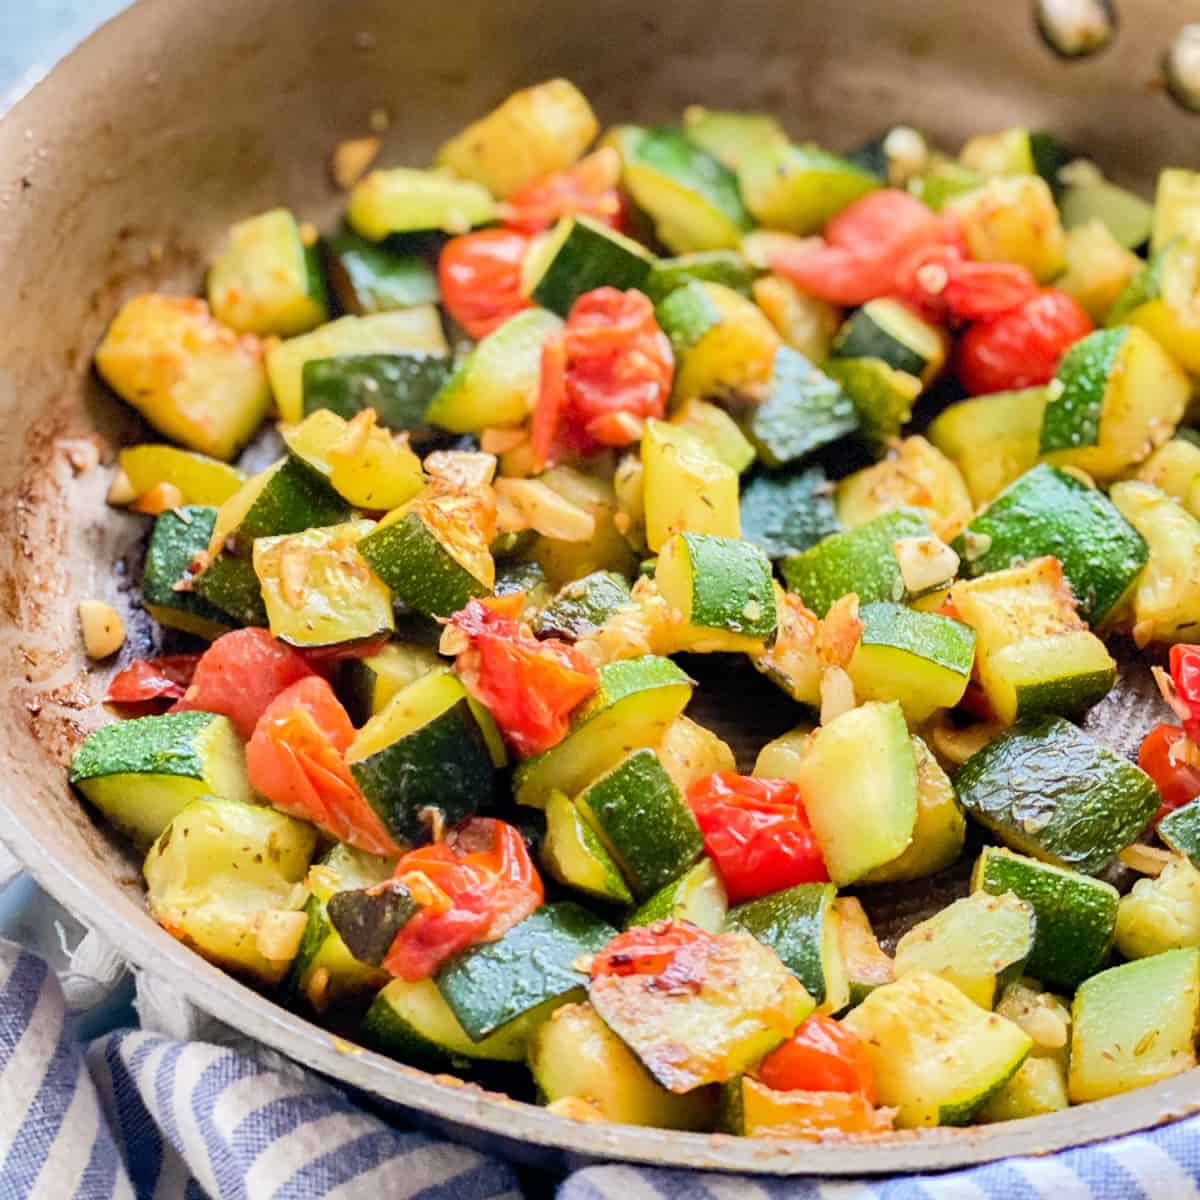
Sauteed Zucchini and Tomatoes
-
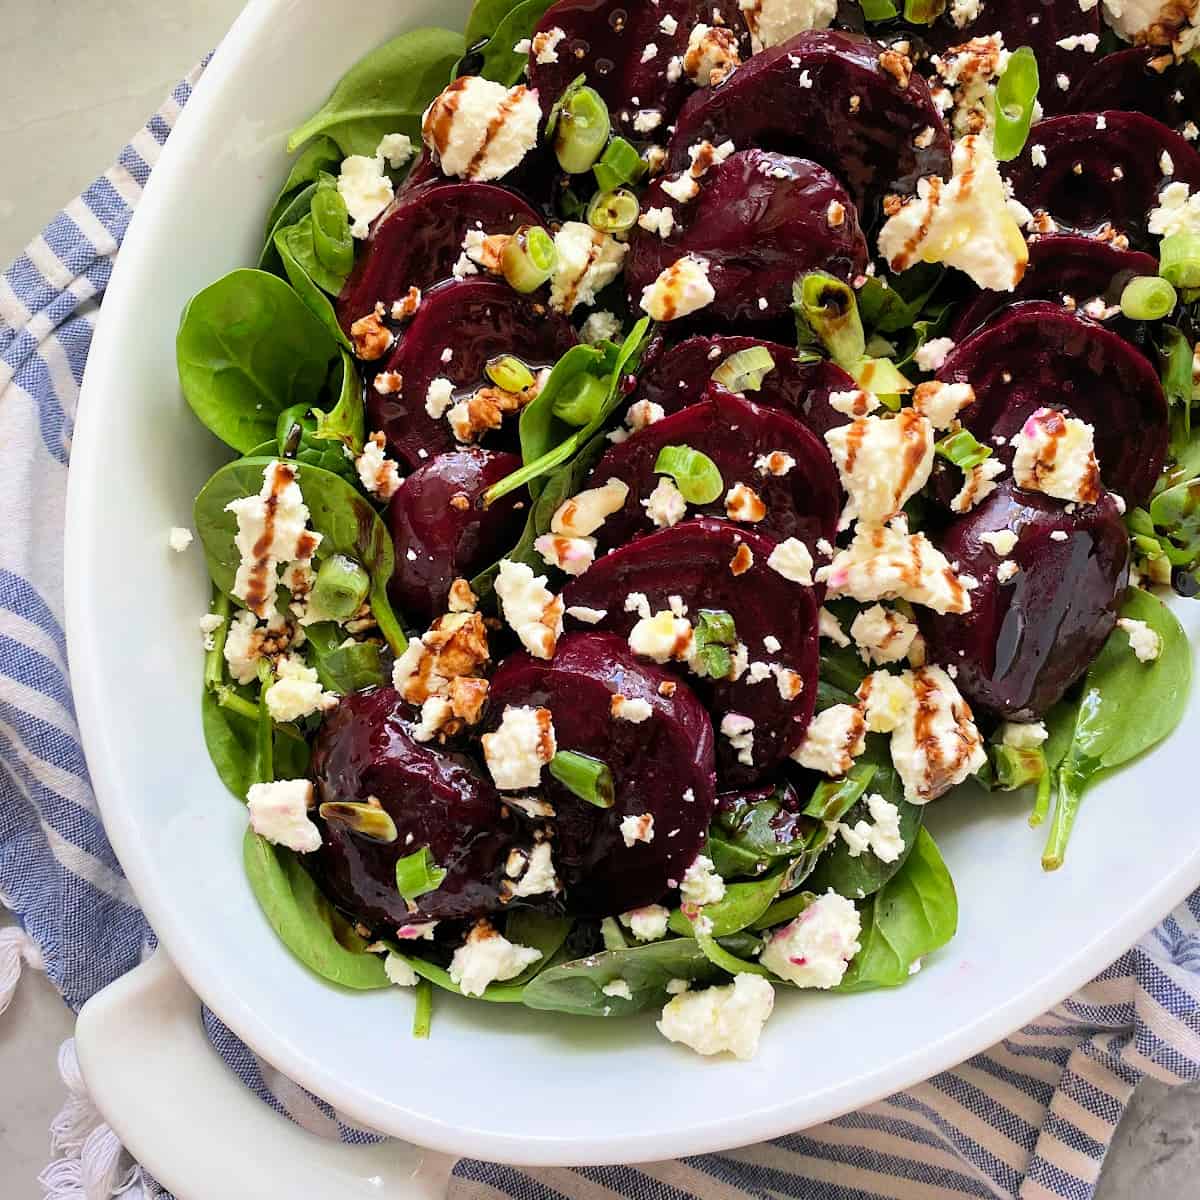
Beet Salad with Feta
-
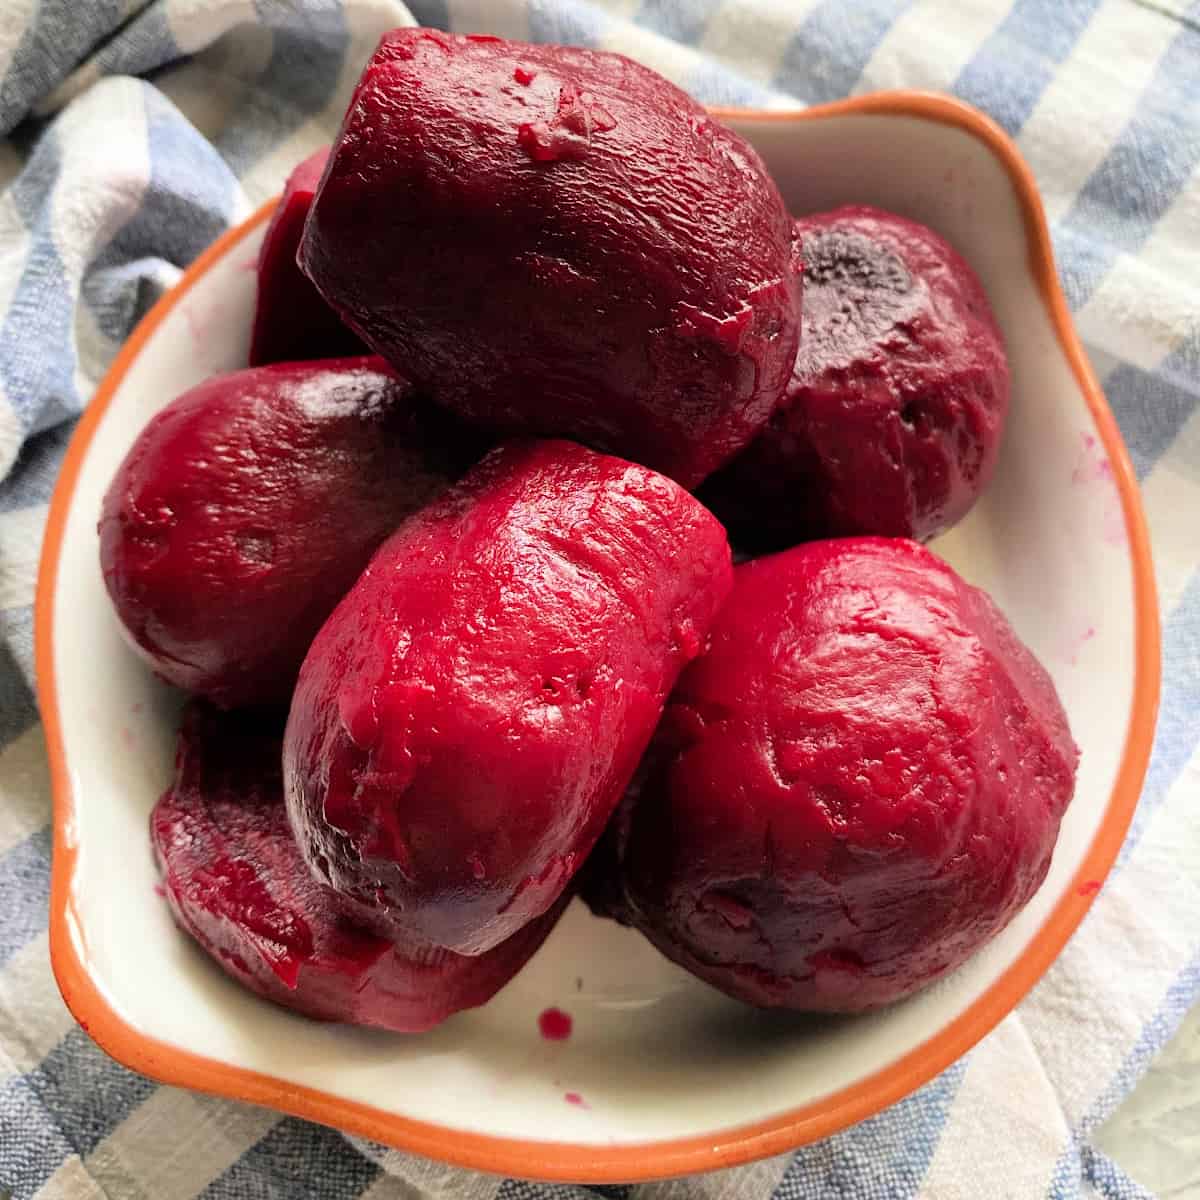
Instant Pot Beets
-
Sautéed Beet Greens
-
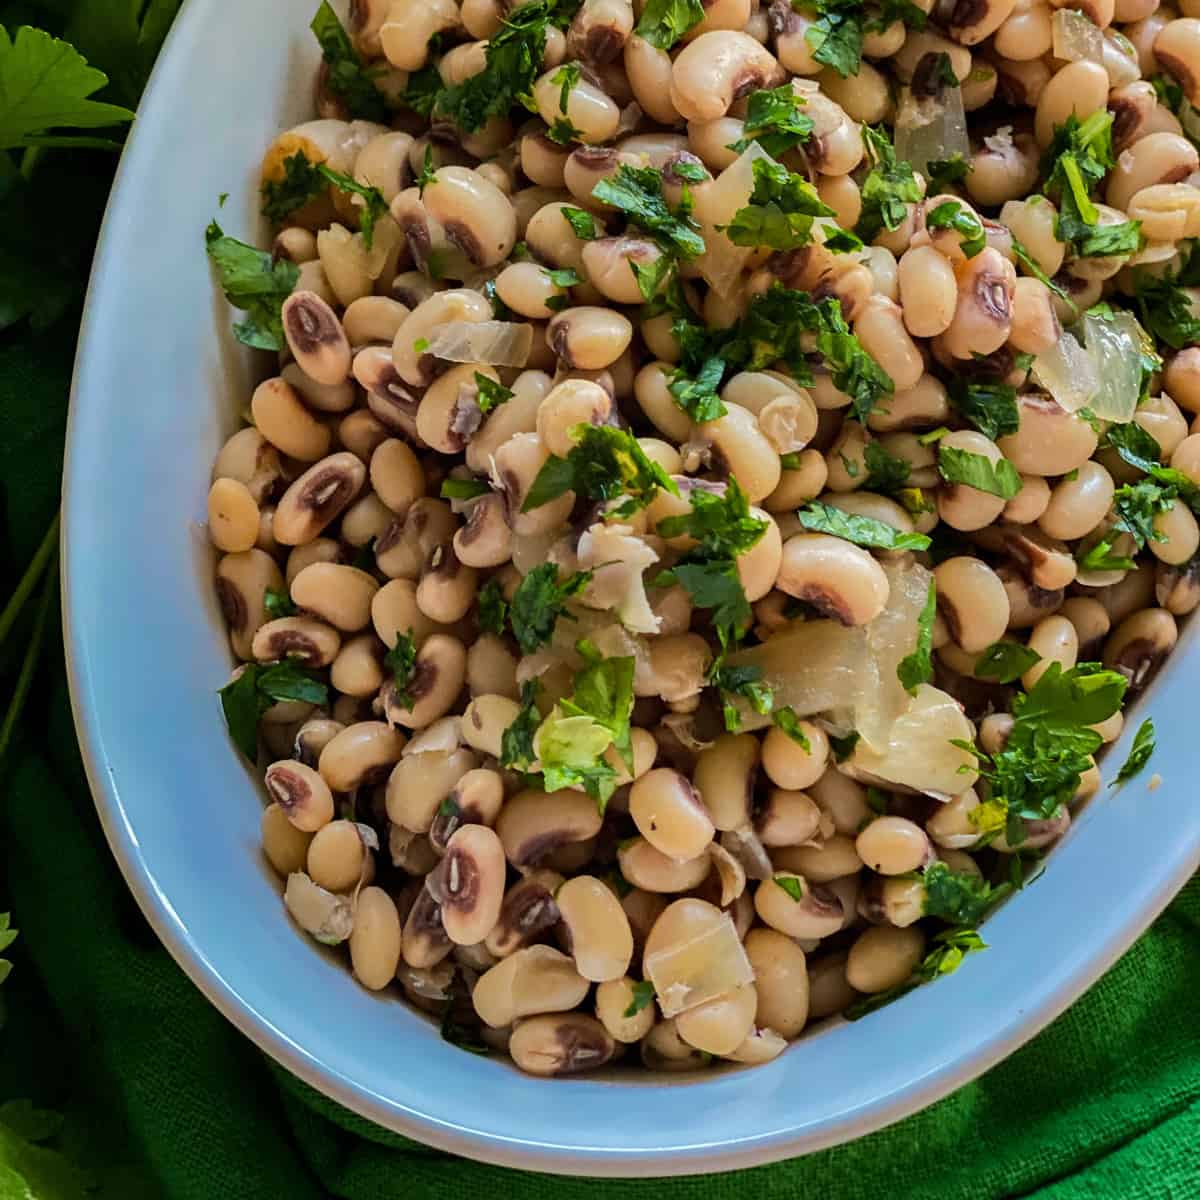
Slow Cooker Black Eyed Peas
-
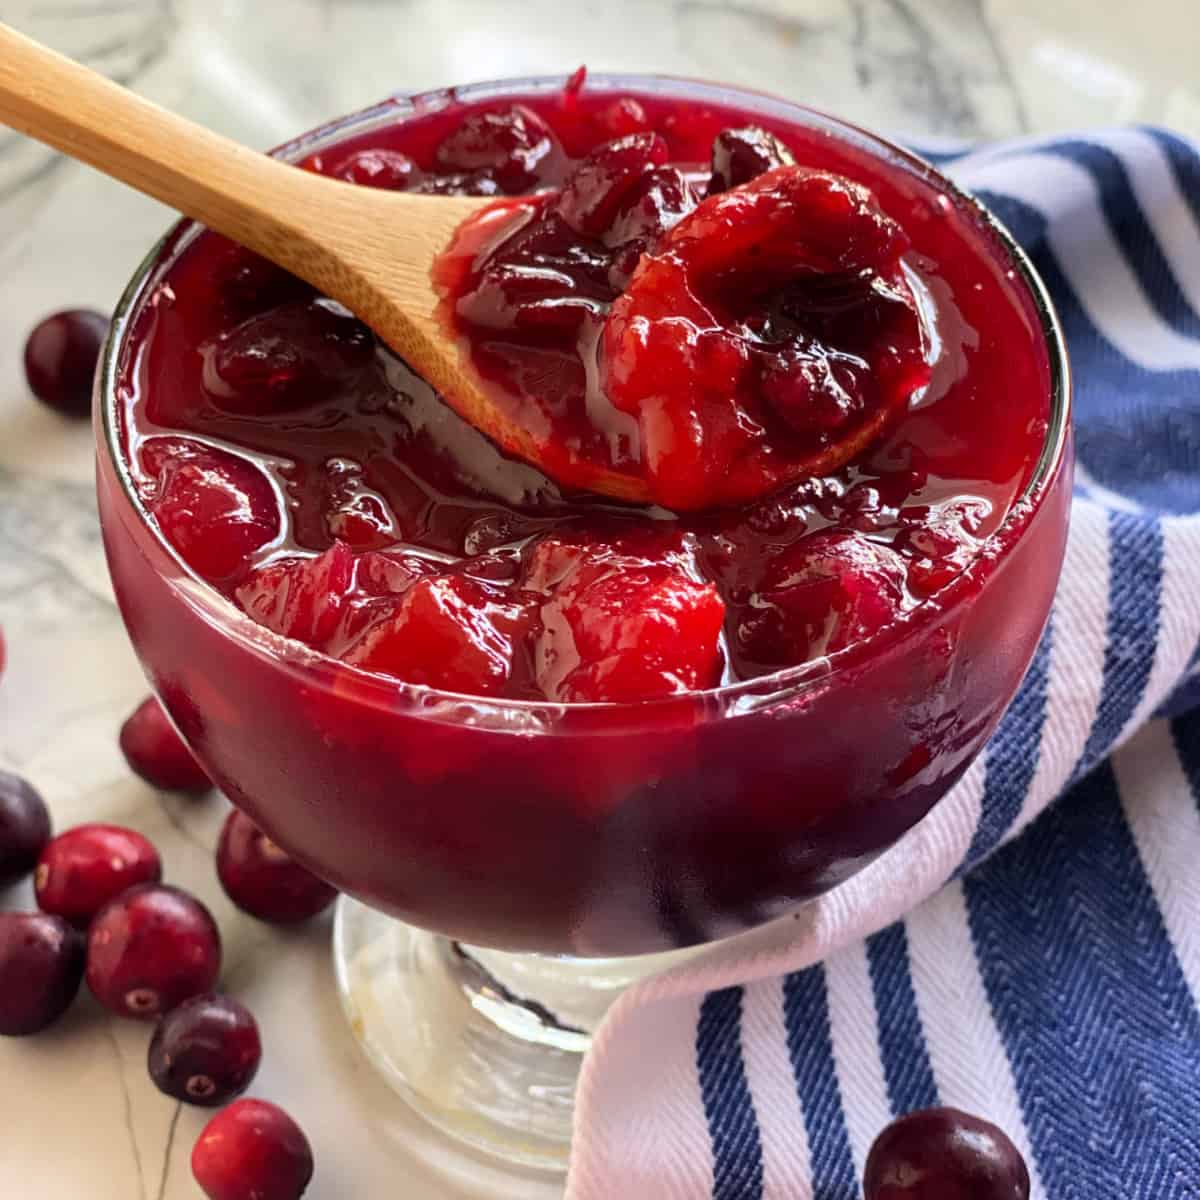
Mango Cranberry Sauce
-
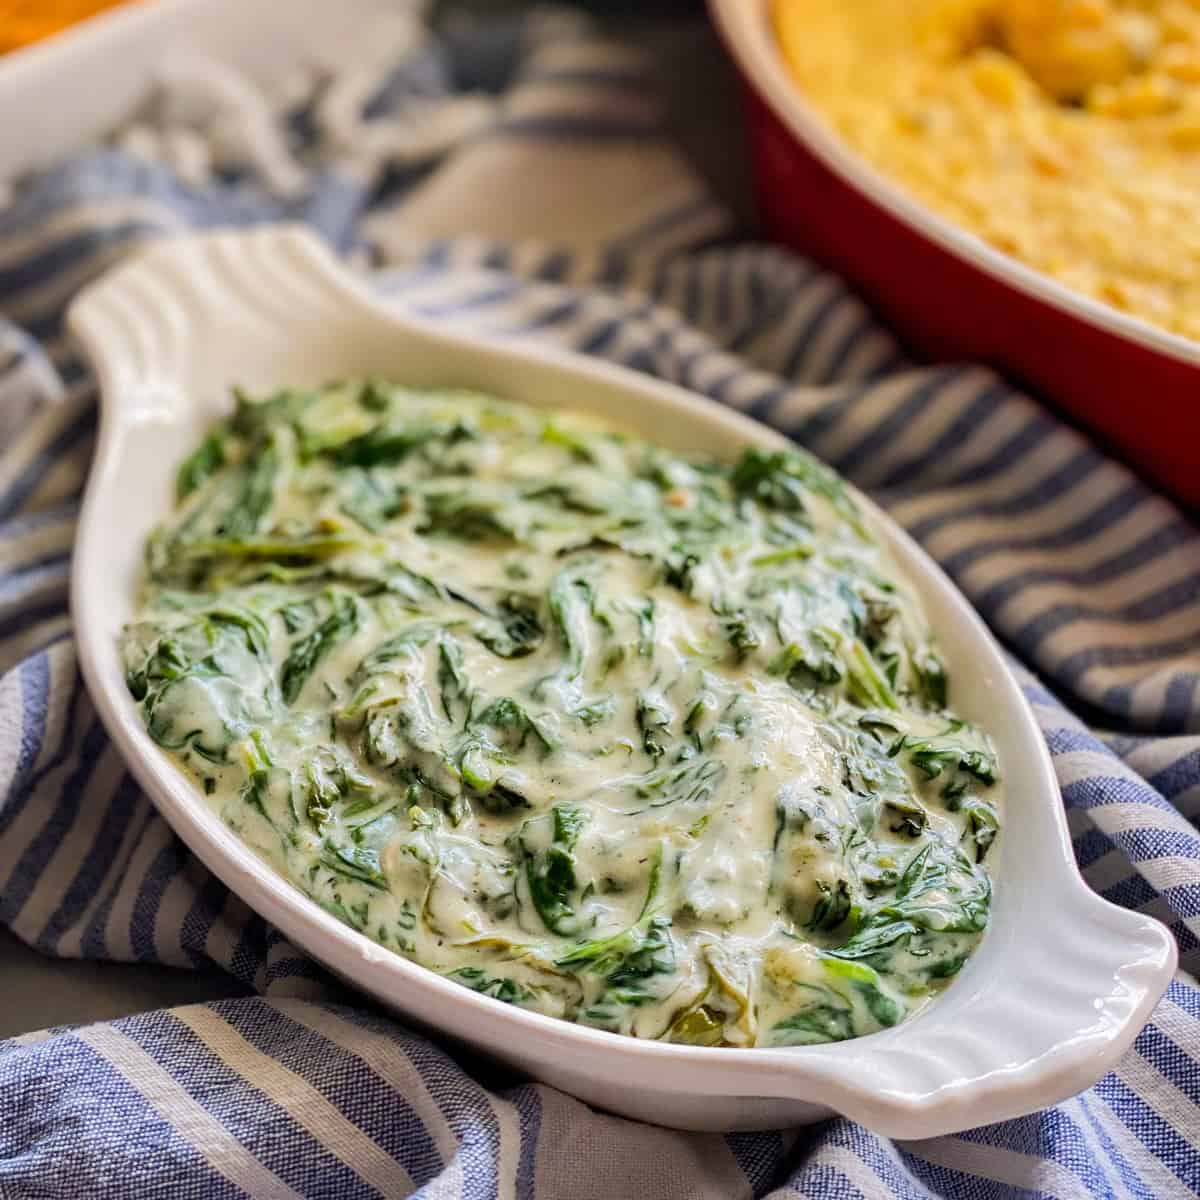
Steakhouse Creamed Spinach
-
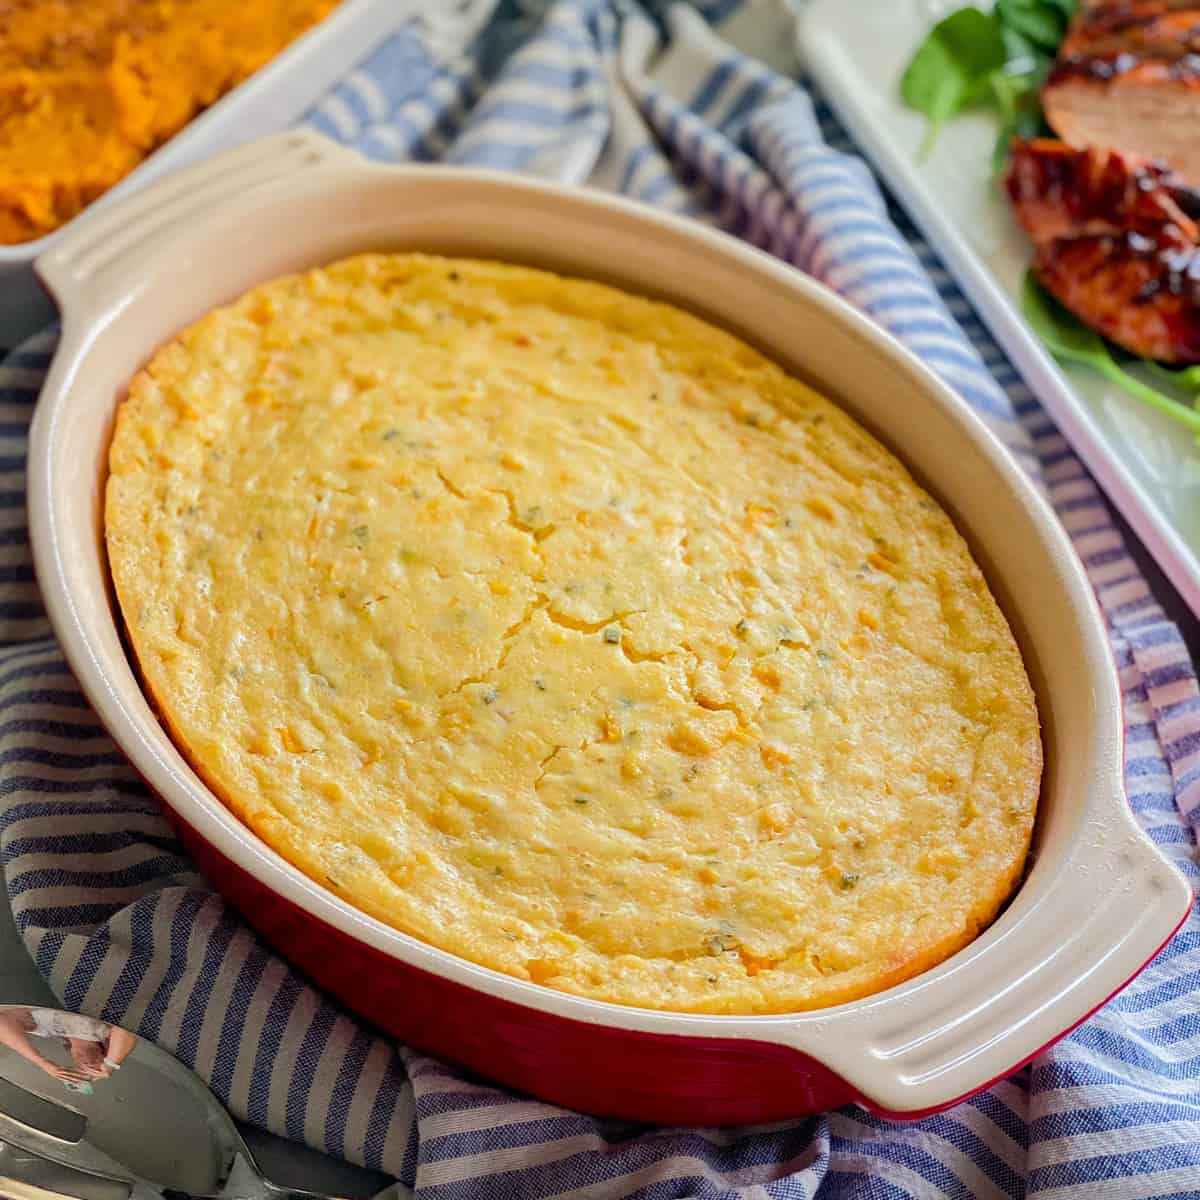
Jiffy Corn Casserole
-
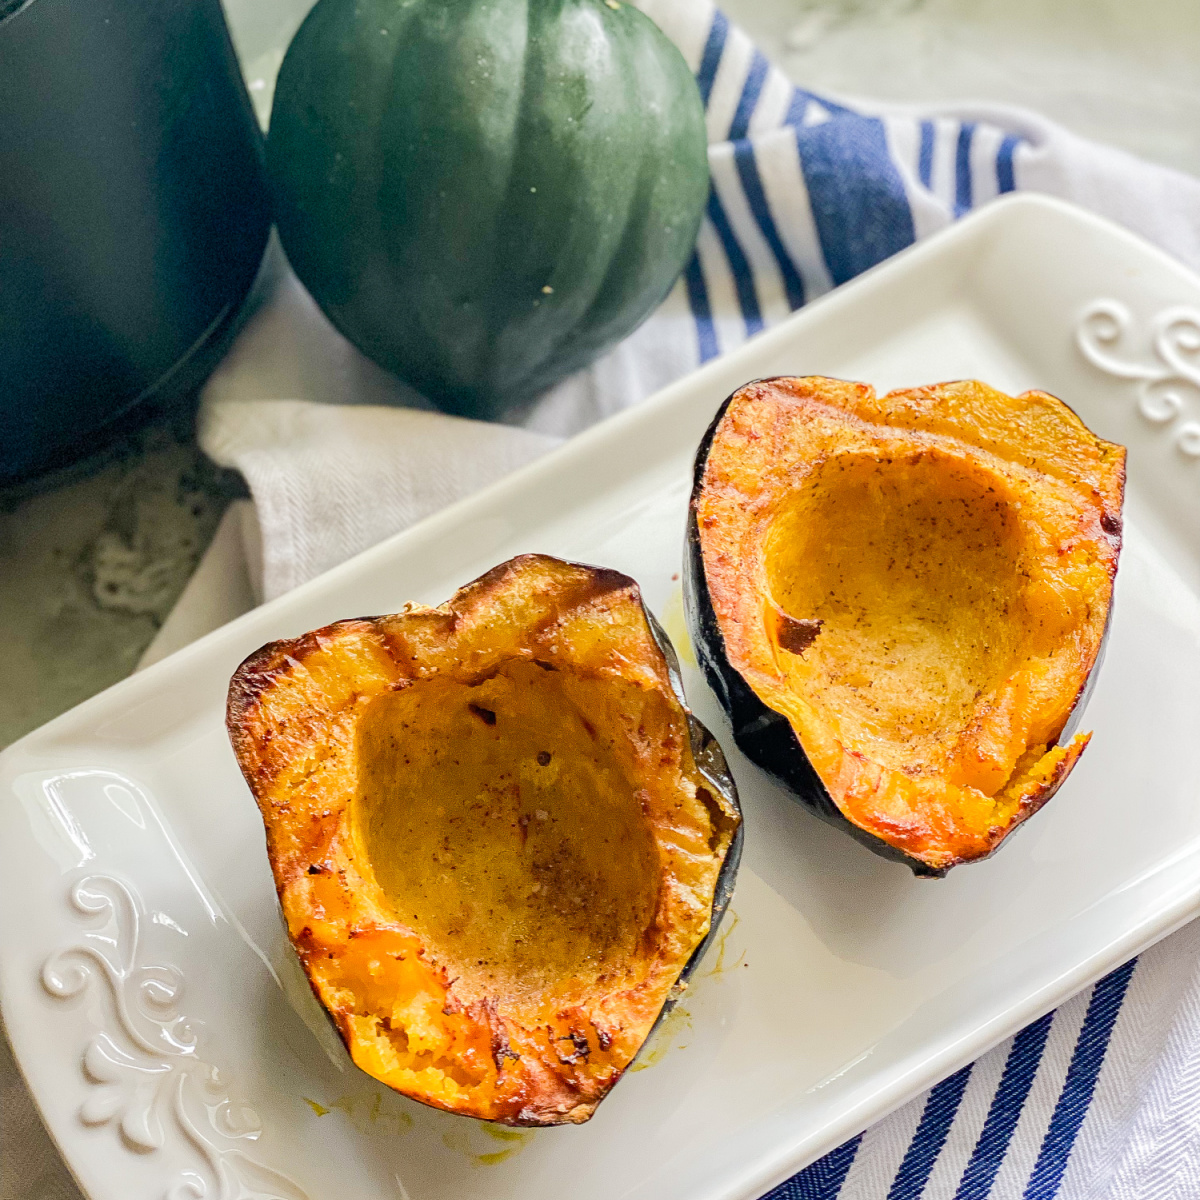
Air Fryer Acorn Squash
-
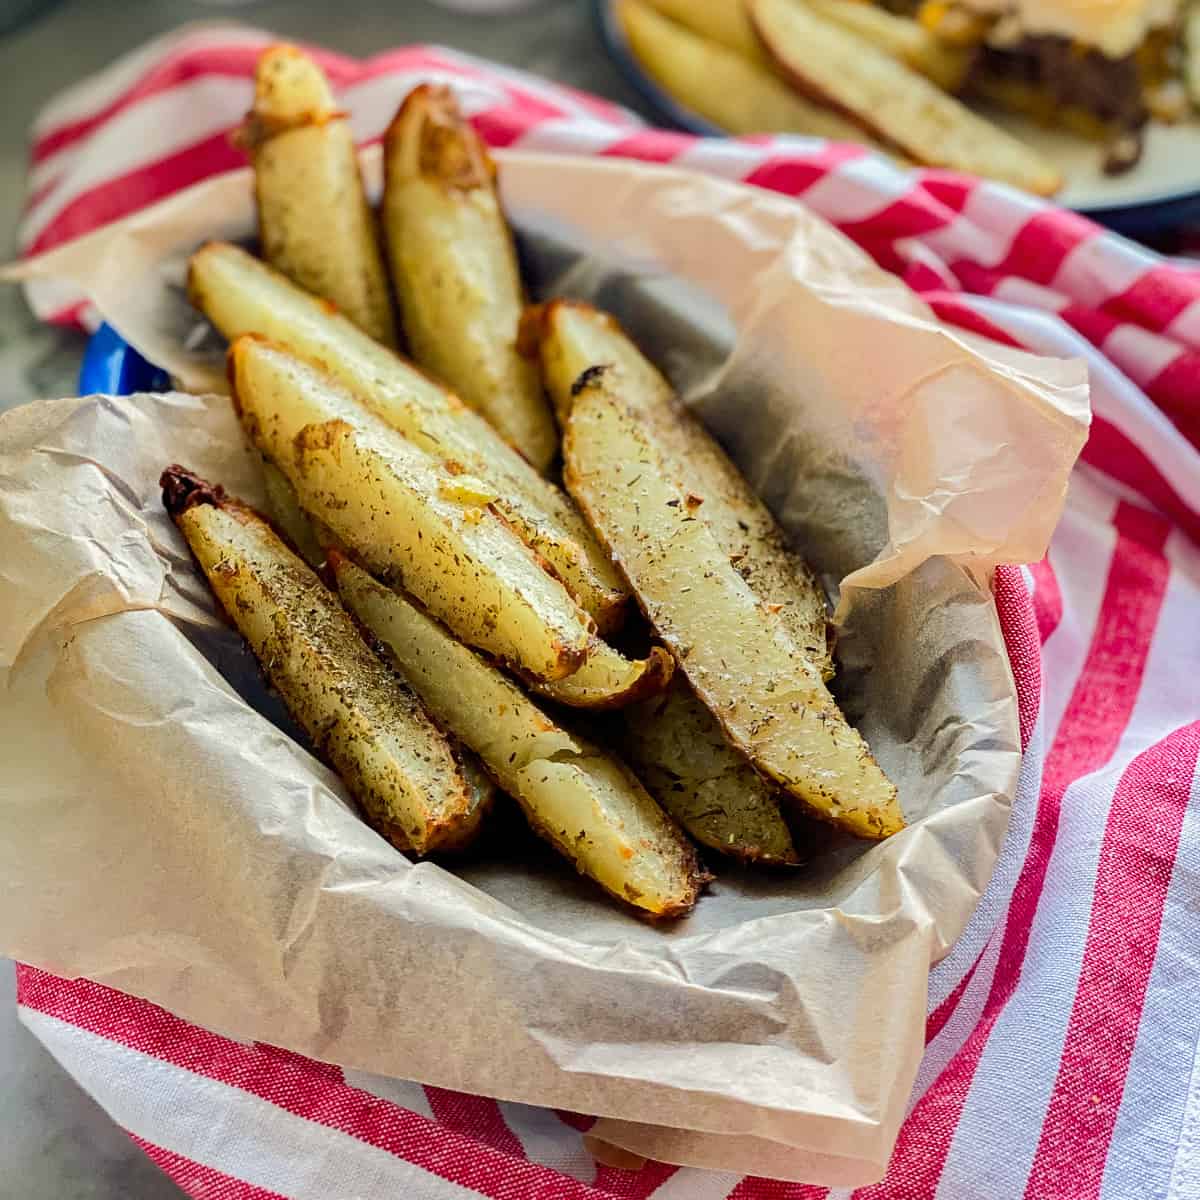
Baked Potato Wedges
-
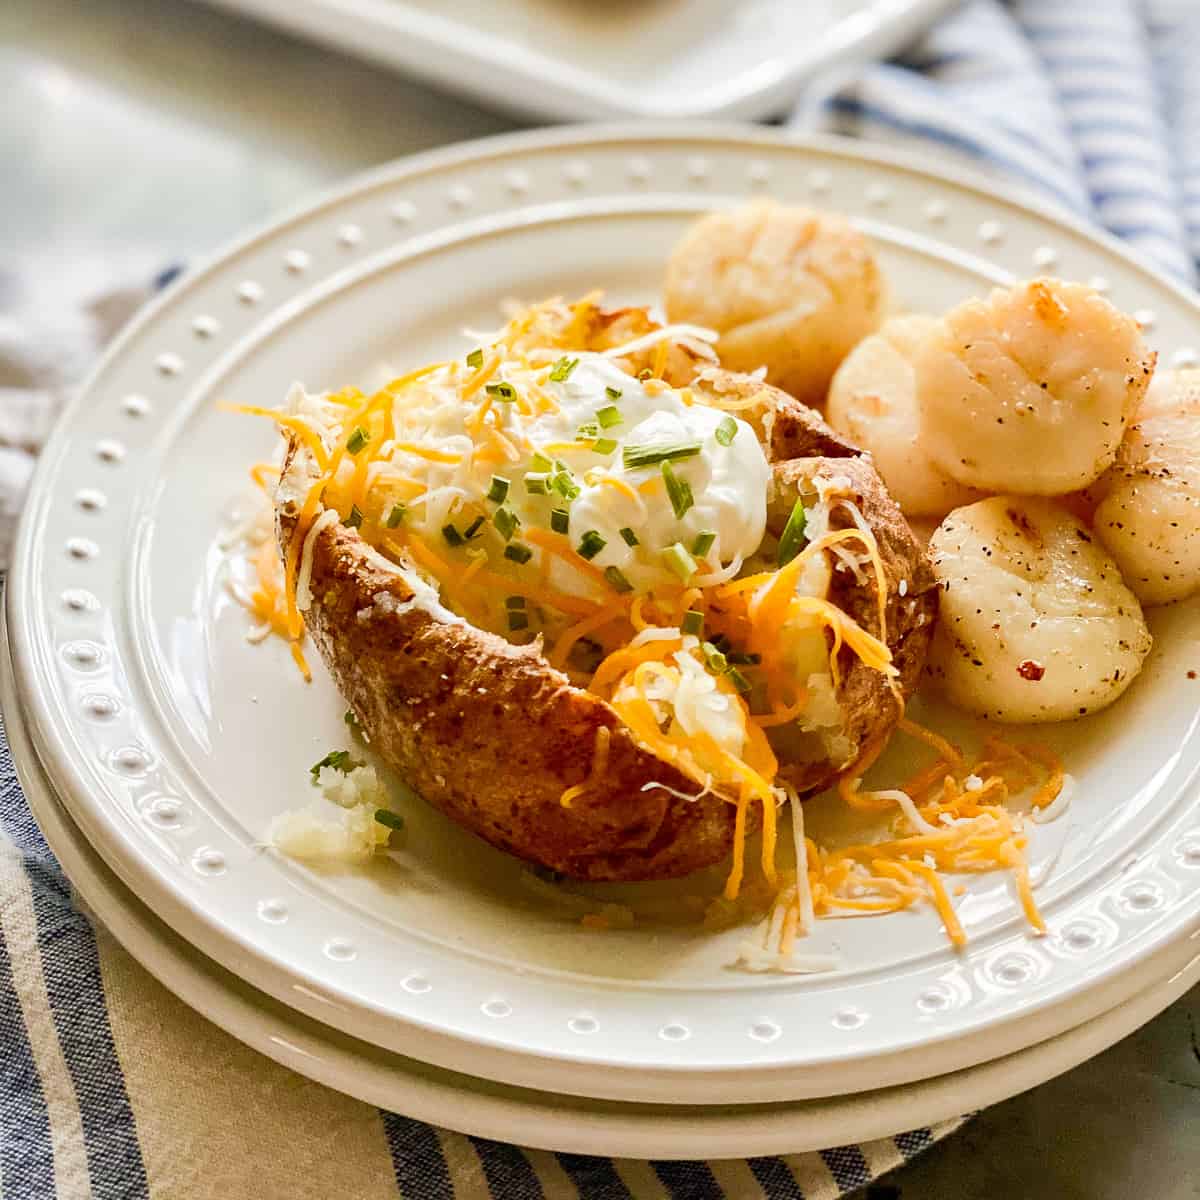
Air Fryer Baked Potatoes
-
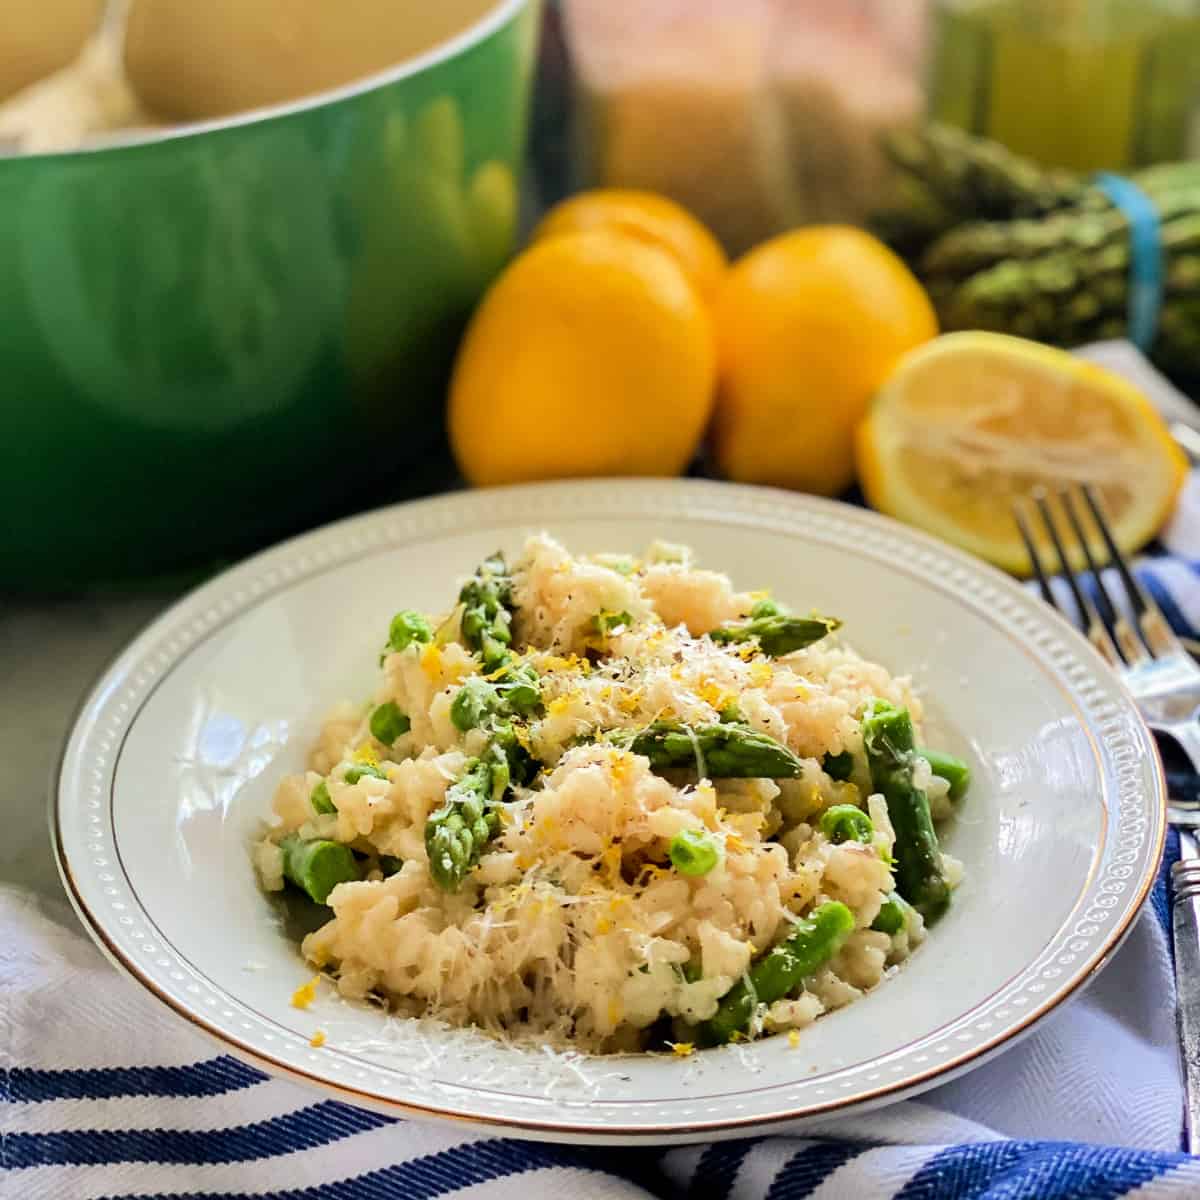
Pea and Asparagus Risotto
-
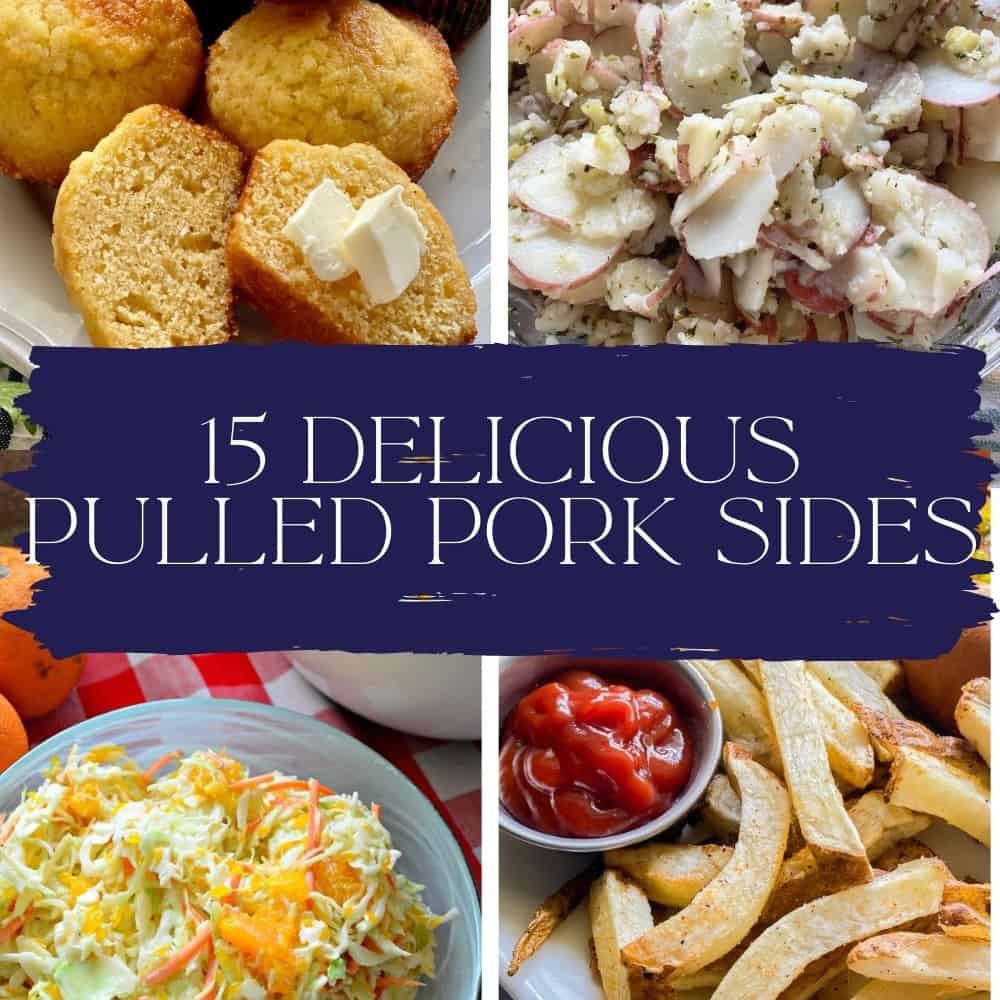
15 Delicious Pulled Pork Sides
-
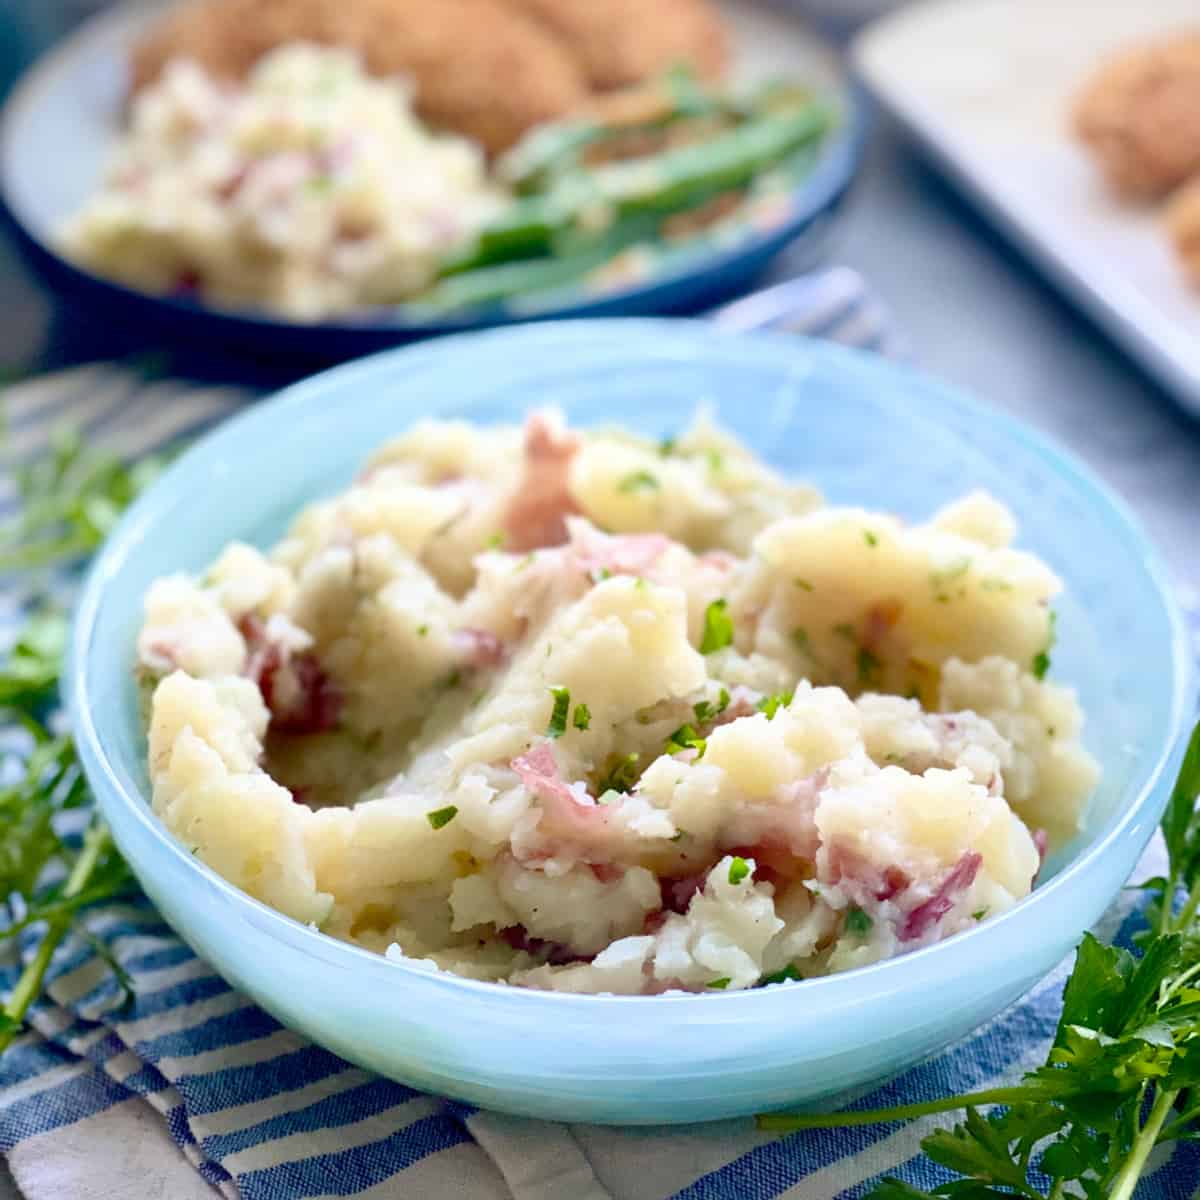
Potatoes and Cauliflower Mash
-
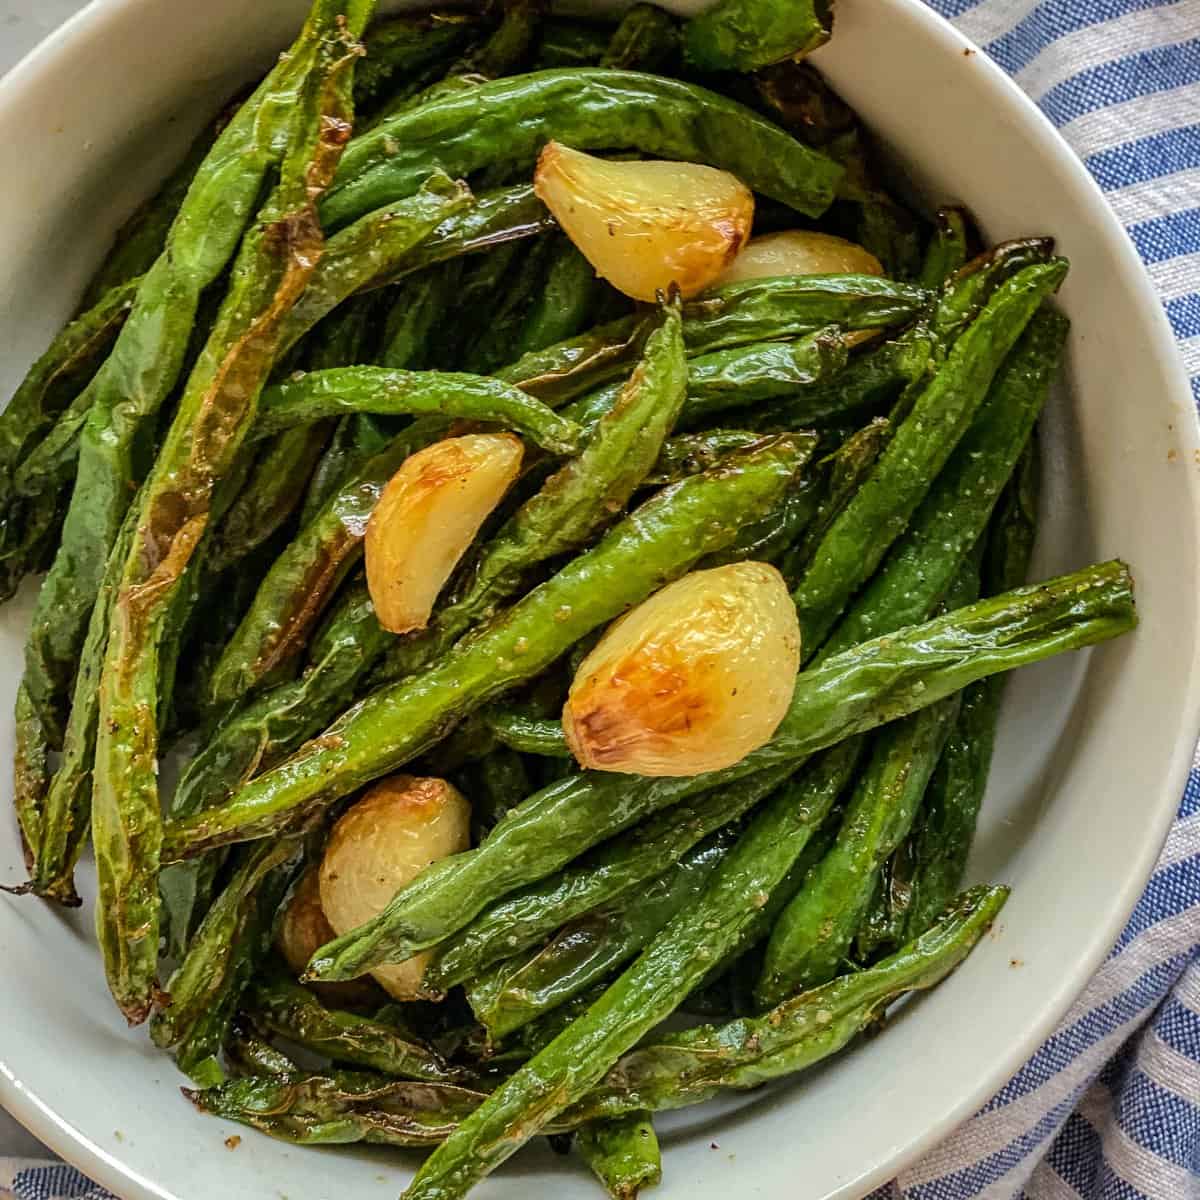
Air Fryer Green Beans
-
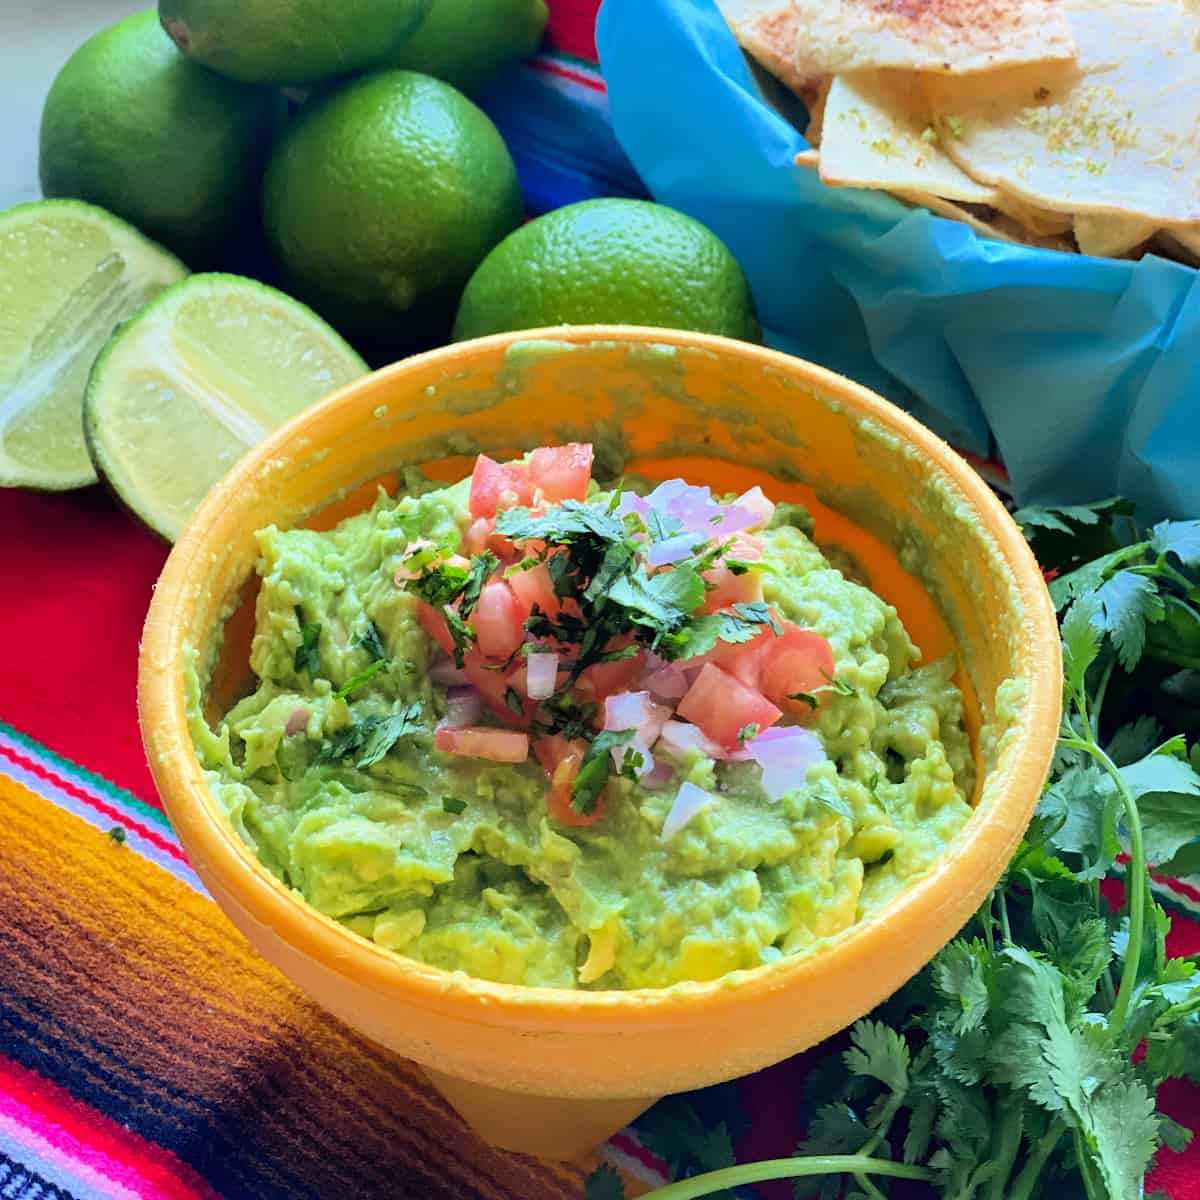
4 Ingredient Guacamole Recipe
-
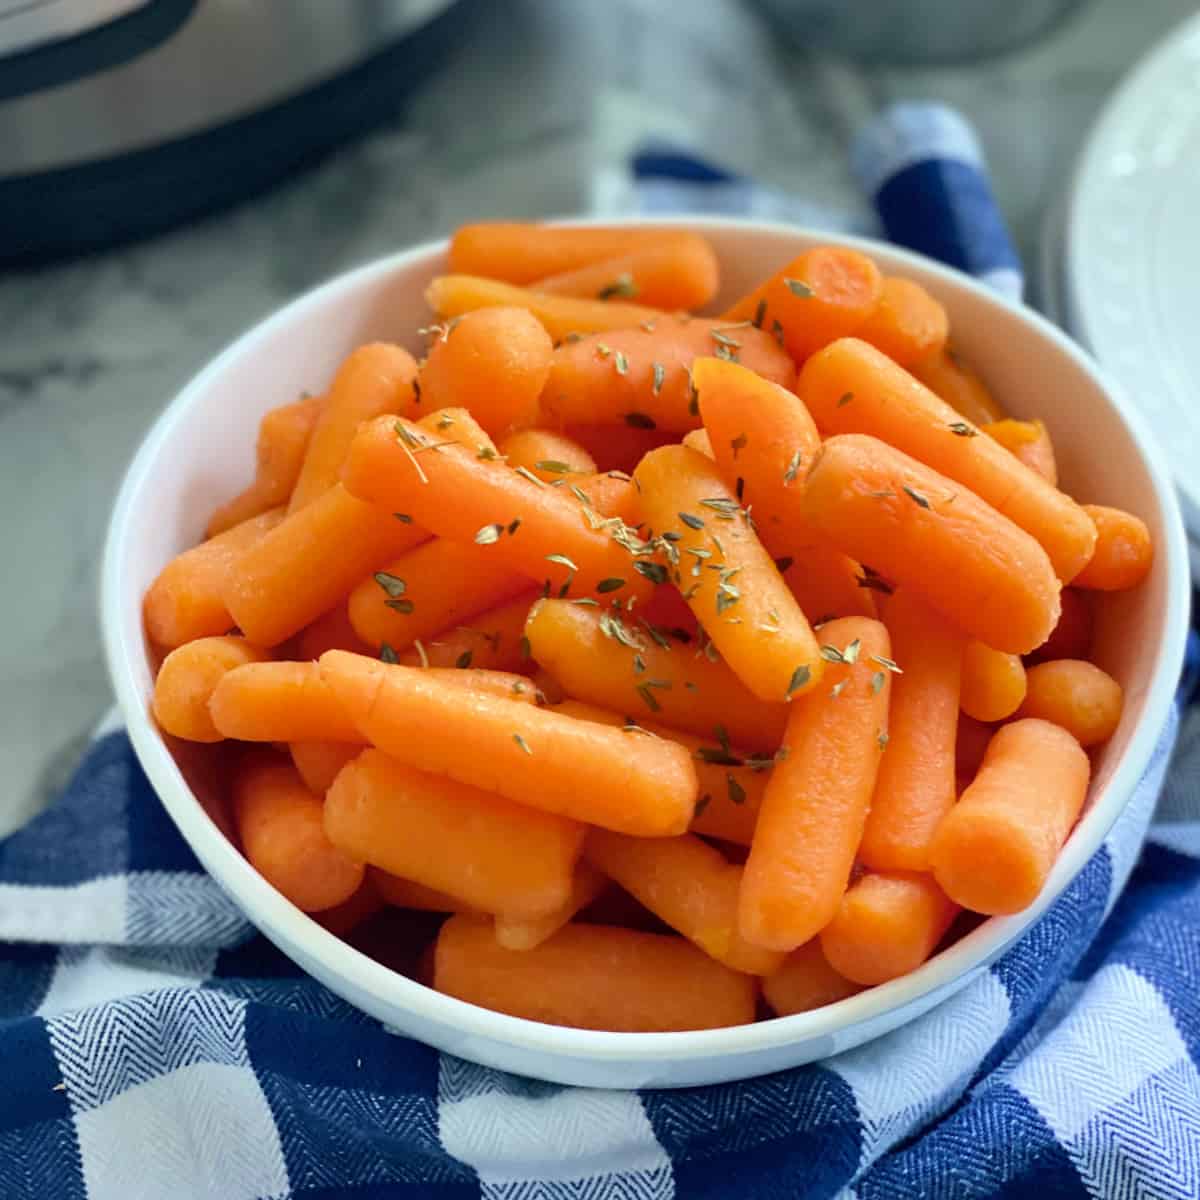
Instant Pot Carrots
-
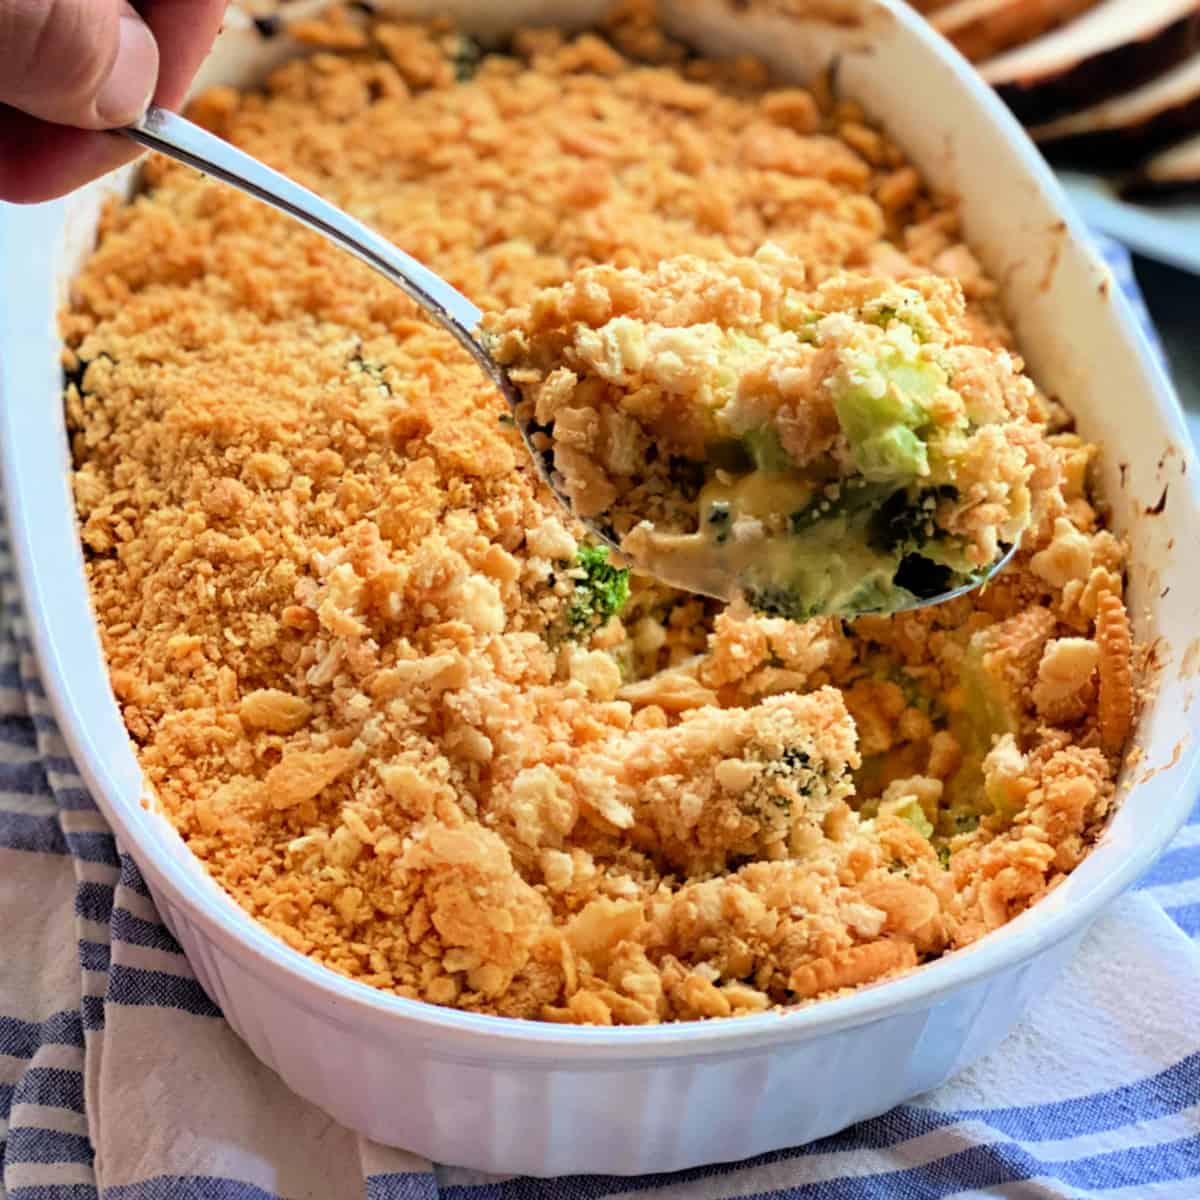
Broccoli Casserole with Ritz Crackers
-
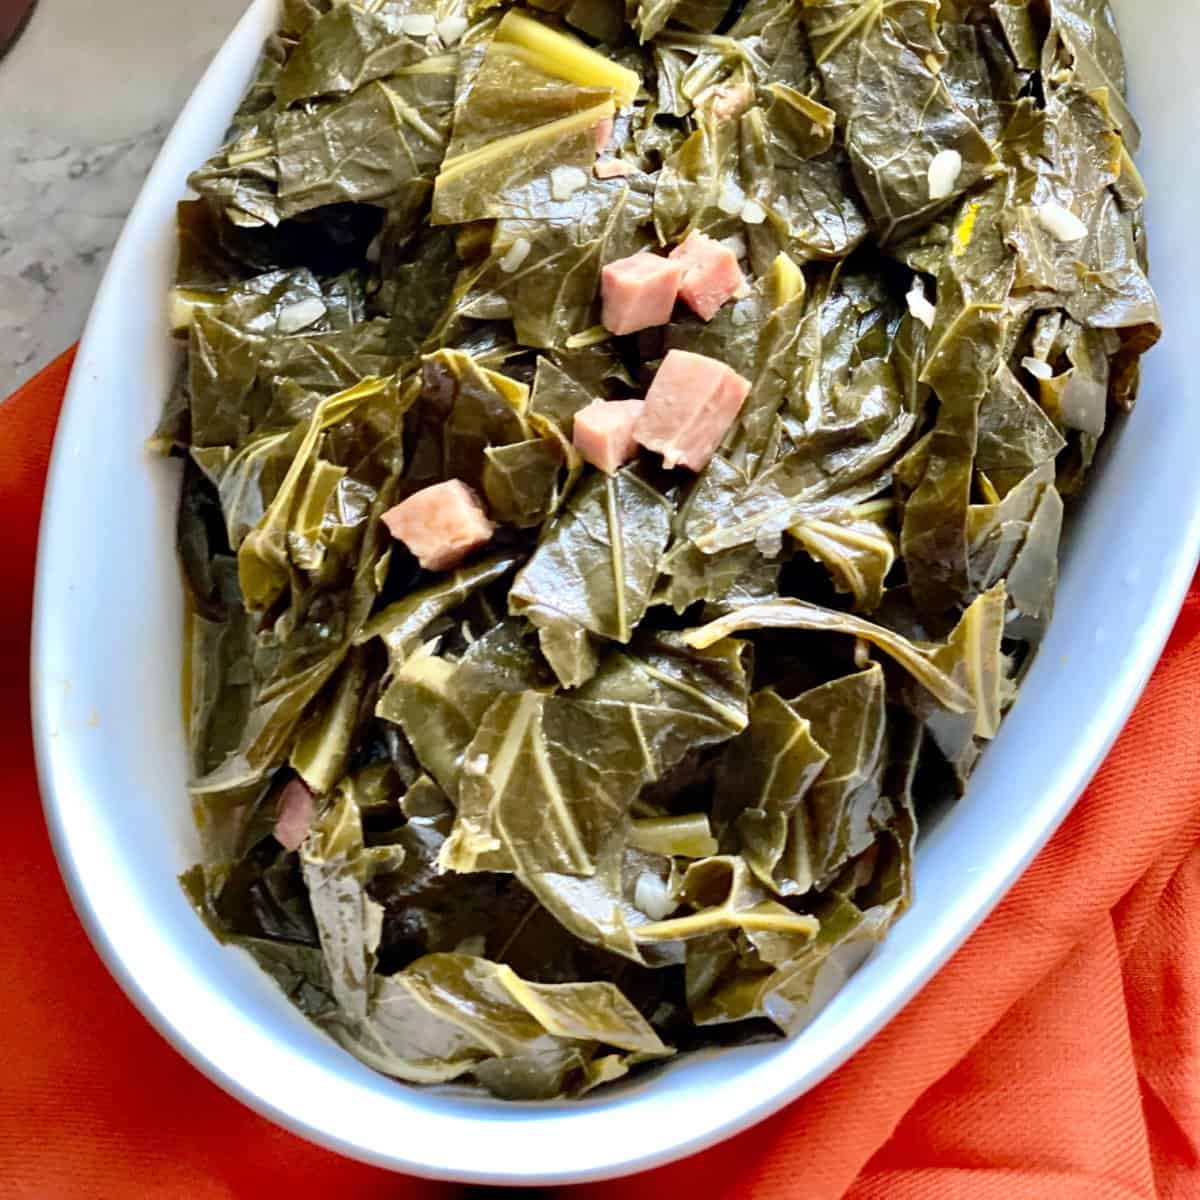
Seasoned Collard Greens
-
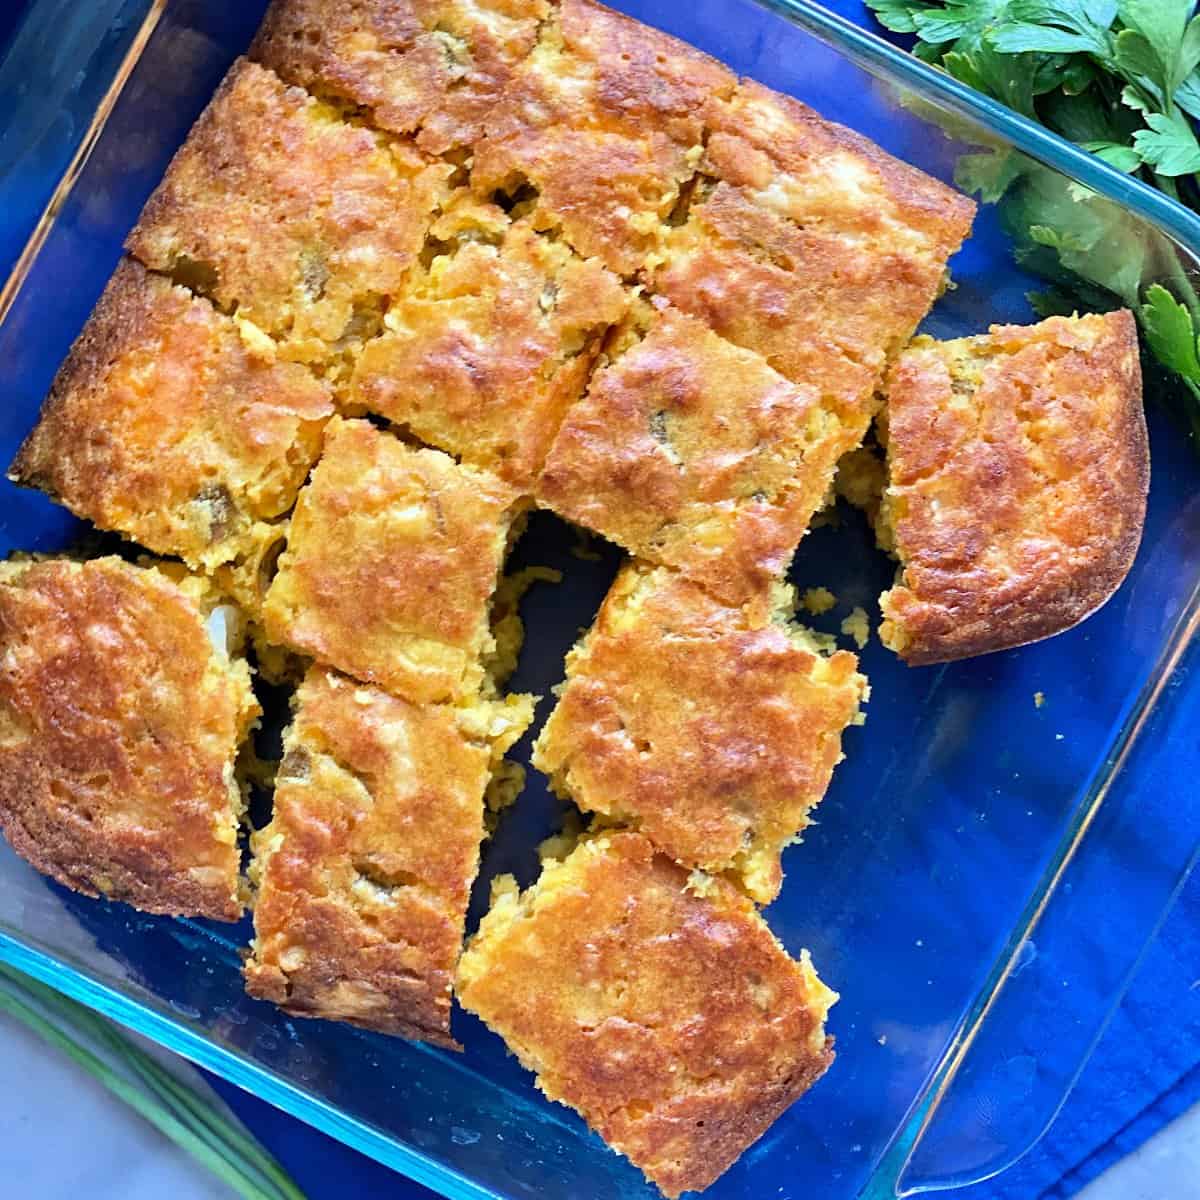
Gluten Free Cornbread
-
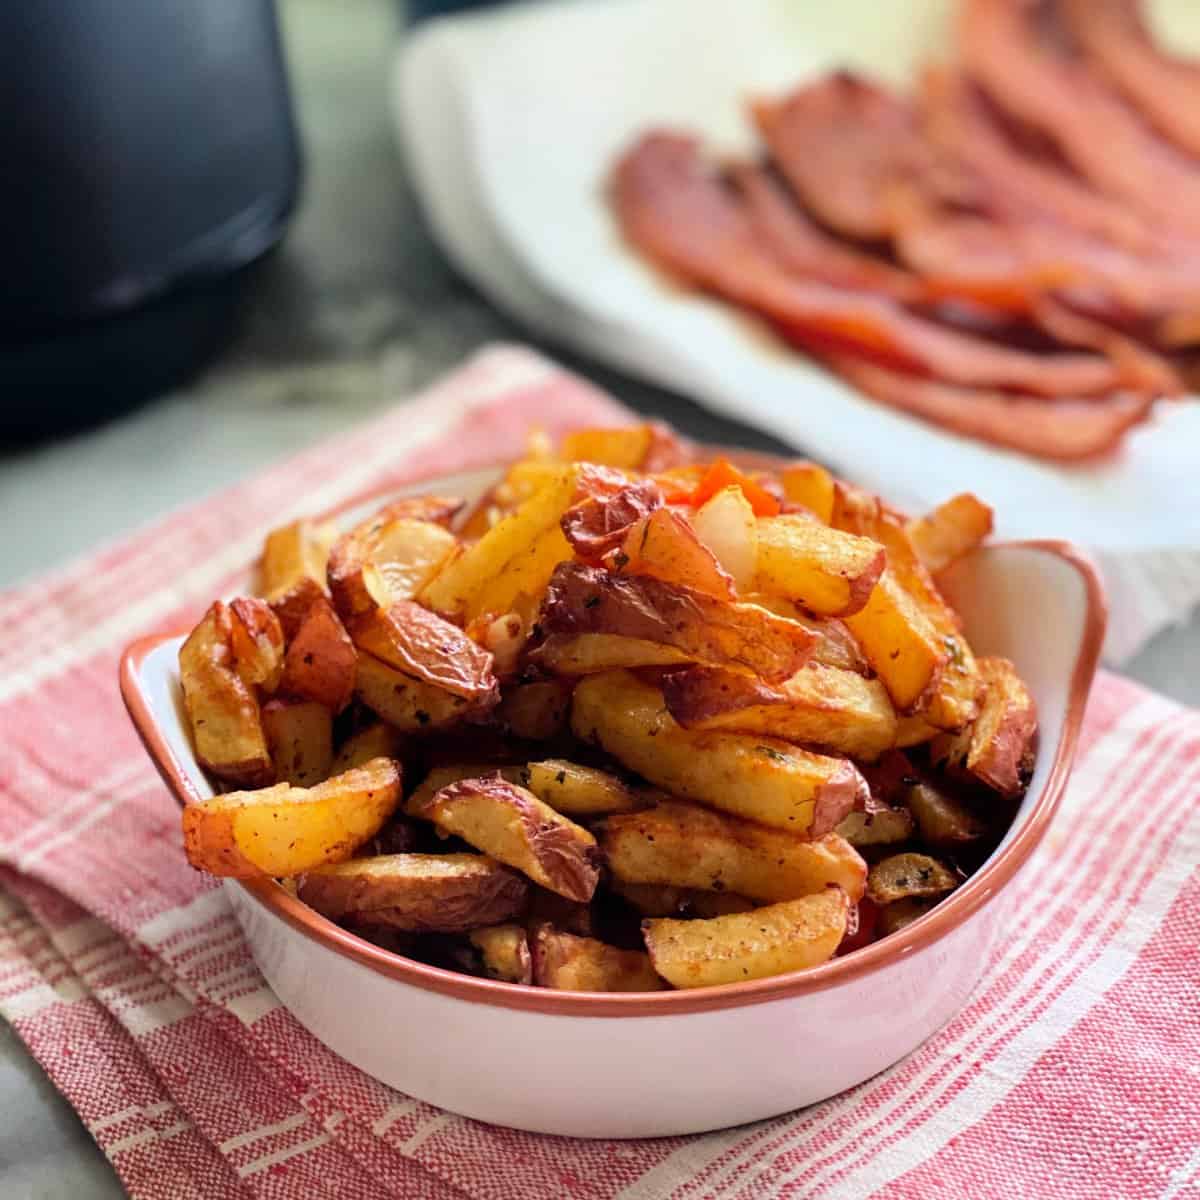
Air Fryer Breakfast Potatoes
-
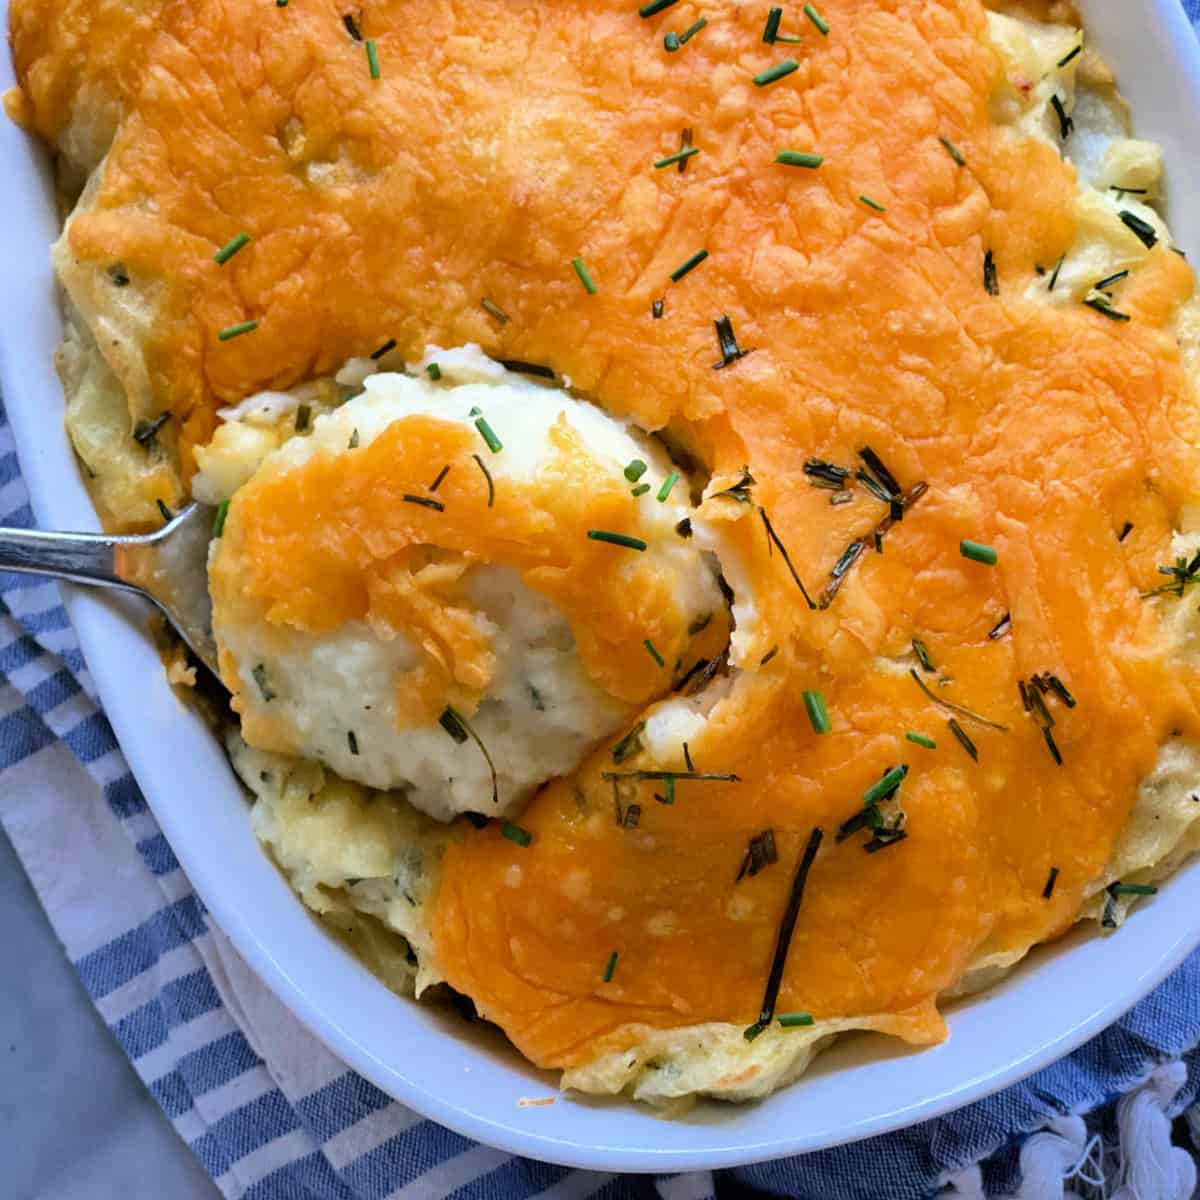
Baked Mashed Potatoes
-
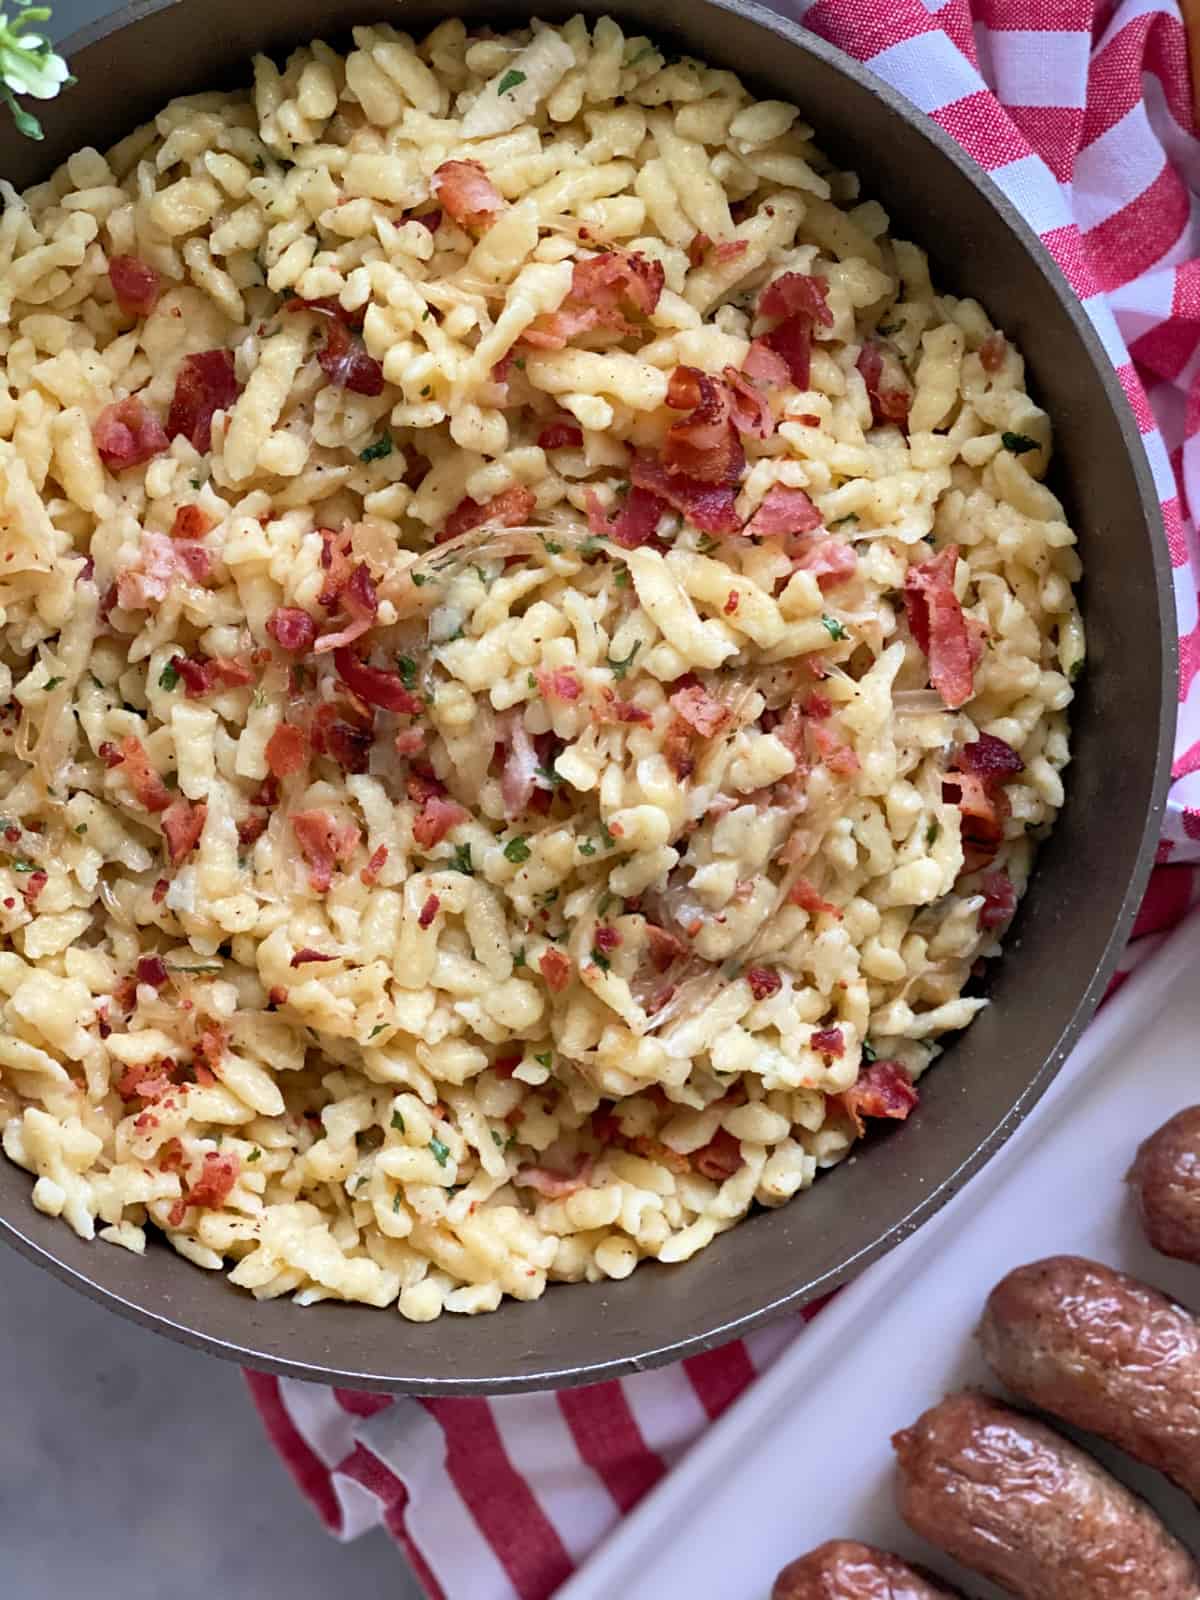
Spaetzle Recipe
-
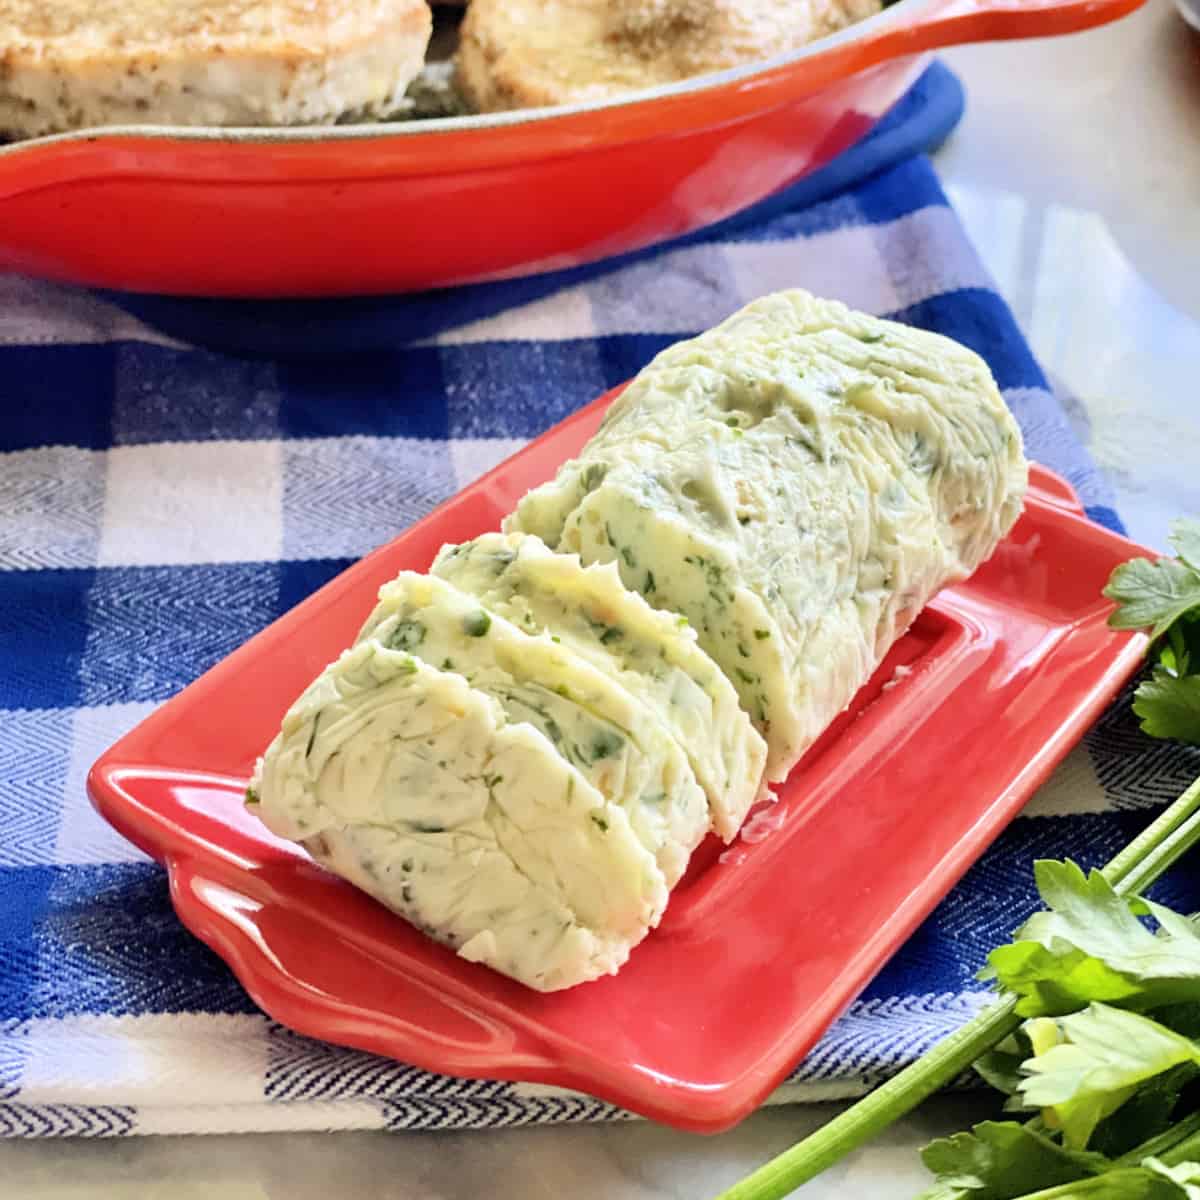
Garlic Herb Butter for Steak
-
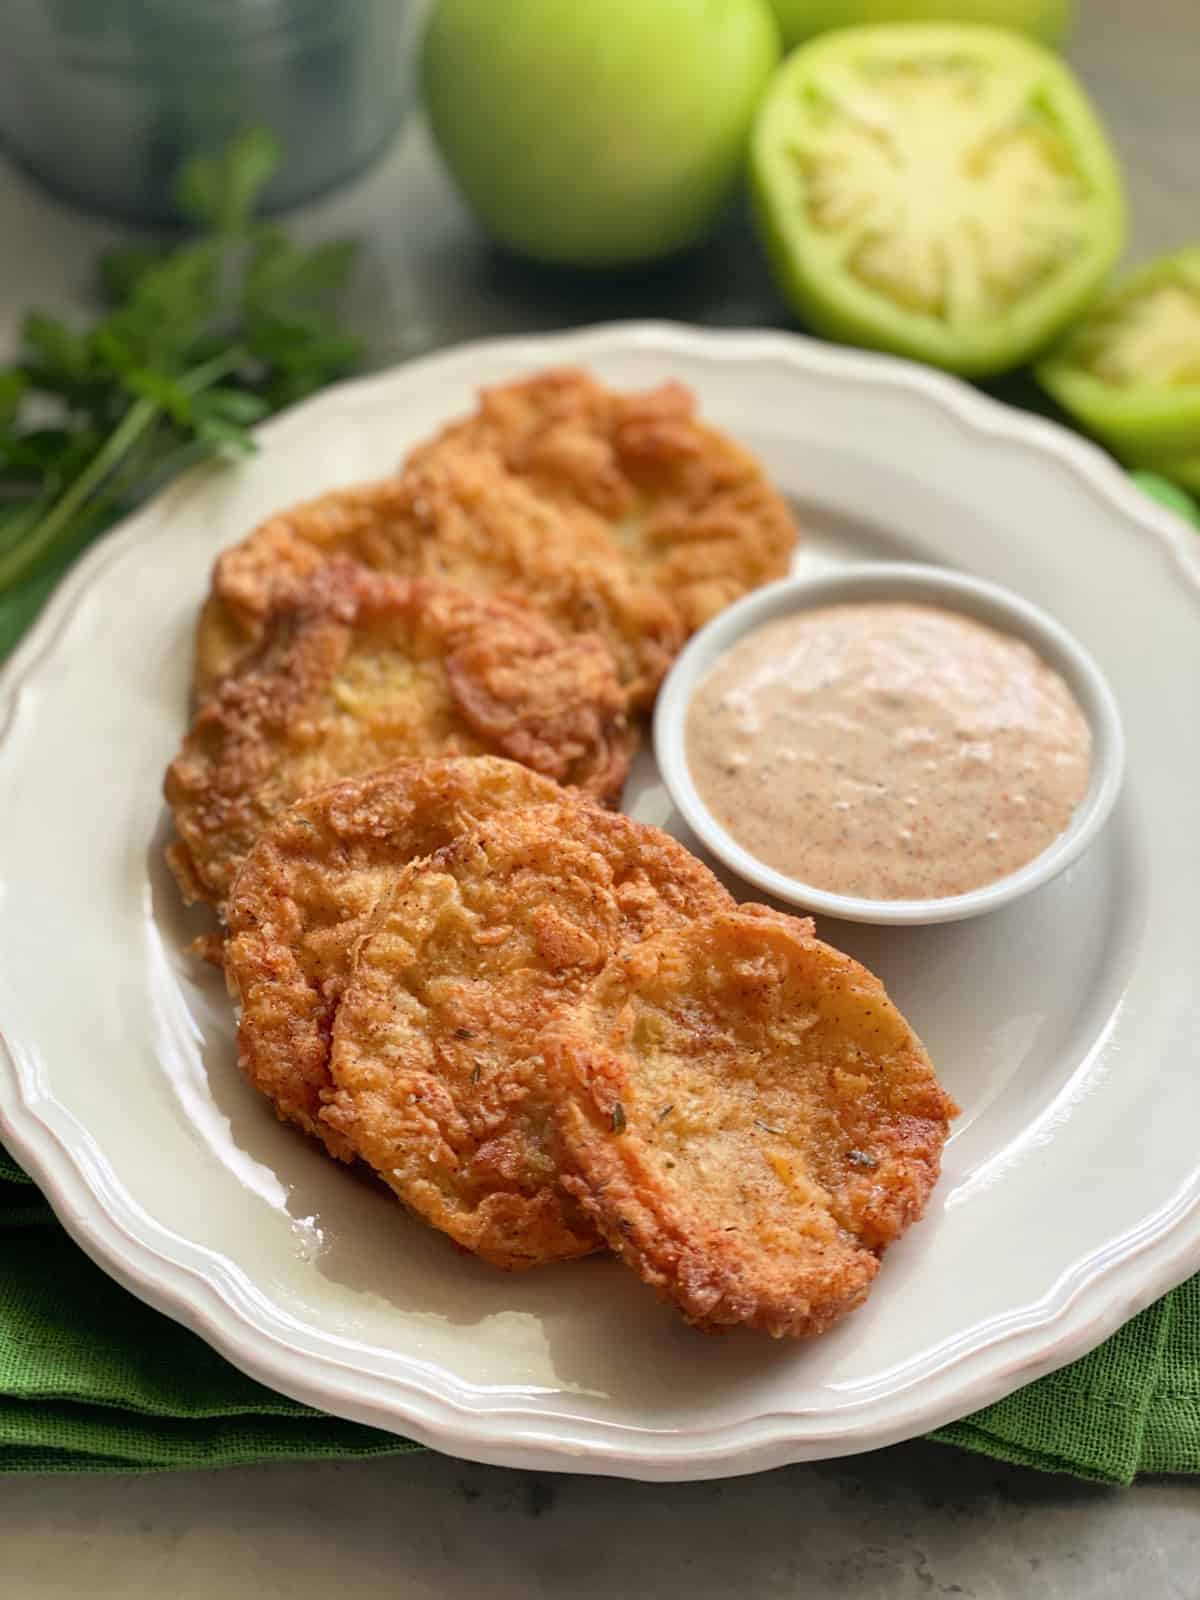
Fried Green Tomatoes with Cajun Ranch Dipping Sauce
-
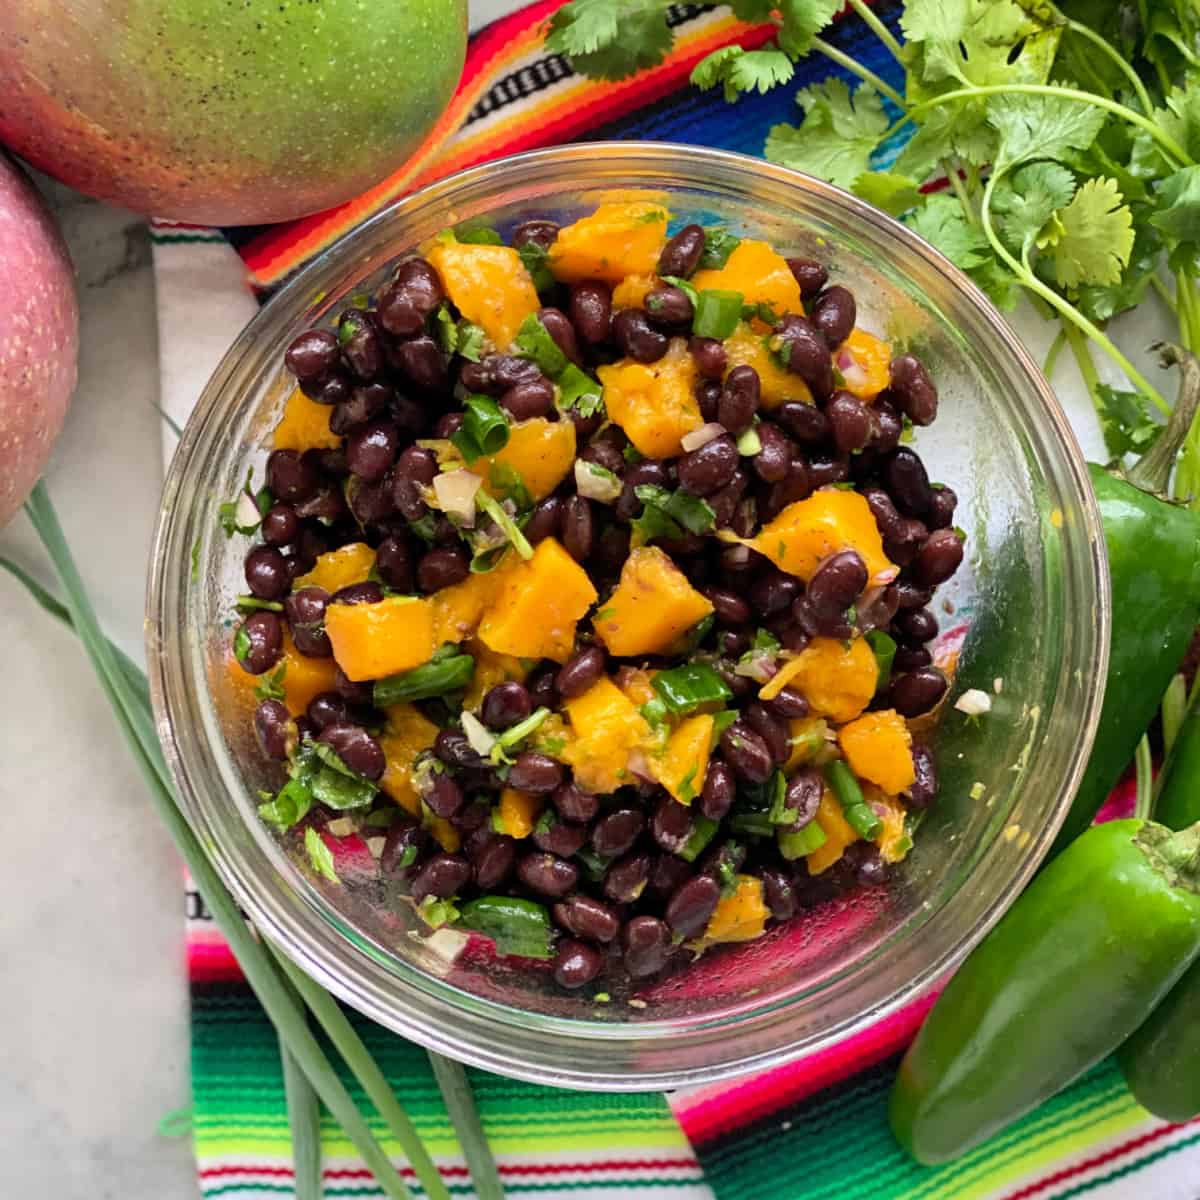
Black Bean Mango Salad
-
PF Changs Sweet Chili Brussel Sprouts
-
Instant Pot Baked Beans
-
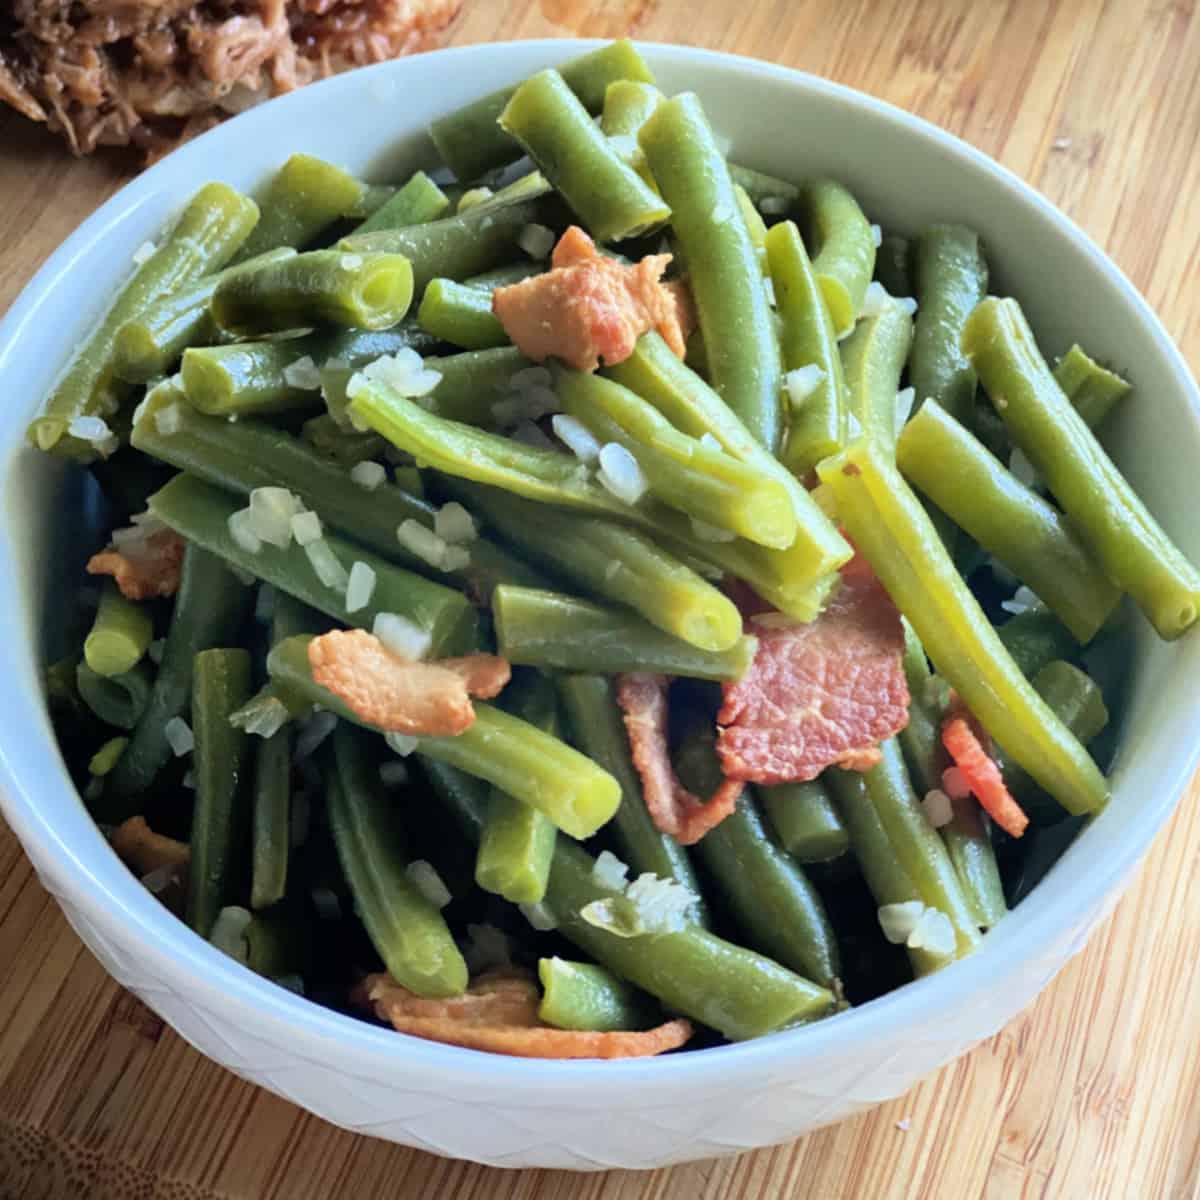
Southern Green Beans Recipe