Skip to main content
Skip to primary sidebar
Home
About
Contact Me
FAQS
Privacy Policy
Accessibility Statement
Collaborate
Recipes
Appetizer
Asian
Breakfast
Bread
Comfort Food
Dairy Free
Dessert
Cookies
Ice Cream
Drinks
Smoothie
gluten free
Greek
Grilling
Holiday
Christmas
Halloween
Instant Pot
Italian
Katie Original
Main Dish
Beef
Chicken
Pork
Sausage
Turkey
Pizza
Mexican
One Pot Meal
Polish
Salad
Dressing
Sandwich
Seafood
Shrimp
Side Dish
Slow Cooker
Soups and Stews
Vegetarian
Travel
Search
menu icon
Home
Recipe Index
About Me
Contact
search icon
Search
Home
Recipe Index
About Me
Contact
×
Katie's Cucina
»
Recipes
Blog
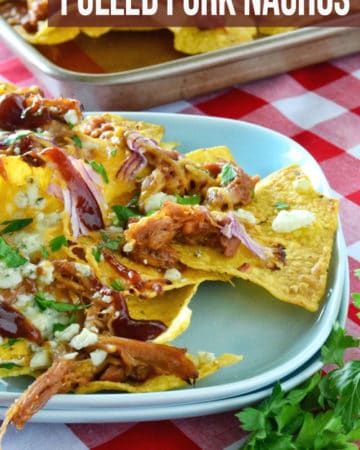
Pulled Pork Nachos
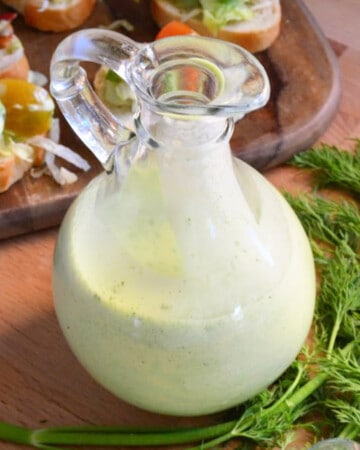
Dill Dressing
Chicken Tenders in Air Fryer
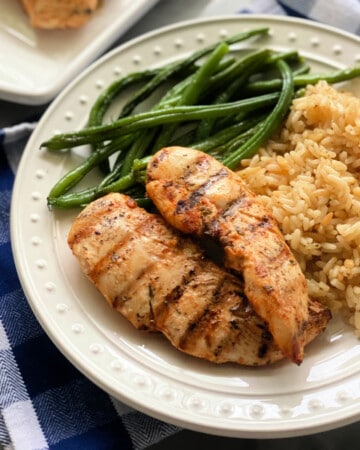
Grilled Chicken Strips
Sides for Chicken Tenders – 17 Mouthwatering Sides
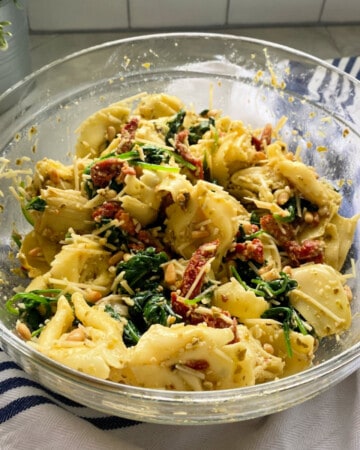
Pesto Tortellini Salad
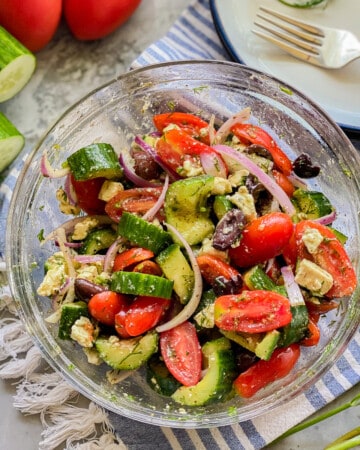
Greek Cucumber Salad
Egg White Frittata
French Vanilla Ice Cream
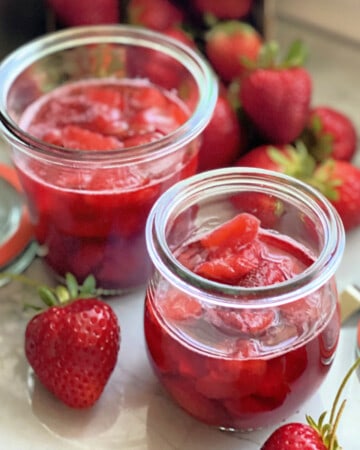
Strawberry Compote
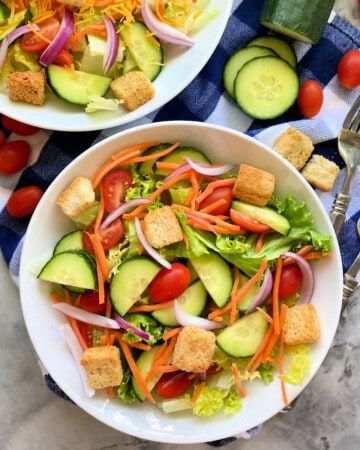
House Salad
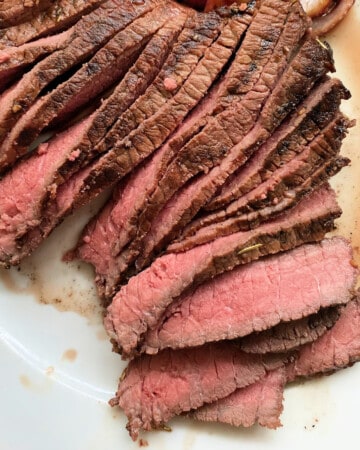
Grilled Flank Steak
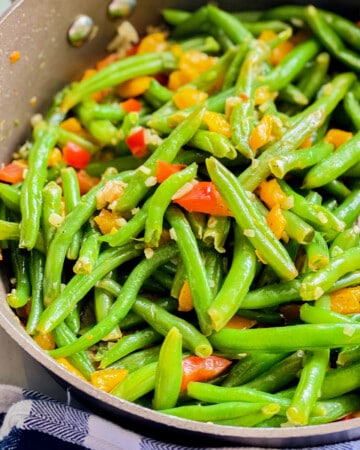
Skillet Green Beans
Shredded Chicken Taco Flatbread
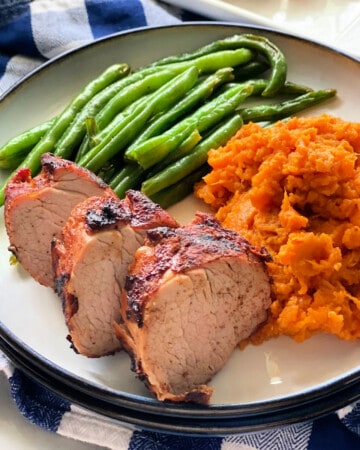
Grilled Pork Tenderloin
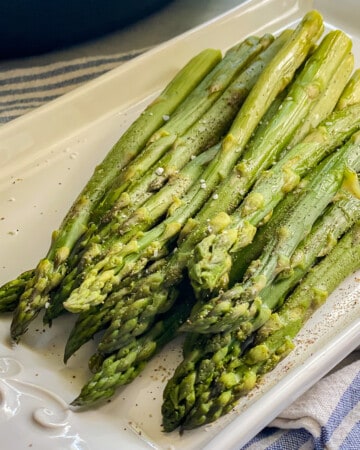
Instant Pot Asparagus
Blueberry Compote
Cherry Almond Pound Cake
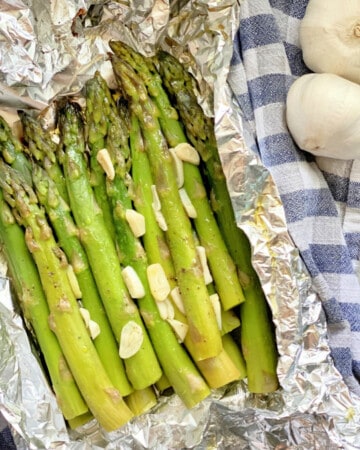
Grilled Asparagus in Foil
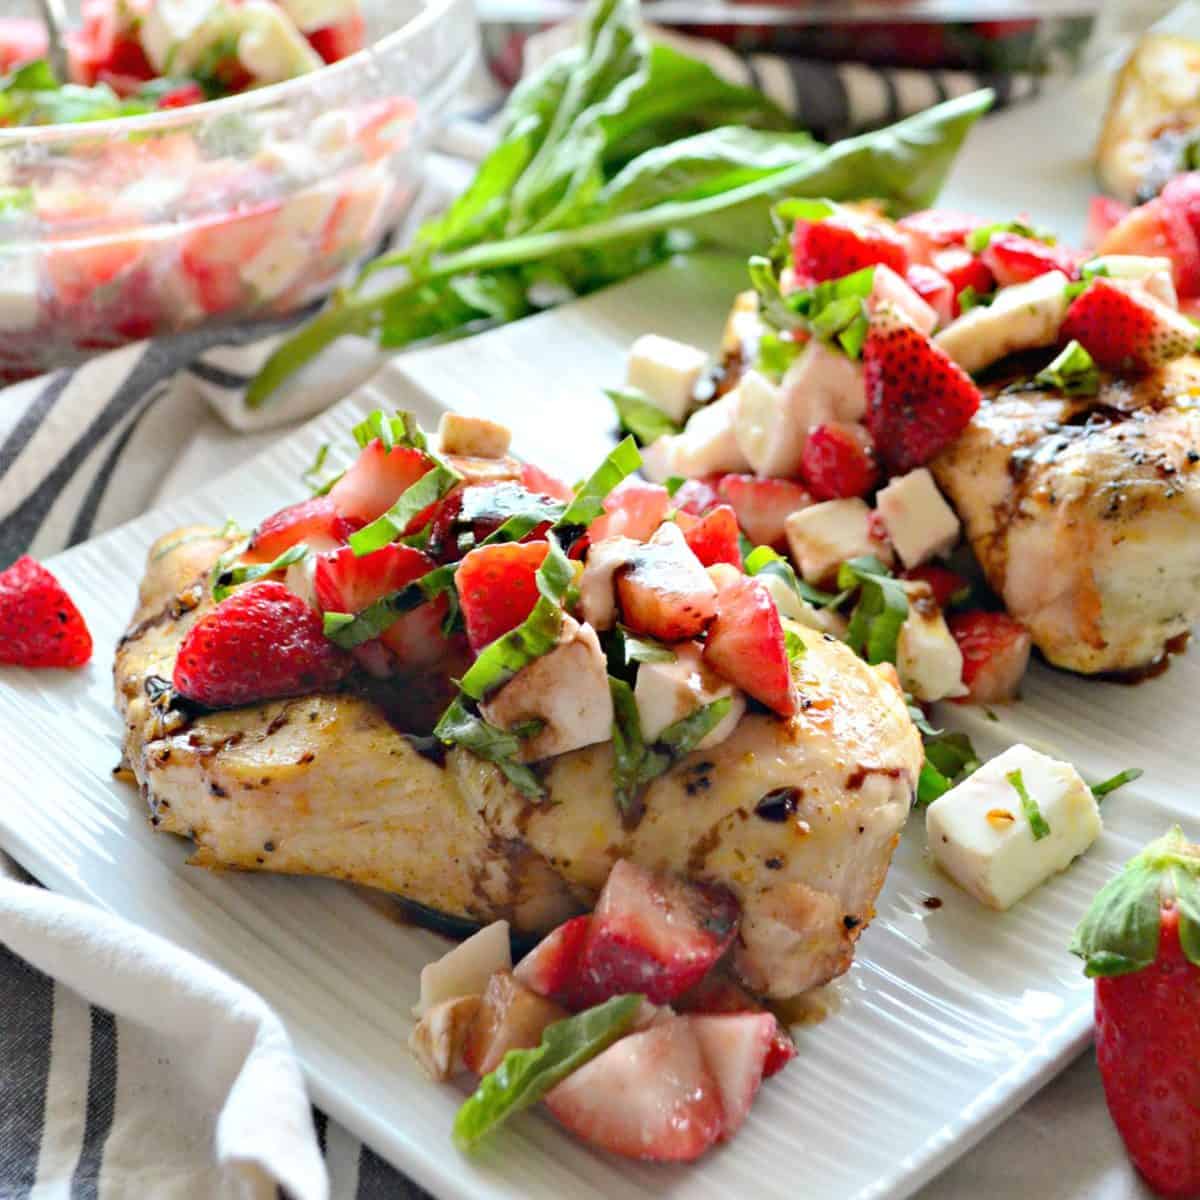
Strawberry Chicken
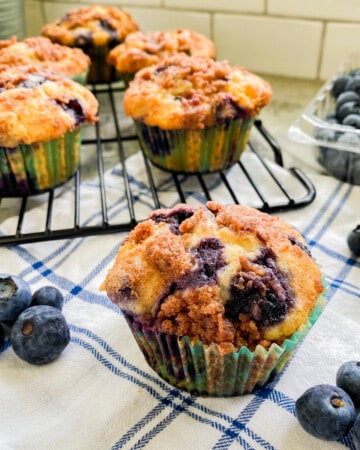
Blueberry Muffins with Crumb Topping
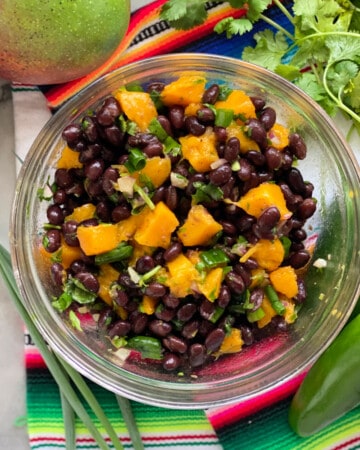
Black Bean Mango Salad
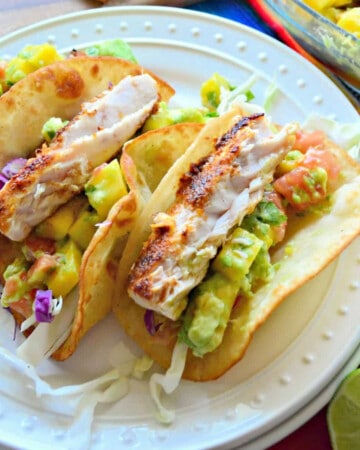
Mahi Mahi Tacos
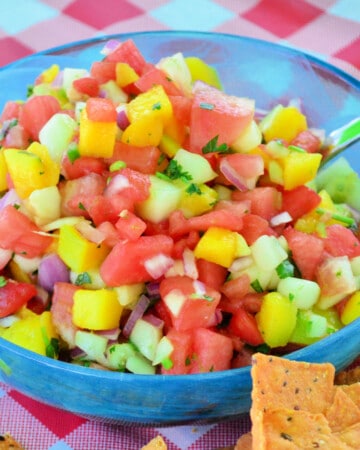
Watermelon Salsa
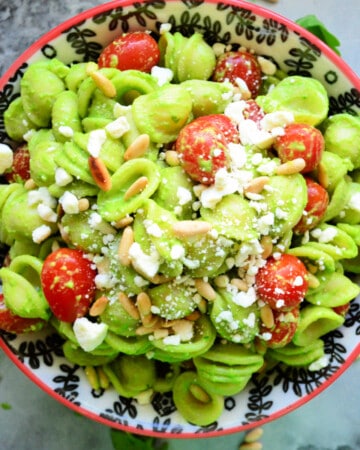
Arugula Pesto Pasta Salad
Patriotic Red White & Blue M&M Cookie Bars
Southern Green Beans Recipe
Baked Baby Back Ribs
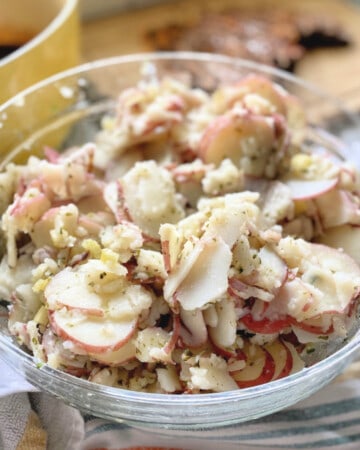
Potato Salad without Mayo
Homemade Lemonade
Berry Trifle
15 Delicious Pulled Pork Sides
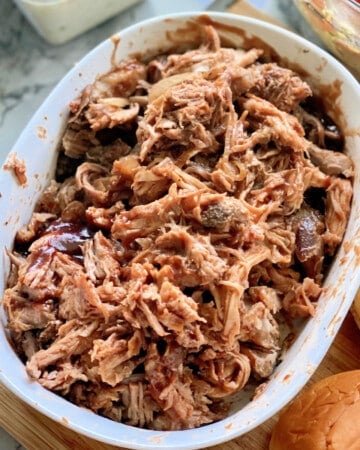
Slow Cooker Pulled Pork
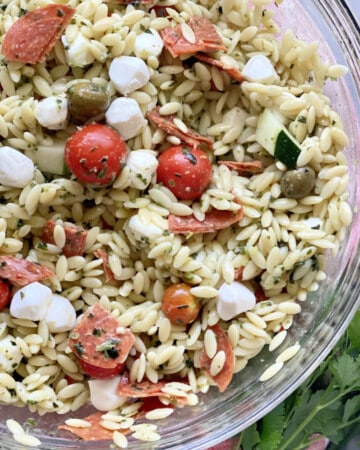
Orzo Pasta Salad
Pineapple Tequila Cocktail
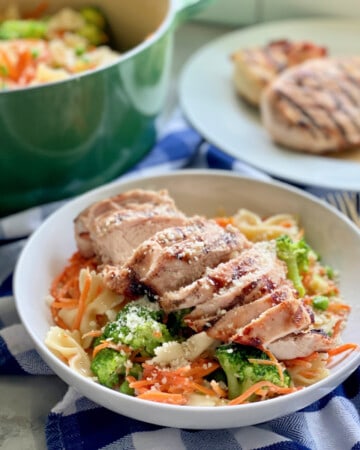
Grilled Chicken Pasta
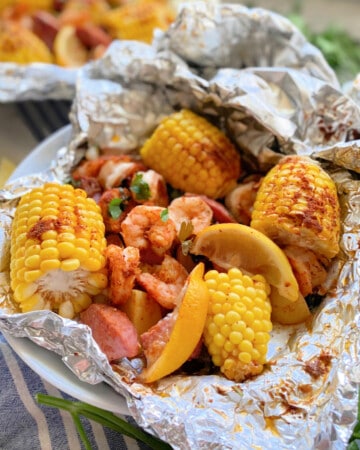
Shrimp Boil Foil Packets
Grilled Lemon Chicken
Blueberry Scones with Lemon Glaze
Chicken Chimichanga Recipe
« Previous Page
Next Page »