Skip to main content
Skip to primary sidebar
Home
About
Contact Me
FAQS
Privacy Policy
Accessibility Statement
Collaborate
Recipes
Appetizer
Asian
Breakfast
Bread
Comfort Food
Dairy Free
Dessert
Cookies
Ice Cream
Drinks
Smoothie
gluten free
Greek
Grilling
Holiday
Christmas
Halloween
Instant Pot
Italian
Katie Original
Main Dish
Beef
Chicken
Pork
Sausage
Turkey
Pizza
Mexican
One Pot Meal
Polish
Salad
Dressing
Sandwich
Seafood
Shrimp
Side Dish
Slow Cooker
Soups and Stews
Vegetarian
Travel
Search
menu icon
Home
Recipe Index
About Me
Contact
search icon
Search
Home
Recipe Index
About Me
Contact
×
Katie's Cucina
»
Recipes
Blog
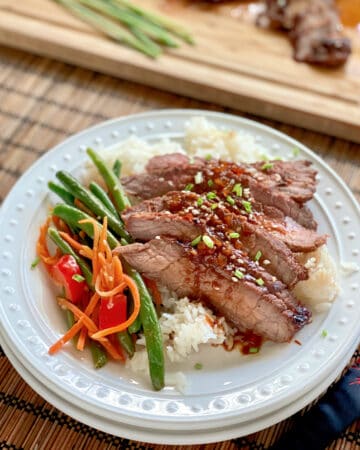
Asian London Broil
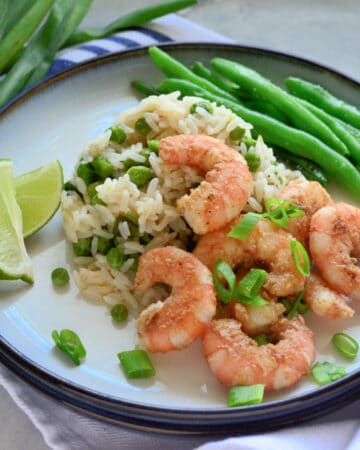
Spiced Shrimp with Ginger Rice and Peas
Malibu Bay Breeze
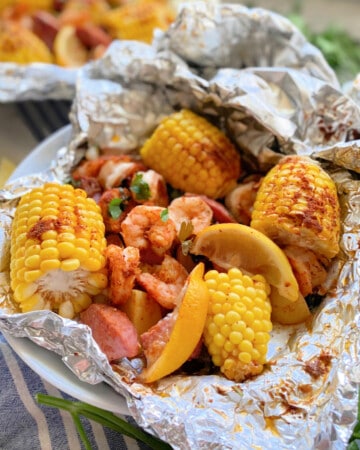
Shrimp Boil Foil Packets
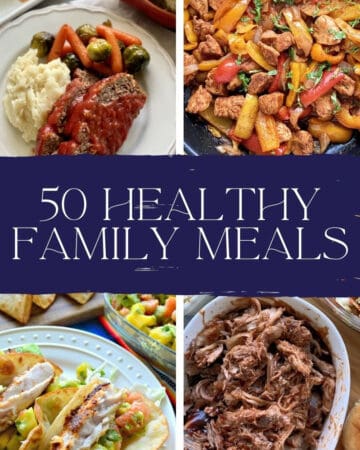
50 Healthy Family Meals
French Vanilla Ice Cream
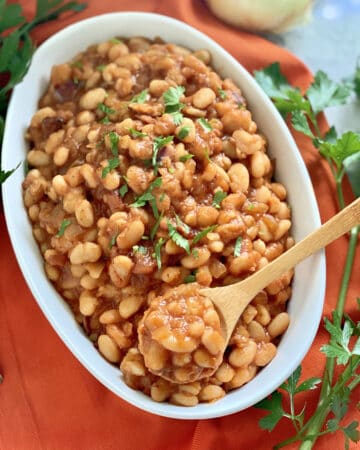
Instant Pot Baked Beans
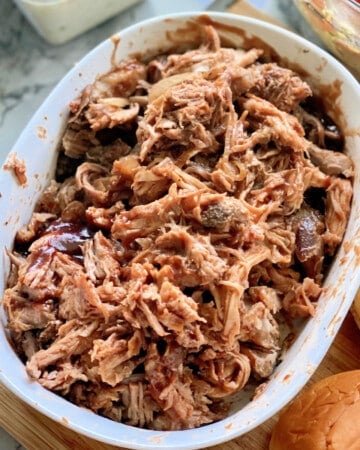
Slow Cooker Pulled Pork
Southern Green Beans Recipe
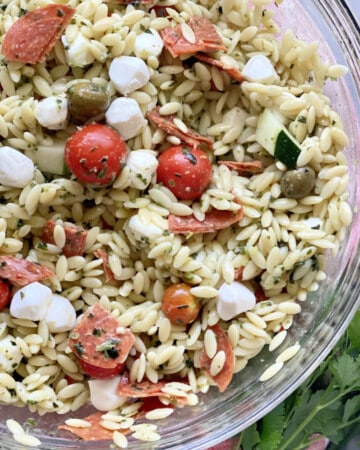
Orzo Pasta Salad
Italian Bruschetta Recipe
Cavatappi Amatriciana
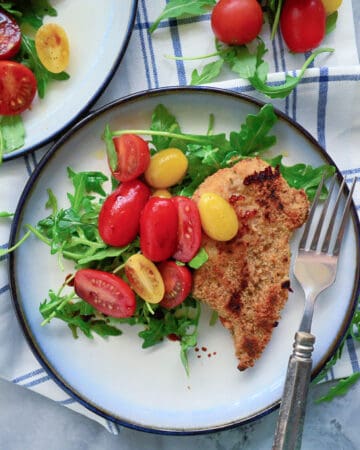
Chicken Milanese
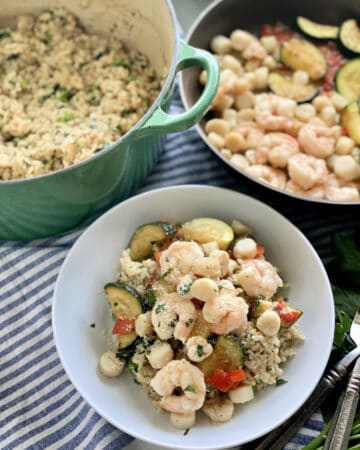
Shrimp and Scallop Risotto
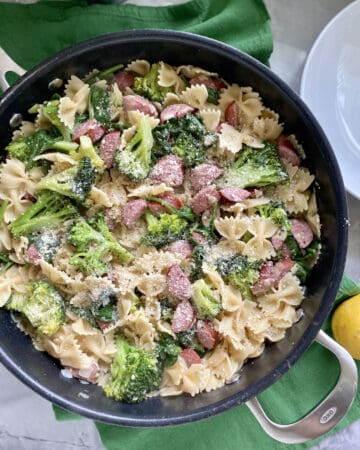
One Pot Kielbasa and Broccoli Pasta
Grilled Southwestern Pork Chops with Peach Salsa
Grilled Buffalo Chicken Drumsticks with Blue Cheese
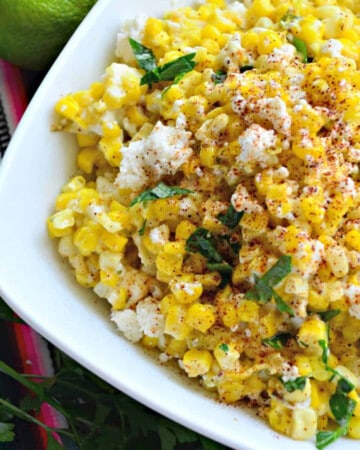
Mexican Street Corn Salad
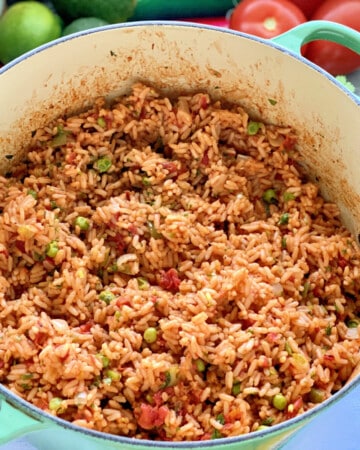
Mexican Red Rice
Buttermilk Waffles
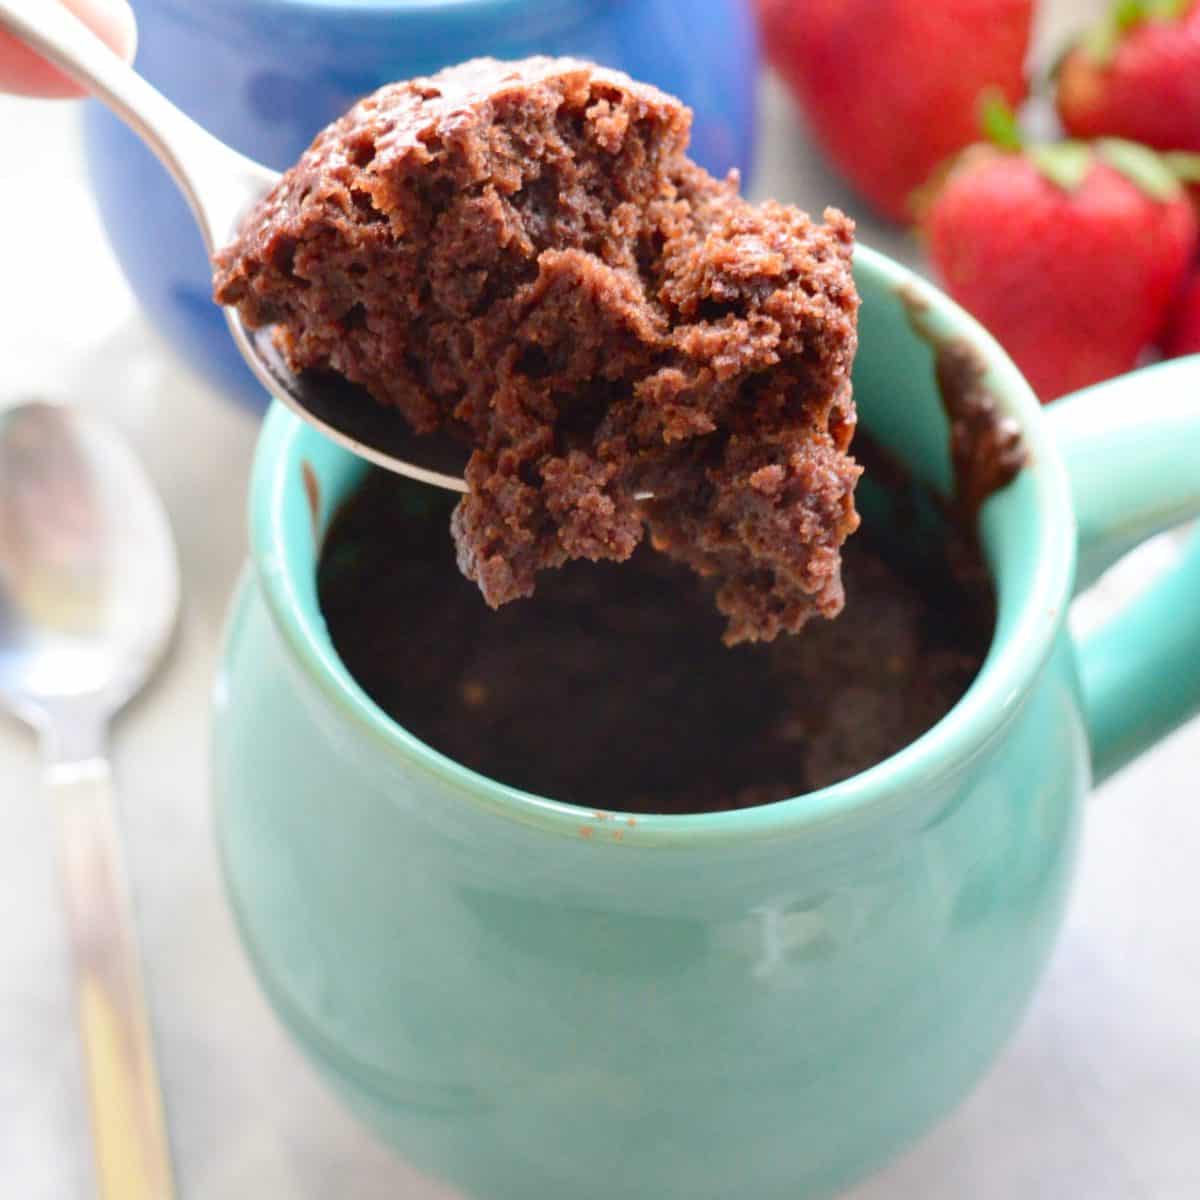
Dairy Free Chocolate Mug Cake
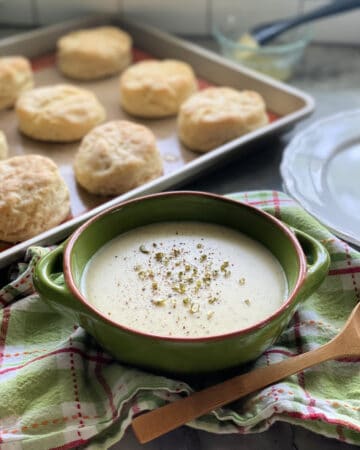
Homemade White Gravy
Southern Breakfast Potatoes
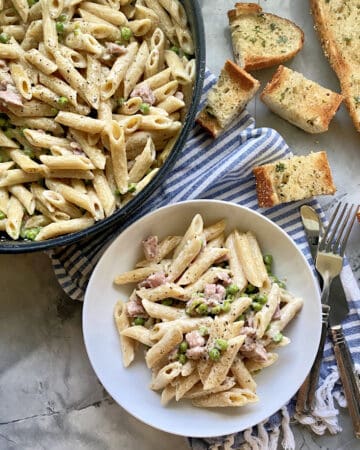
Pasta with Peas and Ham
Ham Egg and Cheese Casserole
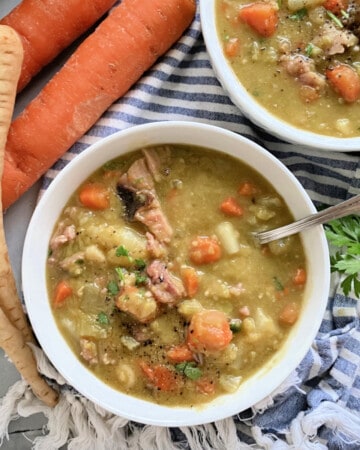
Slow Cooker Split Pea Soup
Gratin Dauphinois
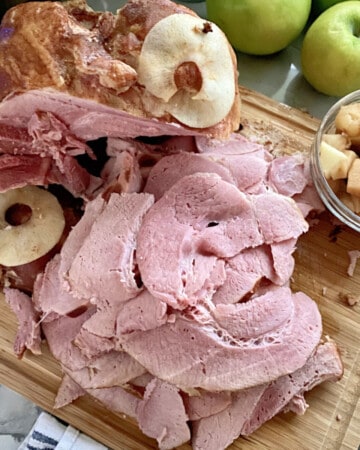
Slow Cooker Ham (with apple sauce)
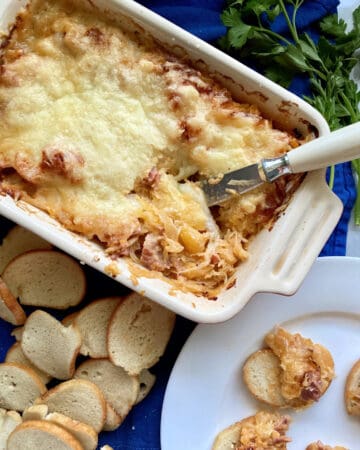
Hot Reuben Dip Recipe
Russian Sauce
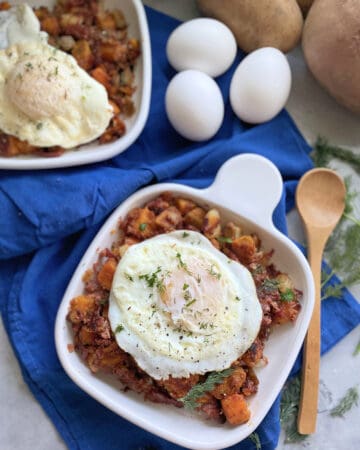
Sweet Potato Corned Beef Hash
Chicken Chimichanga Recipe
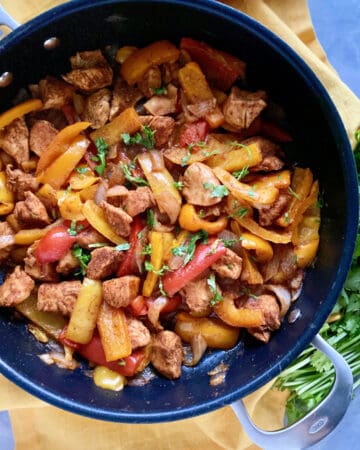
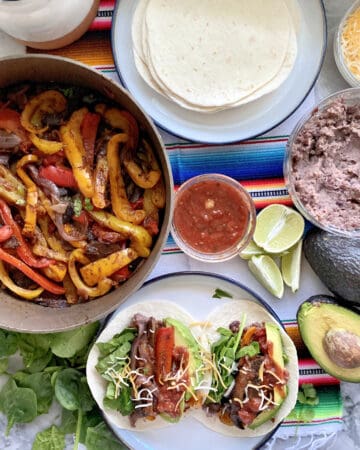
Skillet Fajitas
Fajita Seasoning
Vegetarian Fajitas
Guinness Float
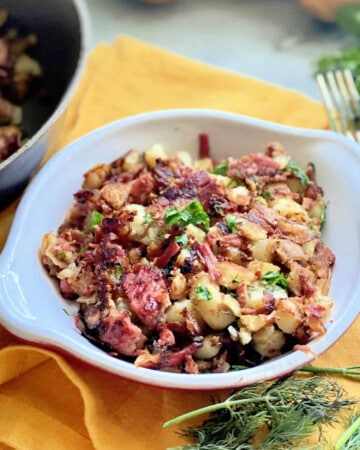
Homemade Corned Beef Hash
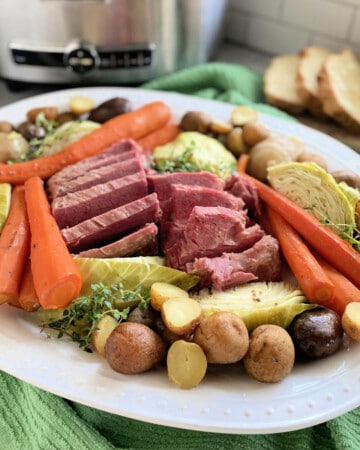
Slow Cooker Corned Beef Brisket
St Patricks Day Recipes – 50 Irish Recipes
Lucky Charms Snack Mix
« Previous Page
Next Page »