Main Dish
If you are looking for easy and delicious Main Dish recipes this is the category for you! Whether you are trying to feed your family dinner quickly, celebrating a holiday, or simply gathering with friends and family. Browse dozens of Main Dish recipes sure to please.
Need a recommendation? My family loves my Oven Roasted Turkey Breast, Slow Cooker Corned Beef, and Slow Cooker Ham with Apple Sauce. These are all perfect for celebrating a holiday or enjoying a Sunday dinner together.
For a quick weeknight meal try my Skillet Fajitas, Air Fryer Chicken Strips, or my Baked Feta Pasta.
Whatever you are in the mood for I'm sure you will find it here.
-
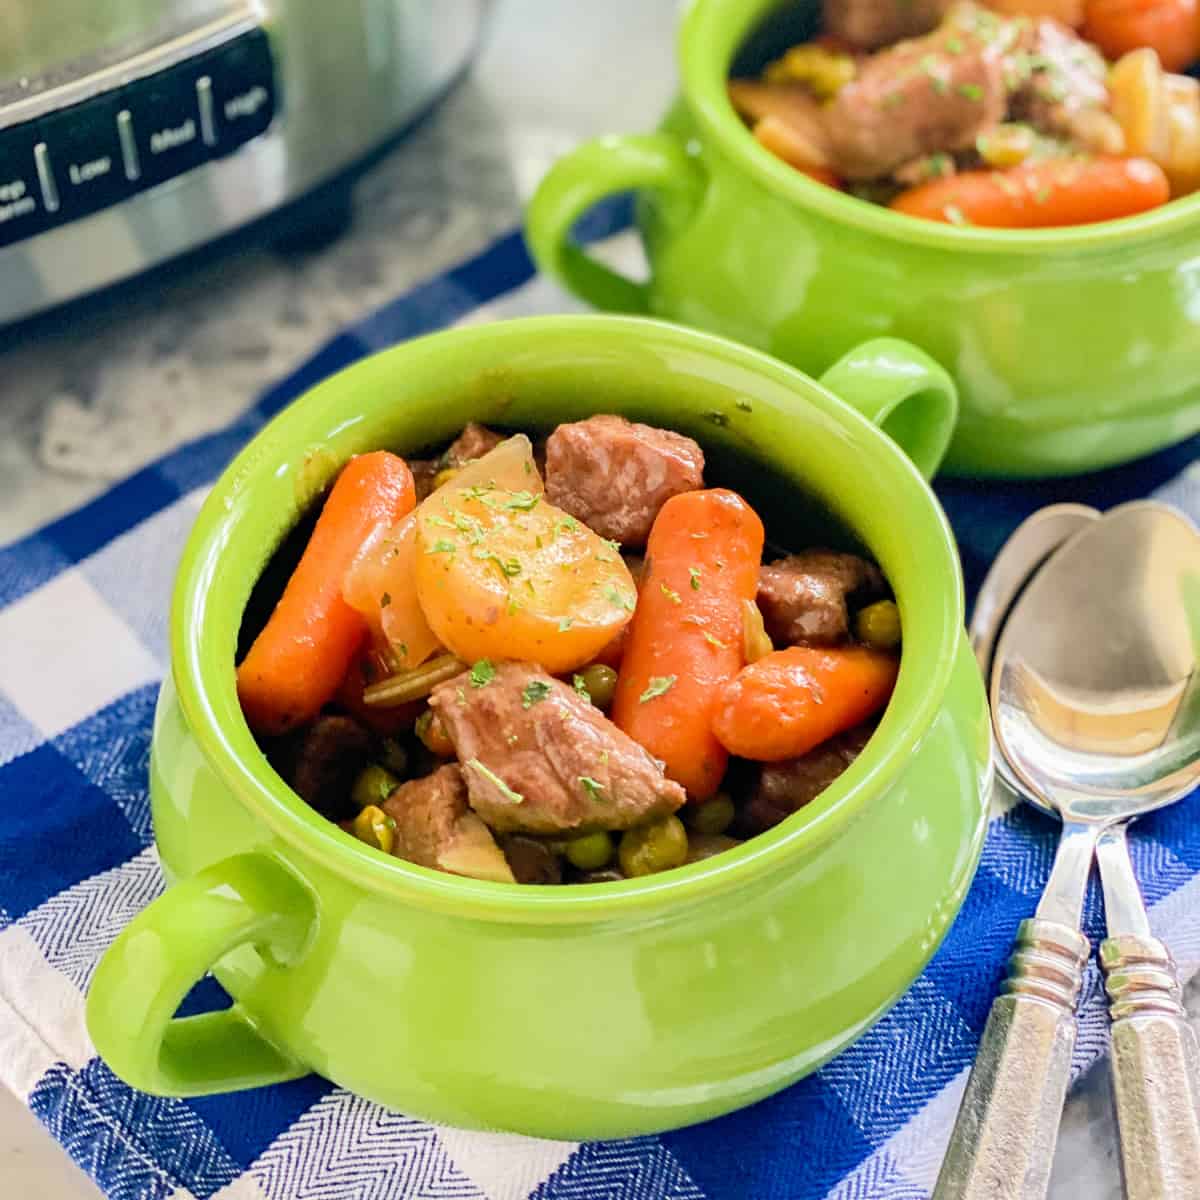
Crock Pot Beef Stew
-
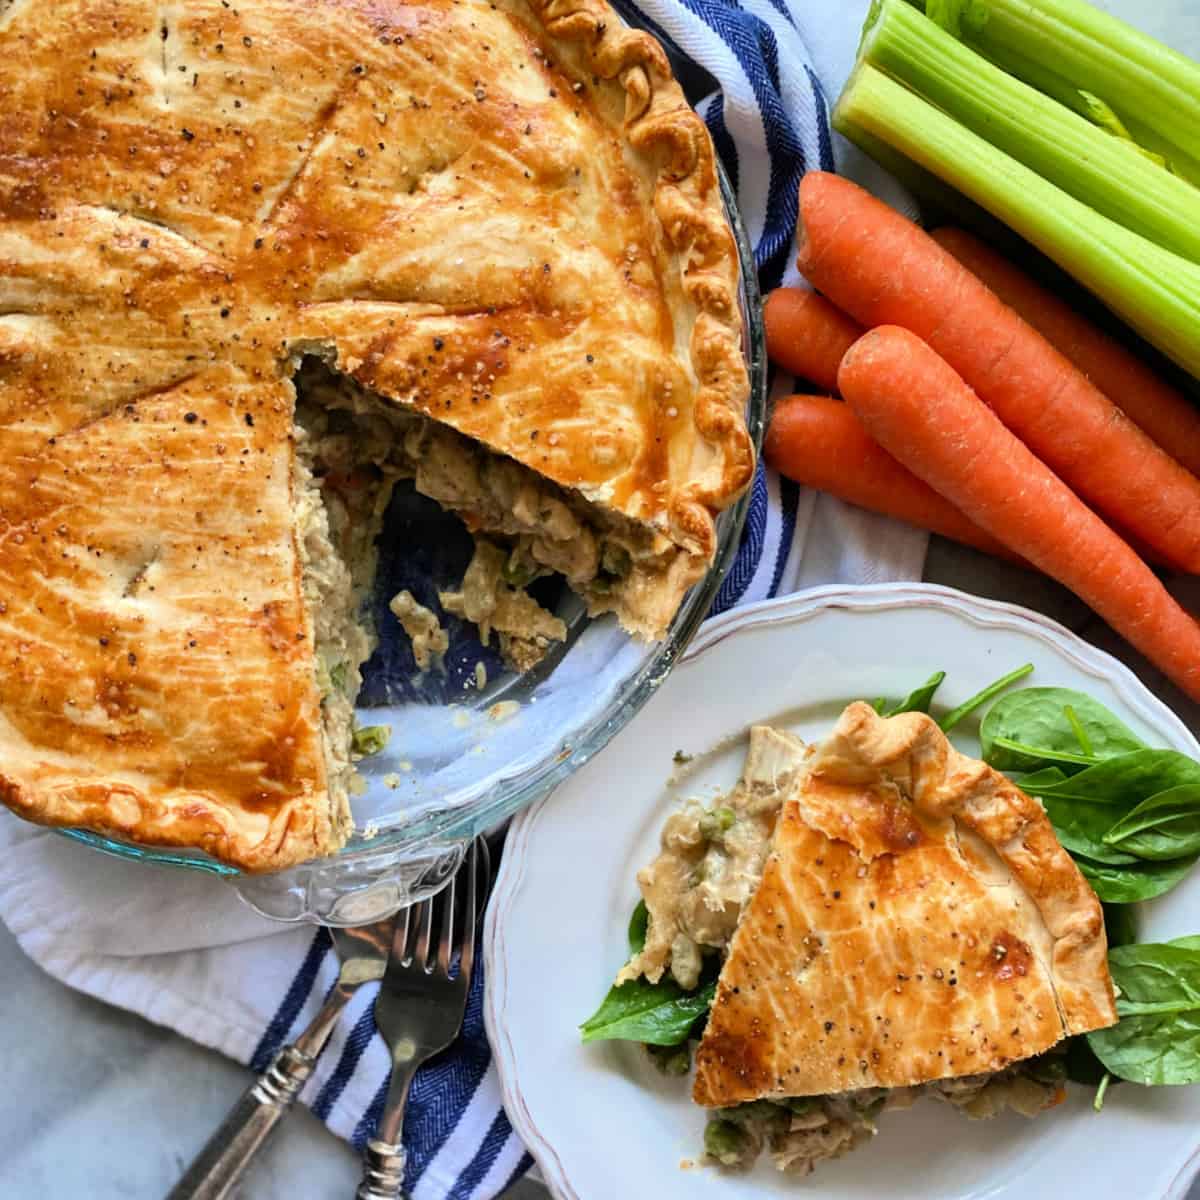
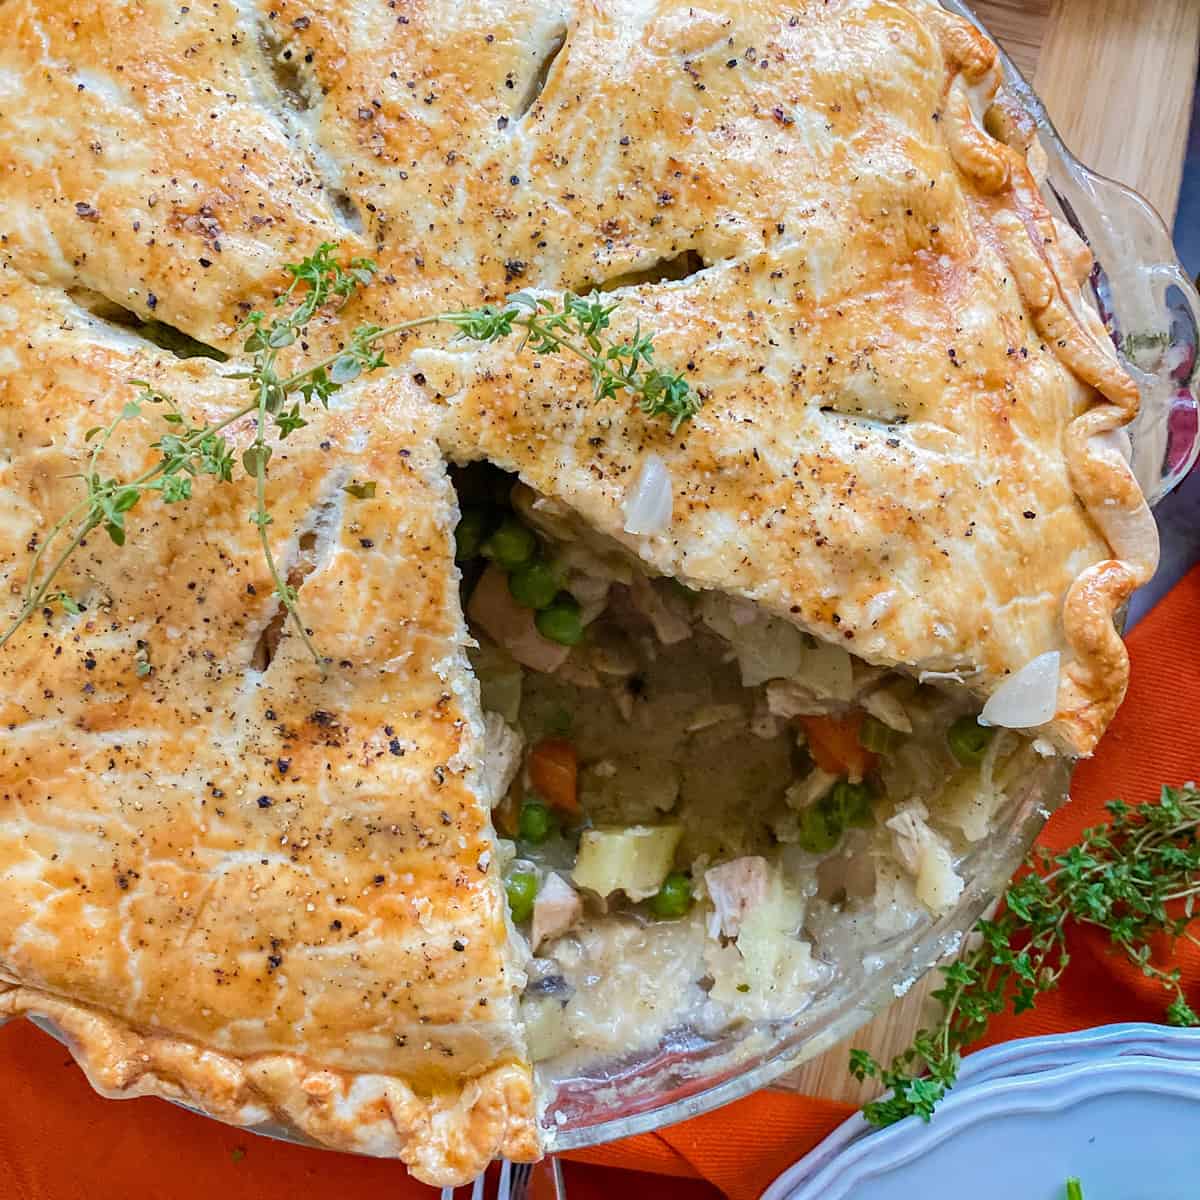
Easy Chicken Pot Pie
-
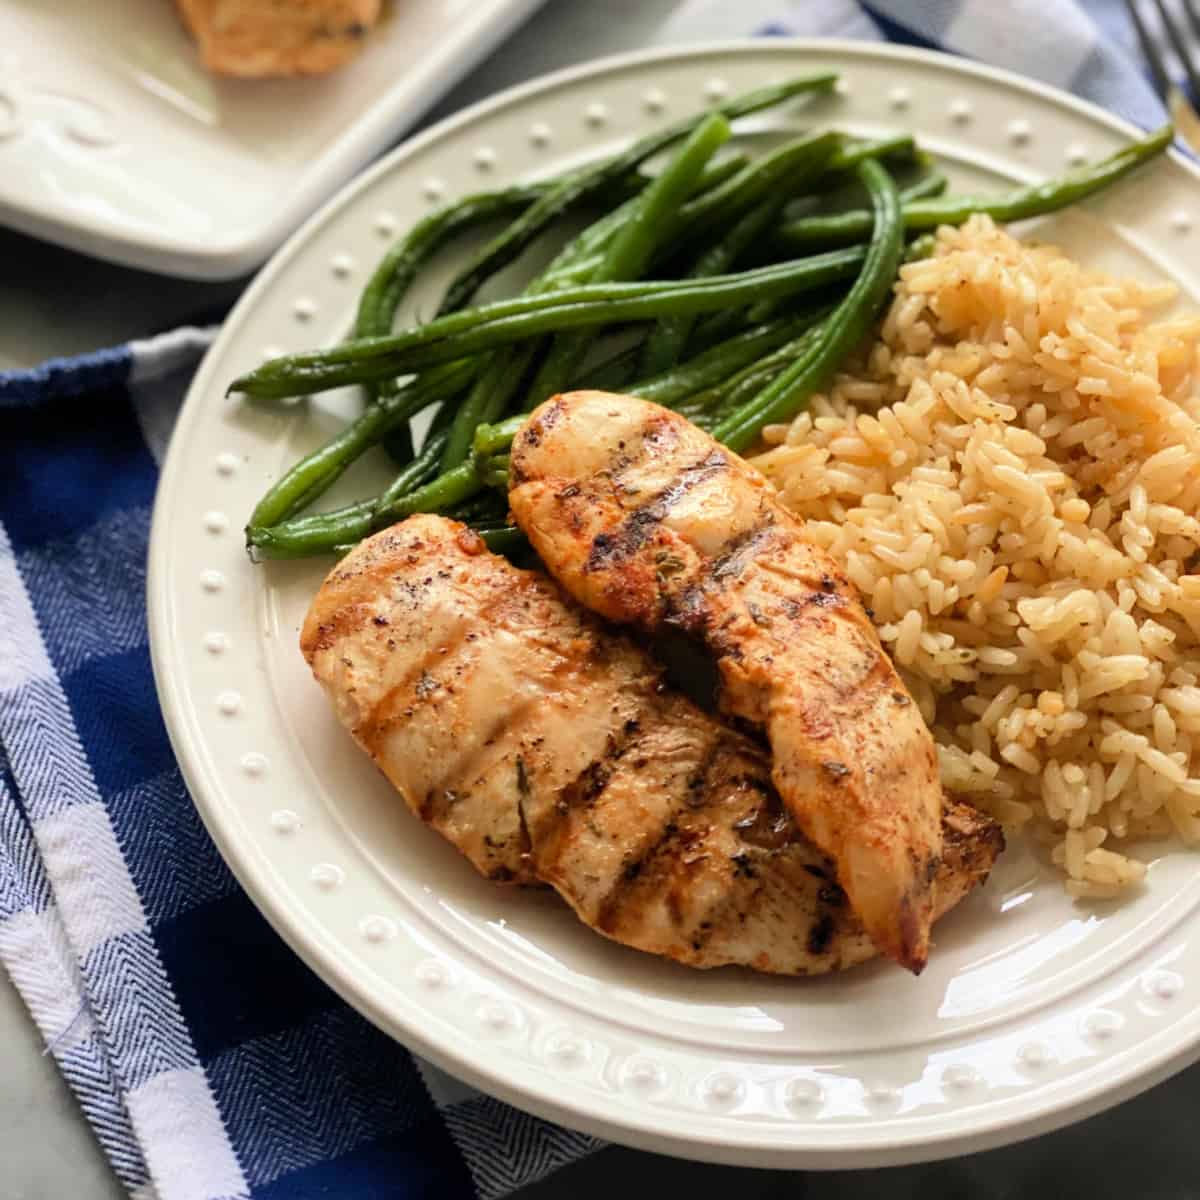
Grilled Chicken Strips
-
Grilled Flank Steak
-
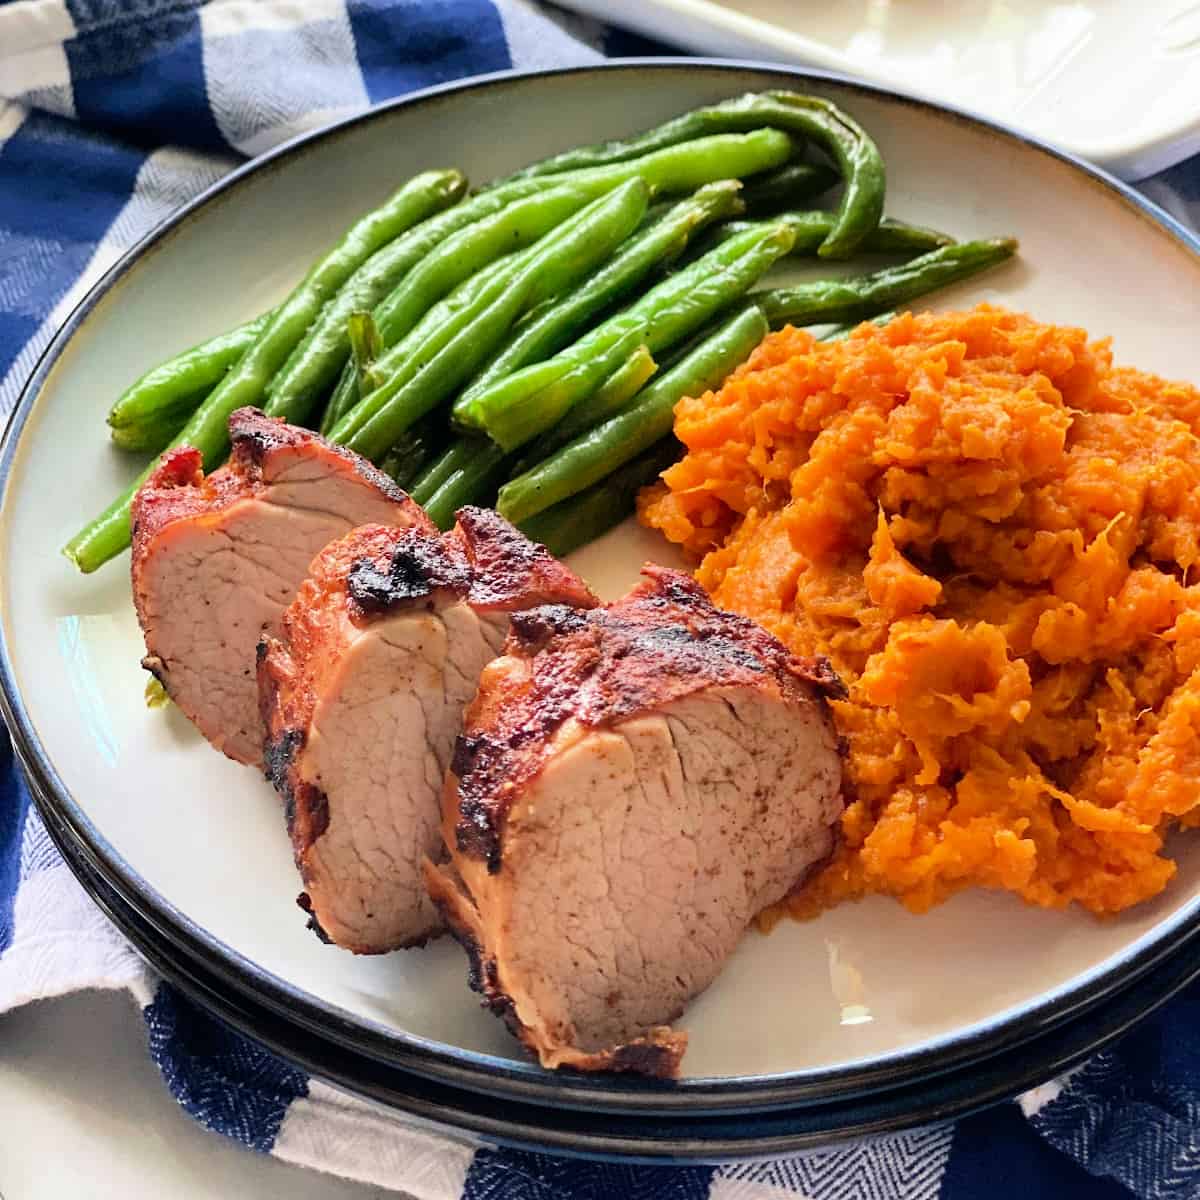
Grilled Pork Tenderloin
-
Baked Tacos
-
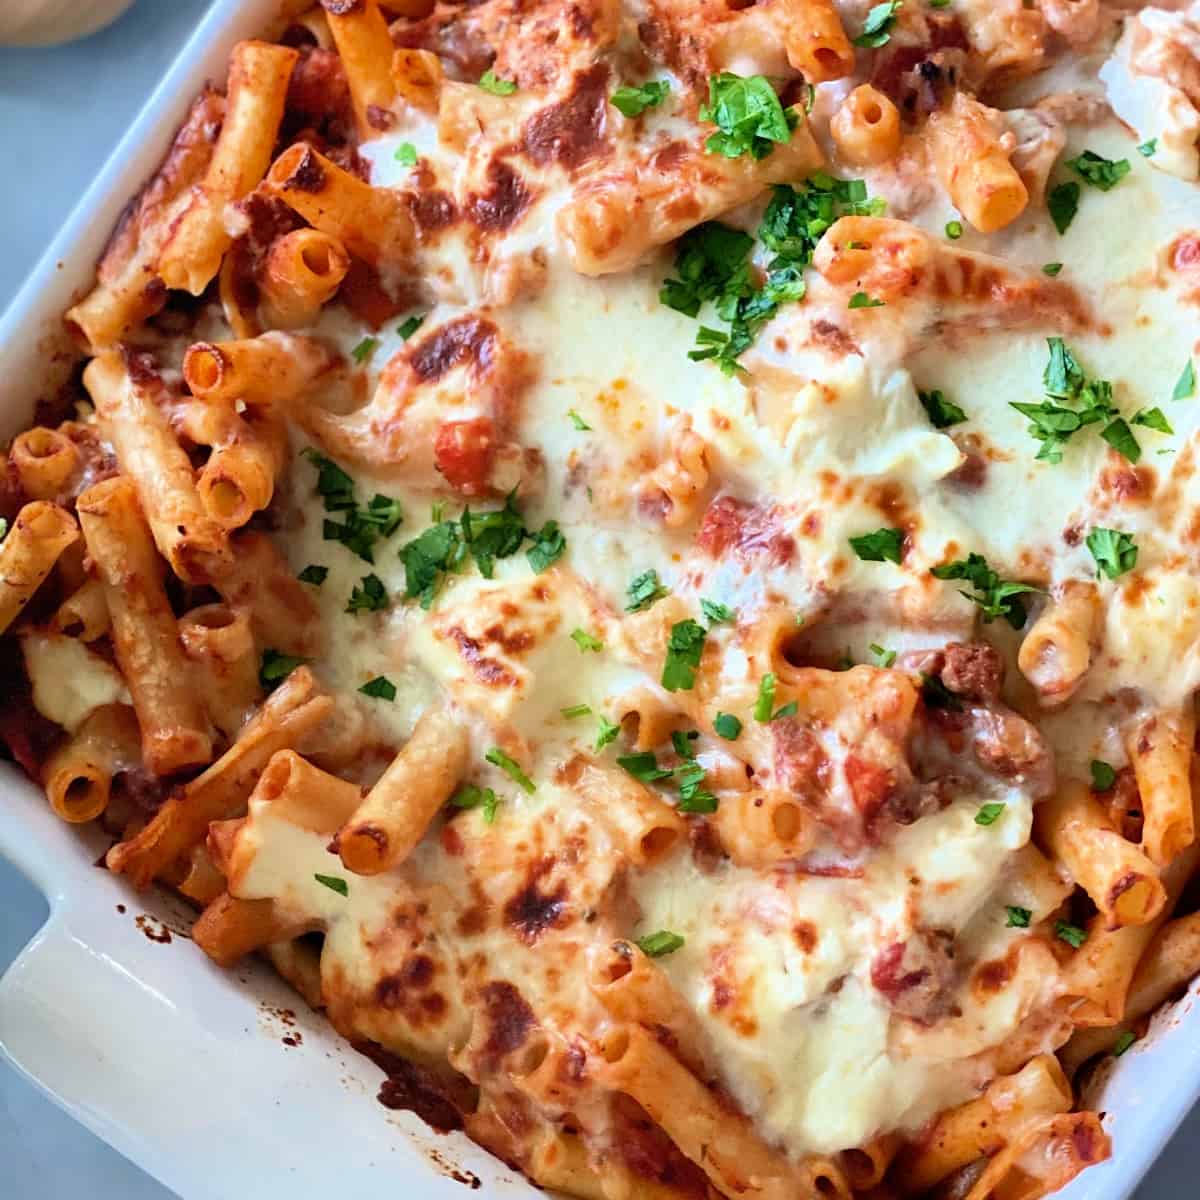
Baked Ziti with Italian Sausage
-
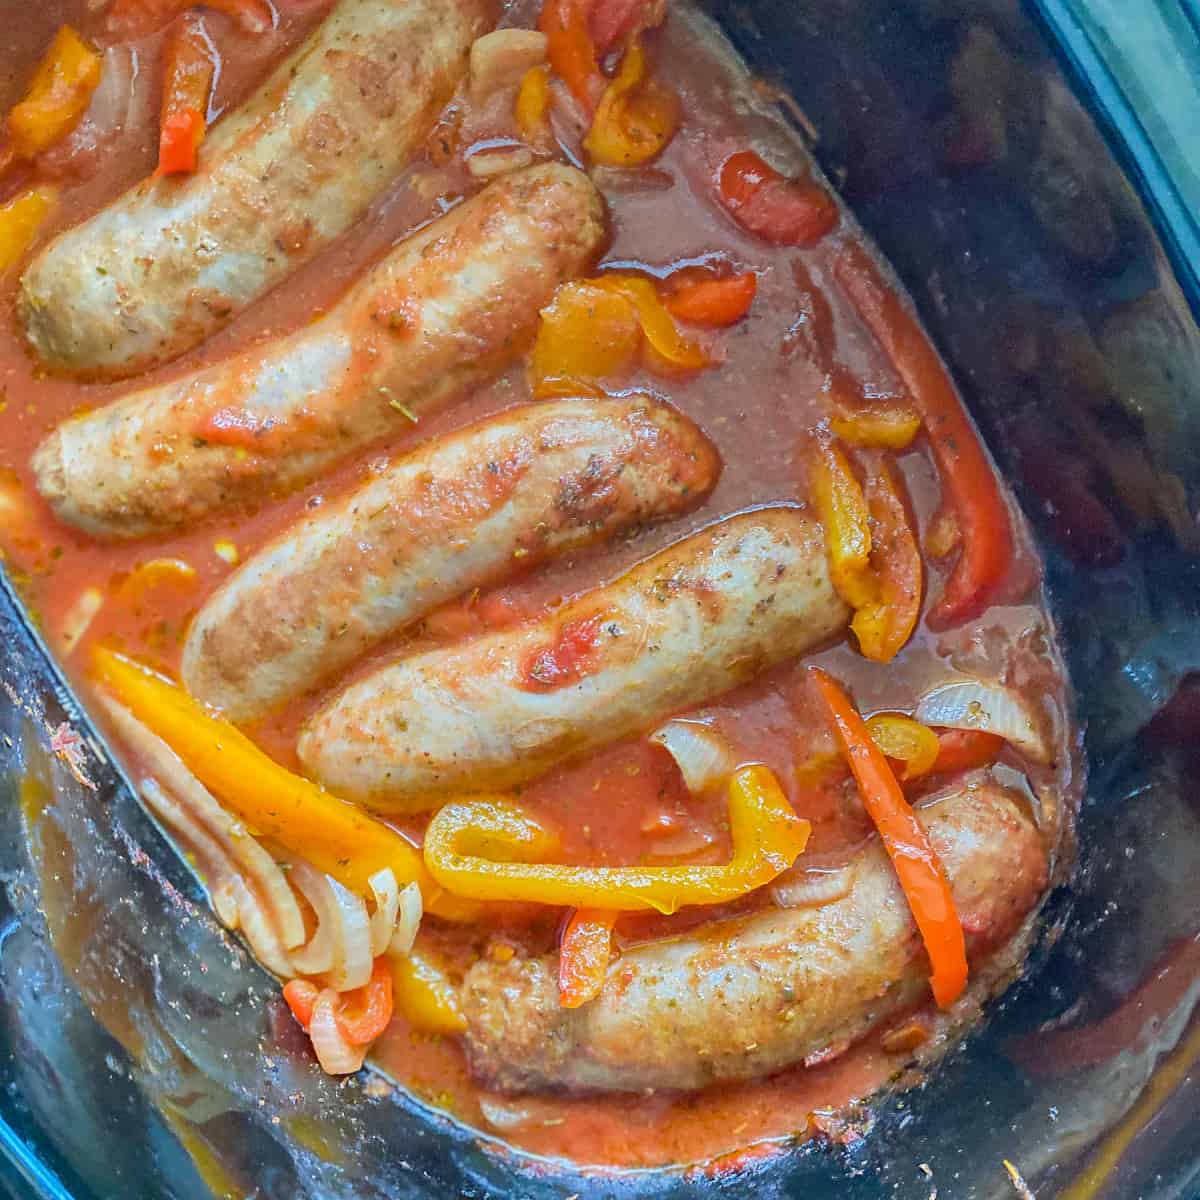
Slow Cooker Sausage and Peppers
-
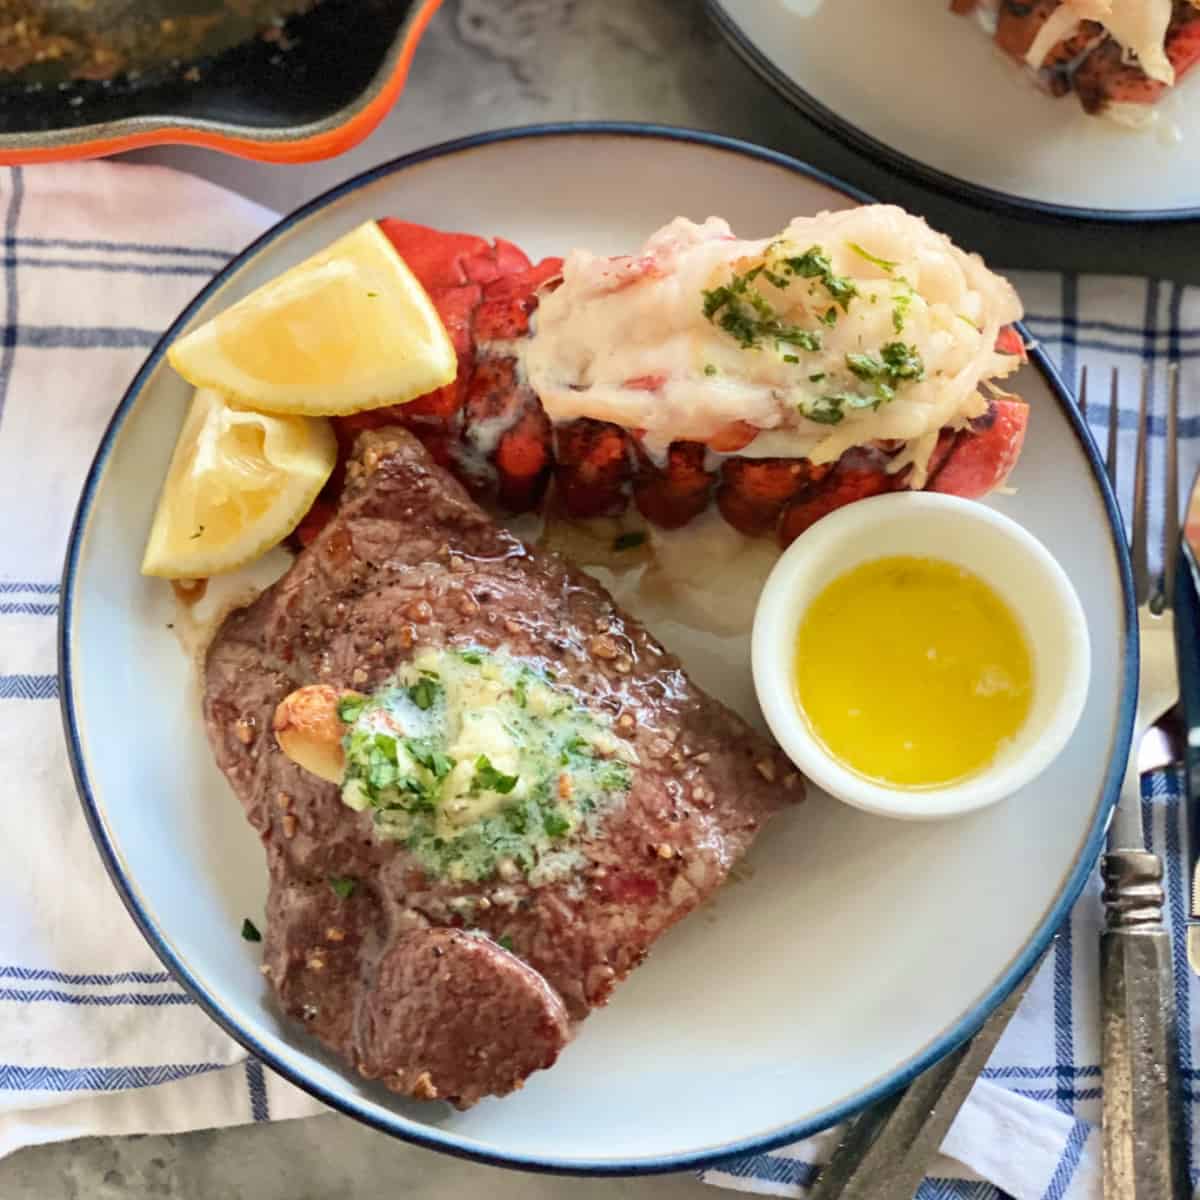
Steak and Lobster
-
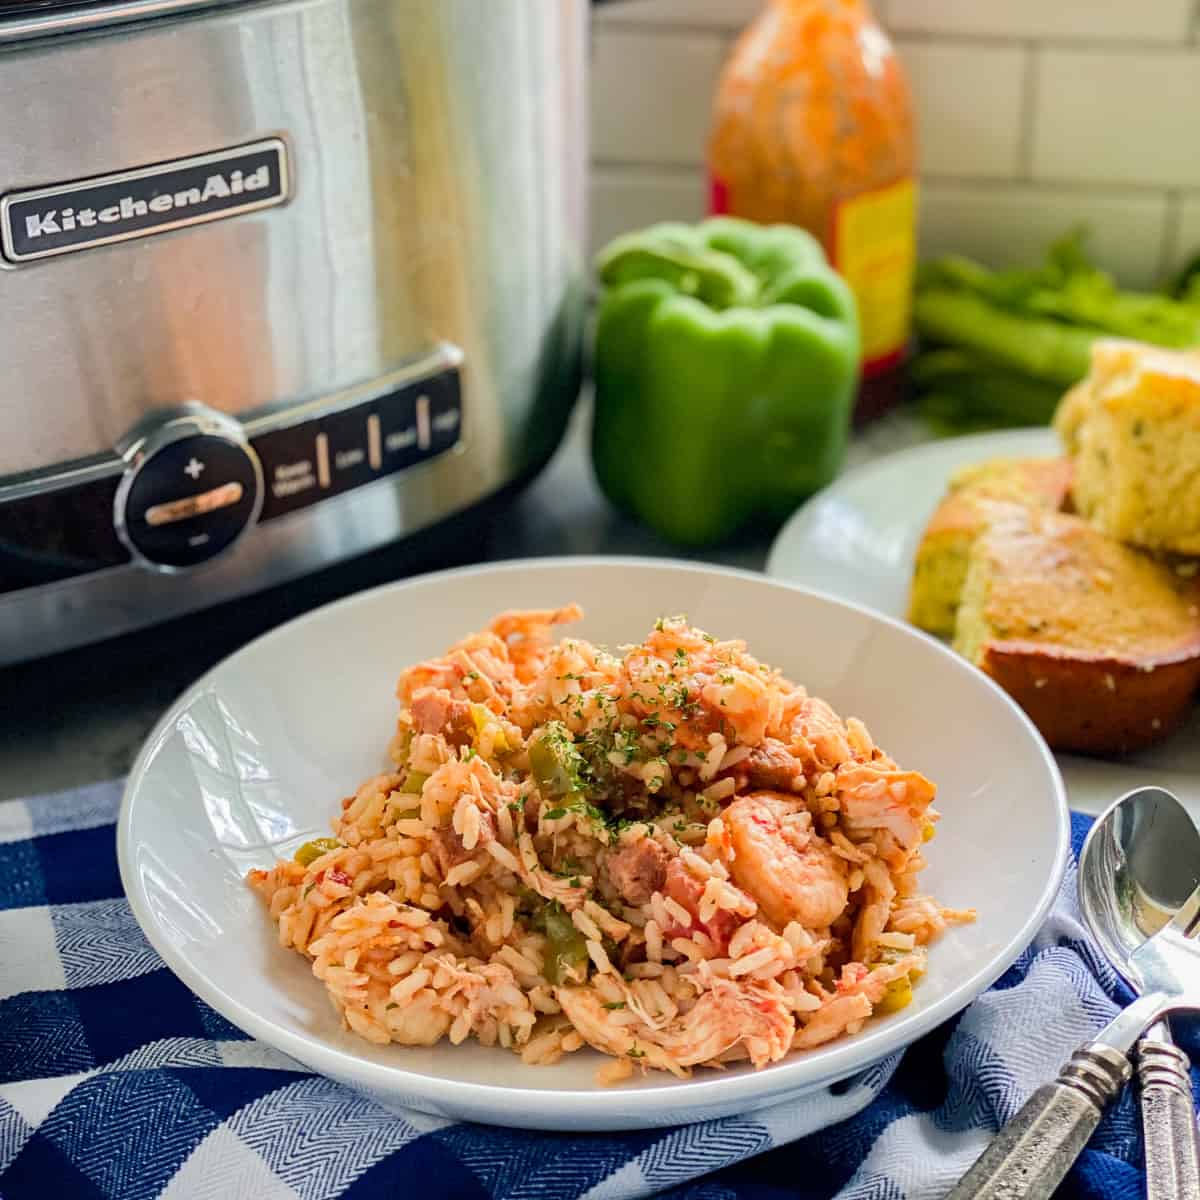
Crock Pot Jambalaya
-
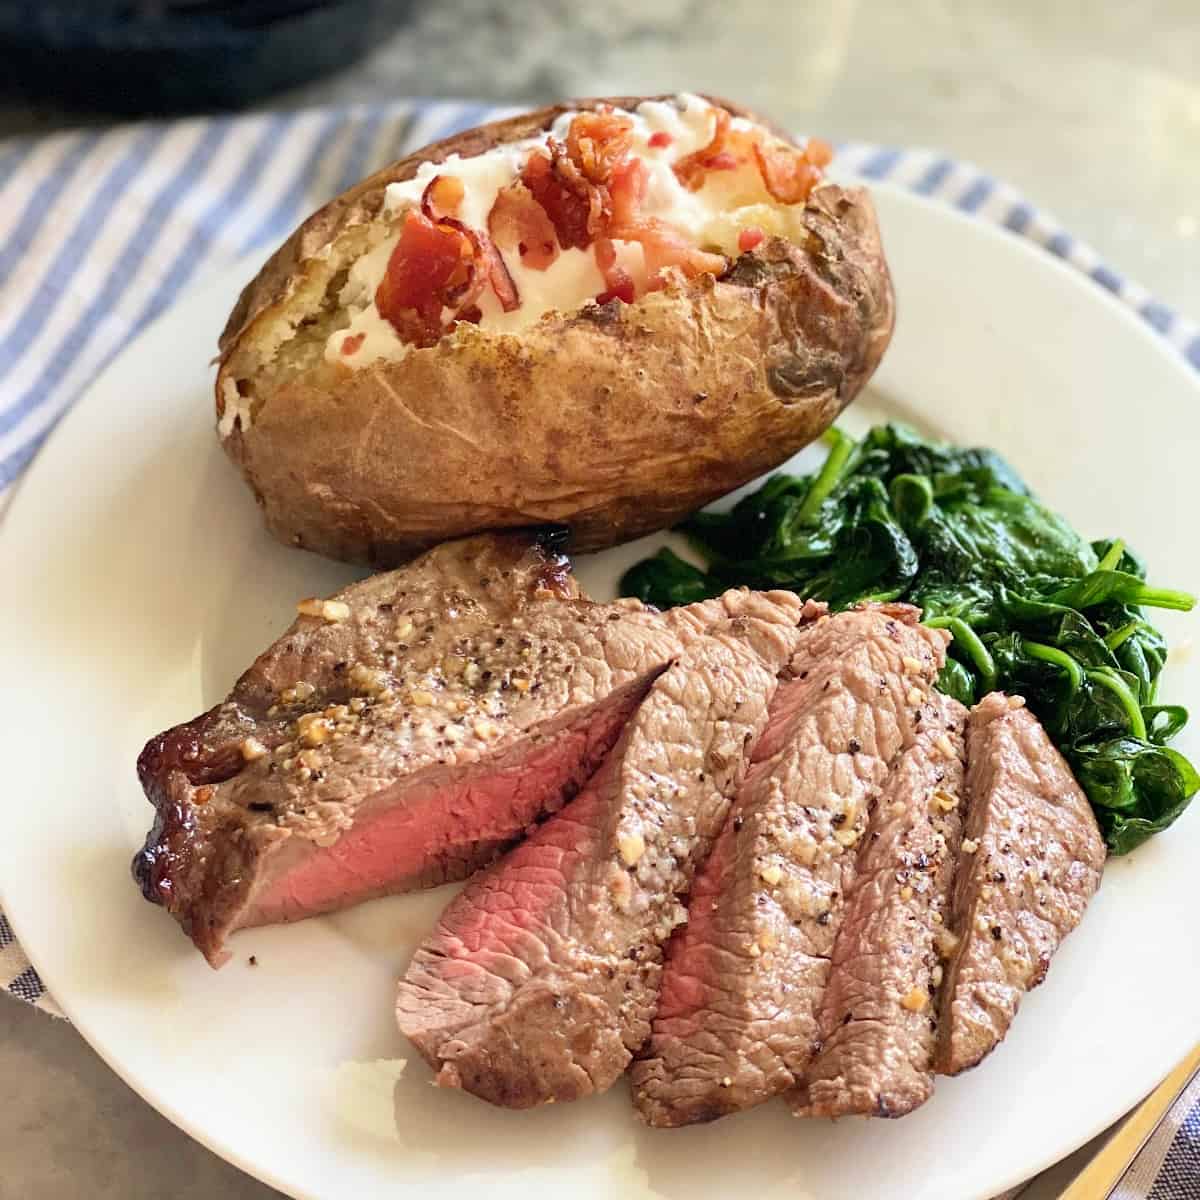
Air Fryer Sirloin Steak
-
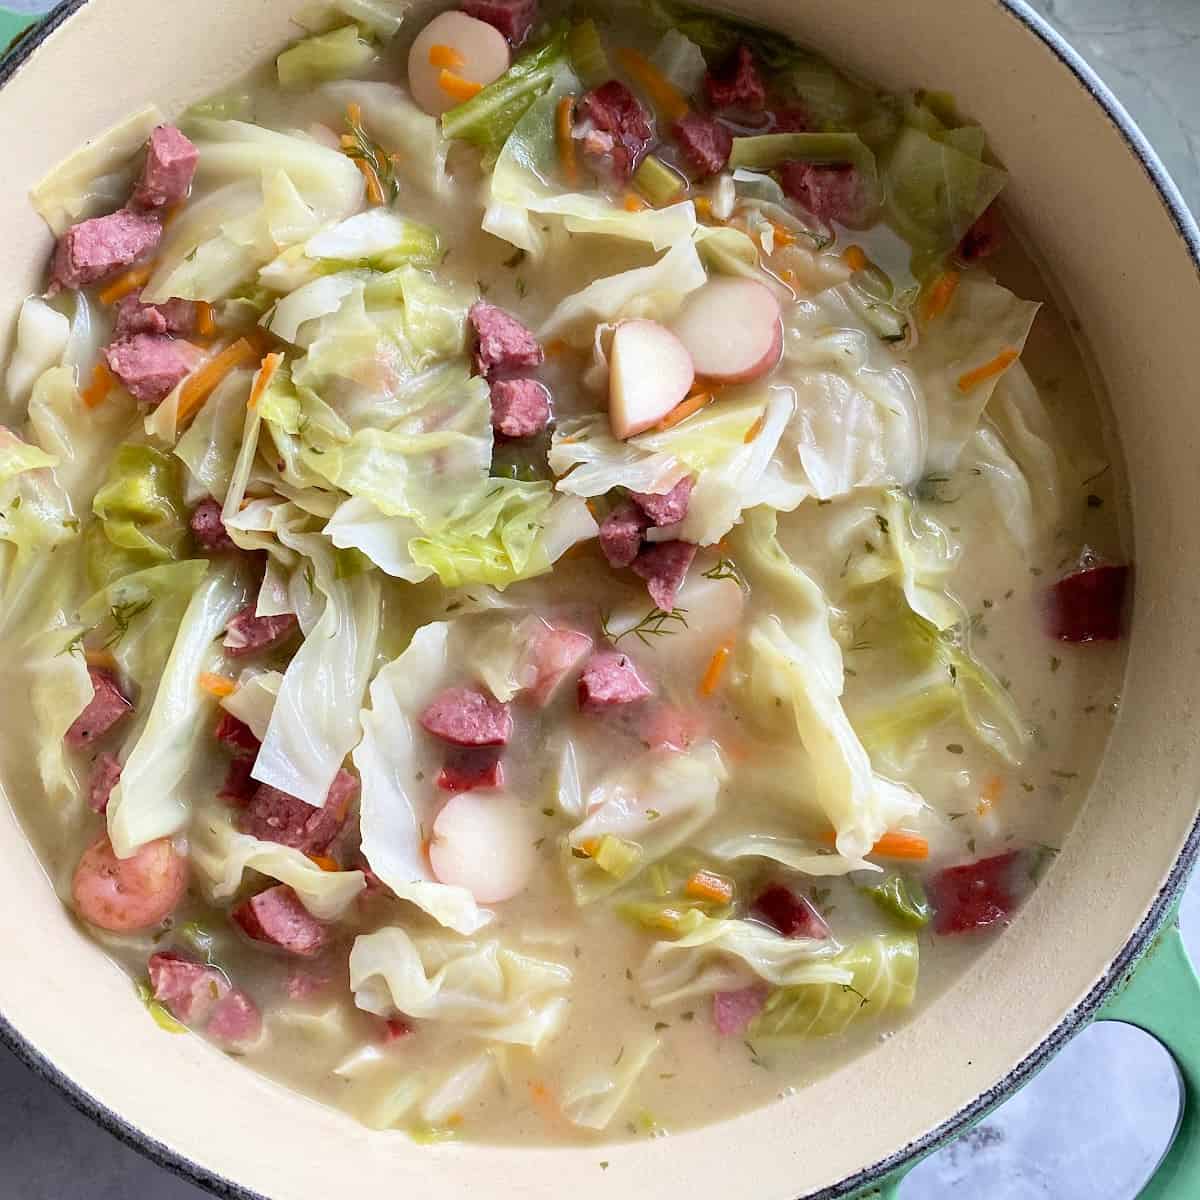
Cabbage and Sausage Soup
-
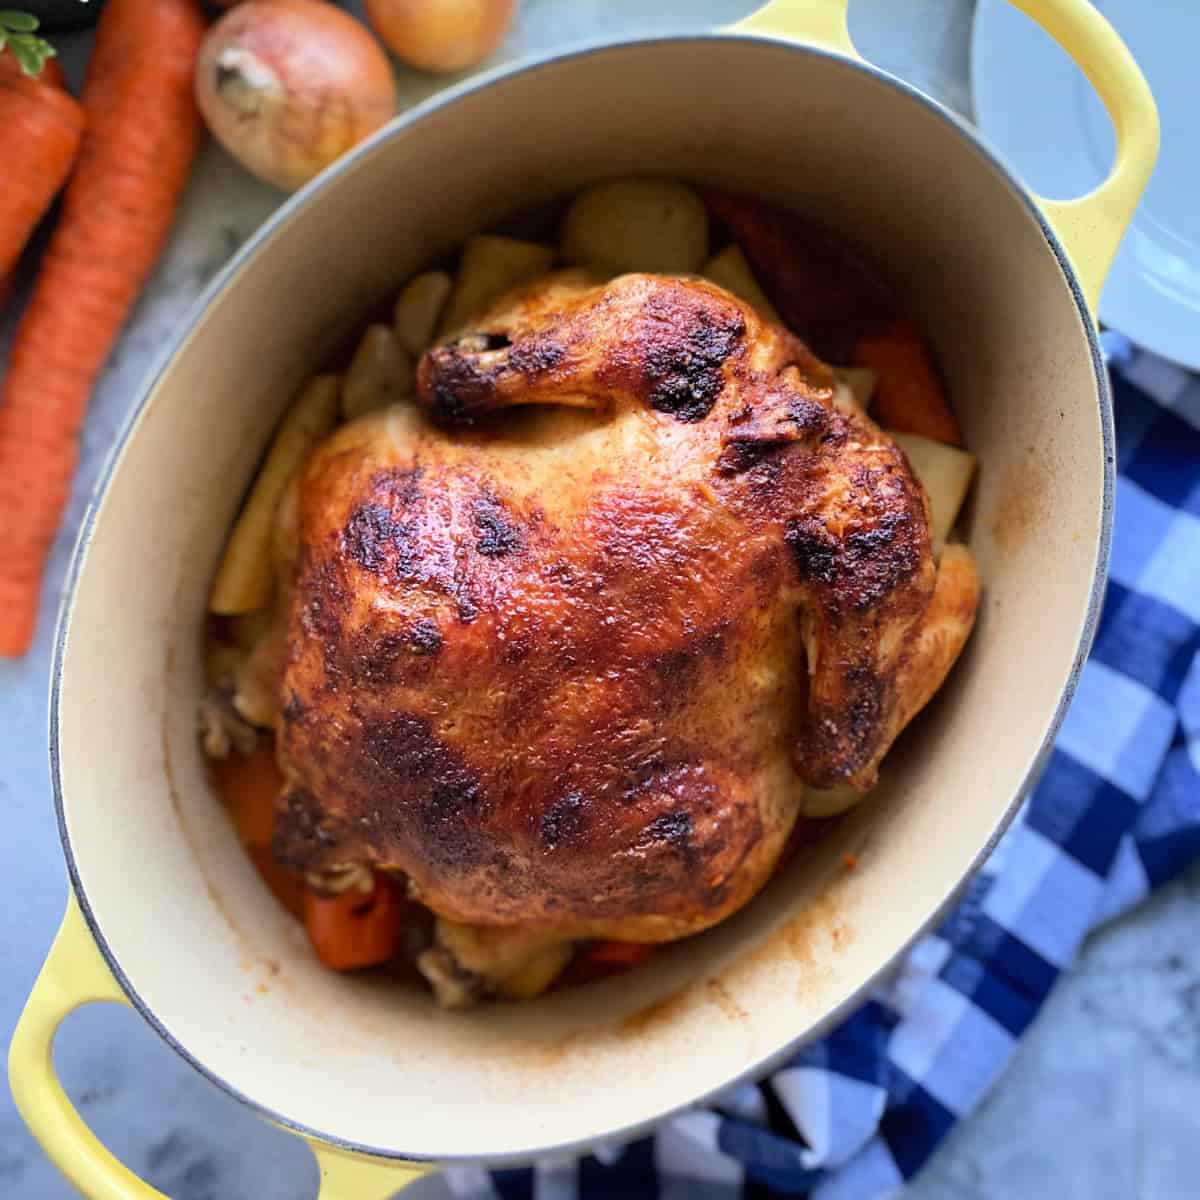
Dutch Oven Whole Chicken
-
Easy Turkey Pot Pie
-
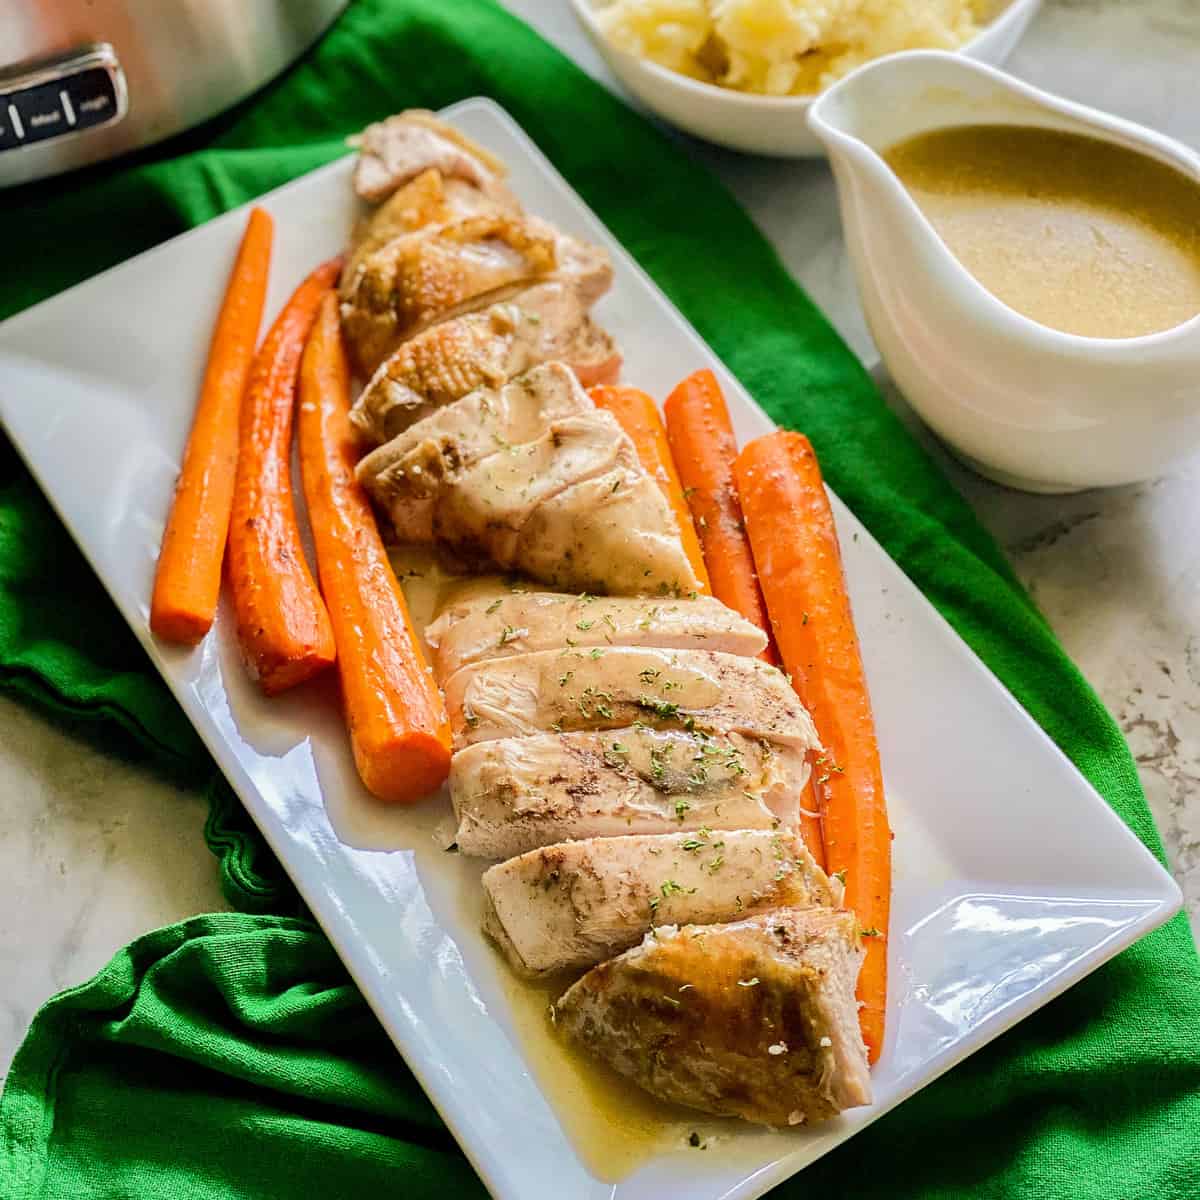
Slow Cooker Turkey Breast
-
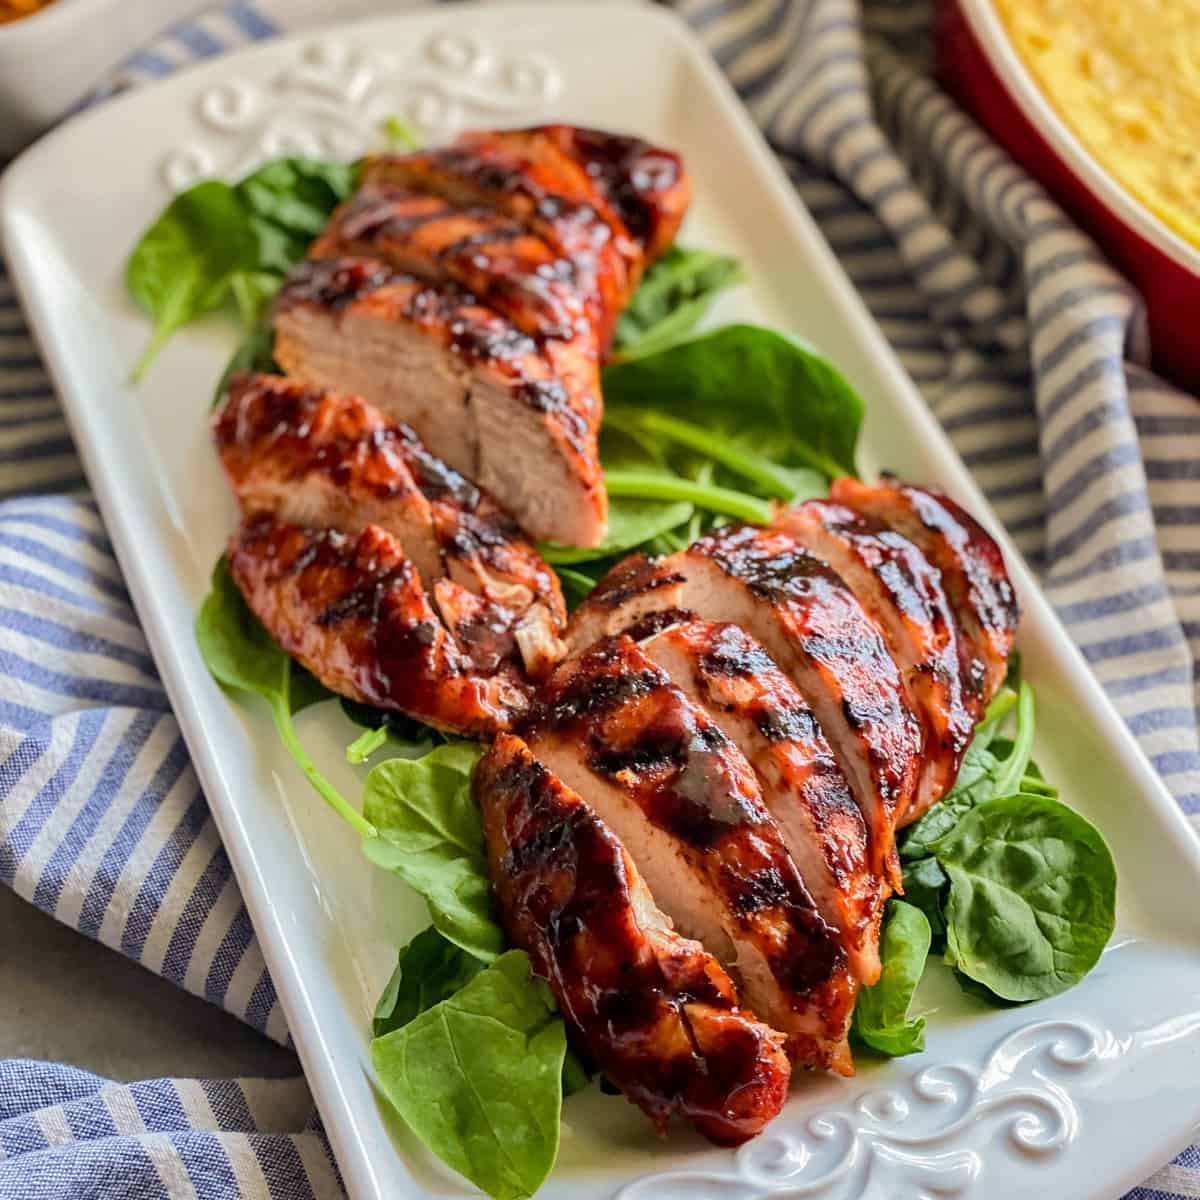
Grilled Turkey Tenderloin
-
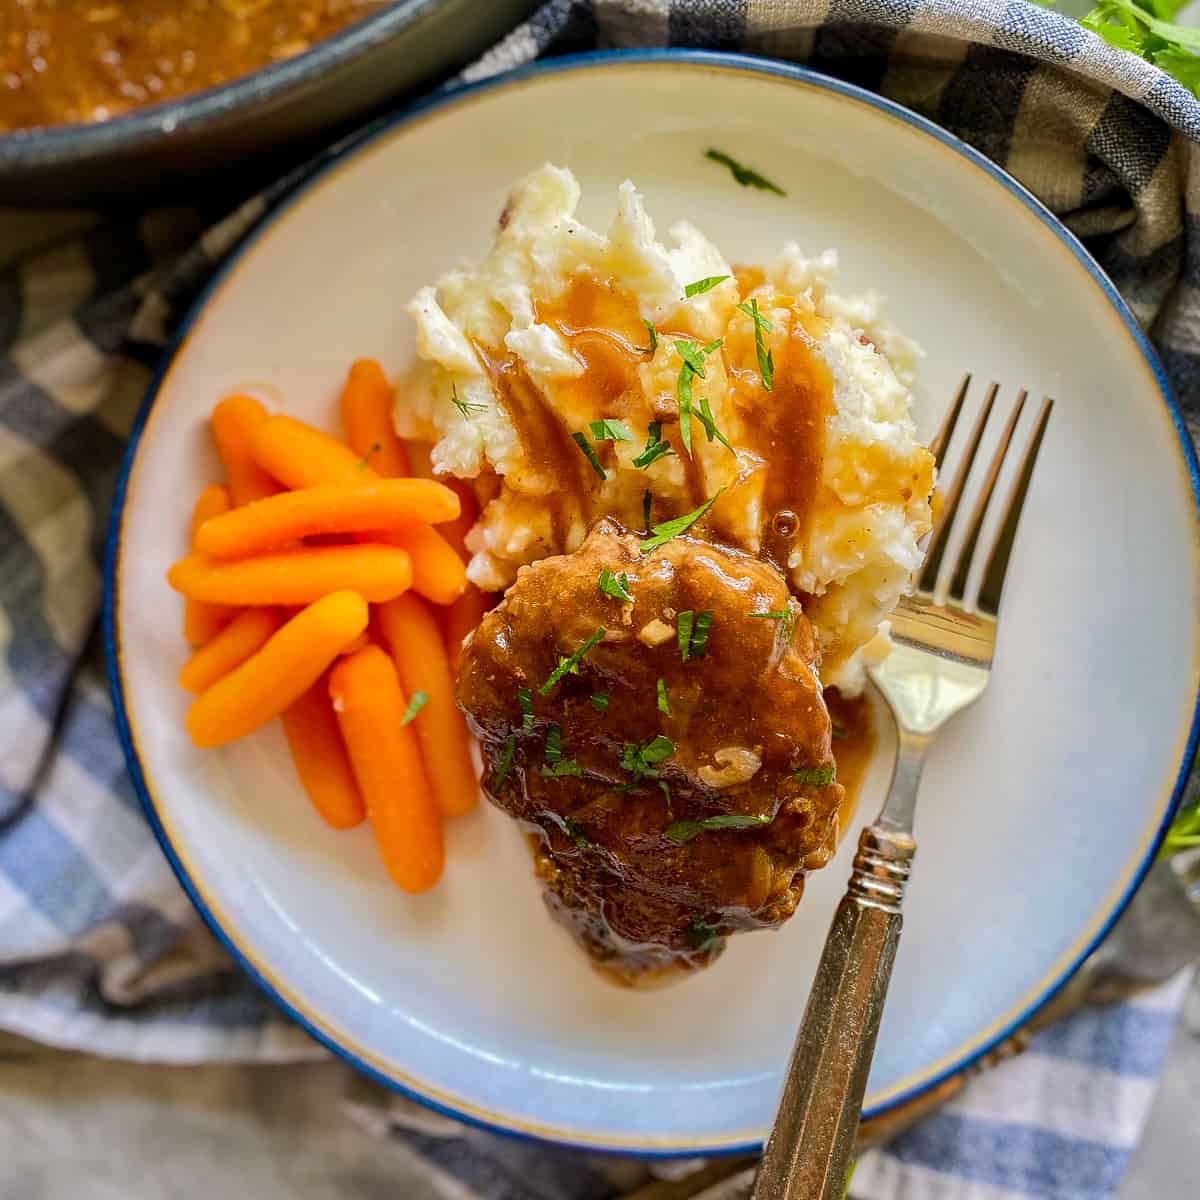
Old Fashioned Salisbury Steak Recipe
-
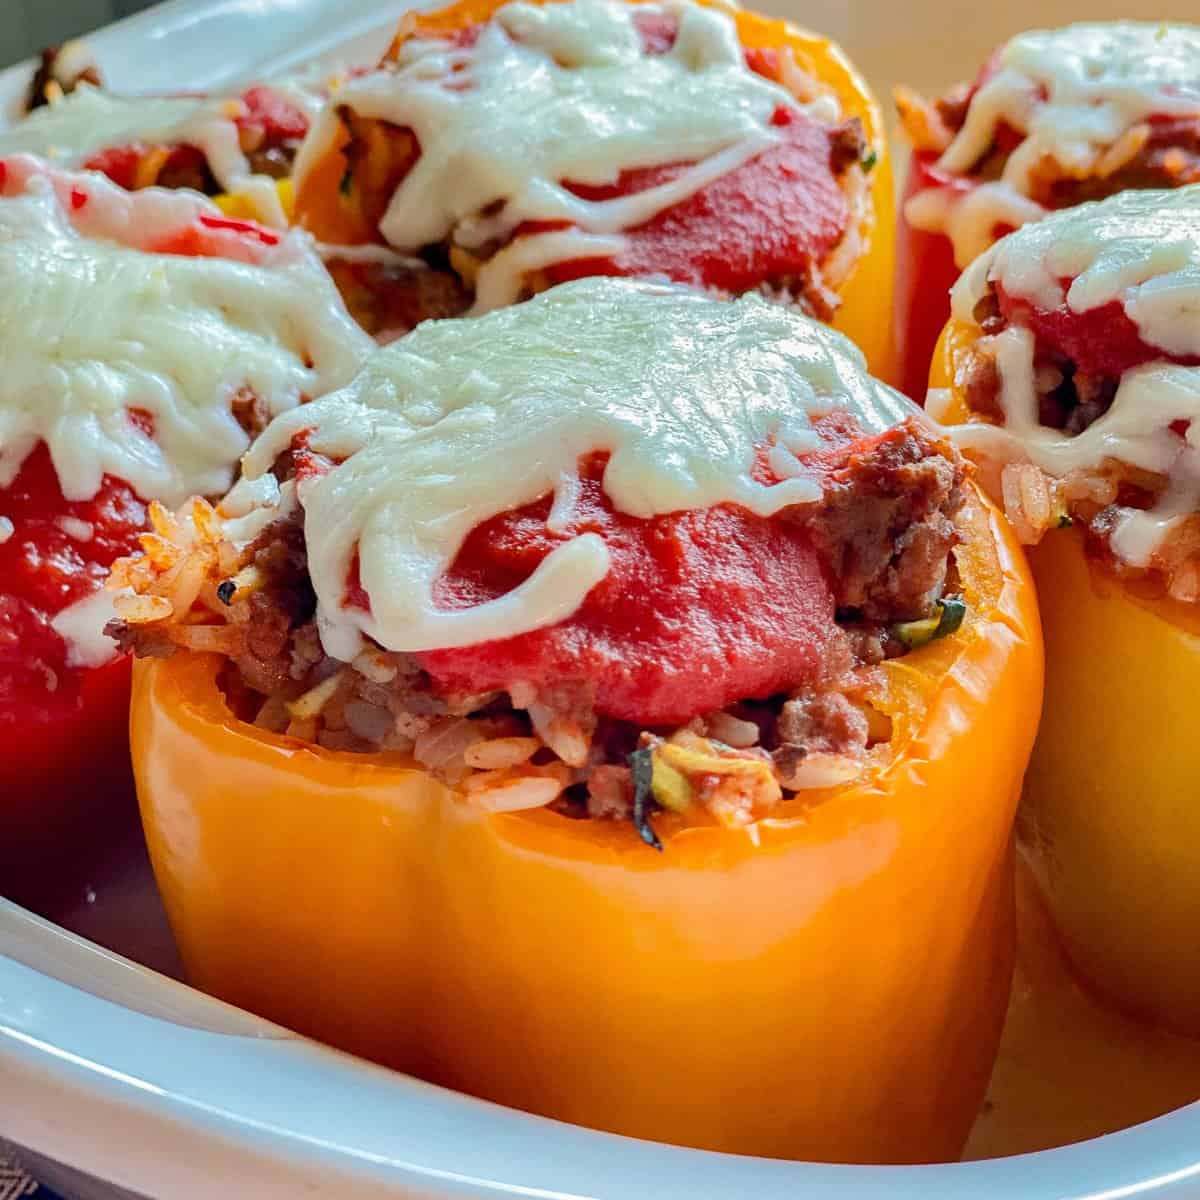
Stuffed Bell Peppers with Ground Beef
-
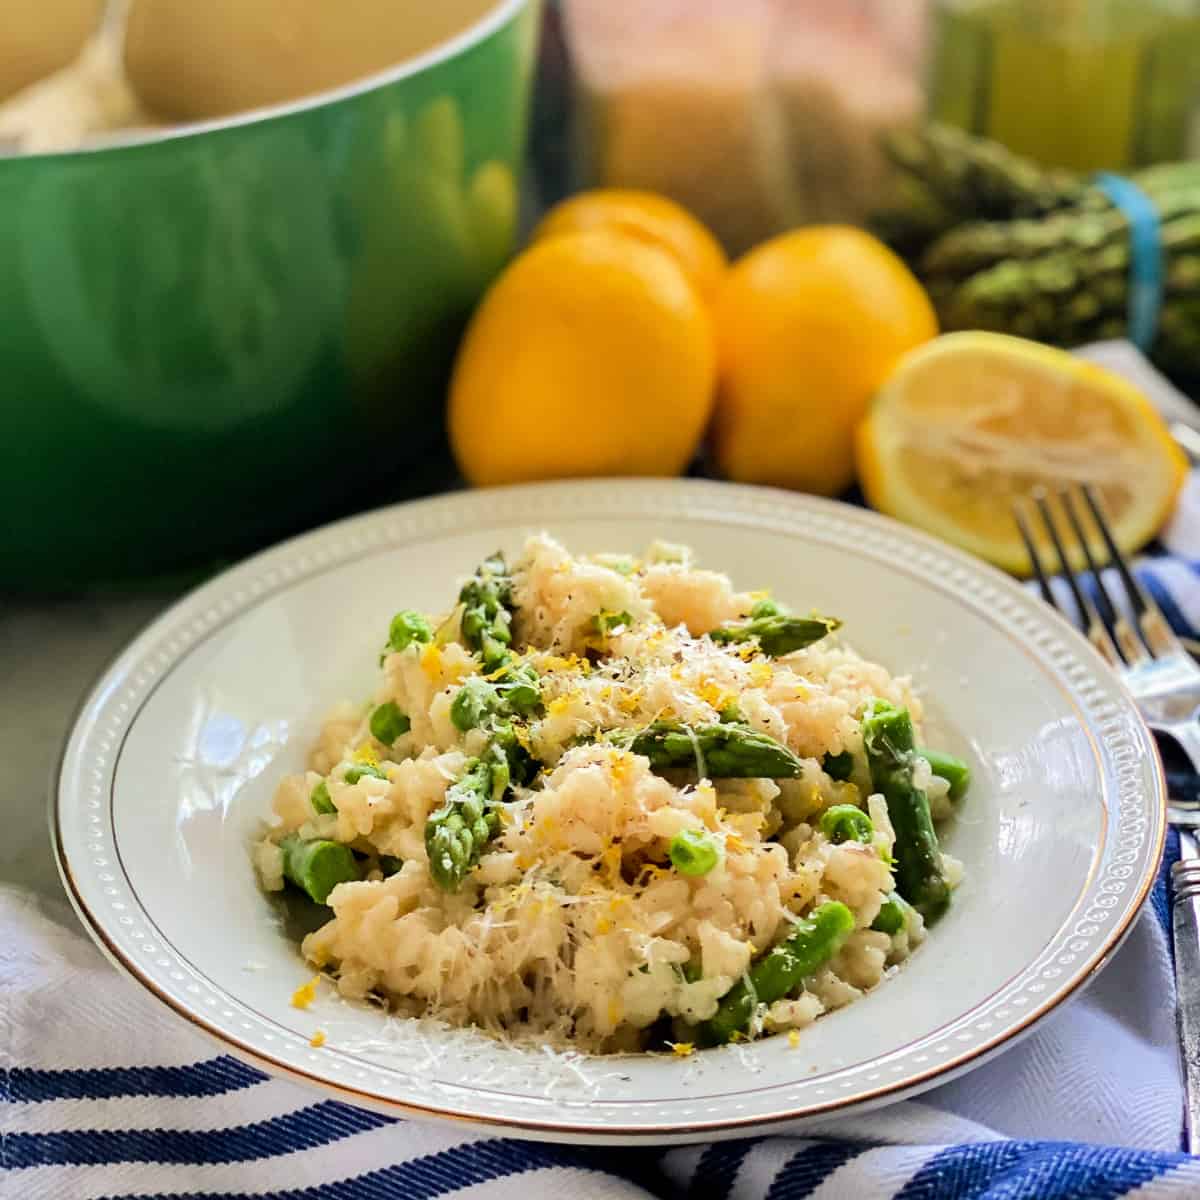
Pea and Asparagus Risotto
-
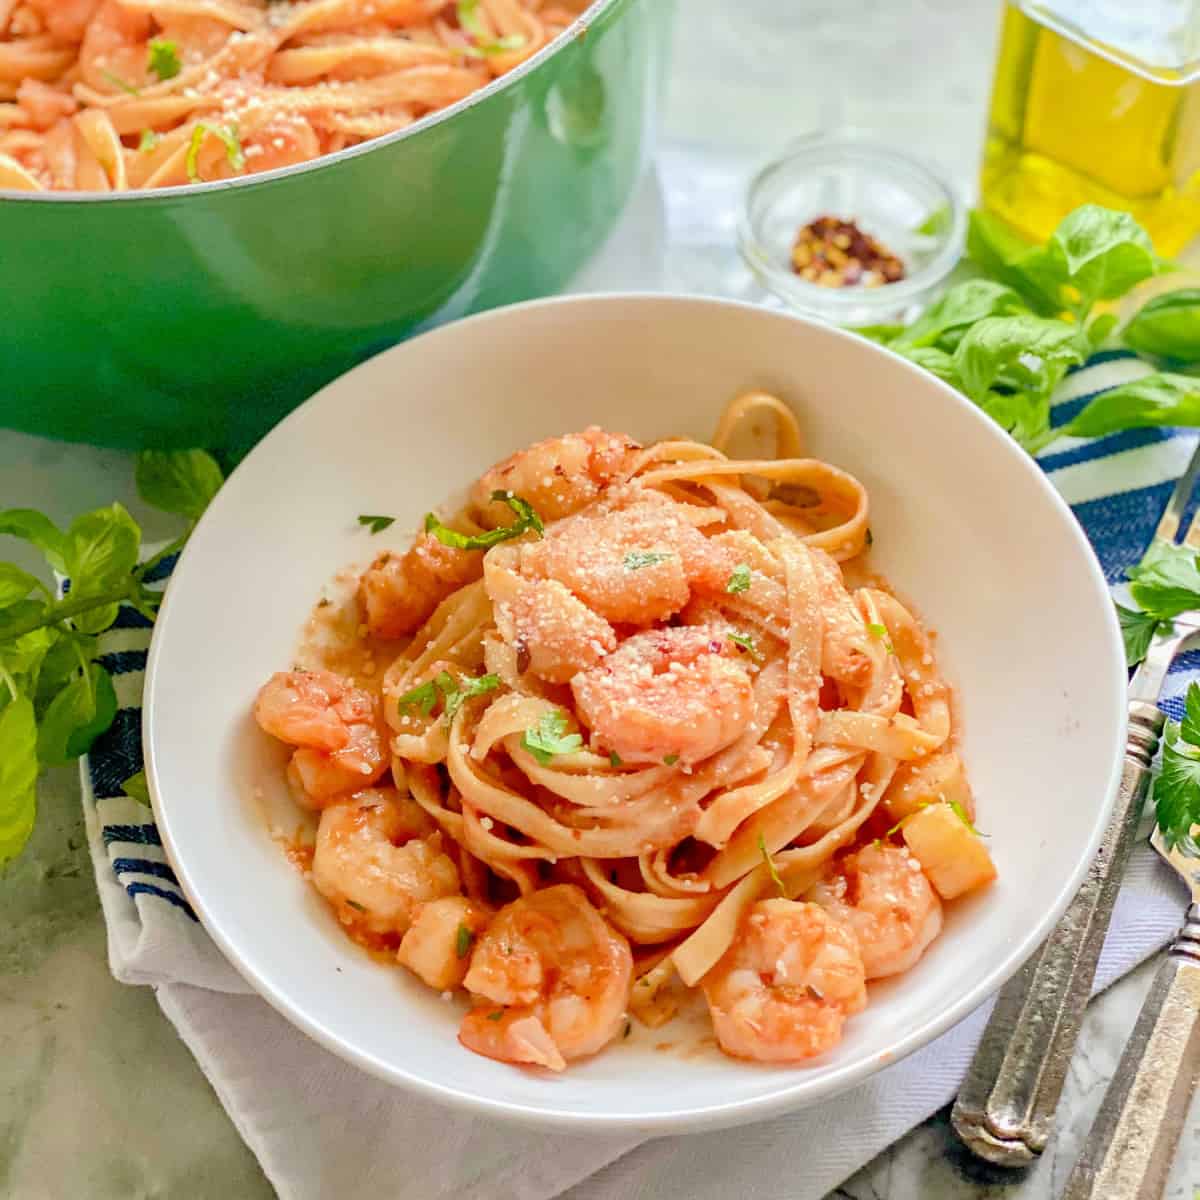
Shrimp with Vodka Sauce
-
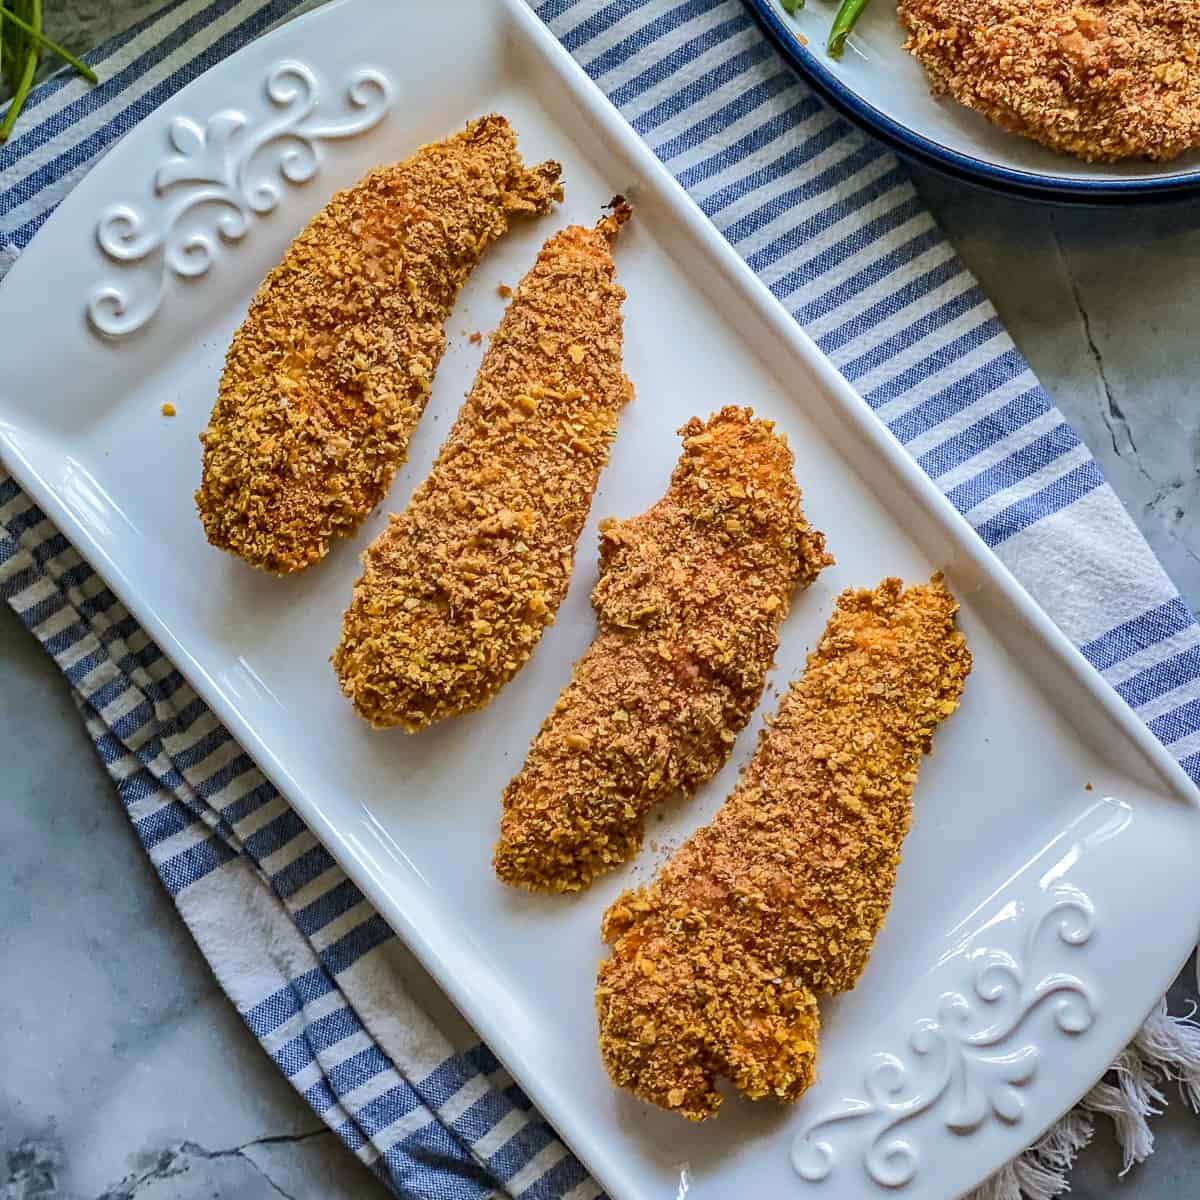
Chicken Tenders in Oven
-
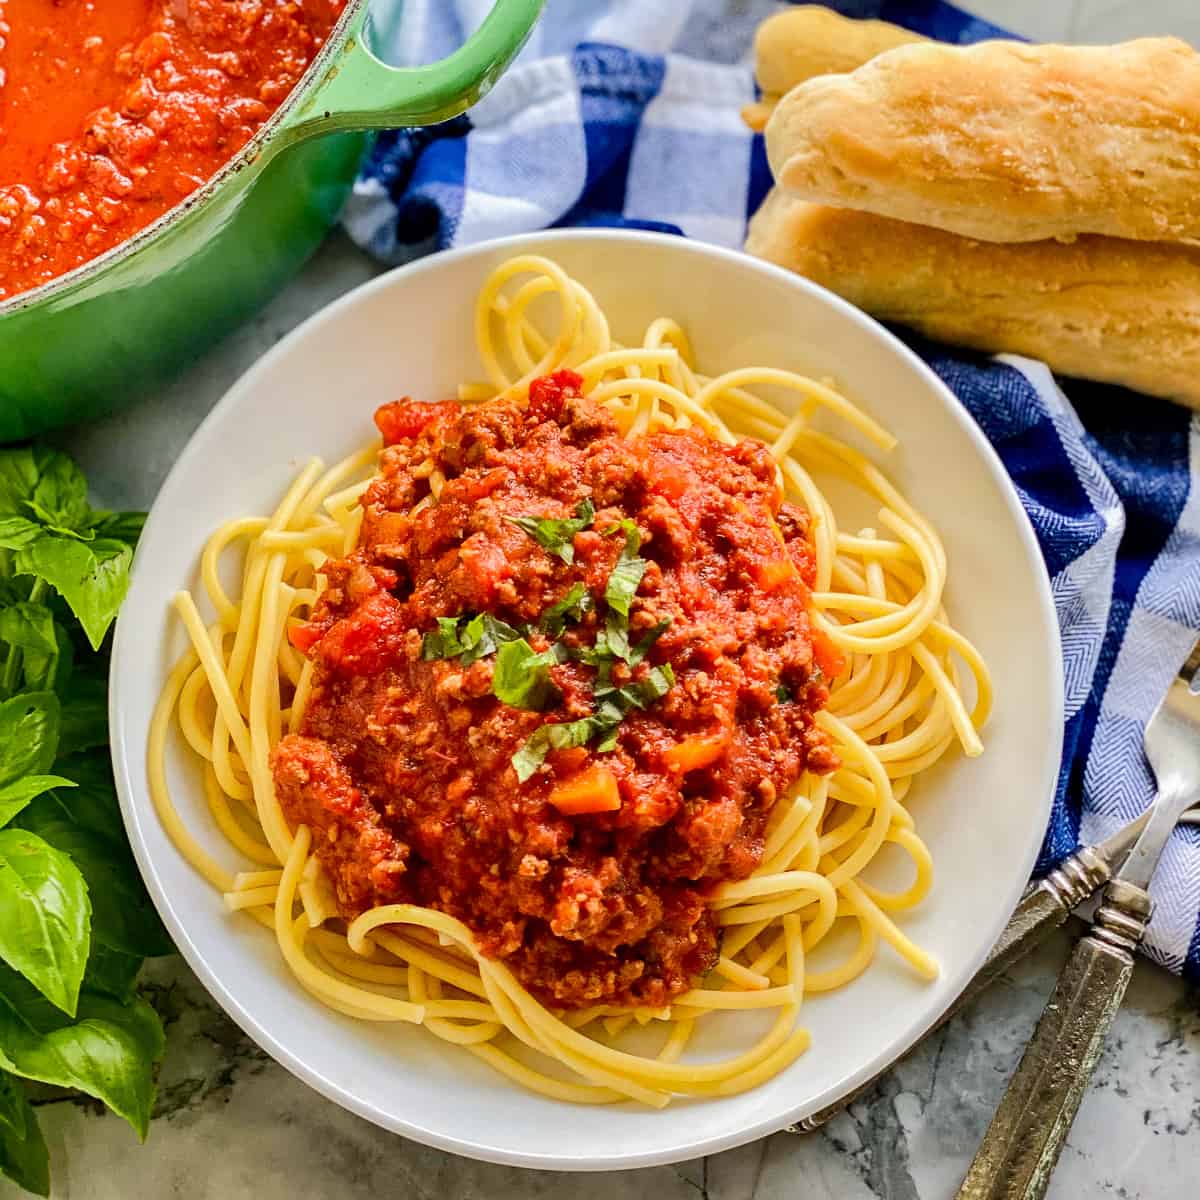
Traditional Bolognese Recipe
-
Air Fryer Hot Dogs
-
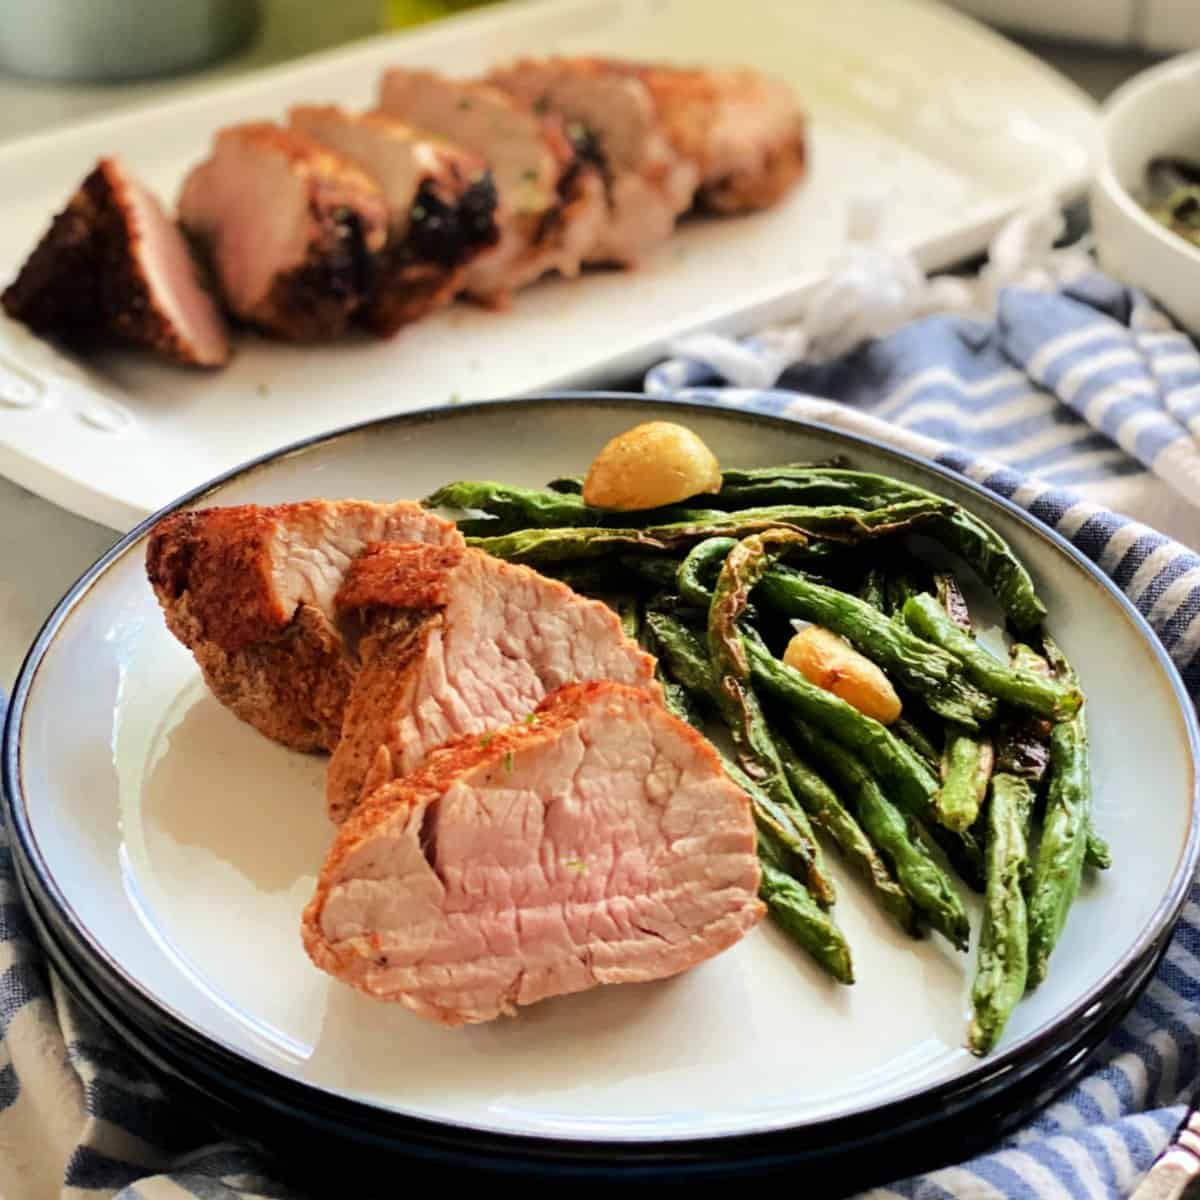
Air Fryer Pork Tenderloin
-
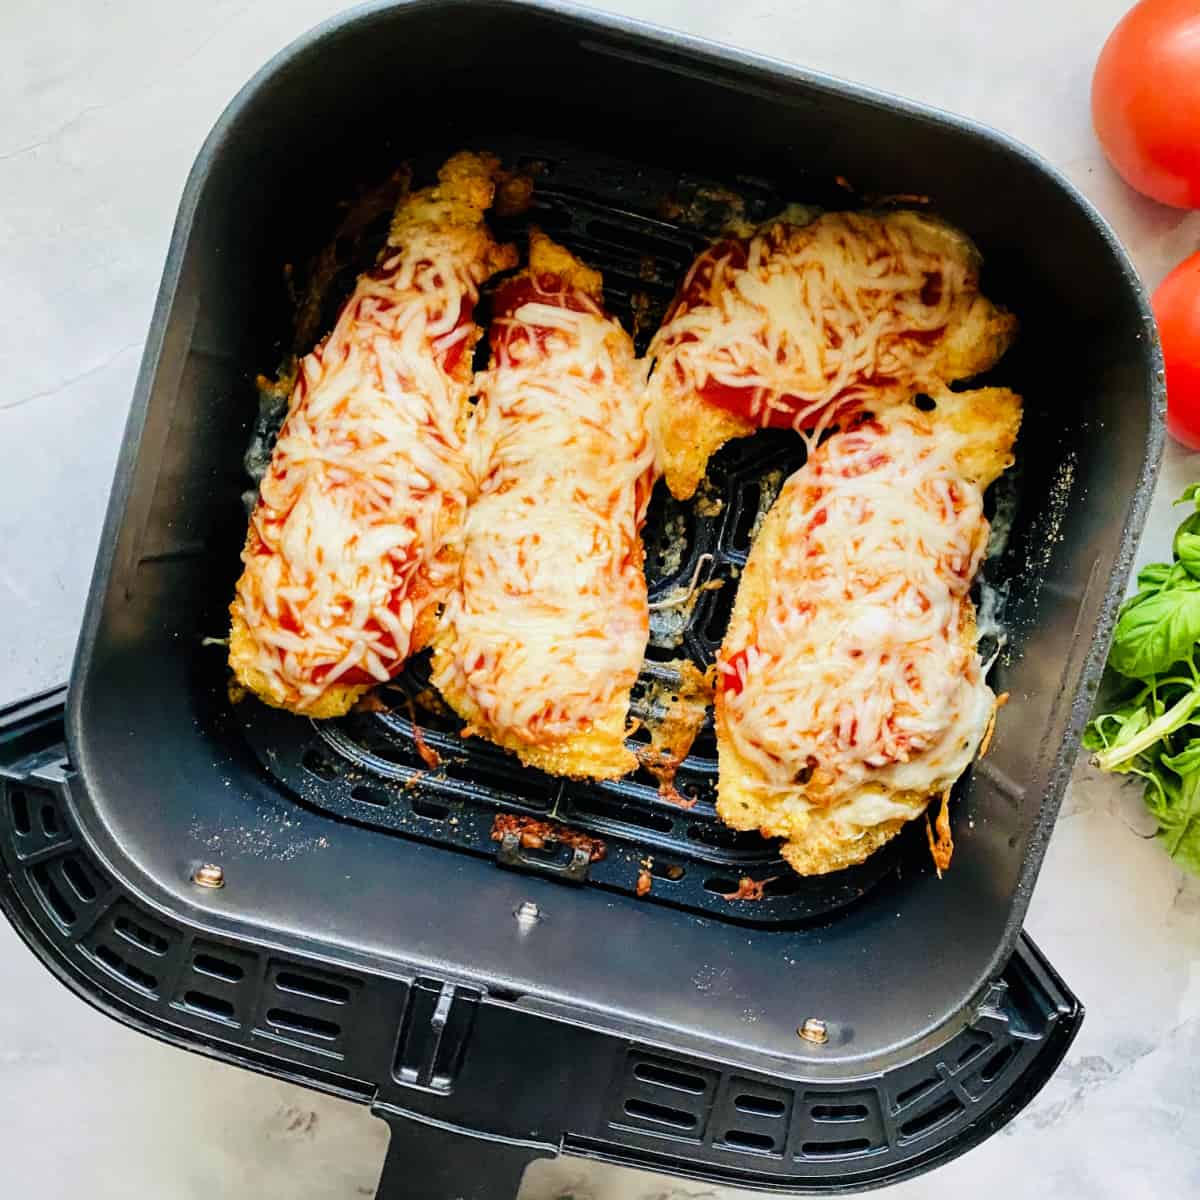
Air Fryer Chicken Parmesan
-
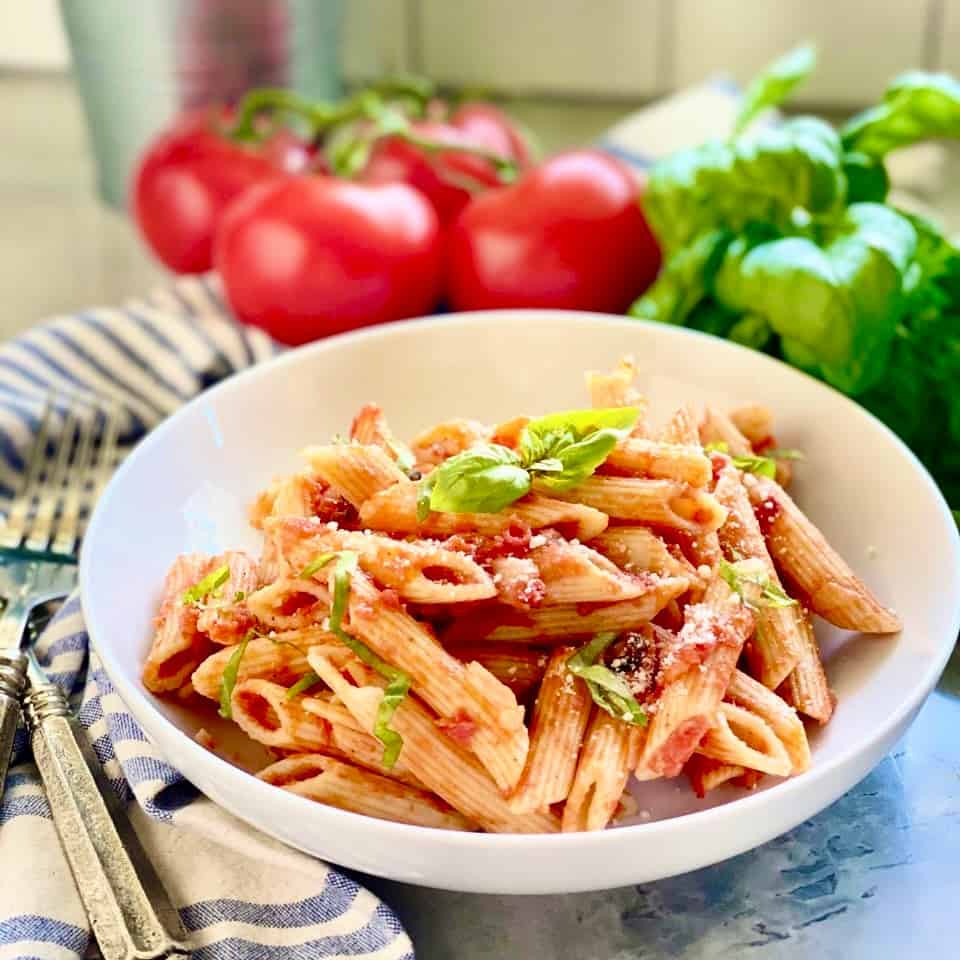
Penne Pomodoro
-
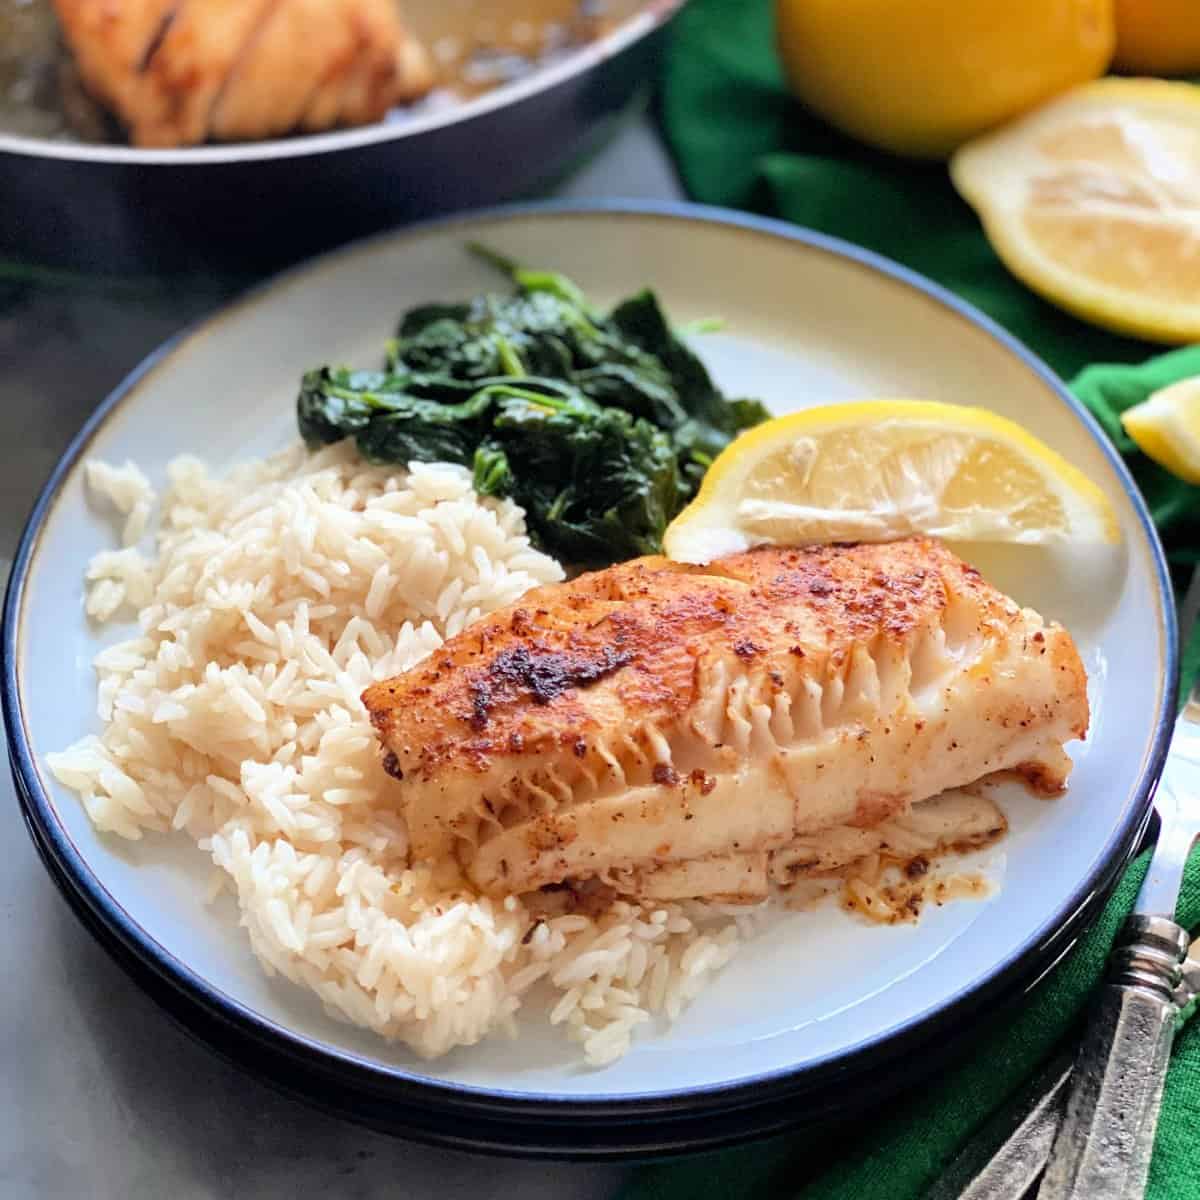
Blackened Cod
-
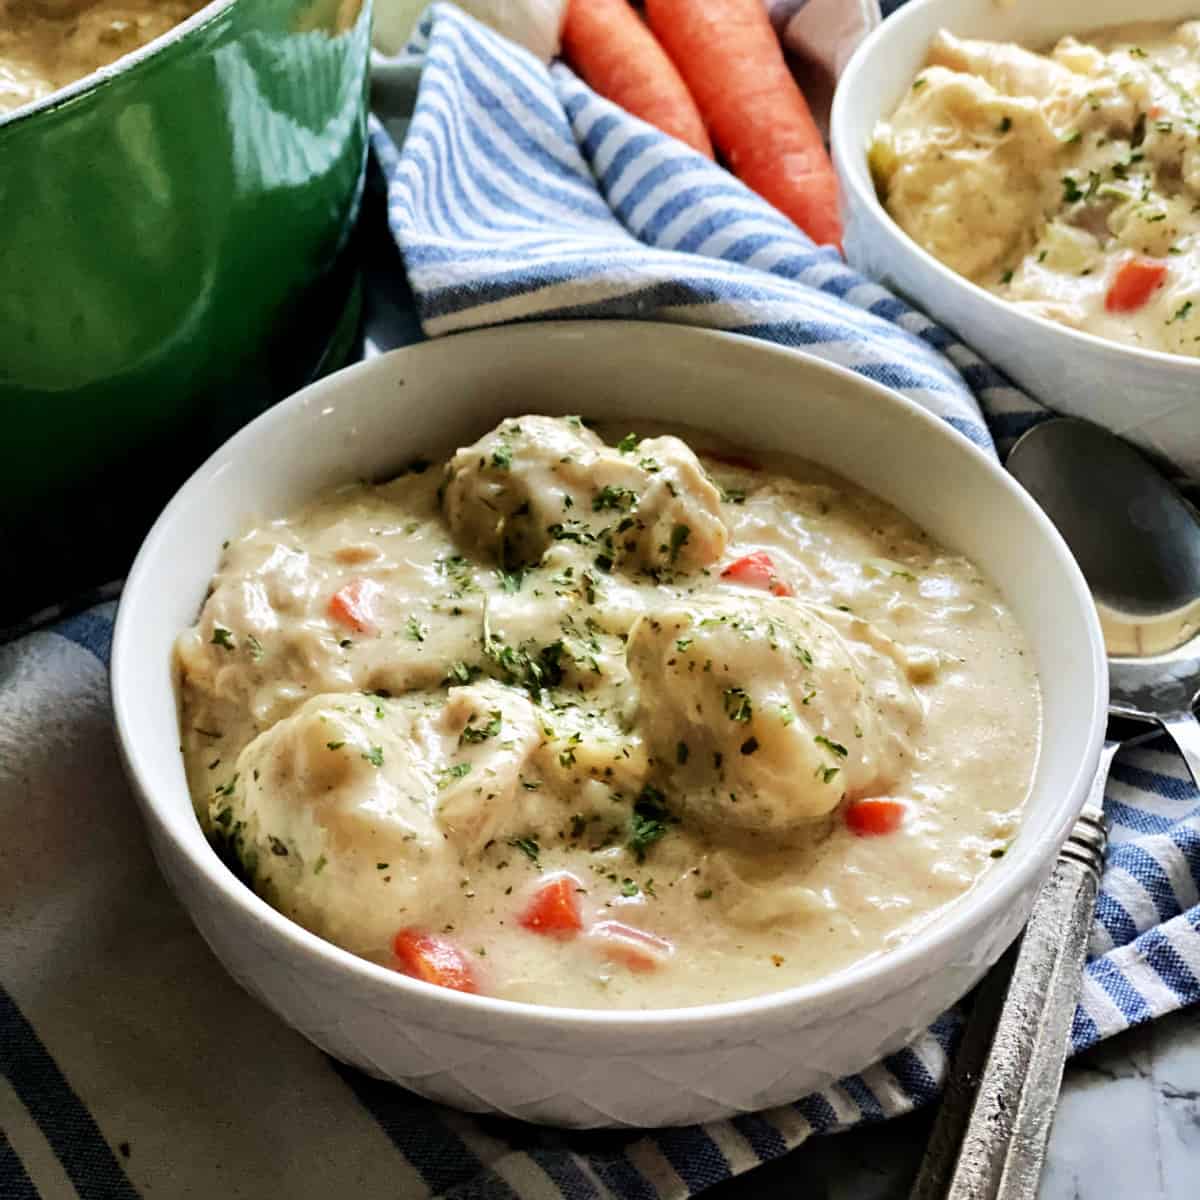
Chicken and Dumplings Recipe
-
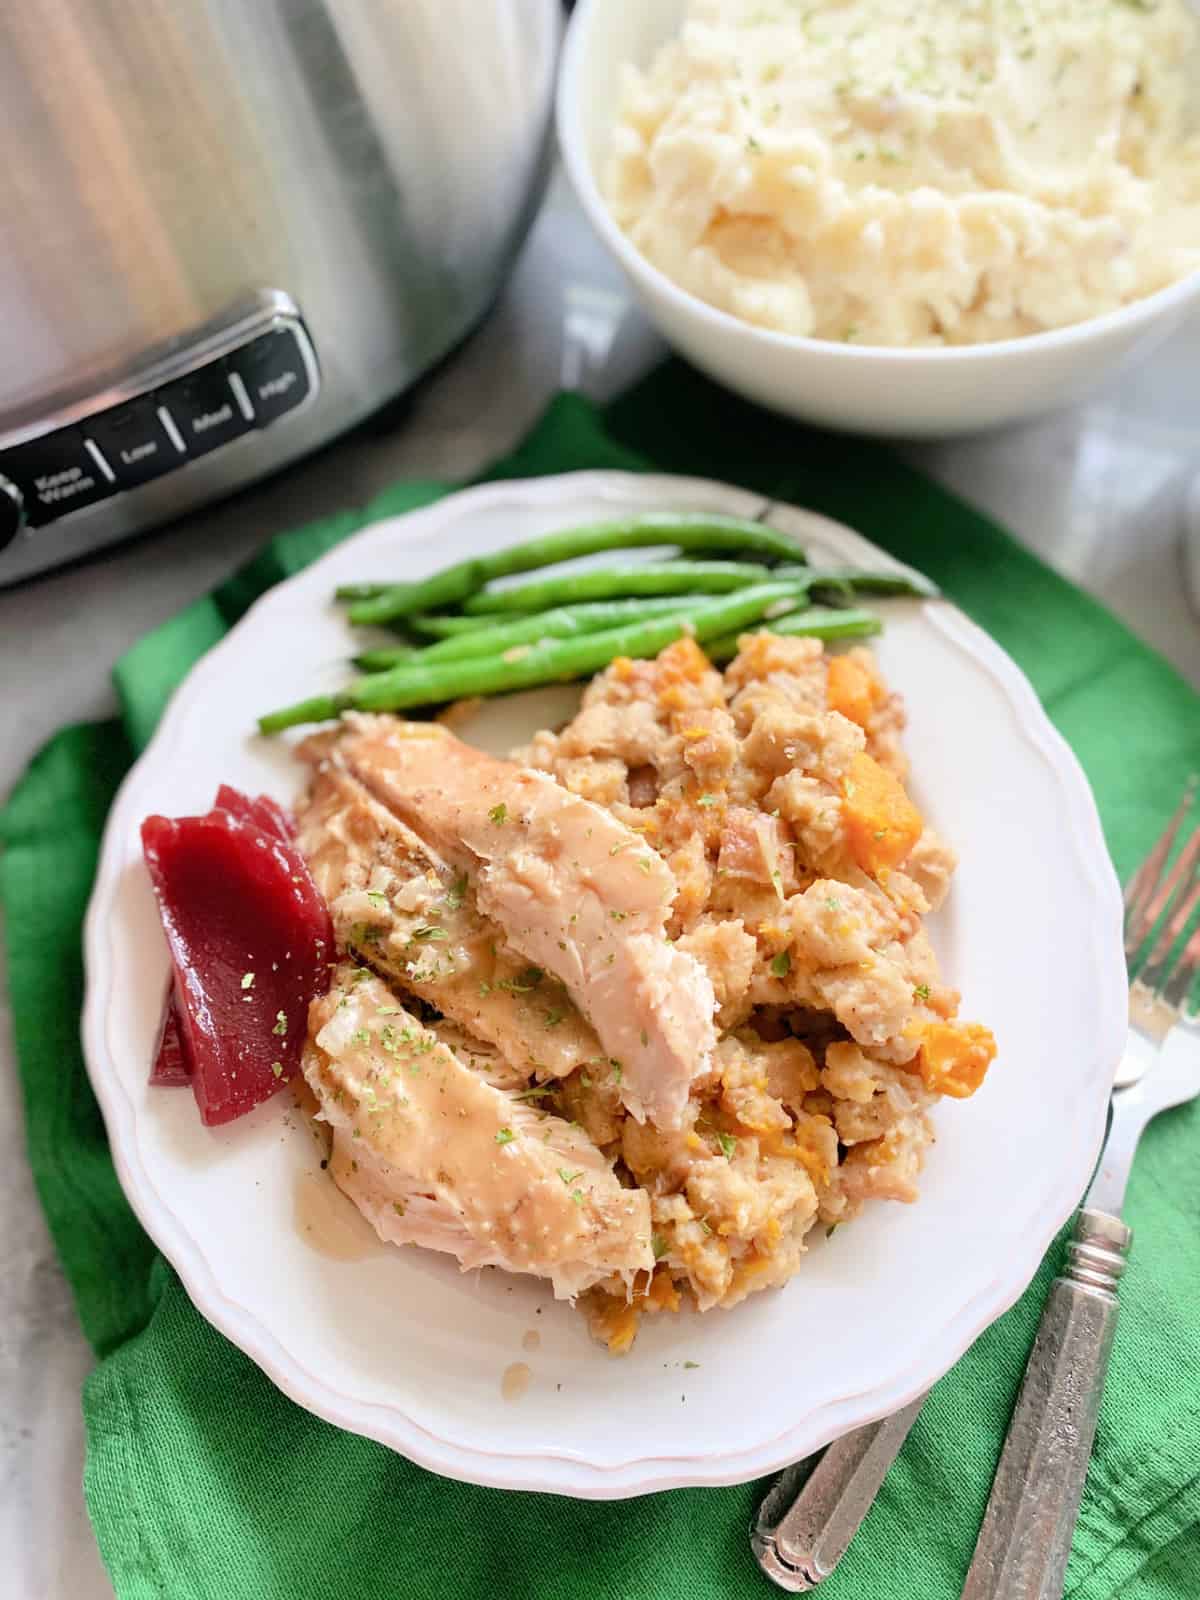
Crockpot Turkey and Stuffing
-
Brats in Air Fryer
-
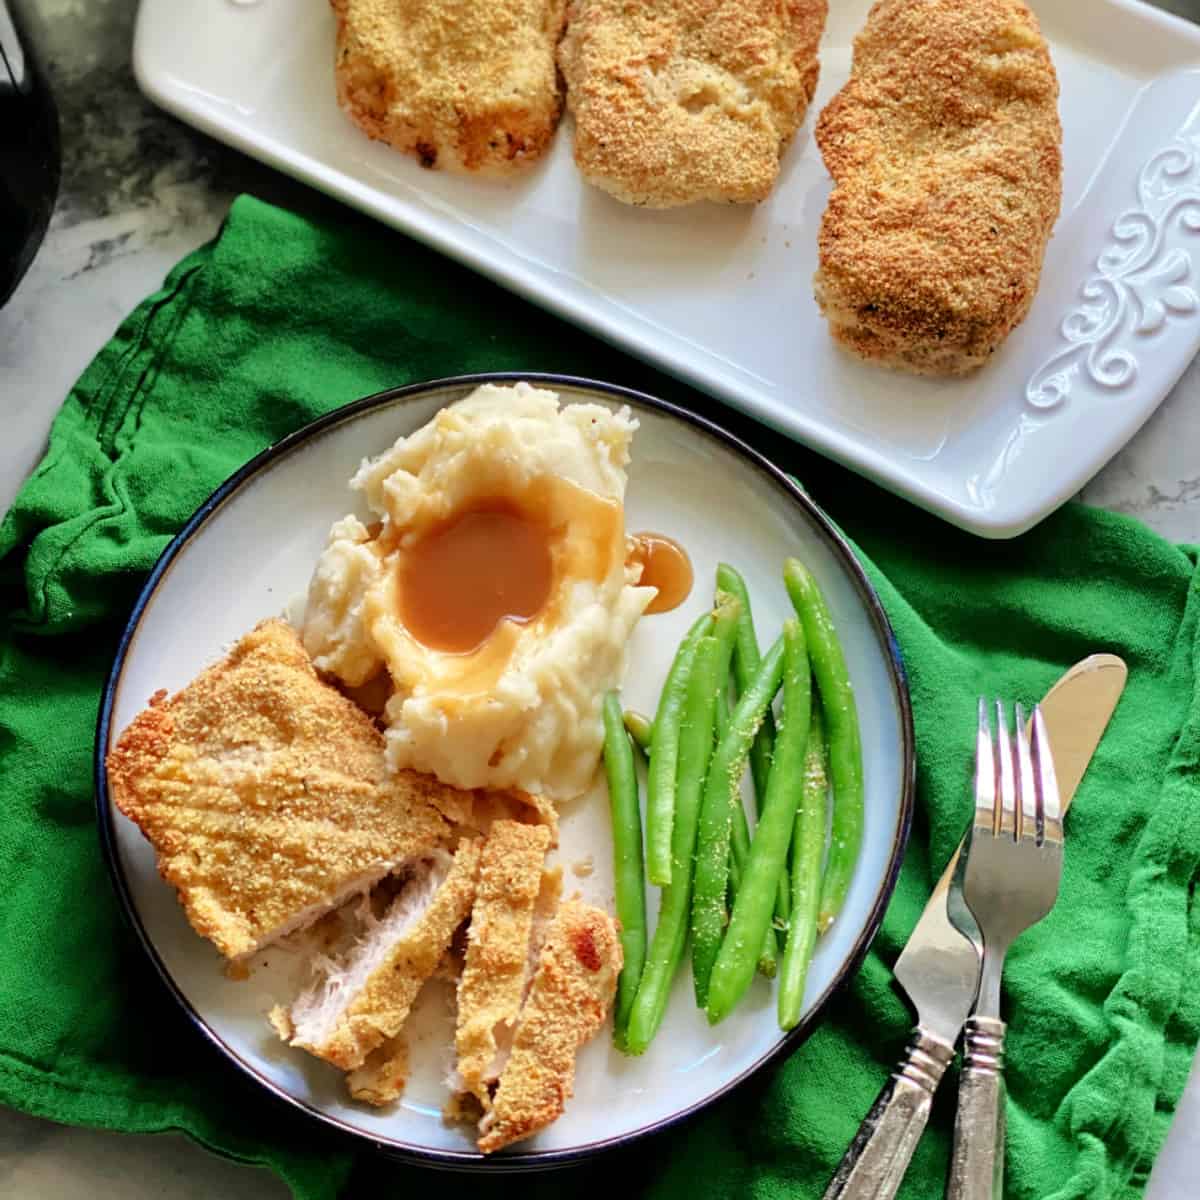
Air Fried Pork Chops
-
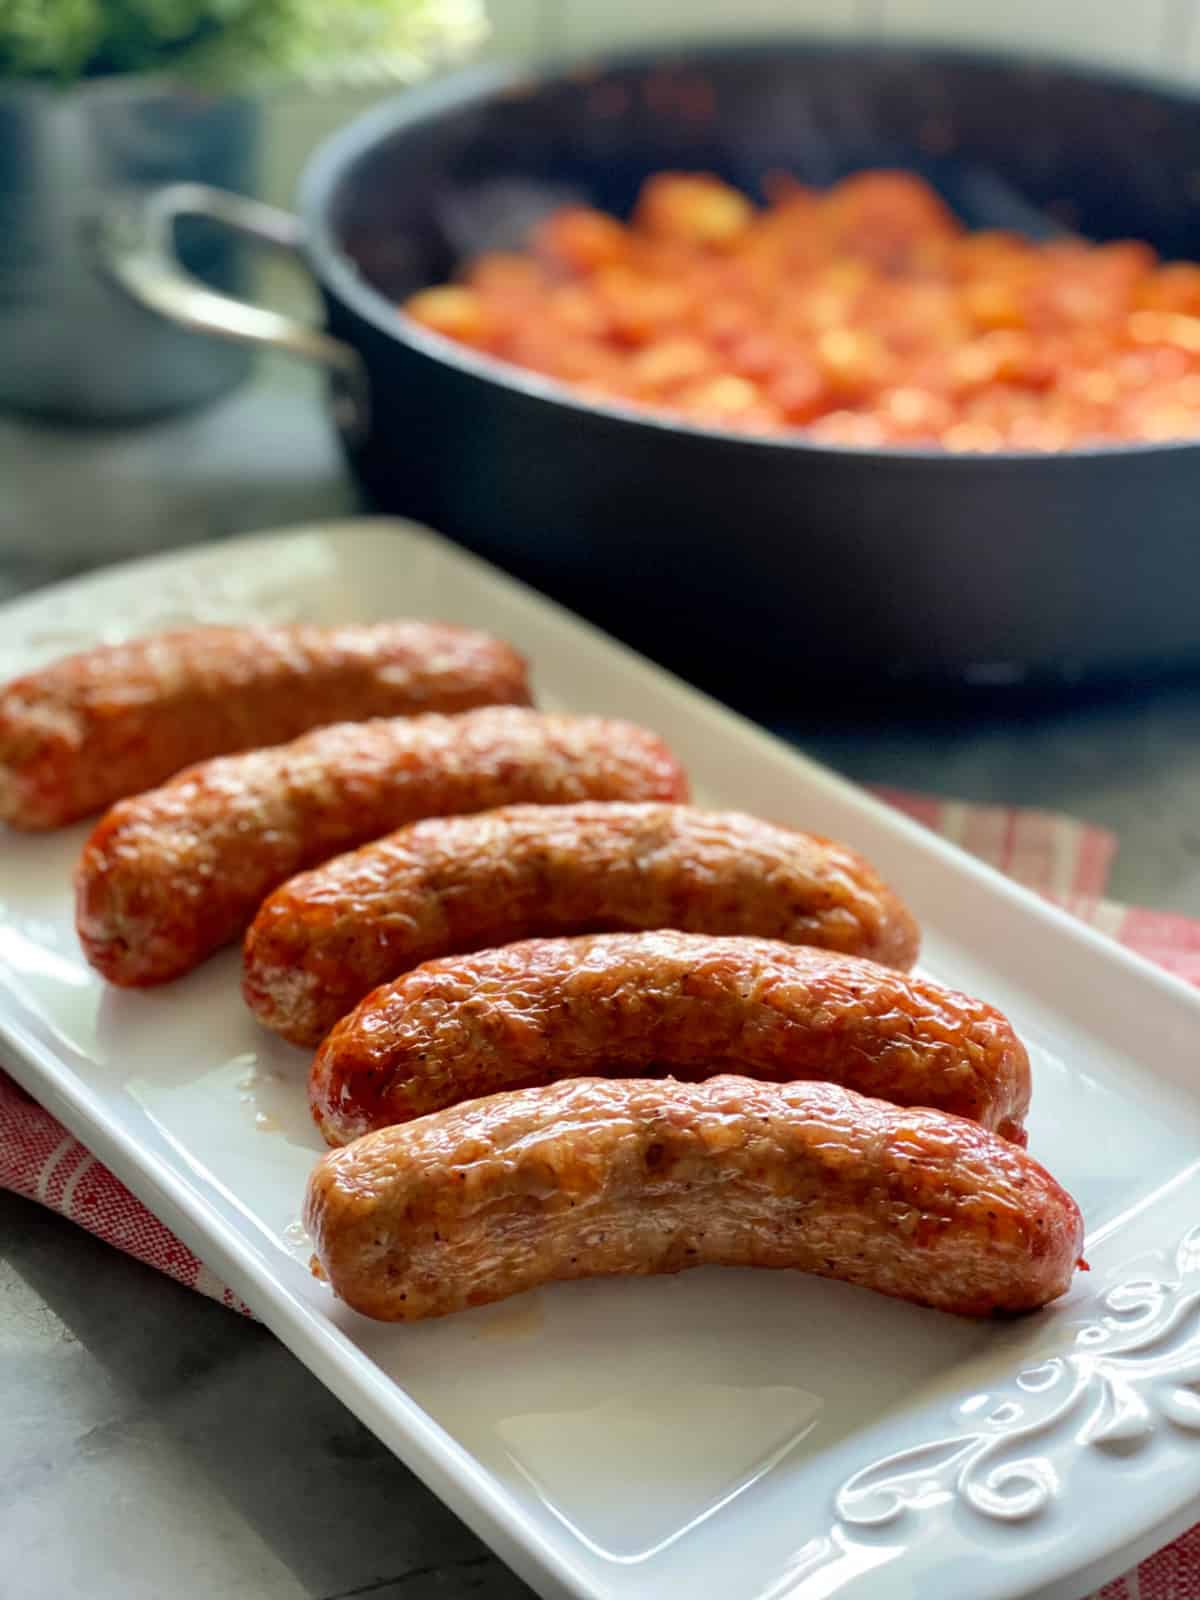
Air Fryer Sausage
-
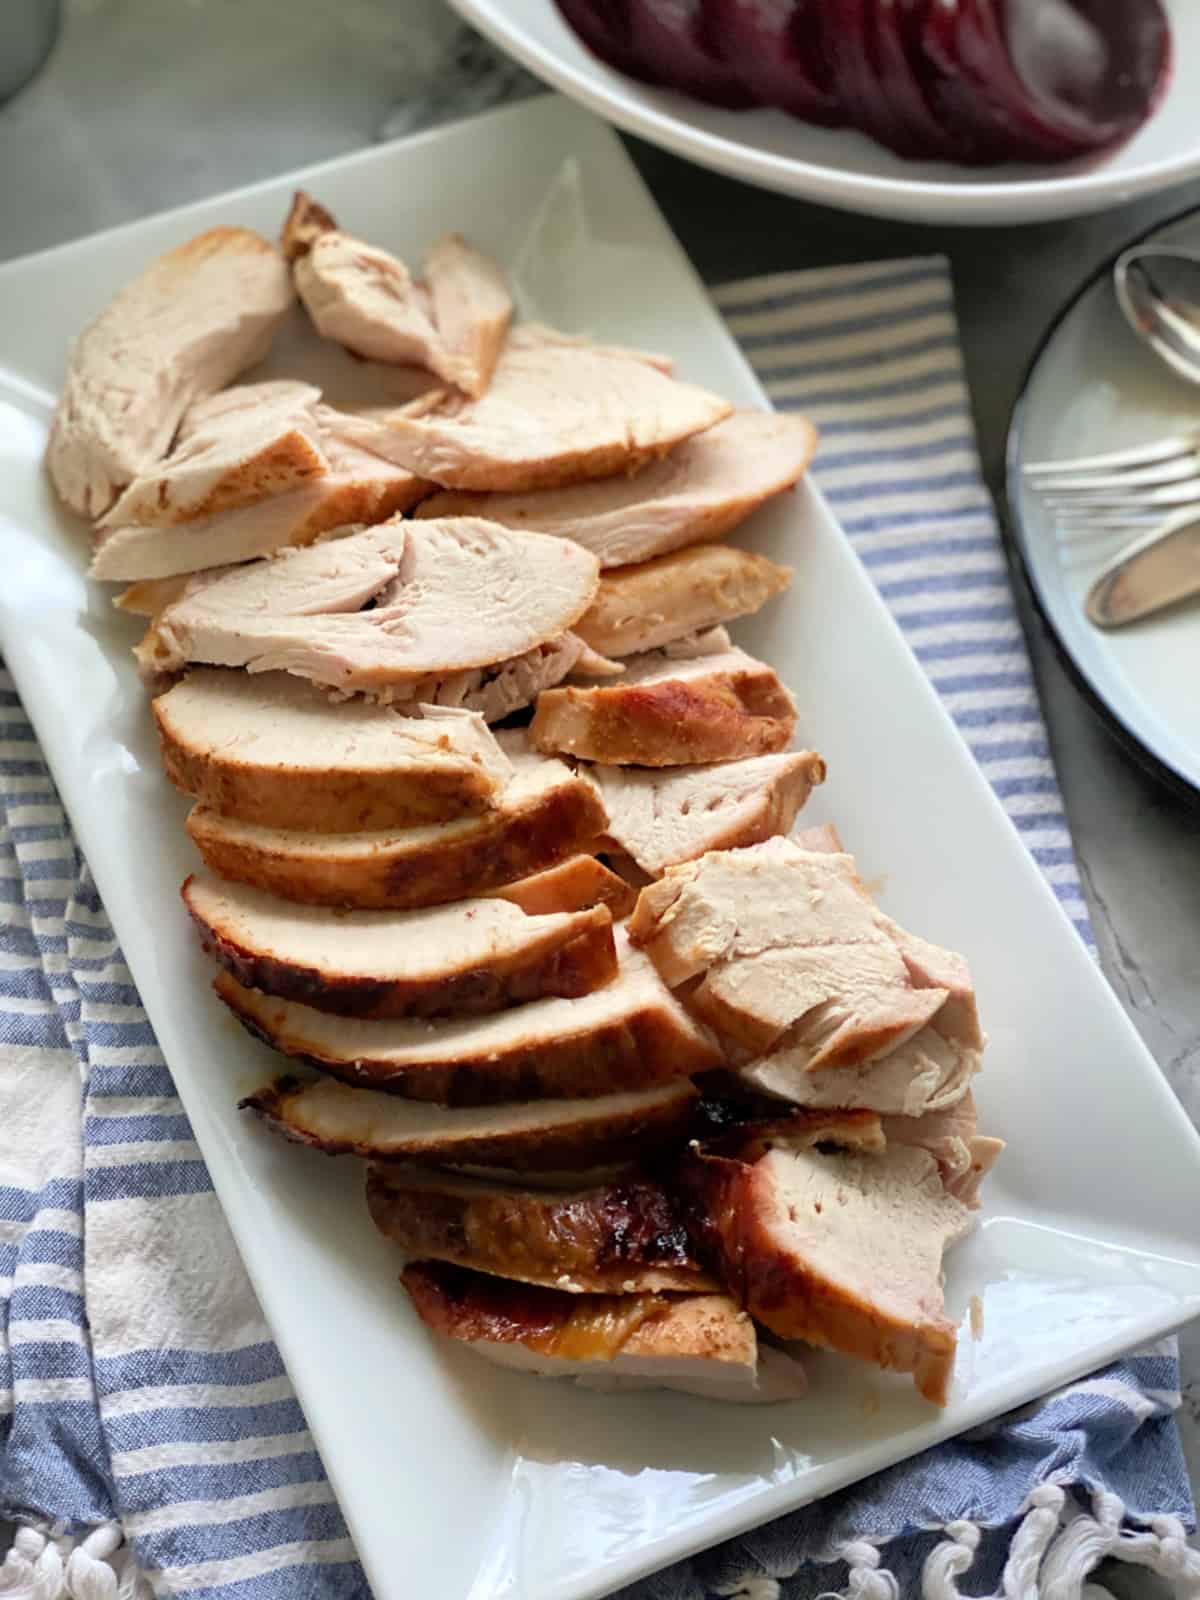
Smoked Turkey Breast
-
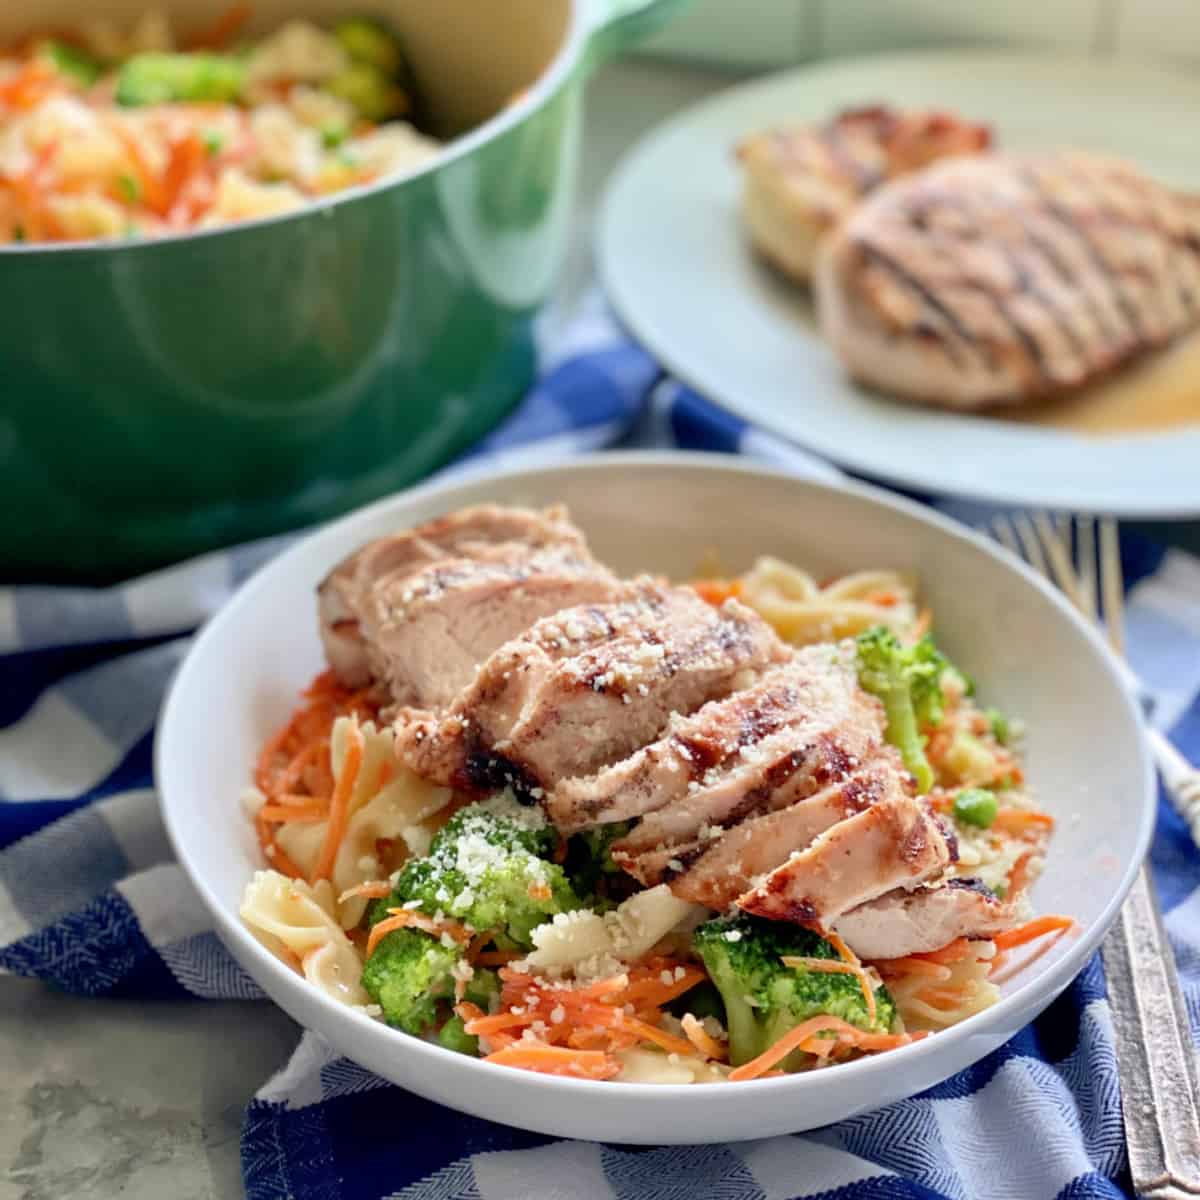
Grilled Chicken Pasta
-
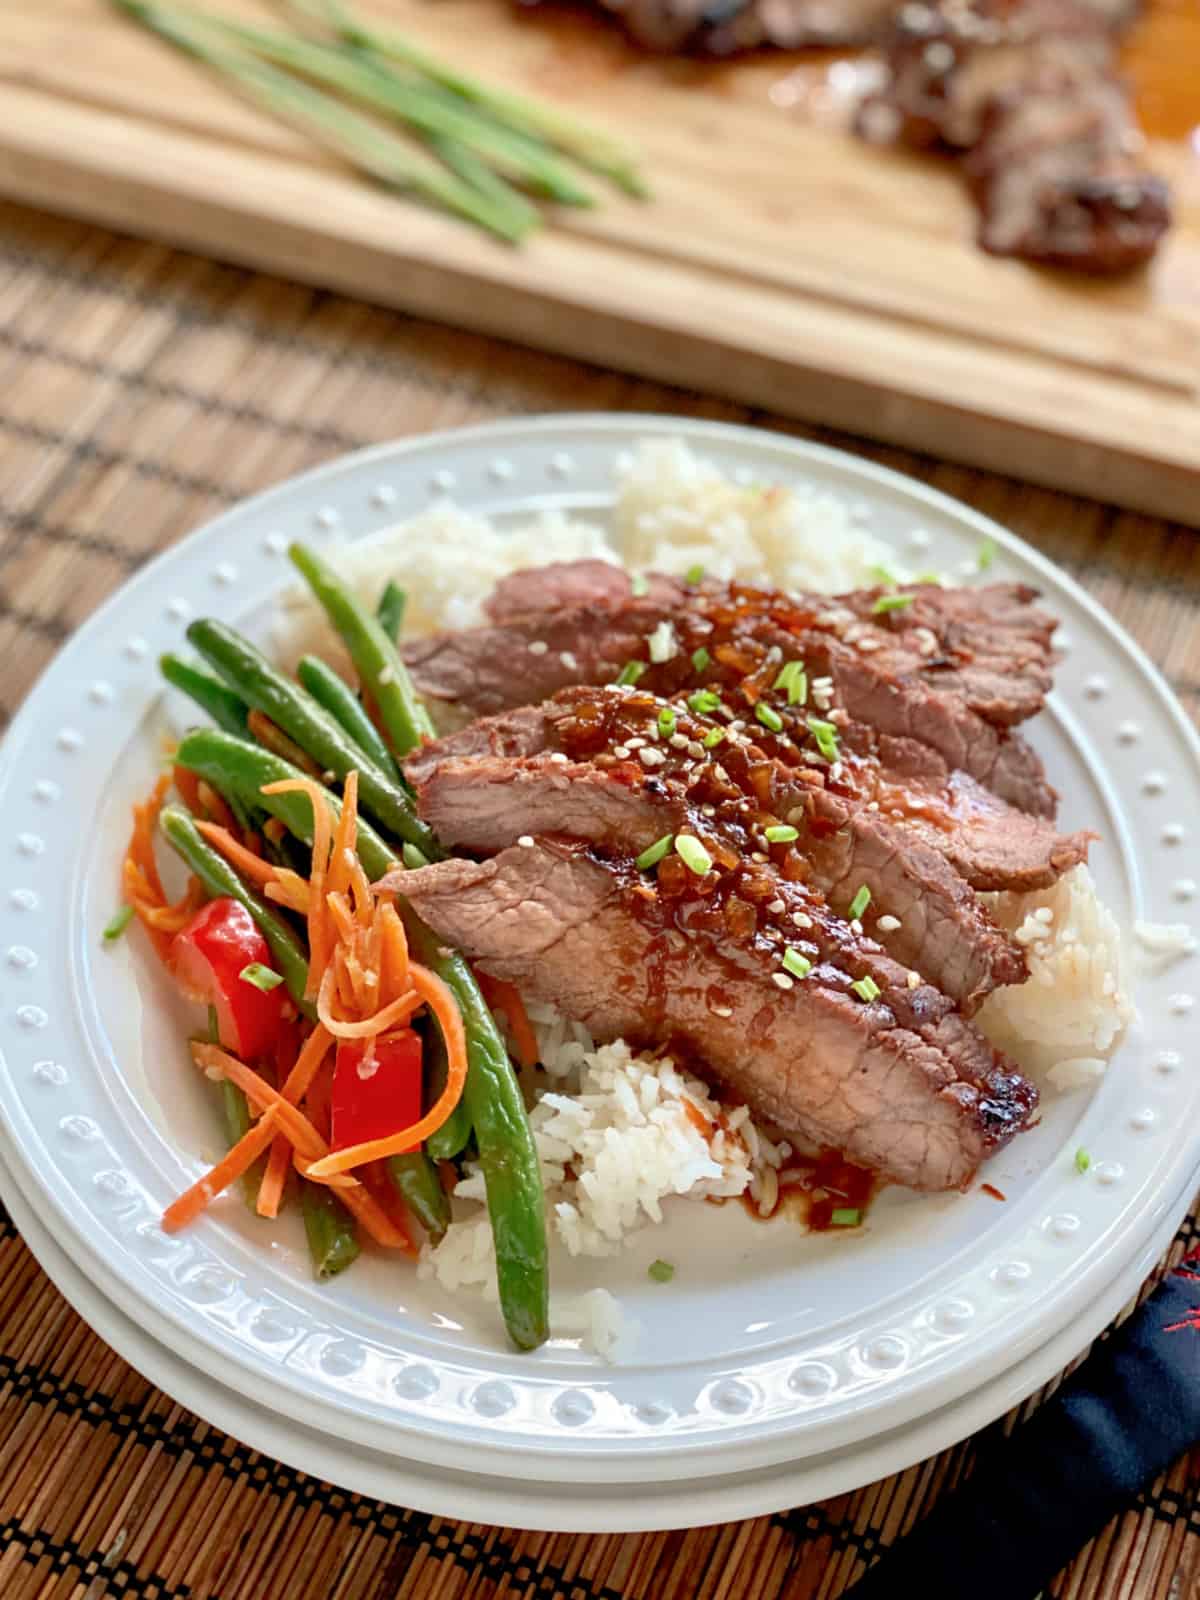
Asian London Broil
-
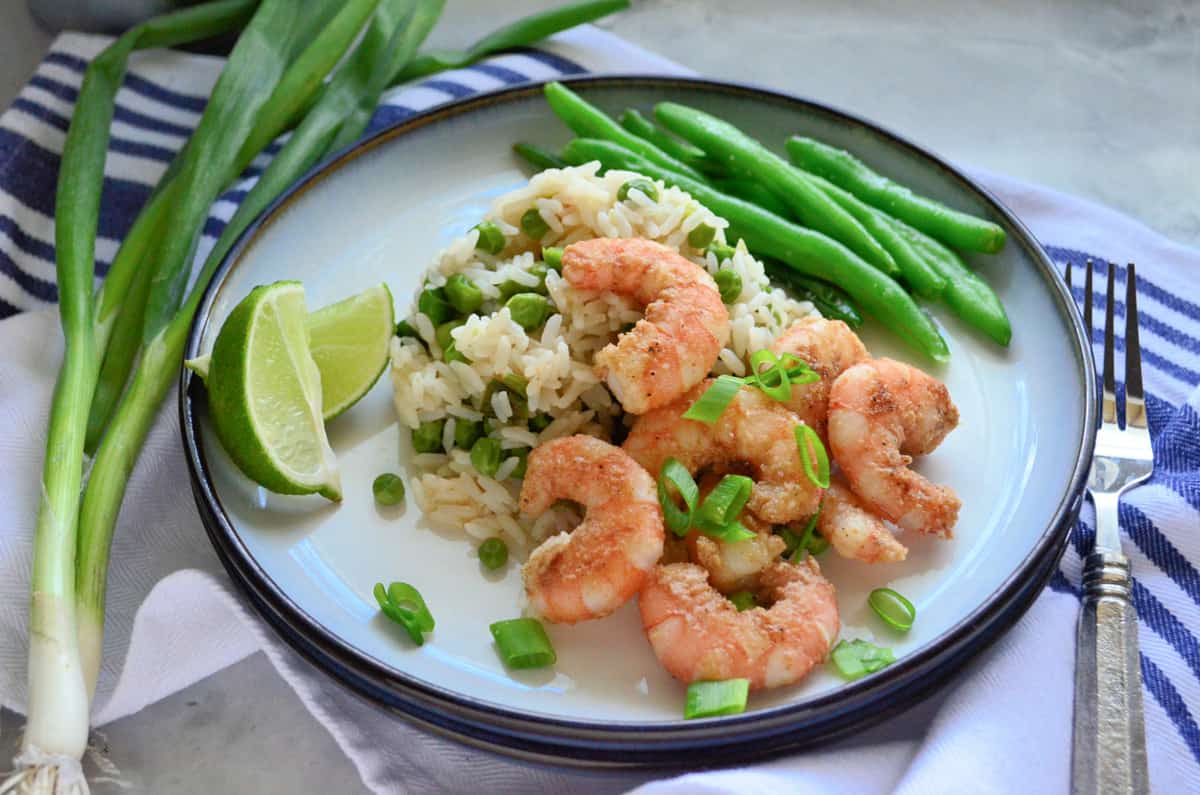
Spiced Shrimp with Ginger Rice and Peas
-
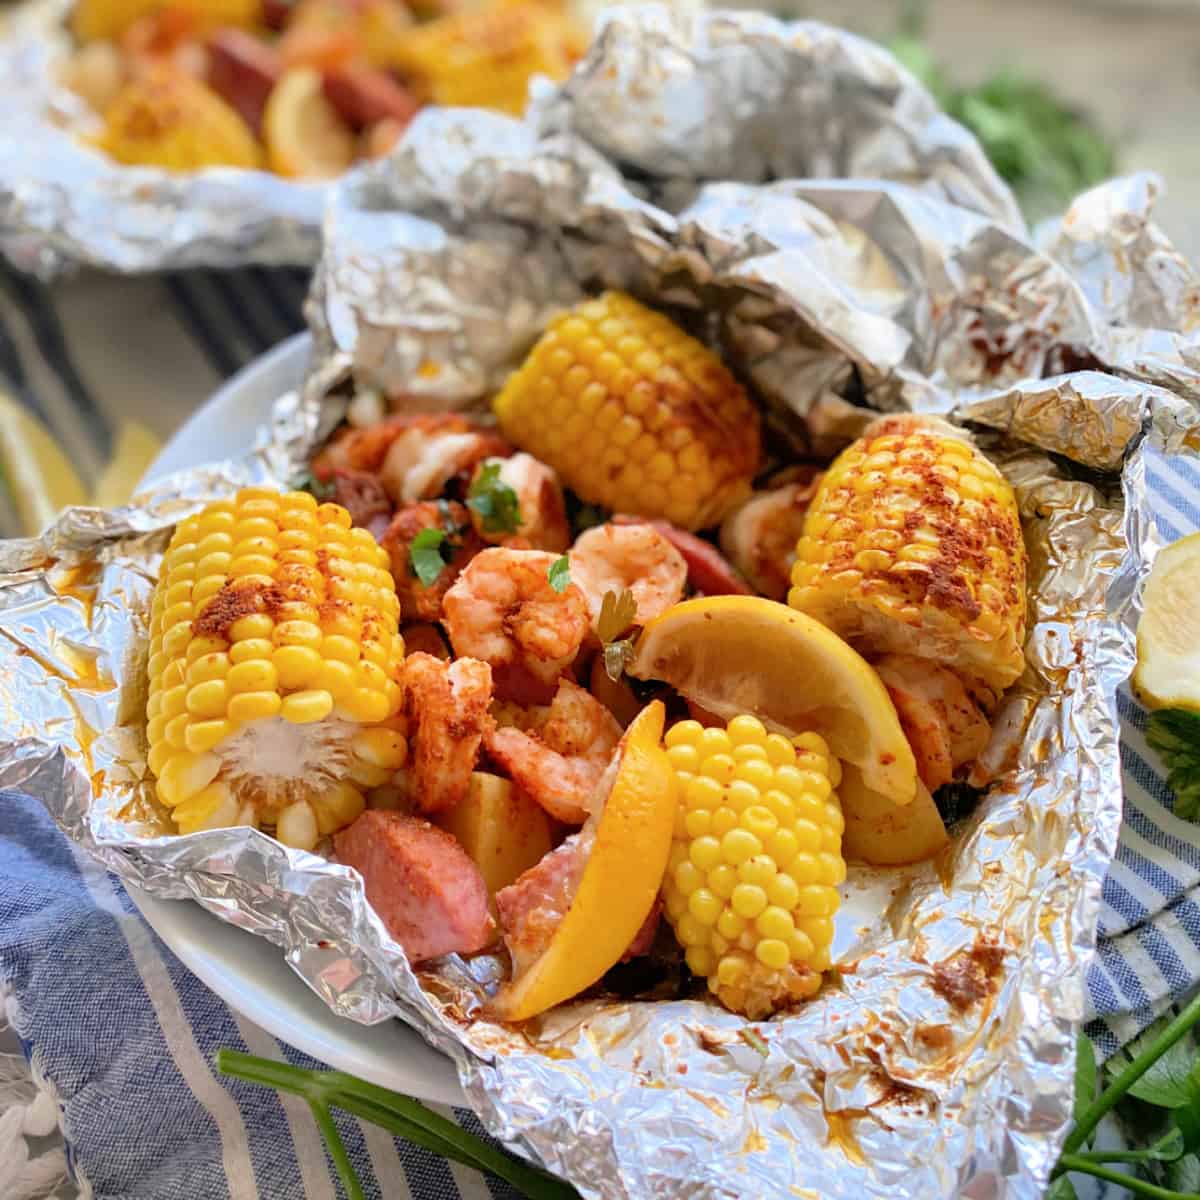
Shrimp Boil Foil Packets
-
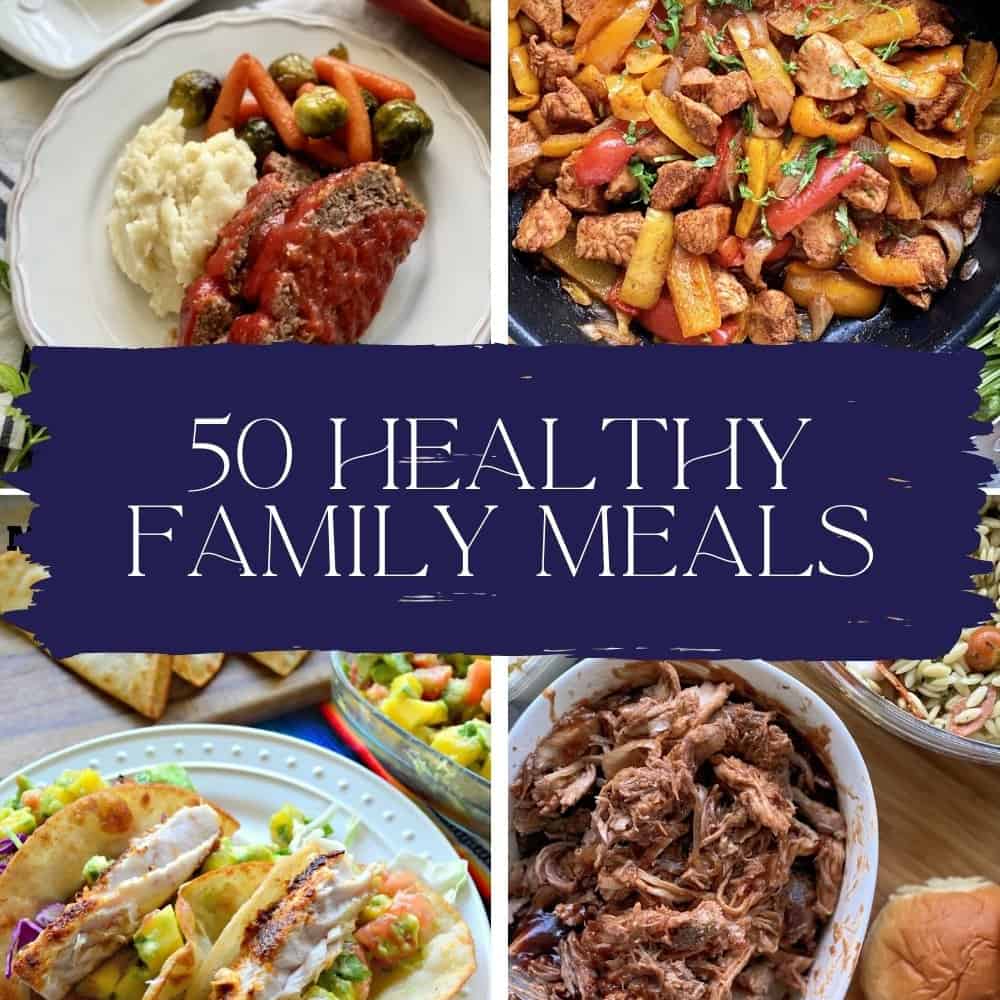
50 Healthy Family Meals
-
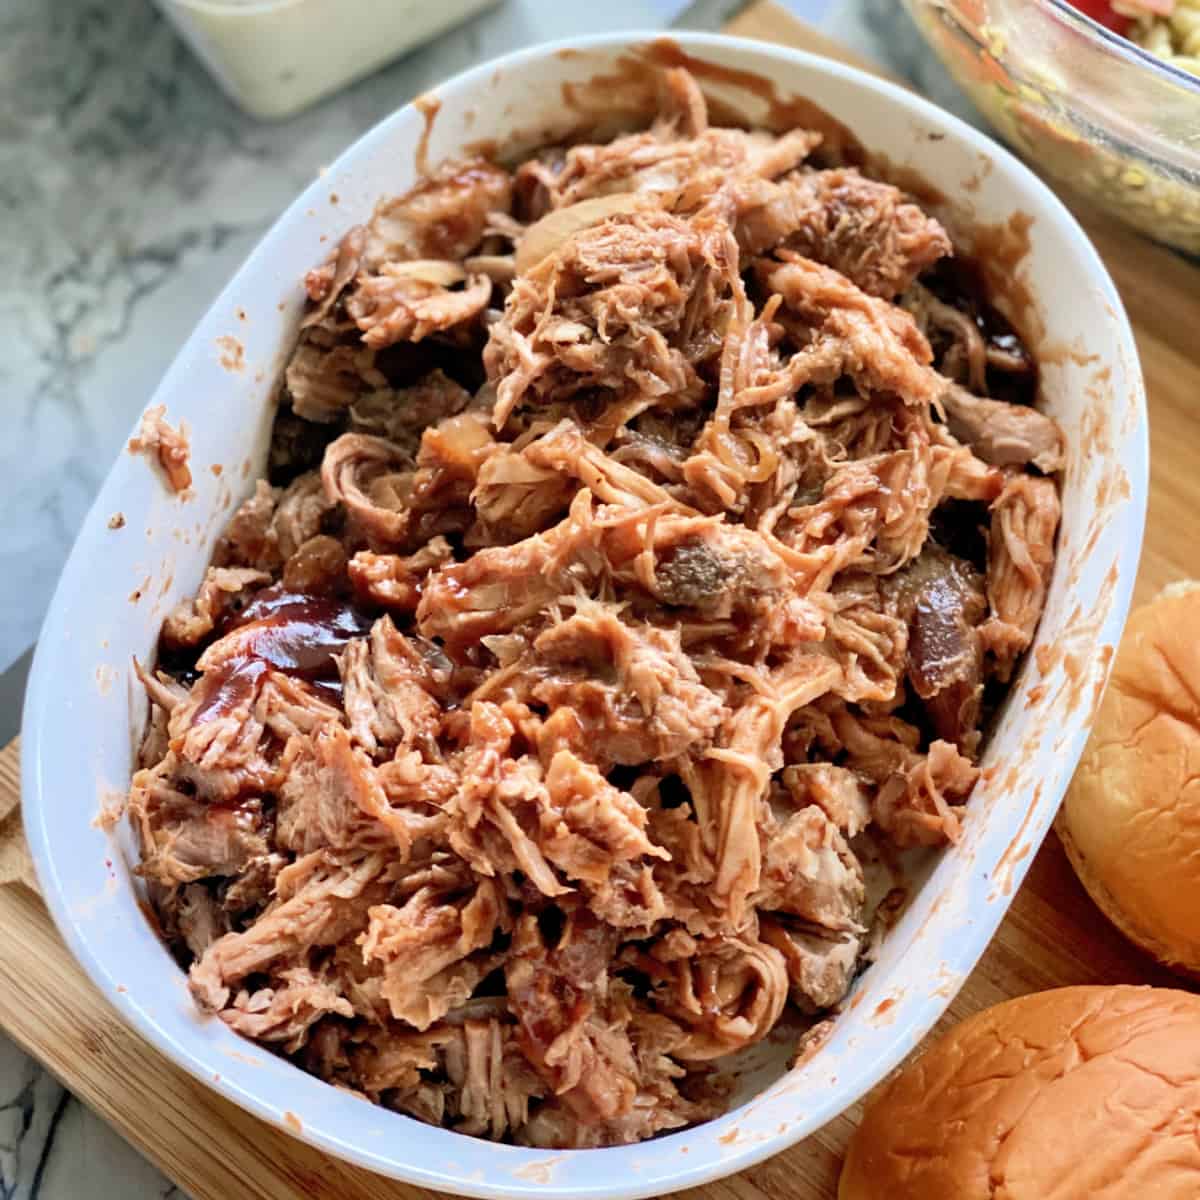
Slow Cooker Pulled Pork
-
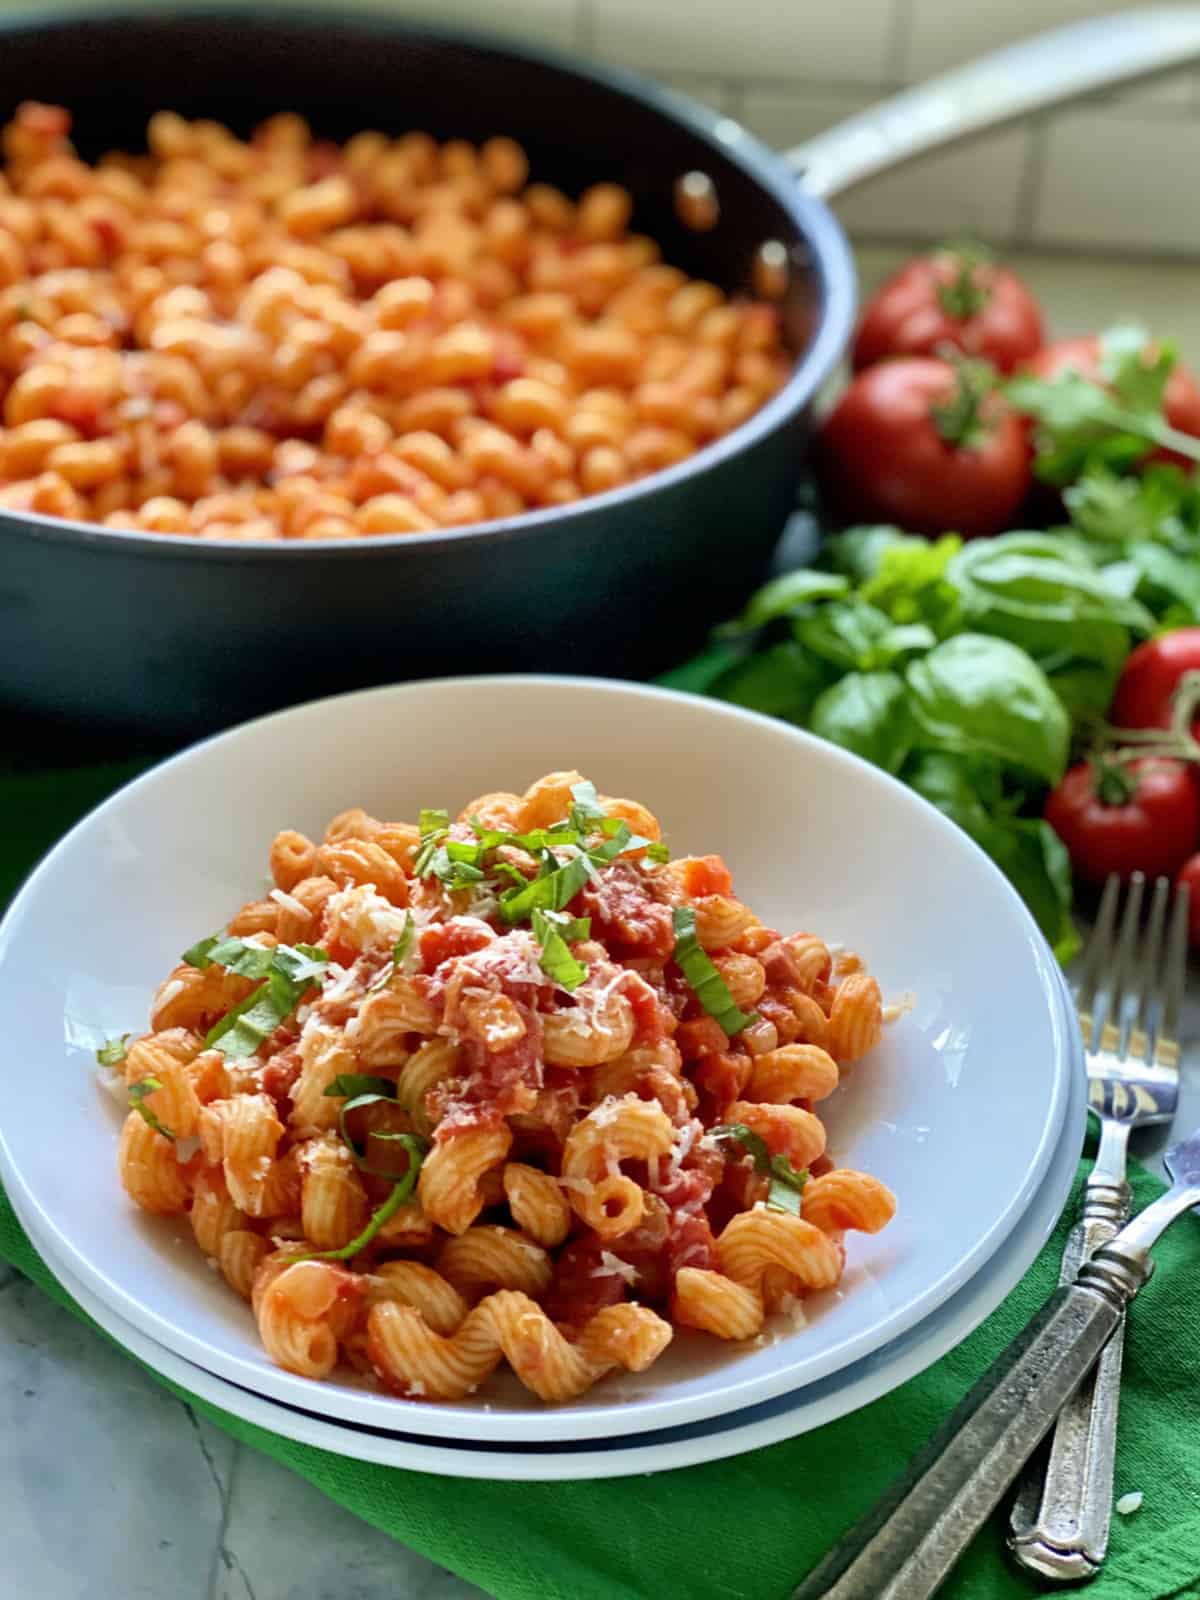
Cavatappi Amatriciana