Skip to main content
Skip to primary sidebar
Home
About
Contact Me
FAQS
Privacy Policy
Accessibility Statement
Collaborate
Recipes
Appetizer
Asian
Breakfast
Bread
Comfort Food
Dairy Free
Dessert
Cookies
Ice Cream
Drinks
Smoothie
gluten free
Greek
Grilling
Holiday
Christmas
Halloween
Instant Pot
Italian
Katie Original
Main Dish
Beef
Chicken
Pork
Sausage
Turkey
Pizza
Mexican
One Pot Meal
Polish
Salad
Dressing
Sandwich
Seafood
Shrimp
Side Dish
Slow Cooker
Soups and Stews
Vegetarian
Travel
Search
menu icon
Home
Recipe Index
About Me
Contact
search icon
Search
Home
Recipe Index
About Me
Contact
×
Katie's Cucina
Search Results for: recipes
Air Fryer Recipes for Beginners
27 Leftover Mashed Potato Recipes
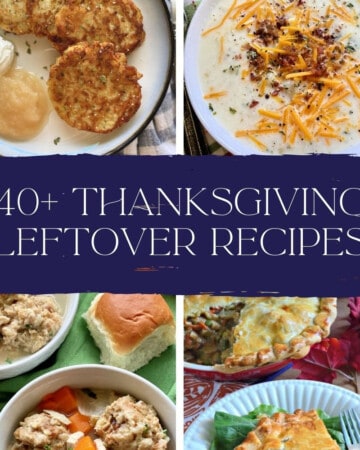
40+ Thanksgiving Leftover Recipes
25 Easy Sweet Recipes at Home
100 Crock Pot Recipes
75+ Easy Pumpkin Recipes
100+ Ice Cream Recipes
St Patricks Day Recipes – 50 Irish Recipes
50+ Creative Smoothie Recipes
50+ Strawberry Shortcake Recipes
Recipes
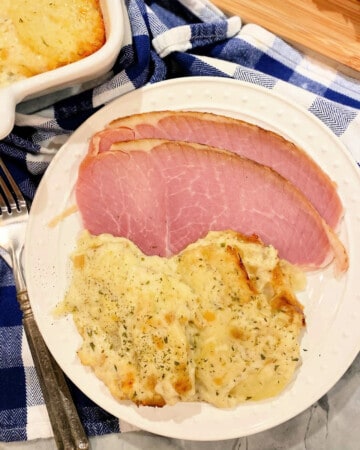
Cheesy Scalloped Potatoes
Chocolate Cake with Cream Cheese Frosting
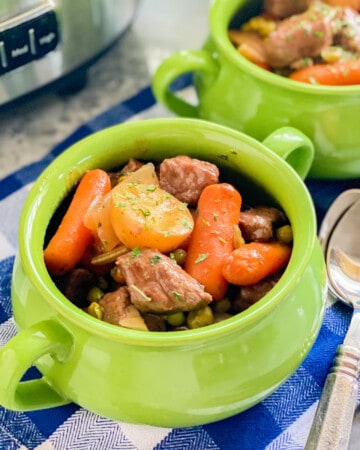
Crock Pot Beef Stew
Brioche French Toast Casserole
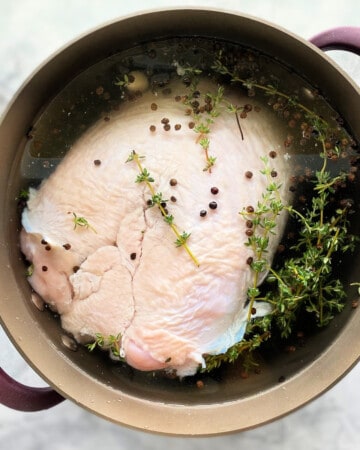
Brine for Turkey Breast
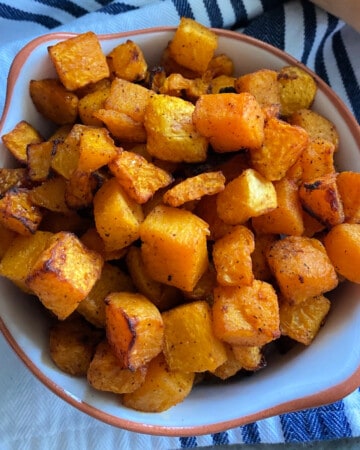
Air Fryer Butternut Squash
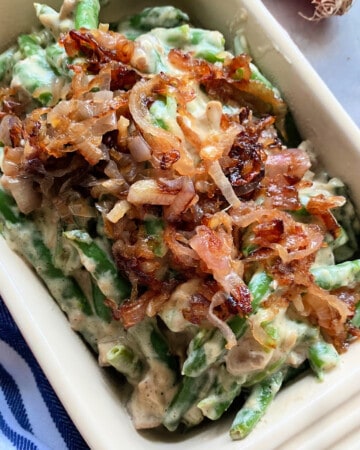
Gluten Free Green Bean Casserole
Cranberry Raspberry Sauce
Turkey Breast Cutlets
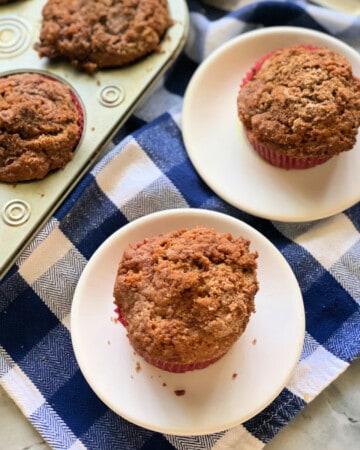
Apple Cinnamon Muffins
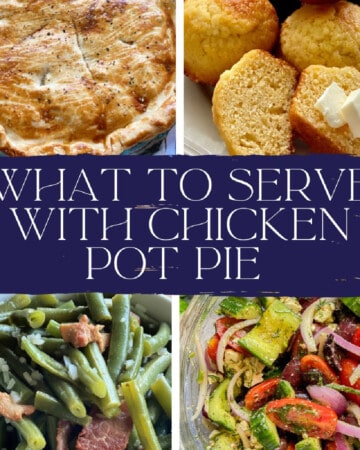
What to Serve with Chicken Pot Pie – 27 Delicious Side Dishes
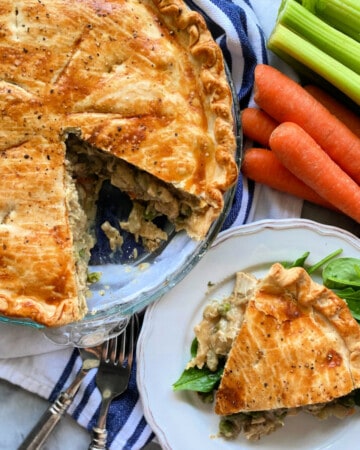
Easy Chicken Pot Pie
Cabbage Roll Soup
Chocolate Sugar Cookies
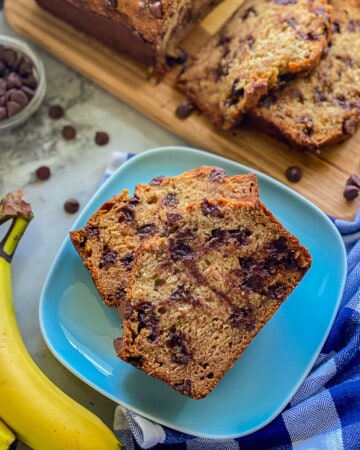
Banana Bread with Chocolate Chips
Bruschetta Chicken Pasta
Strawberry Mojito Recipe
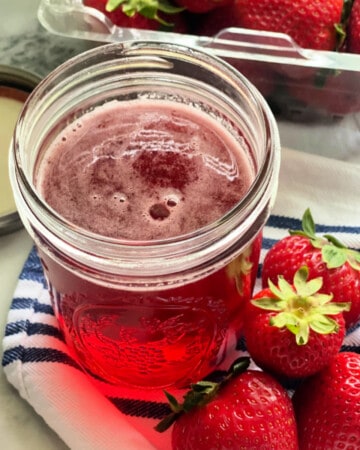
Strawberry Simple Syrup
Sides for Chicken Tenders – 17 Mouthwatering Sides
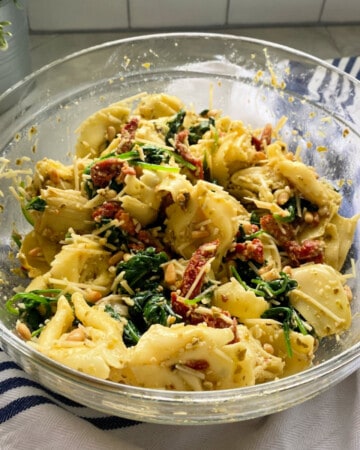
Pesto Tortellini Salad
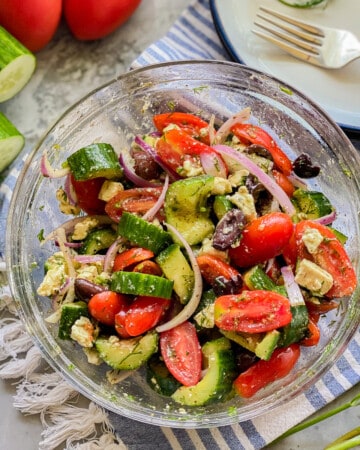
Greek Cucumber Salad
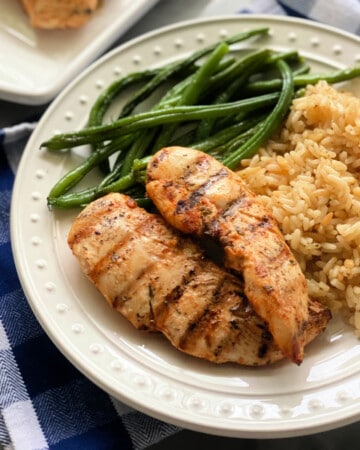
Grilled Chicken Strips
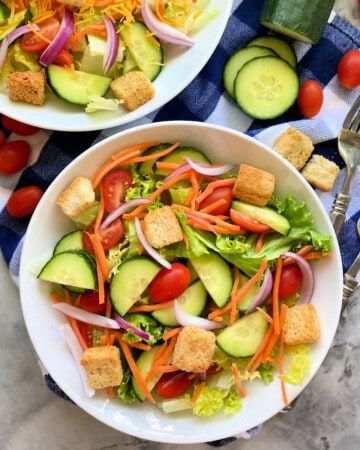
House Salad
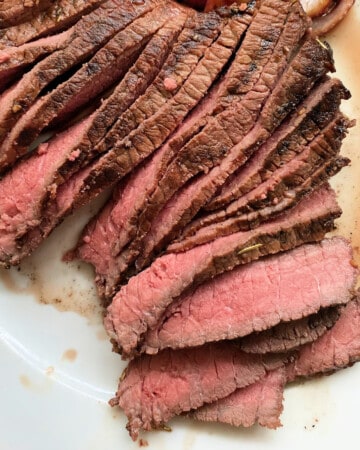
Grilled Flank Steak
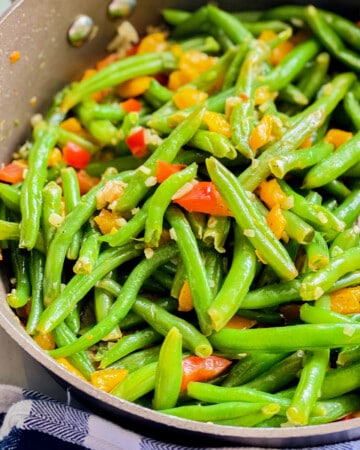
Skillet Green Beans
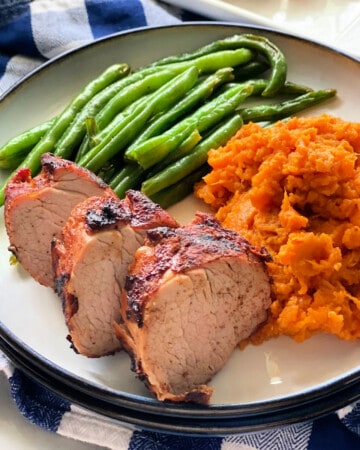
Grilled Pork Tenderloin
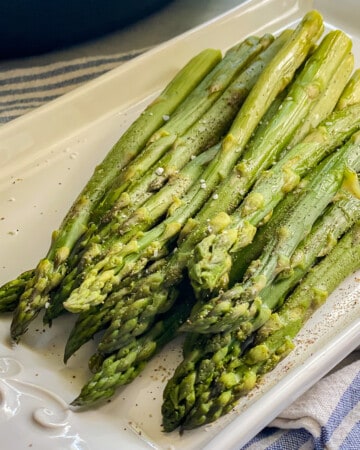
Instant Pot Asparagus
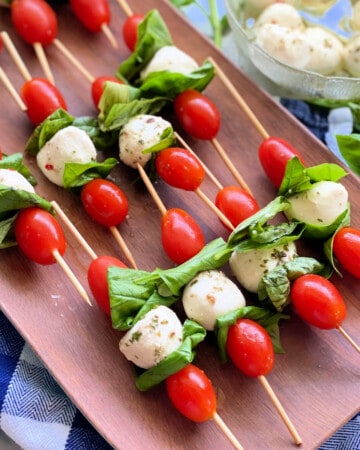
Caprese Skewers
Blueberry Compote
Next Page »