Skip to main content
Skip to primary sidebar
Home
About
Contact Me
FAQS
Privacy Policy
Accessibility Statement
Collaborate
Recipes
Appetizer
Asian
Breakfast
Bread
Comfort Food
Dairy Free
Dessert
Cookies
Ice Cream
Drinks
Smoothie
gluten free
Greek
Grilling
Holiday
Christmas
Halloween
Instant Pot
Italian
Katie Original
Main Dish
Beef
Chicken
Pork
Sausage
Turkey
Pizza
Mexican
One Pot Meal
Polish
Salad
Dressing
Sandwich
Seafood
Shrimp
Side Dish
Slow Cooker
Soups and Stews
Vegetarian
Travel
Search
menu icon
Home
Recipe Index
About Me
Contact
search icon
Search
Home
Recipe Index
About Me
Contact
×
Katie's Cucina
»
Recipes
Blog
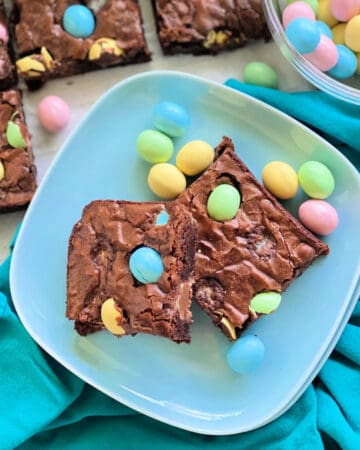
Mini Egg Brownies
Broiled Scallops Recipe
Chocolate Spoons
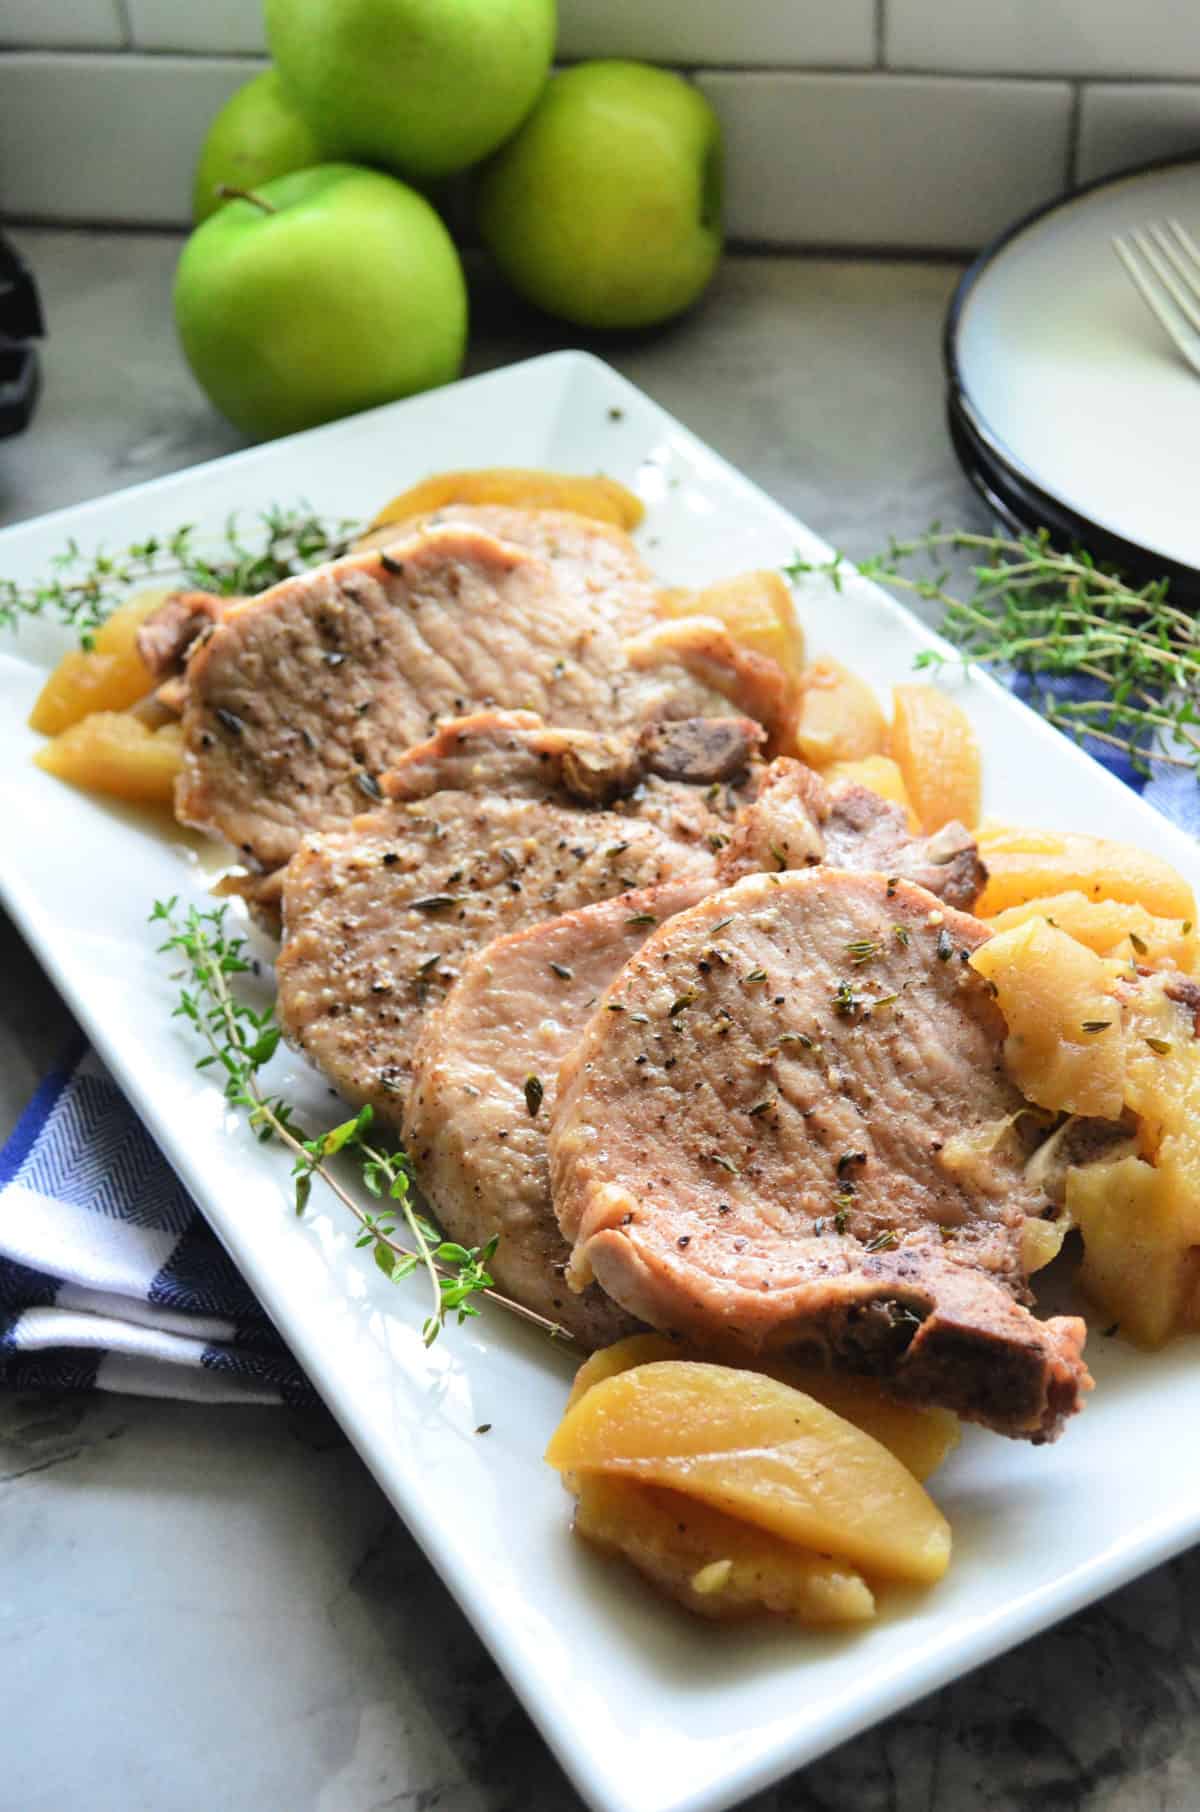
Instant Pot Pork Chops with Apples
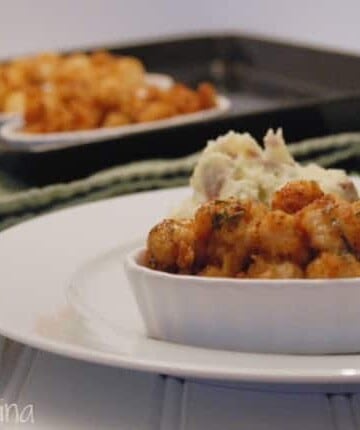
Air Fryer Sausage
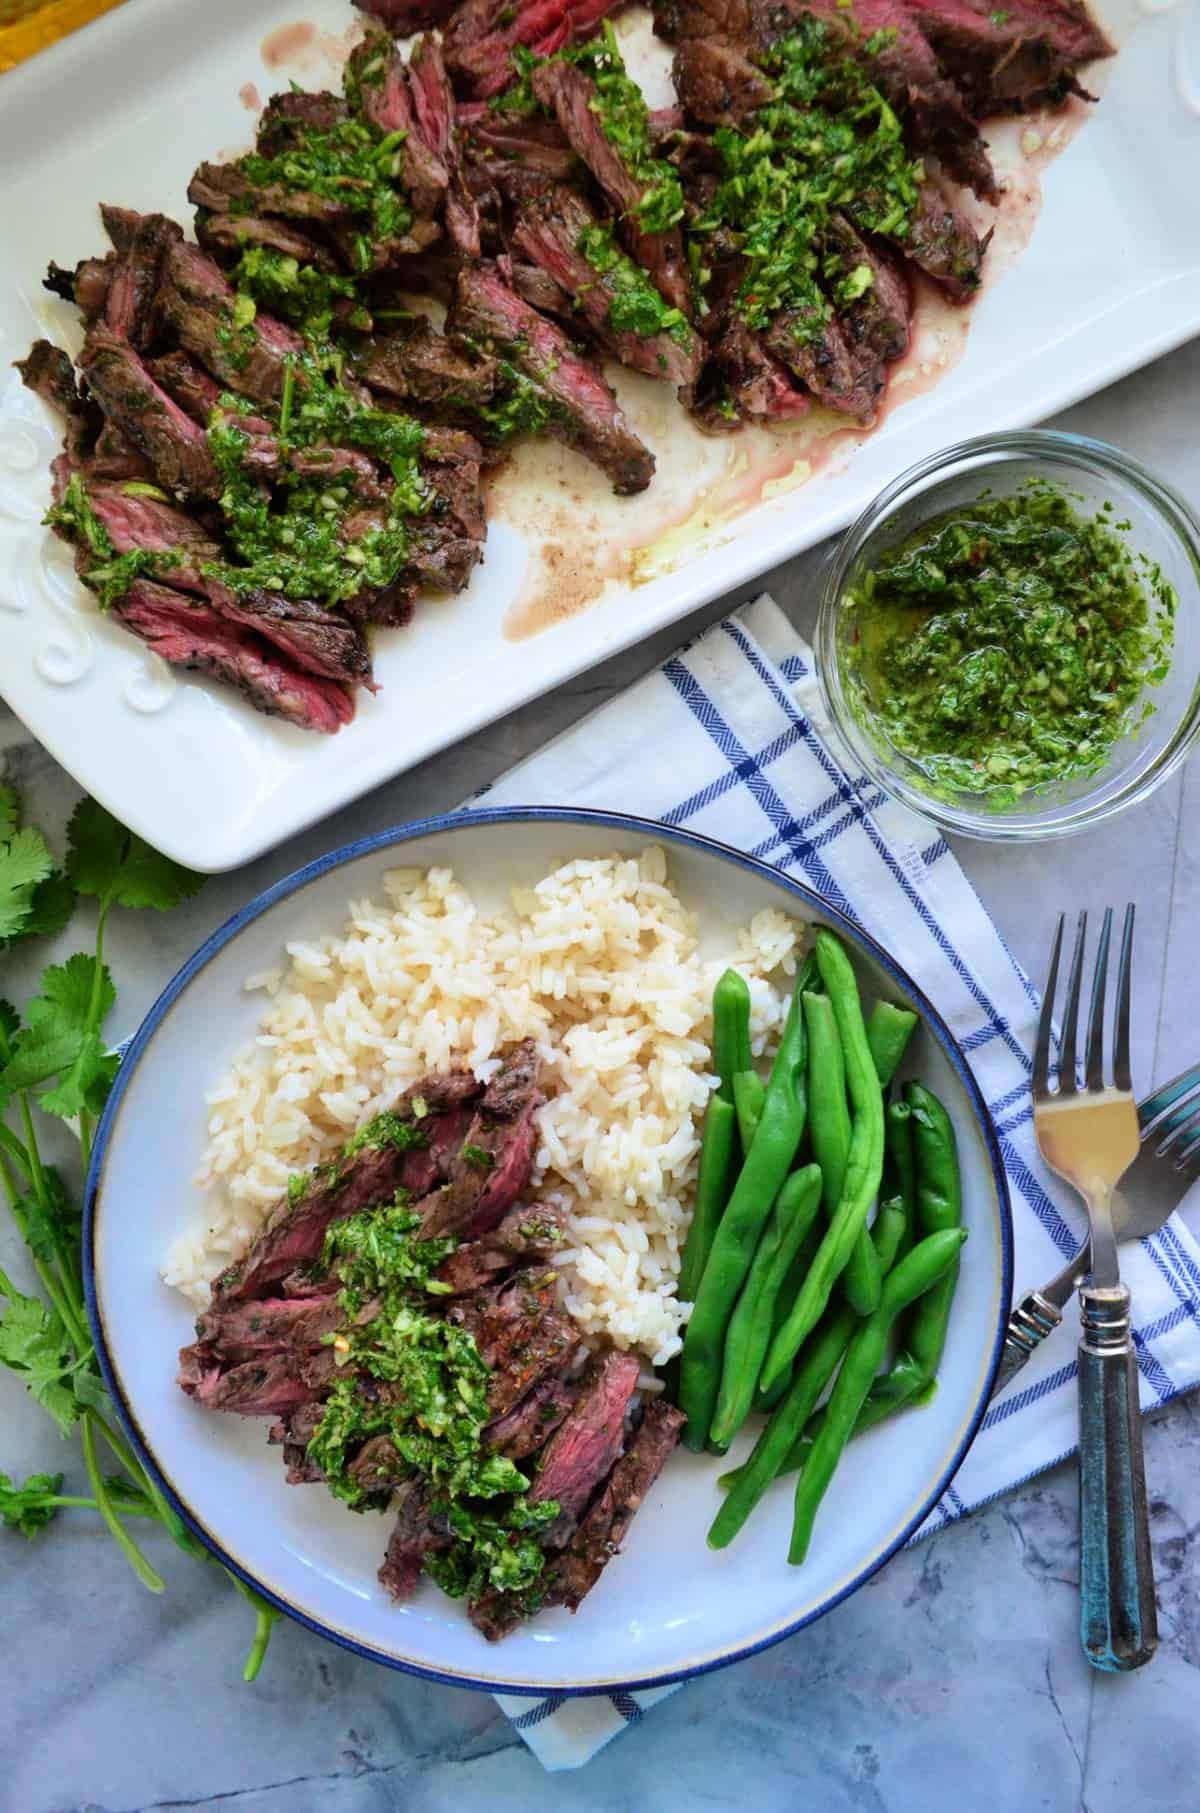
Grilled Skirt Steak with Chimichurri Sauce
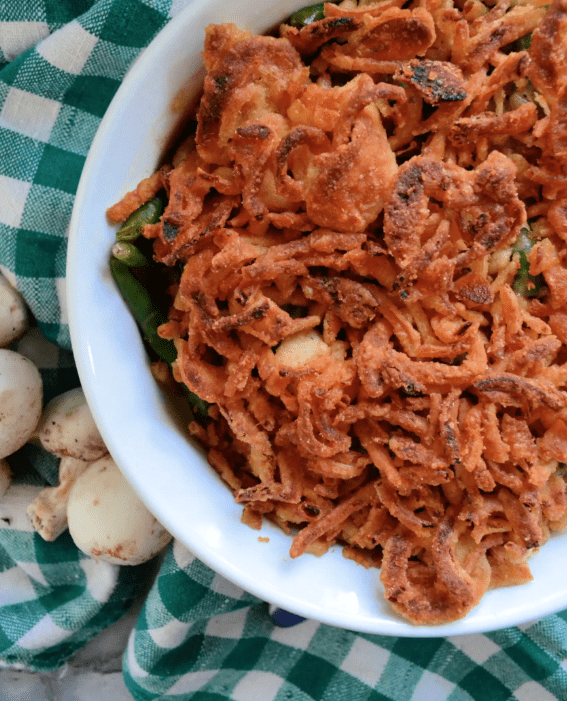
Homemade Green Bean Casserole
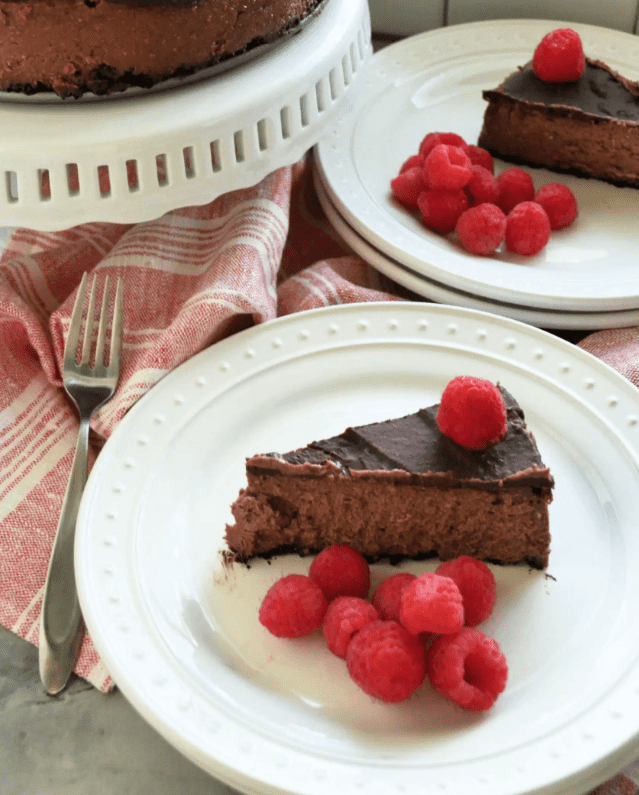
Dark Chocolate Cheesecake
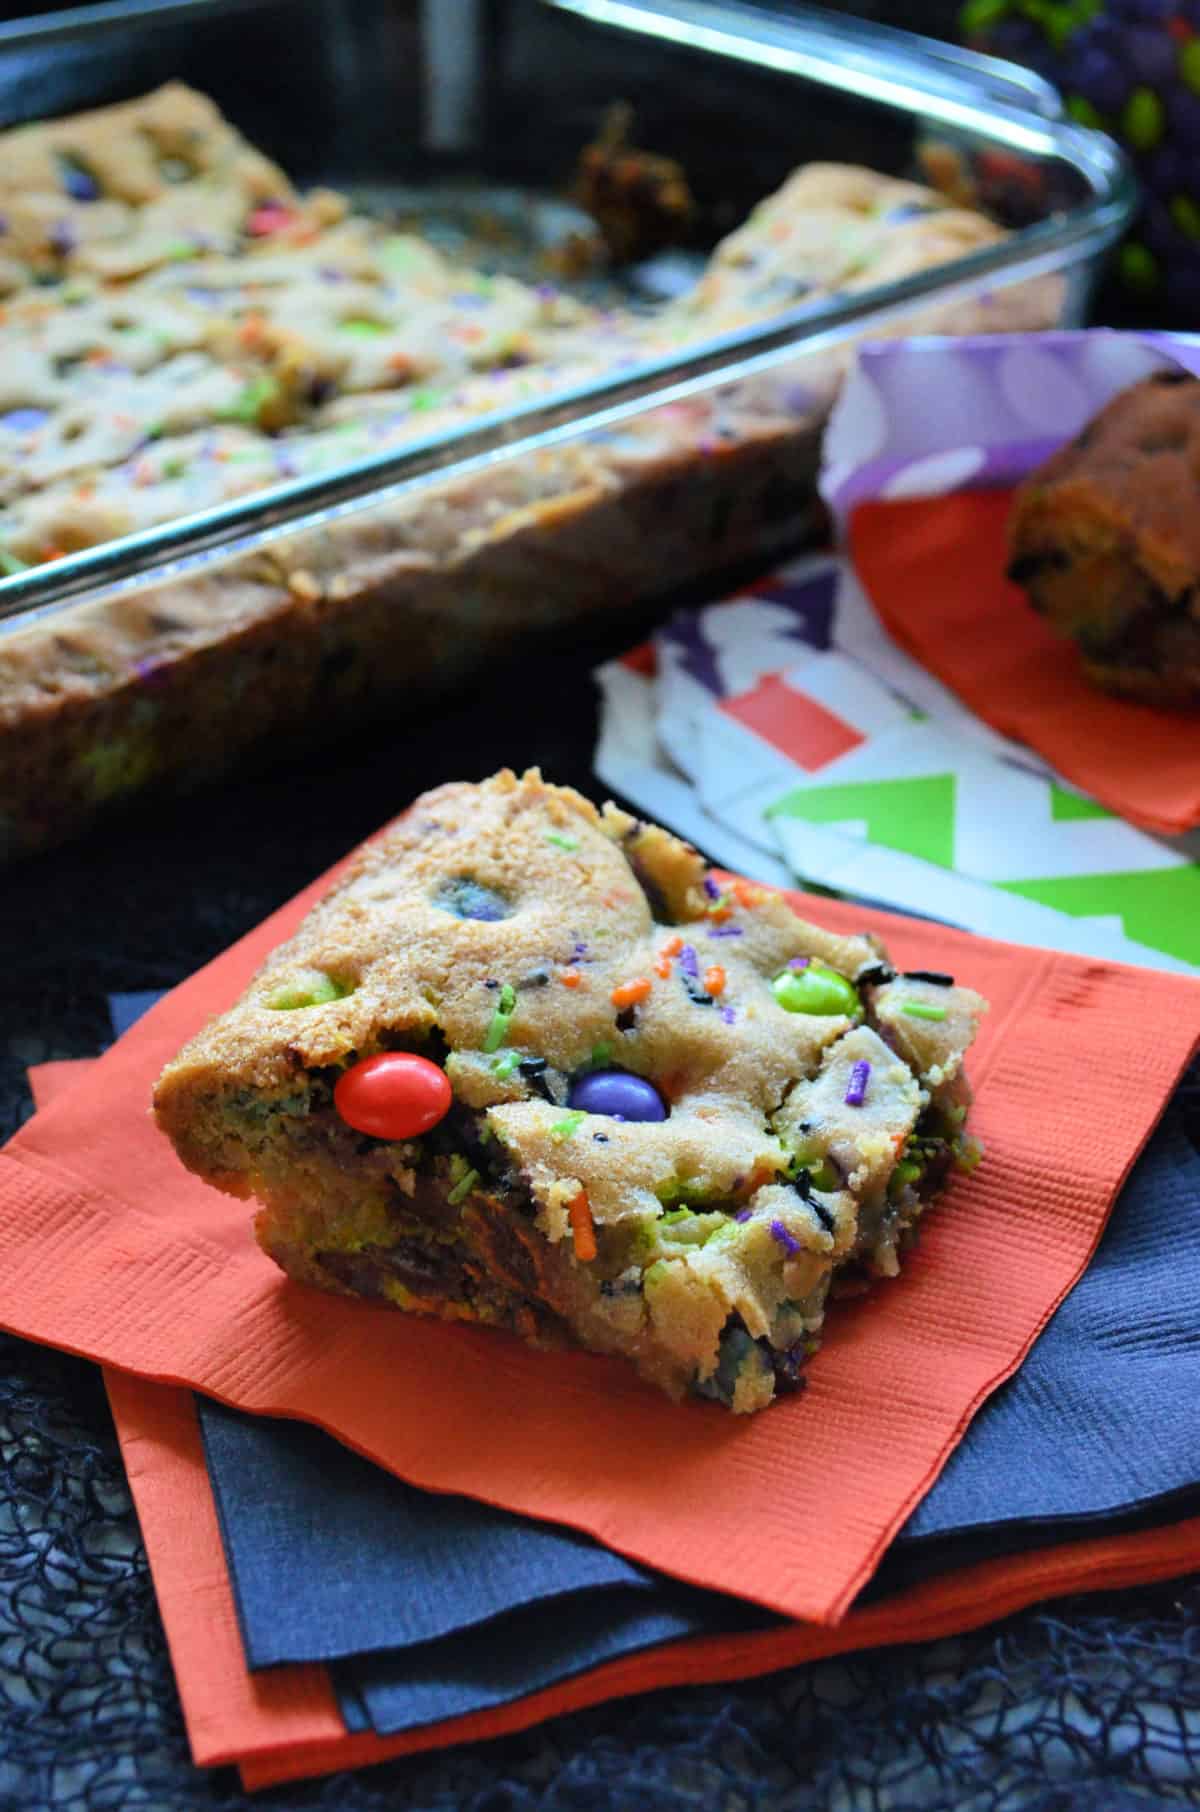
Halloween M&M Cookie Bars
Heart Shaped Pancakes
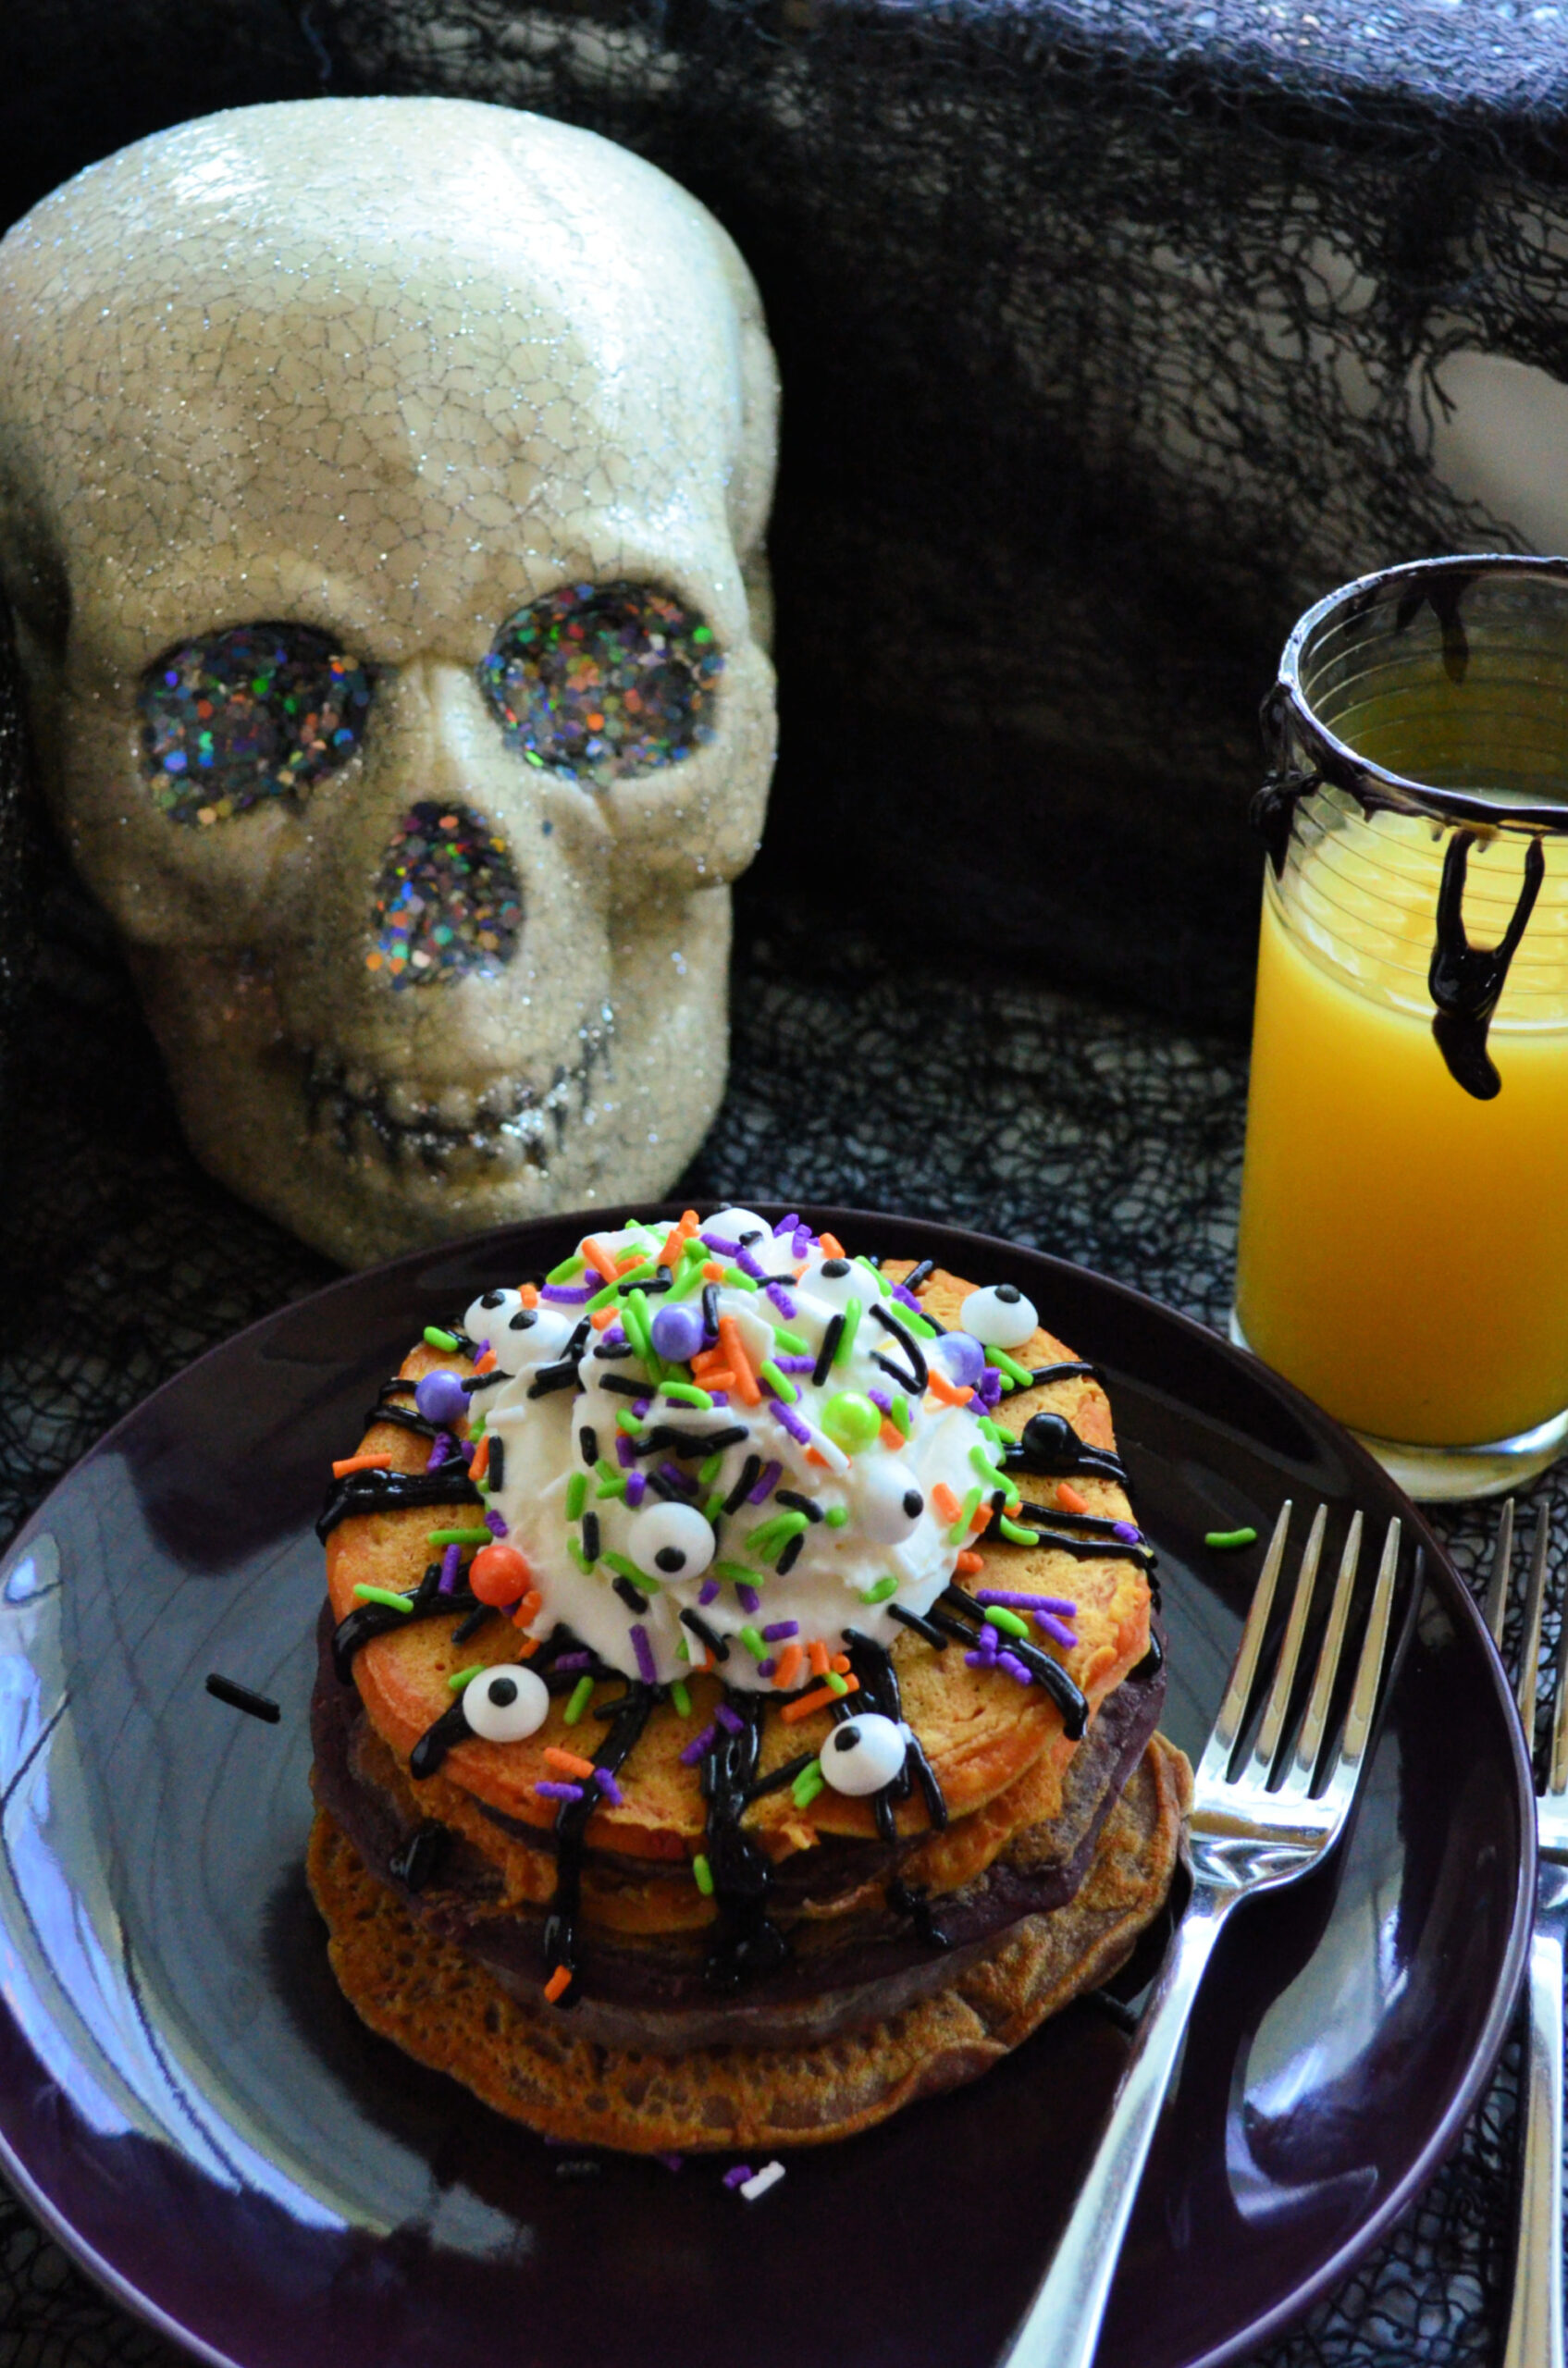
Halloween Pancakes
Fluffy Buttermilk Pancakes
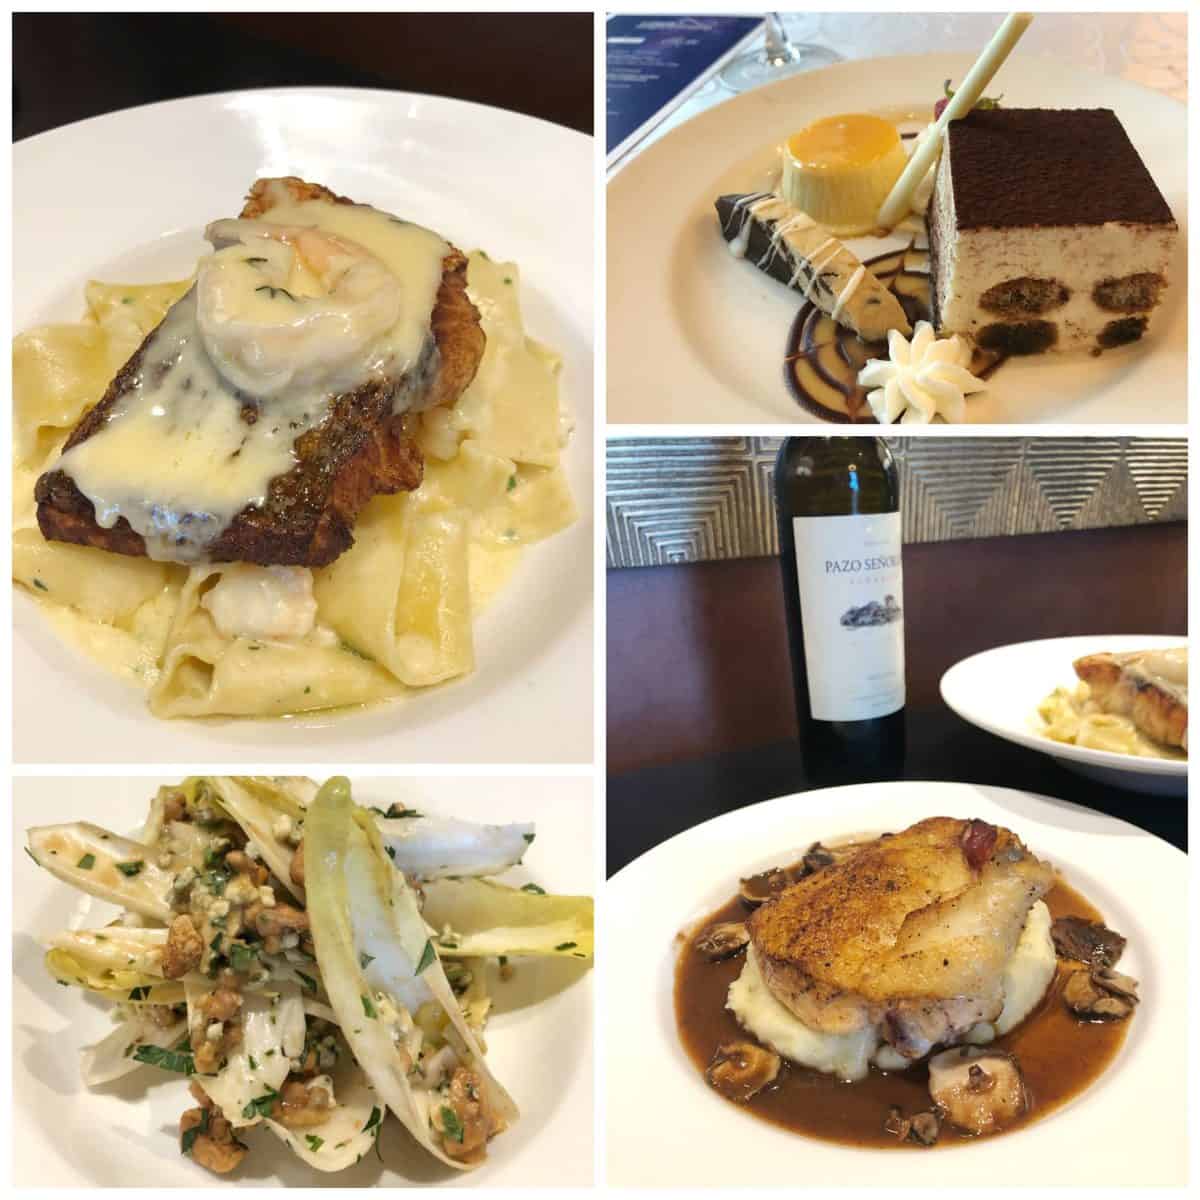
Visit Orlando’s Magical Dining Month – Reunion Resort
Gaylord Palms Weekend Staycation
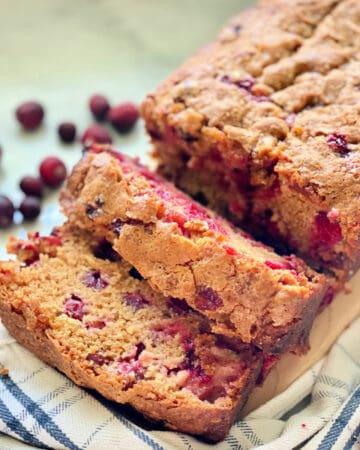
Cranberry Bread
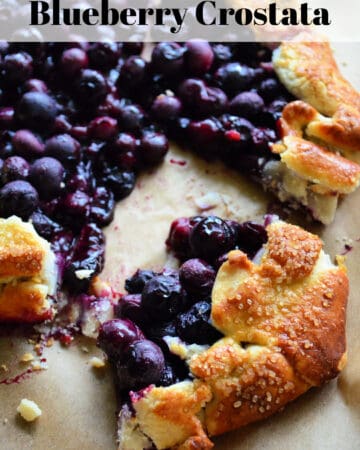
Blueberry Crostata
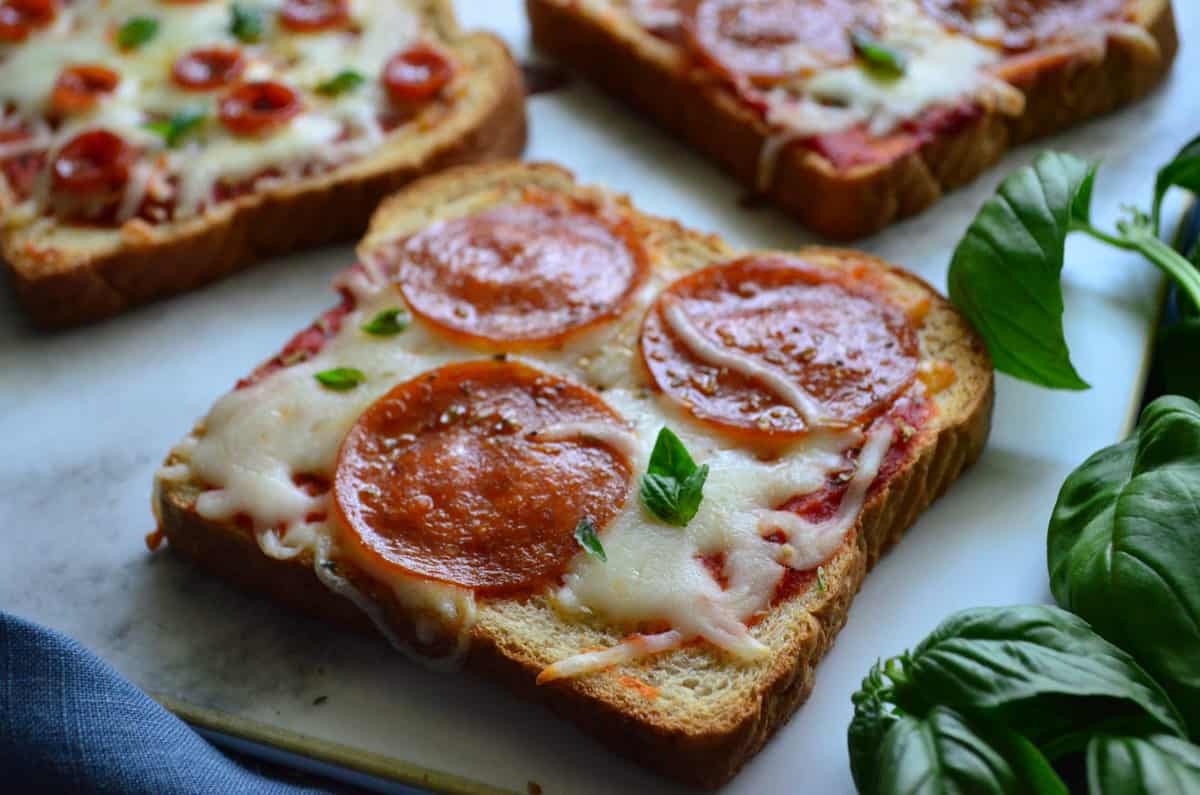
Pepperoni Pizza Toast
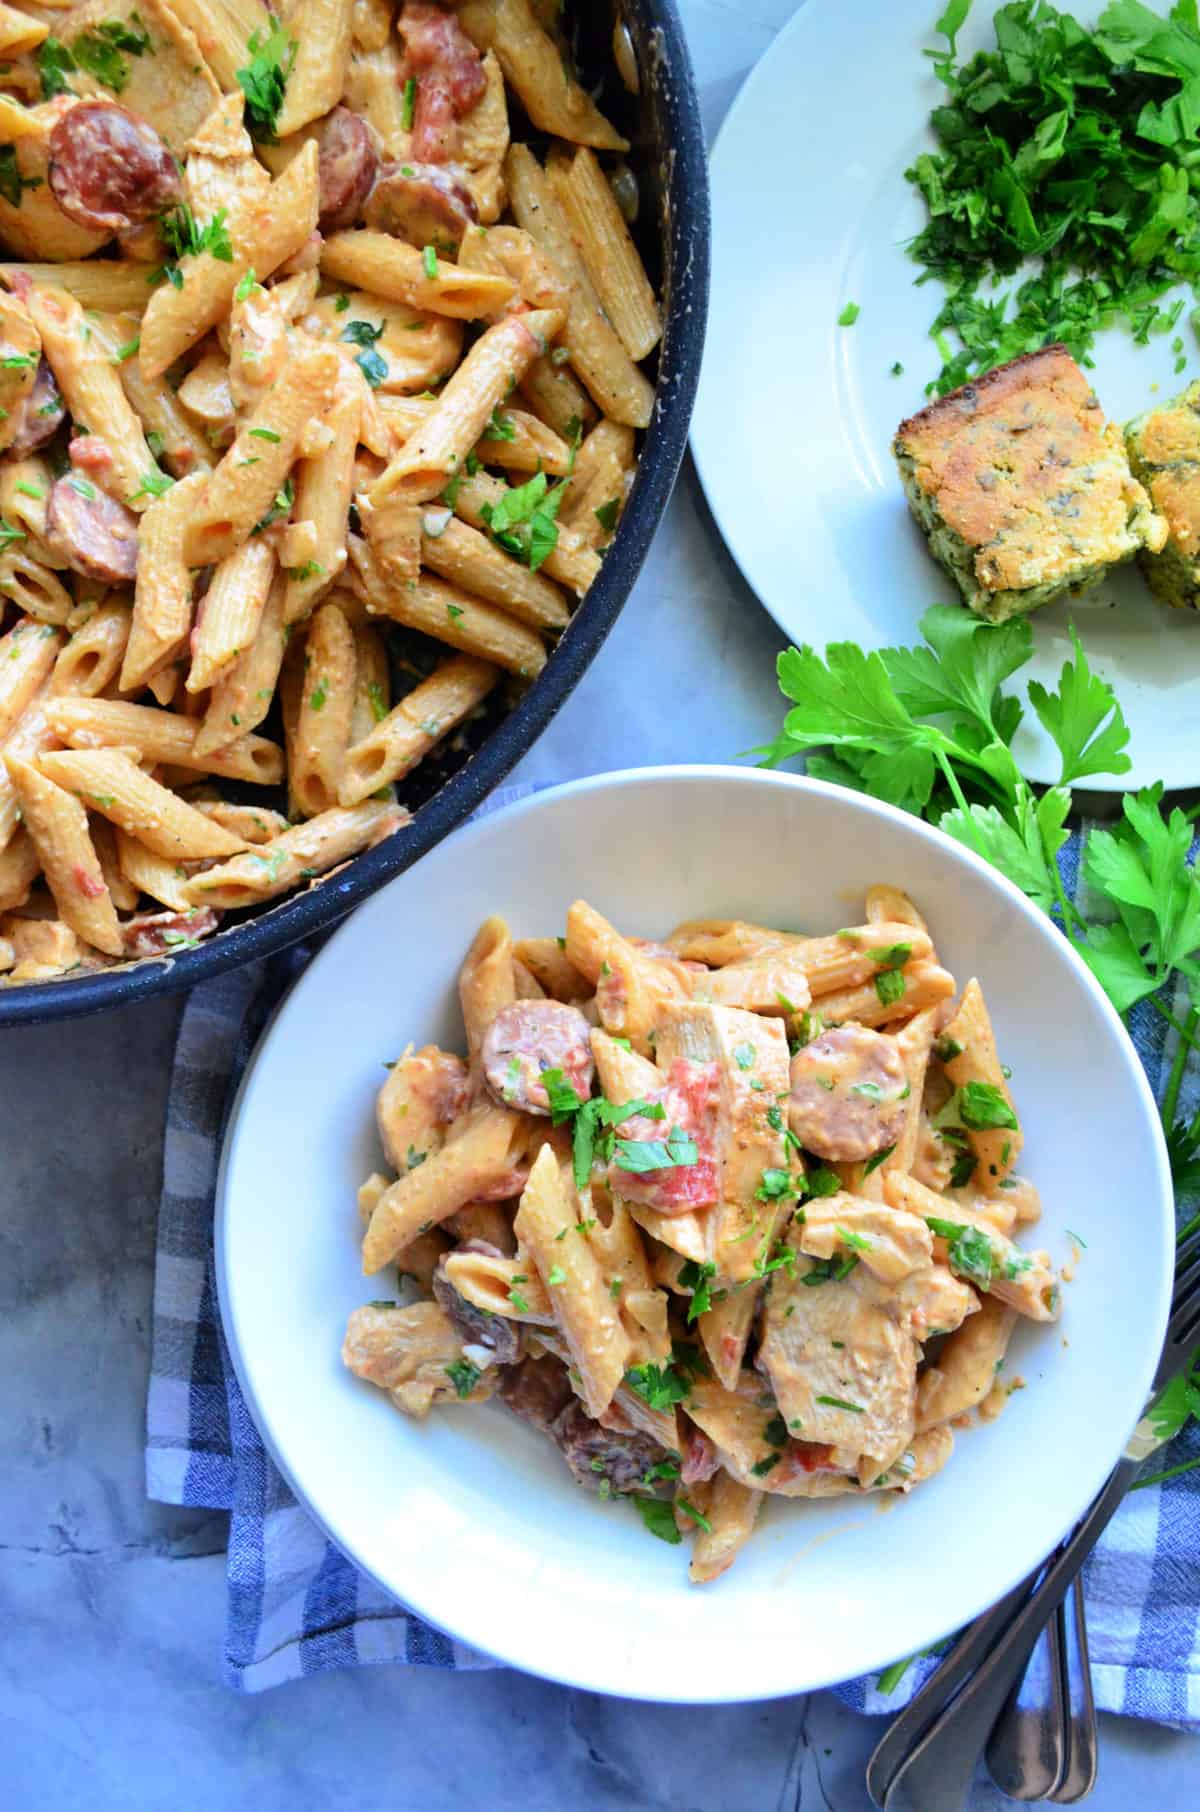
Creamy Cajun Chicken Pasta
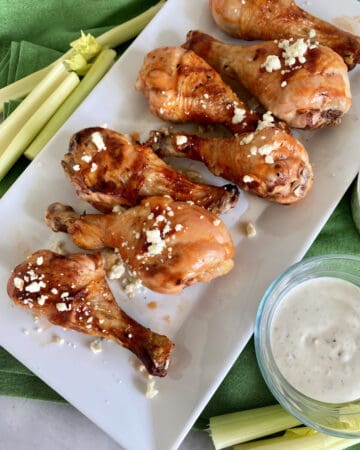
Grilled Buffalo Chicken Drumsticks with Blue Cheese
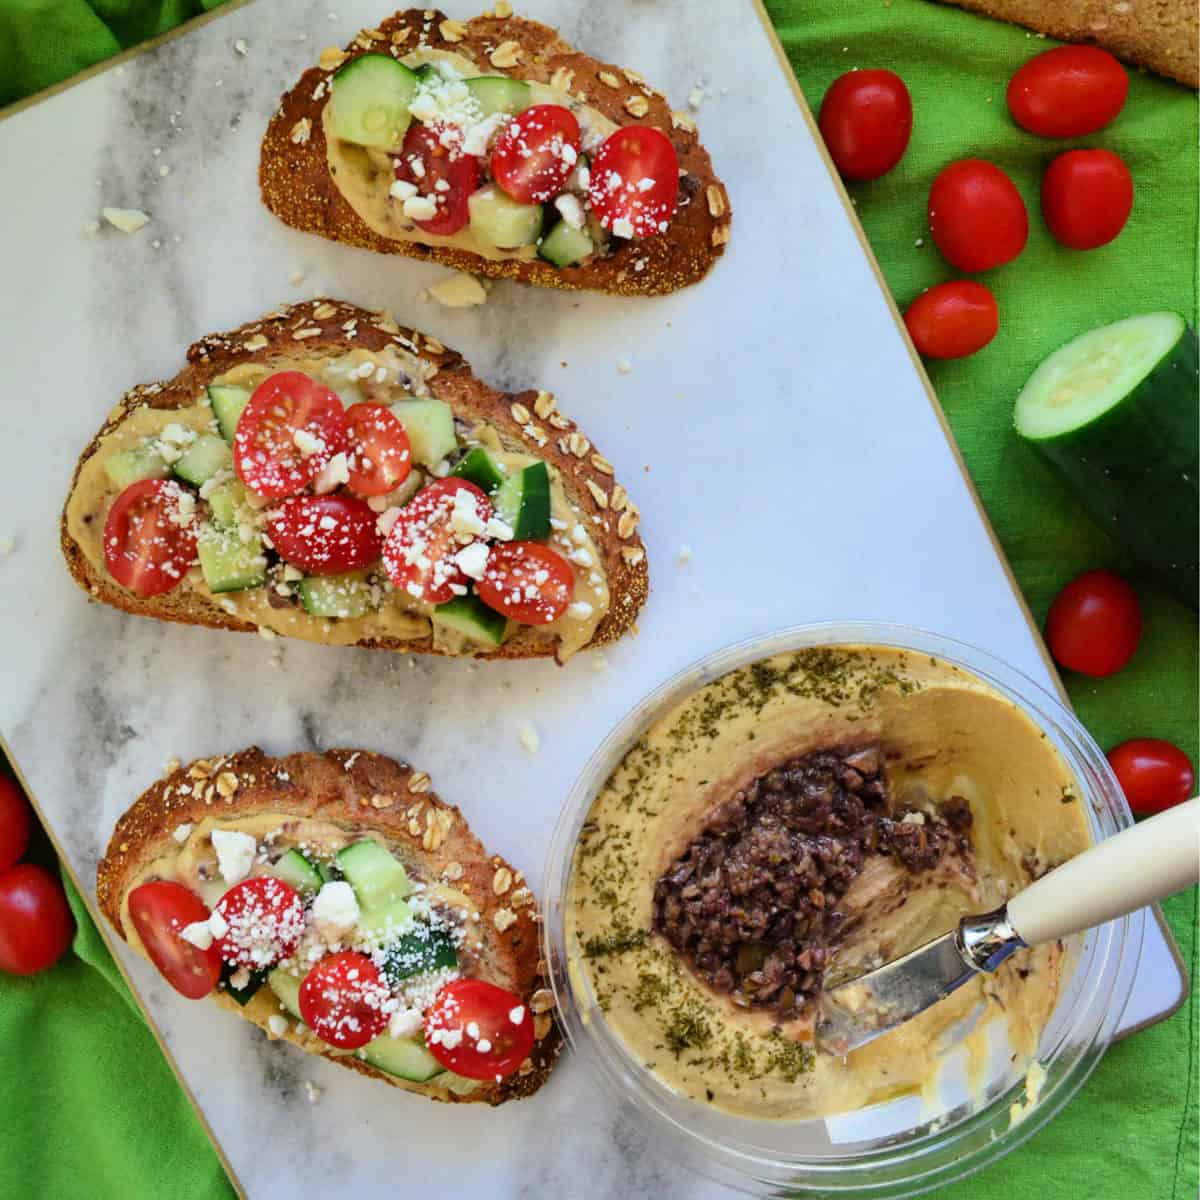
Mediterranean Hummus Toast
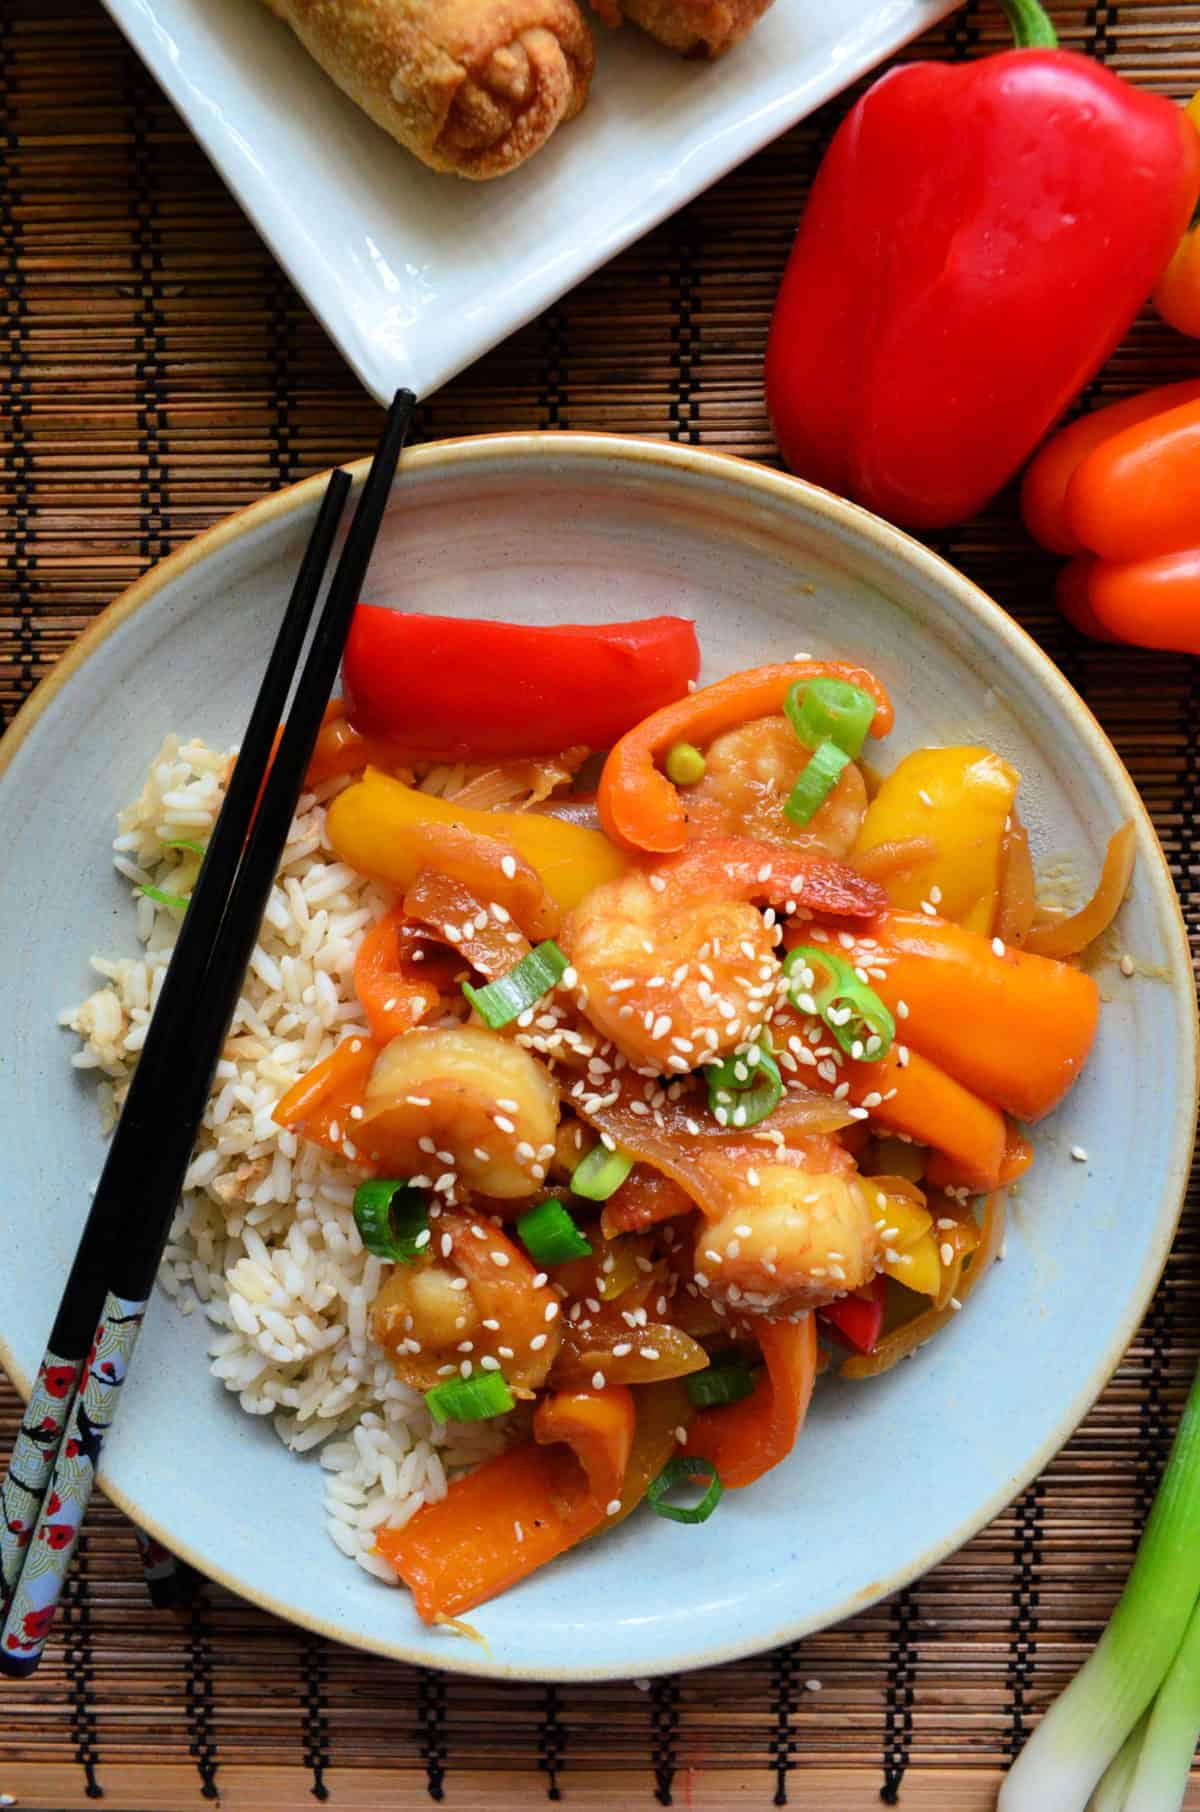
Shrimp and Sweet Pepper Stir-Fry
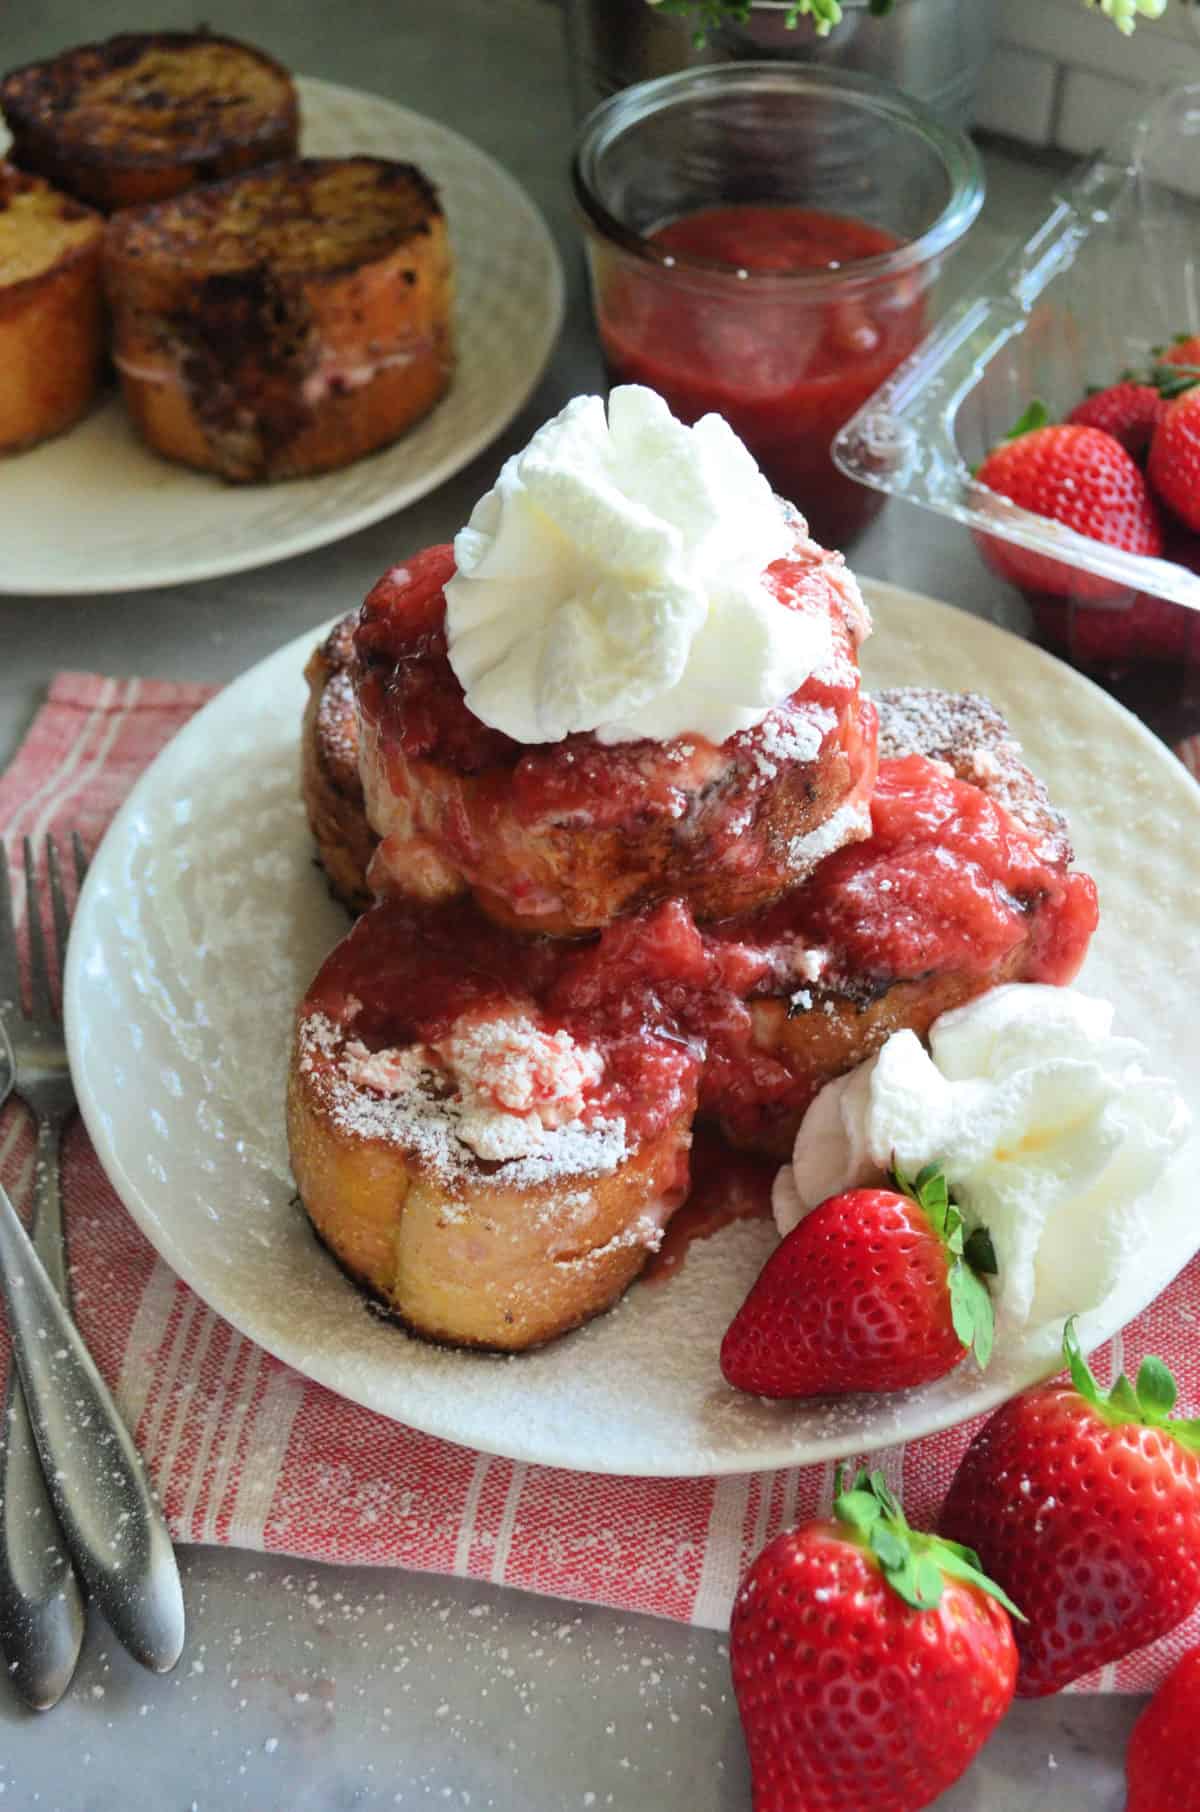
Strawberry Cream Cheese Stuffed French Toast
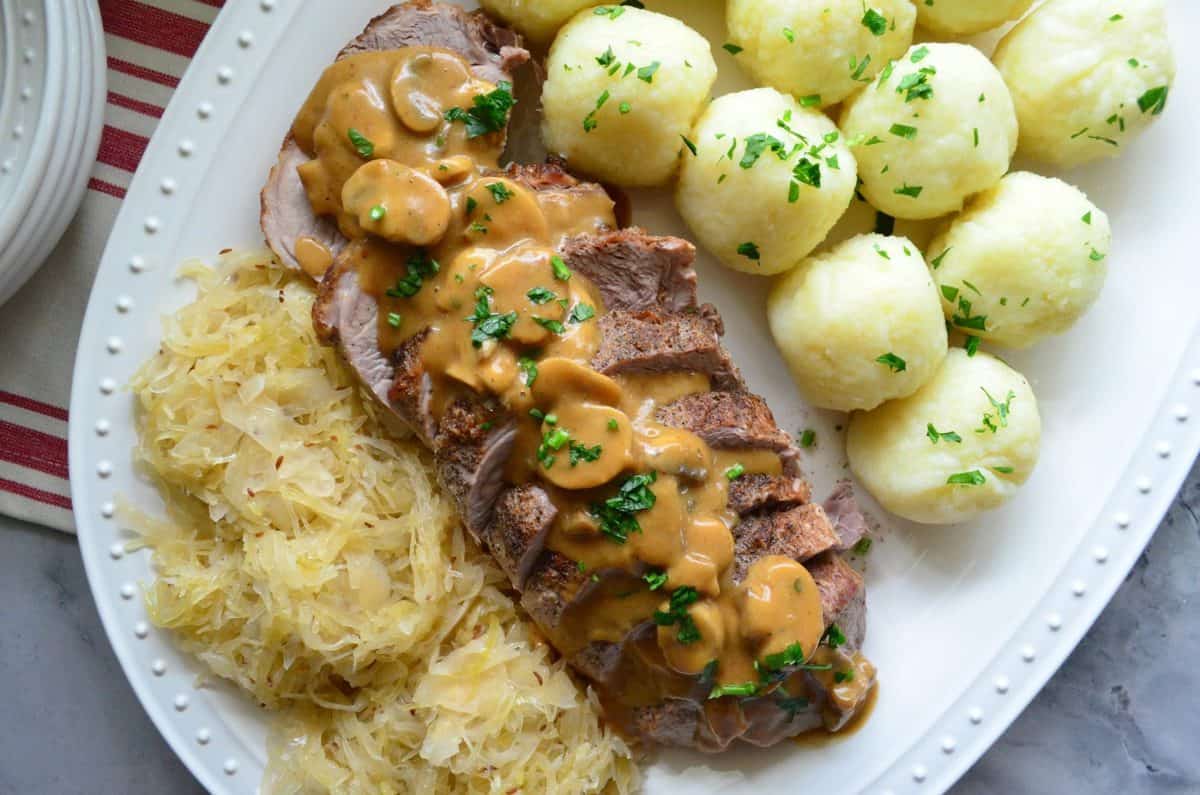
Polish Feast: Roasted Pork, Potato Dumplings, Sauerkraut, and Red Cabbage
CoronaRita®
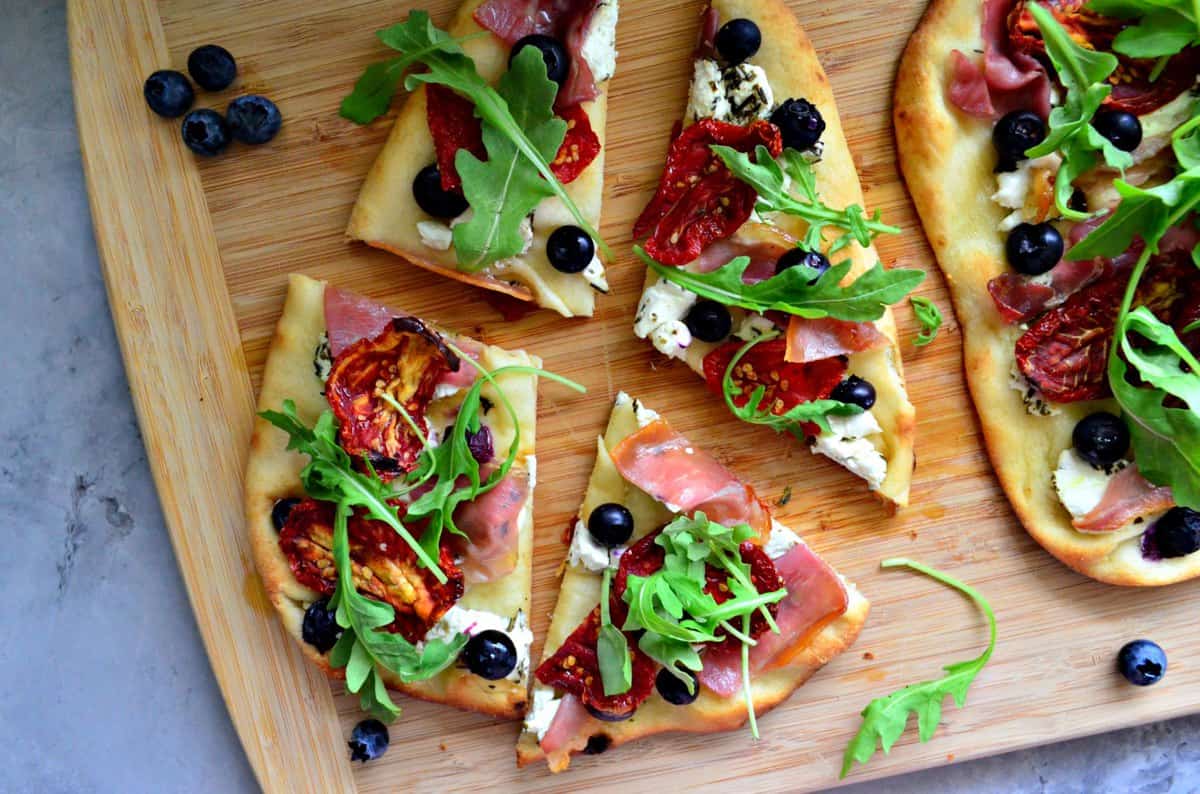
Prosciutto and Blueberry Naan Flatbread
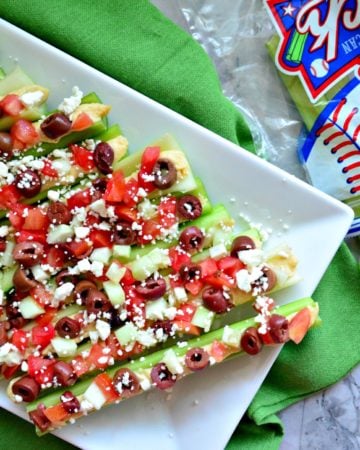
Mediterranean Stuffed Celery Sticks
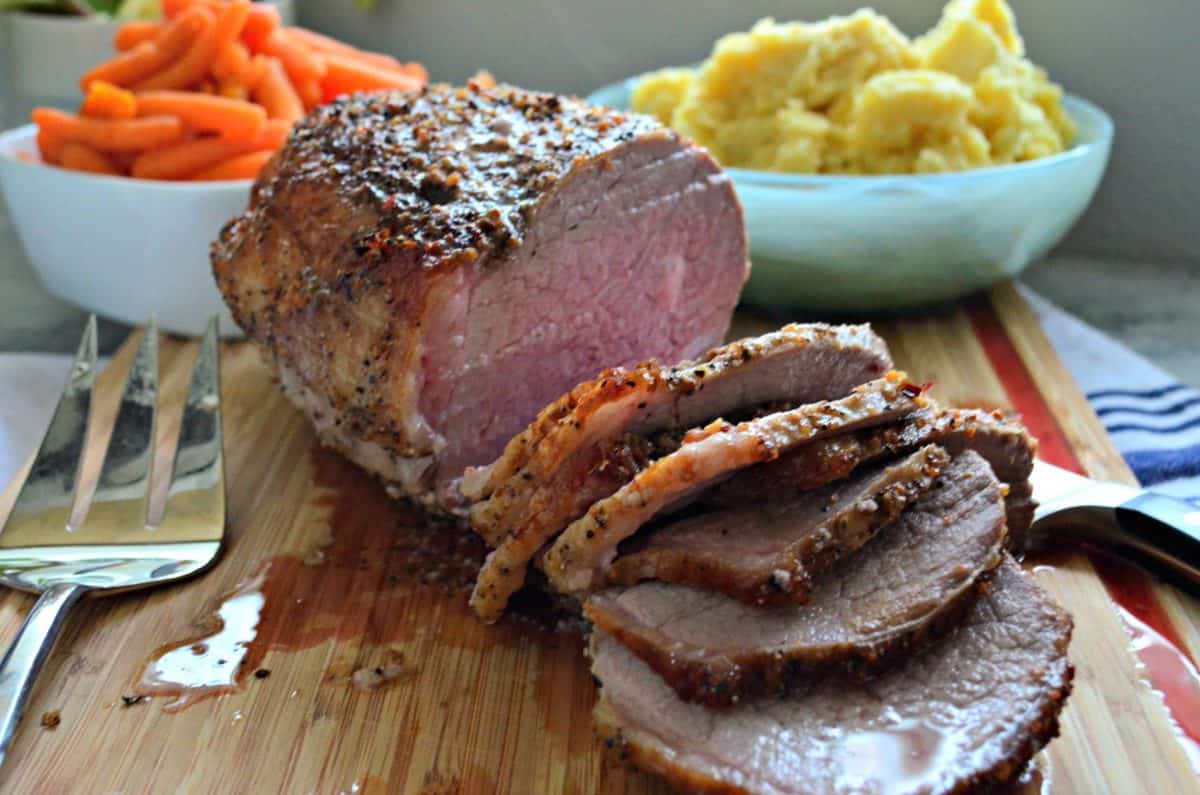
Roast Beef #Beefsgiving
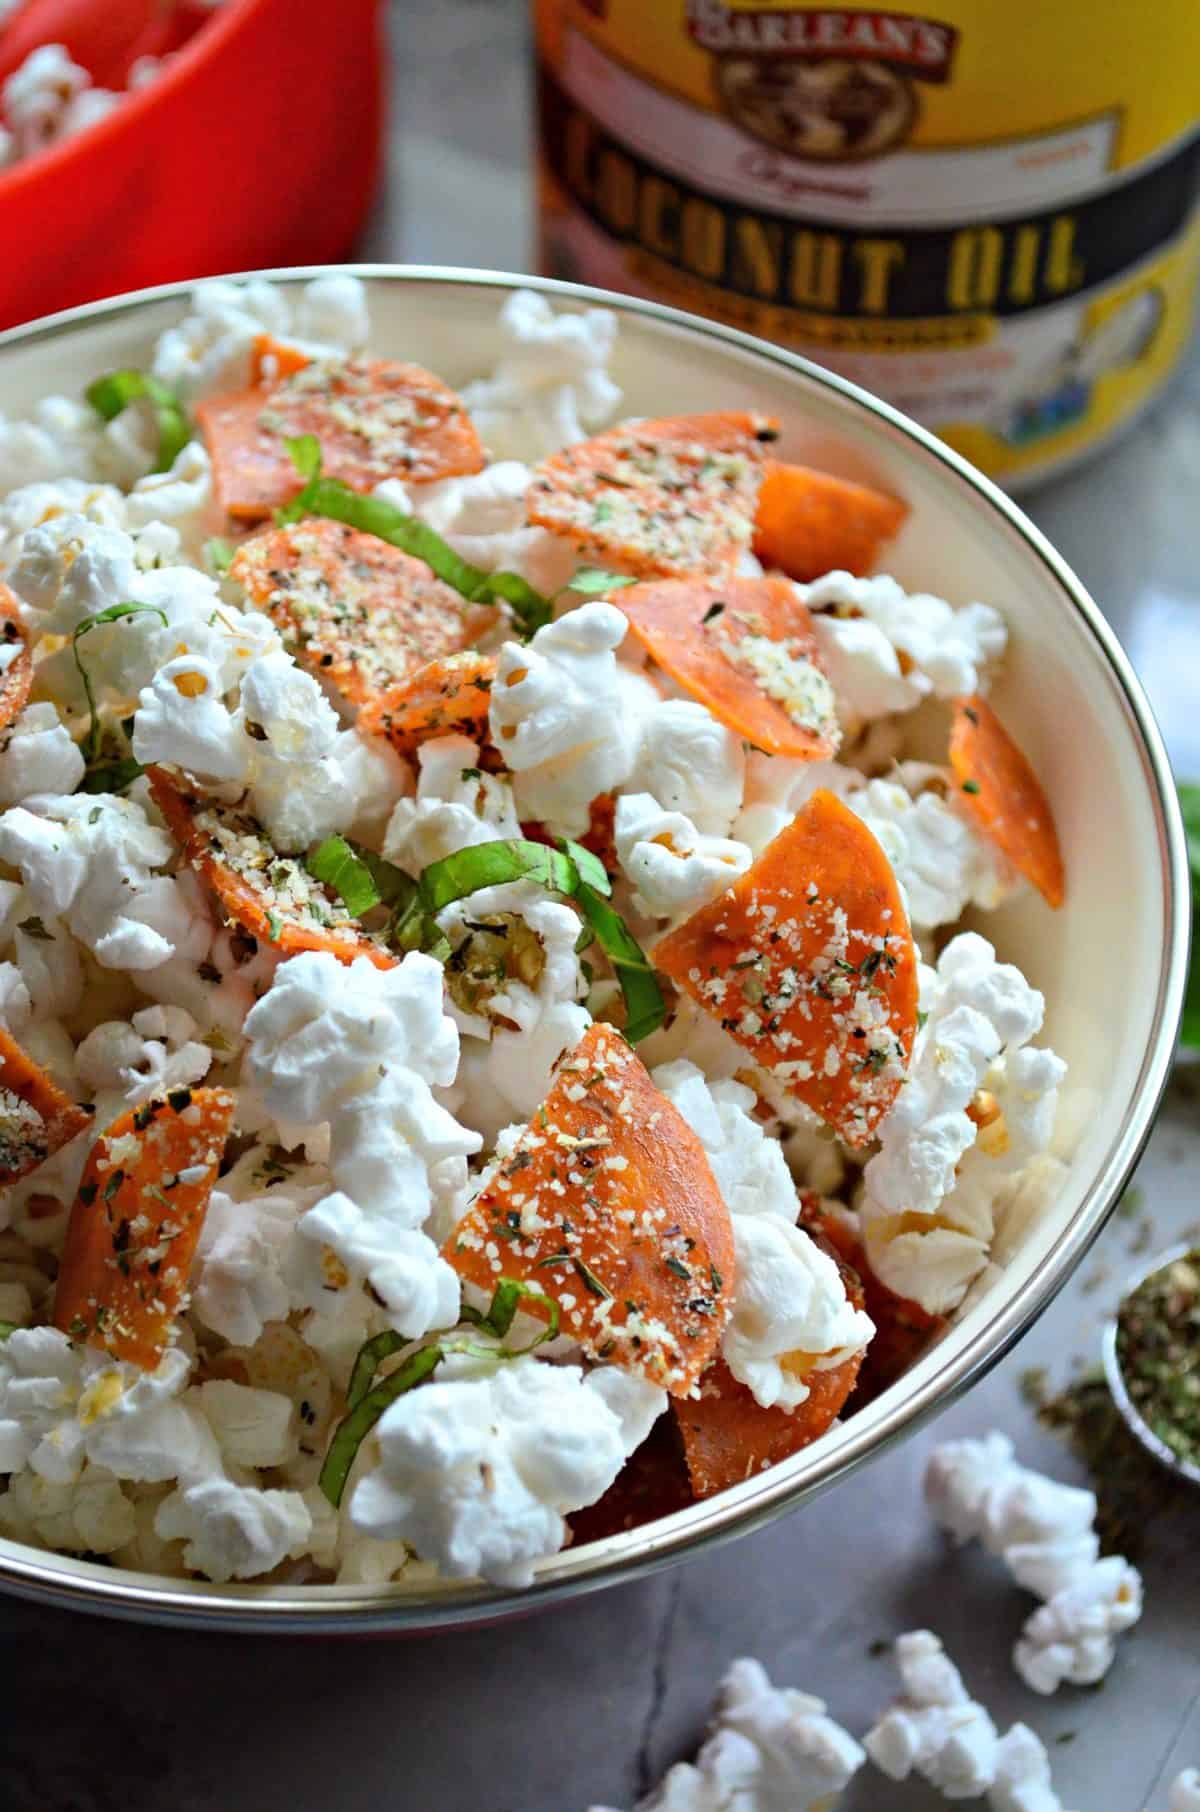
Pepperoni Pizza Popcorn
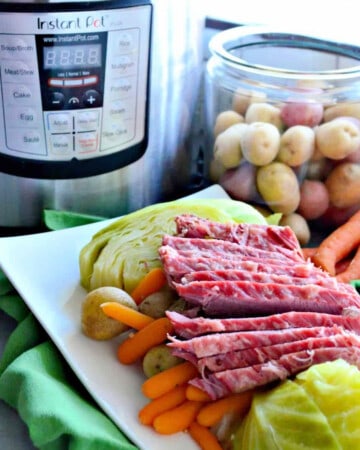
Instant Pot Corned Beef and Cabbage
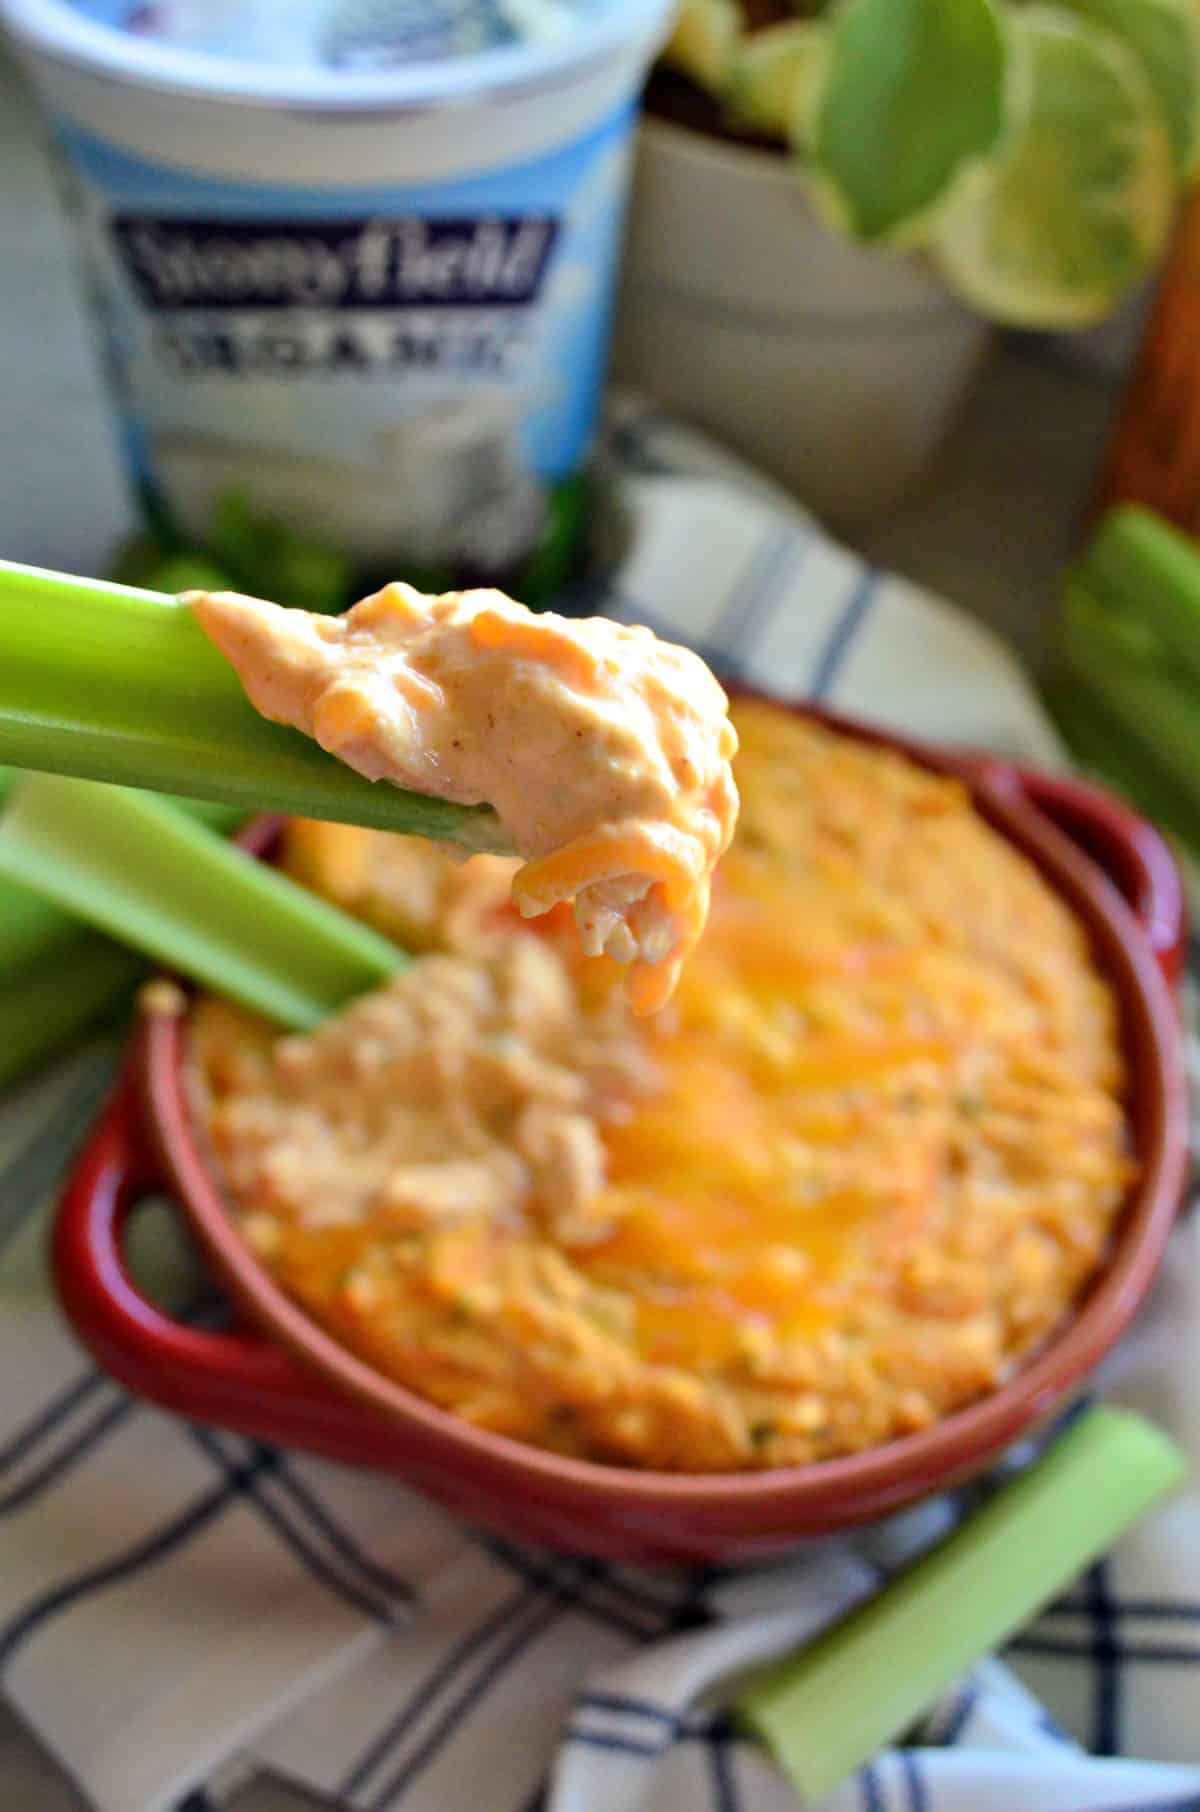
Skinny Buffalo Chicken Dip
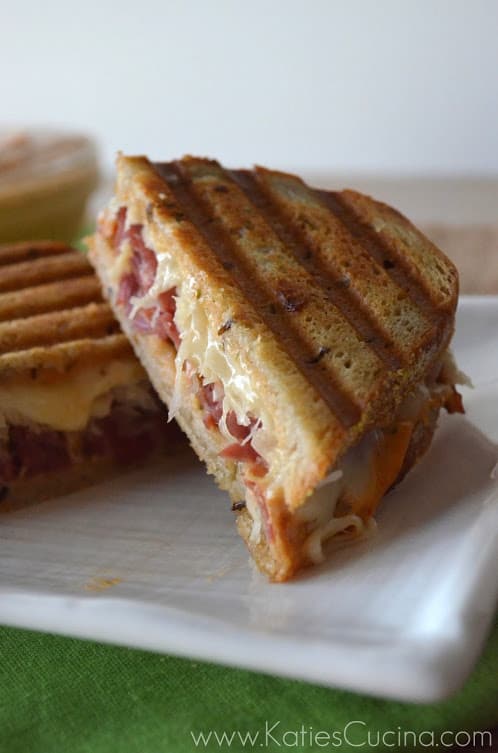
Reuben Panini
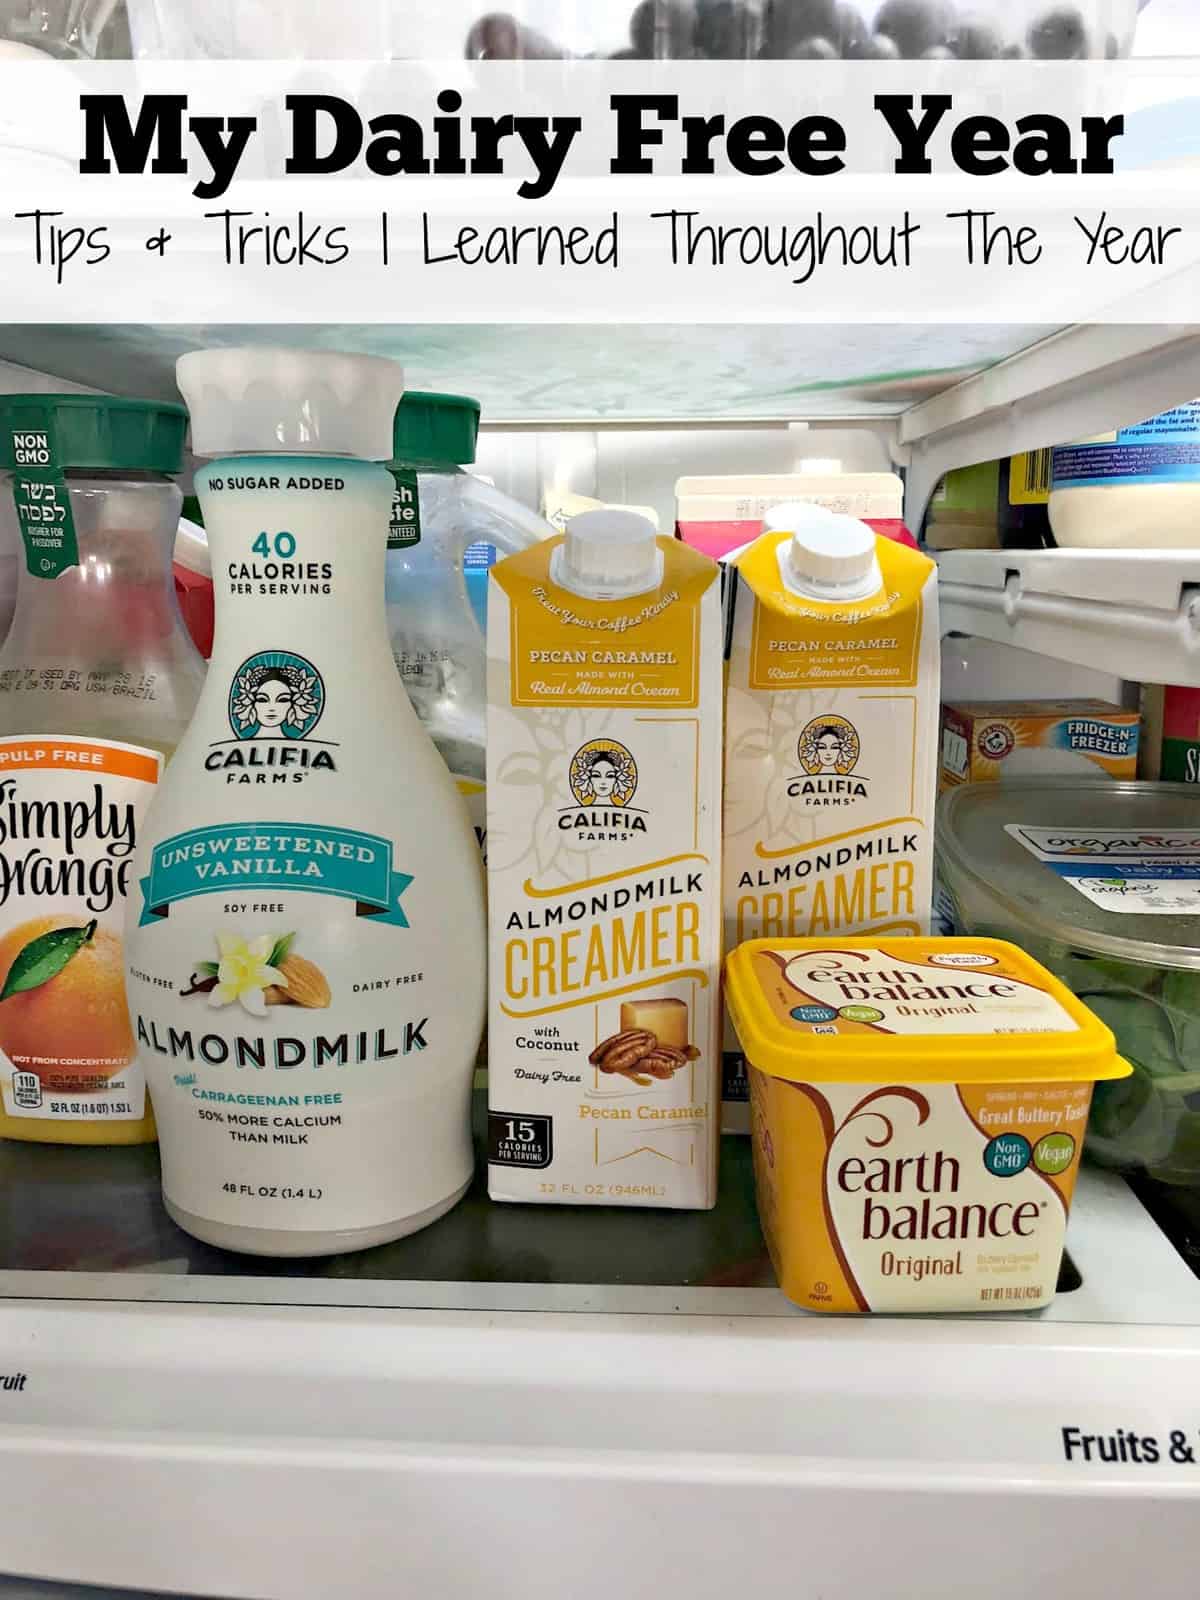
My Dairy Free Year – Tips & Tricks I Learned Throughout The Year
How to Create an Iced Tea Bar with Torani Fruit Syrups!
Pumpkin Spice Frappé
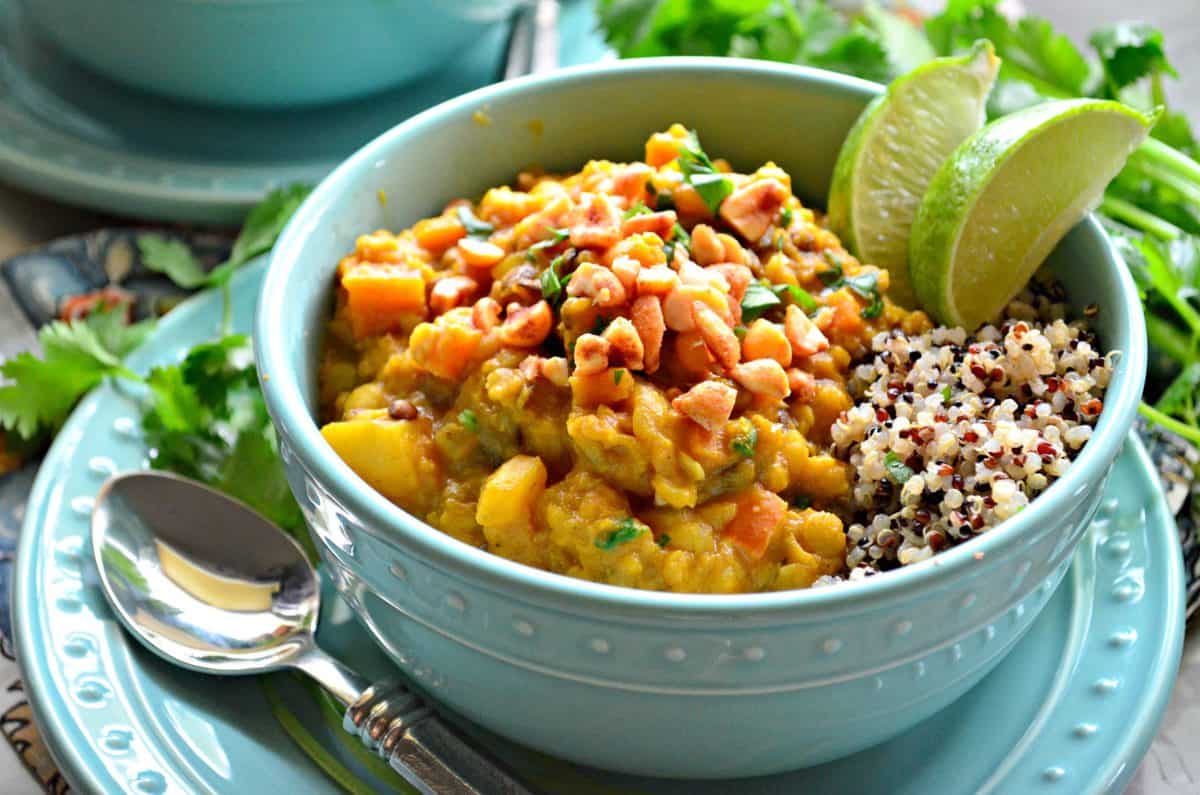
Lentil Pumpkin Curry Quinoa Bowls
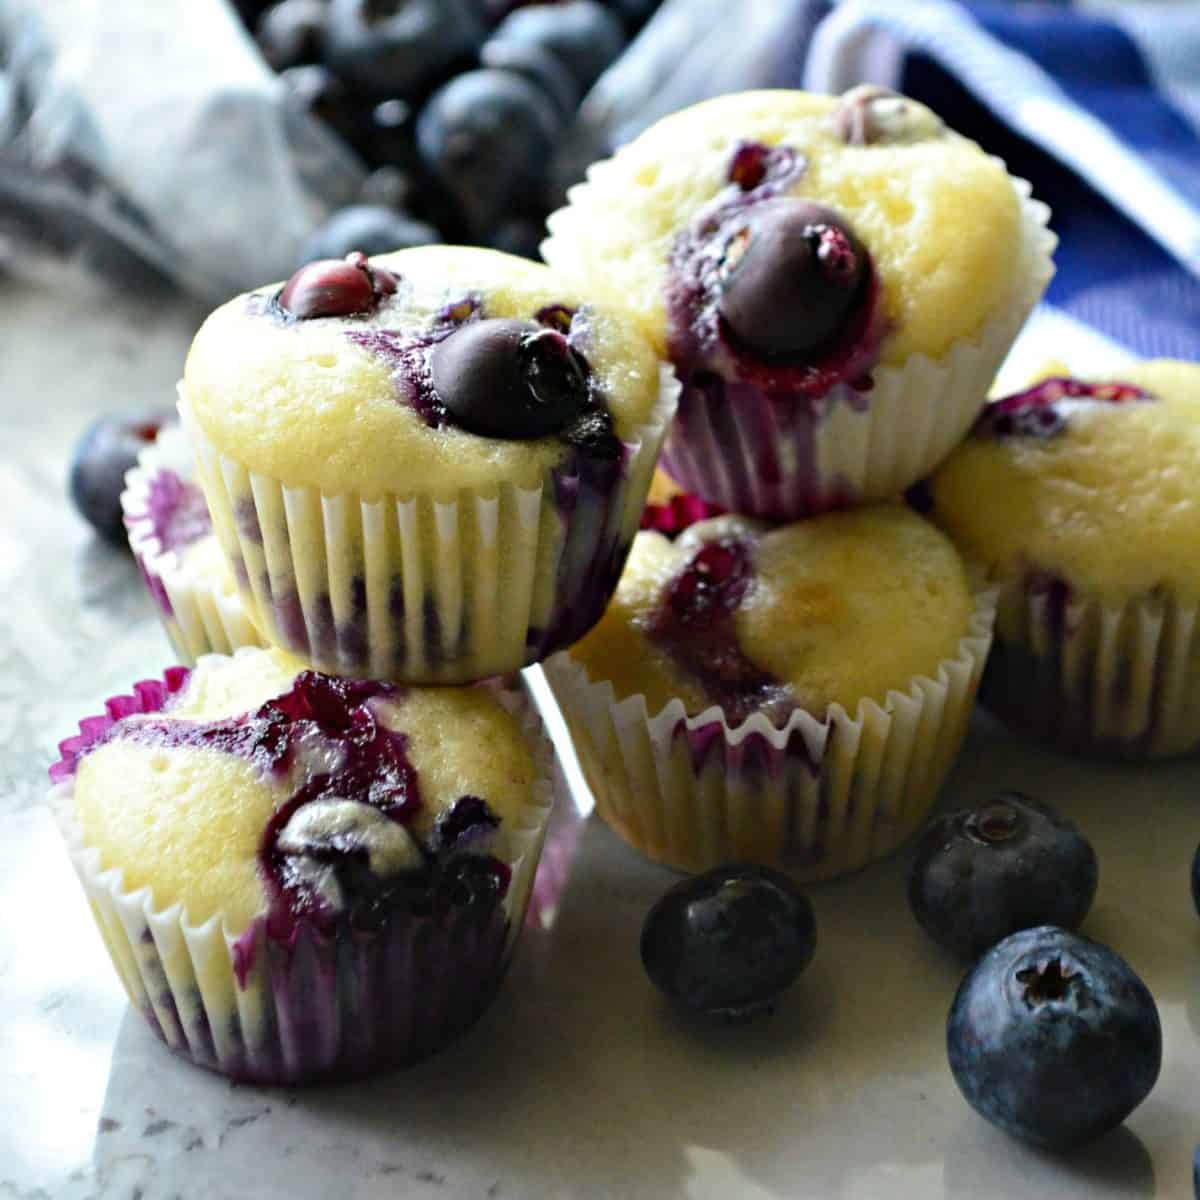
Mini Blueberry Yogurt Muffins
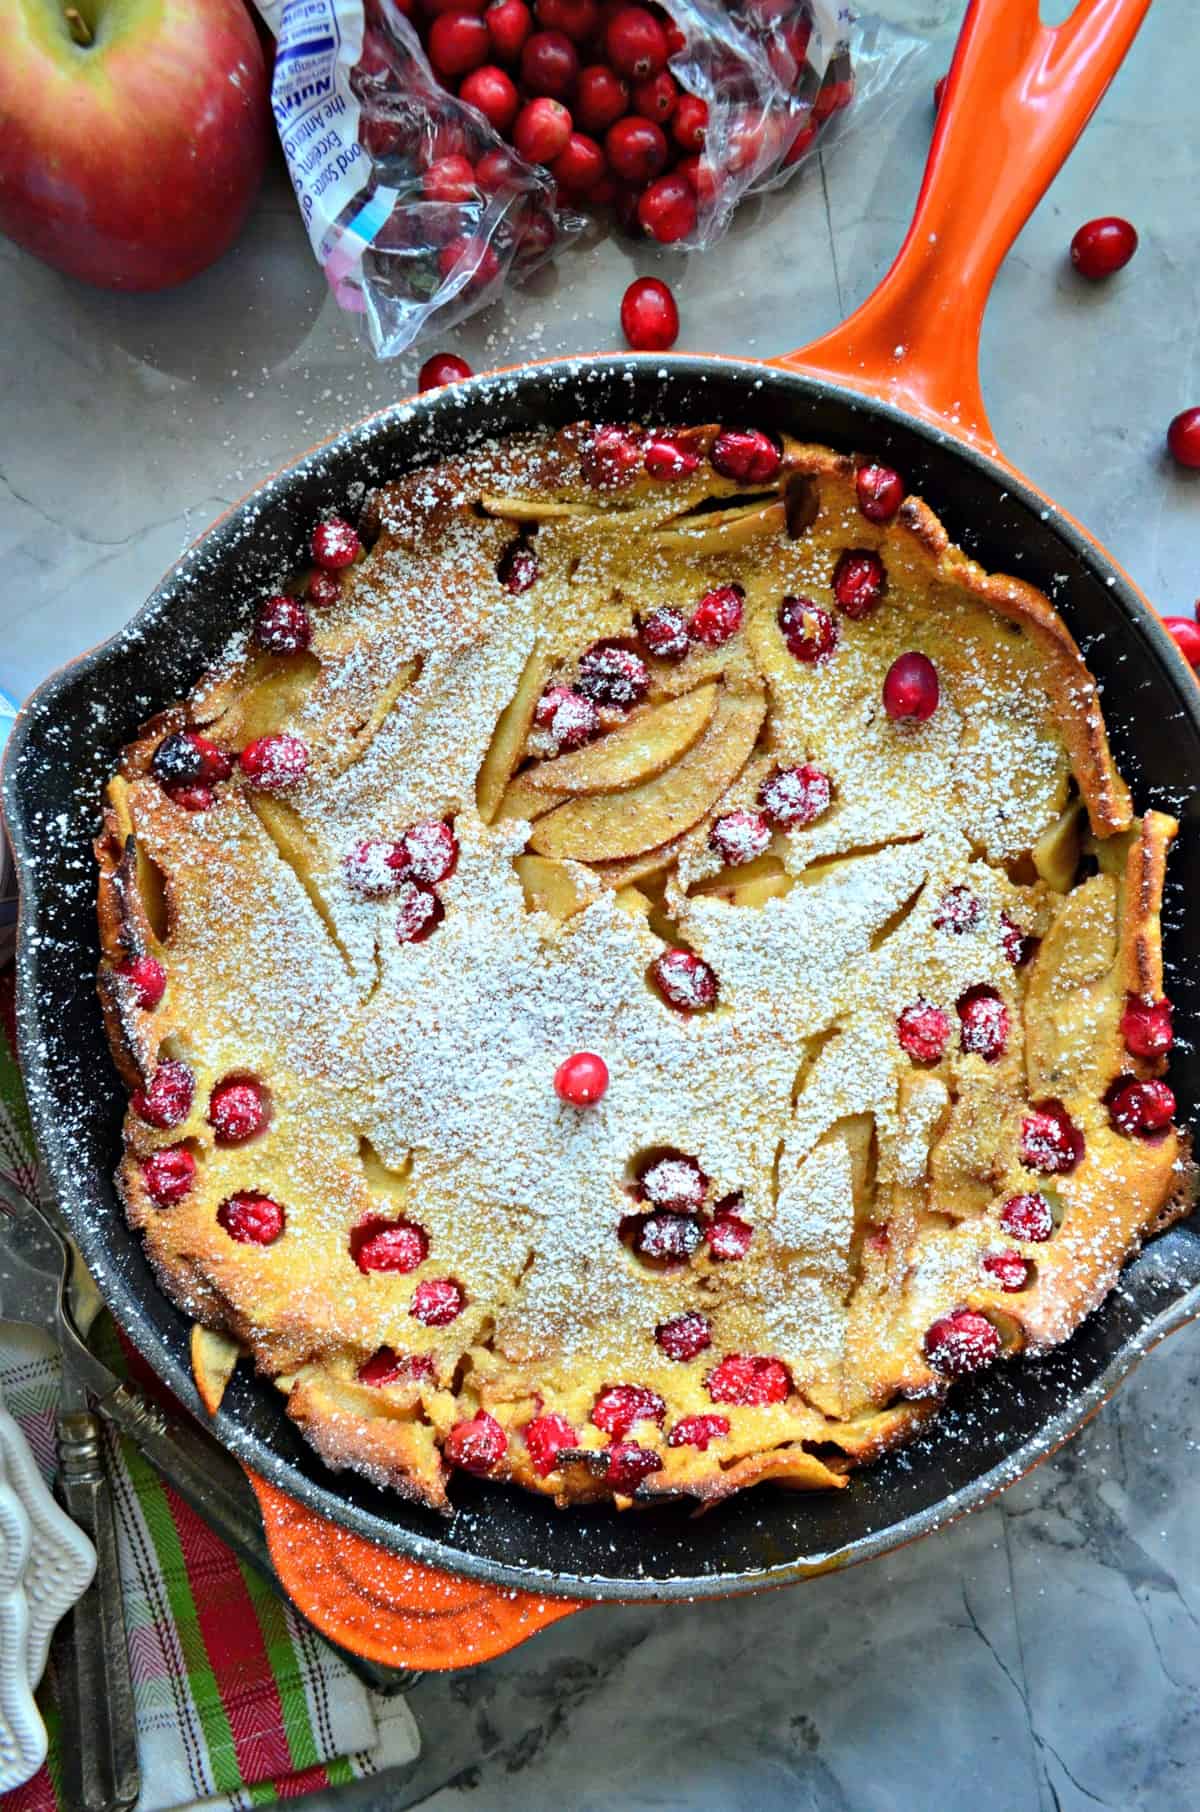
Cranberry Apple Yogurt Dutch Baby
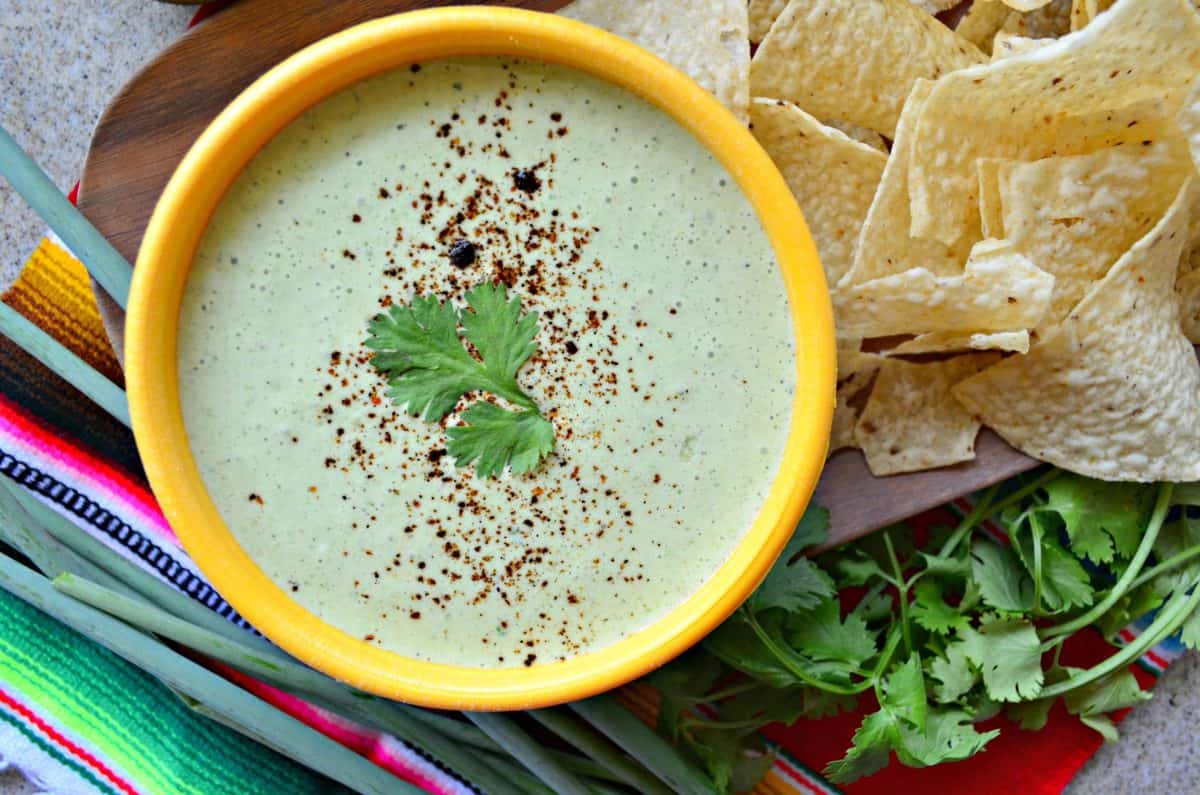
Cilantro Lime Yogurt Dip
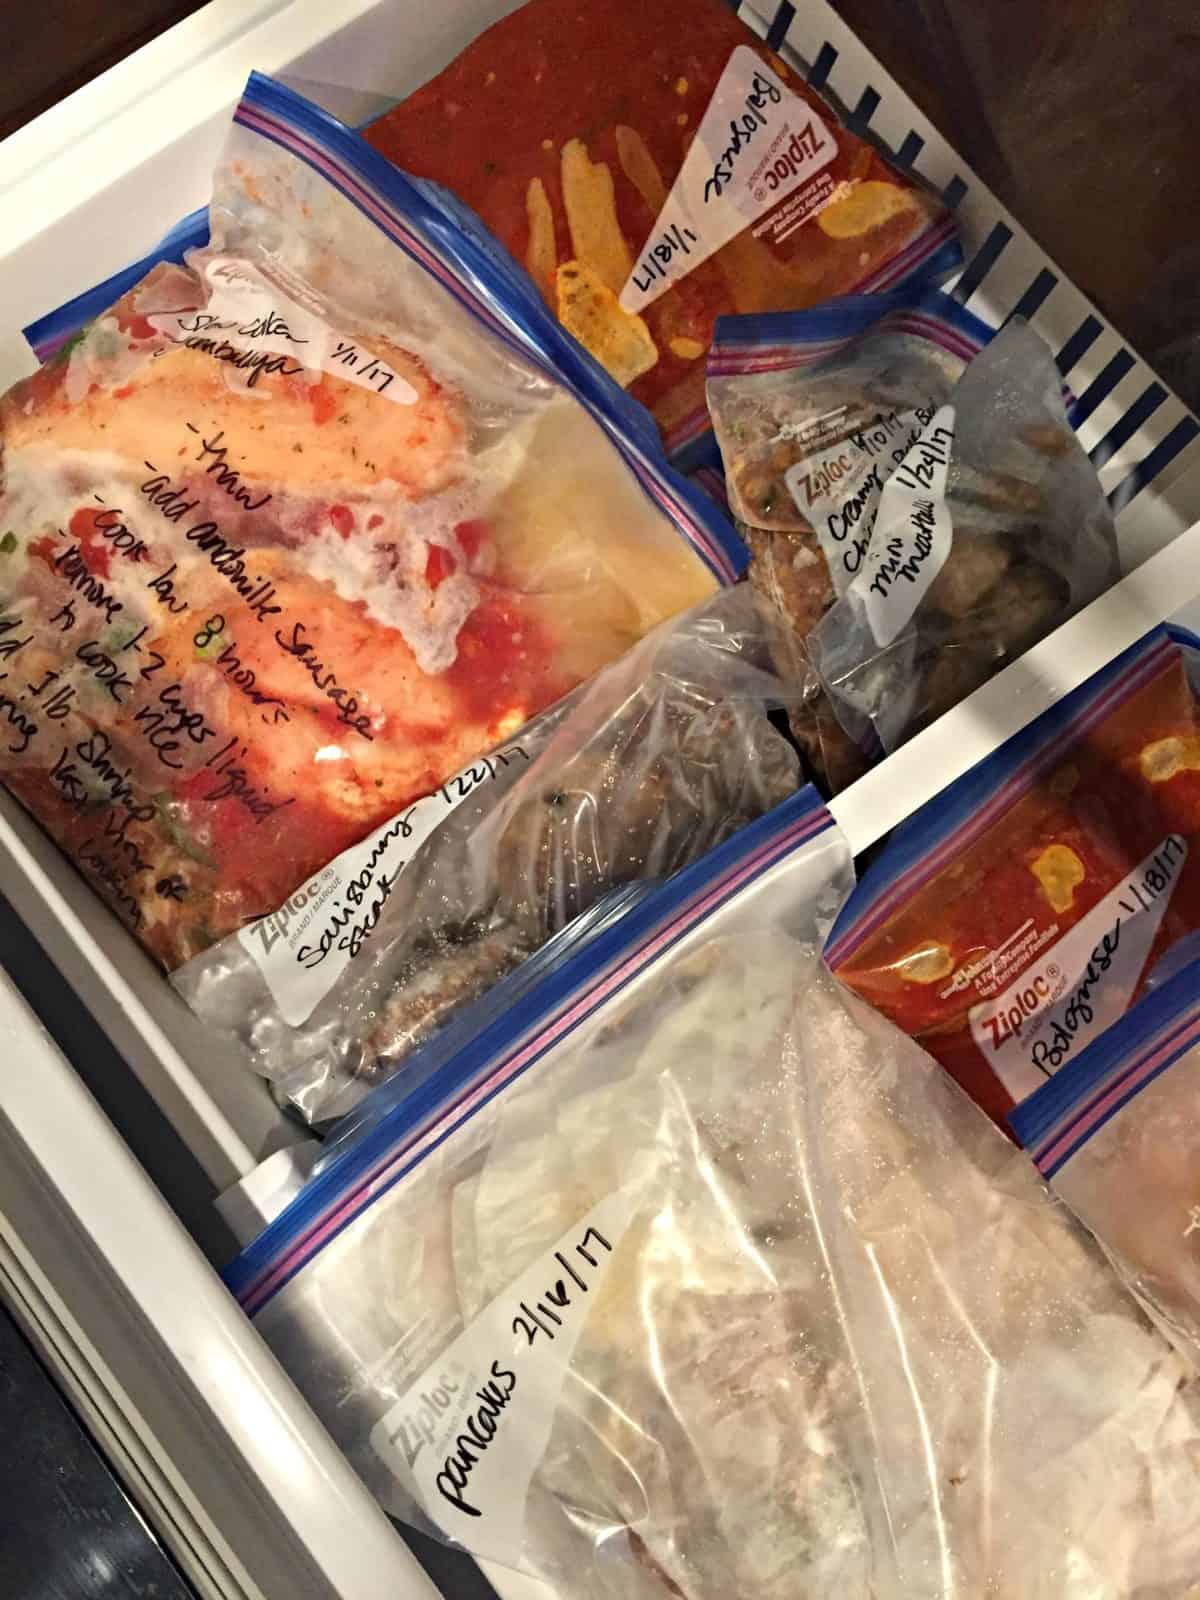
Preparing for Baby – Freezer Meal Prep 101
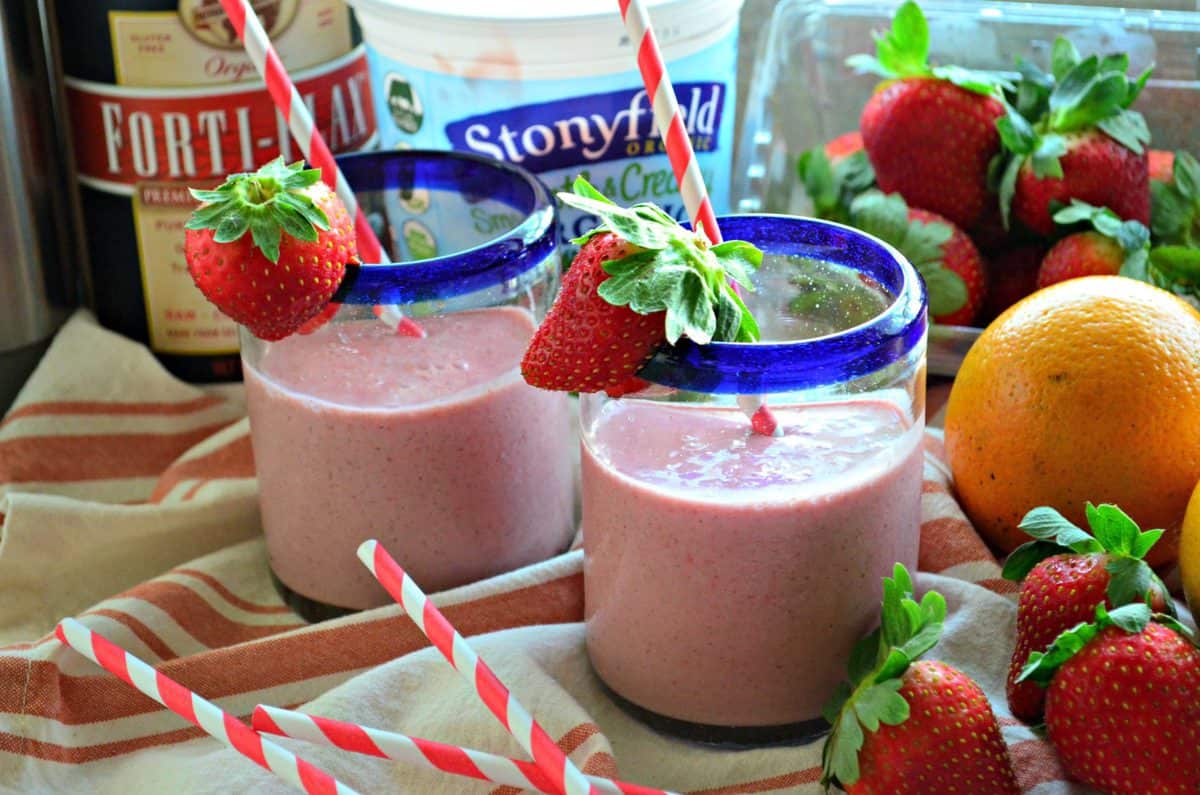
Strawberry Orange Flax Smoothies
Next Page »